Lotus-Leaf-Shaped Container
30 May
Week14 Composites; Irregular Shape Design
---Design---
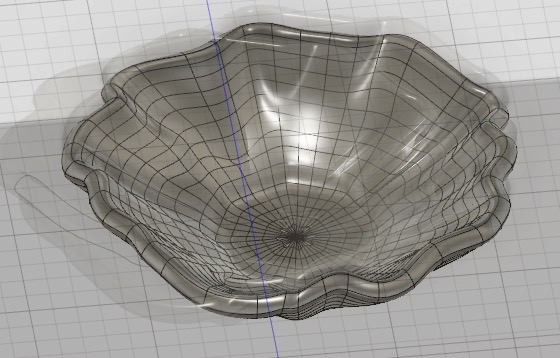
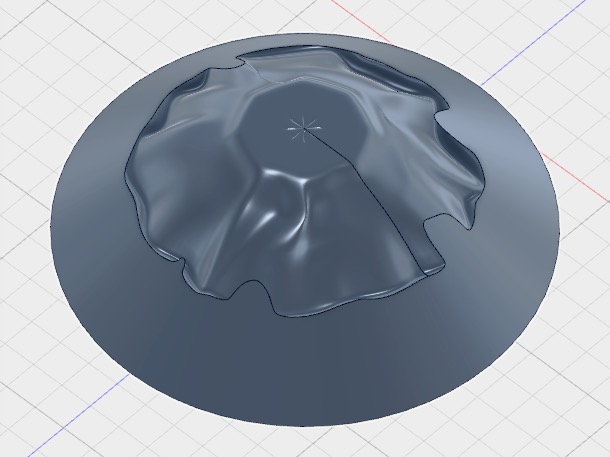
To make an irregular-shaped model, I used the 'sculpt' function in Fusion 360 instead of the 'model' one. I first created a sphere and cut the top half off. Then I applied the 'subdivide' function under the modify tool to make the bowl-shaped model look a bit edgy. I made most of the leaf-looking curves by applying 'slide edge' under modify. However the only limit I found is that I could not make the leaf bent inwards as it could not be milled in one go. Once I had the rough shape done, I applied 'thicken' under modify the get the below model.
I made the two-part mould based on this model. The inner one was made from a cone cut by the model while the outer one was made from a box cut by the model. The two parts had a gap of around 3mm to leave enough space for cloth layering.

---Generate RML File---
Both the inner and the outer part of the mould should go through rought and final cuts. To generate the RML file I still used fabmodules.org like a week ago but set the diameter of tool to 6mm and chose the machine as MDX-40.
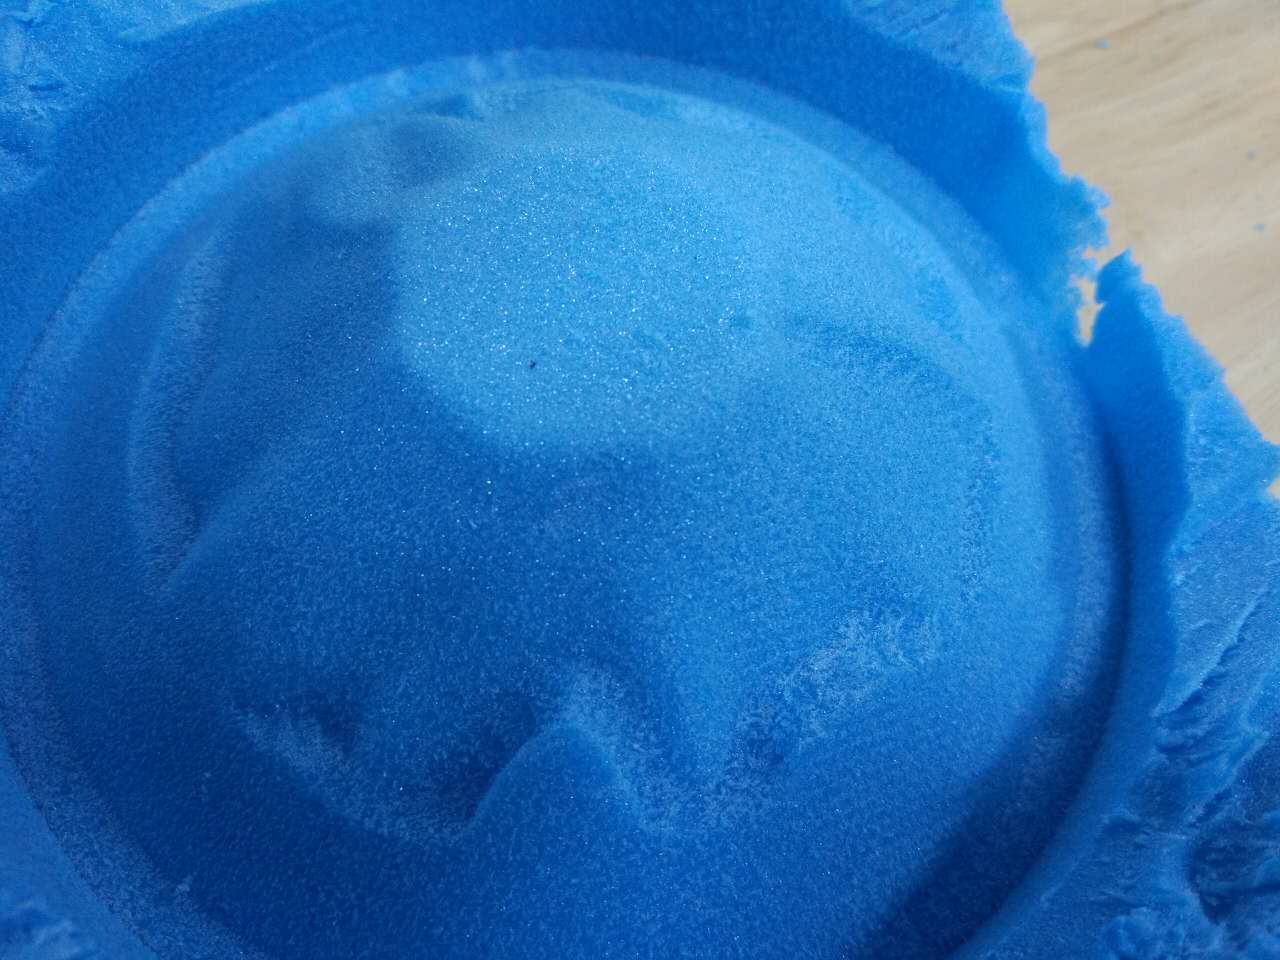
The two-part moulds would look like this:
---Moulding---
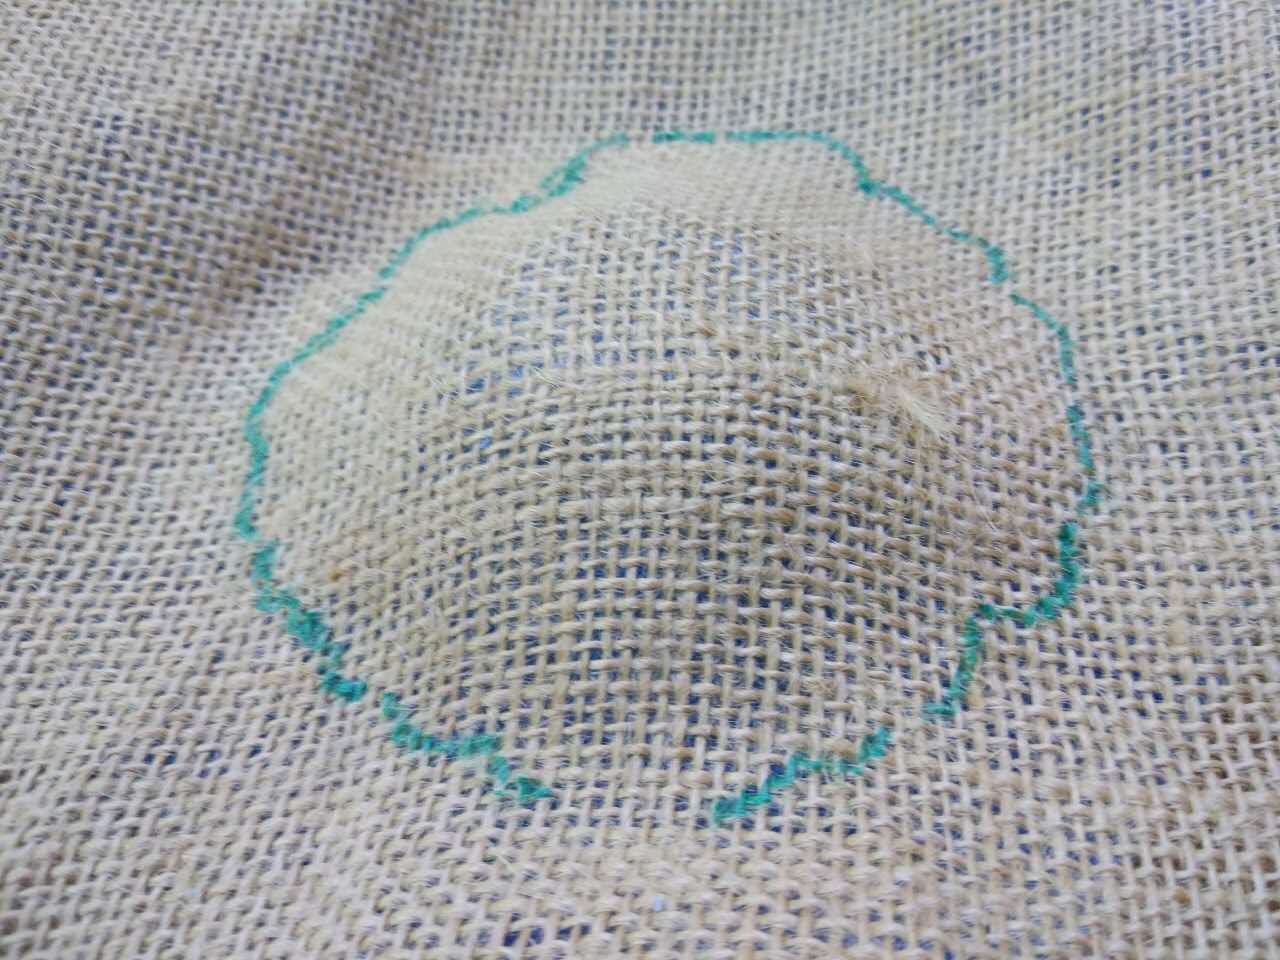
Apply a cling film onto both surfaces of the moulds as it'll make it easier for mould-product separation. Mix the epoxy A and B with the ratio of 3:1. Stir thoroughly. Ensure a decent condition of the ventilation in the room as the material is toxical. I cut the cloth into shape drew below.
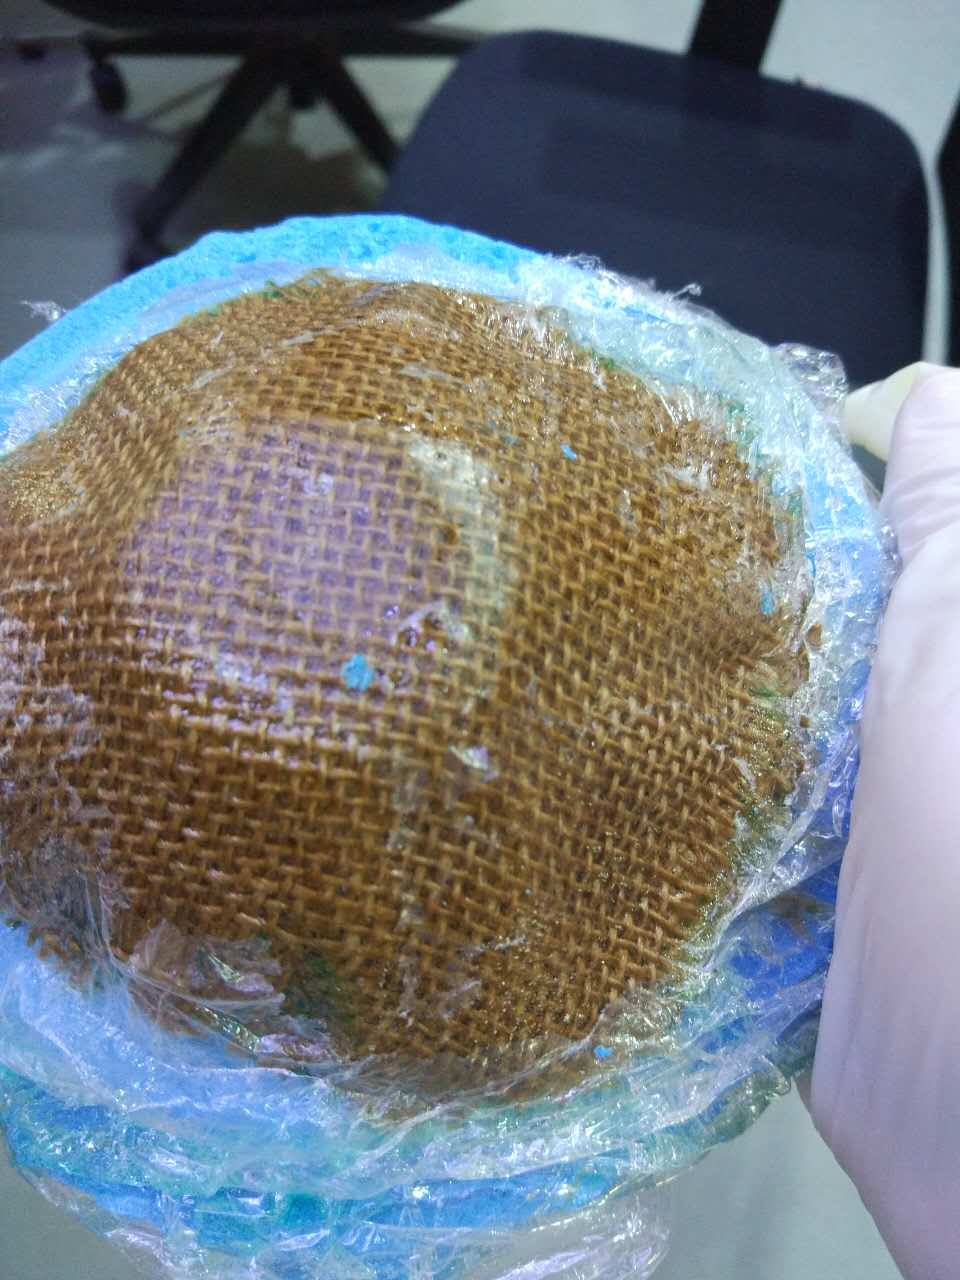
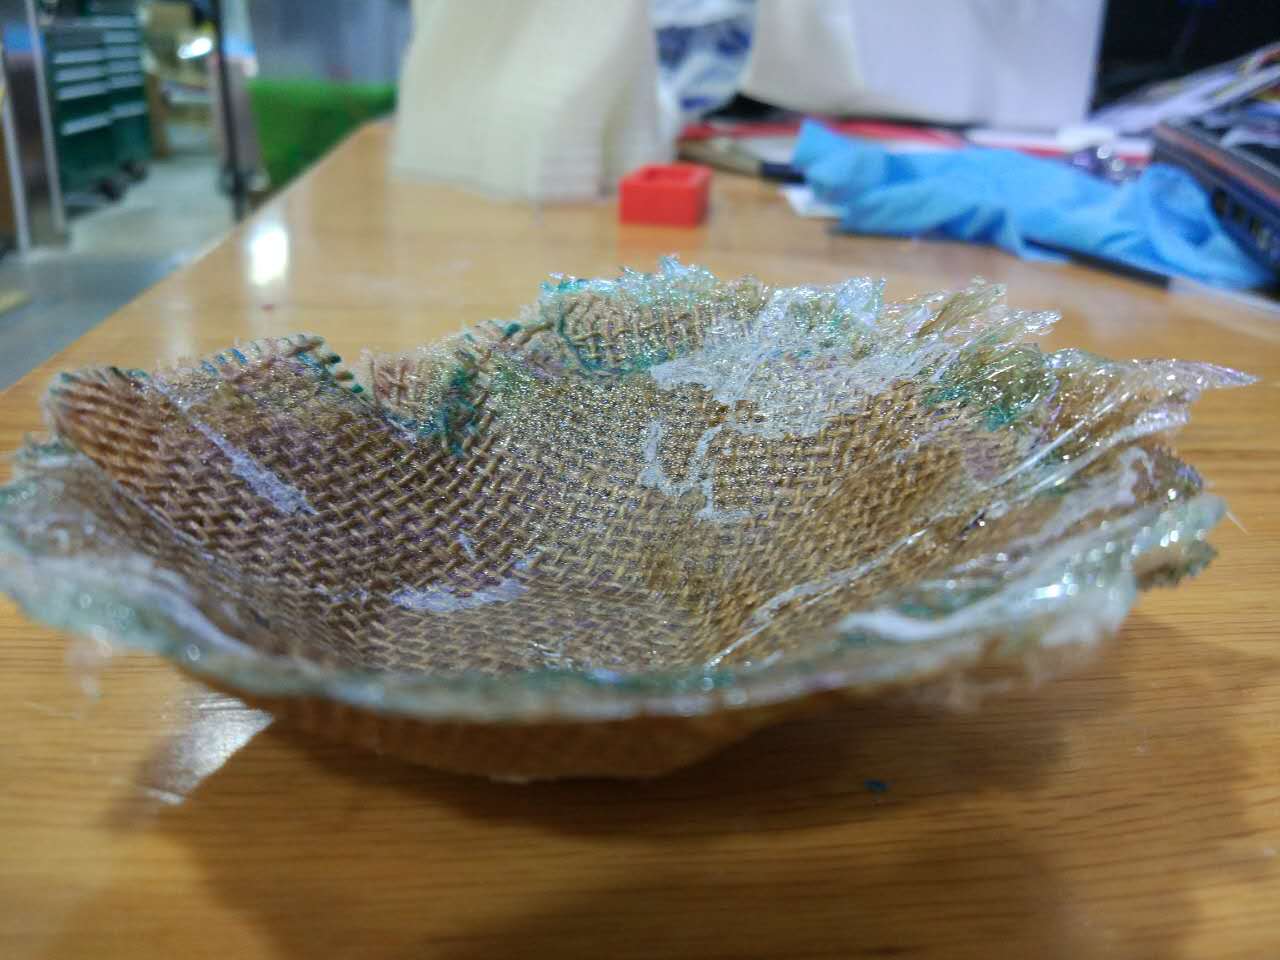
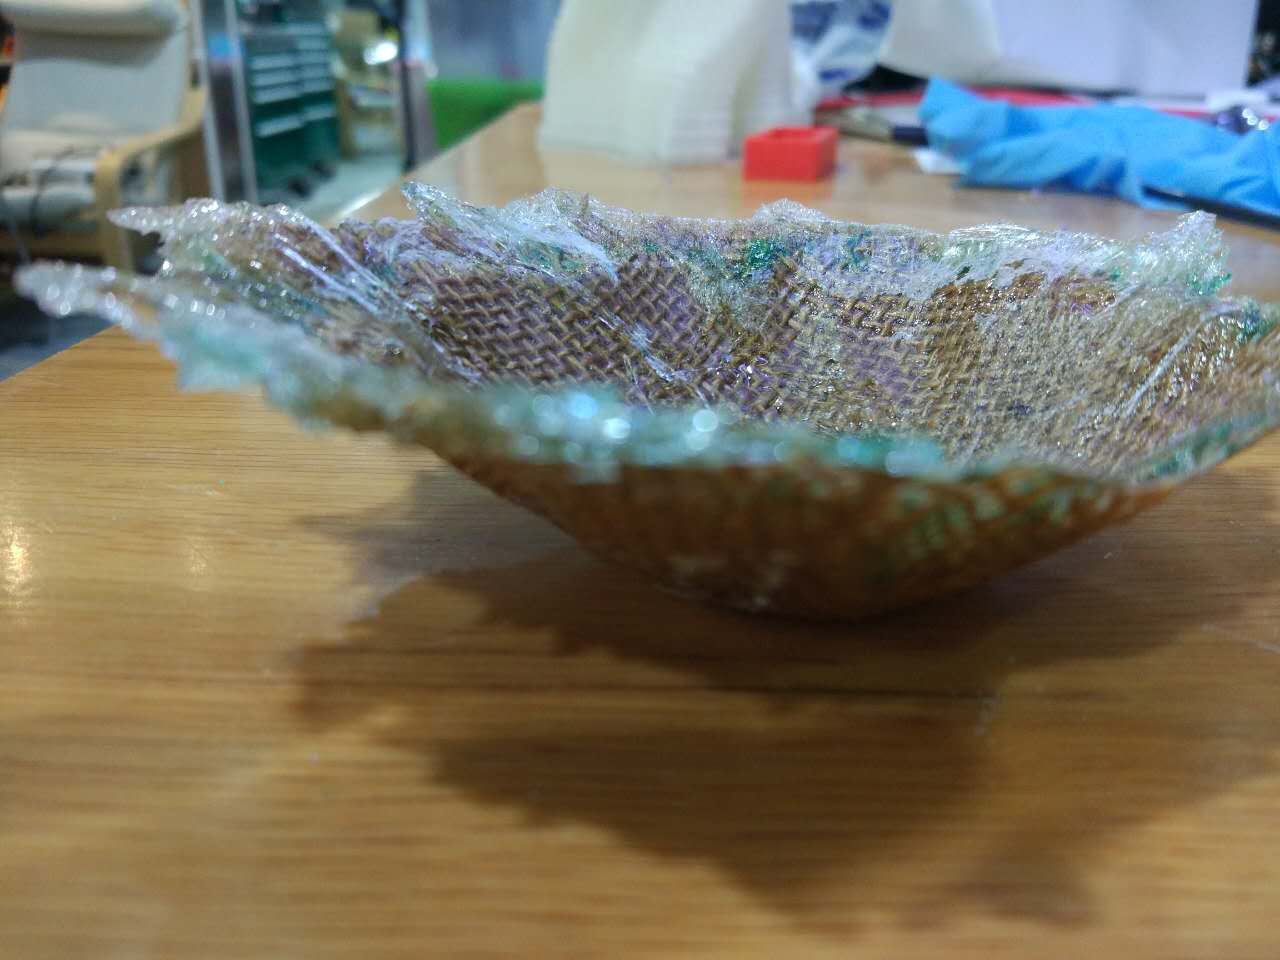
I soaked the first and the last piece in the epoxy. Then I stacked in total four of those pieces together. Thereafter I pressed the two-part moulds tightly and put them in the vaccum bag. After about 5 hours I took it out and I got my final product.
☞ Problems and Tips
1. The STL file directly exported from Fusion 360 didn’t show in fabmodules.org when I first clicked 'calculate the height'. Out local instructor suggested me to load the STL file in blender and resave it after changing the size and location. I did not know why but it worked!
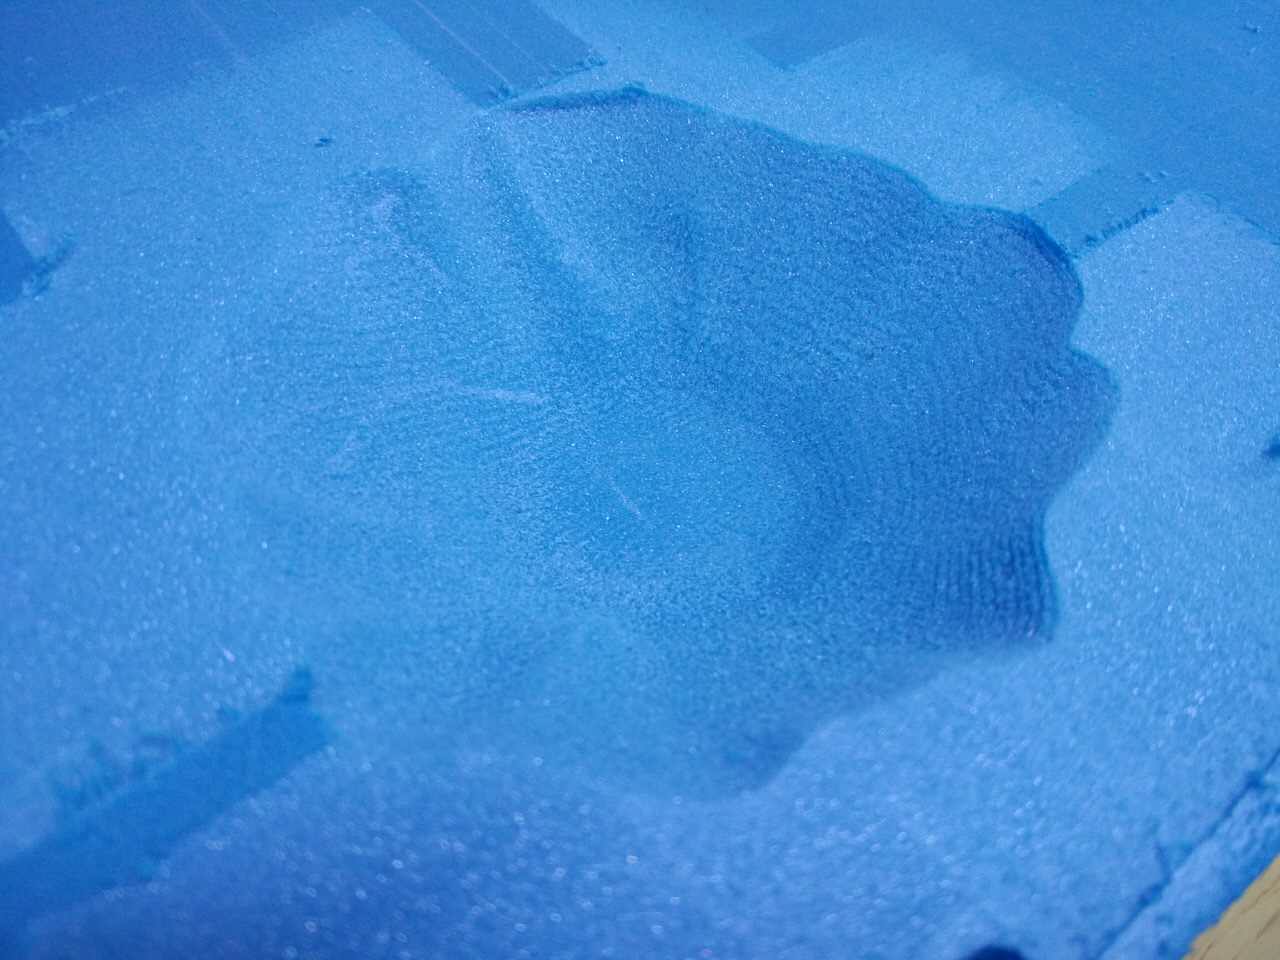
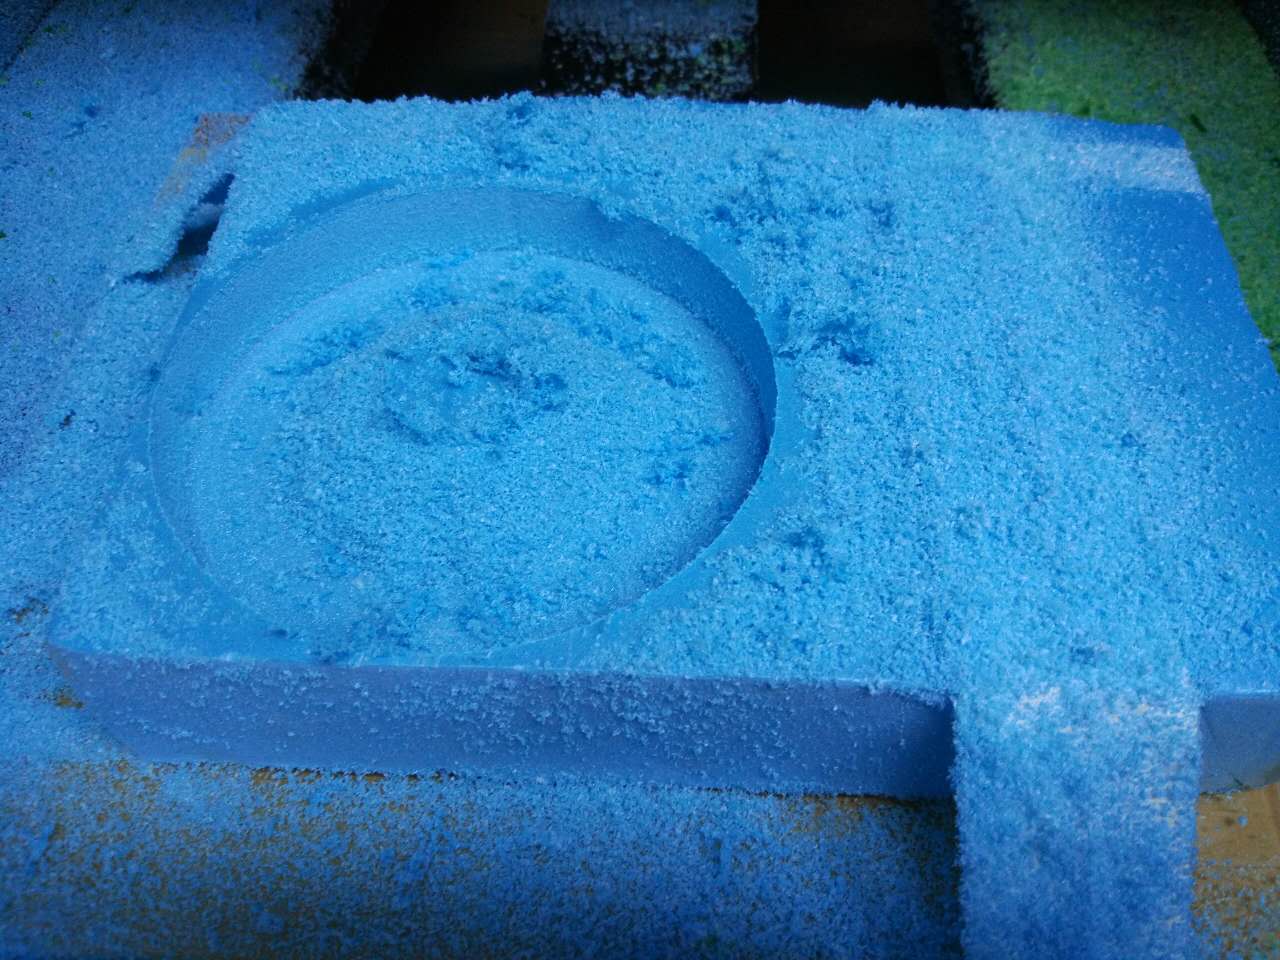
2. Pay attention to the depth of the mould and the depth of the endmill. In my first attempt it went wrong as top of the endmill touches the edge of the foam therefore the force moved the foam.
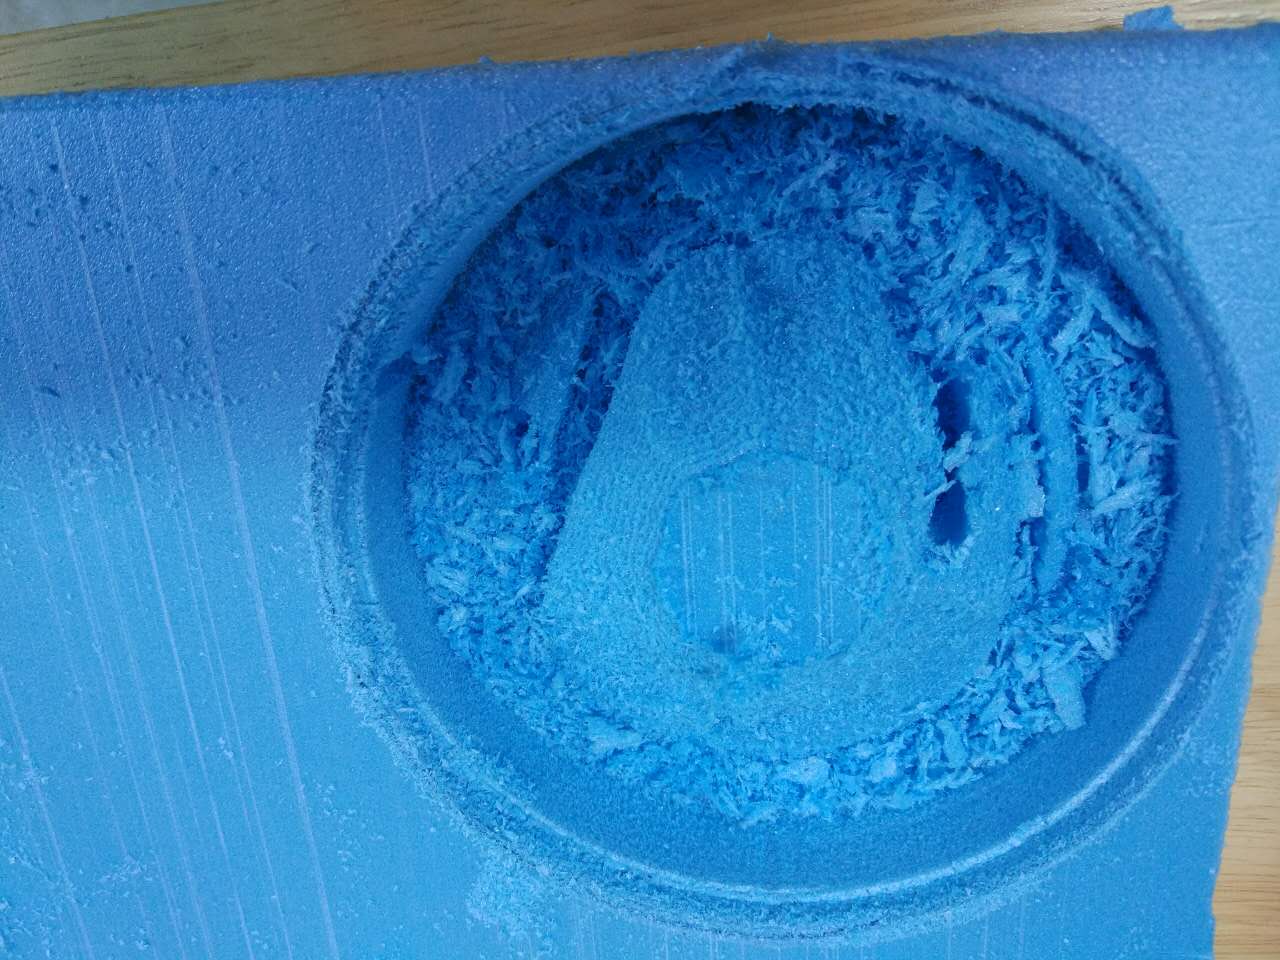
In the following picture you could see I had manually cut the edge around to slopes in order to leave more space for the endmill holder to work. That said, the top would no longer touch the edge as the endmill went deeper to carve. The machine could be easily paused during the job if I pressed 'view'. And long press it again to continue the job.

The design file can be downloaded here:keychain-thickness-adjusted.f3d