3D Prinitng
our group assignment was to test the 3d printer we searched on google for tests to perform and found on make magazine 7 tests to perform testng
testing the printers ablitiys like
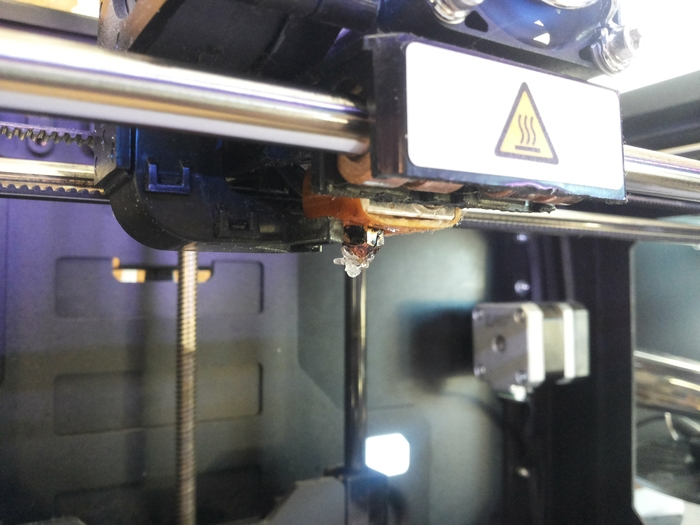
i chose and it took me five atempts to get started with it since first 3 times the plastic did not catch on the surface to start printing and started to clump up on the exsrucion head,first i roughed up the surface with sandpaper but the same thing happed then i replaced the sruface tape to see if it had anny differance but it di did not roughed it up with sandpaper and same thing when printing started it did nit catch.
Bas asisted me with troubleshooting through out and he noticed that the gears teeth were not grabbing on the fillament so i had to take the machine apart to clean out the teeth and any plastic that was there
bas also showed me how to clean from the heater any plastic residue by feeding in a fillament when the heater isnt high enough to melt the plastic fully and then pull ing it bach from the heater to catch any plasric pieces. it was affective and i could start printing again.
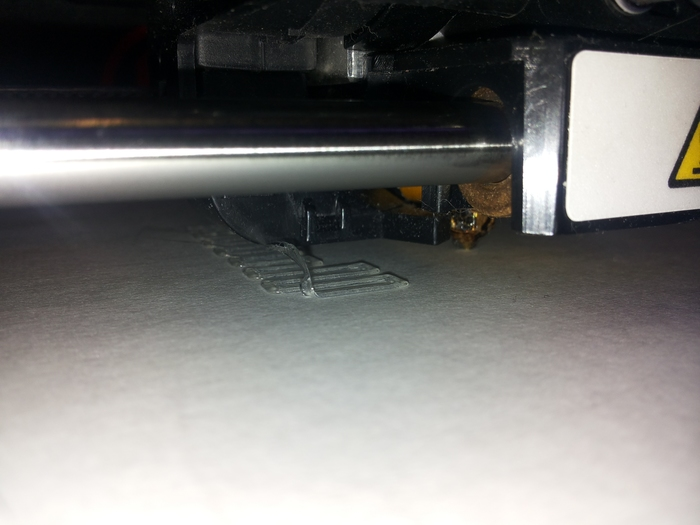
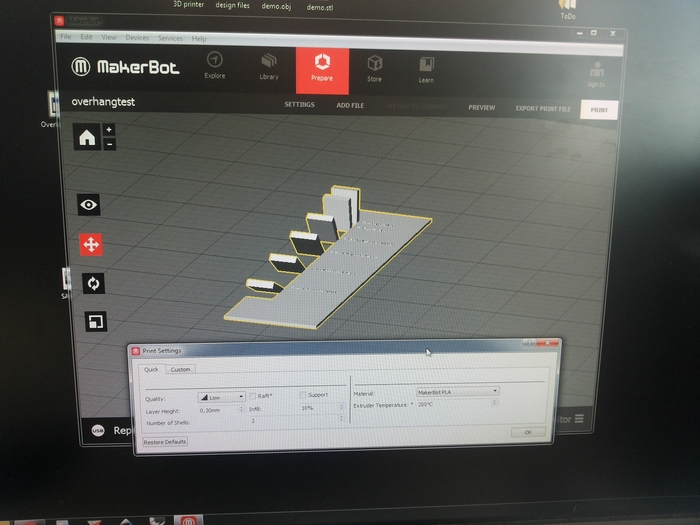
now the test seemed doomed from the start since the file had the wall thickness of 0.3mm and the maker programme showed that the walls would not print out but only that the machine would travese the path but bas said that i should just test it and see what would happen
to my suprice it came out well after only a little balance issue with the surface beeing a little high in one end so the base wich i now had rafters on stuck on but in one corner it pulled a bit of plastic up so there were high peaks on one layer in the corner.
.png)
.png)
.png)
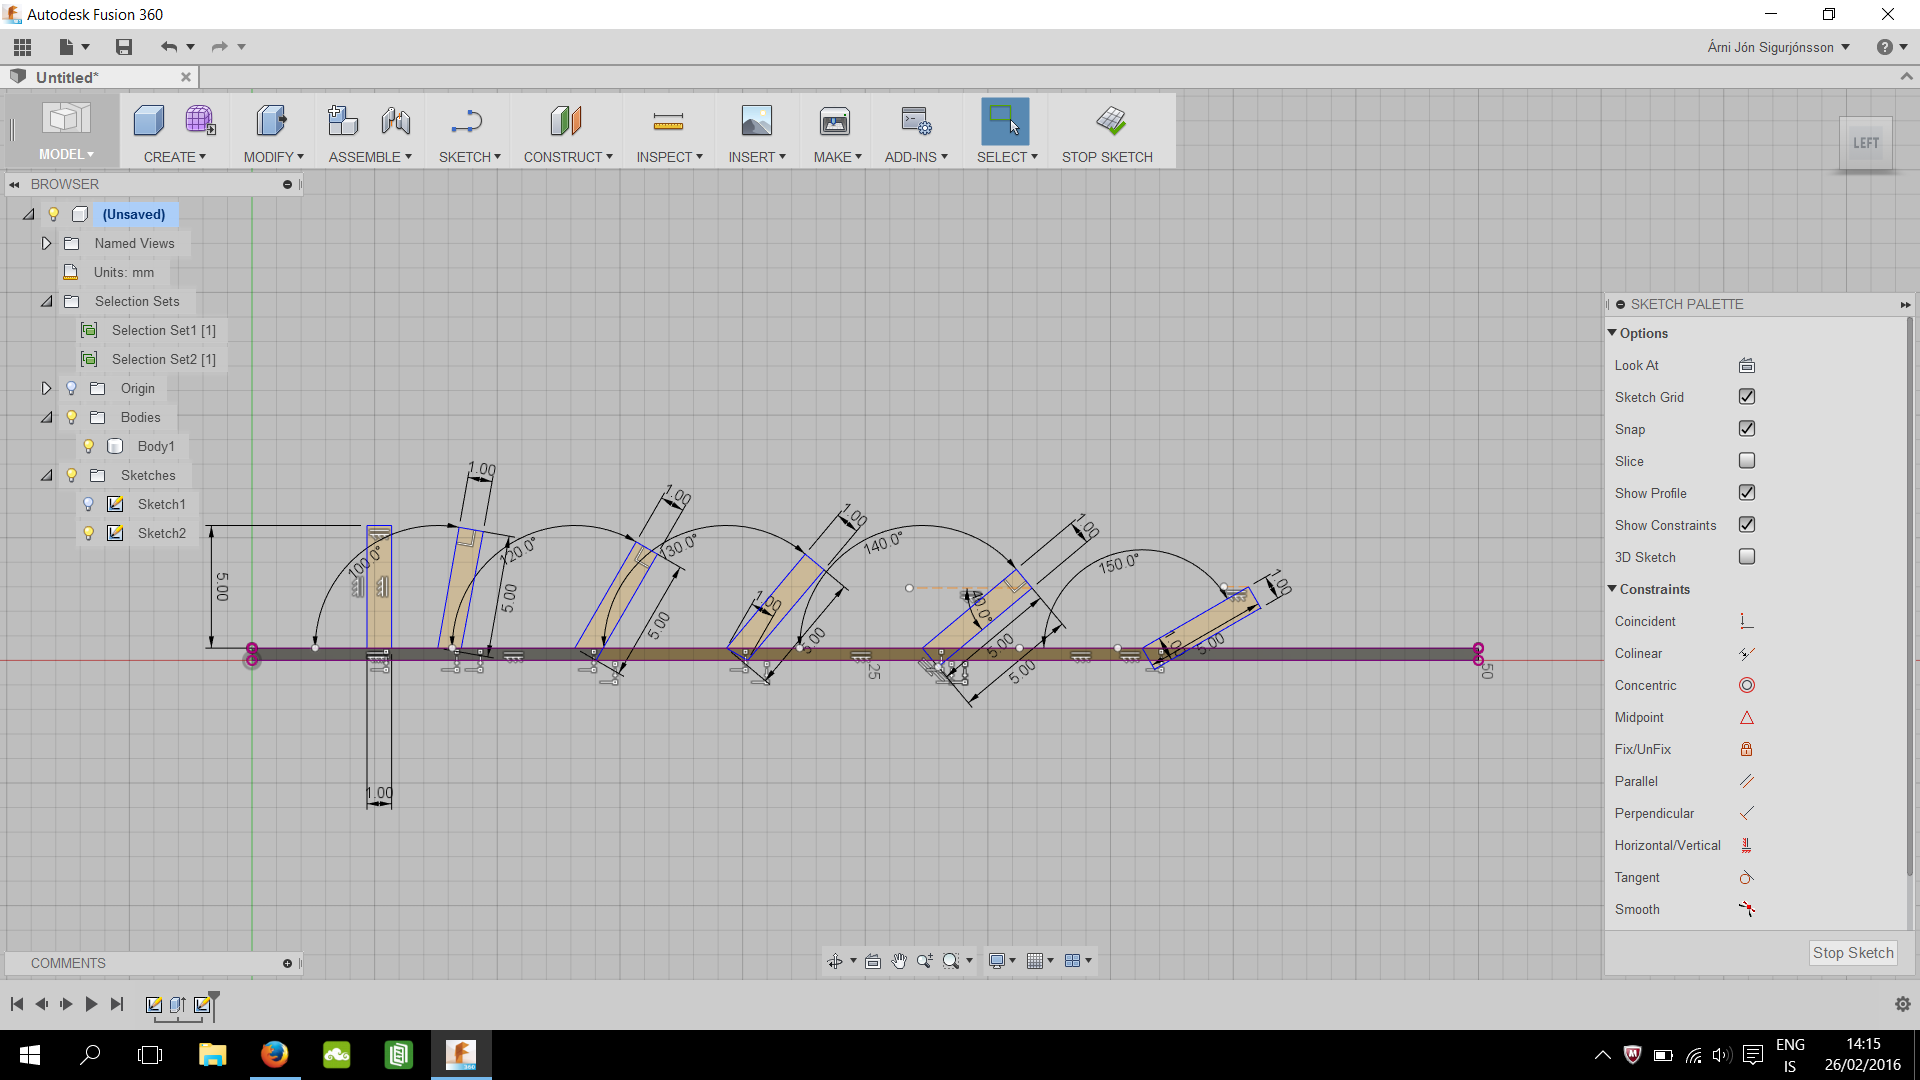
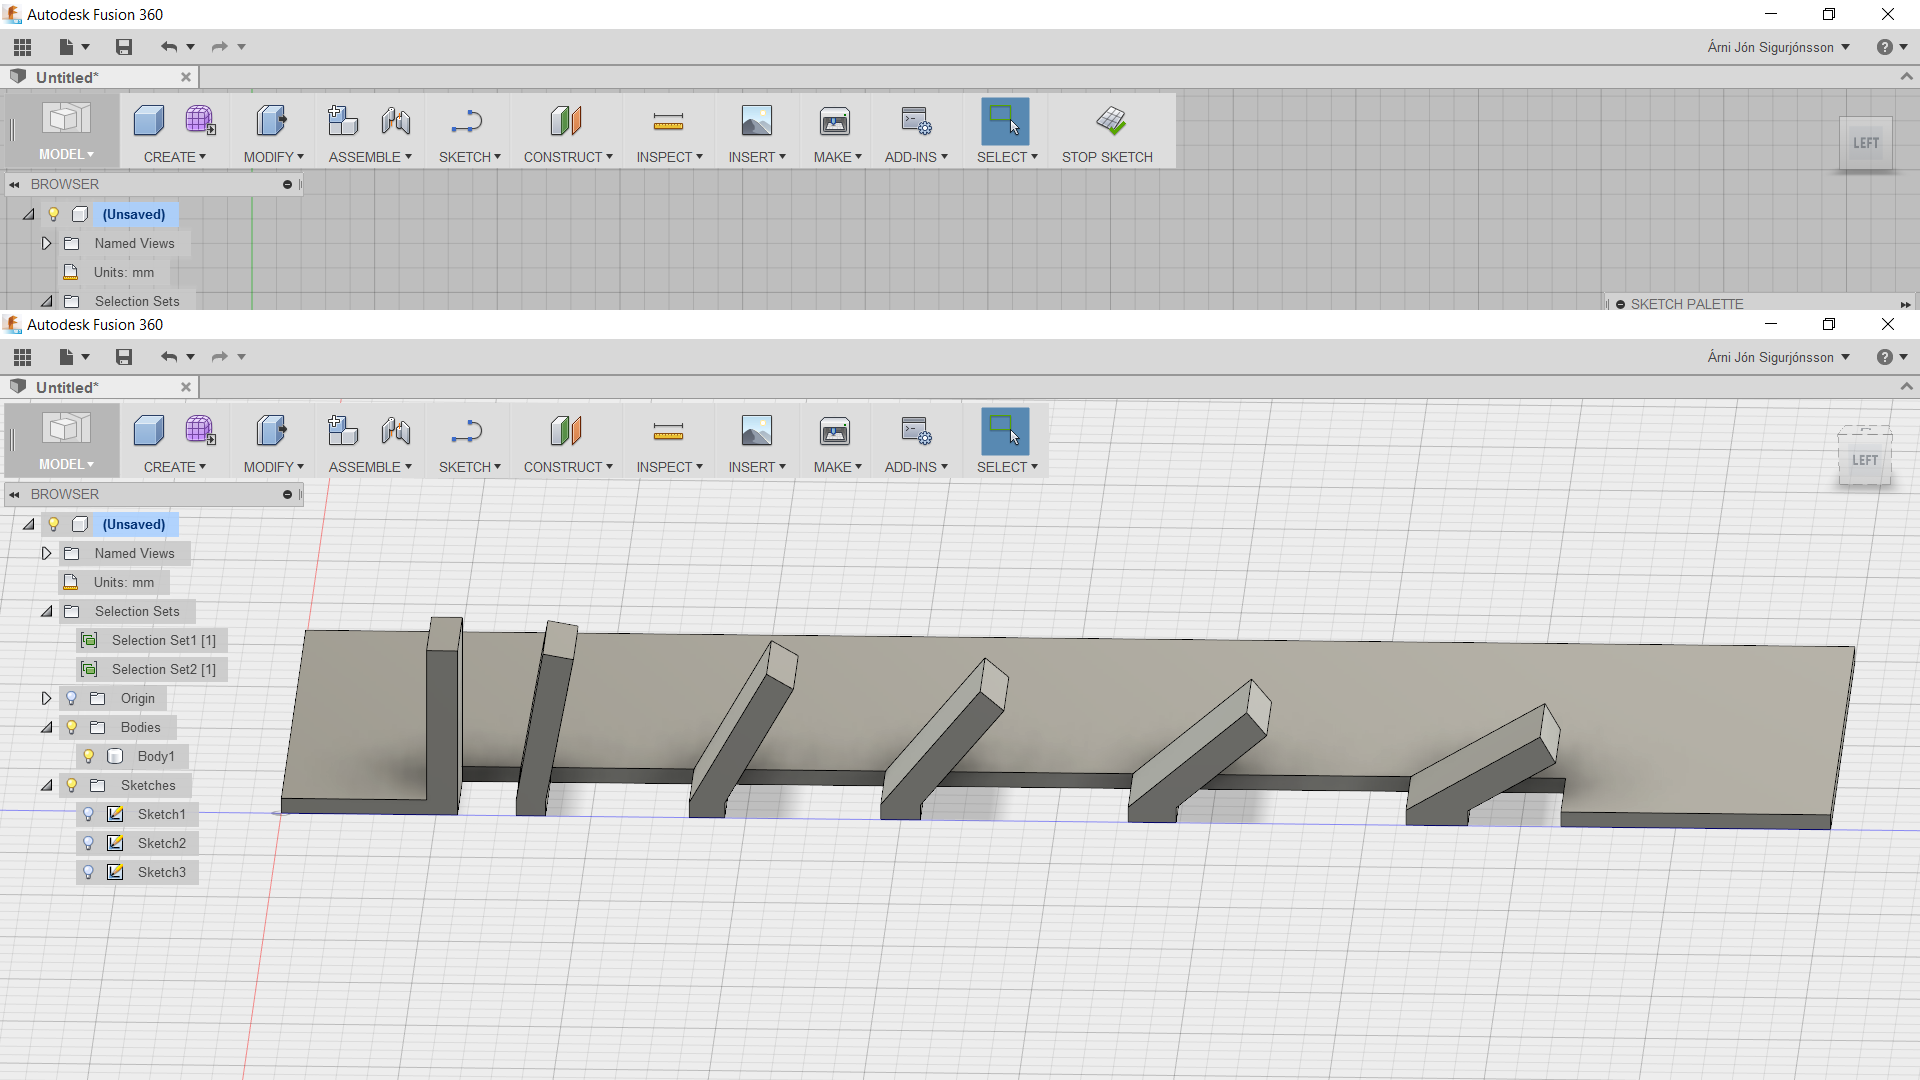
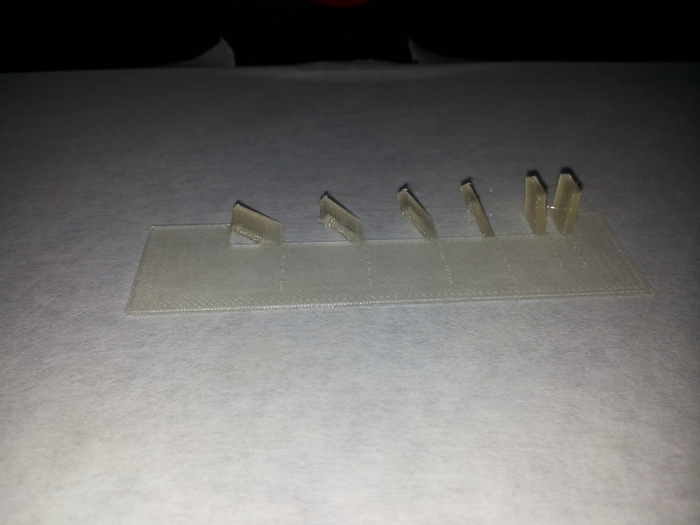
My own overhang test
I made my own overhang test in fusion 360 it ranged from 90° to 160° degrees the first print was a little too small so i had to scale it up the 2nd version printed out well but there was not much of a overhang so i doubled the length of the the colums, from that i found out if i would print out something i would need to use suports when printing something at a 140° 150° and that 130° is the minimum

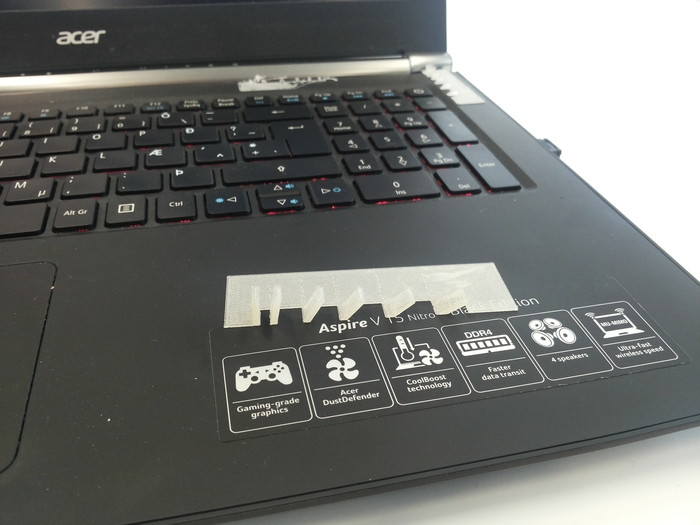
3d print my of own
I desinged a small item in fusion for printing then i exported it with meshmixer.
The print came out well except for the little overhangs that were produced becouse they were coming to a sharp point. also i had to do some little clean of some plastic hairs
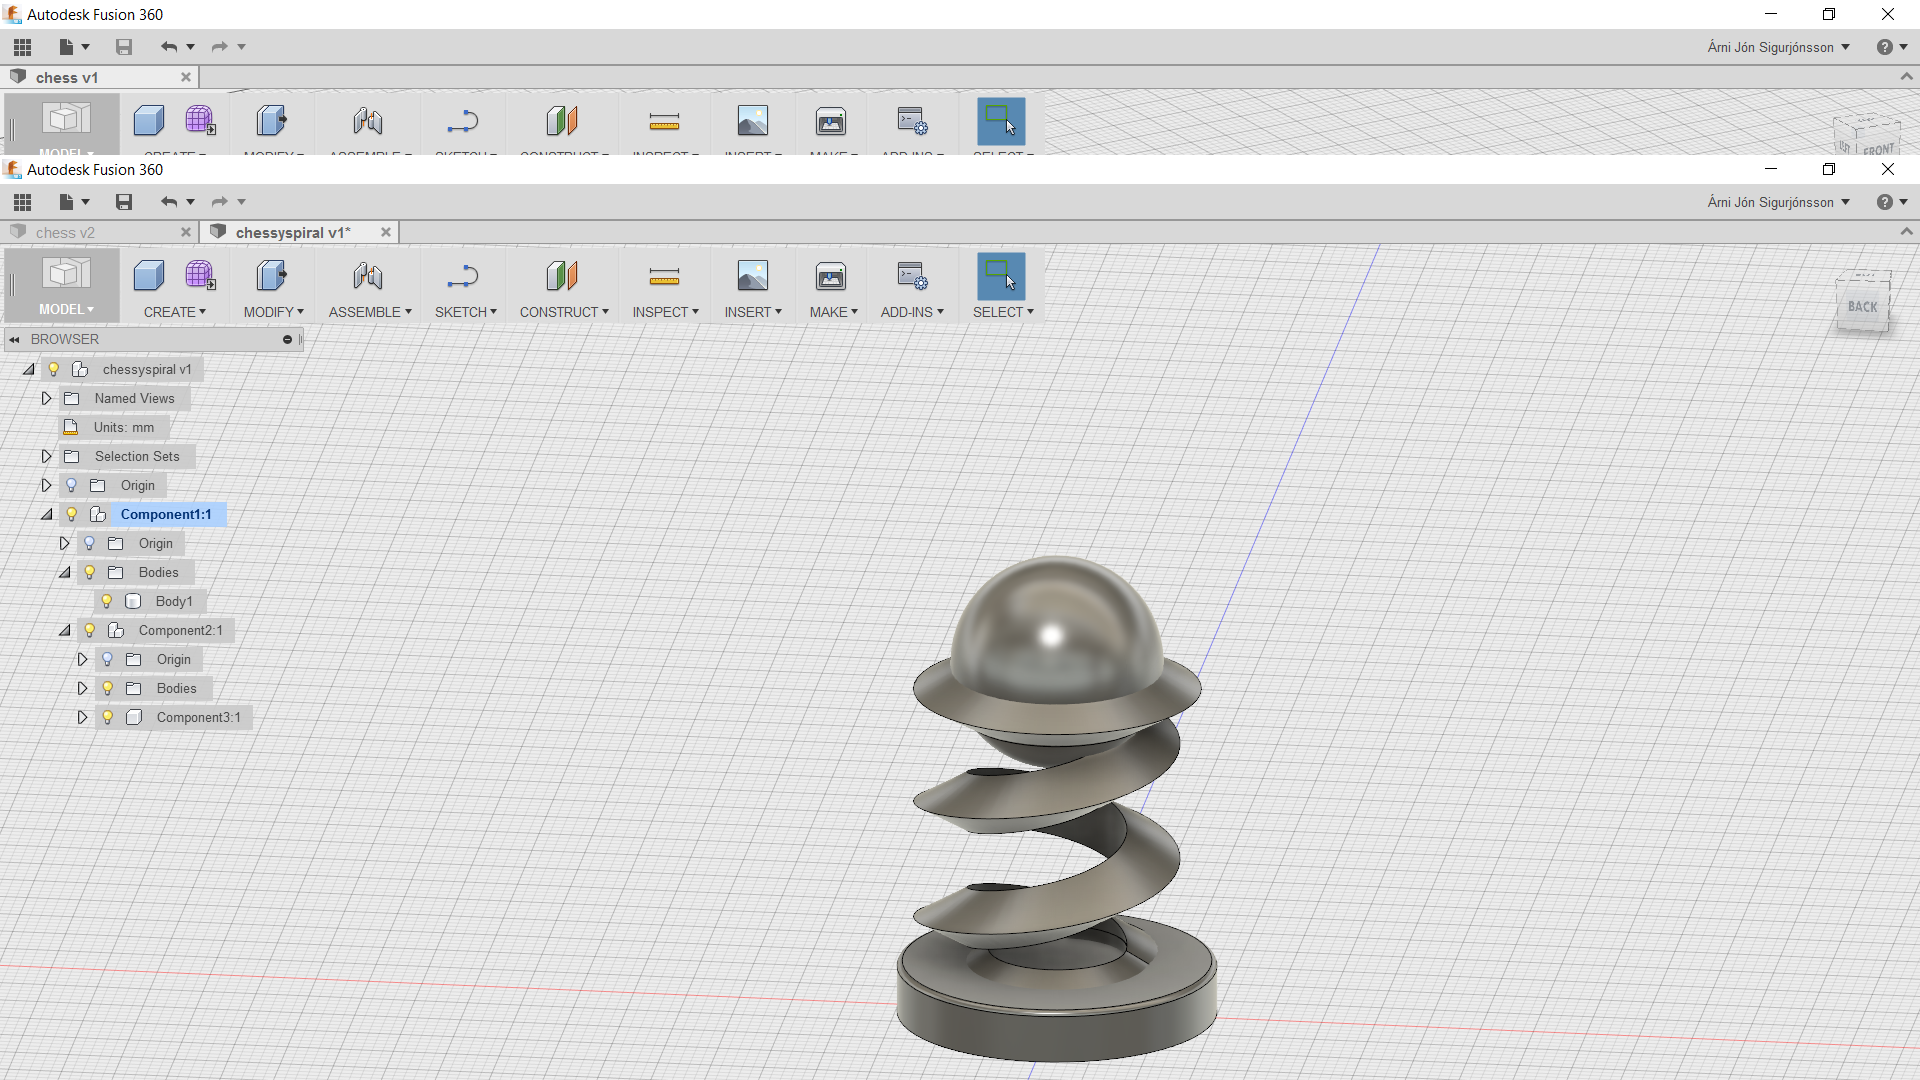
Fusion files
Here are the 3d files from fusion 360
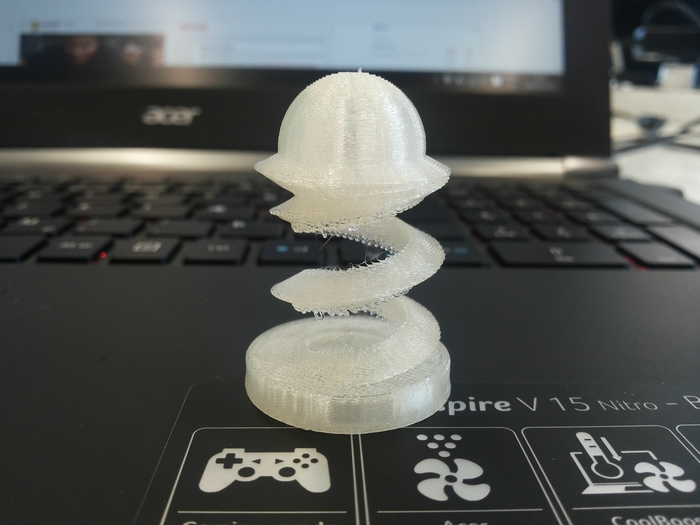
Chessyspiral The one i printed My overhang test
Here are some pics of me 3d scaned
This was done using the Kinnect and Reconstruct me, this was something i was struggling with to make work on my computer but Windows10 said no becosue the programms were too old.

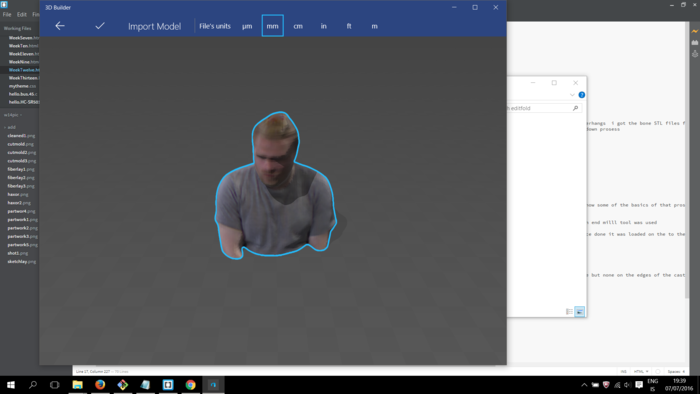
I gave up on windows having issues with its own software for this and used the kinect that was setup at the fablab. The prosess was simple, Sitting infront of the camera and making sure that it was a little higer
than i was sitting so to capture the top of my head as well becosue its not like taking a sefl portrait by being straight infront of the camera, Then you spinn on thechair during the time the
the program needs to do the scan, Reconstructme guides you through the prosess. It was then saved as a STL and a ply wich keeps the color if i would make a color print of it.
I will refrain from putting the 3d files of me online just becouse i dont want more than one coppy of me.