Assignment 3: Computer-Controlled Cutting
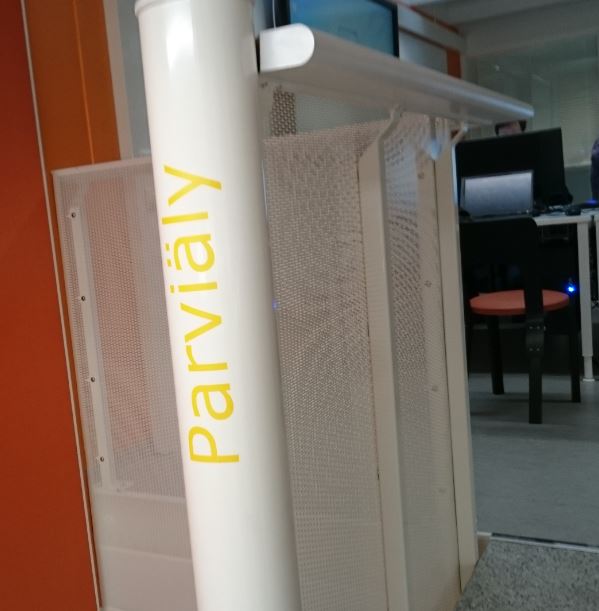
I tested the vinyl cutter and made a sticker with Inkscape. In
the staircase leading to the loft (gallery) of the Fab Lab is
a Finnish word "Parviäly", which means swarm intelligence. But, in
Finnish word parvi means for example these: flock, gaggle, shoal, swarm, gallery, loft. The
gallery (loft) at the Fab Lab Oulu is a place for think tanking and
brainstorming. Yes, it is a pun. Sorry about that.
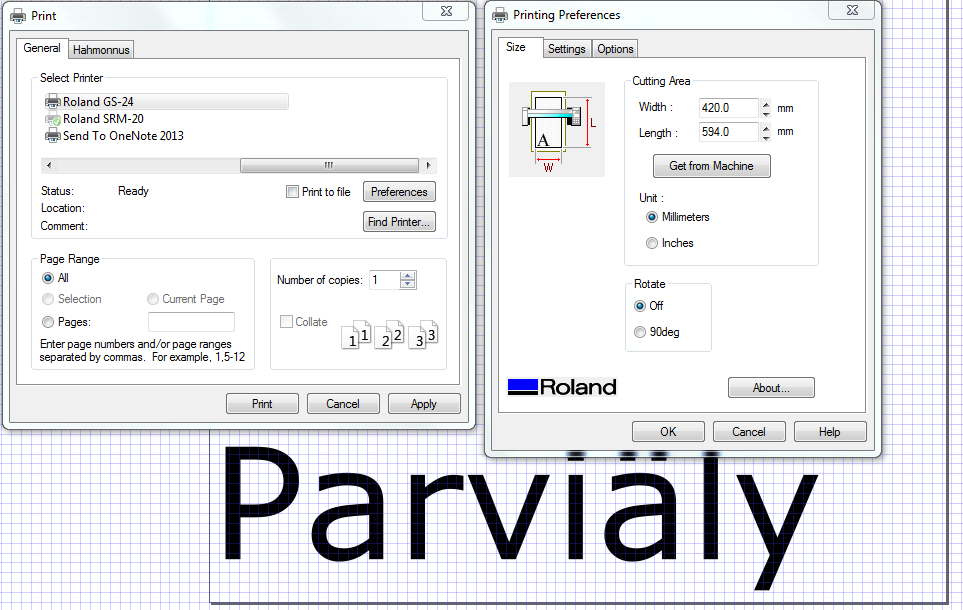
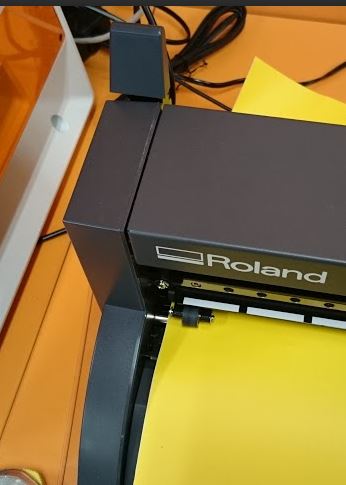
At least our Roland CAMM-1 GS-24 vinyl cutter works predictably and
cuts where it is supposed to cut, when both the document size in
Inkscape and cutting area size in GS-24 properties have been set to
be equal, and portrait, i.e. the width of the media is smaller than
the length. And the GS-24 properties the Size -> Cutting Area has
to be edited every time before cutting. Otherwise, one can cut
directly from Inkscape. Just make sure, that the line width for the
vector graphics is 0,5 pt. The paper size for the Parviäly-document
is A2, i.e. 420x594.
Cutting procedure:
I there is no vinyl loaded, the cutter says:
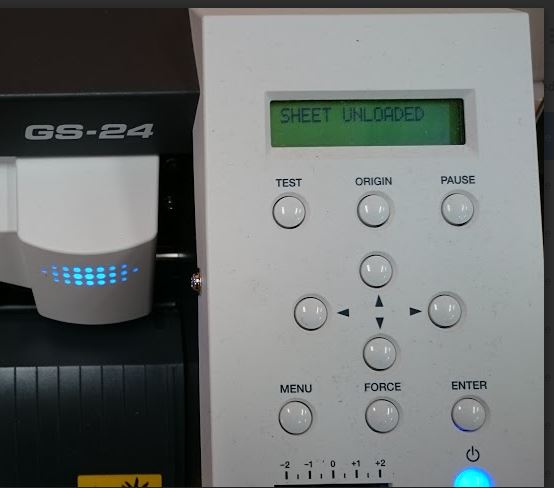
Align the the left edge of the vinyl sheet with the lever down, and
then raise the lever.
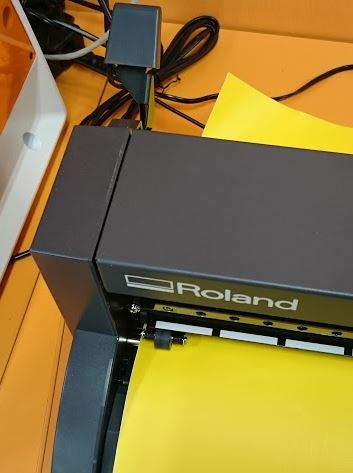
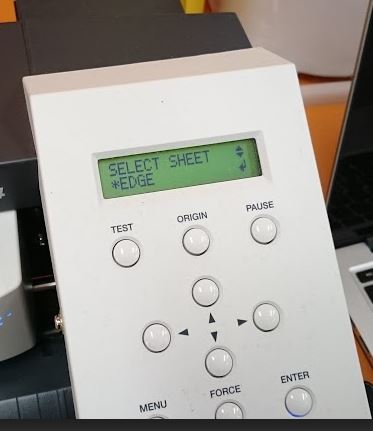
With a piece of vinyl it is easiest to select Edge with Up/Down
arrows as the sheet, confirm selection with ENTER:
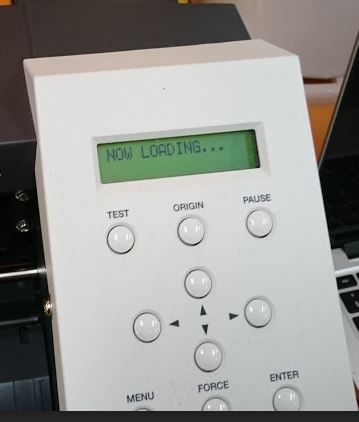
And the cutter loads the sheet:
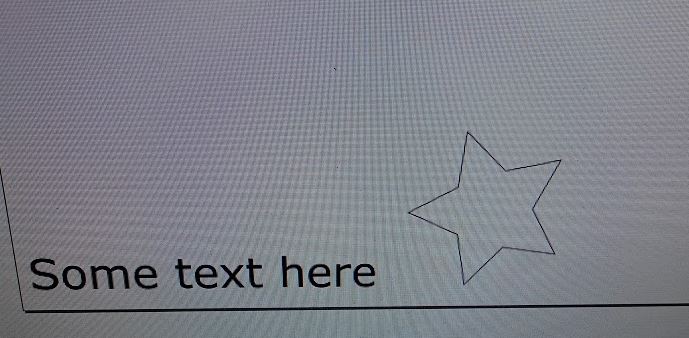
When you draw the design to be cutted, know the page size, make sure
it it portrait, and remember, that the origin is at the lower left
corner:
Then in print settings, make the size of the cutting area the same
you are using in Inkscape document.

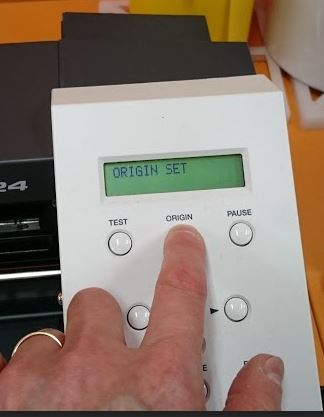
If out want to cut it again, say beside the previous cut, move the
origin by moving the cutting head with arrow keys, and press ORIGIN,
until the cutter says:
Press-fit construction set for the laser cutter:
I made a mechanical, hand installable, dot matrix display for the
parametric press-fit construction kit. There is a build plate with a
matrix of press-fit installation holes to which to install the dots,
also with holes, to. It's like a mechanical coloring book, but not
even close.
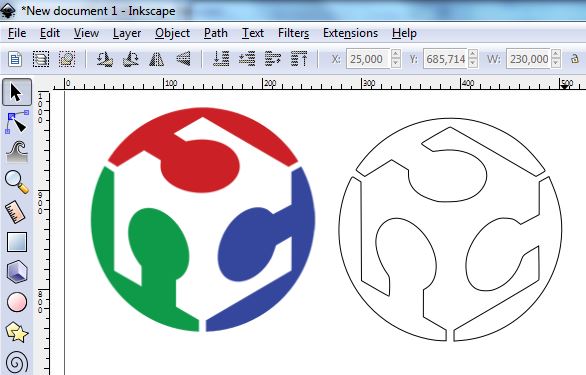
Below is an artist's view of the concept. The Fab Lab logo was
traced from a bitmap using Inkscape's Path -> Trace Bitmap.
The line width for cutting was 0,02 mm and for the raster image,
i.e. logo, the line wifth was 0,2 mm.

Using the laser is straightforward: if you want to cut, use 0,02 mm
line width. The line width for cutting depends on the resolution
(DPI), see page 74 of the manual,
but it is safest to use 0,02 mm to ensure cutting. For raster image
use wider lines or bitmap images. Save the drawing as pdf, open the
pdf in Acrobat reader, select Epilog laser, select preferences,
select an appropriate profile for cutting and rastering, or adjust
the speed, power and frequency according to page 190 in manual
for more details. Set the focus and origin and press GO. I usually
draw my designs in the upper left corner in the Inkscape page, and
set the laser cutter origin to the upper left corner of the material
piece to be cut. Sometimes, when I am using a small waste piece, I
jog the laser pointer to the middle of the piece, set the origin
there, and select center engraving, so that the laser cuts/engraves
the design around the origin.
I still need to cut a few hundred connectors, but I'll update this
tomorrow...
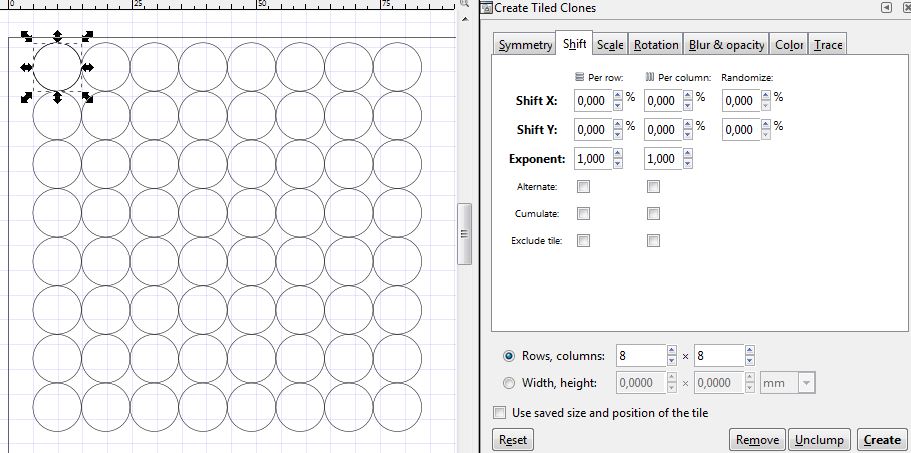
The build plate has 3,8 mm holes in a form of a 25 x 65 matrix
created with Inkscape's Clone->Create Tiled Clones. It was easier
to start with 4 mm holes and offset the X 150 % by column and Y 150
% by row. Then I changed the original square to 3,8 mm to change
them all.
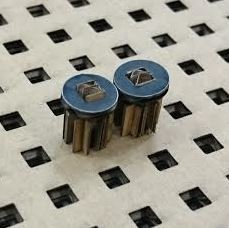
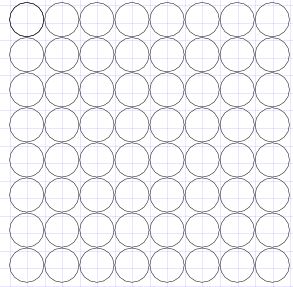
The dots have a 10 mm diameter, so cloning them was straight
forward without offsetting.
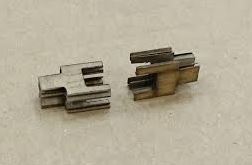
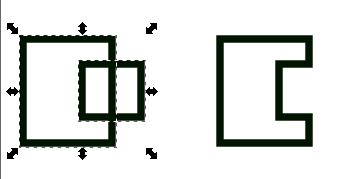
The connectors were offseted by 25 % in cloning. The connectors were
produced from three rectangles with Path -> Union and Difference.
Binary number tool
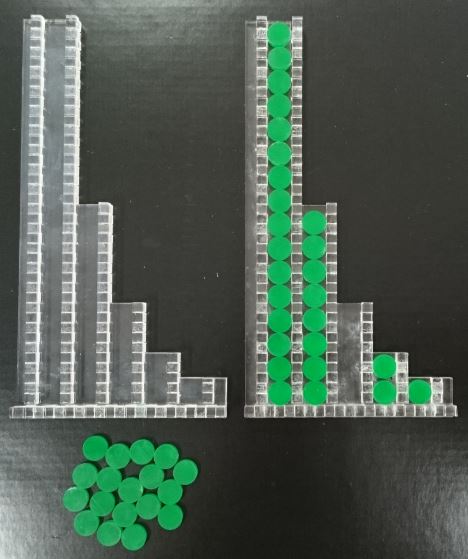
I needed a visual aid to teach binary numbers to absolute beginners.
I remembered this idea, but I can't remember where I saw it. But it
illustrates the structure of binary numbers so, that even a child
can understand it, that is if he/she doesn't eat the small green
disks. I designed the parts with Inkscape I laser cut the parts from
4 mm acrylic and glued together for durability.
I used Inkscape Part->Difference to create the connecting tabs,
and Clone -> Create Tiled Clones, to create the disks.
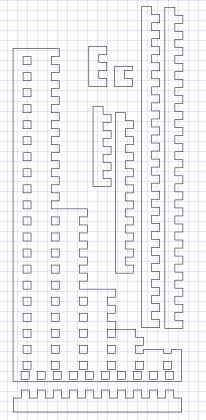
One can see, that in the binary number tool in the right contains
11011 dots, i.e. 16+8+2+1=27.
Source files:
Parviäly
Build plate
Dot
Joint
Binary coder_base
Binary_coder_dots
Home