
The assignment for this week was to make something big! This assignment was related to our discussion of computer controlled machining. We explored the ShopBot, Roland Benchtop CNC, welding and much more. As I am in the process of setting up our new FabLab, I wanted to make something to display at our lab. I was interested in a table and chair. I decided to go in different directions and create a table and chair and then utimately make one for this week and another when I set up our CNC router in our lab.
I decided that I was going to use two separate programs to create two different types of furniture. The first would be an artistic sofa table. I wanted something to put in front of a glass wall in our space. I also wanted to create a chair that fits together. This would be a bit harder I imagined, but I really asthetically liked the way chairs made on the ShopBot look. I decided to spend time learning two different programs. I ended up working in three programs to design the two pieces of furniture. I used 123D Design, 123D Make and SketchChair.
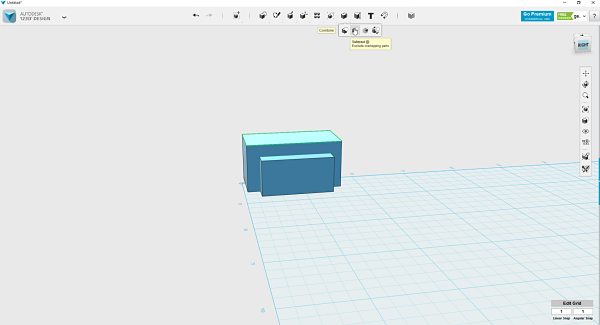
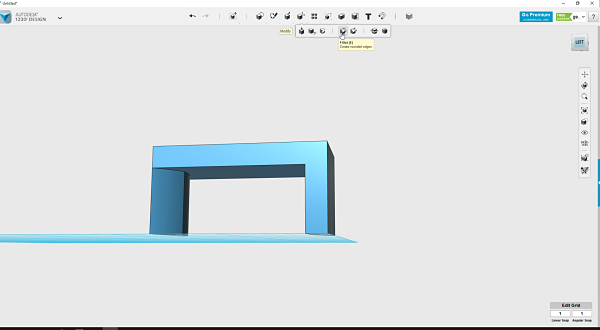
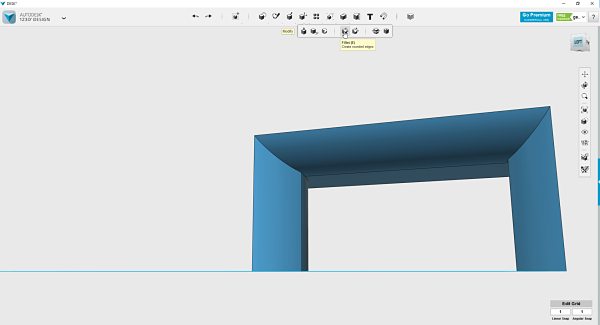
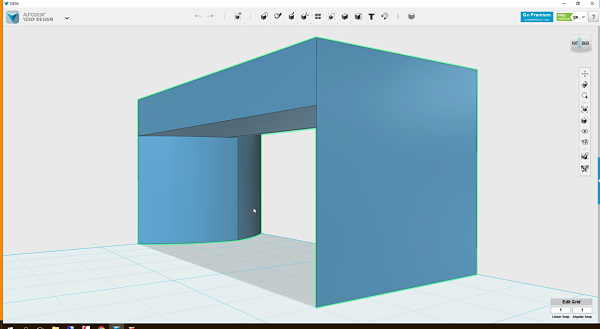
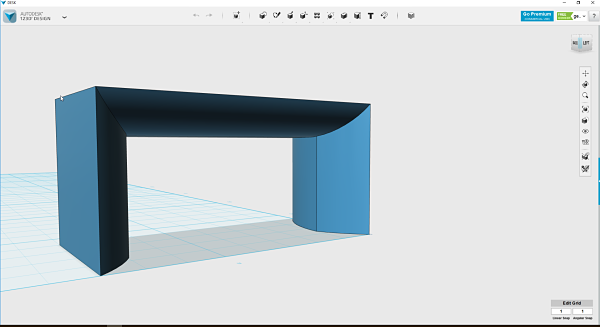
I decided to create an artistic looking sofa table that would span in front of a window and I could place a glass top on and use it in our new space. I decided to use 123D Design to create my design. I had never used the program and I watched a few videos online to provide me the basics for how the software worked. I then went about trying to create a sofa table. It needed to be longer, about 29 inches high and about 16 inches deep. These were my parameters as I started to come up with the concept for the design. I spend most of my time creating a rectangle, subtracting a smaller rectangle to leave the outline of the sofa table. After I had the rough shape I cut a few fillets on the edges of the legs and the front corner of the desk. This provided it a more modern artistic look.
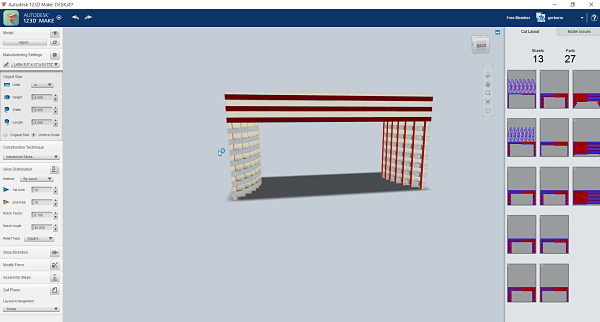
Interlocking Design with 123d Make
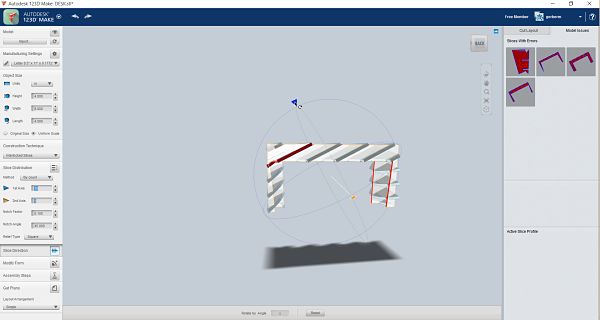
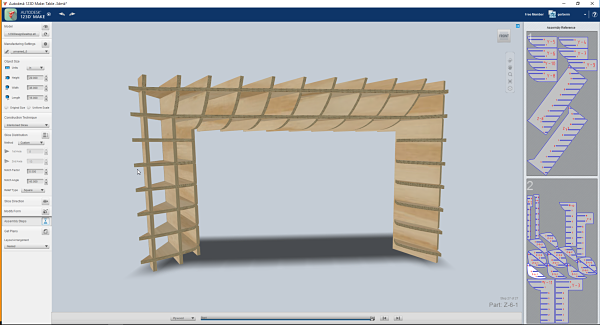
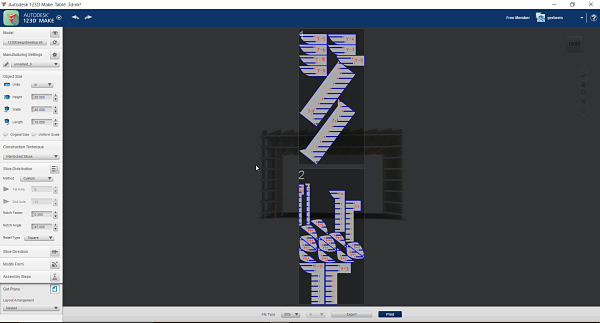
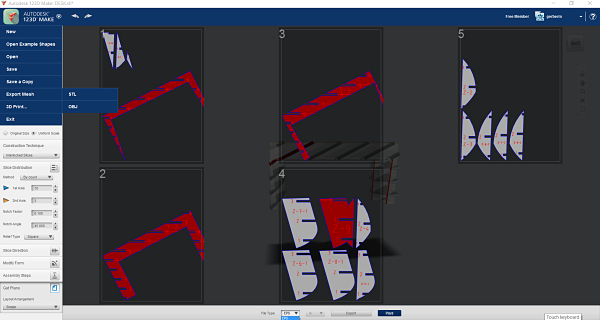
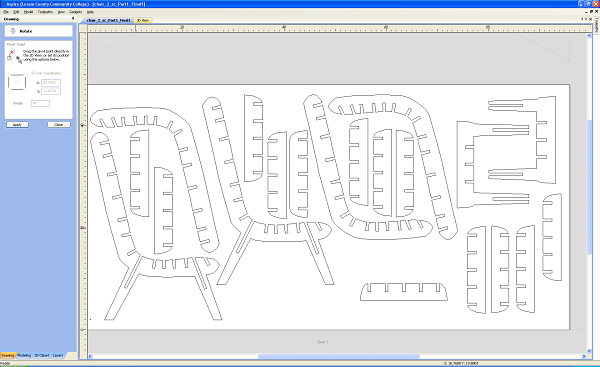
I then was able import my file directly from 123D Design to 123D Make as they are both part of AutoDesk. I directly opened 123D Make in 123D Design. After I opened my design in 123D Make, I choose the construction technique of Interlocking Design. Once this was open, I spend 20 minutes making sure I was able to resolve model issues by adjusting the slice direction. I was finally able to get the direction right and ready to export the model to a file format I could use with the ShopBot. It provides you a step by step look at assembly plans and prints in an simpe or nested print. I was also able to export it in .eps, .dxf or .pdf. I decided to export a .dxf and .pdf file to use with the ShopBot.
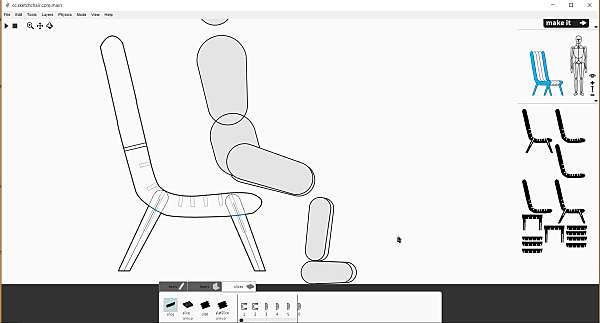
The next object to design was my chair. I wanted to try to use a site that was discussed on the forums called SketchChair. I played with it but it was extremely hard to understand with limited tutorials. I found an online tutorial but it had no sound and was also limited in instructions. I also watched this Vimeo video to understand how to work the program. I also noticed they had not really updated any information on the site since 2013. It took many hours of the program crashing, bugs in the system and trial and error. I never did get the program to work correctly, but I finally ended up exporting a chair design in a .pdf file. I will see if I can actually make the chair from the program. I would not suggest trying this program as it is extremely buggy and you must save almost every move.

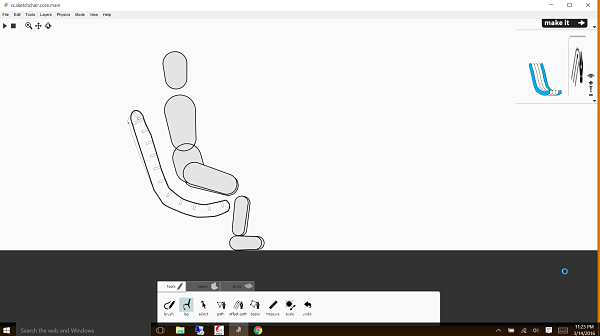
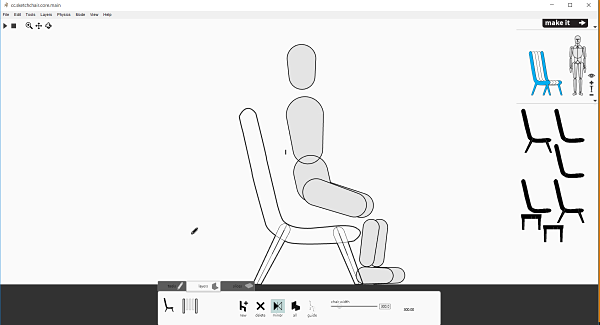
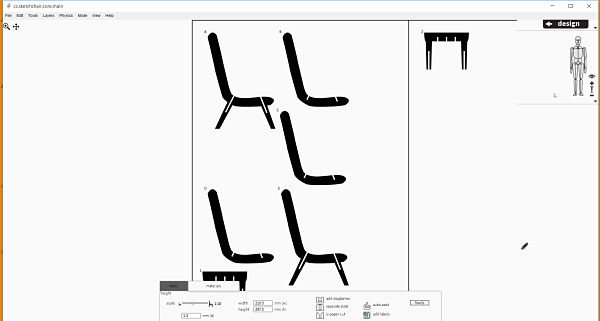
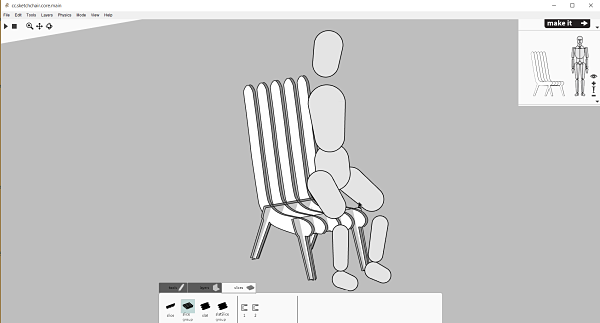
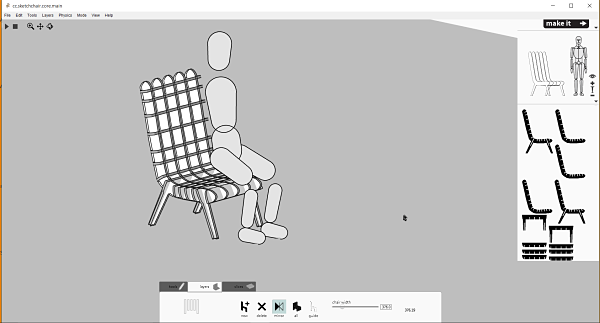
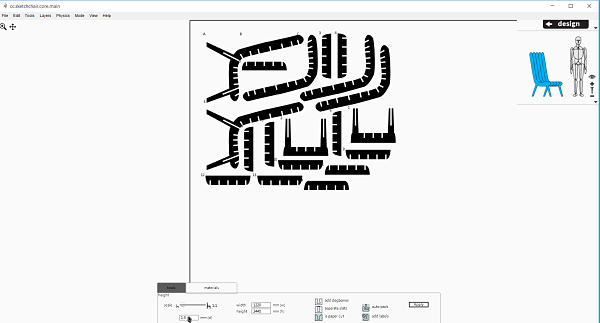
I then adjusted the slots and slot size on the program and eventually was albe to create the design of the chair I wanted. I was able to test the physics of the chair and my design looks like a good fit for an average person. The most difficult part was to position the slots on the chair. I could not get the automatic slots on the chair to work correctly and it kept crashing and shutting down. I finally was able to find a work around and create a chair. I was then able to size it to 1:1 and publish a .pdf. SketchChair is a great idea but needs some refinement to make it software worth using.
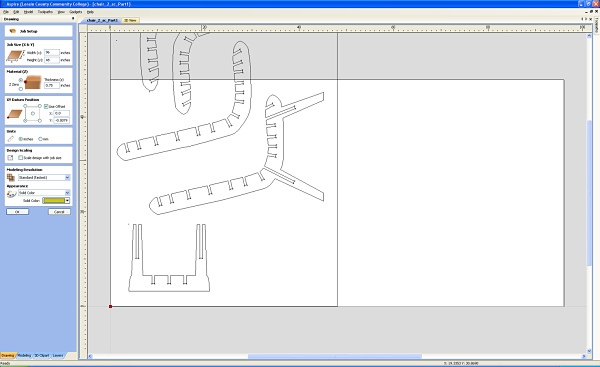
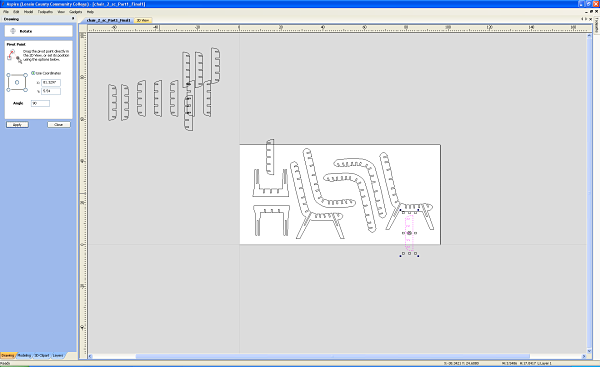
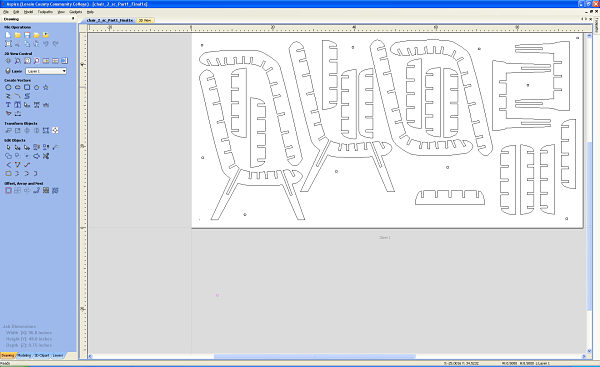
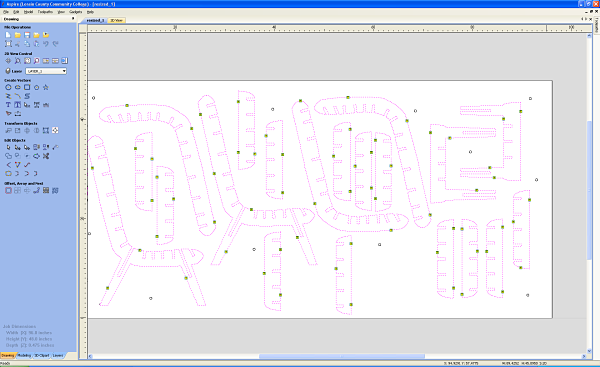
I was then ready to transfer my .pdf of the chair into the CAM software, Vectric Aspire before I pushed it to the ShopBot. I choose to Open An Existing File on the options and selected the .pdf file of the chair. It very quickly imported the drawing into Aspire. This opened the file in the wrong orientation and after I changed the X and Y axis it oriented the import correctly. I also wanted to challenge myself to put all the material on one 48 by 96 inch sheet of 12mm plywood. This was a learning curve as I had very little experience working with Aspire. I learned the rotate and move buttons very well. I also combined the all the parts from both .pdfs on one sheet in Aspire. It does have a manual nest feature. I also remeasured my plywood and found I had originally sketched it for 13mm so I had to take the drawing into Corel and reduce the overall size to have the slots be tight. If I would have left the original, it would have made it too loose to hold together without screws, nails or glue. It would have been too big and I would have ended upstarting over. After scaling the drawing down to 92%, I then had to next the sheet again to fit all the pieces onto one sheet. After I considered the grain of the wood and had all the pieced nested, I had to add screw holes on the board to keep it in place as I was cutting. I placed 10 screws on the sheet in positions to be careful to not have the spindle hit a screw head. I then added tabs to the sheet to make sure each individual part would be held in place. I added three tabs per pieces and four on the two legs. I then moved each tab to make for easy routing after they came off the table. I finally set up a sample cut on the board to make sure it would fit together before I started to cut the entire board. This is a good practice before you commit an entire sheet of material. I set the following as my as my speeds and feeds in Vectric Aspire. I used a 5/16 flat endmill on recommendation from Tim. I set the RPM to 12,000, Feed Rate to 100 inches/min and Plunge Rate to 30 inches/minute. The Pass Depth is set at .265 inches and the Stepover was .125 inches.
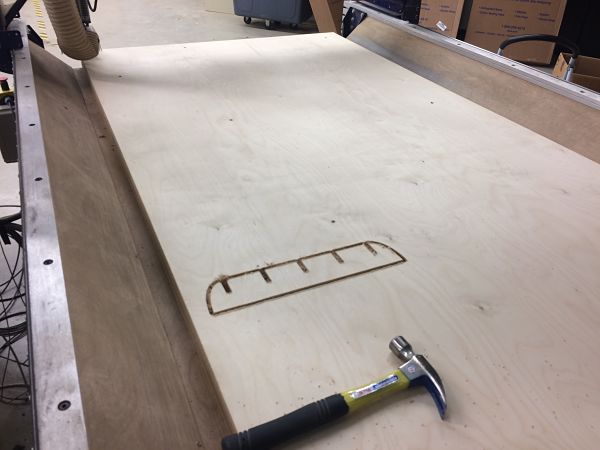
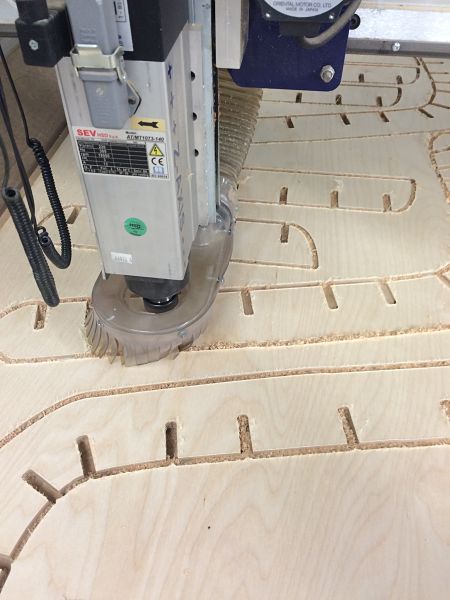
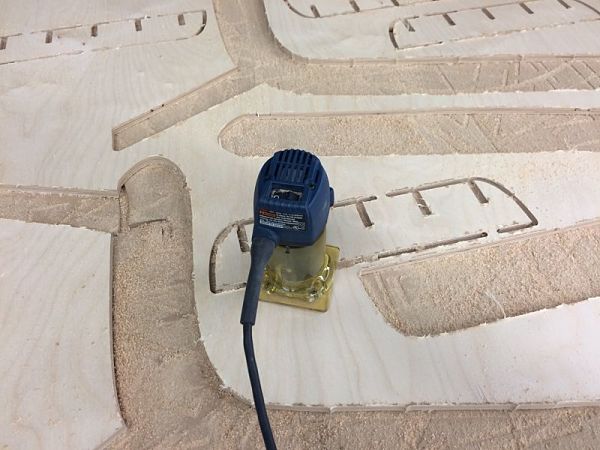
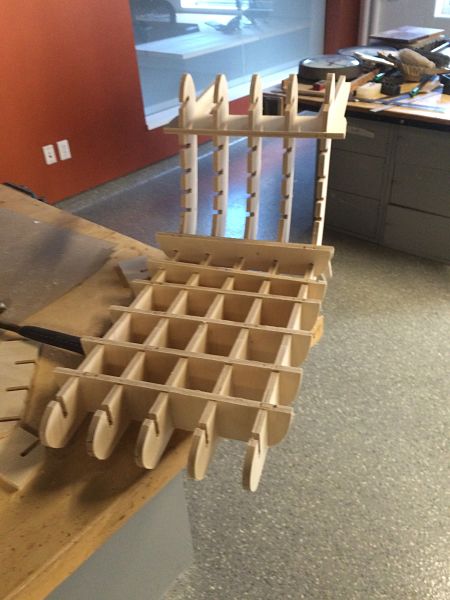
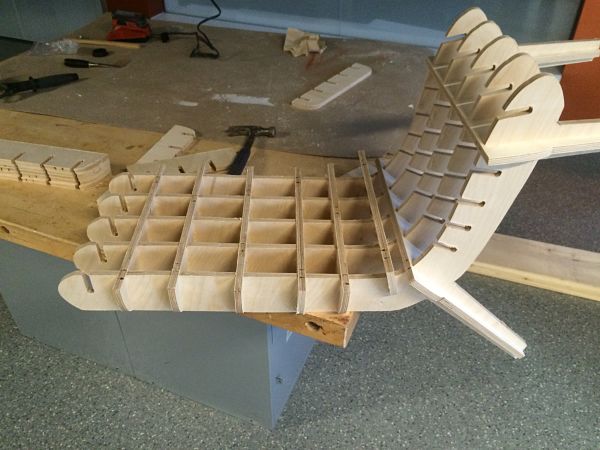
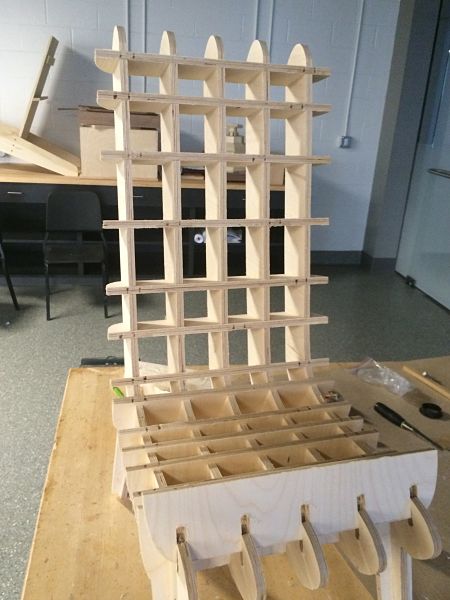
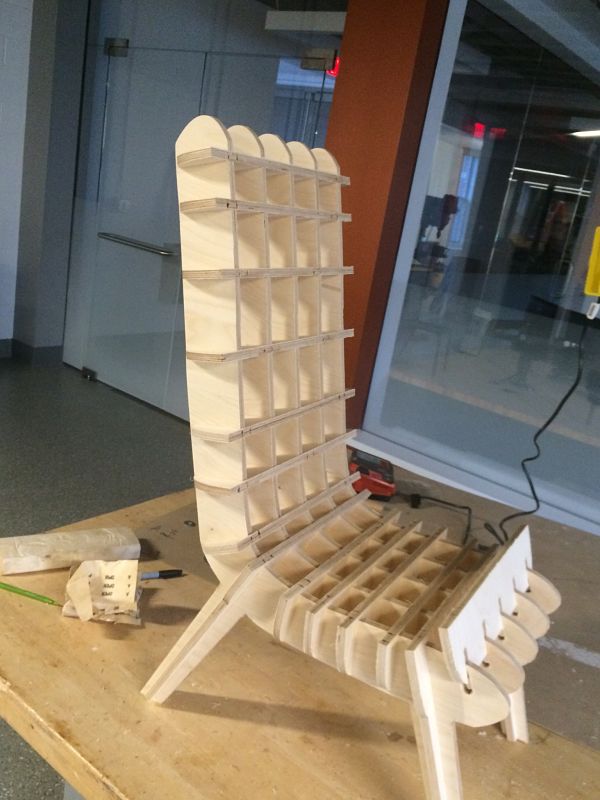
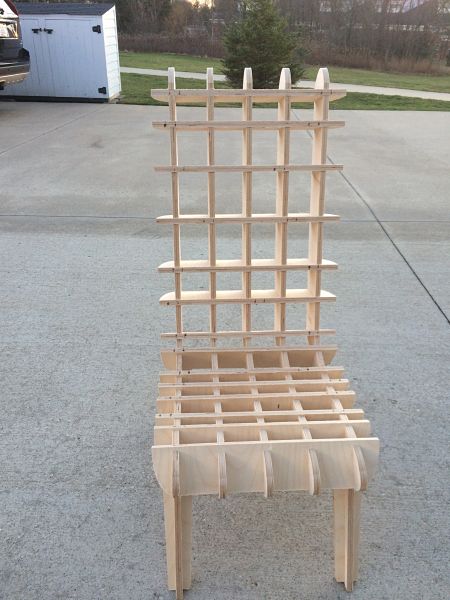
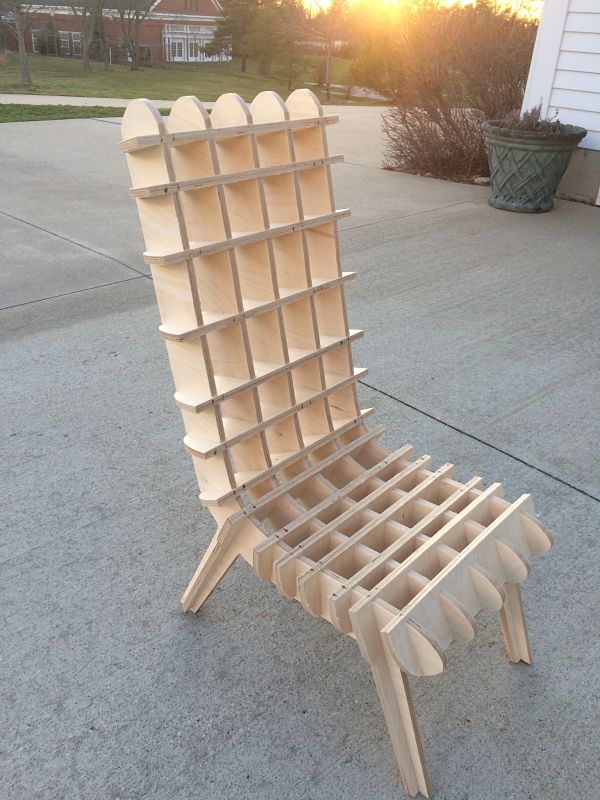
It was now time to send the files to the ShopBot to cut. I started by placing the plywood on the Shopbot and having the spindle very lightly drill a hole only .05 inch deep on the board. It was only a peck. I then screwed the board in in ten places. It cut a test piece and made sure it all fit nicely together. After ensuring the pieces would be snug but not too tight, I cut the entire board. This process took two passes per piece and a total of 50 minutes to complete the cutting. I stood next to the ShopBot with the emergency stop and watched it cut with precision. I used a 5/16 endmill to cut. I also cut .02 past the board to cut through the board but not too much into the sacrificial layer. After it was complete I used a flush bit and trim router to knock off the sides of the tabs. I used a 1/4 flush trim bit at 8,000 RPM. This was an easy process and speeded up the assembly.
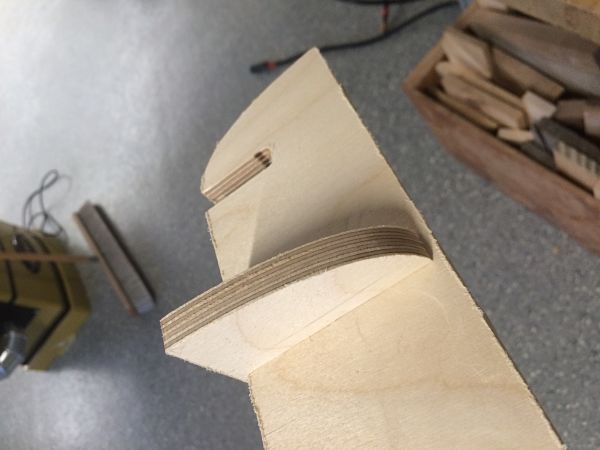

I then started to assemble the chair. It was a great process as many hours went into designing the chair, refining the design, the CAM process, cutting on the ShopBot and finally I get to assemble it. The assembly process took around 20 minutes with each joint getting more taunt as the pieces pushed the chair together. I used a mallet and a sample piece of wood to place the last two pieces. It is extremely sturdy. If I would make it again, I would size it even more and use two sheets of plywood. I was satisfied with my goal of one sheet and a press fit CNC chair.
Project Files: