
In the twelfth week we explore Molding and Casting. There are many different types of molding available today. We can cast metal, plastic, wax, ceramics and other materials. The molds we make are contingent on the final product we desire. Heavy metal molds are good for casting metals. Metal and other materials can be used in molds to cast plastics. Wax can be cast in just about any material that can hold a shape. Ceramics are typically cast in a mold to draw some of the liquid from the raw slurry.
As I see it our task is to design a mold that contains a positve image of the part we wish to make. Using that mold we will cast a soft mold to make a negative. The negative soft mold will then be used to cast the final part.
Here is a list of tasks as I see them for the twelfth week.
I decided to make an elephant chocolate bar with "TRUMP" on
it. I figured this might go good with the presidential election in the
states. I live near Cleveland, Ohio and that is where the Republican
Convention will be this summer.
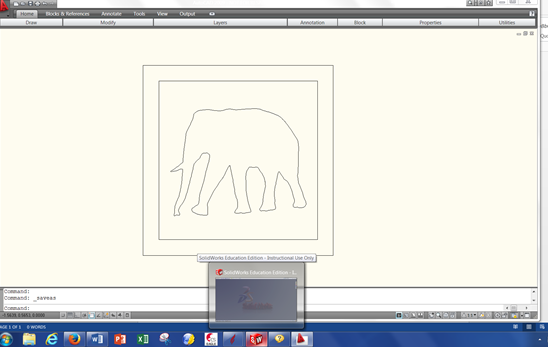
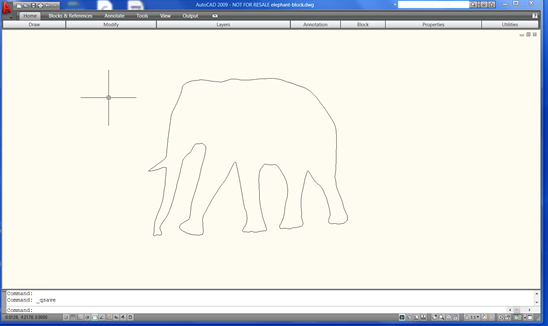
Using AutoCAD I created the design you see here. The outside square is the boundary of the mold.
The next smaller square is the boundary of the pocket. I added the TRUMP lettering later.
I next had to save each entity as its own drawing file. I had to import each one at a time to create the different features of the mold.
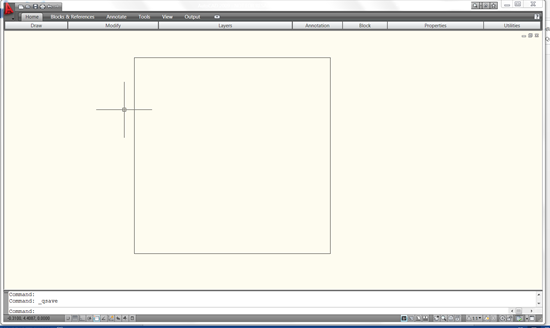
Here is the large square used to create the block of wax.
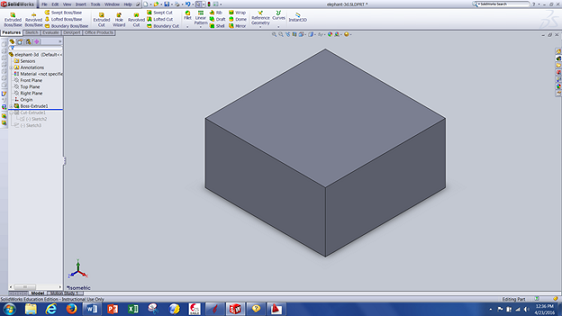
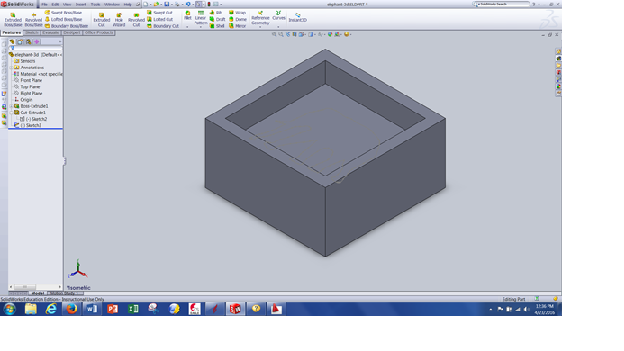
Here is an image in Solidworks of the initial block.
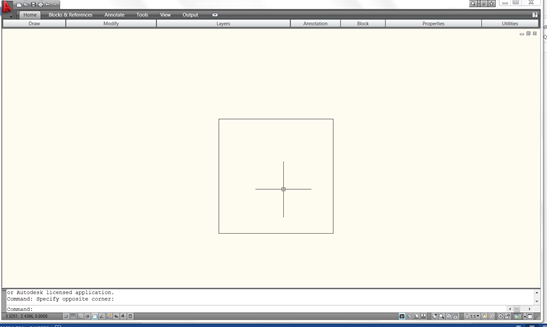
Here is the square used to create the pocket.
Here is the image in Solidworks of the pocket.
Here is the elephant image in Autocad.
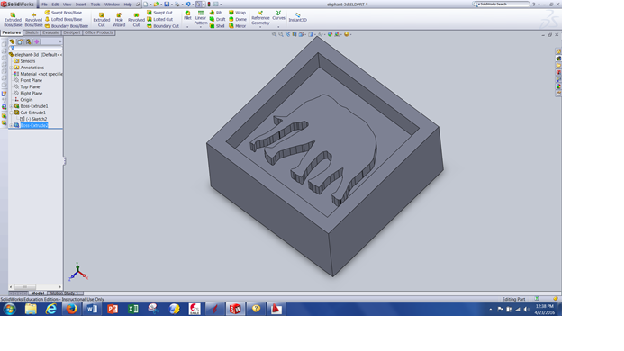
Here is an image of the elephant extruded up from the base of the pocket. I planed on adding a fillet/round to the top of the elephant extrusion but had quite a bit of difficulty.
Here is the Autocad drawing of the TRUMP lettering.

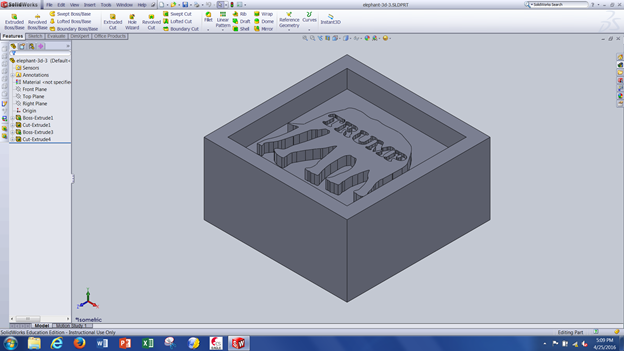
Here is what I planned on the finished mold looking like with the extruded cut of the lettering.
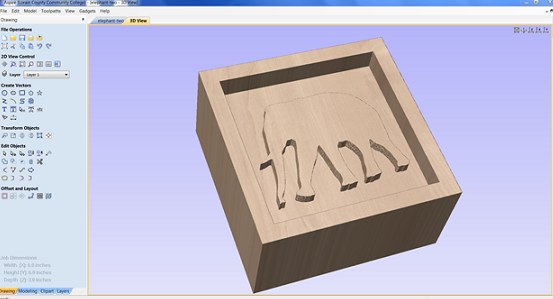
I then imported the Solidworks model into Aspire 8.0. Aspire 8.0 is the current CAM software we use in our FABlab. I had some trouble with the software cutting out the letters.
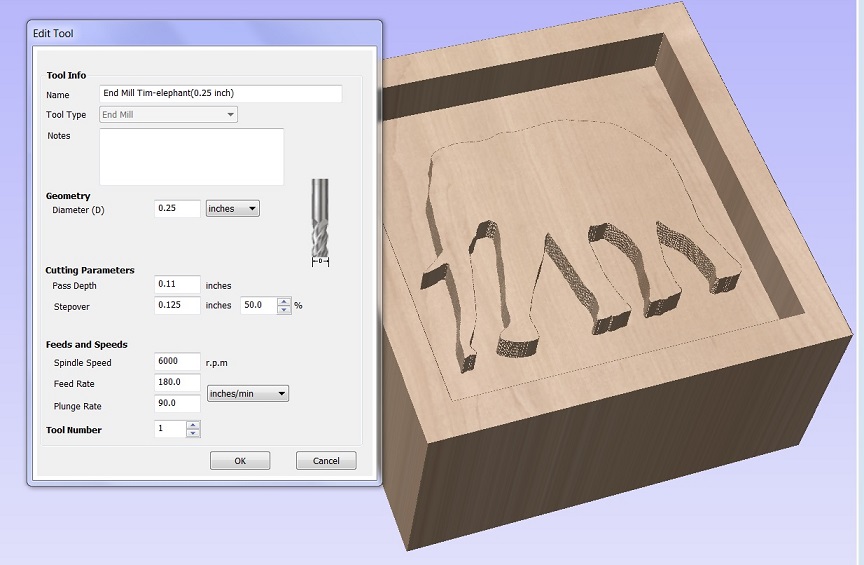
Here is a screen shot showing the Aspire tooling page for the 1/4" flat end mill I used to machine the mold.
RPM = 6,000
Feedrate = 180 inches/min
Plunge rate = 90 inch/min
Pass Depth = 0.11"
Stepover = 0.125"
After creating the CNC code I needed to machine the part. I proceded to mount the material on the Shopbot.
I used double sided tape to hold the wax block to the wood plate and then used a glue gun to seal the bottom corners.
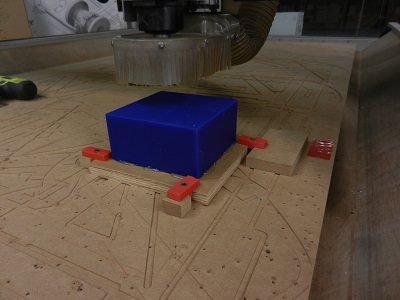
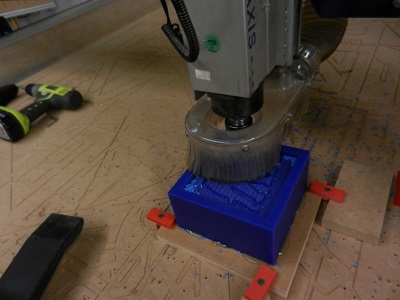
Here is a picture of the shopbot machining the mold.
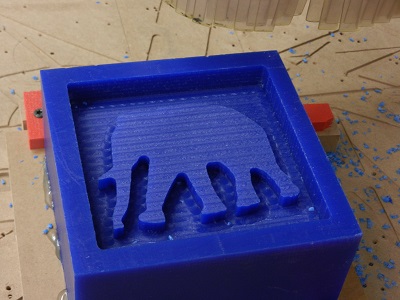
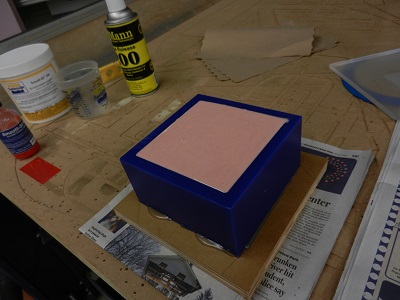
Here is a photo of the finished mold.
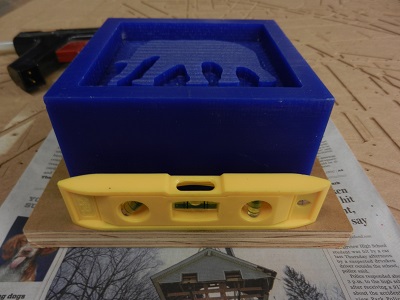
The first thing to be done before creating the soft mold was to level it.
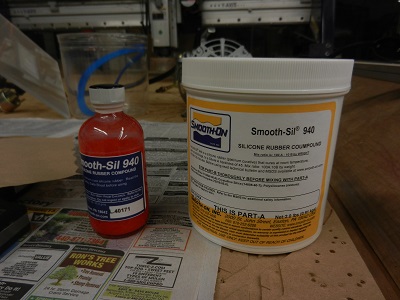
Here is the silicone epoxy I will use to make the mold. I used Smooth-Sil 940 from Smooth-On. It is a product that can be used to make food molds.
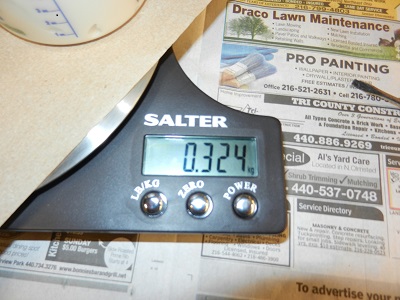
The first thing is to weigh out the portions of the two materials in the epoxy. Smooth-Sil materials are measured by weight, not volume. Here is a picture of a gram scale weighing the material.
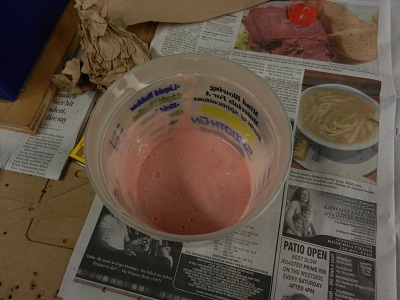
Here is a photo of the completed mixture. You need to make sure that the product is completely mixed. The instructions say to mix at least three minutes.
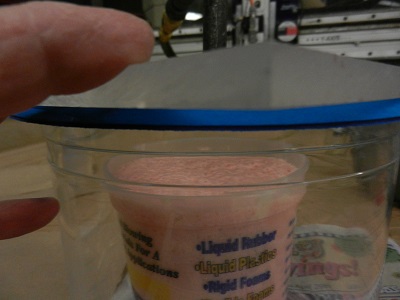
The next thing needed is to degas the mixture to remove air bubbles. Here is a degassing setup I created using a vacuum pump, large plastic bowl, air hose, plastic plate and a gasket cut out of "Foamies" using the laser.
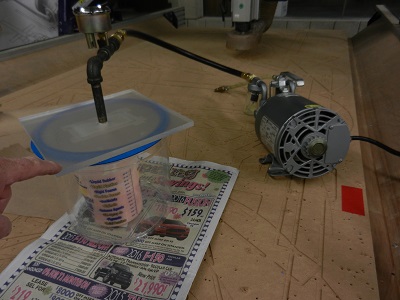
You can see the material bubbling up as it is degassing.
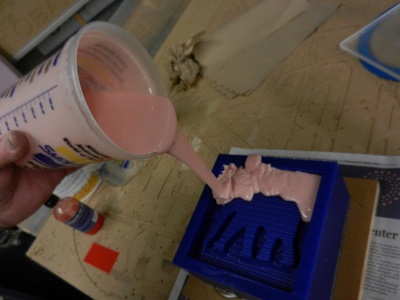
Now we pour the material very slowly into the leveled mold cavity. It is very important to have as small a stream as possible. The smaller the stream, the less likely that a bubble can survive. You also need to pour at the lowest point and let the mixture ooze up over the mold. This method is less likely to trap air bubbles.
Here is the filled mold curing.
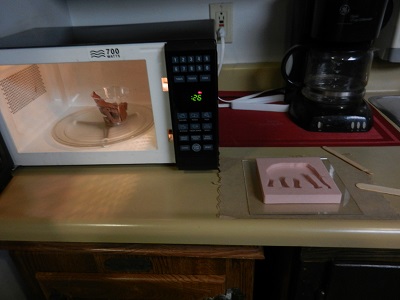
After the mold cured overnight it was okay to remove it from the wax cavity. I took some chocolate and heated it up in the microwave.
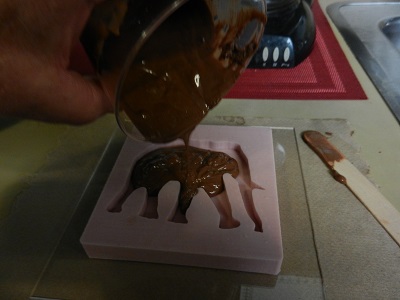
Next I slowly poured the melted chocolate into the soft mold. The slower the pour the less likely to get bubbles.
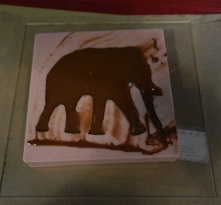
Here is a shot of the filled mold.
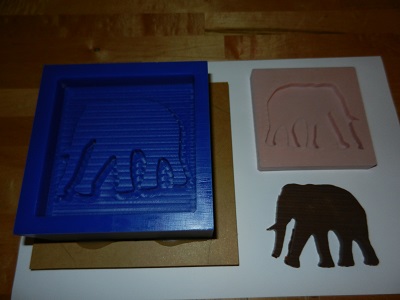
And here is my "HERO" shot of the wax mold, silicone mold and finished chocolate elephant.
I was not very surprised by the process of making a mold as I had done it before. What was surprising was how particular I needed to be in picking my original graphics and how difficult it was to create the design I wanted. I wanted to have a radius (fillet/round) on the edge of the elephant. The drawing I chose had too many small segments for me to do this. By the time I found out how to correct my drawing I ran out of time.
The second item that surprised me was the shortcomings of the Aspire 8.0 software. Even though the "TRUMP" lettering I created was large enough for the endmill I used, the software was unable to completely remove the material to make the letters.
One of the things I would do differntly is be more careful in the choosing or creating of my original graphics. I can see where any small mistake in the design phase can cause immense problems in the future.
(to come later)