


This is my first time to use the milling machine, So I need to be very careful.
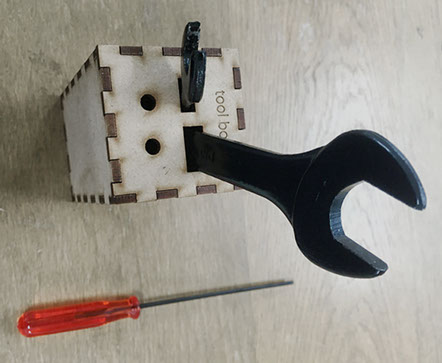
- Prepare the tools .
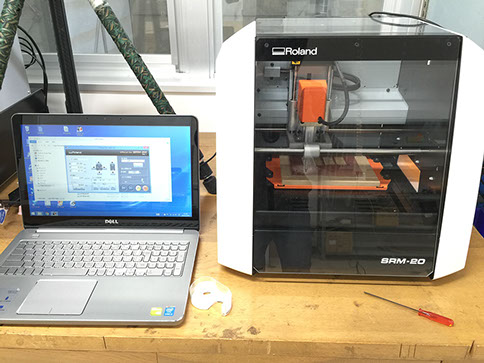
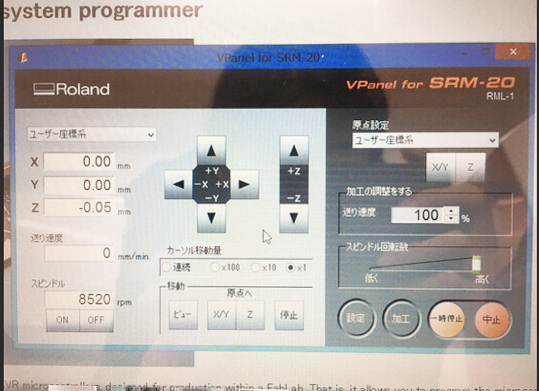
- Turn on the power and link SRM-20 to the computer.
- Open the SRM-20' driver program.
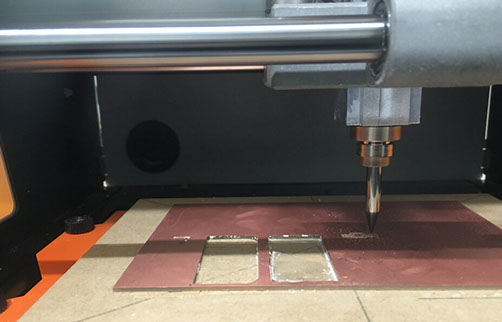
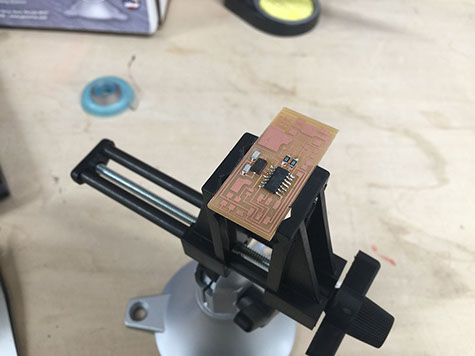
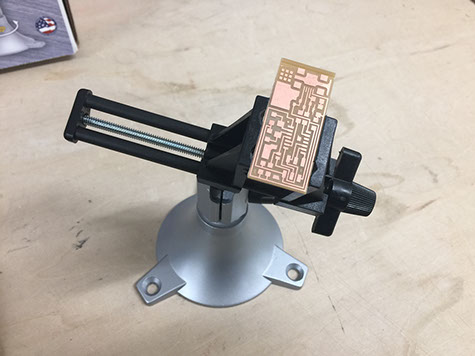
- Fixed the board on the wood board with the 3M double side glue.
- Set the XY axis first and put the 0.4mm drill in.
- Set the Z axis, adjust the height of drill then fixed it.
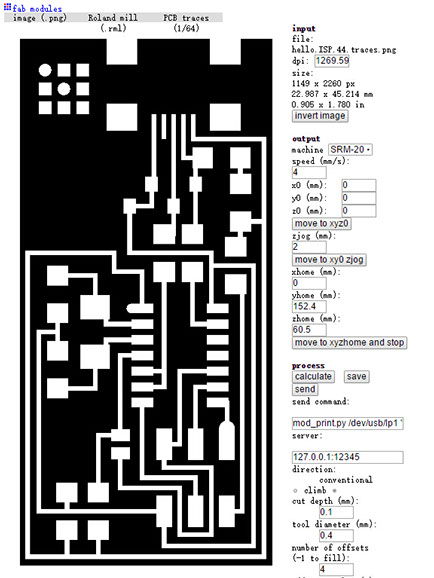
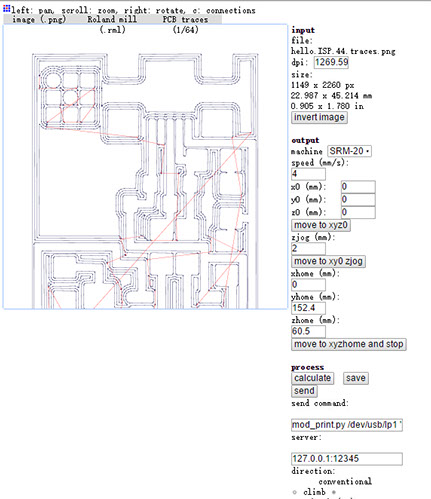
- Load data and start to work.
- When the traces cut is finished set the 0.8mm drill for outline cutting.
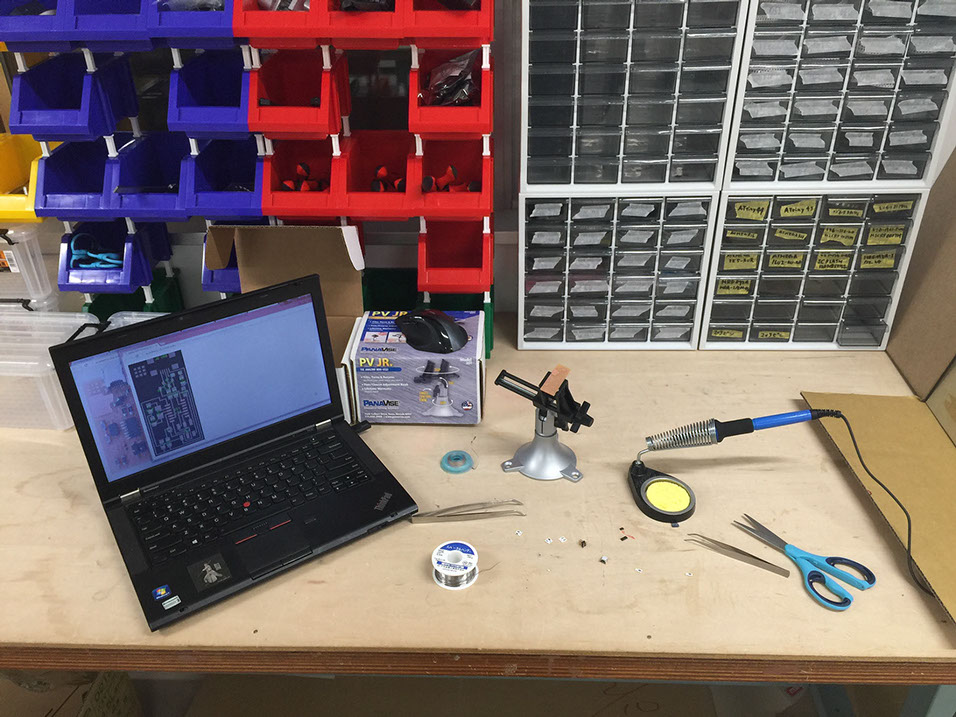
Electronics parts list:
ATtiny44A×1
20MHz resonator×1
1μF capacitor×1
3.3V diode×1
USB connector×1
2×3pin×1
resister : 100Ω×2, 1kΩ×1, 10kΩ×1, 499Ω×1, 0Ω×2
Take all the needed parts out and get ready for work.
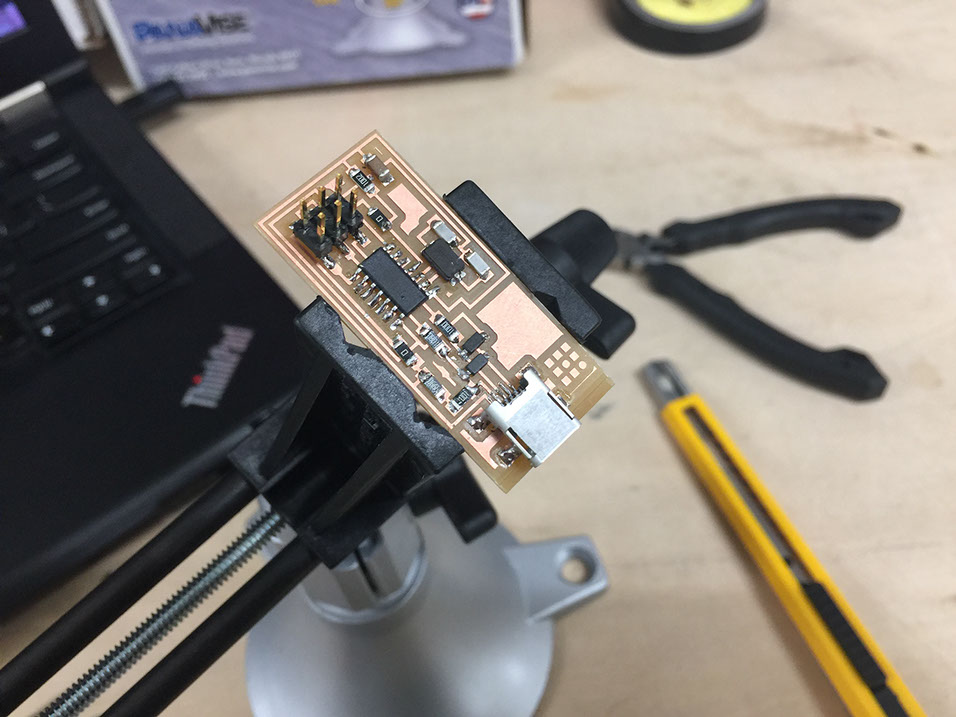

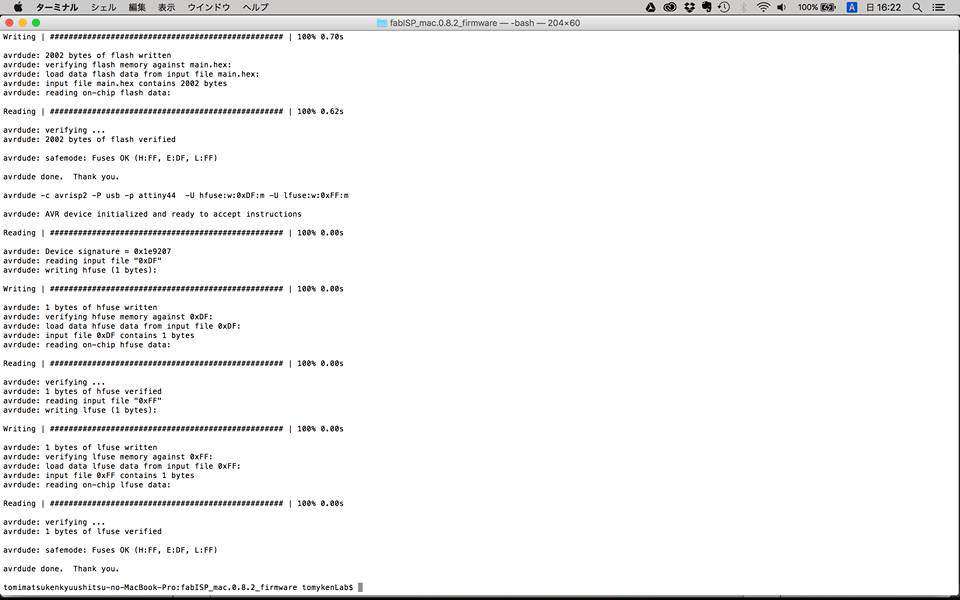
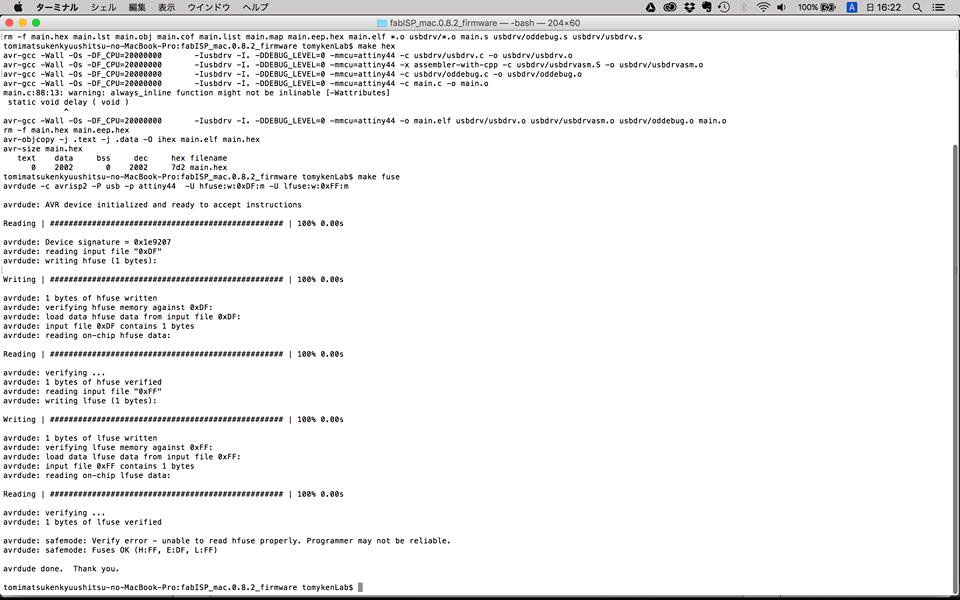
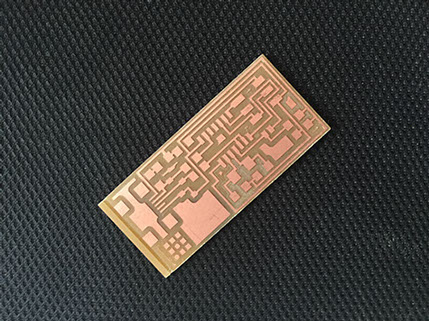
This is my first time making board, I learned how to use the Fabmodule, milling mechanic, and how to welding. It's really hard for me, but I finally got my own FABISP.


