Riyas P.K-Fab Academy 2016
Composites
The assignment for this week is design and make a 3D mold (~ft2), and produce a fiber composite part in it.
Designing the mold form
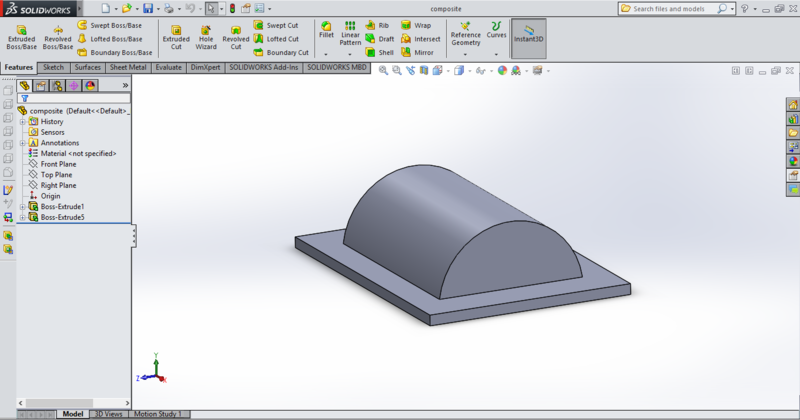
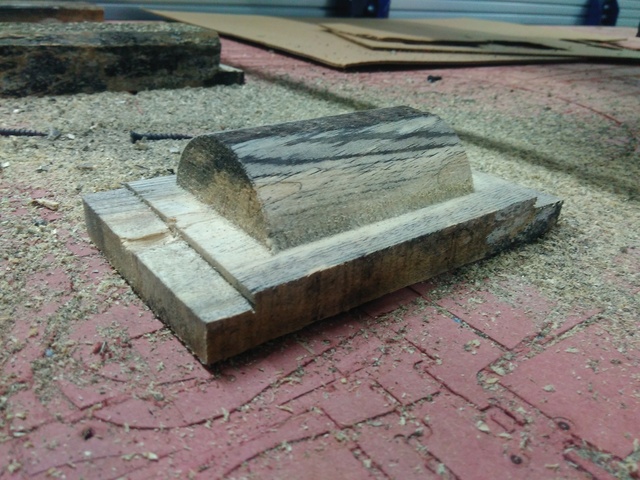
It was recommended to make some simple mold design.Using solidworks I created a simple shape.We all from fablab kochi used a soft wooden block which is taken from a constuction site.Since its dimensions are limited I had to take account it during desigining.The mold design is saved in .stl format.
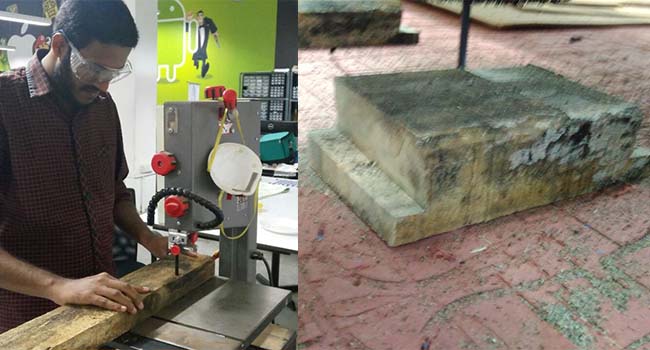
Cutting the mold
We got a large soft wood block, so I cut a piece using scroll saw.Also two ends of the wood blocks are cut in a way that it can be screwed on the shopbot's sacrificial plywood layer.
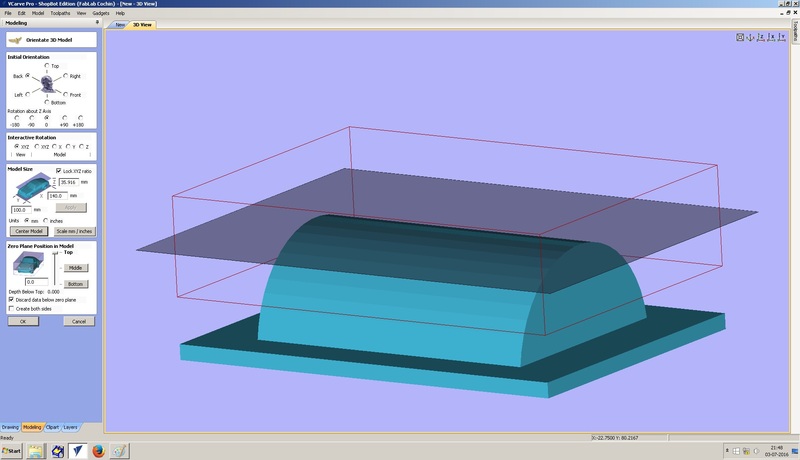
Imported the stl file in vcarve (File->Import->Import component/3D model).I adjusted the orientaion,set the zero plane on top and centered the object.
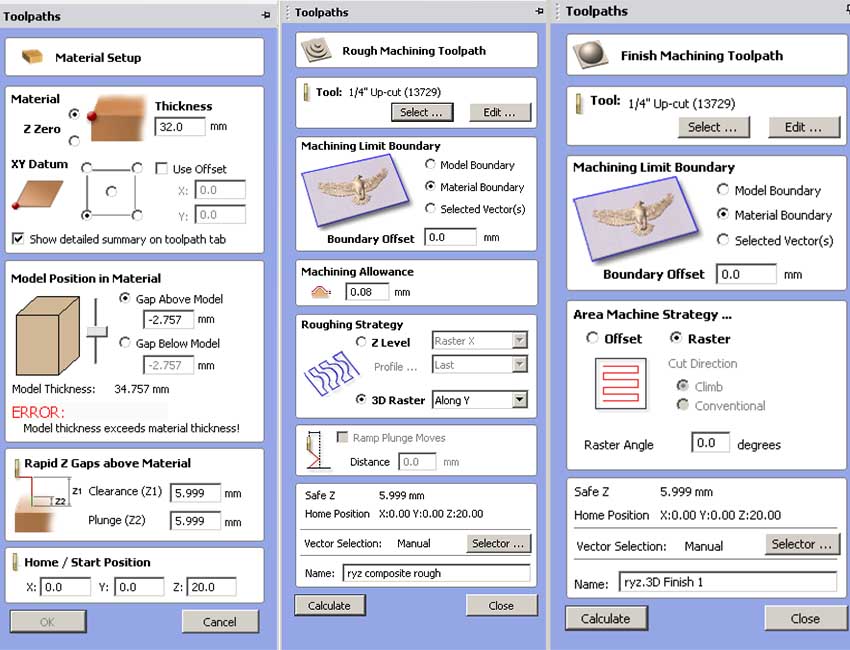
Then I selected the tool paths,rough machining and finish machining.Also the tool was selected, speed and feed rate kept default.There was an error showing 'model thickness exceeds material thickness', it is rectified by changing the thickness of the material.The toolpath generated rough and finish, combined both together and saved it into a gcode file.
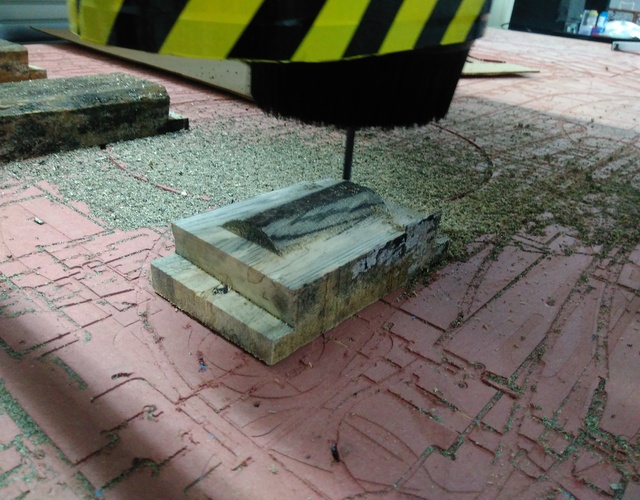
Then the machining starts.
Creating the composite part
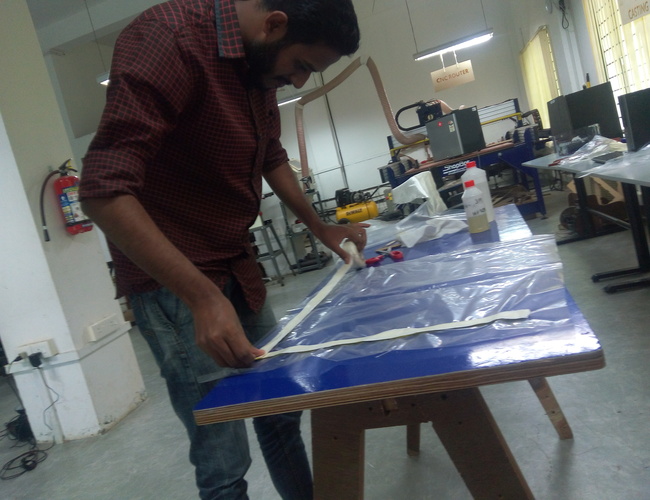
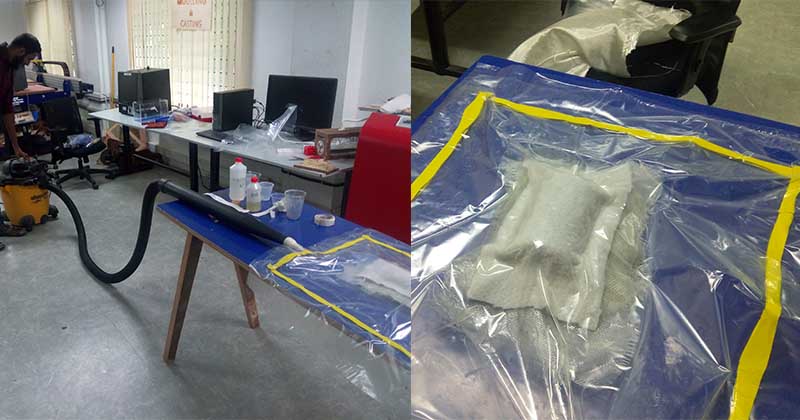
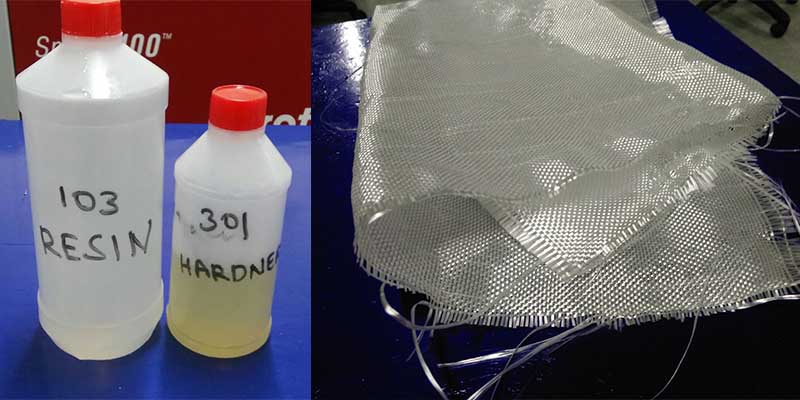
We decided to make our own vaccum bag using vaccum bag film and sealent tape which was availabe in our lab.The resin along with hardner and woven rovin cloth were purchased from a local shop.Also we 3D printed a nozzle to attach at the vaccum cleaner.
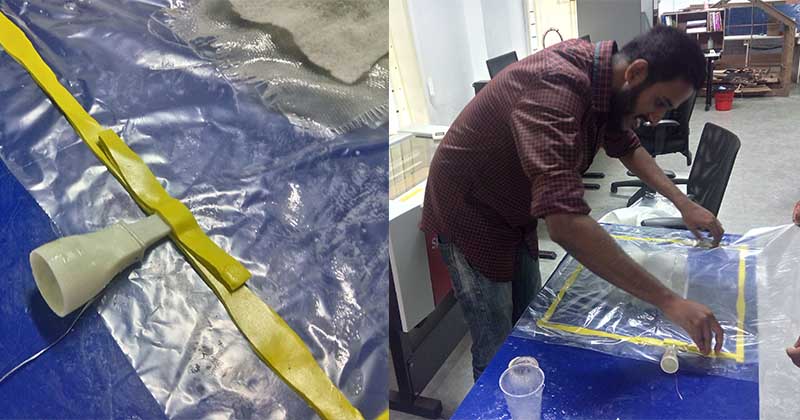
- Cut a piece of vaccum film for vaccum bag and sticked sealant tape on four sides of the vaccum bag film.
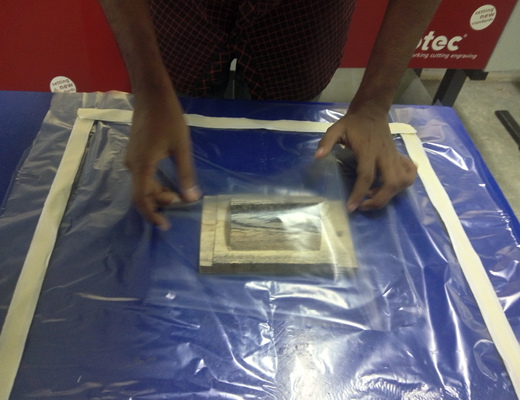
- Place the mould at the center of vaccum bag film, and on top of the mould place a small piece of vaccum bag film.
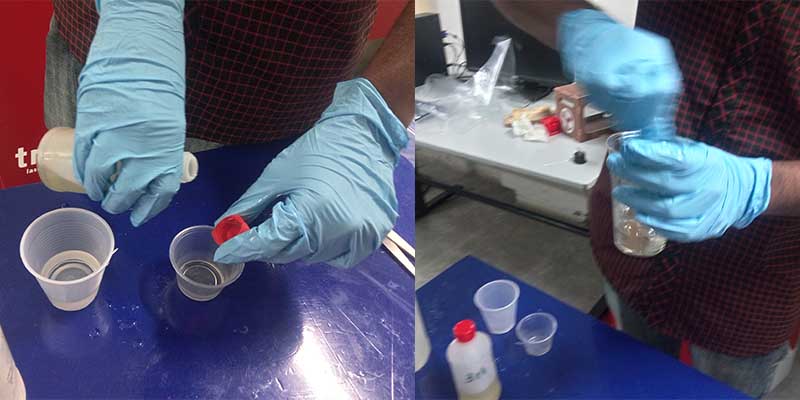
- The resin and hardner are mixed in a disposable cup, with a proportion 10:1.
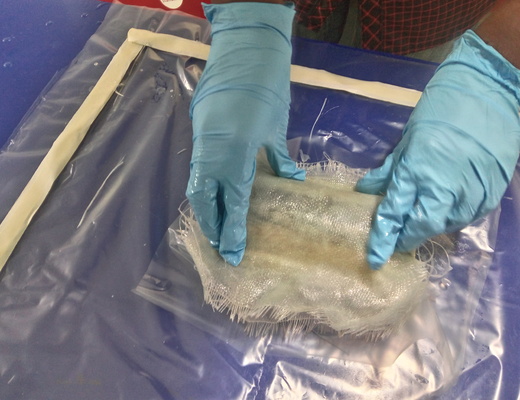
- Three pieces of the rovin material were cut in the same size to be applied as three layers.Then dipped those in resin-hardner mixture and applied it on the top of the mold over the film on by one.
- Then after placing another layer of vaccum bag film, I placed a breather fabric.
- The 3D printed nozzle is placed at one side of the sealent arrangement.Then using another vaccum bag film the seal is closed.
- After connecting the nozzle to vaccum pump,it is switched on and once the layers were tightly pressed, the nozzle entrance was sealed by pressing top and bottom layers of sealant material.Now the bag is put for curing.The curing time is about 8 hours.
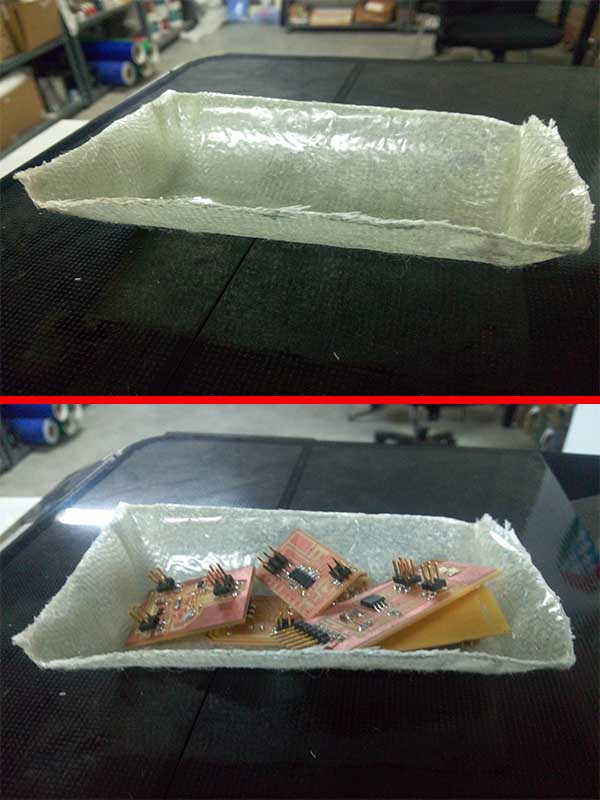
- After waiting 8 hours my composite part is ready.I removed the vaccum bag films and sealent and the part is taken.I was surprised, it had a very good hardness.Then I cut the extra edges using to get the original shape.