Assignment
design and make a 3D mold (~ft2), and produce a fiber composite part in it.Since my final project isn't that big I couldn't use this week's assignment to progress with my project and I thought I should give it a try to produce something personal as composite assignment. So i designed a case for my specs. The 3D `design of the mold was pretty easy.
Mold Design & Milling
I made the design in Solidworks.The design was made to comfortably fit the specs, without too much open space.
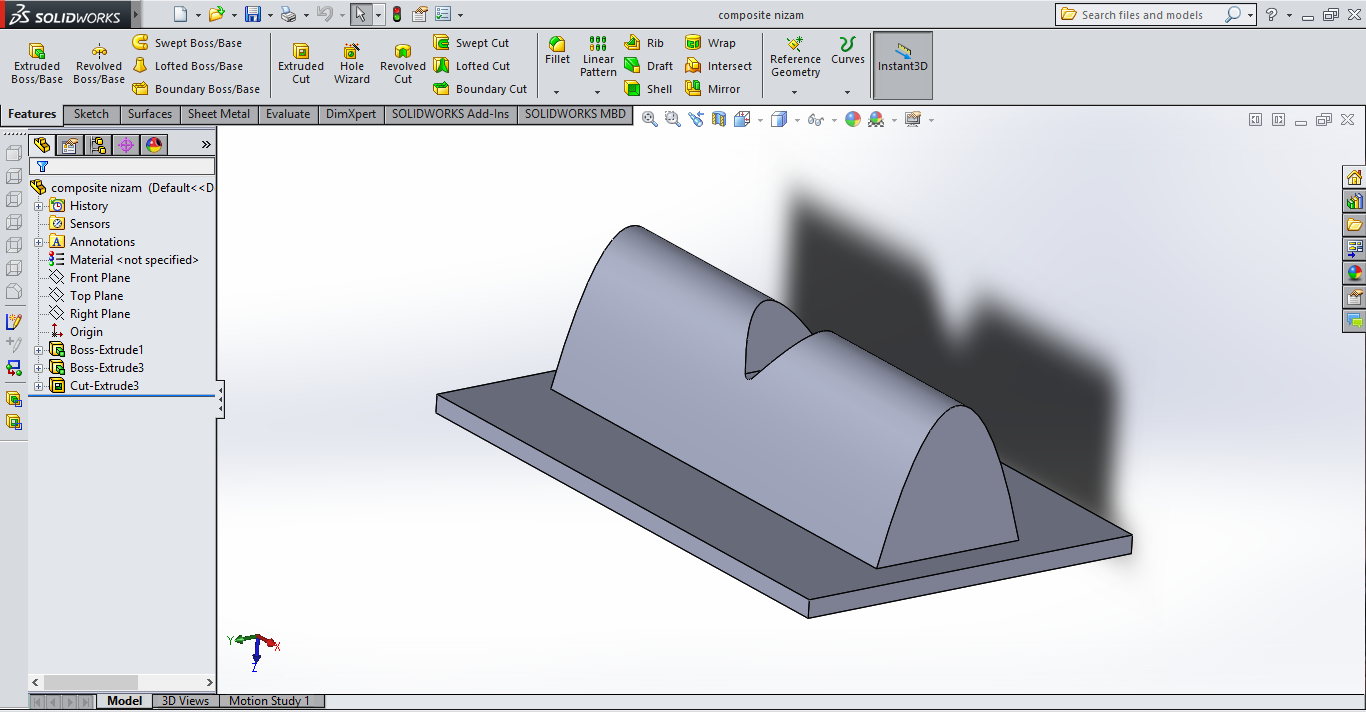
We had a hard time obtaining the mold material.Composite mold was not available in our lab, and was also hard to obtain locally in india. We couldnt find anyplace that sold high density foam so we decided to use soft wood as mold material.

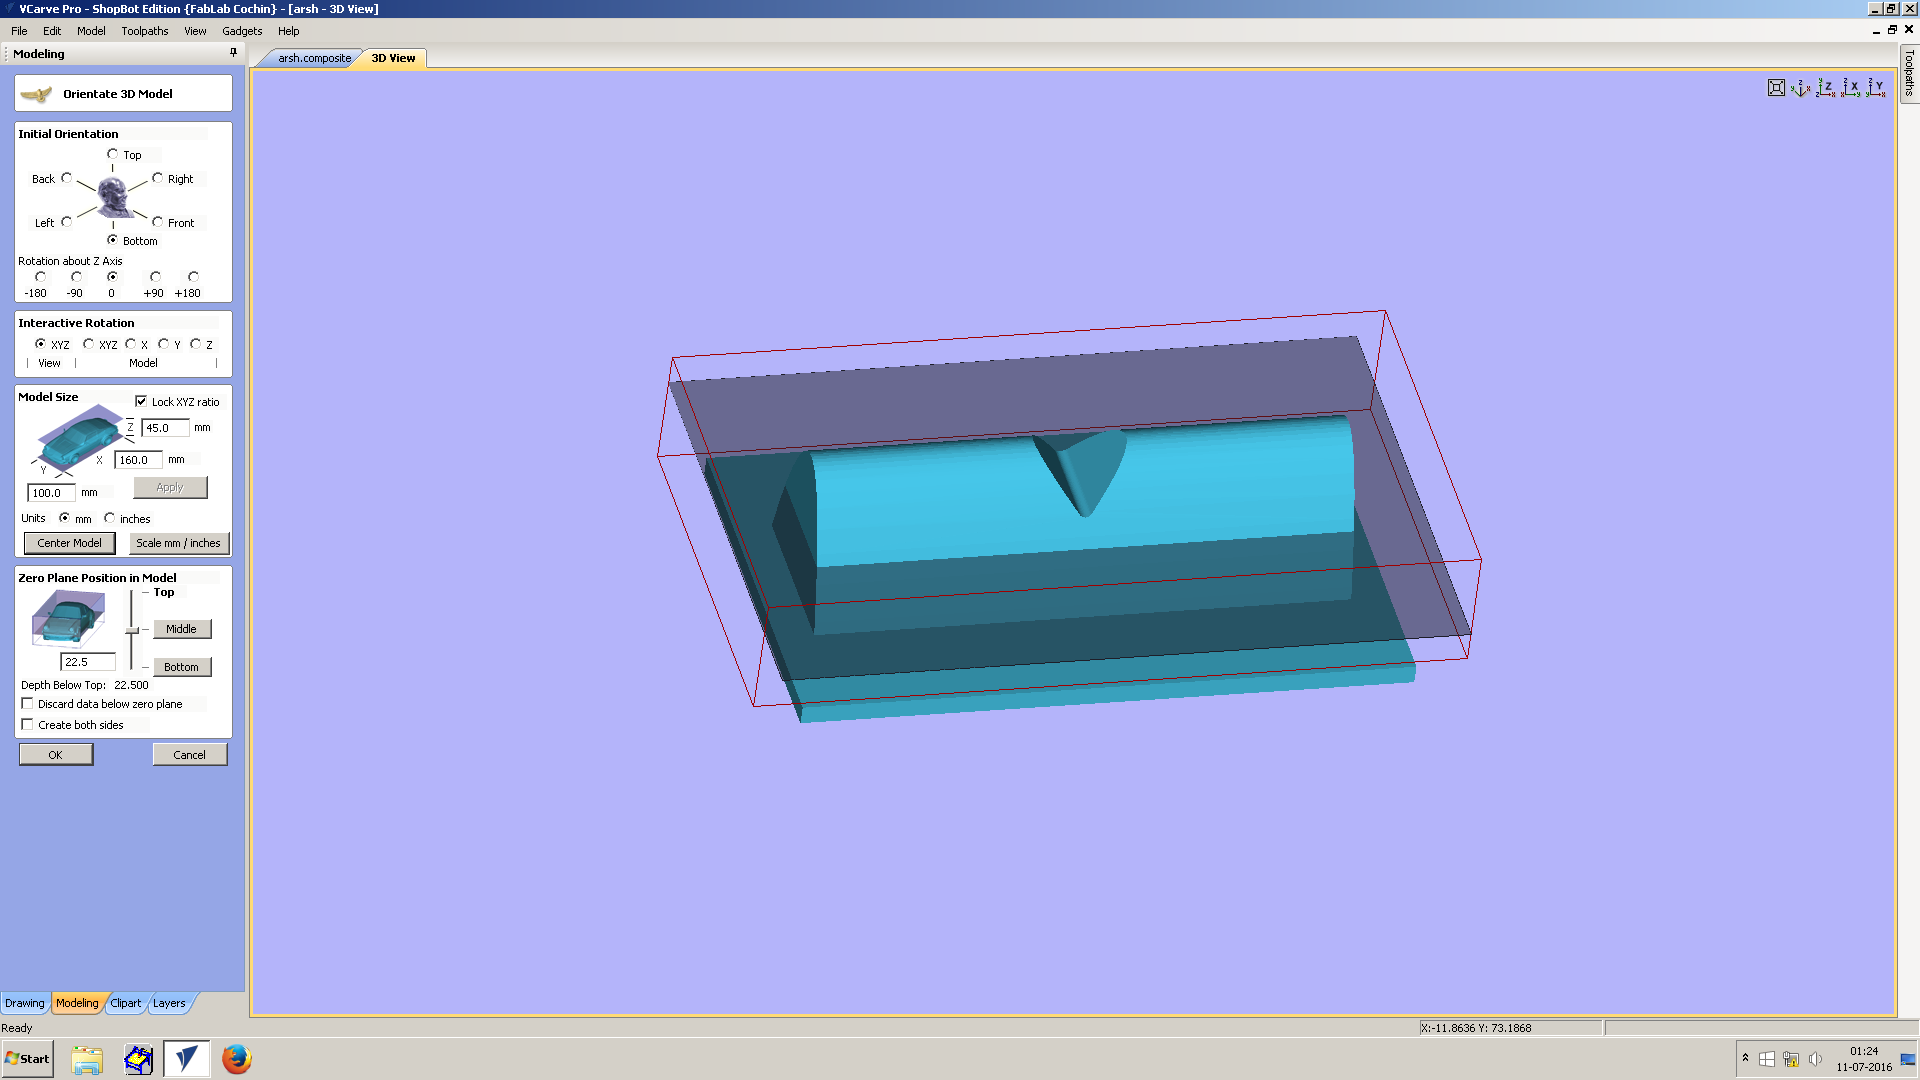
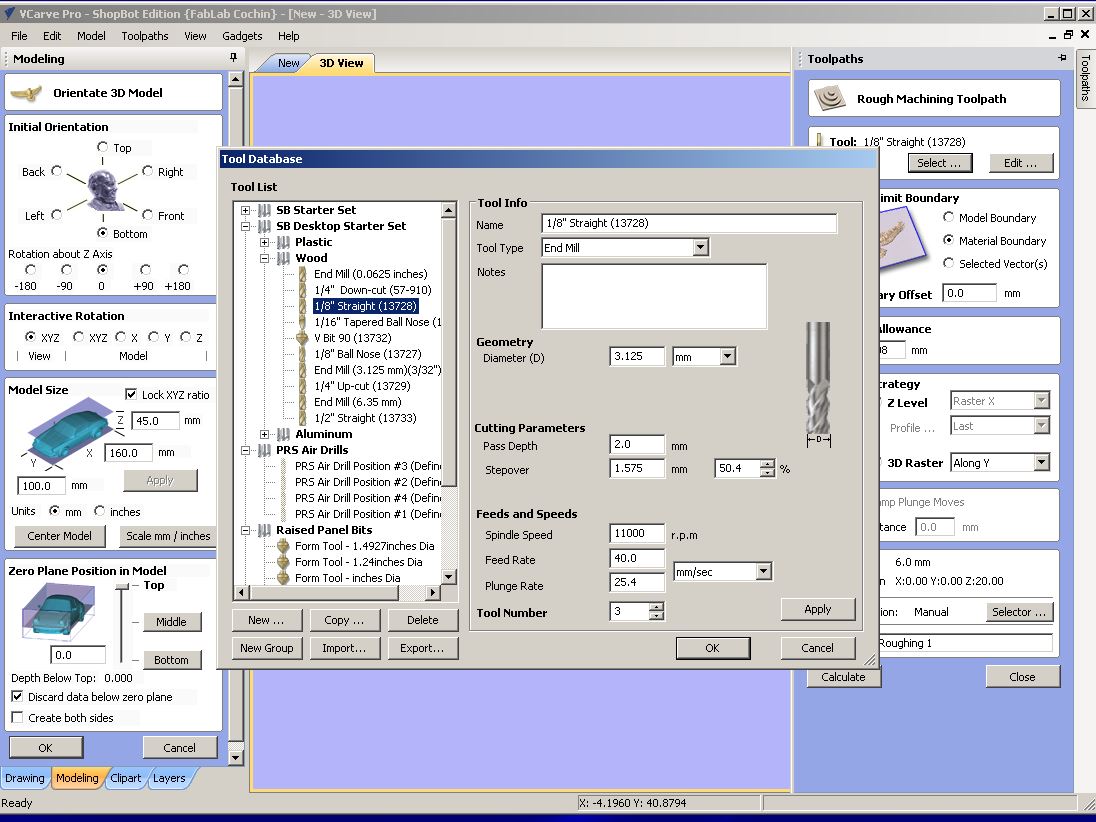
The design file was saved in the stl format.The using the vcarve software, set the zero plane, centred the object, generated the toolpath for rough and fine finish and saved it into gcode. nozzle was placed on one of the edges and sealing tape was used to fix it.
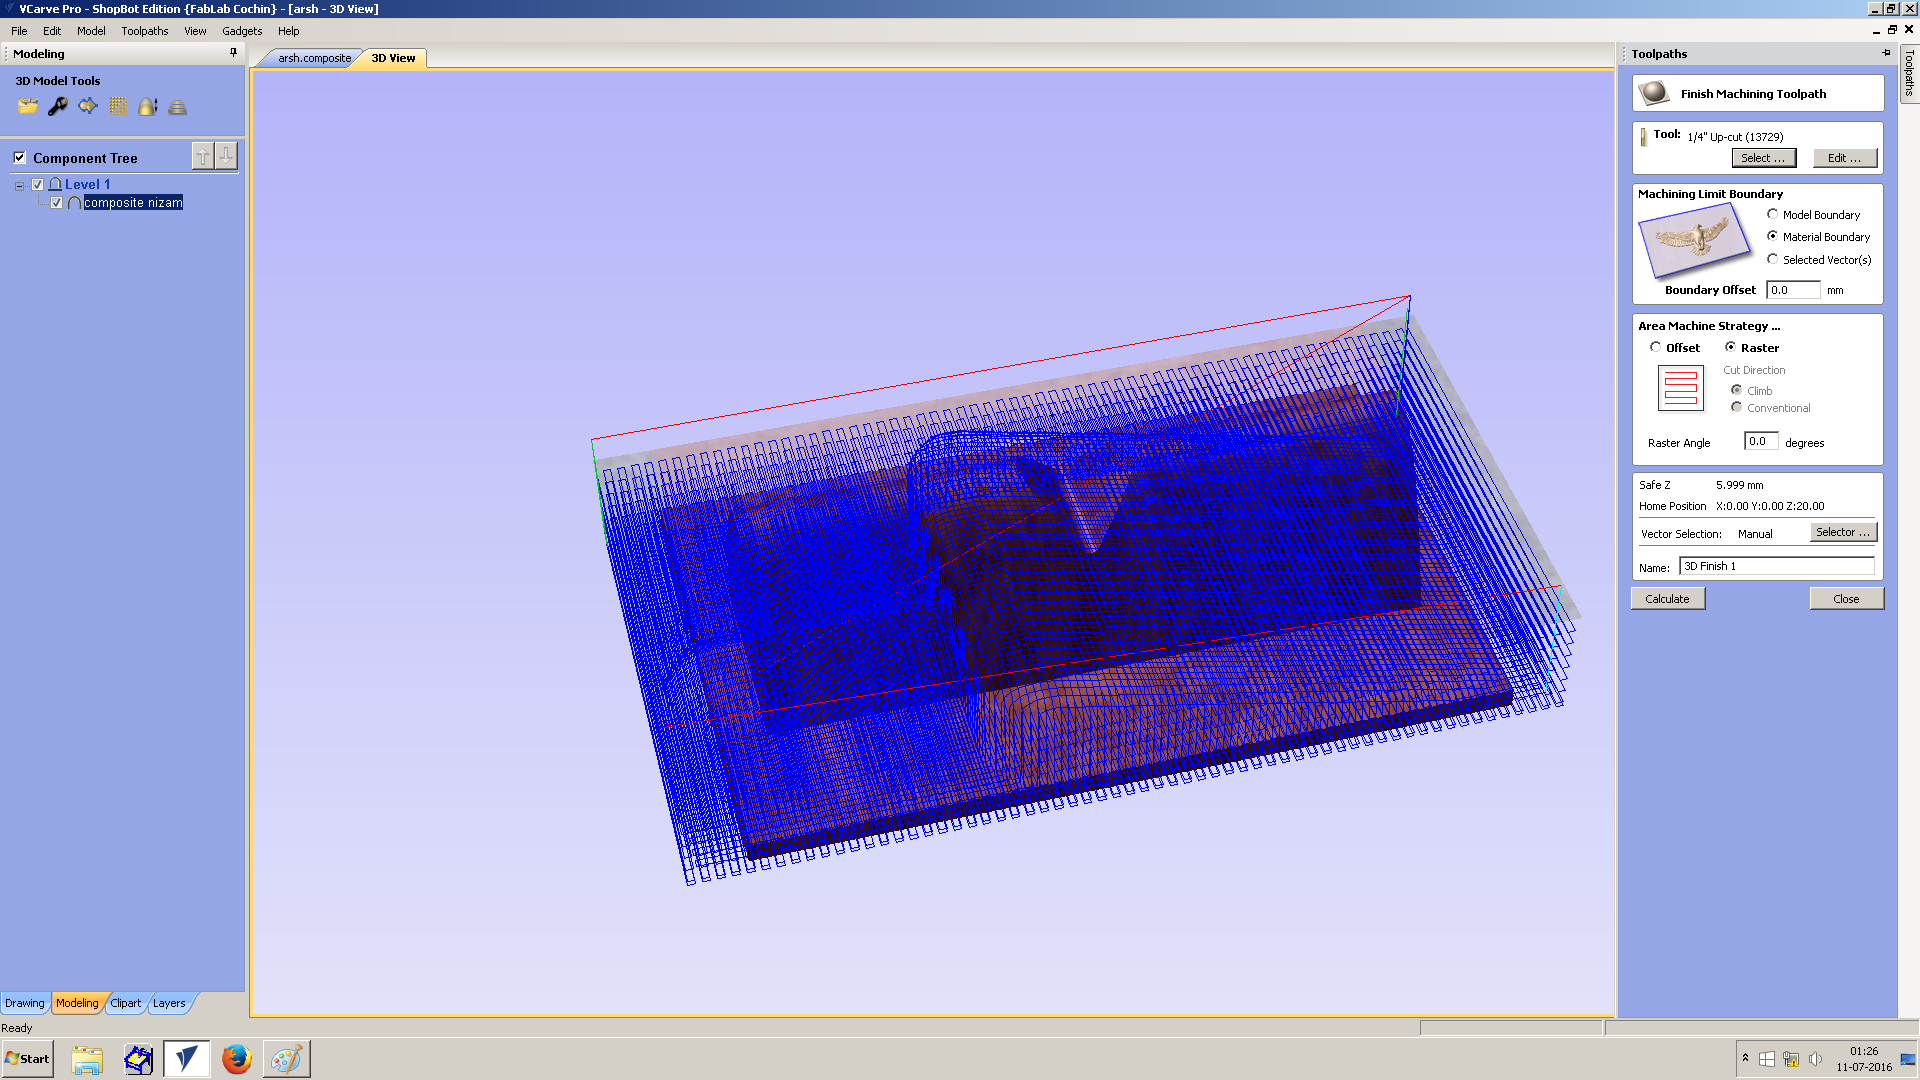
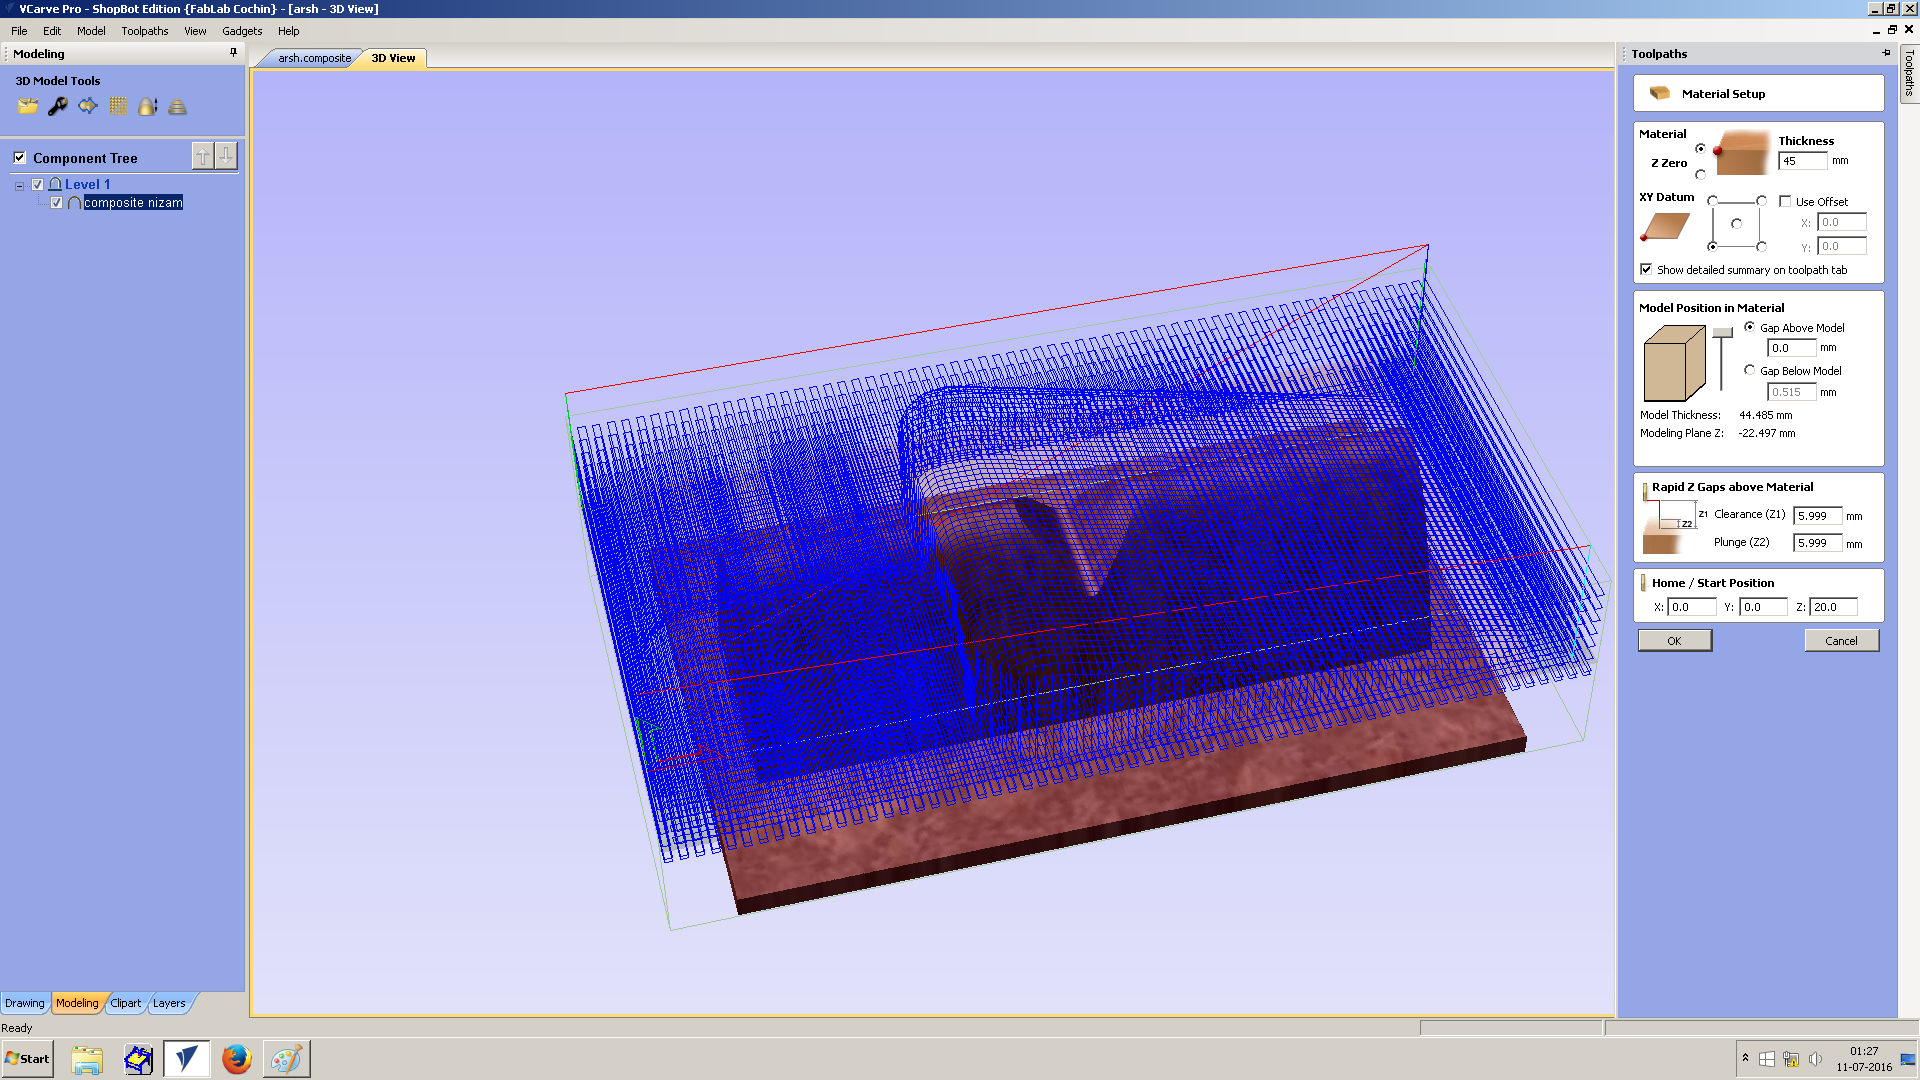
Next i selected the toolpath menu.Then i set the folowing-
tool type-1/8" End mill, pass depth-2.0(for 1 pass), spindle speed-11000r.p.m, feed rate-40
Creating the composite
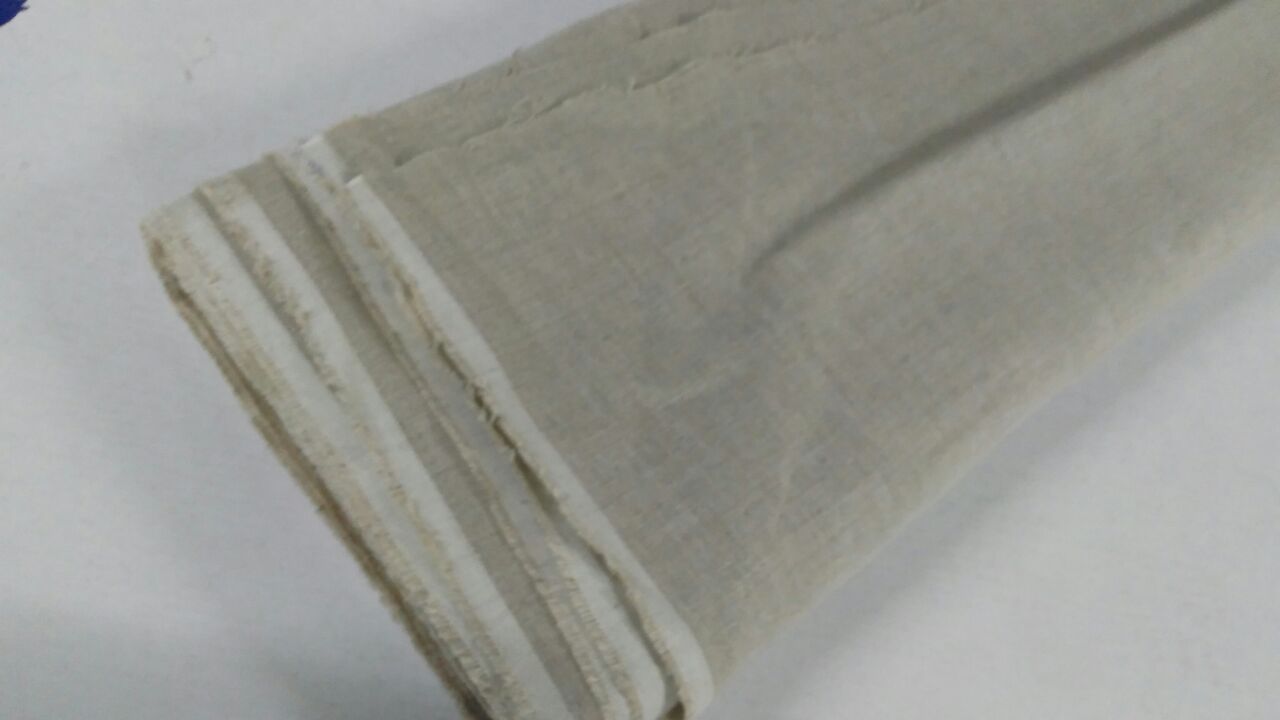
To create the composite, I use linen and epoxy resin.We had both burlap and since the composite design was a type of pouch for my specs.
We didn't have vaccum bag available here, so we had to improvise and make our own.
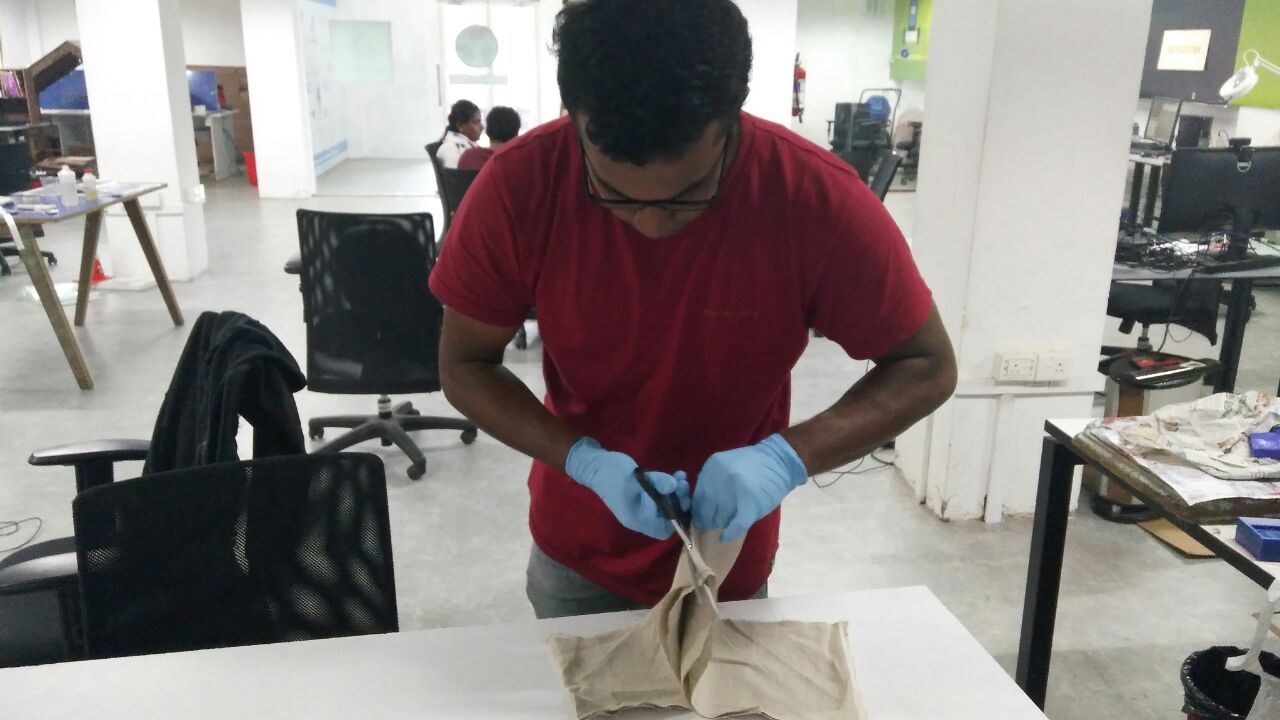
The next step was to place a small piece of film on top of the mold.The linen was cut into 3 equal pieces.
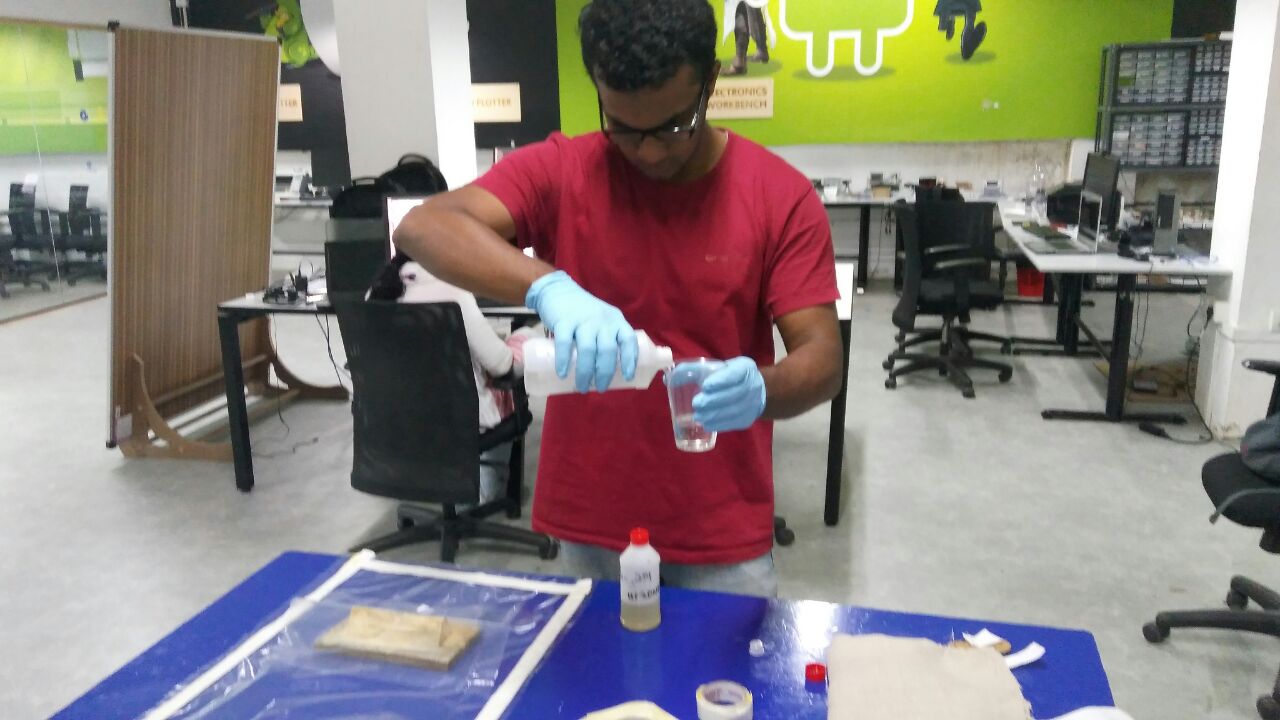
Then came preparing the resin and hardner.Epoxy resin was obtained from a local store and was different from the kind used in fablabs.
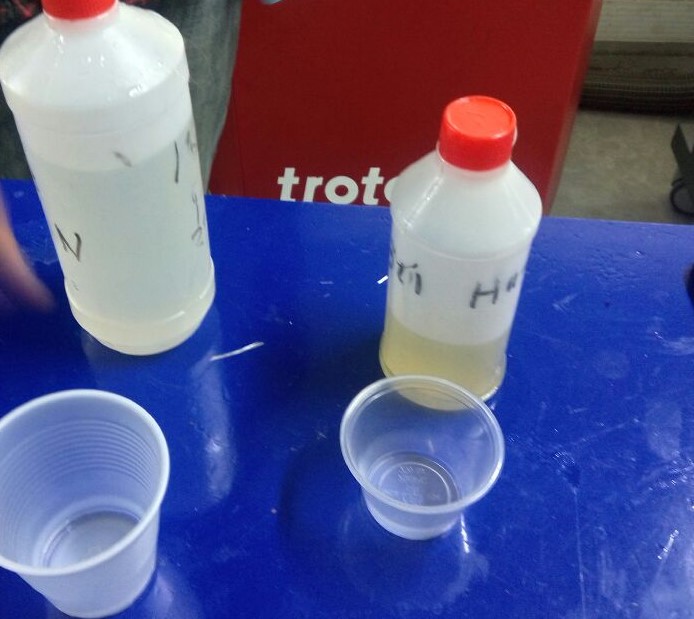
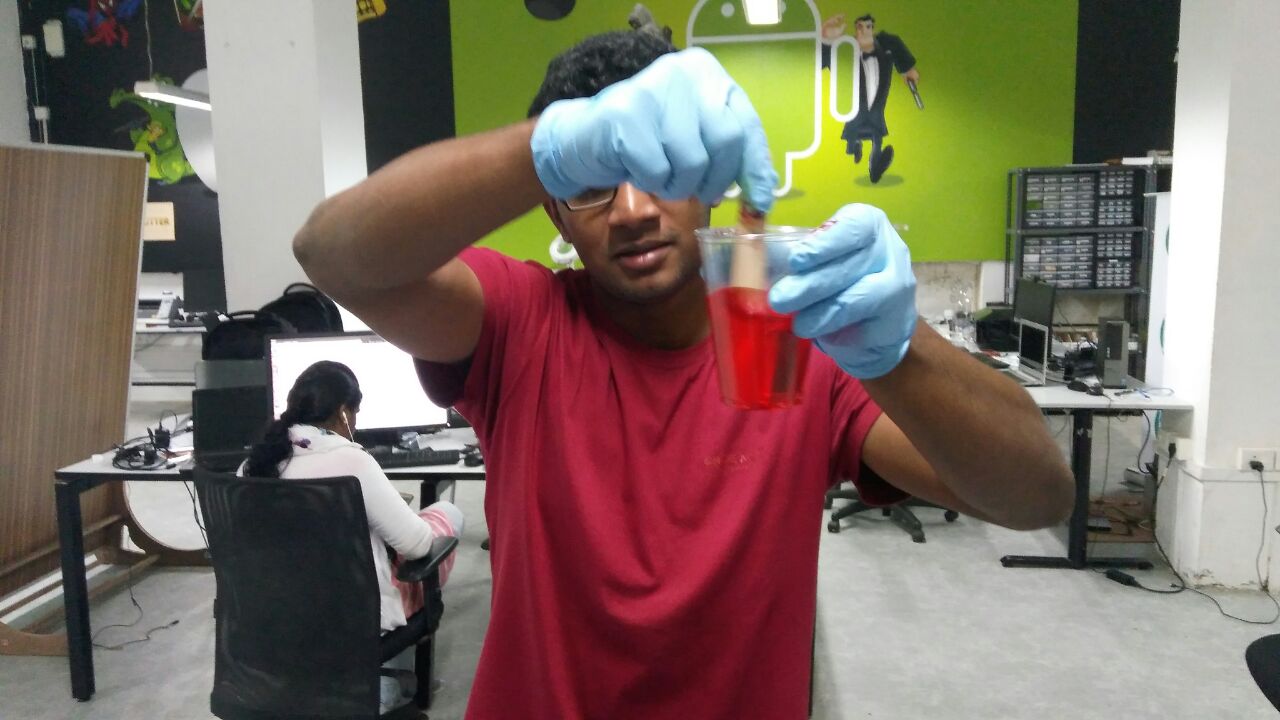
The ratio of epoxy and hardner was 10:4, but i mixed in 10:4 ratio just to be sure.Also i added red color to the mixture. This later proved to be useless as the linen didnt adapt the color. Then i stirred the mixture for a few minutes.
The linen was then dipped in the mixture until it was fully soaked, squeezed it to remove excess liquid and placed it above the mold.The linen was pressed to the mold to form its shape.
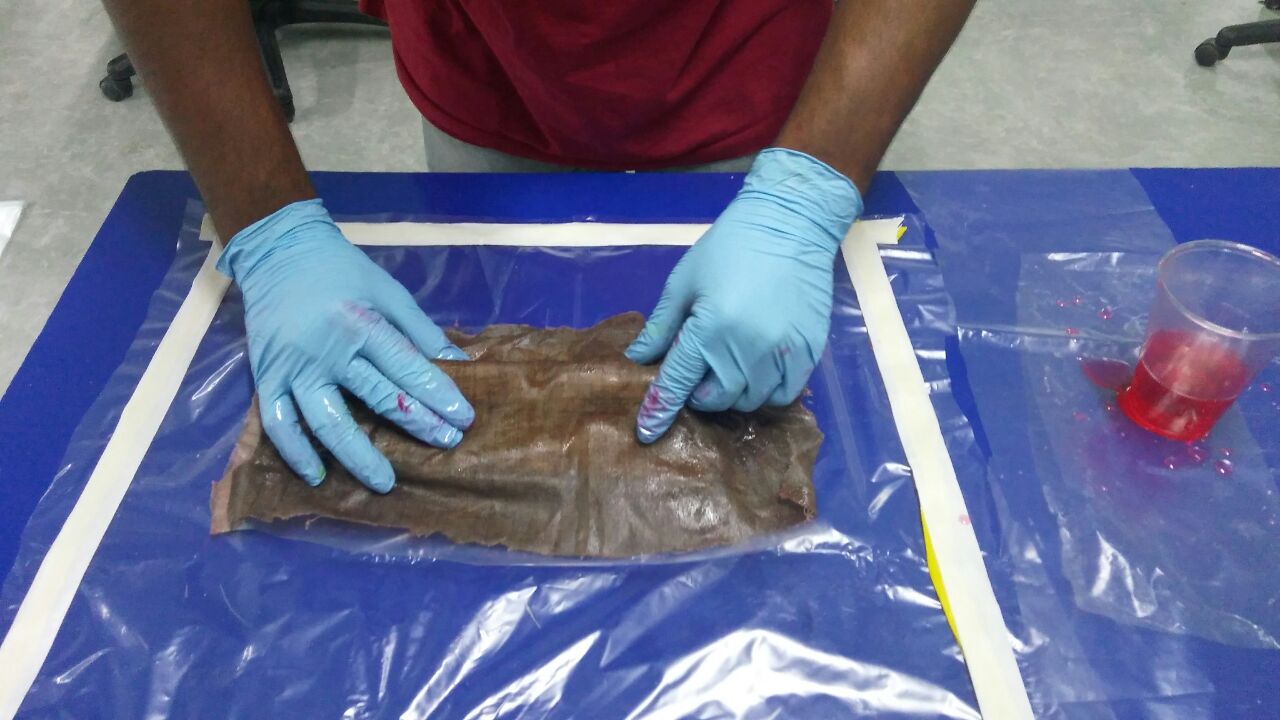
Like this, 2 more layers of linen was placed on top of the first,in different angles.Then i cut and placed piece of breather fabric on top of the linen layers.The breather fabric contained holes through which air could escape while vaccuming.

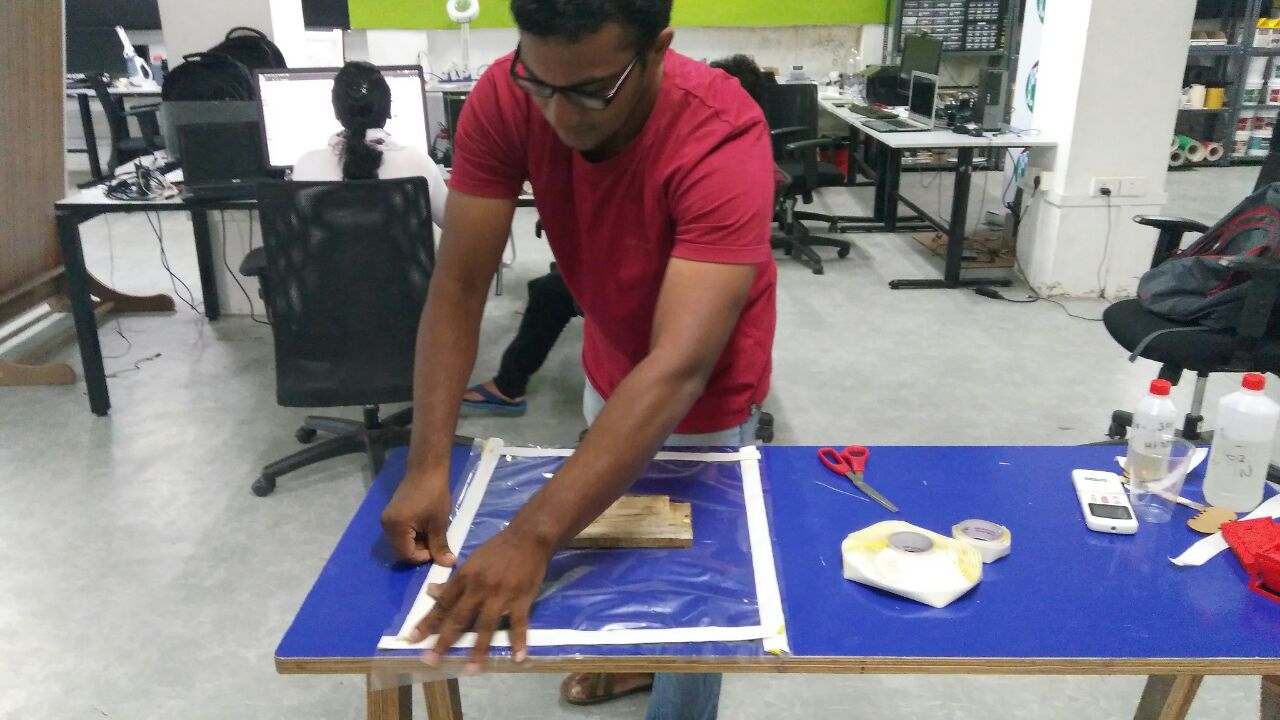
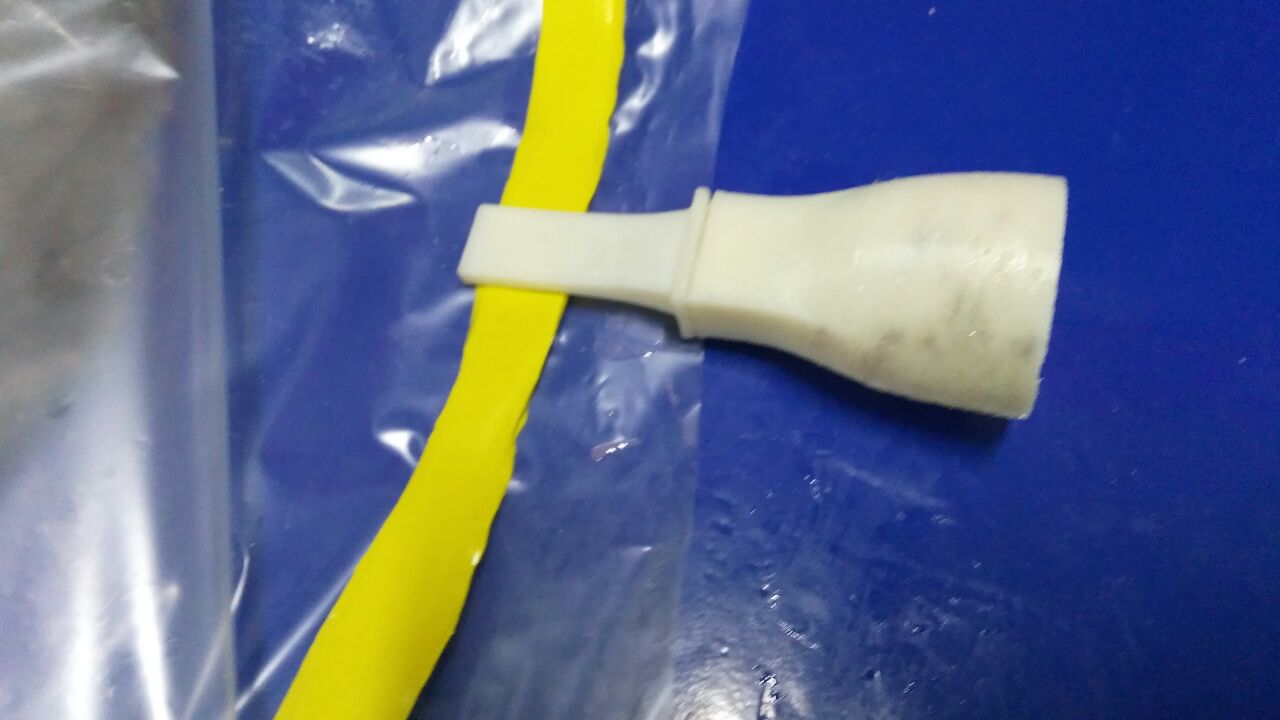
The vaccum cleaner's hose could not be directly attached to film due to its large size. So We 3d printed a nozzle that could be attached to the end of the hose. the nozzle was placed on one of the edges and sealing tape was used to fix it.

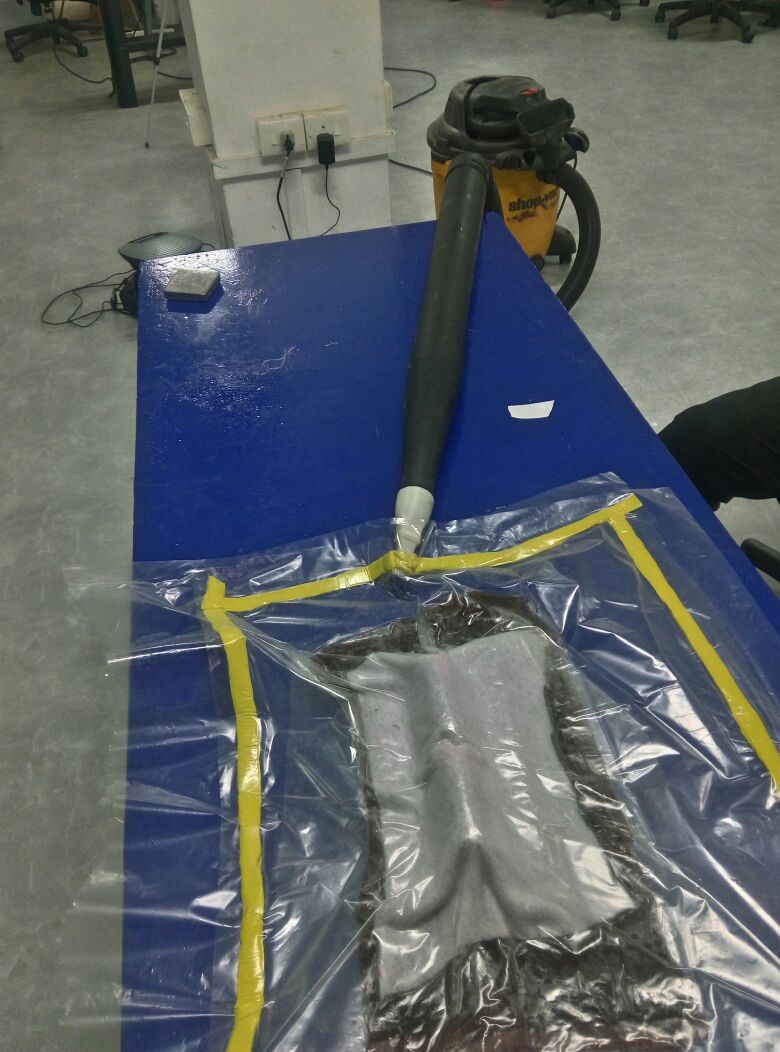
Another layer of vaccum bag film was placed and pressed together carefully with the sealant material on four sides. This made the vaccum bag The end of the vaccum cleaner hose was the connected to the nozzle and vaccuming process was started.When all the air trapped has escaped, vaccumm cleaner was switched off and nozzle removed from the vaccum bag.
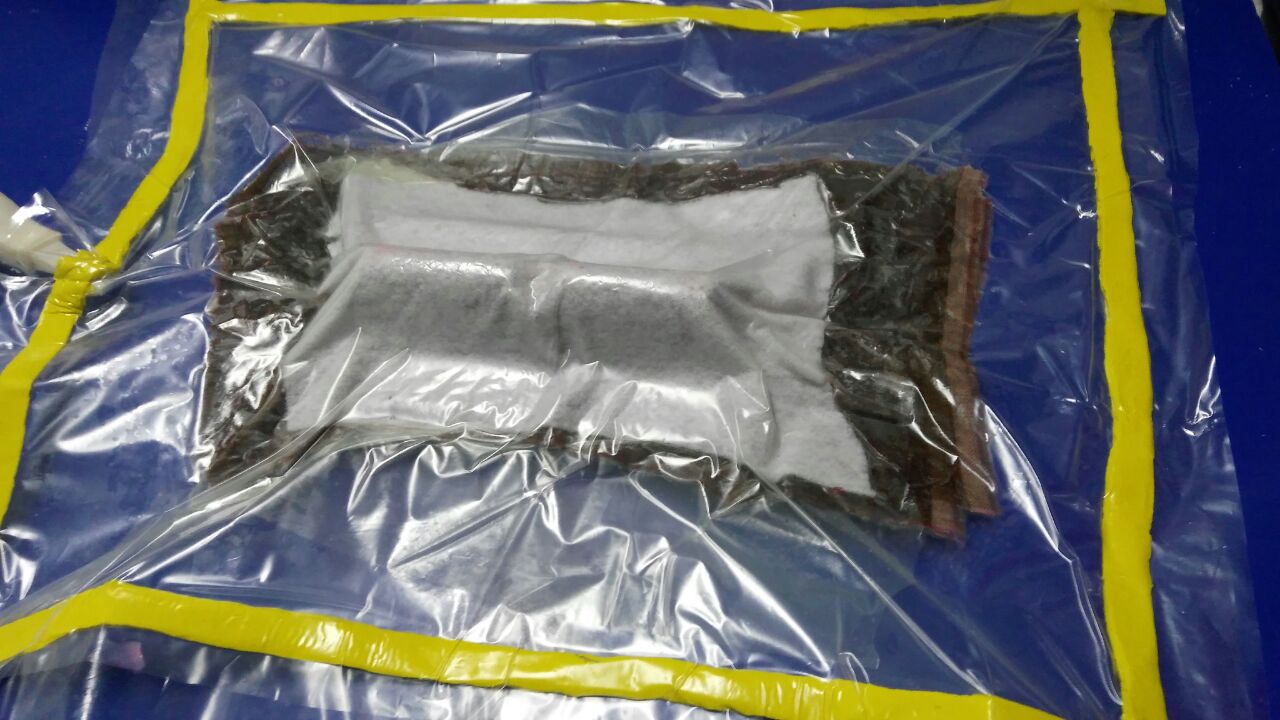
Now i had to wait for it to cure. Standard curing time is 15 hrs but waited 24 hours before opening the vaccum bag. The part was not as expected and was slightly different from the mold. It however served its purpose(somewhat). nozzle removed from the vaccum bag.
Although my design didn't turn out as i planned, i learned quite a bit this week. Linen is a nice rigid material while also soft and is recommended for jobs that require resolution.
Design File-click