| Home | | Weekly Assignments | | Final Project | | Photo Gallery |

Week 8: Embedded Programming
This week, I programmed a ATtiny 44 microcontroller by understanding the data sheet.What is a microcontroller
A microcontroller is a small computer (SoC) on a single integrated circuit containing a processor core, memory, and programmable input/output peripherals. Program memory in the form of Ferroelectric RAM, NOR flash or OTP ROM is also often included on chip, as well as a typically small amount of RAM
AVR - ATtiny 44 Microcontroller
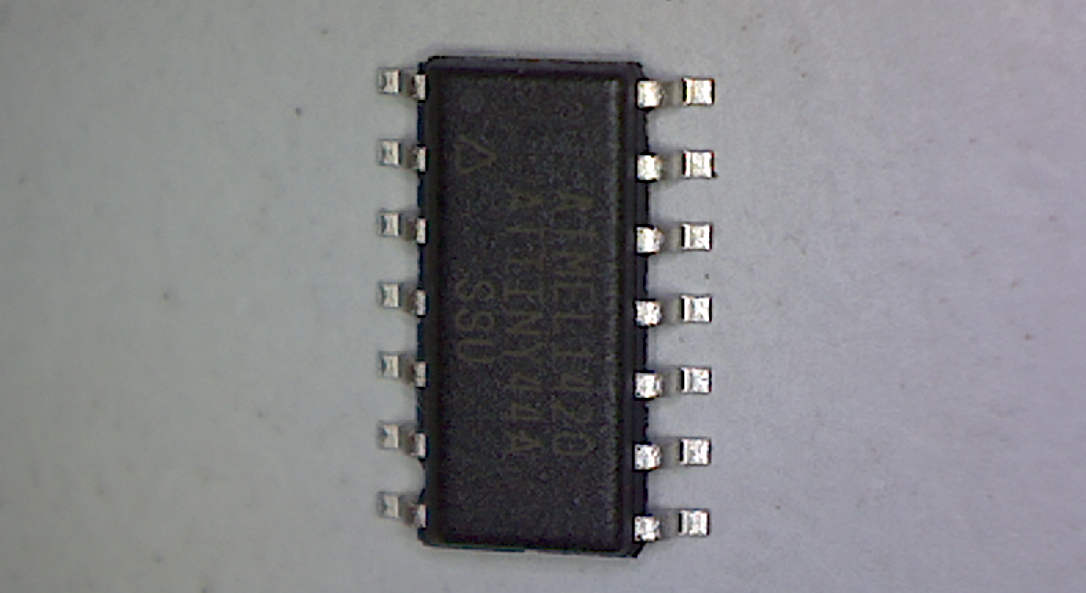
Link to ATtiny 44 data sheet on Atmel website: http://www.atmel.com/Images/8006S.pdf
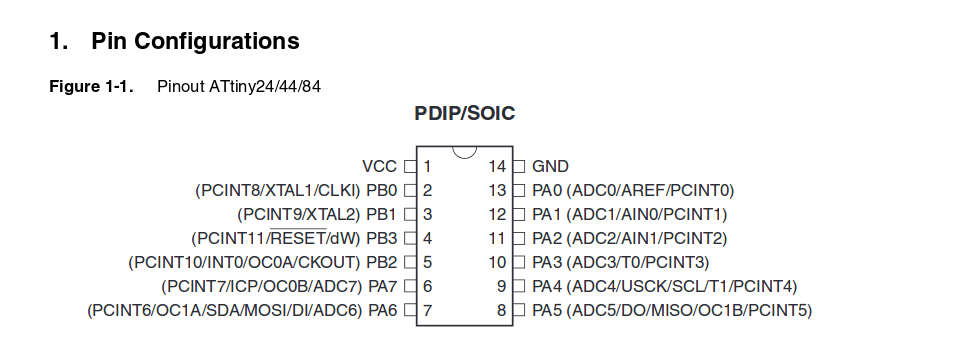
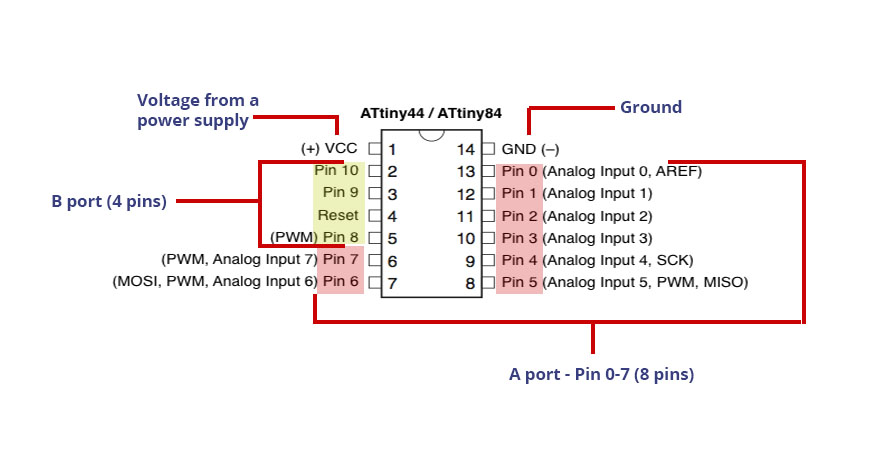
Electronics was never really my strong point. Anyhow, the details available on the web helped me understand more about this microcontroller. The image below shows my understanding about ATtiny44
Programming the ATtiny microcontroller
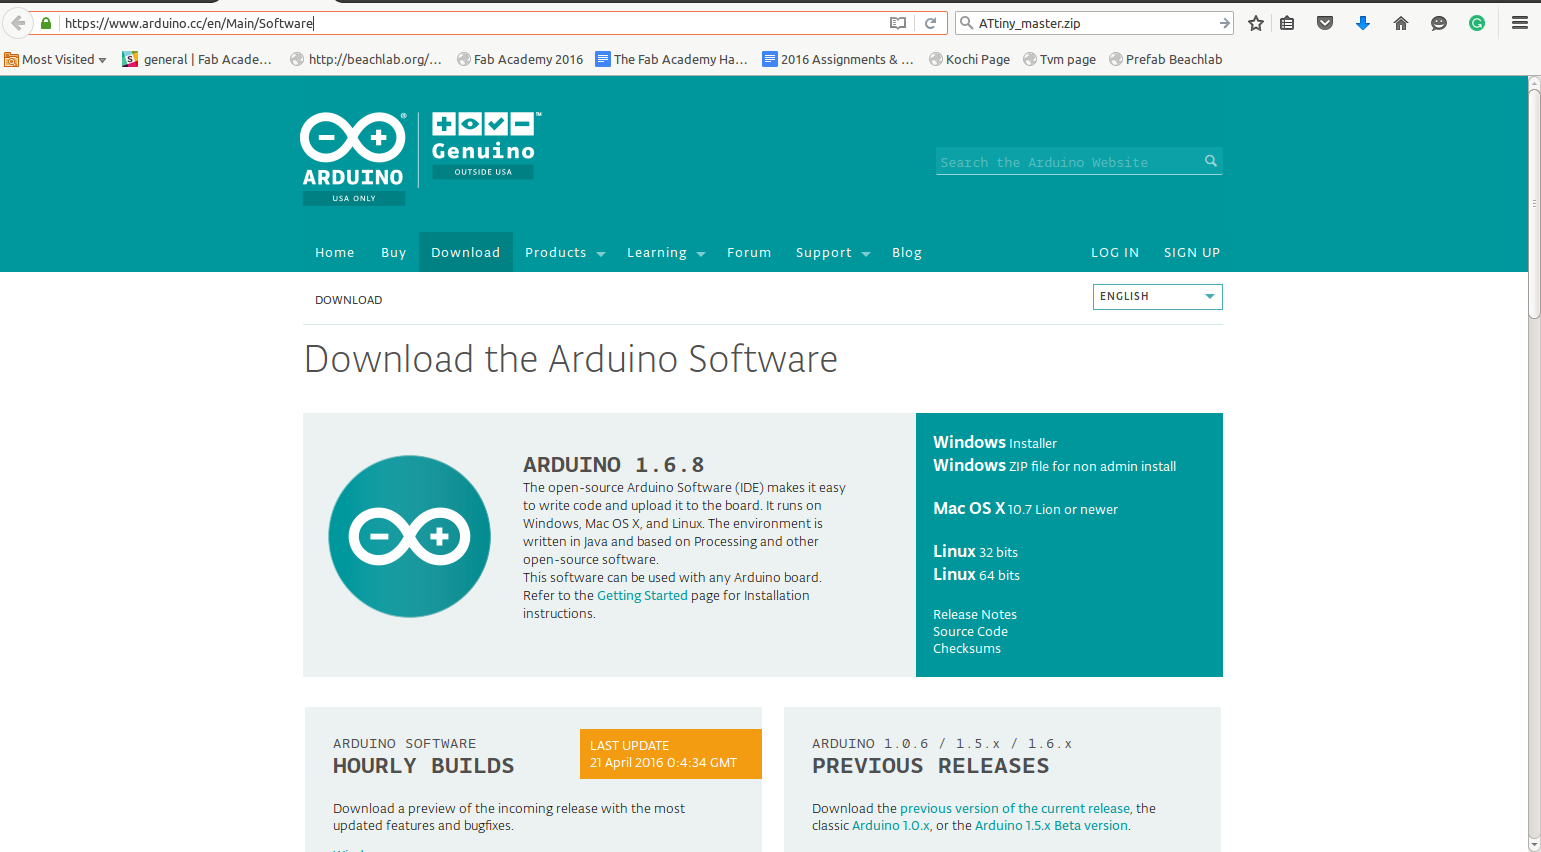
I used Fab ISP and the open-source Arduino software to program the board. The Arduino software can be downloaded from this link : https://www.arduino.cc/en/Main/Software
However while trying to install and run it on Ubuntu, I encoutered the following error.
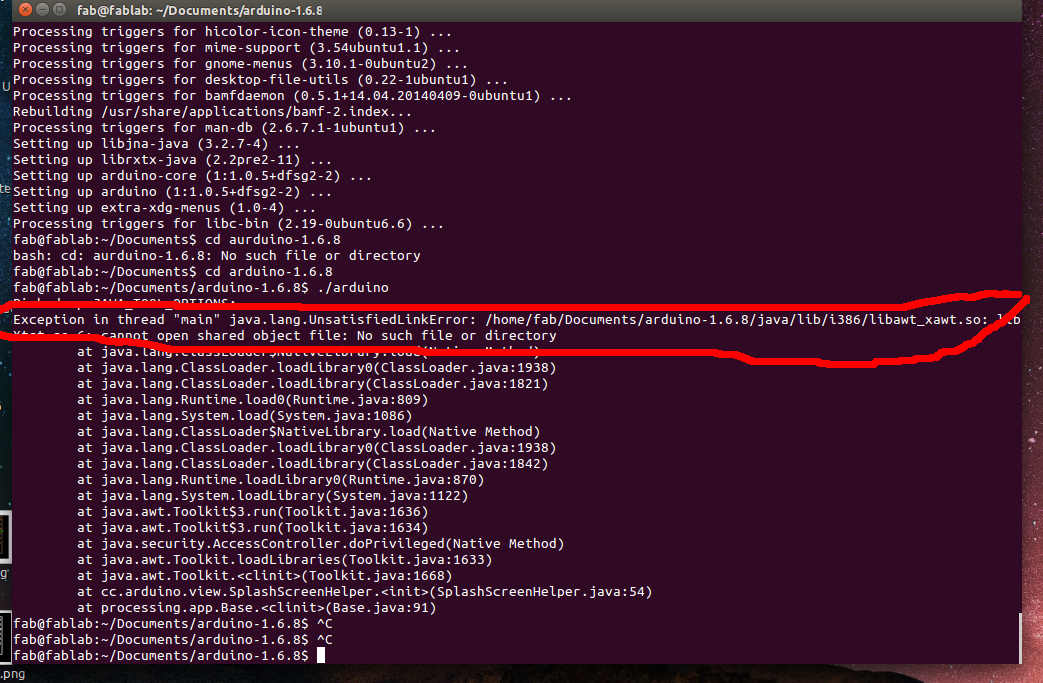
On checking further, I figured out that I had chosen to download 32 bit which apparently didn't work on my 64 bit machine. After downloading and installing the 64 bit version of the Arduino 1.6.9 software, this error did not show up again.
Arduino 1.6.9 by does not come with ATtiny support by default but ATtiny support can be added in the boards manager. I reffered the instructions on Highlowtech.org ( Link ) to install ATtiny support in Arduino software.
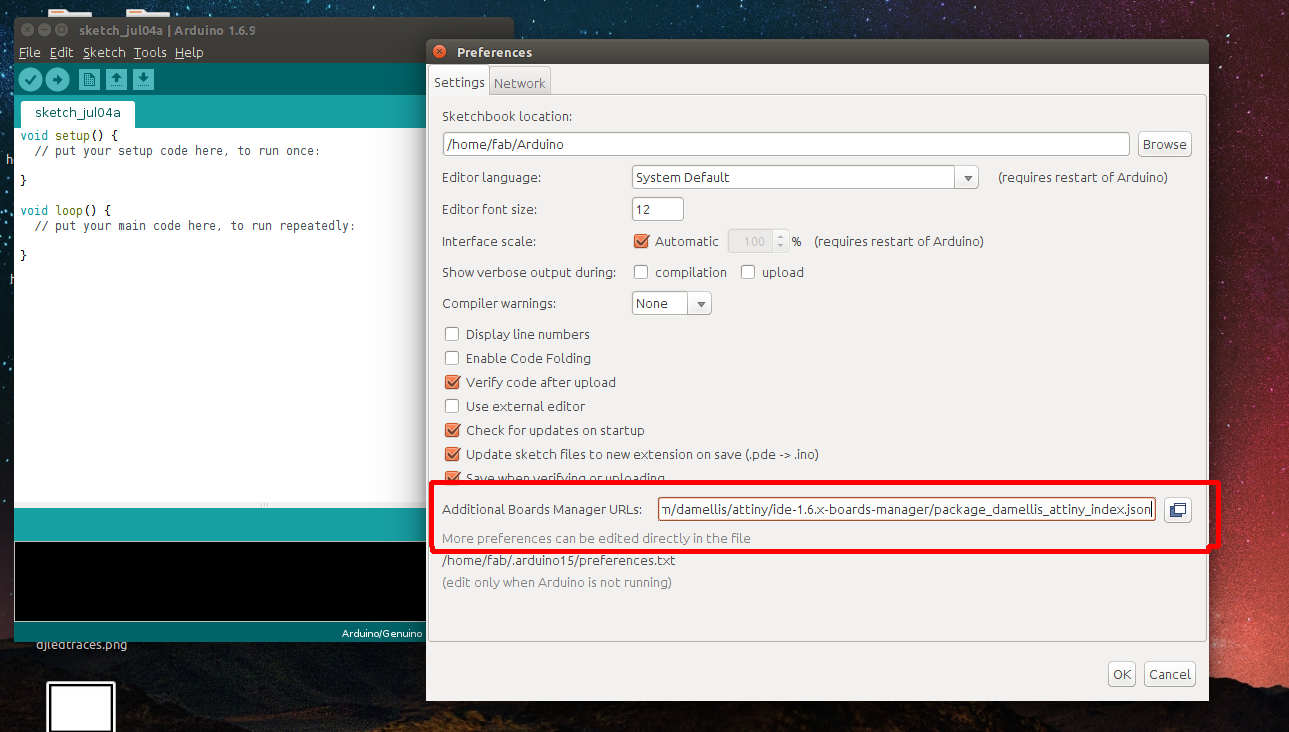
In Preferences --> Additional Boards manager, I pasted the following link:
https://raw.githubusercontent.com/damellis/attiny/ide-1.6.x-boards-manager/package_damellis_attiny_index.json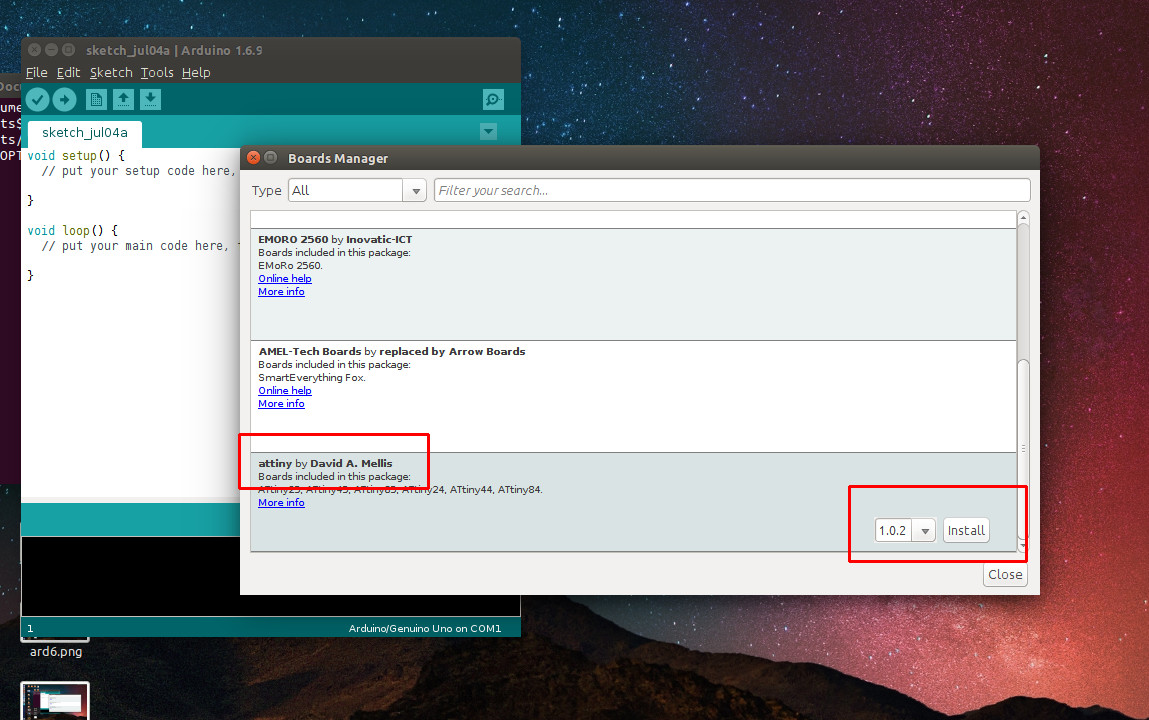
Next, in Arduino Software Tools-->Boards-->Boards Manager, at the bottom of the list, there was an option to install ATtiny boards package. I installed the same.
To complete this assignment, I am programming the board I made in electronics production week. I will be doing a simple LED blinking program.

I connected the board I created in electronics design week with the FabISP I created in electronics production using ISP cable and connected the FabISP to PC using mini USB cable.
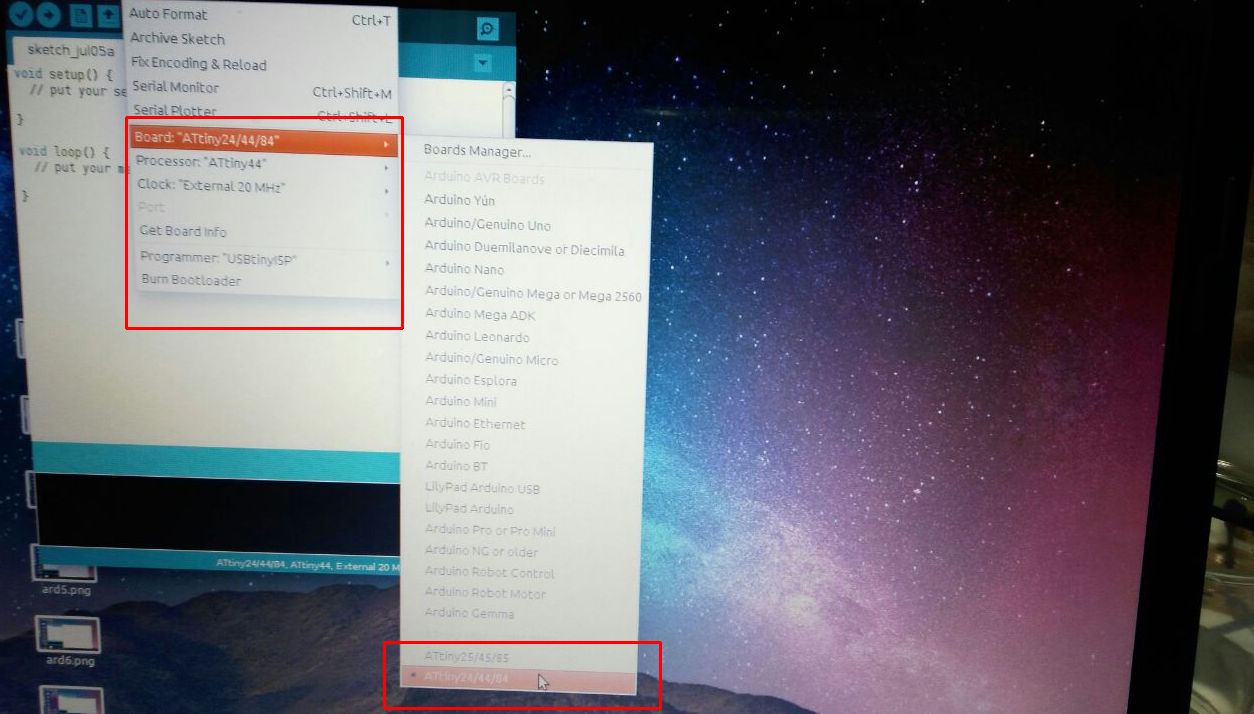
Then in Arduino software in Tools --> Board, I selected ATtiny24/44/84. I also set the following selections in the Arduino software before burning the bootloader to the microcontroller.
- Board : ATtiny24/44/84
- Processor: ATtiny44
- Clock: External 20 Mhz
- Programmer: USBtinyISP
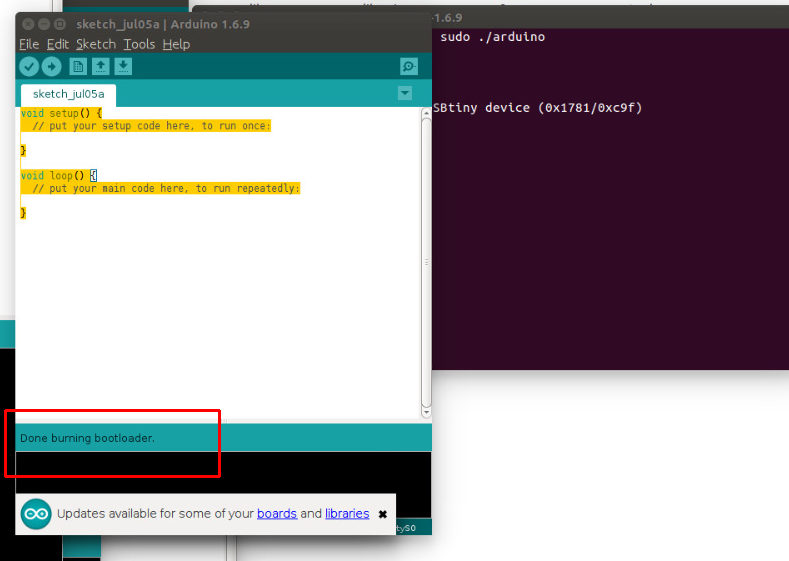
Then, I selected burn bootloader option and the bootloader was burned succesfully onto the board.
Next, I opened the blink LED example program which was available in Arduino software and changed the pin number in the code to 11 as I have connected the LED in pin 11 on my board.
Code:
void setup() {

  // initialize digital pin 13 as an output.

  pinMode(11, OUTPUT);

}


// the loop function runs over and over again forever

void loop() {

  digitalWrite(11, HIGH);   // turn the LED on (HIGH is the voltage level)

  delay(1000);              // wait for a second

  digitalWrite(11, LOW);    // turn the LED off by making the voltage LOW

  delay(1000);              // wait for a second

}
Problem facedThe program was succesfully uploaded to the board but the LED was not blinking as expected.
The fix
On referring the ATtiny44 data sheet, I noticed that I had connected LED to the pin 11 which is the RESET pin.To do a quick fix, I decided to make a minor change in the board and connect it to Pin 7.

I changed the Pin number in code to 7 and also disconnected LED's connection to Pin 11 by scratching the trace on the board and also manually soldered a small wire connecting Pin 7 and the resistor which leads to the LED.
Next I made the pin number change in the code and then uploaded the code again using Arduino software.
Now the LED is blinking perfectly.
Corrected code:
void setup() {

  // initialize digital pin 13 as an output.

  pinMode(7, OUTPUT);

}


// the loop function runs over and over again forever

void loop() {

  digitalWrite(7, HIGH);   // turn the LED on (HIGH is the voltage level)

  delay(1000);              // wait for a second

  digitalWrite(7, LOW);    // turn the LED off by making the voltage LOW

  delay(1000);              // wait for a second

}