| Home | | Weekly Assignments | | Final Project | | Photo Gallery |

Week 12: Molding & Casting
This week, I'll be designing and milling a wax mould, make another heat resistant silicon rubber mold with that mould and finally casting a metal object using that mold
My plan is to create a cross locket. Started by designing in Rhino. Made a 2d model first.
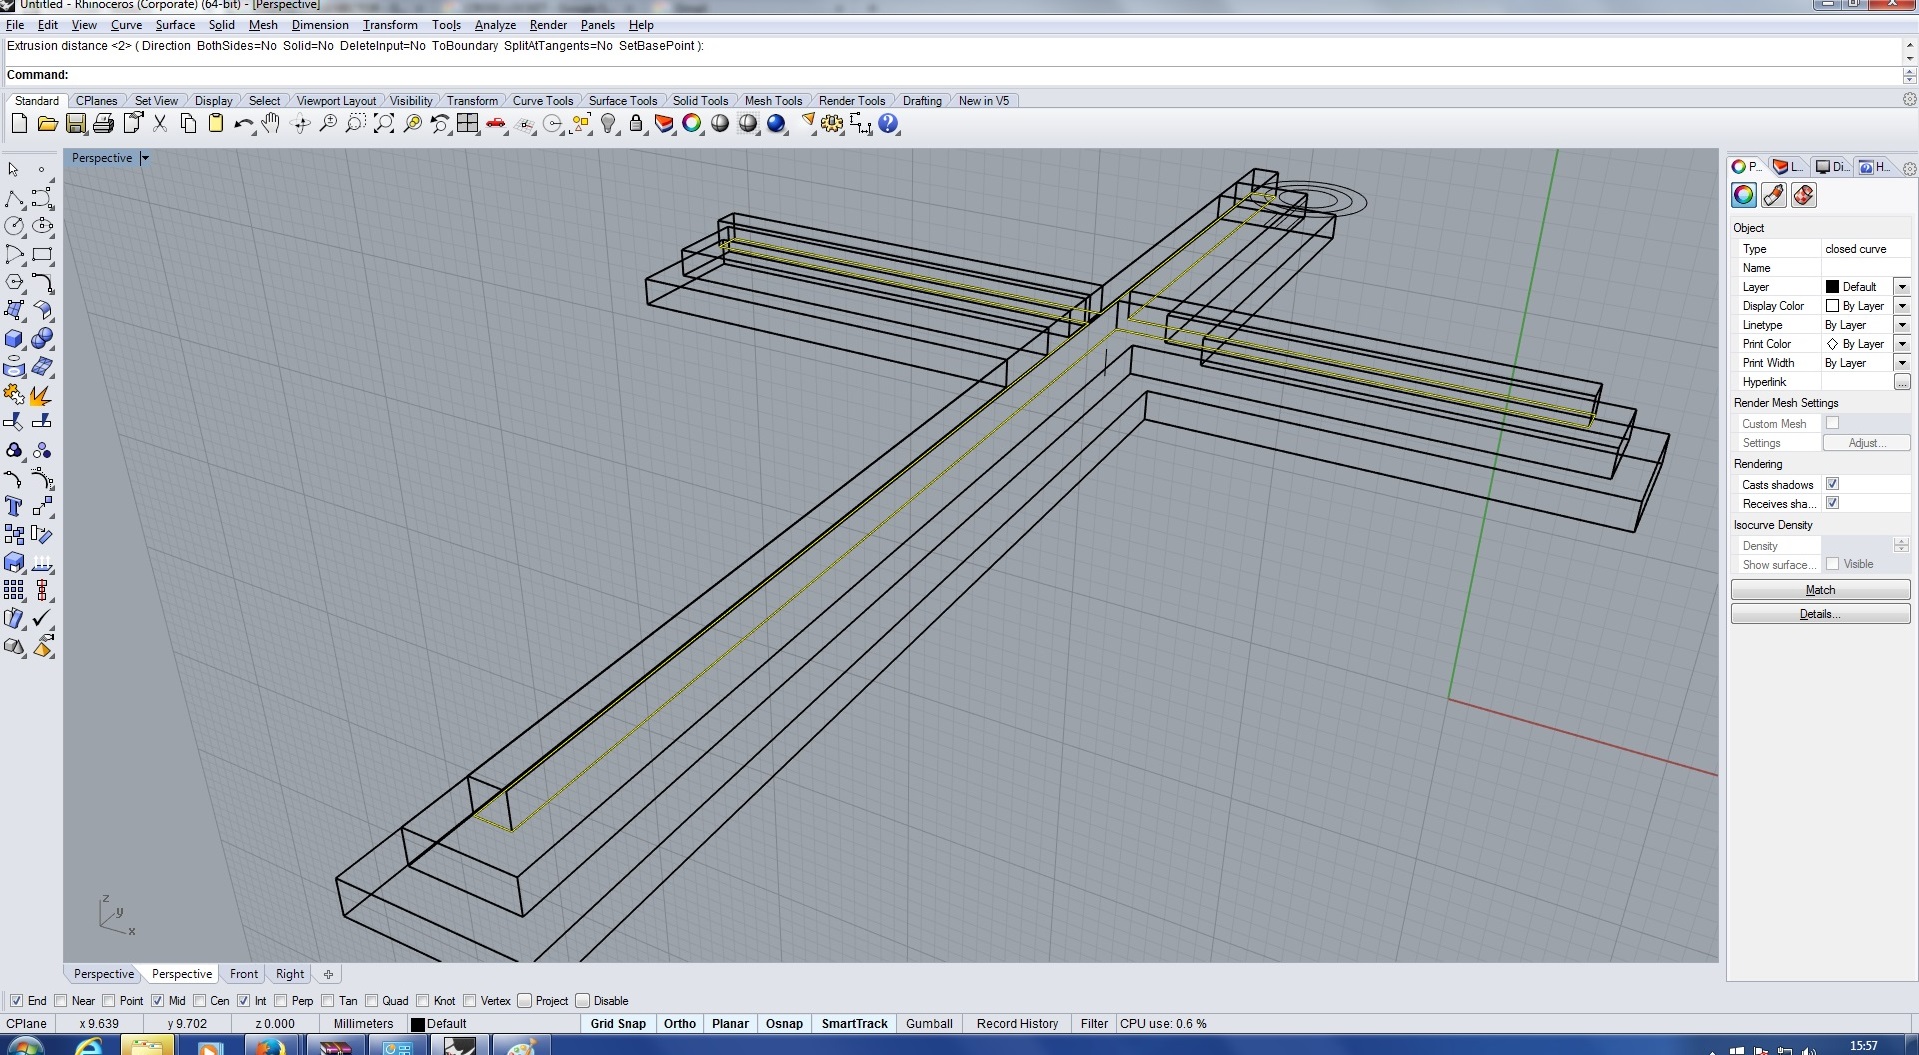
Extruded it to create a 3D model. The design for the mould is ready
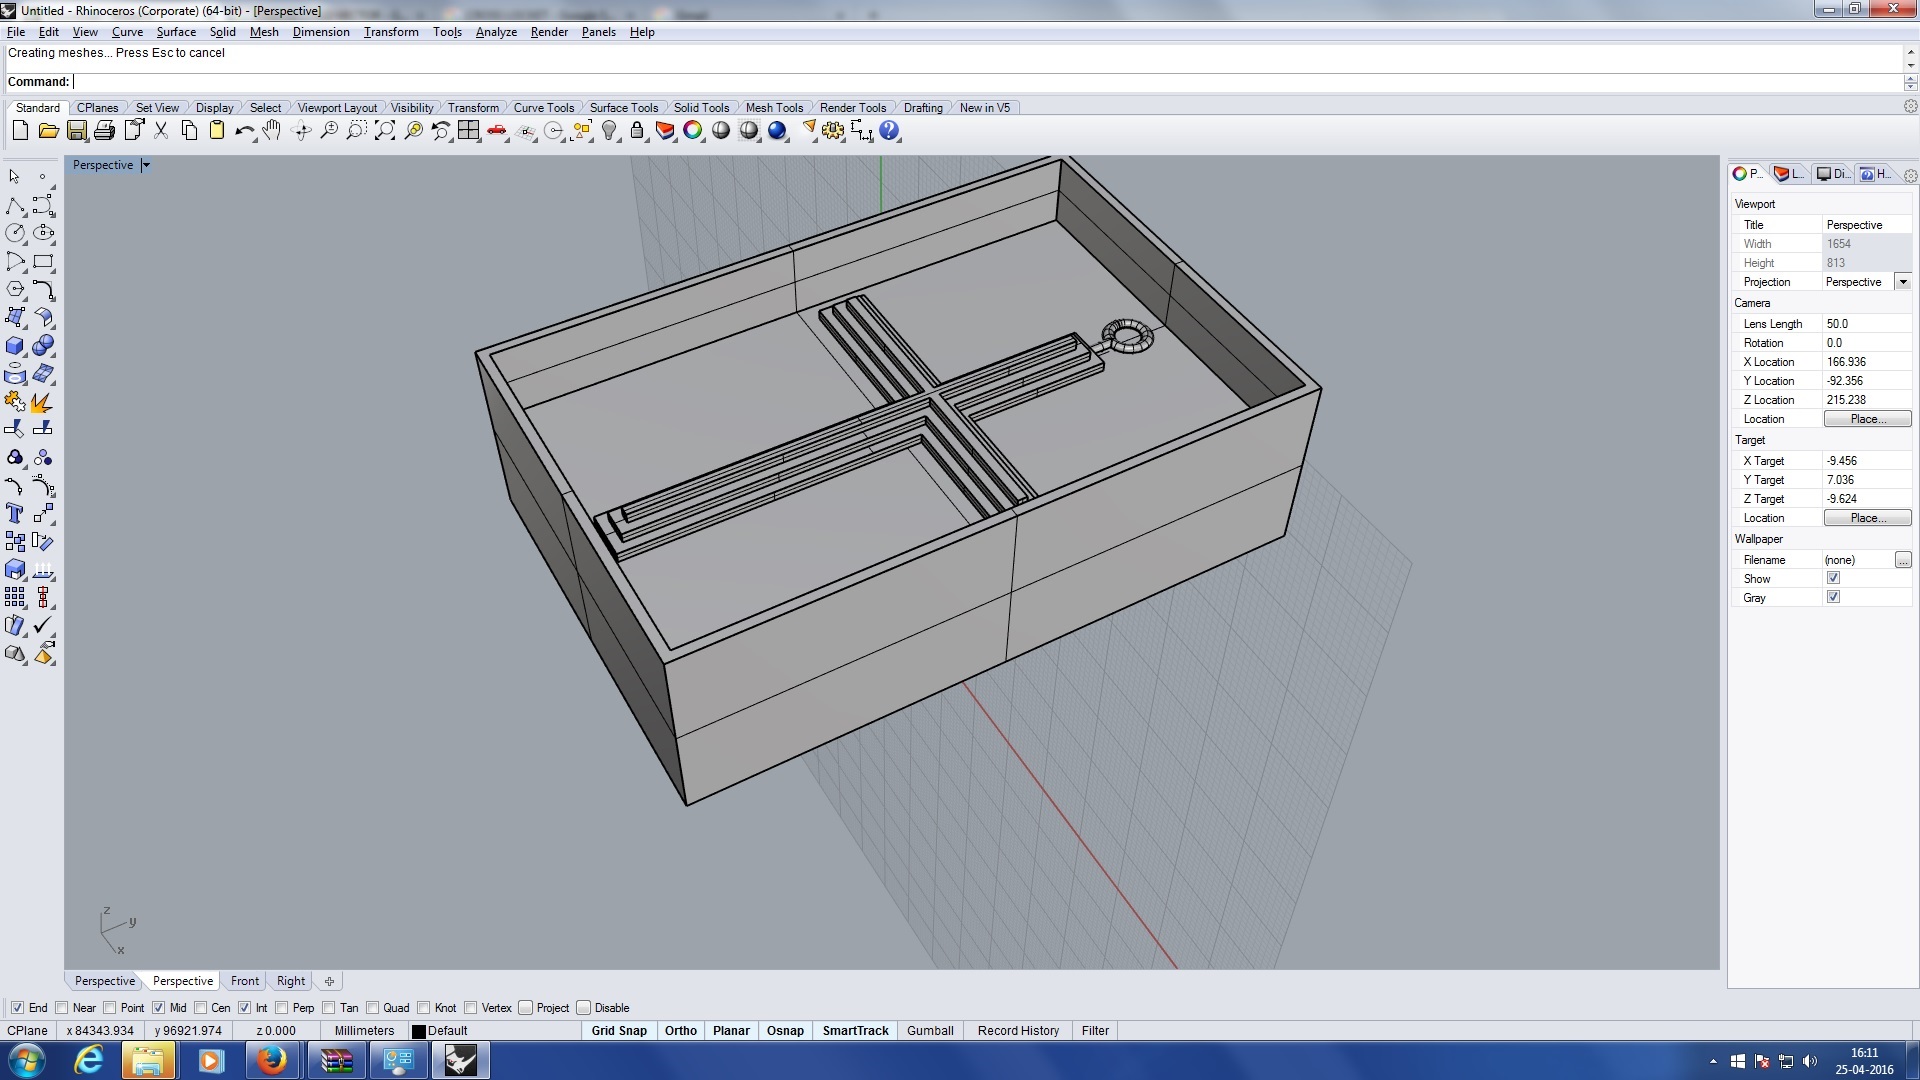
First I'll be creating creating another heat resistant silicon rubber mold using this mold and then finally make a metal cross using that mold.
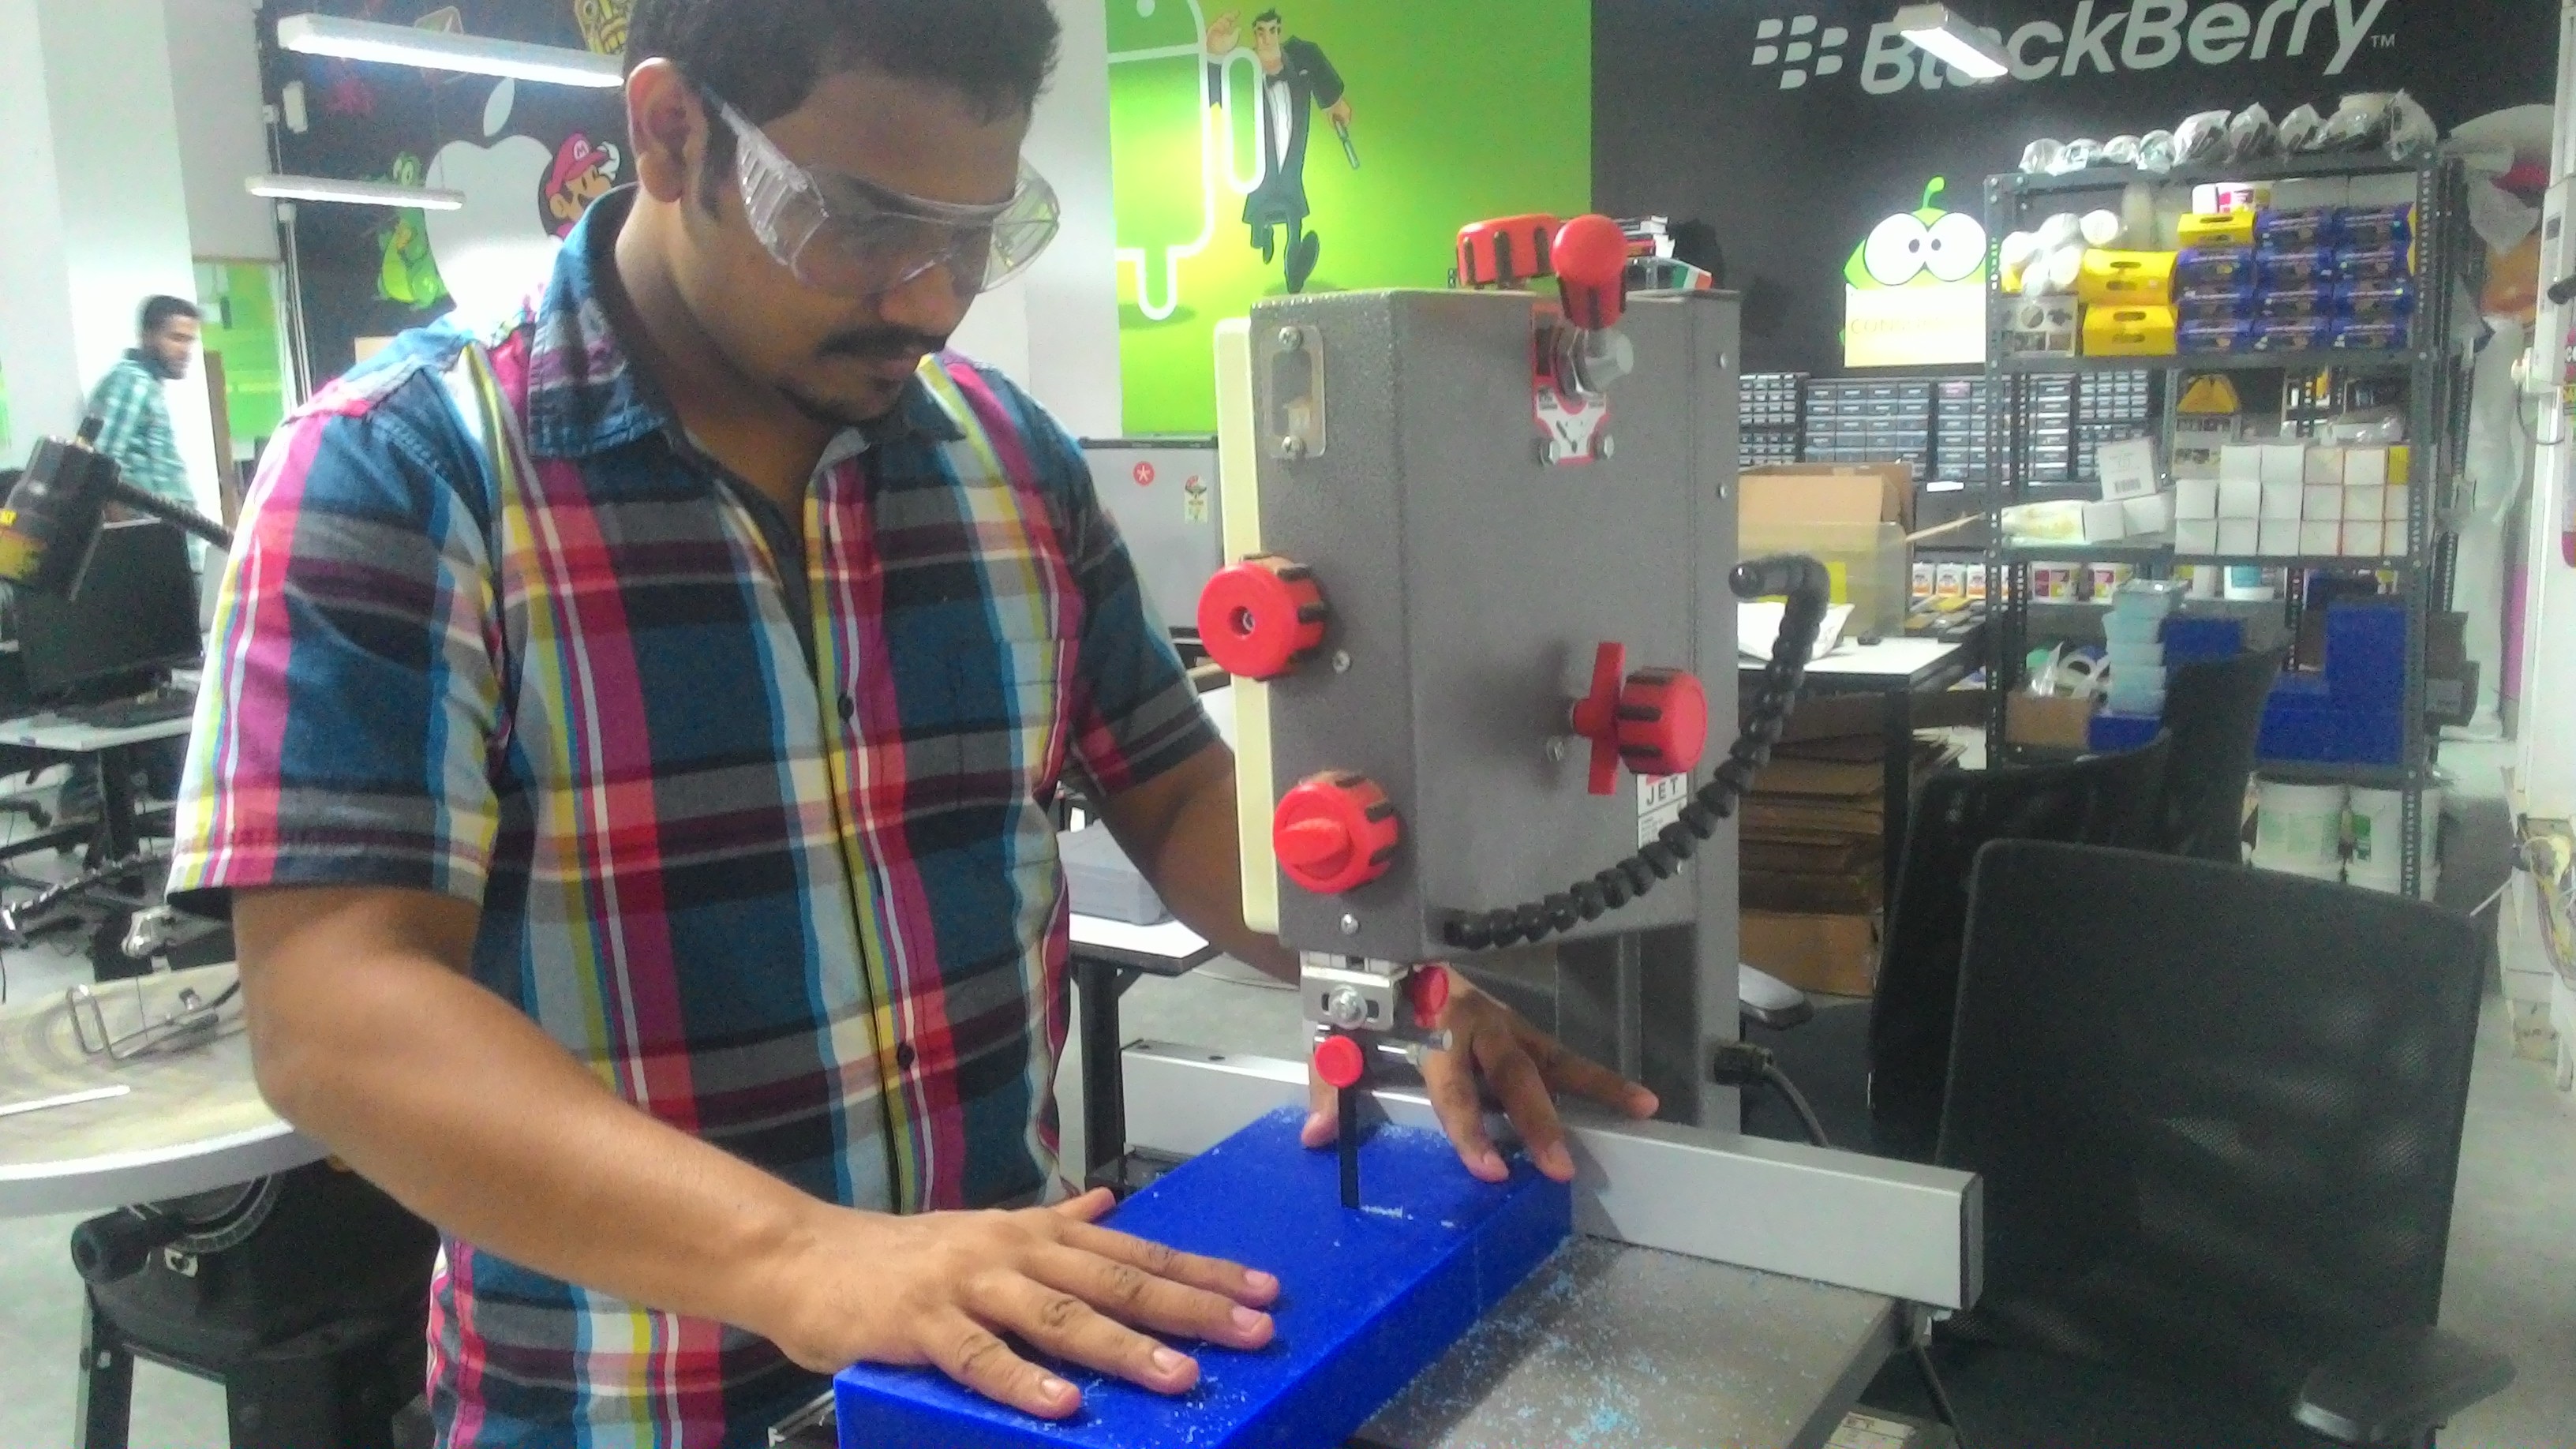
I Cut a peice of machinable wax using bandsaw
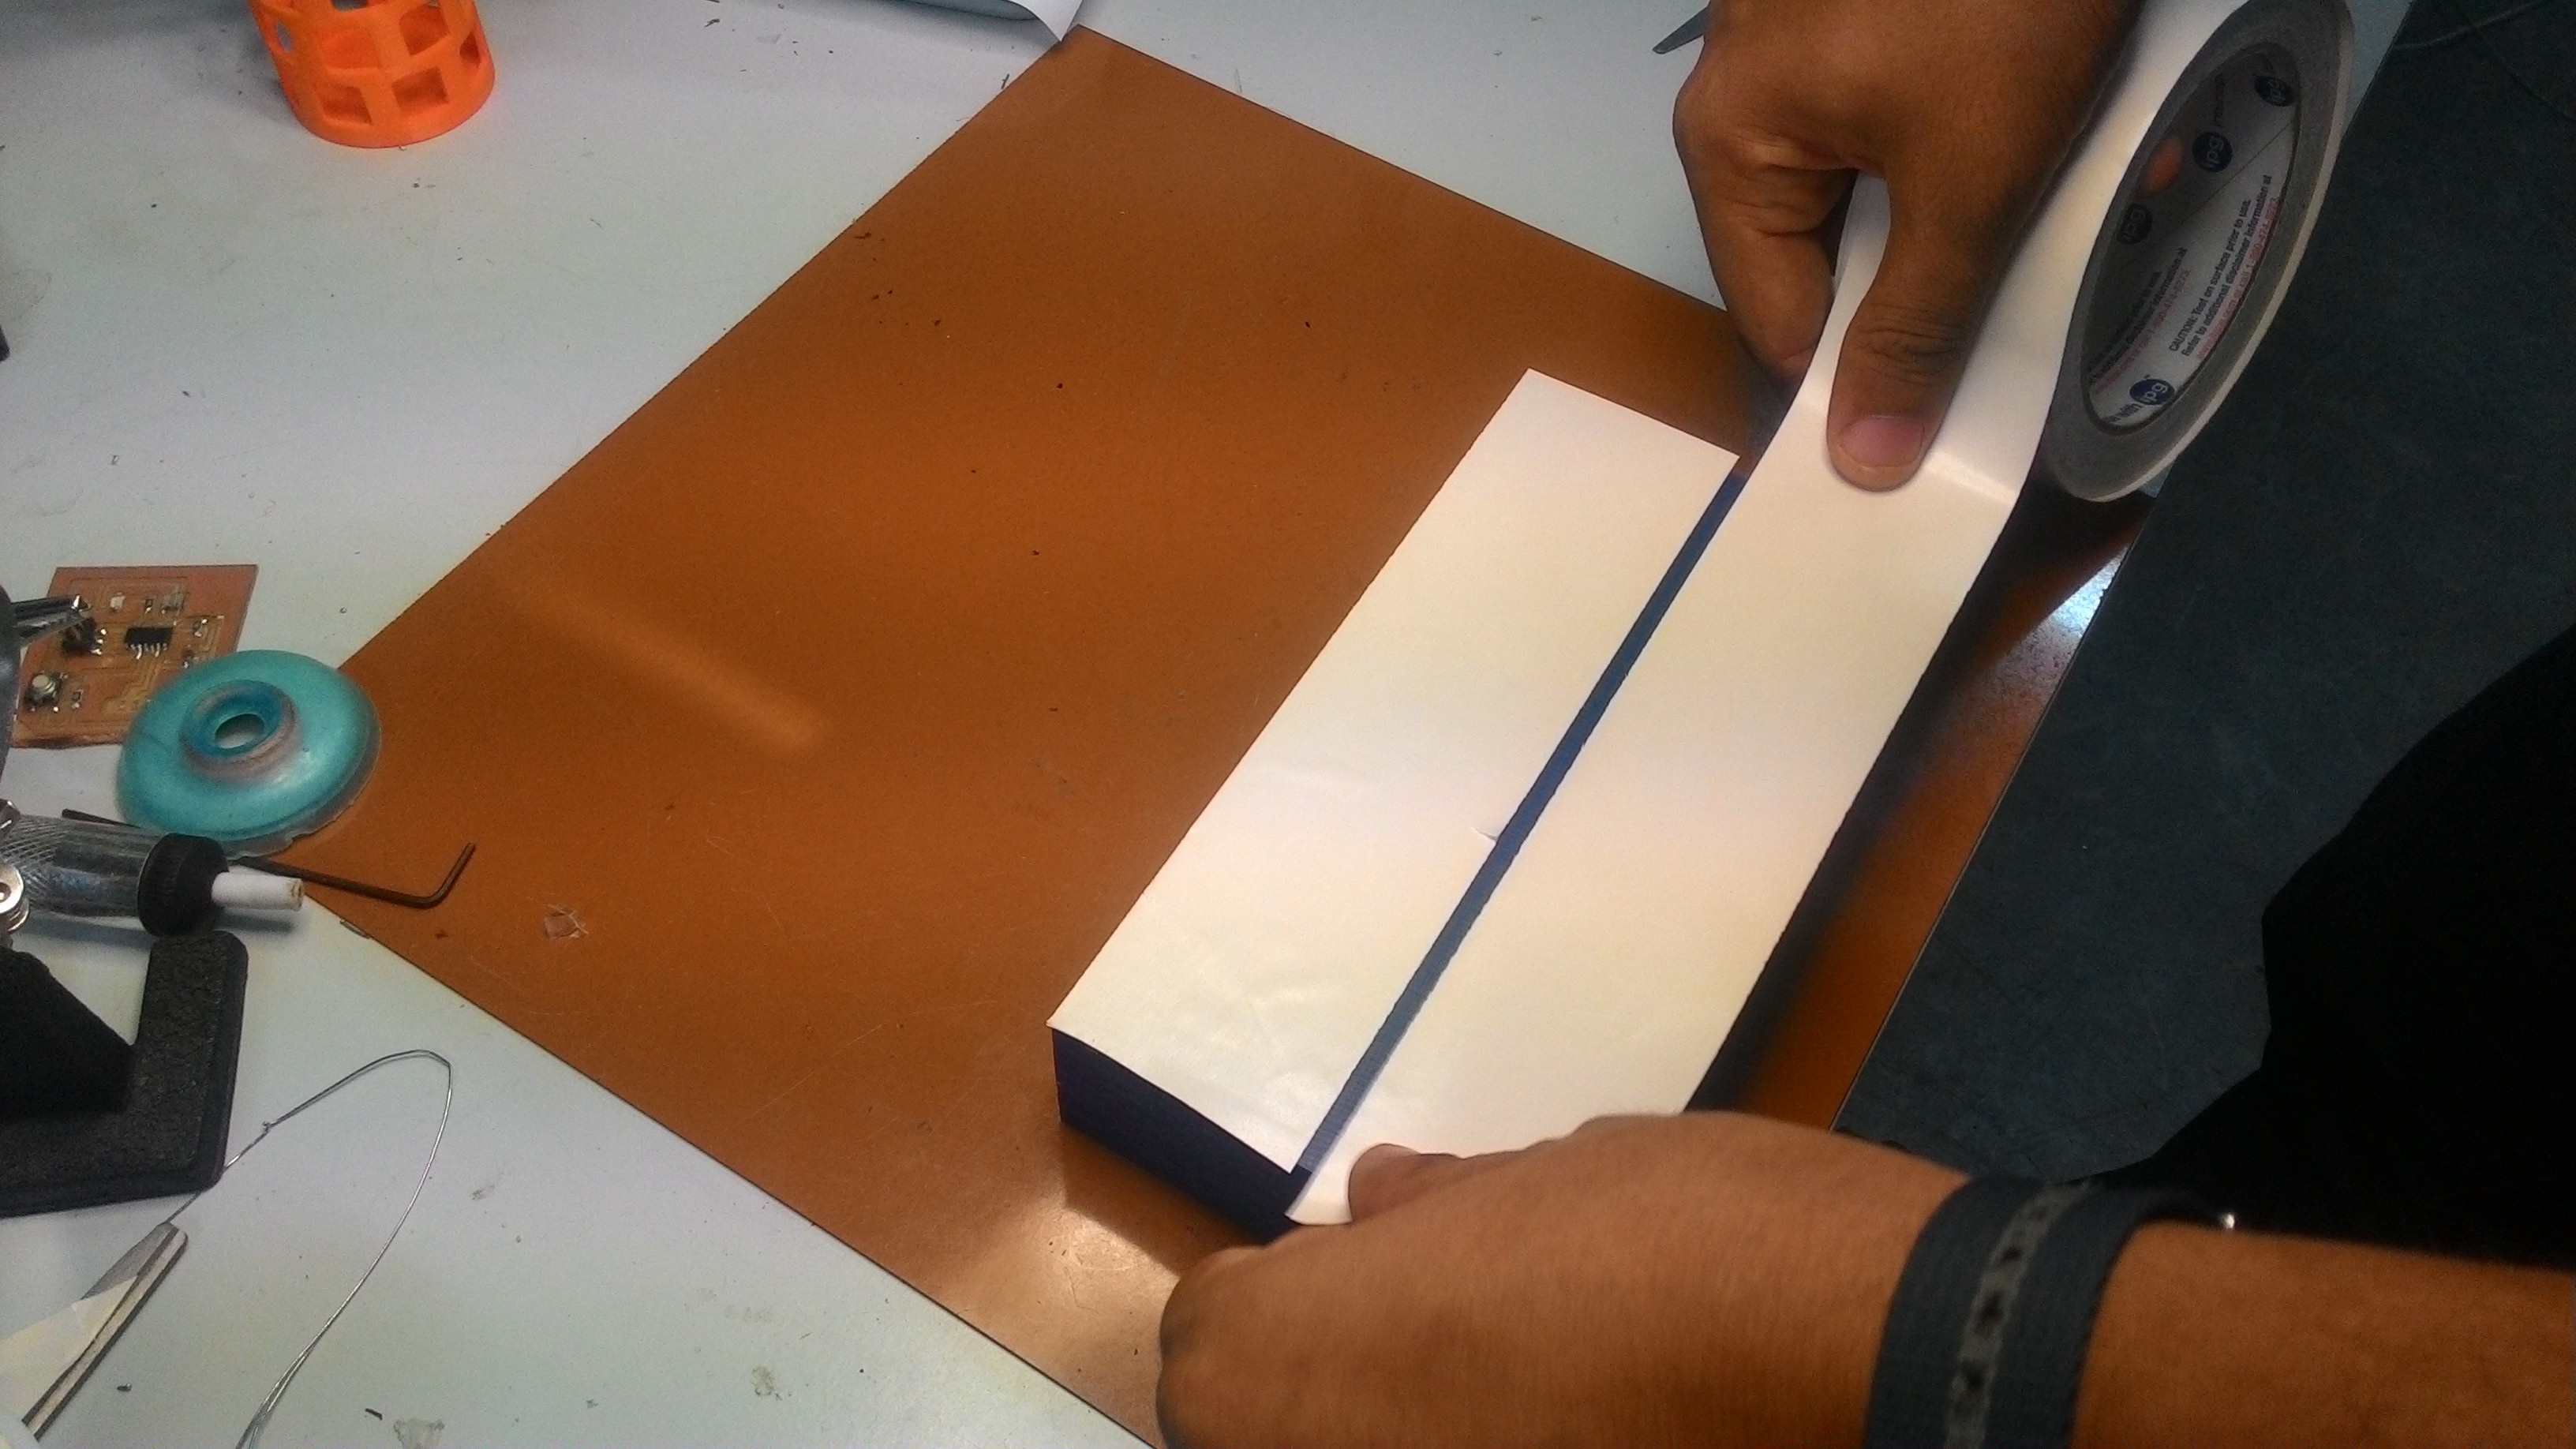
Sticked the piece of wax to the bed of Roland Modella MDX 20 using double sided tape.
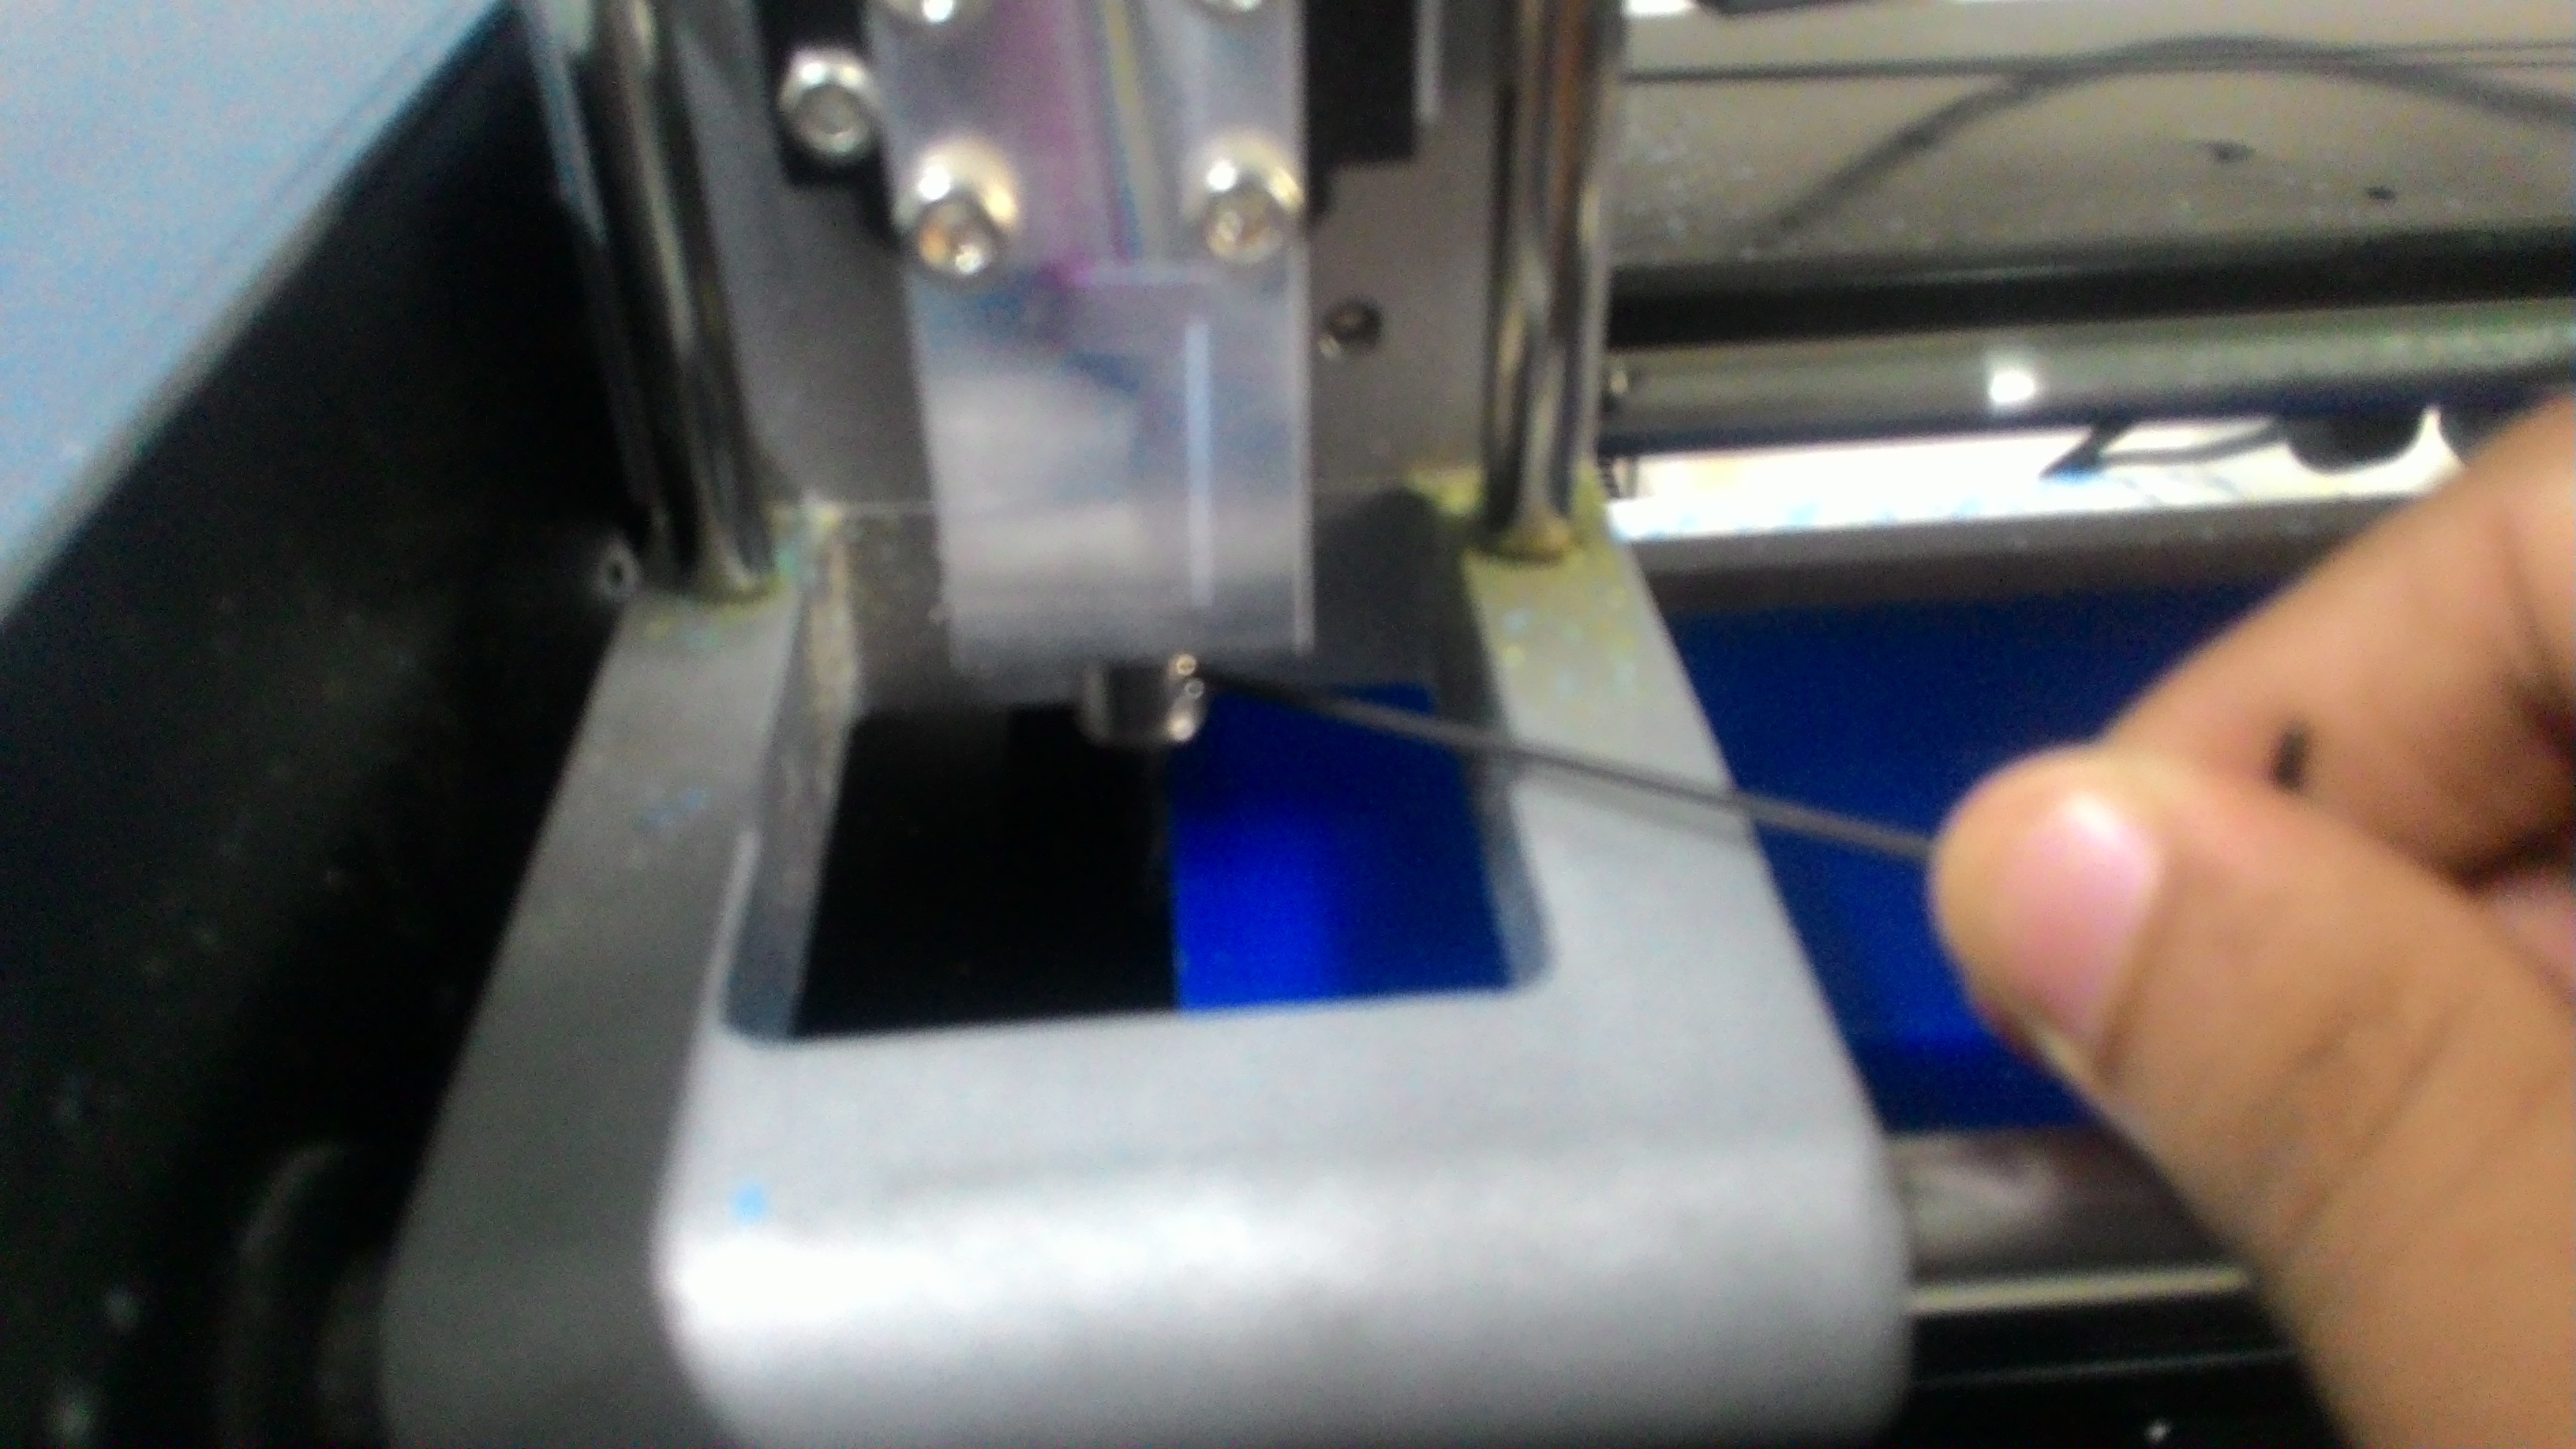
Changed the bit using allen key and set zero using the fab Module.
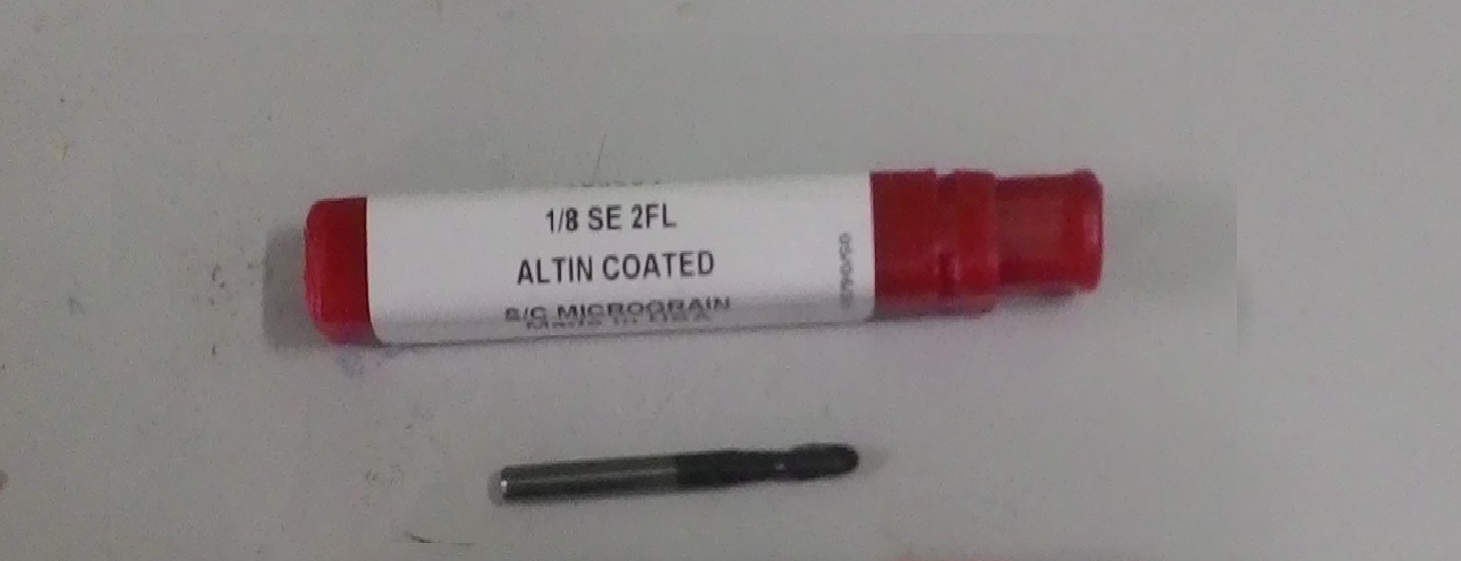
For creating molds using machinable wax, we use the 1/8 SE 2FL milling bit.
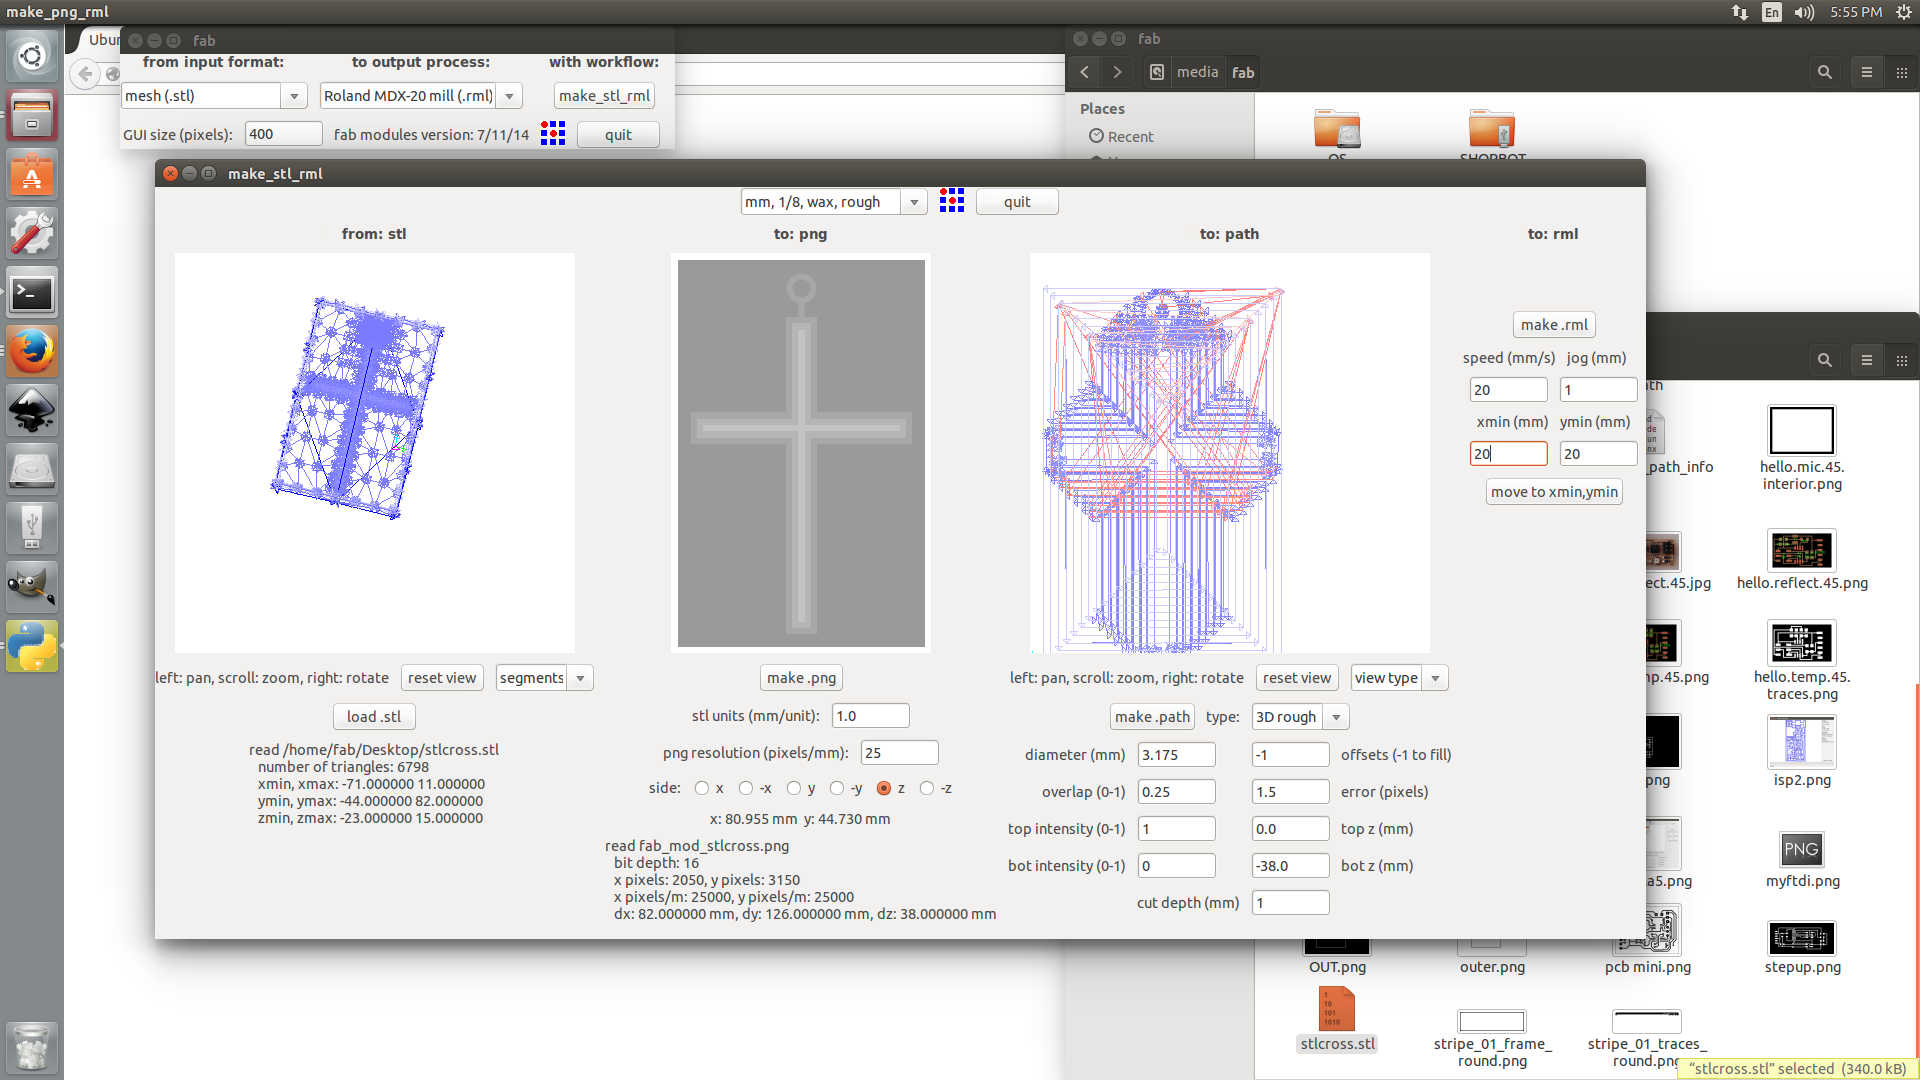
In fab module, I opened stl file in fab module and selected Roland modella. from dropdown, I selected 1/8 wax rough, make rml and finally clicked the send it and bigin milling button.
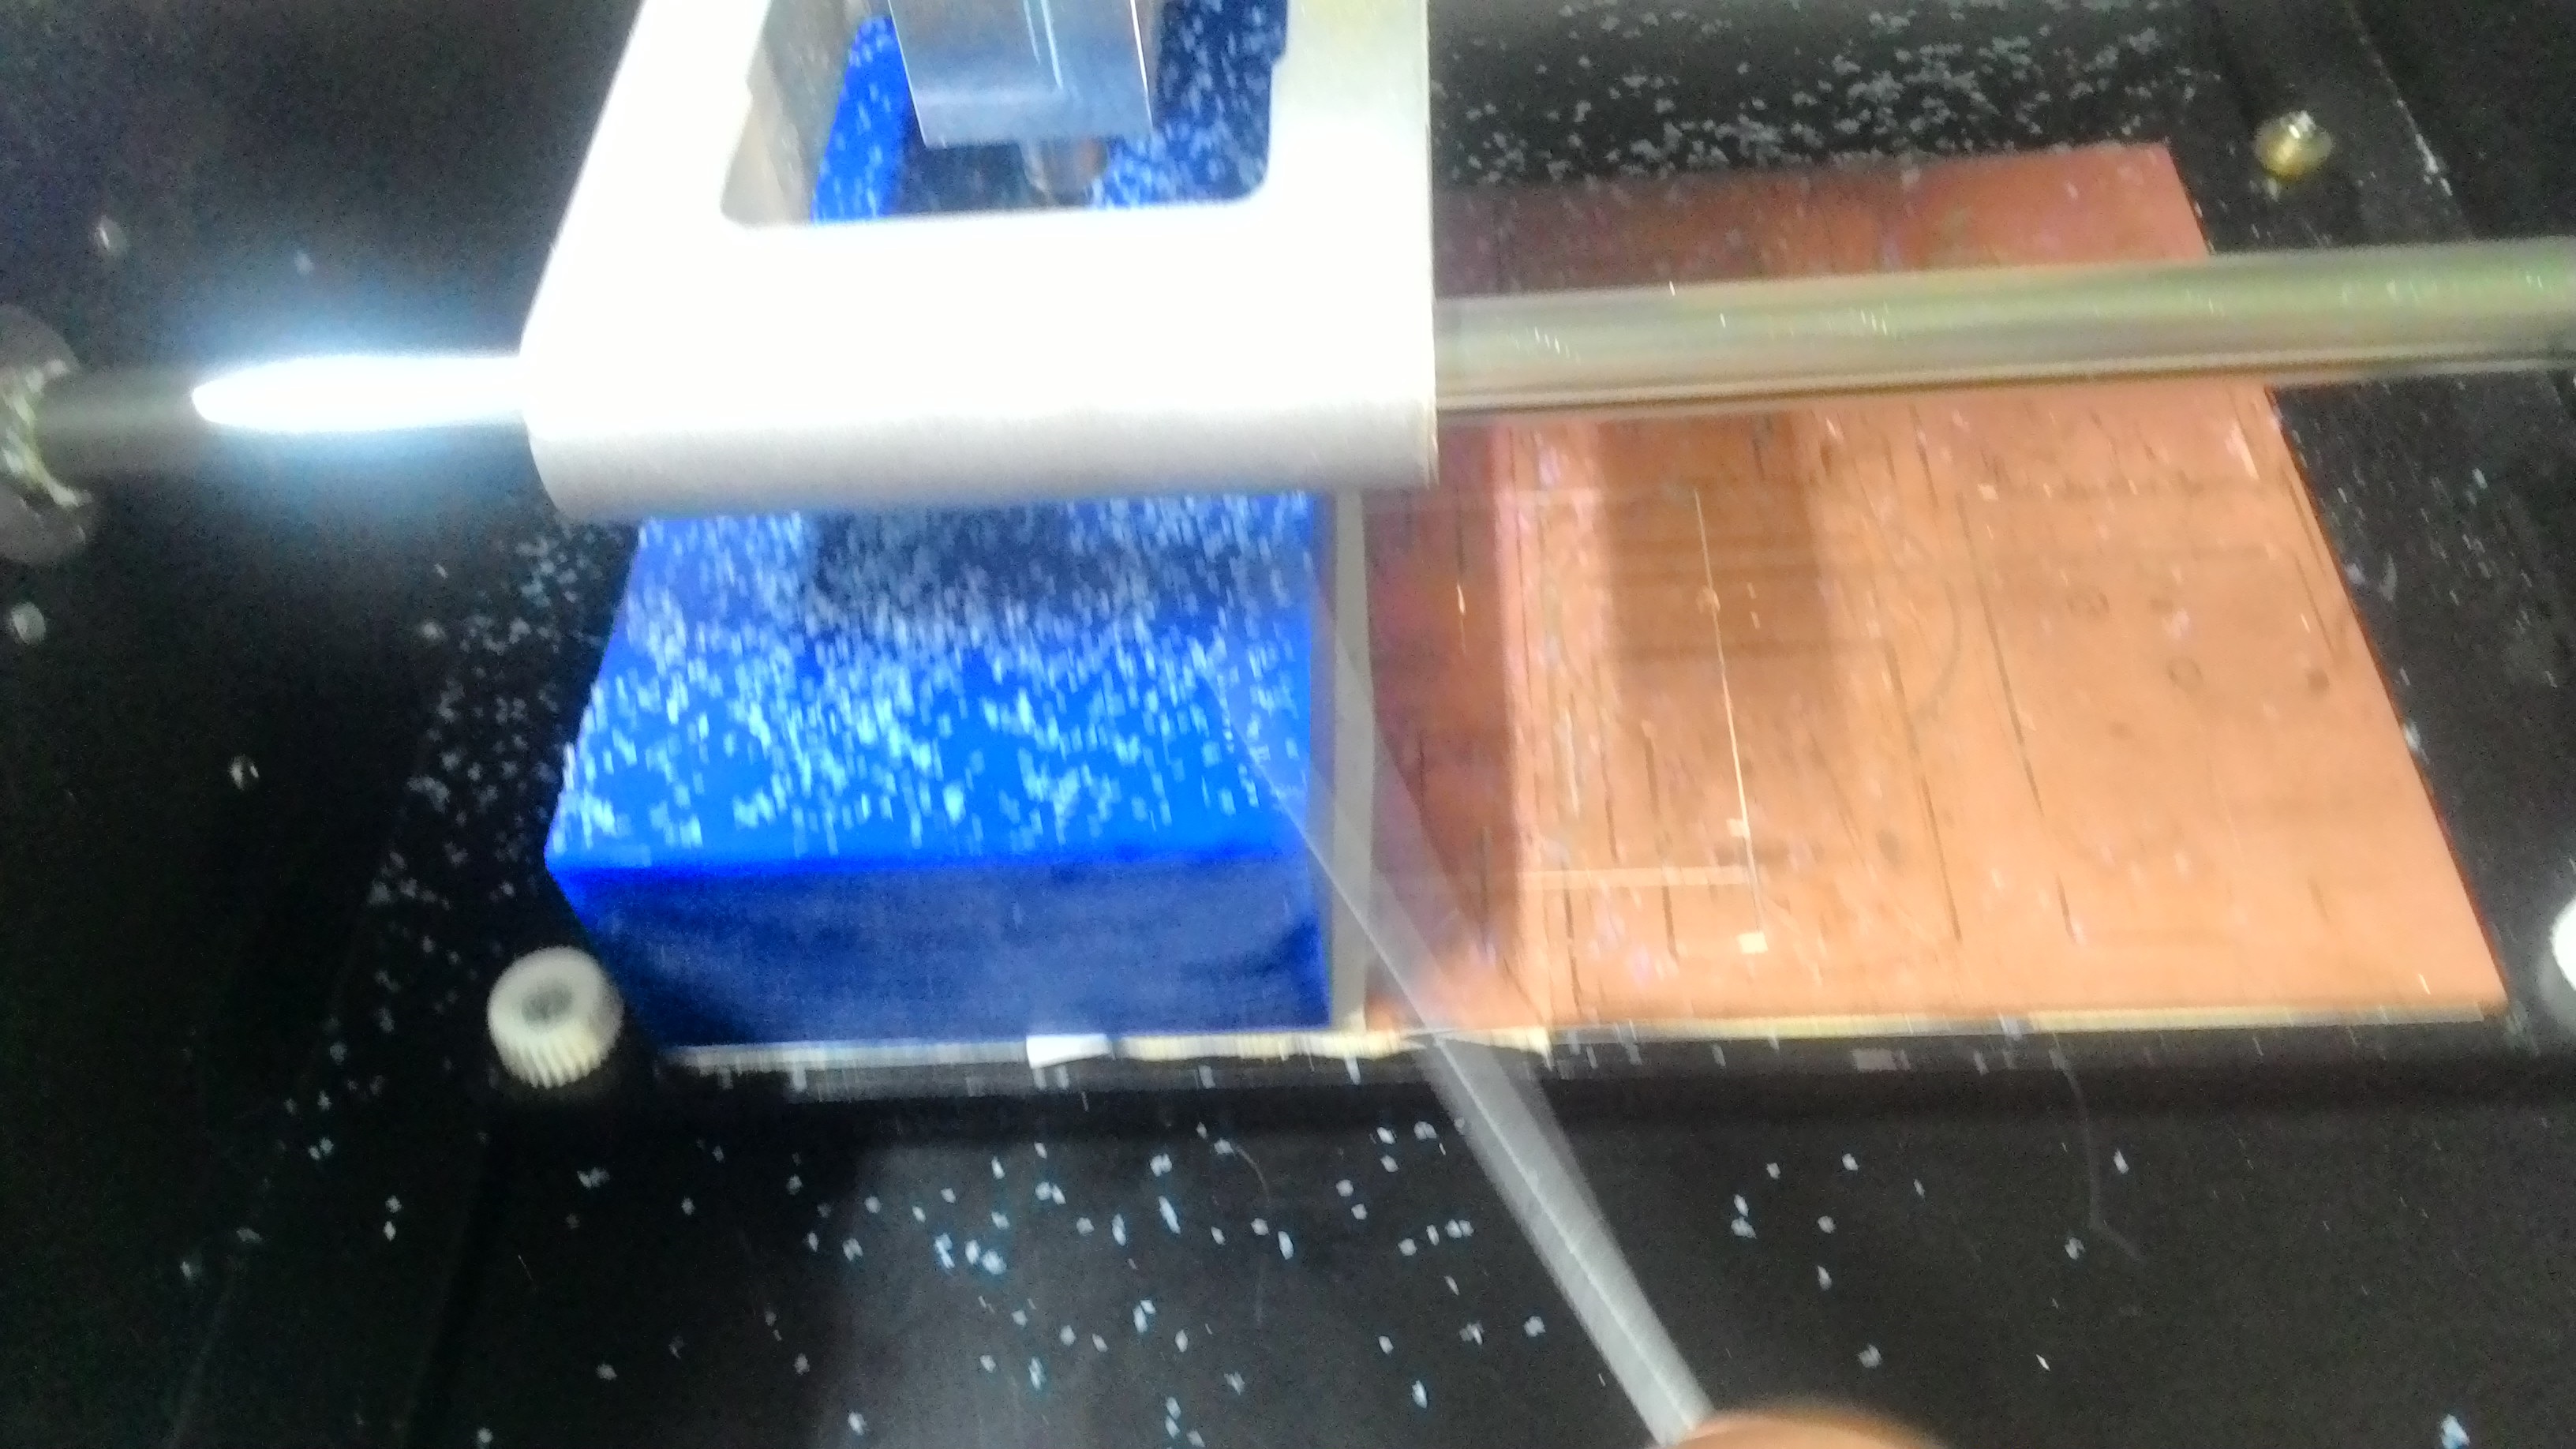
I also did the same process to complete the fine finish as well.
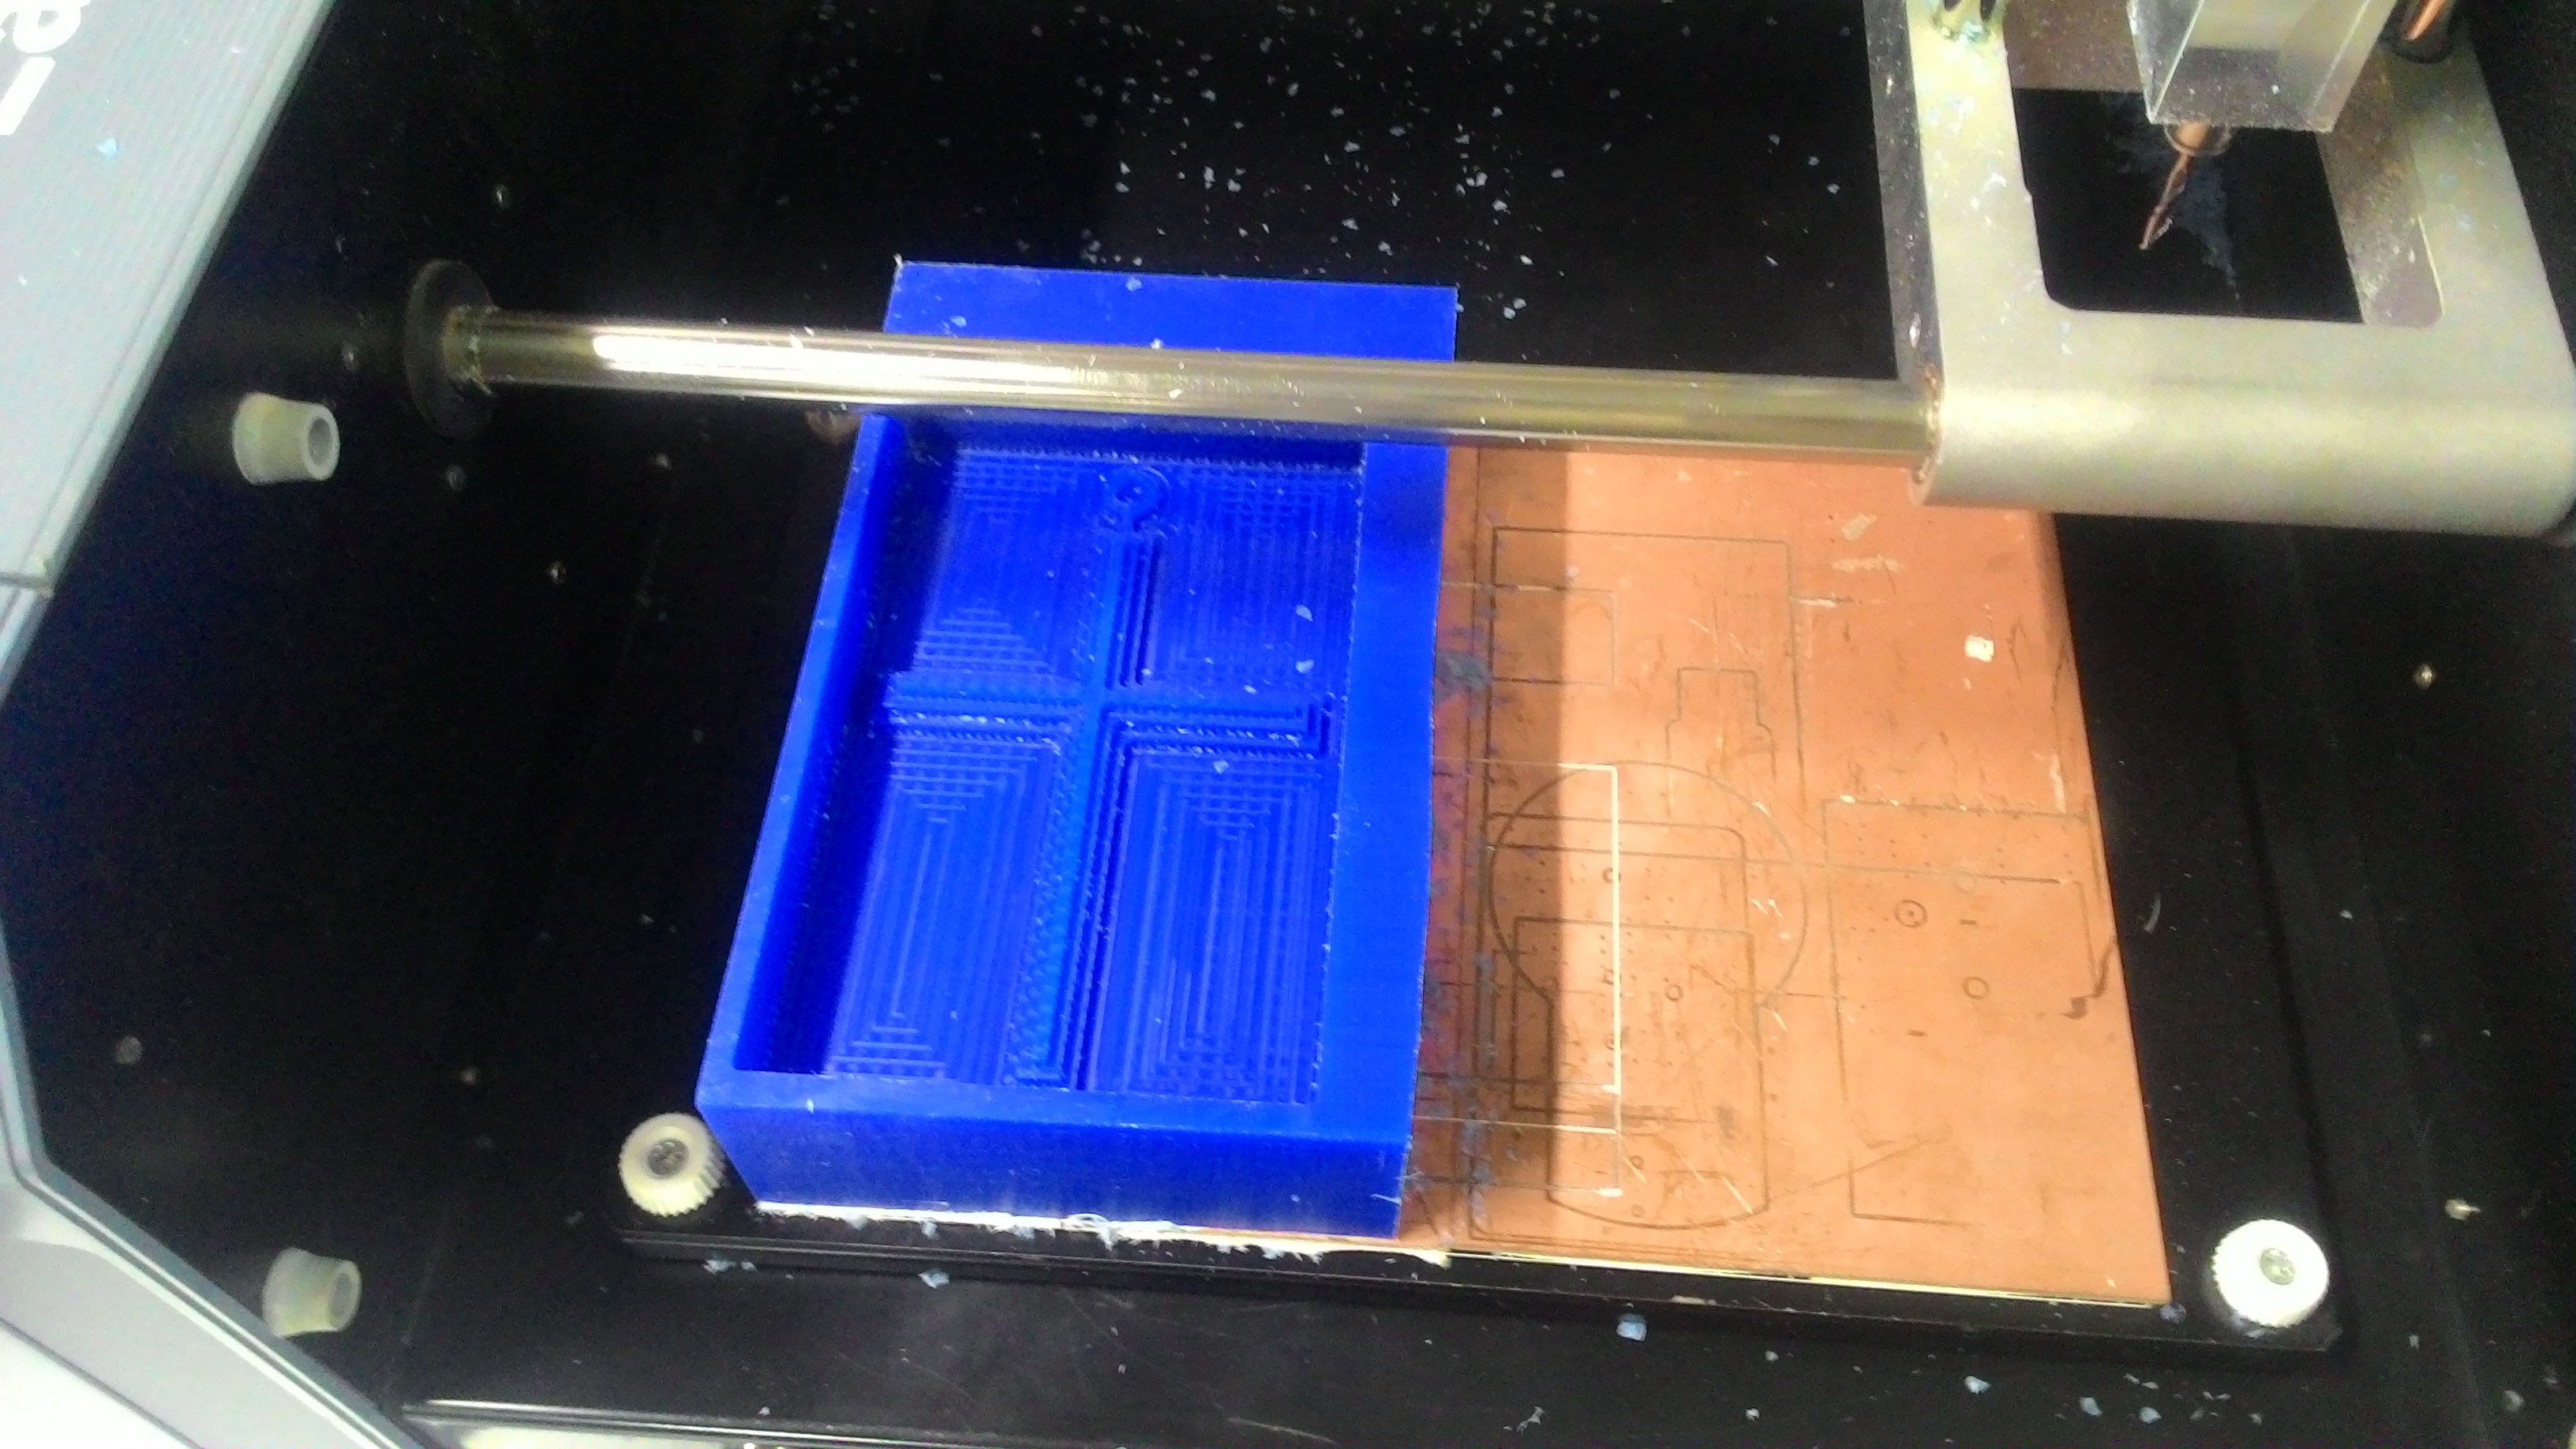
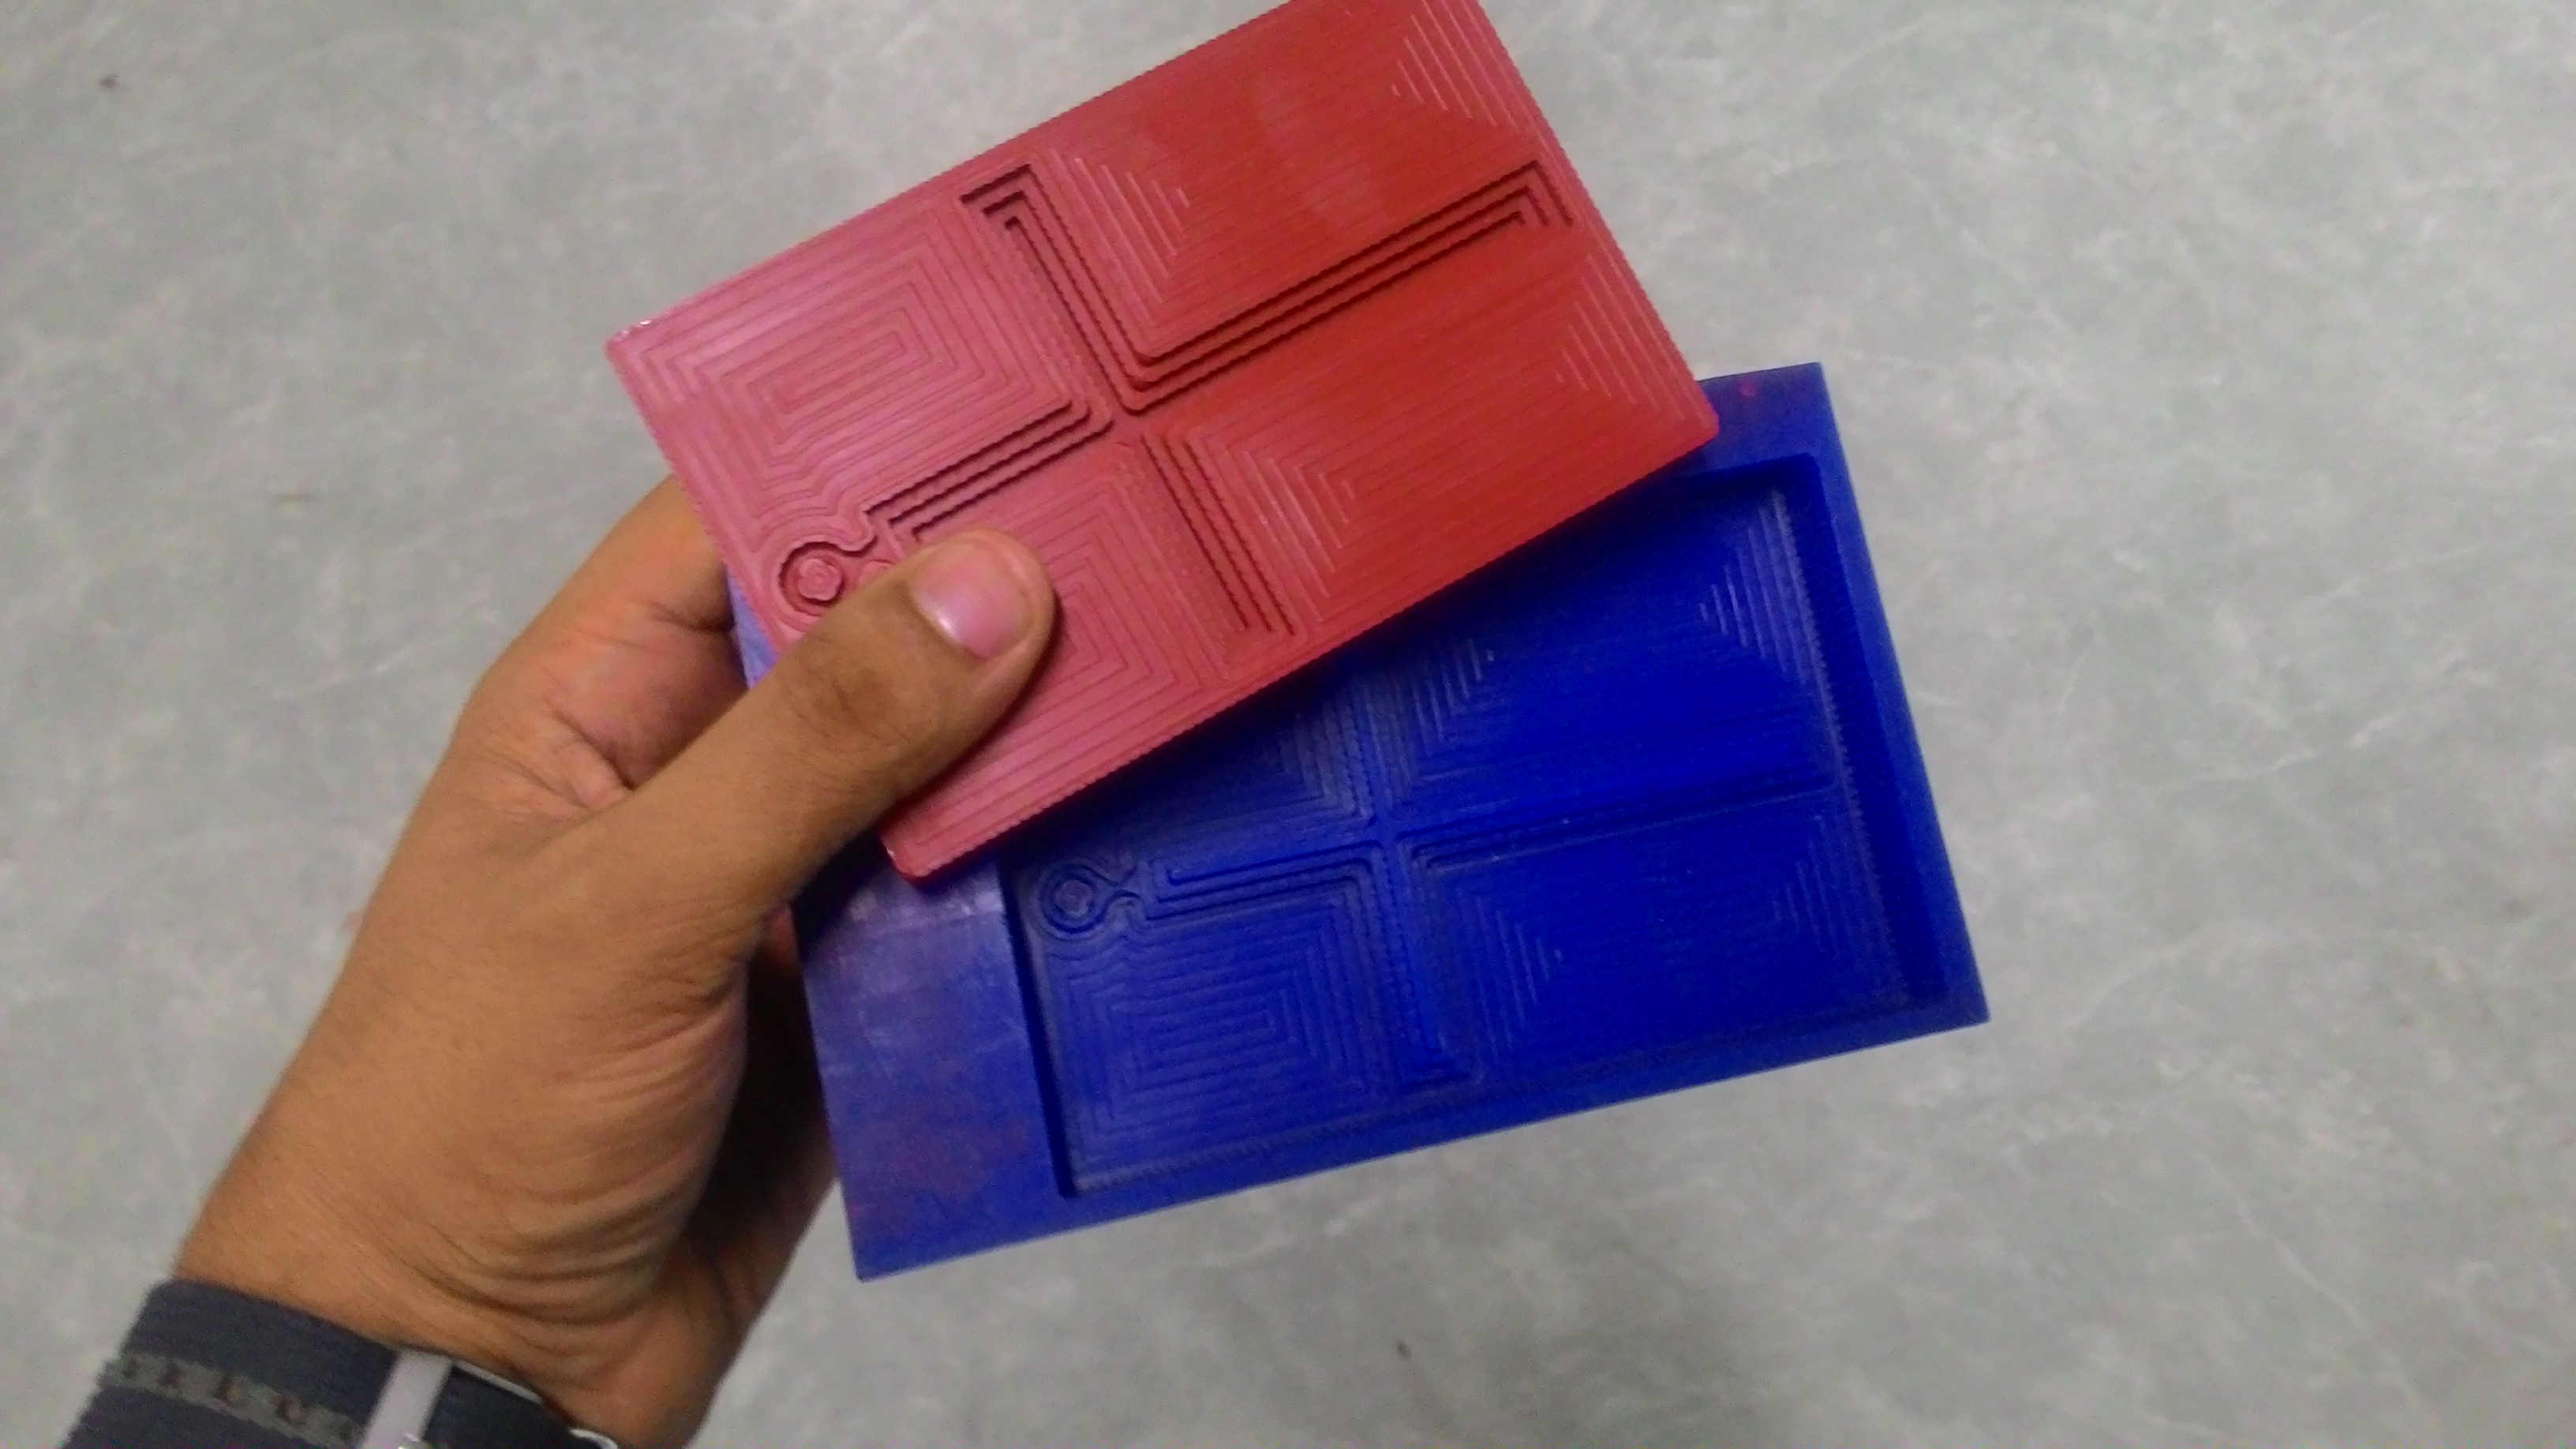
Wax mold for creating heat resistand silicon rubber mold is ready.

To create a lead metal cross, first I need to create a heat resitant mold out of the mold I created. For creating this mold, I'm using Mold Max 60 high heat resistant silicon rubber compound. The ratio to be mixed is 100A to 3B by weight.
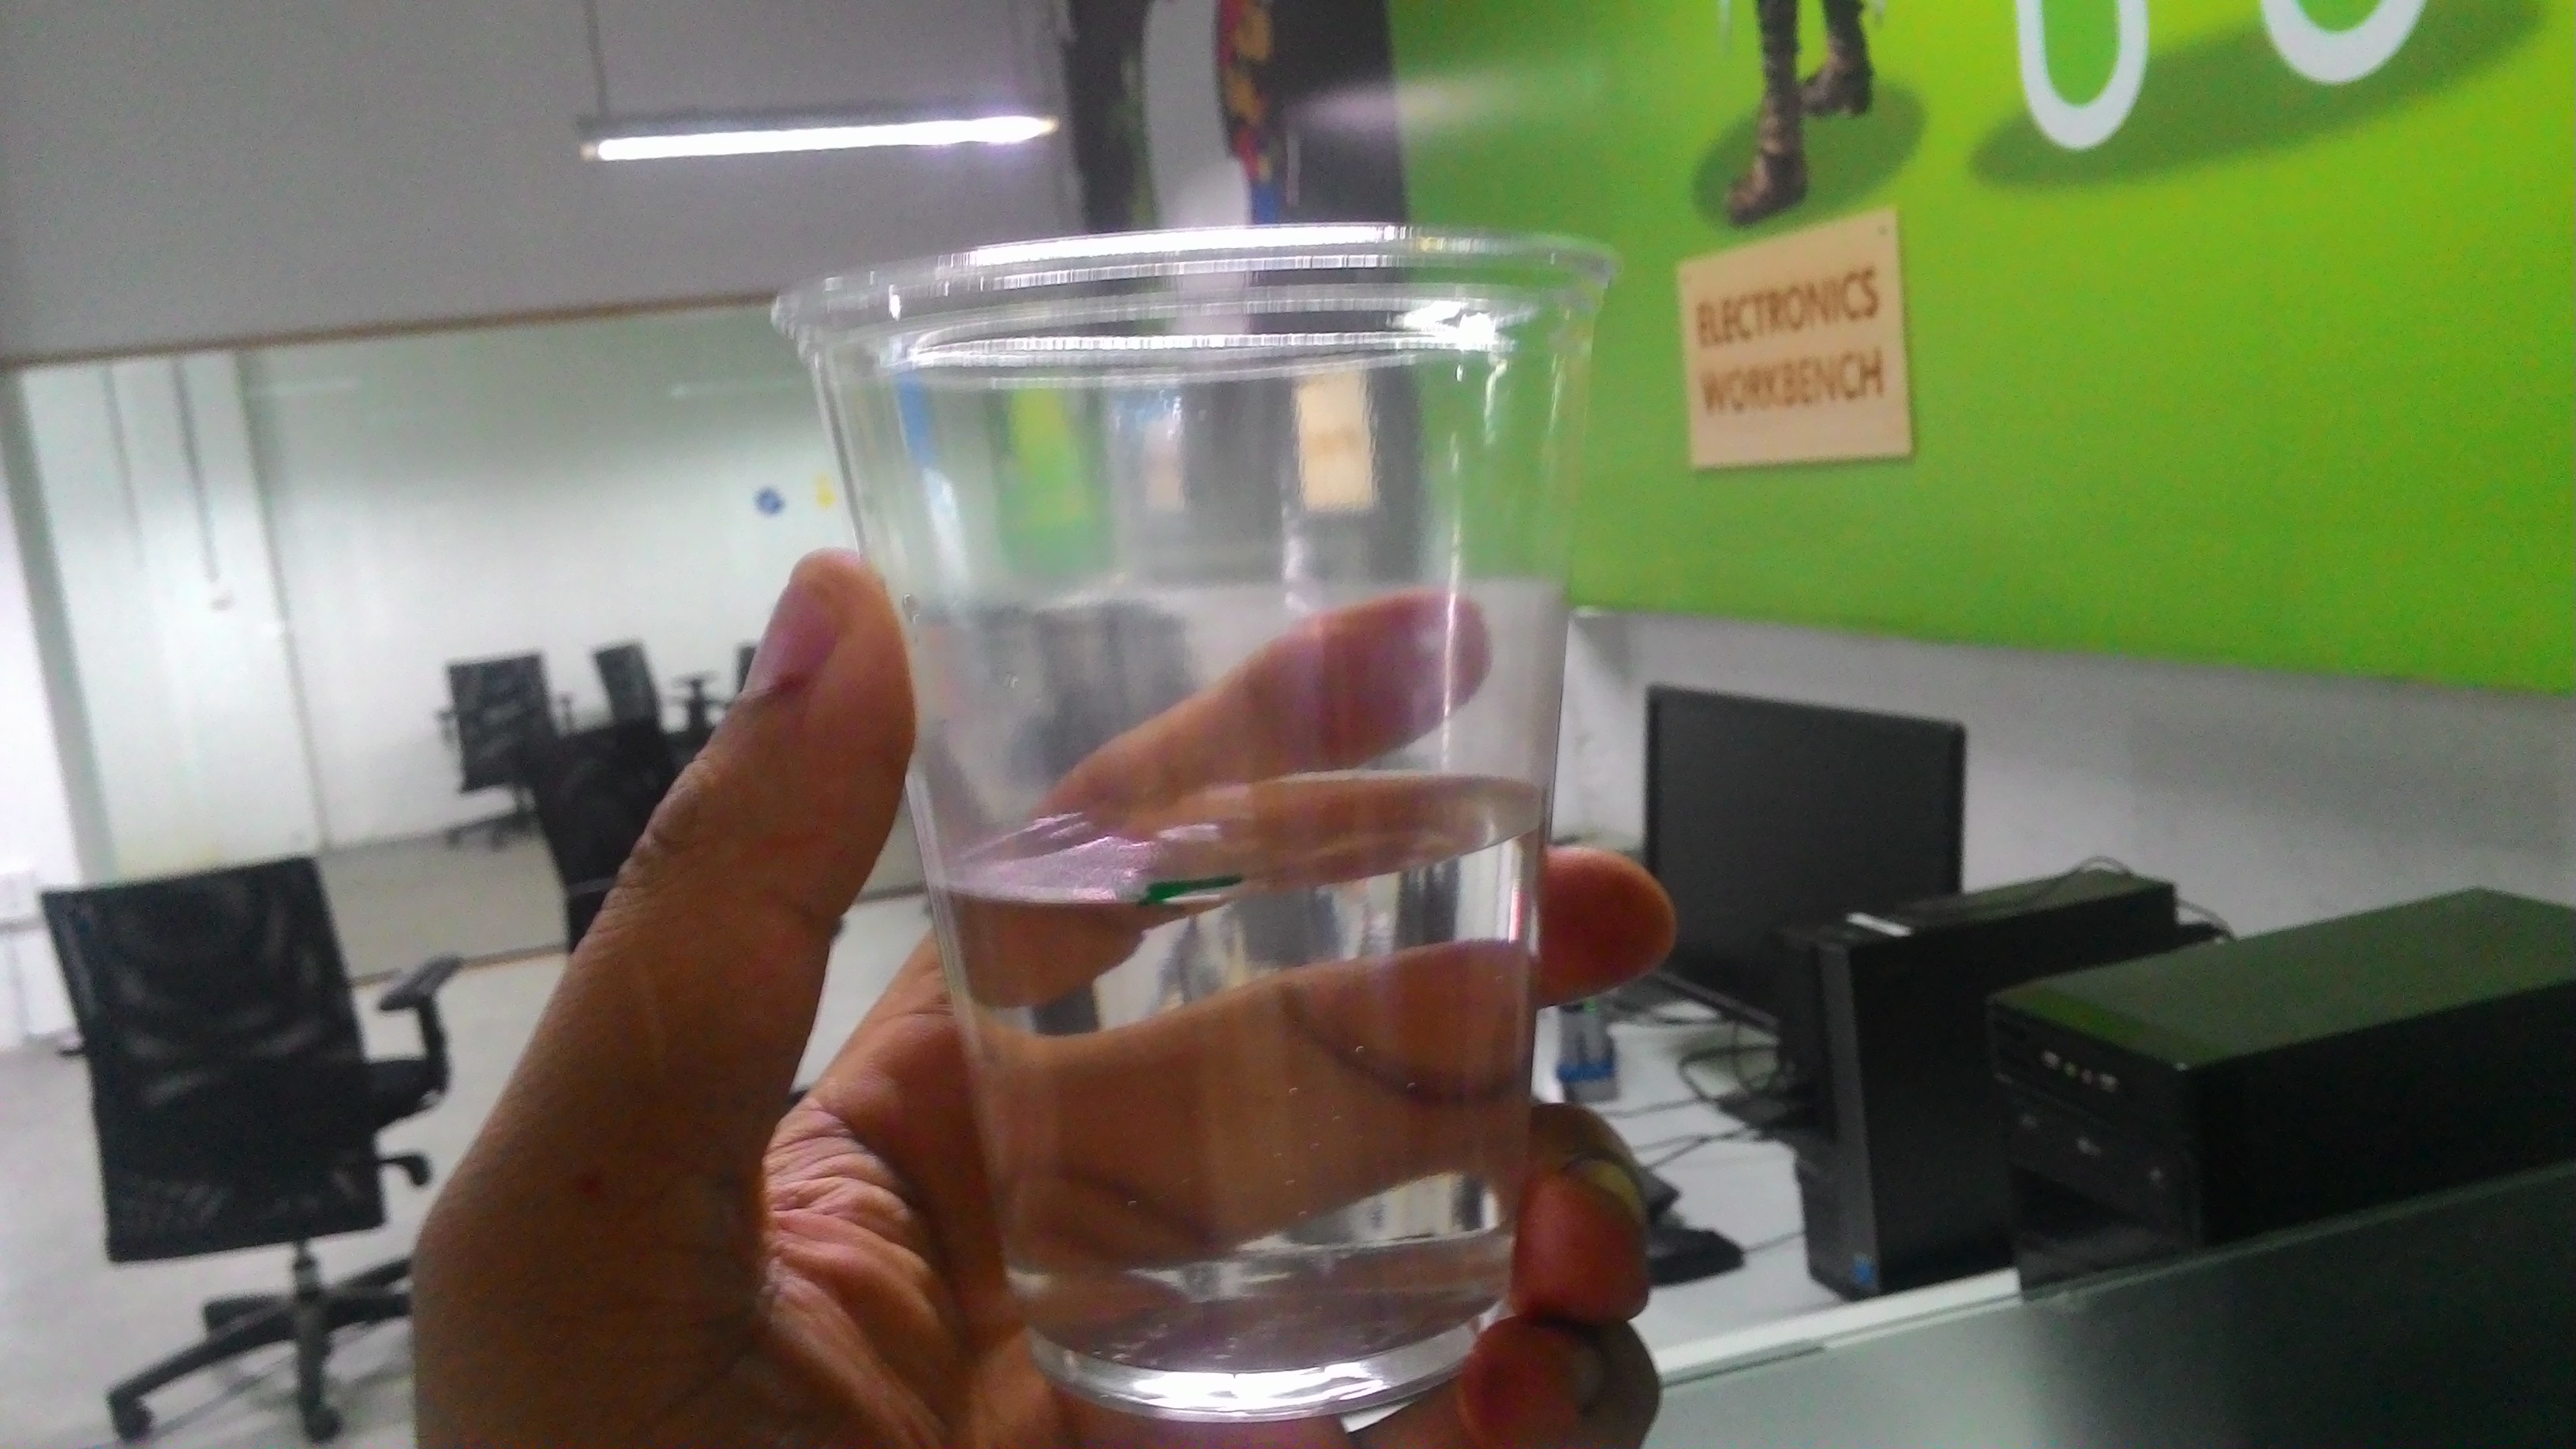
I poured water into the wax mold I created to get an idea on how much volume of compound will be required. I poured that volume of water into a disposible glass and marked the point with a temporary marker. Then I added A of silicon rubber compound uptill that mark.
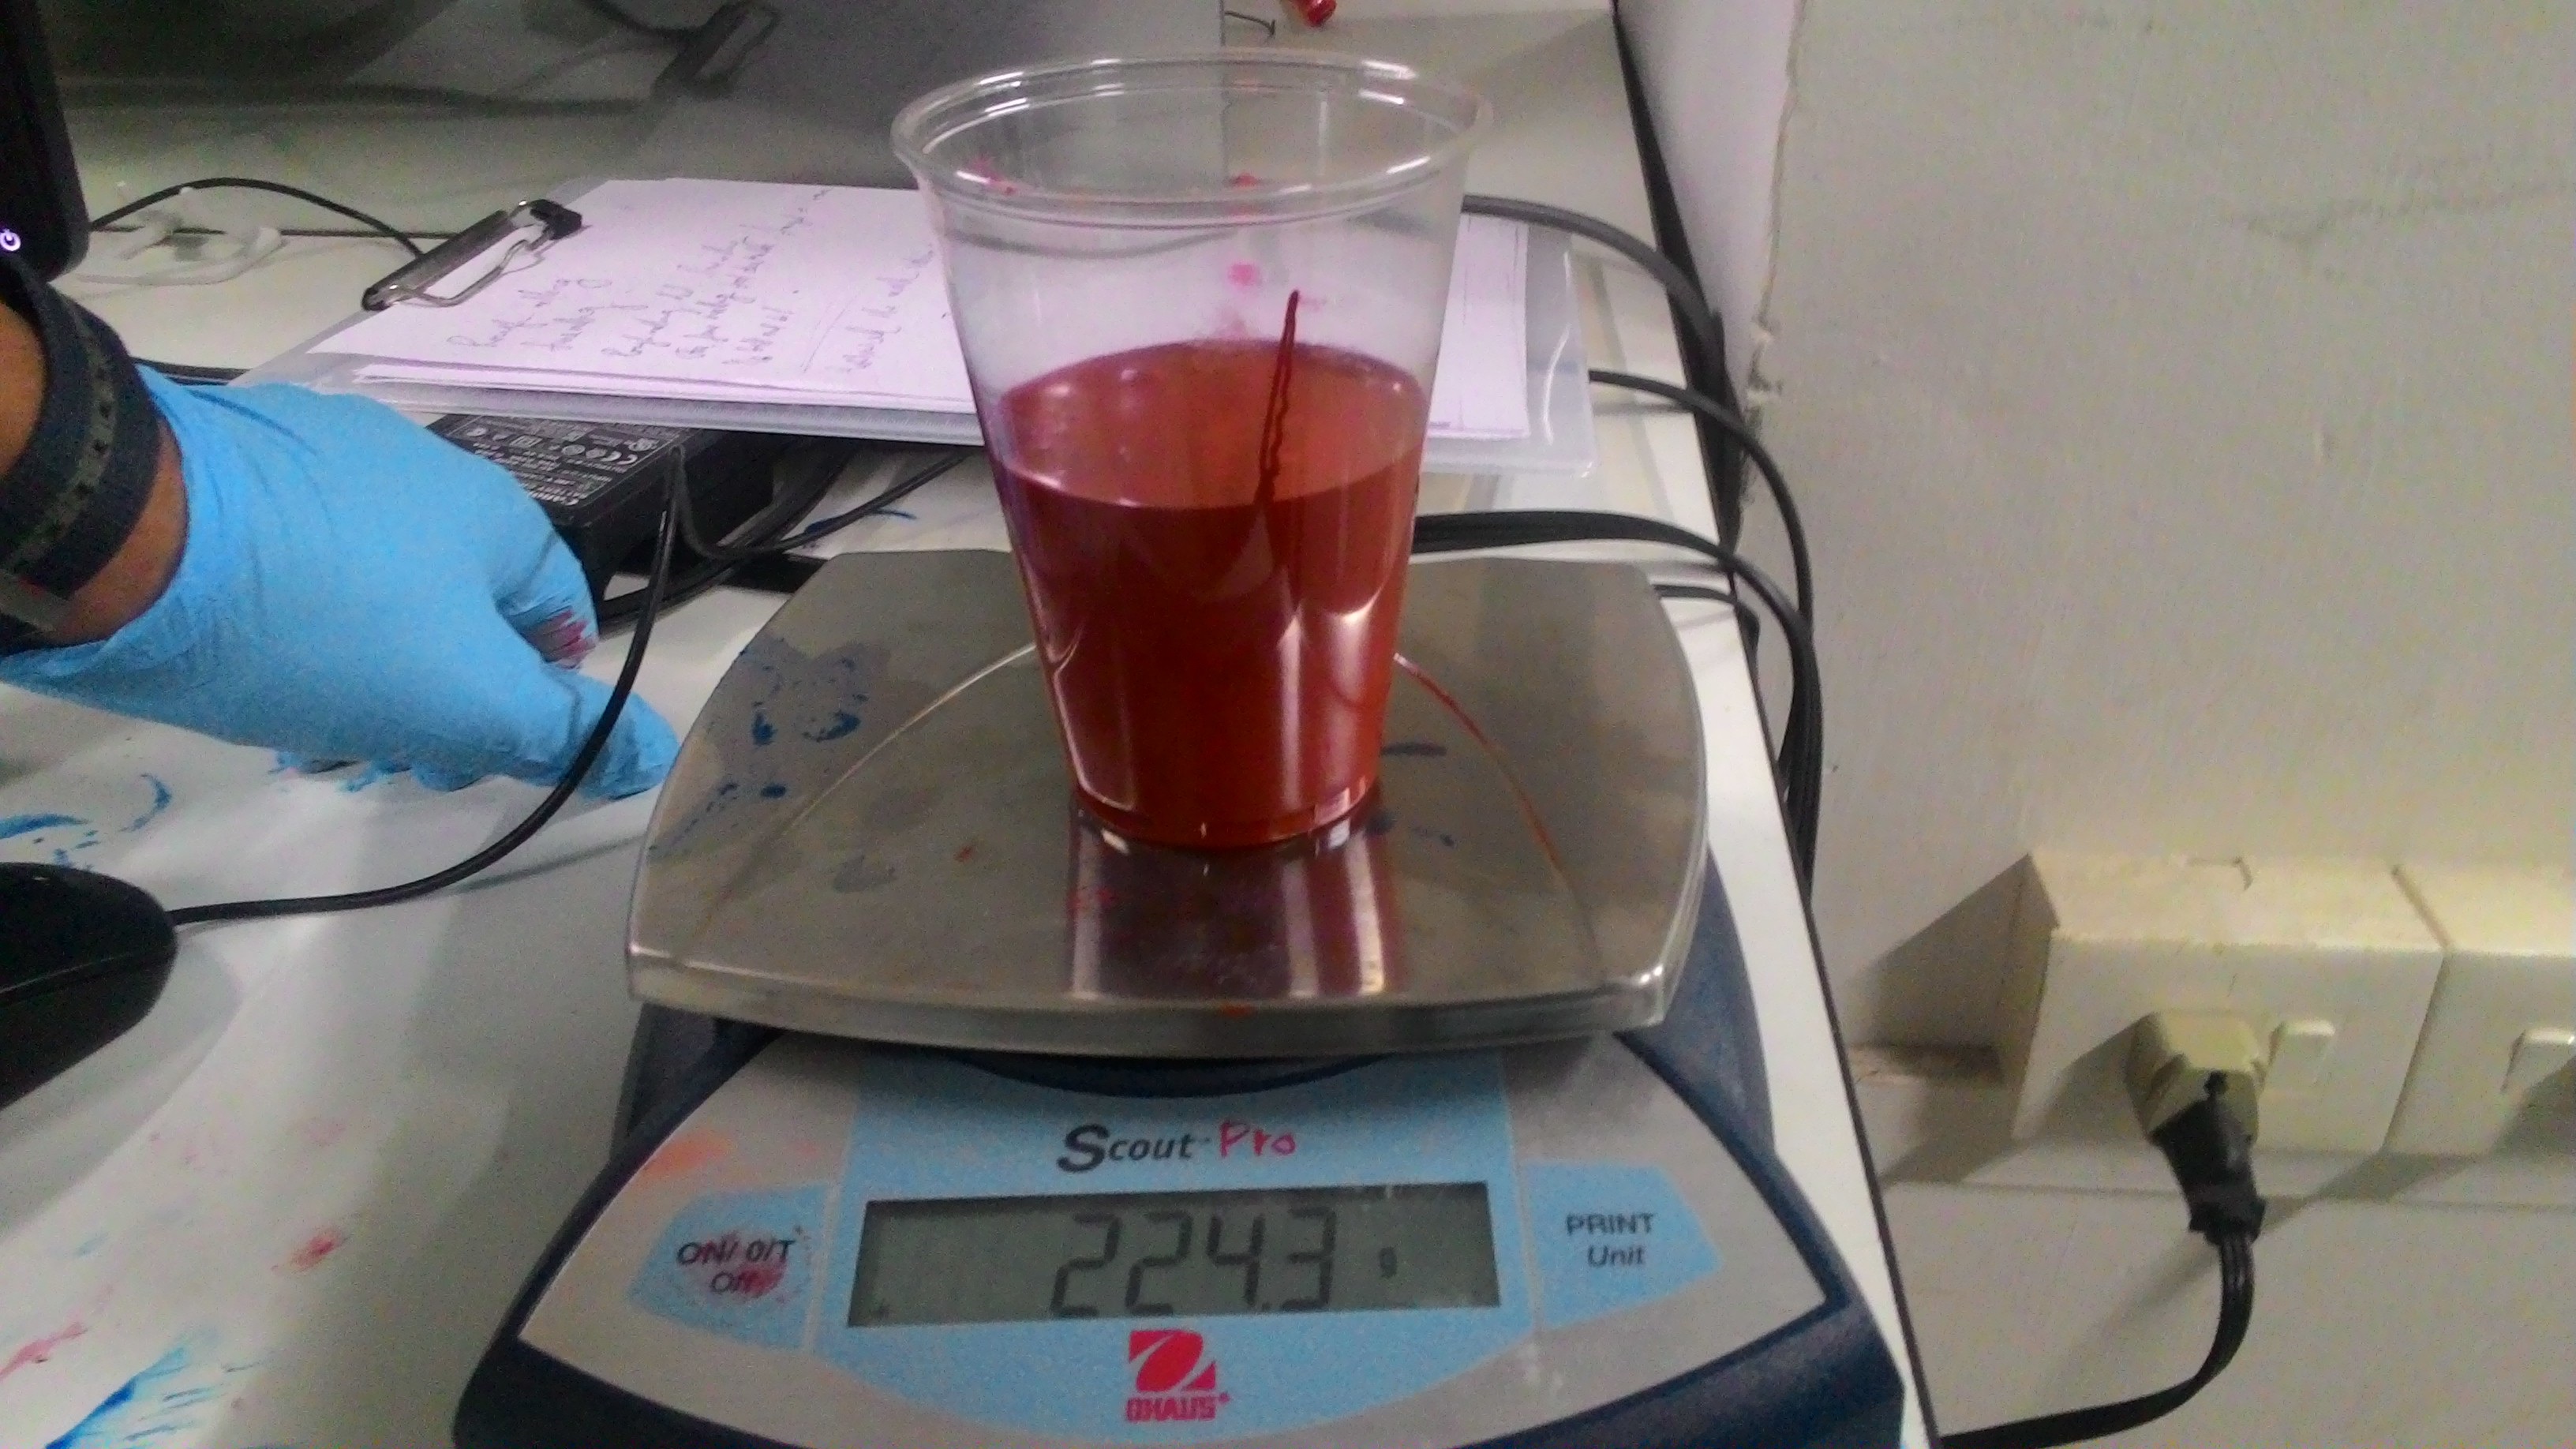
Since the ratio of A and B part is by weight, I weighed the A using weighing scale. It weighed 224 grams
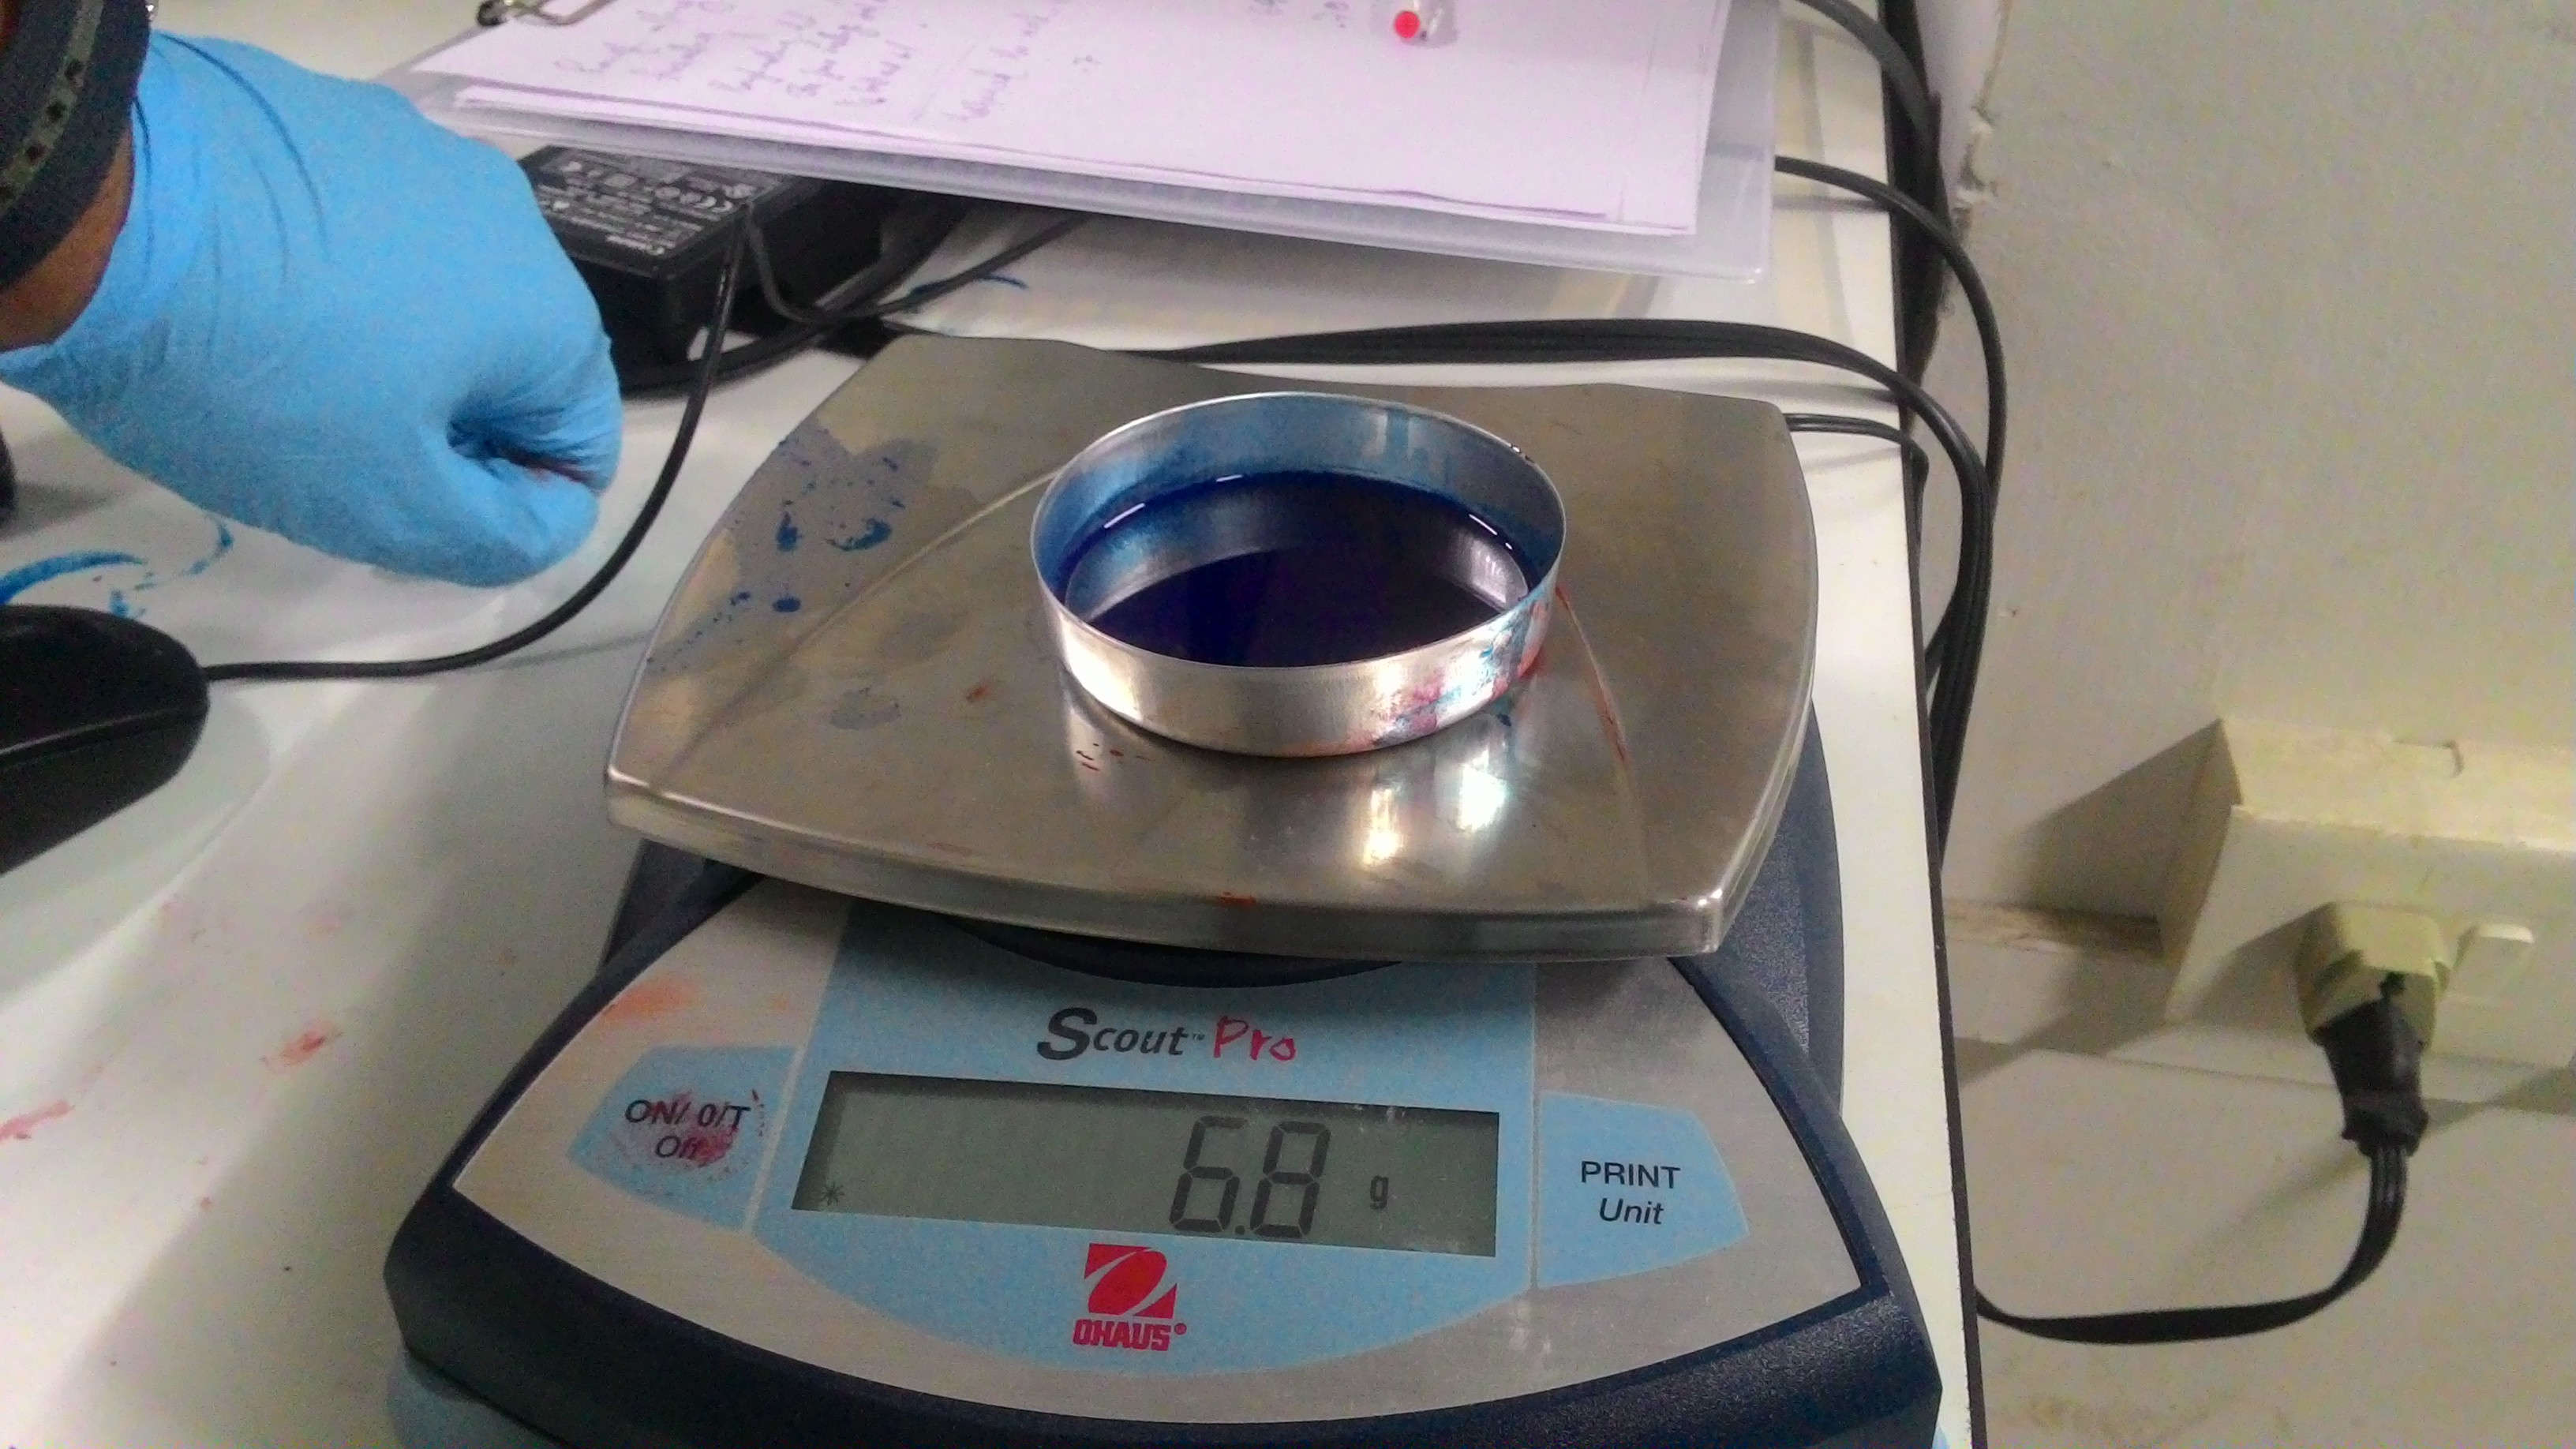
I took 6.8 grams(3% of the weight of A ) B and added it to A.
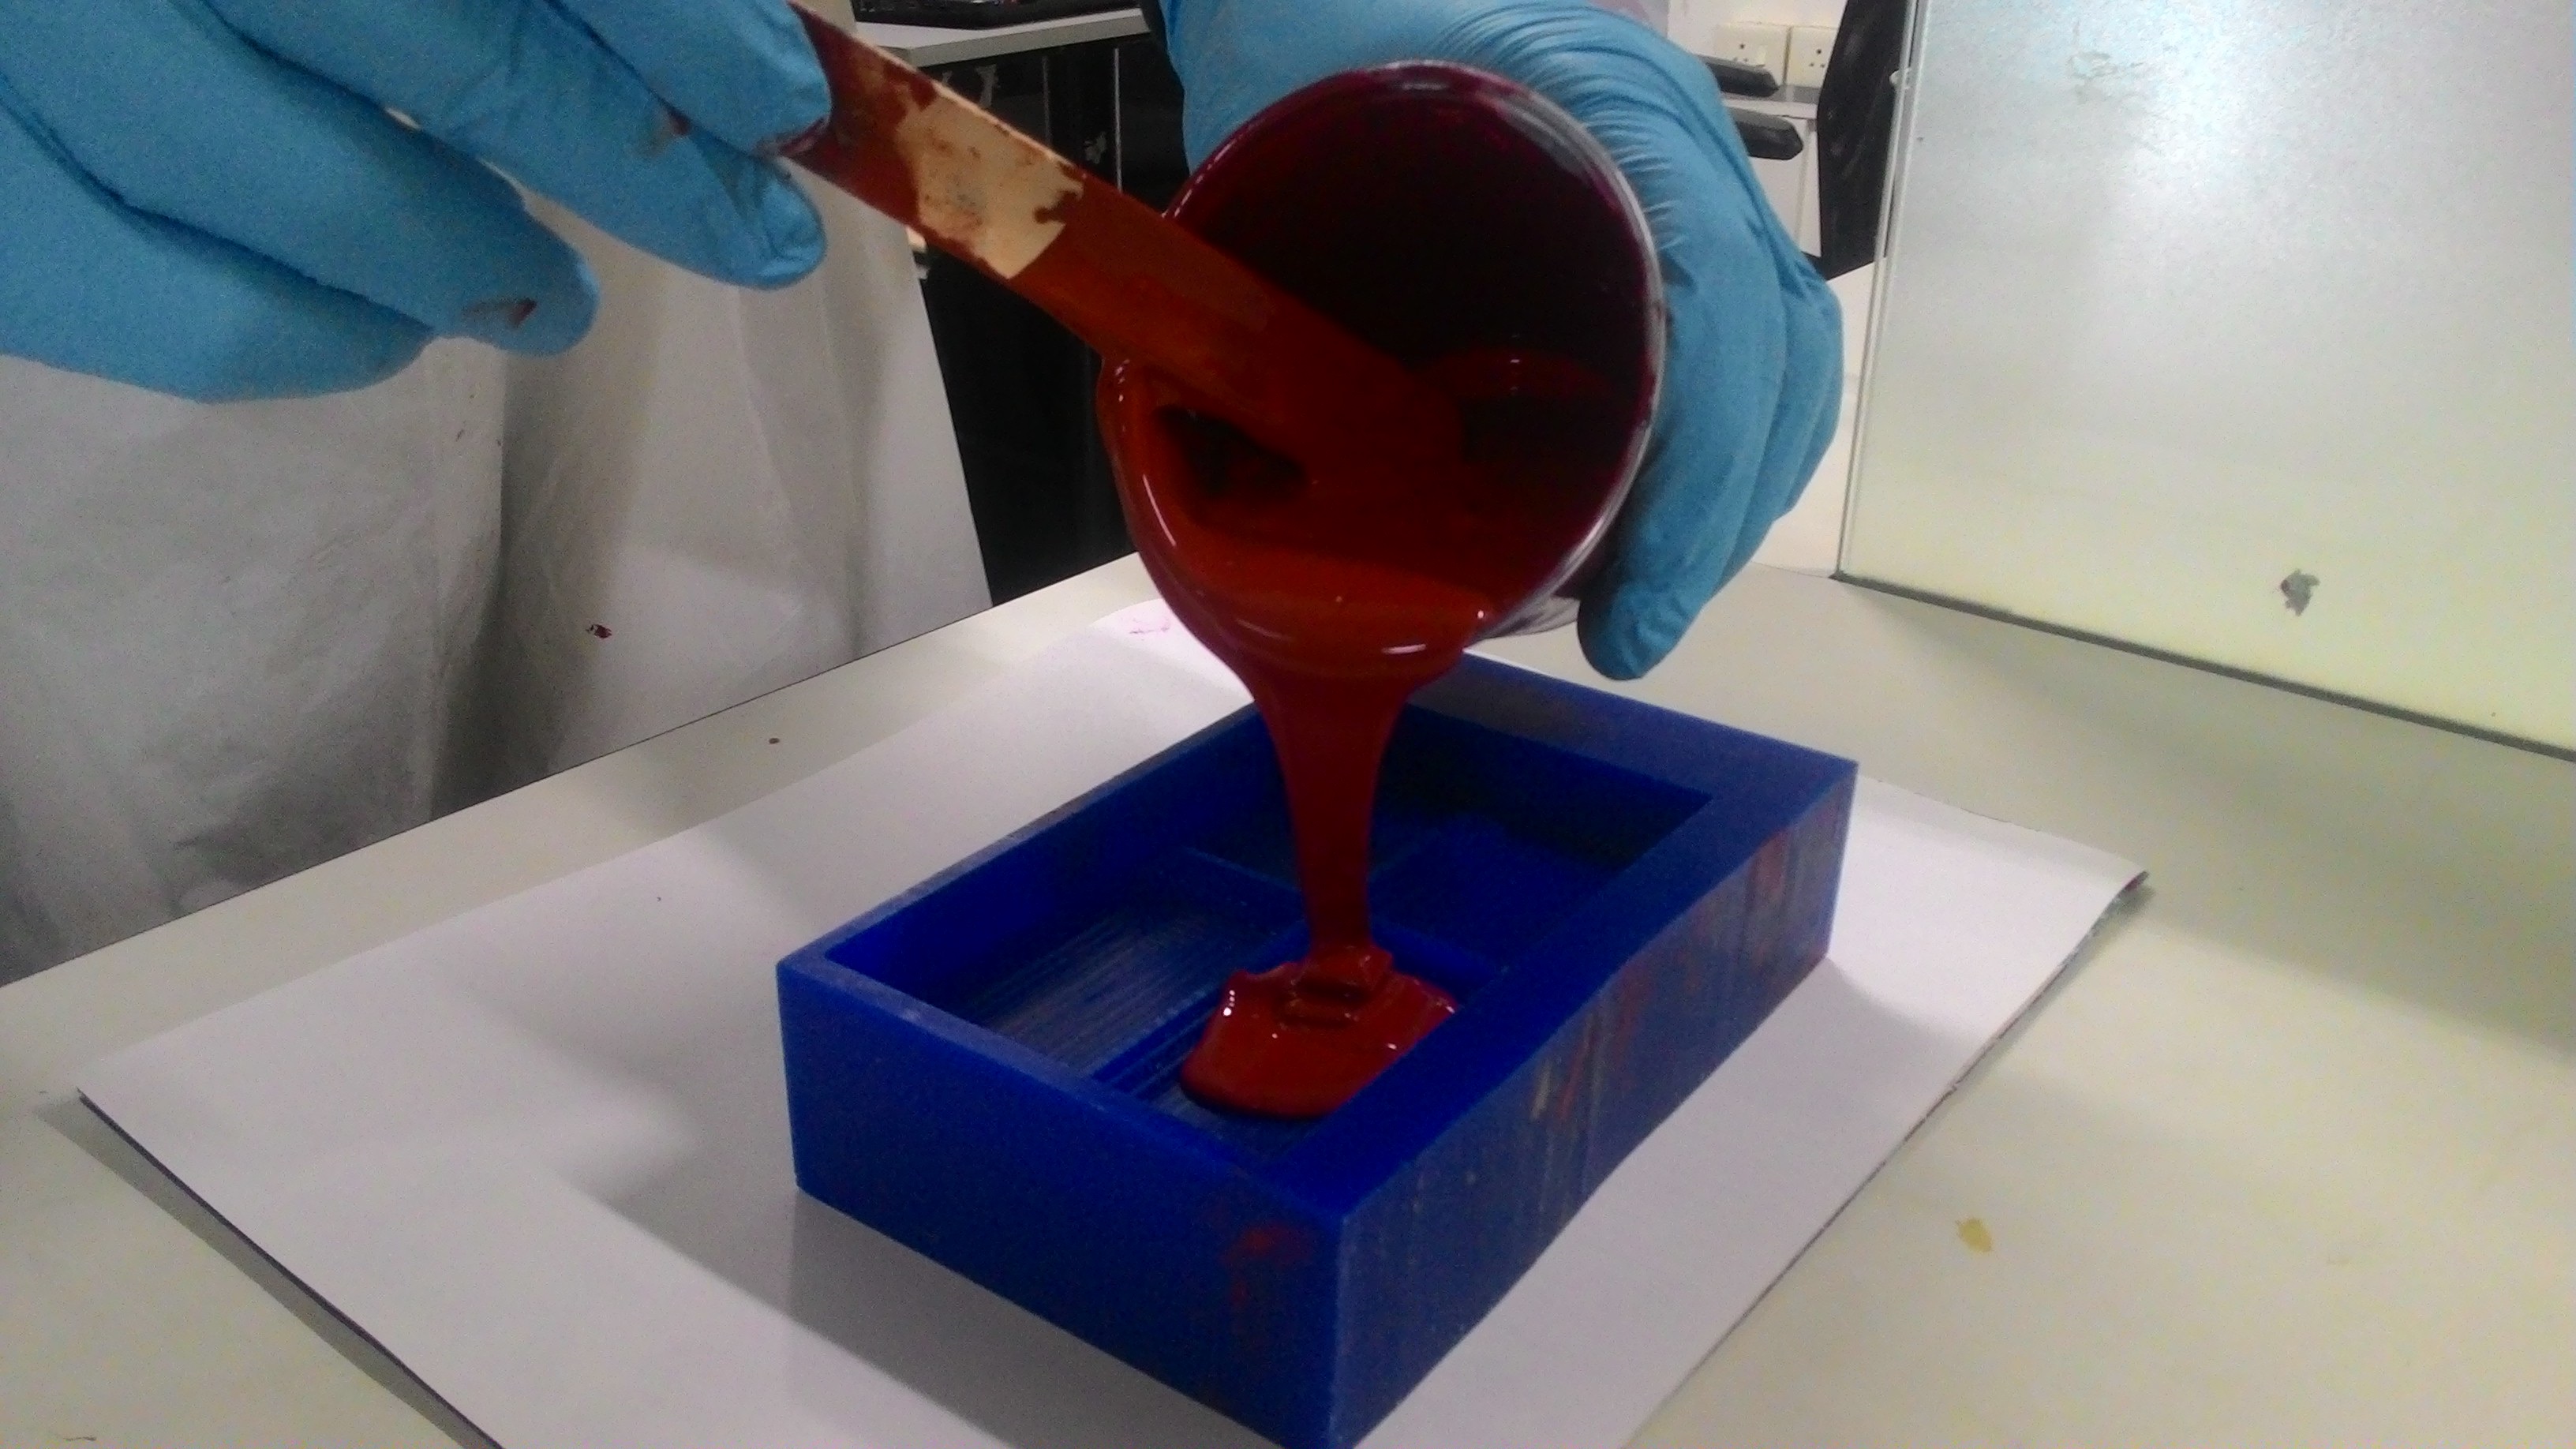
I stirred the compund for around 10 minutes continously and then slowly poured it to the mold steadily from one corner.
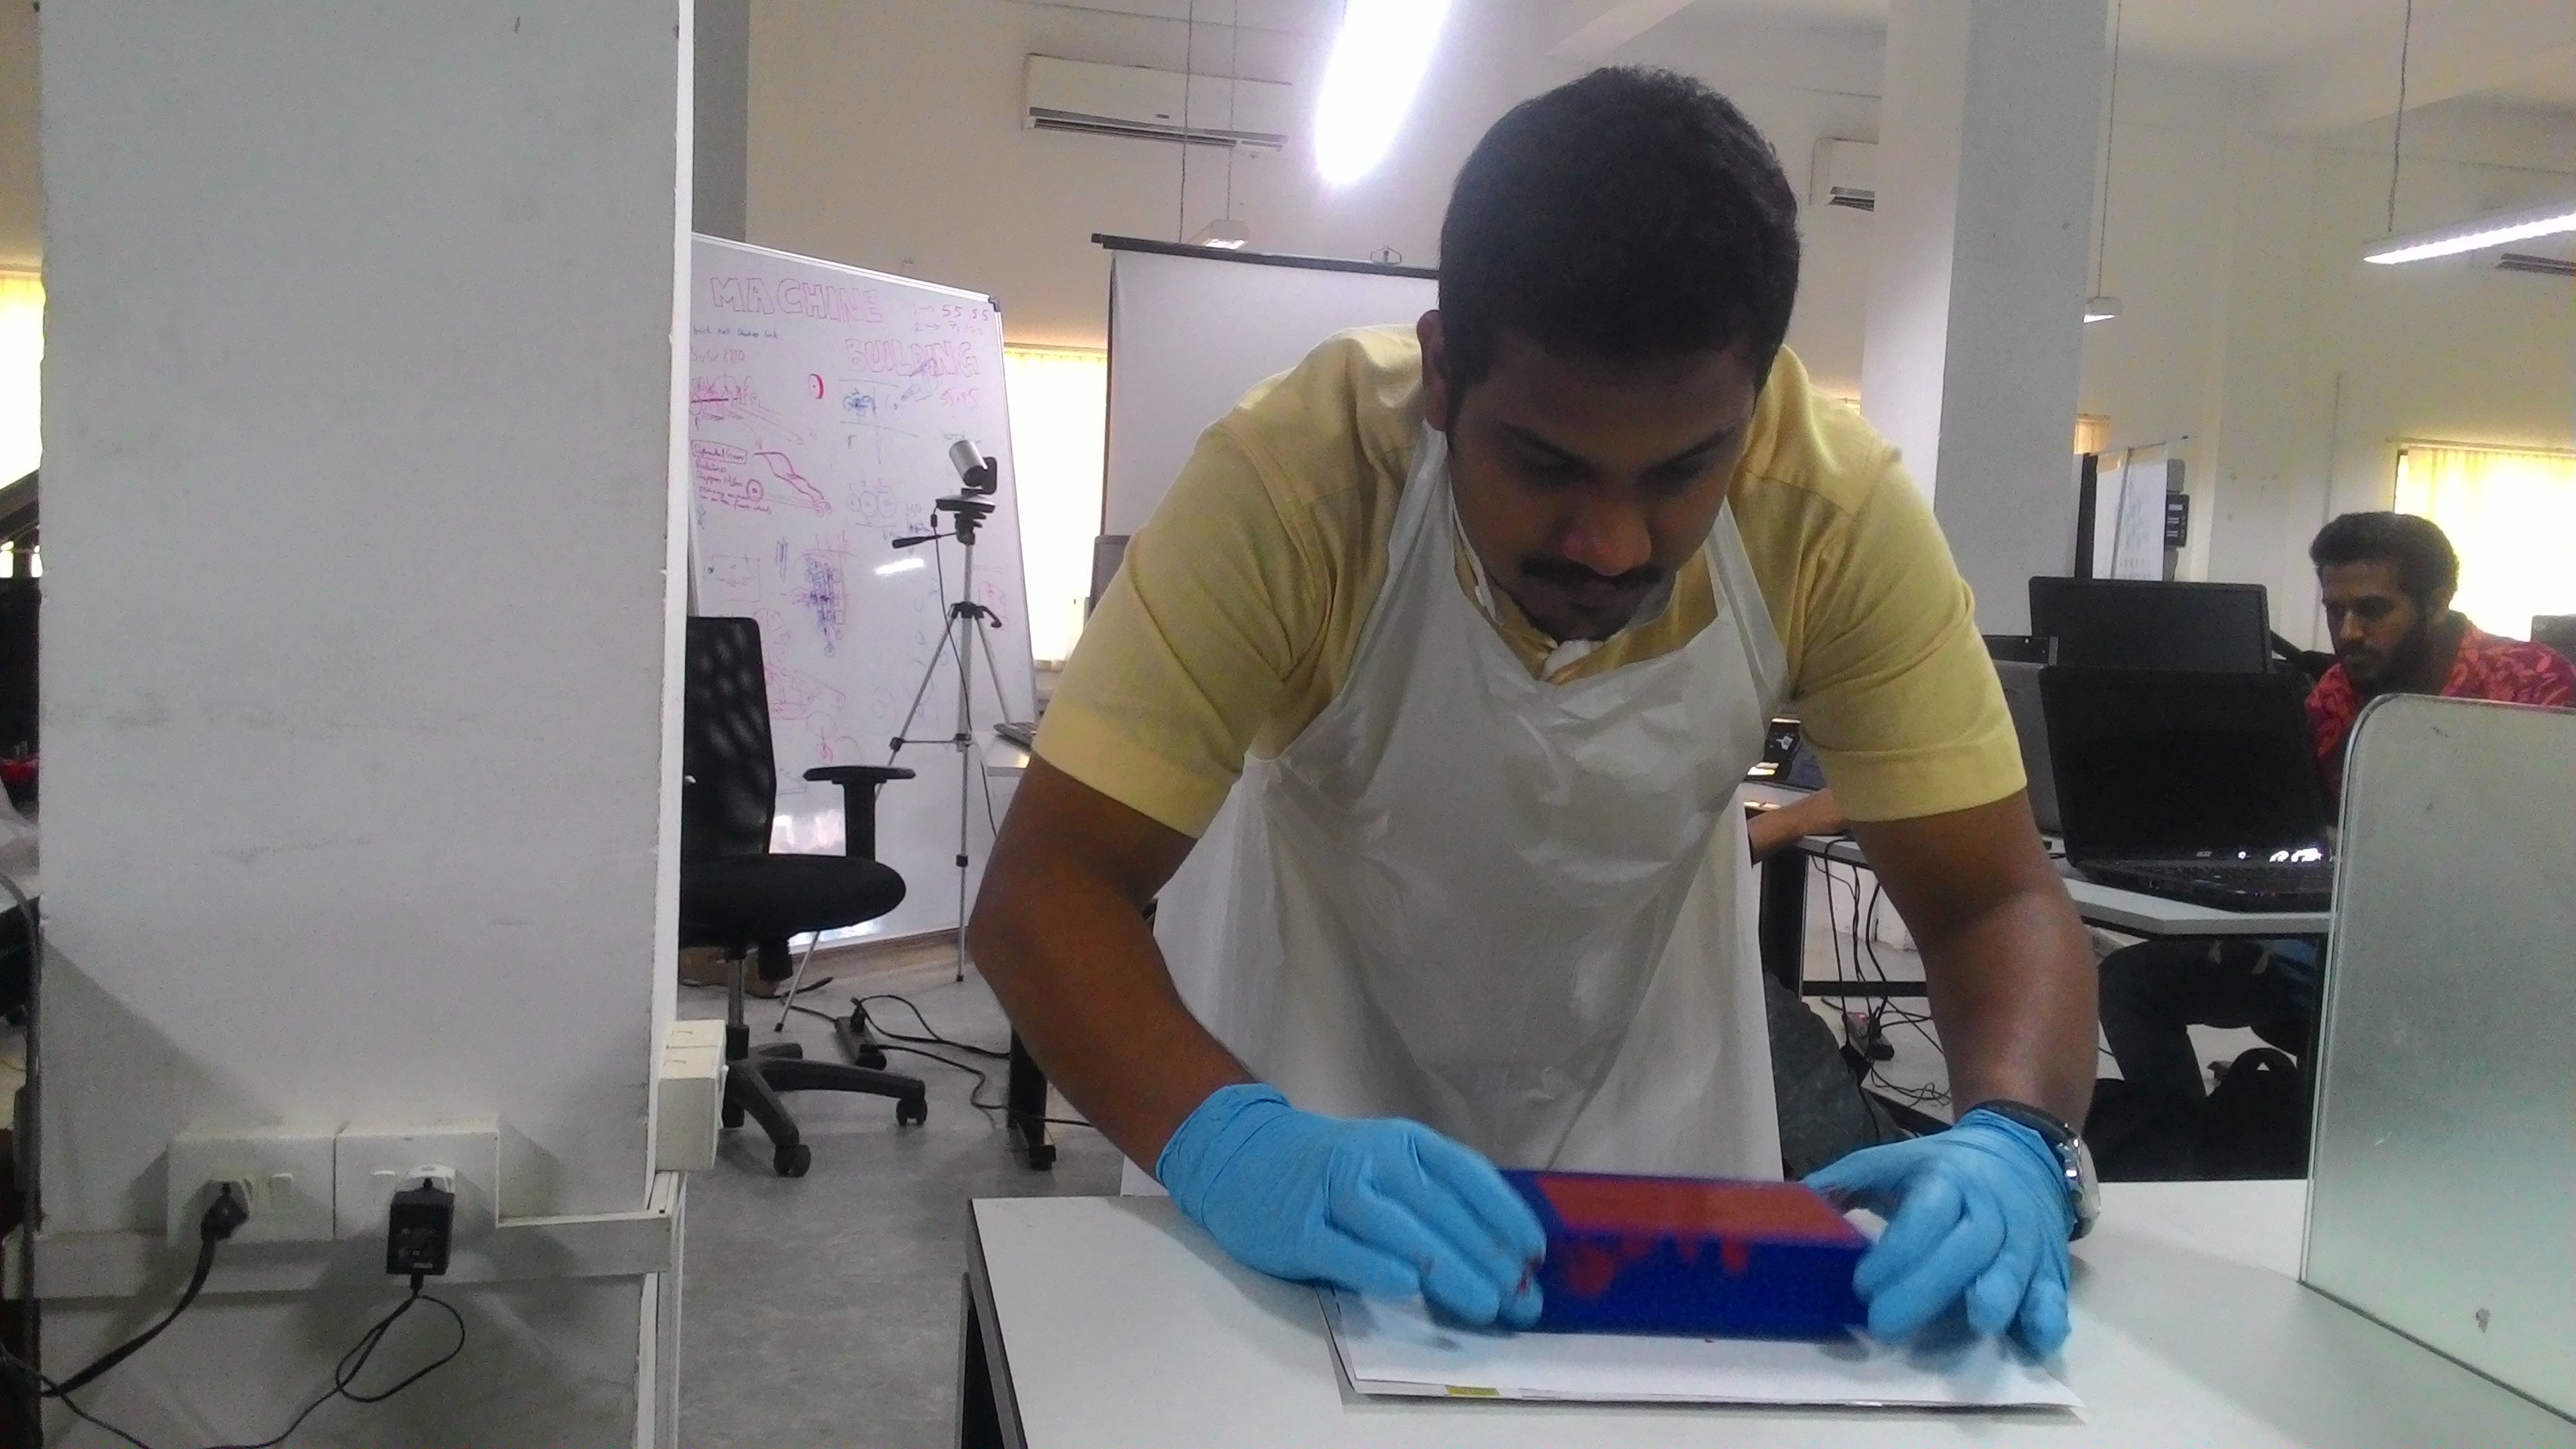
I tapped the mold a few times on the table for the air bubbles to escape.
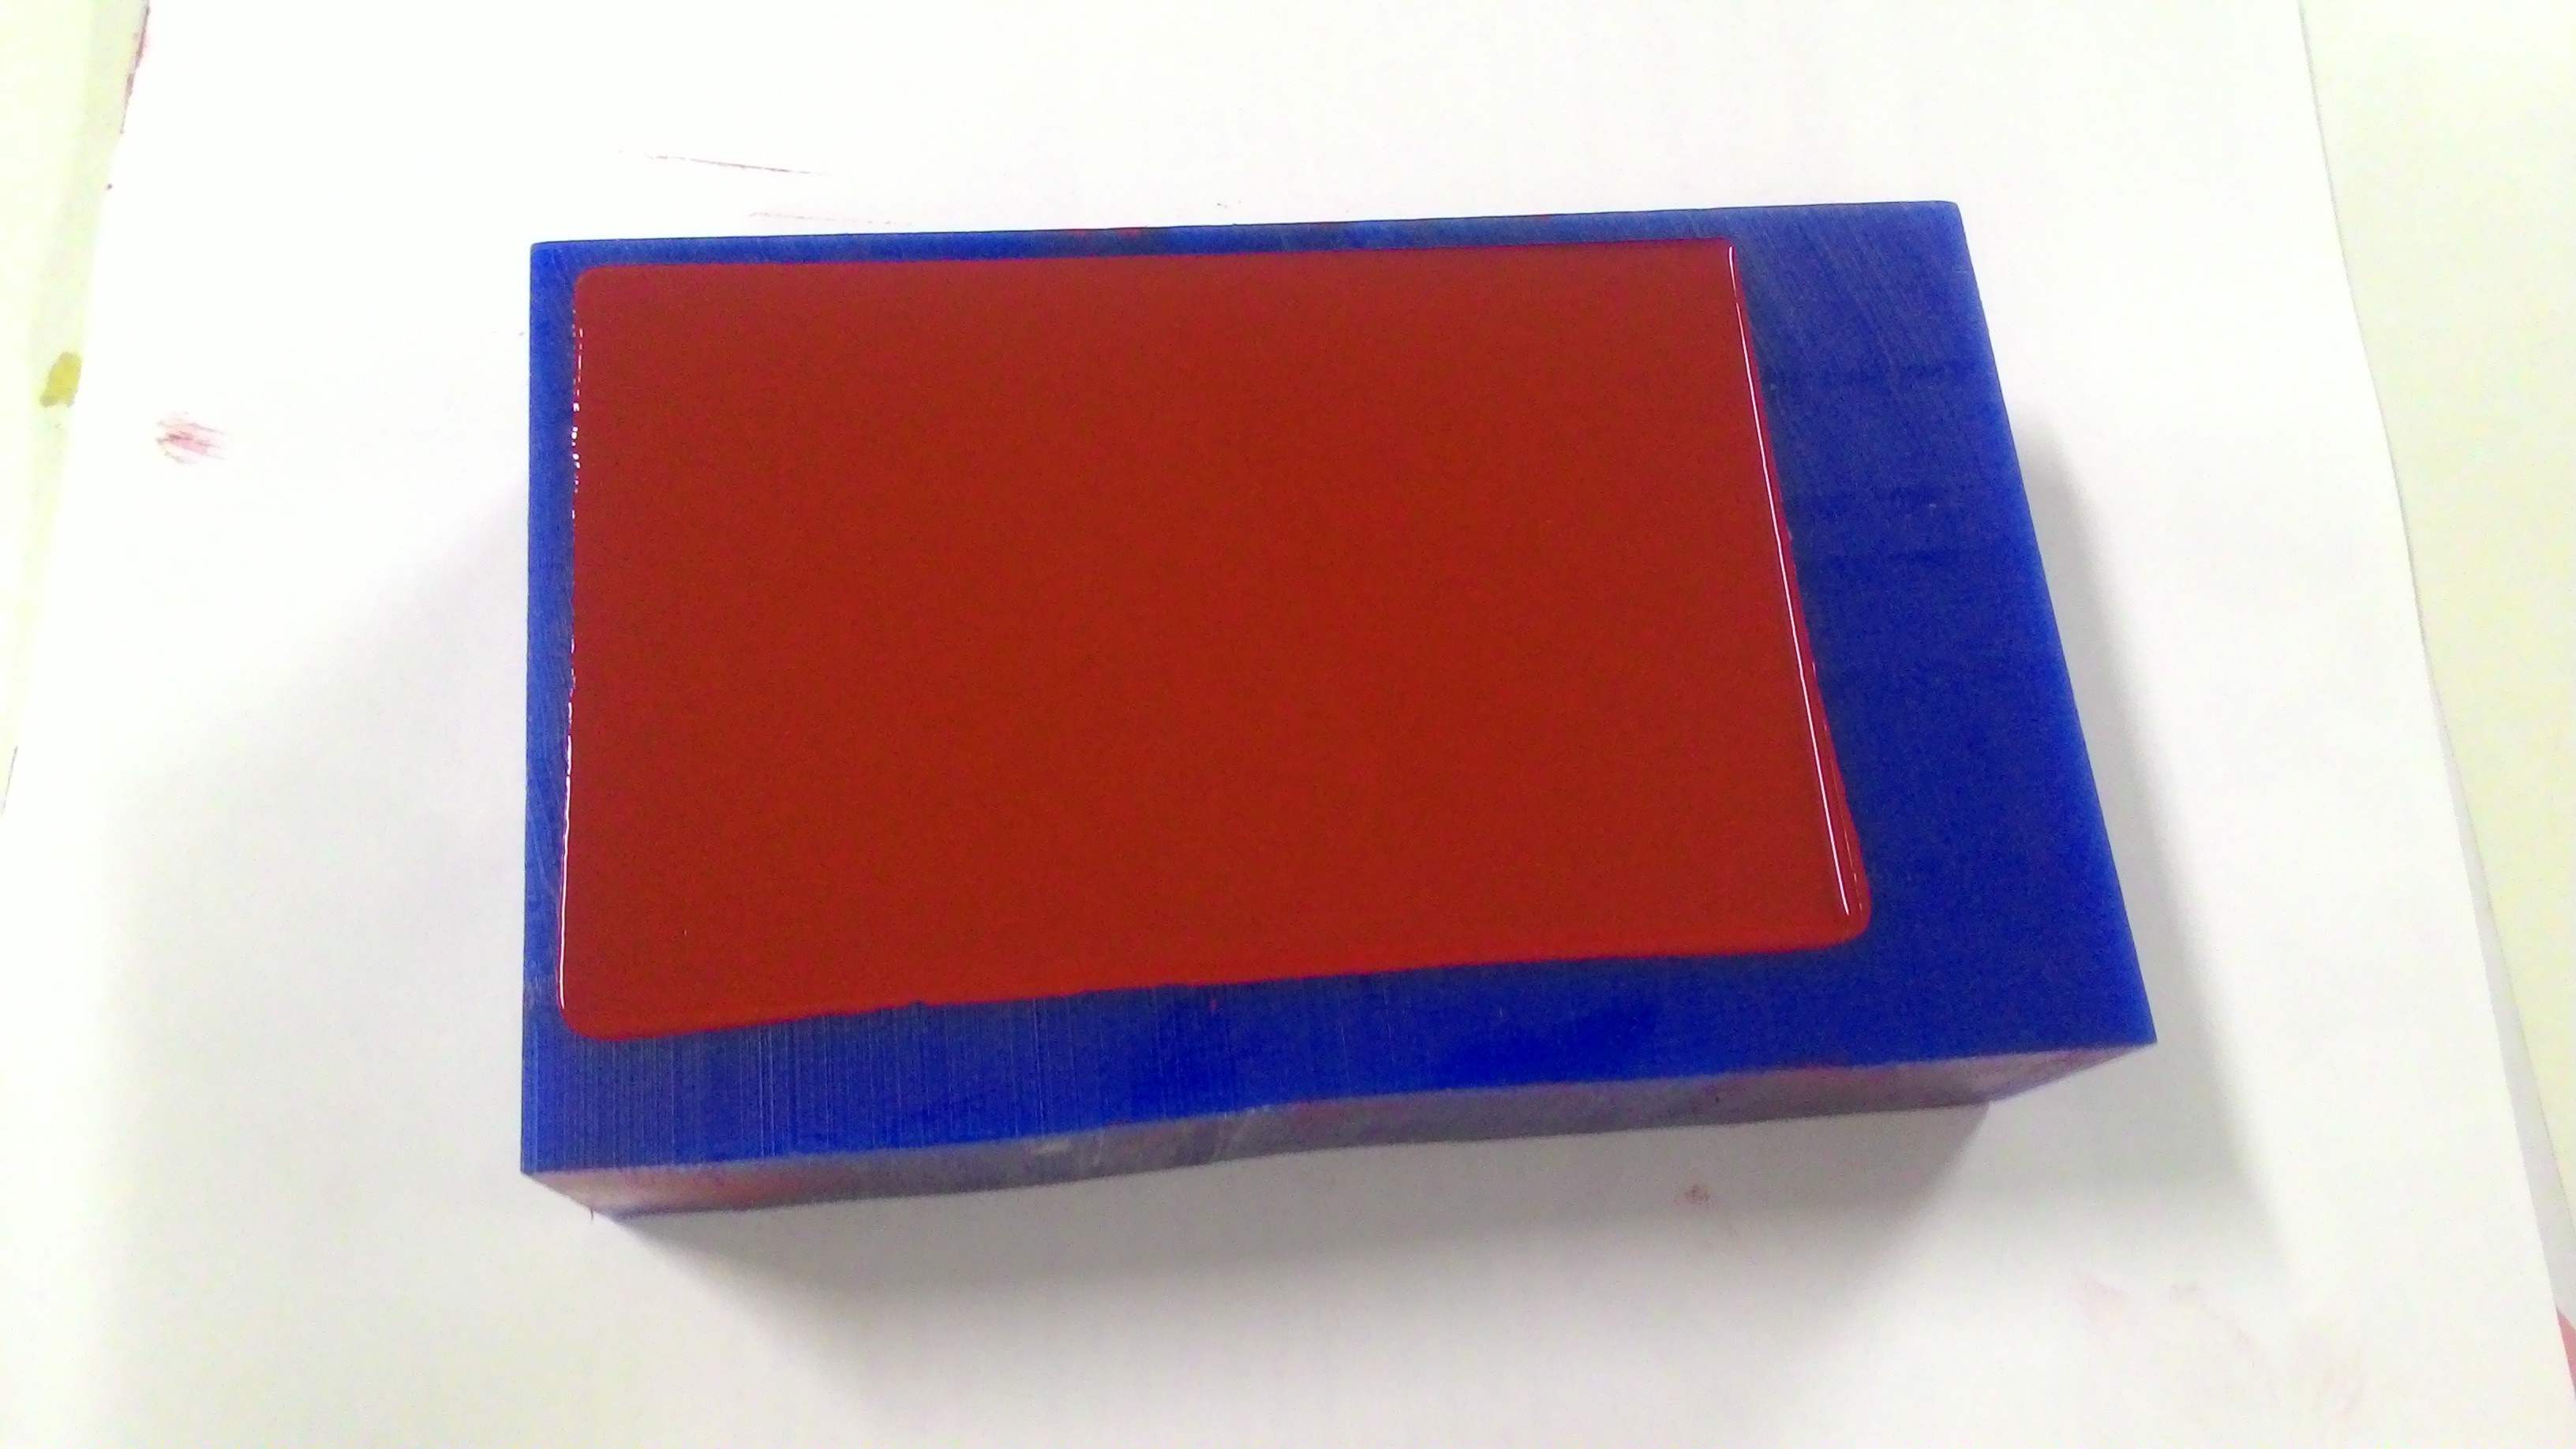
The curing time is 24 hours. I set aside the mold for one complete day.
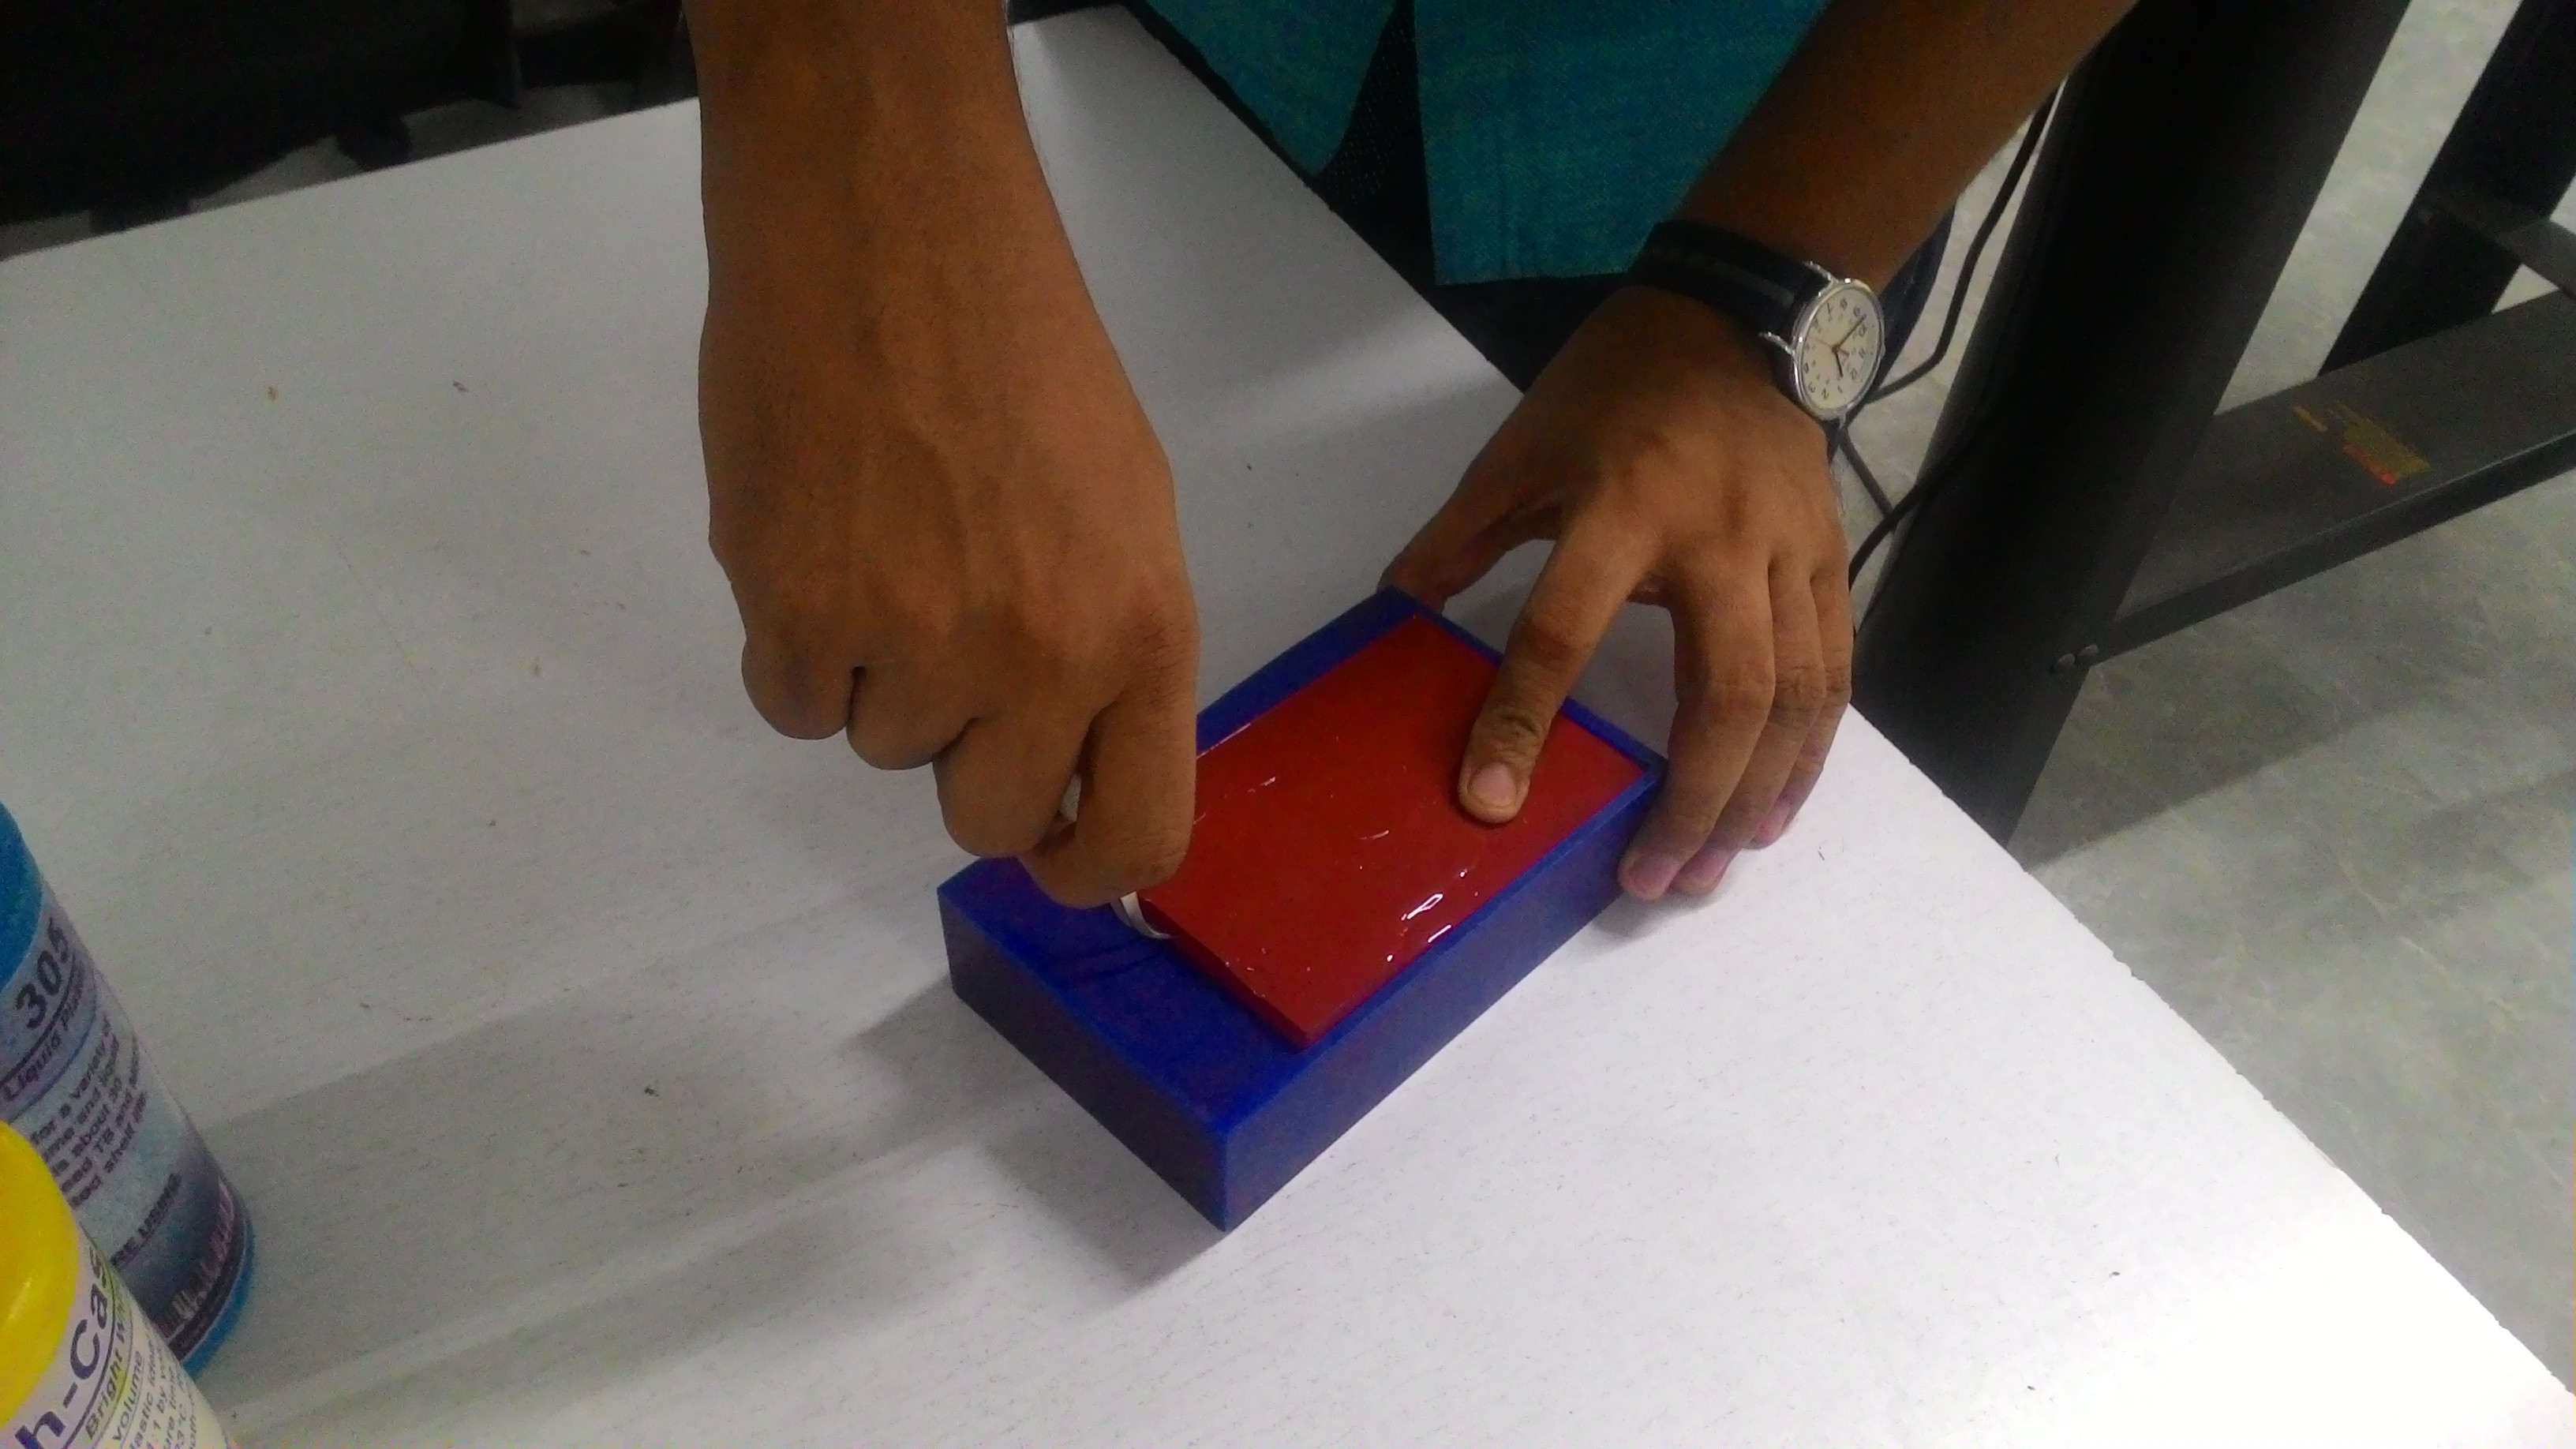
After allowing it to cure for a day, I removed the mold with a pair of tweezers.
Mold for making lead cross is now ready.
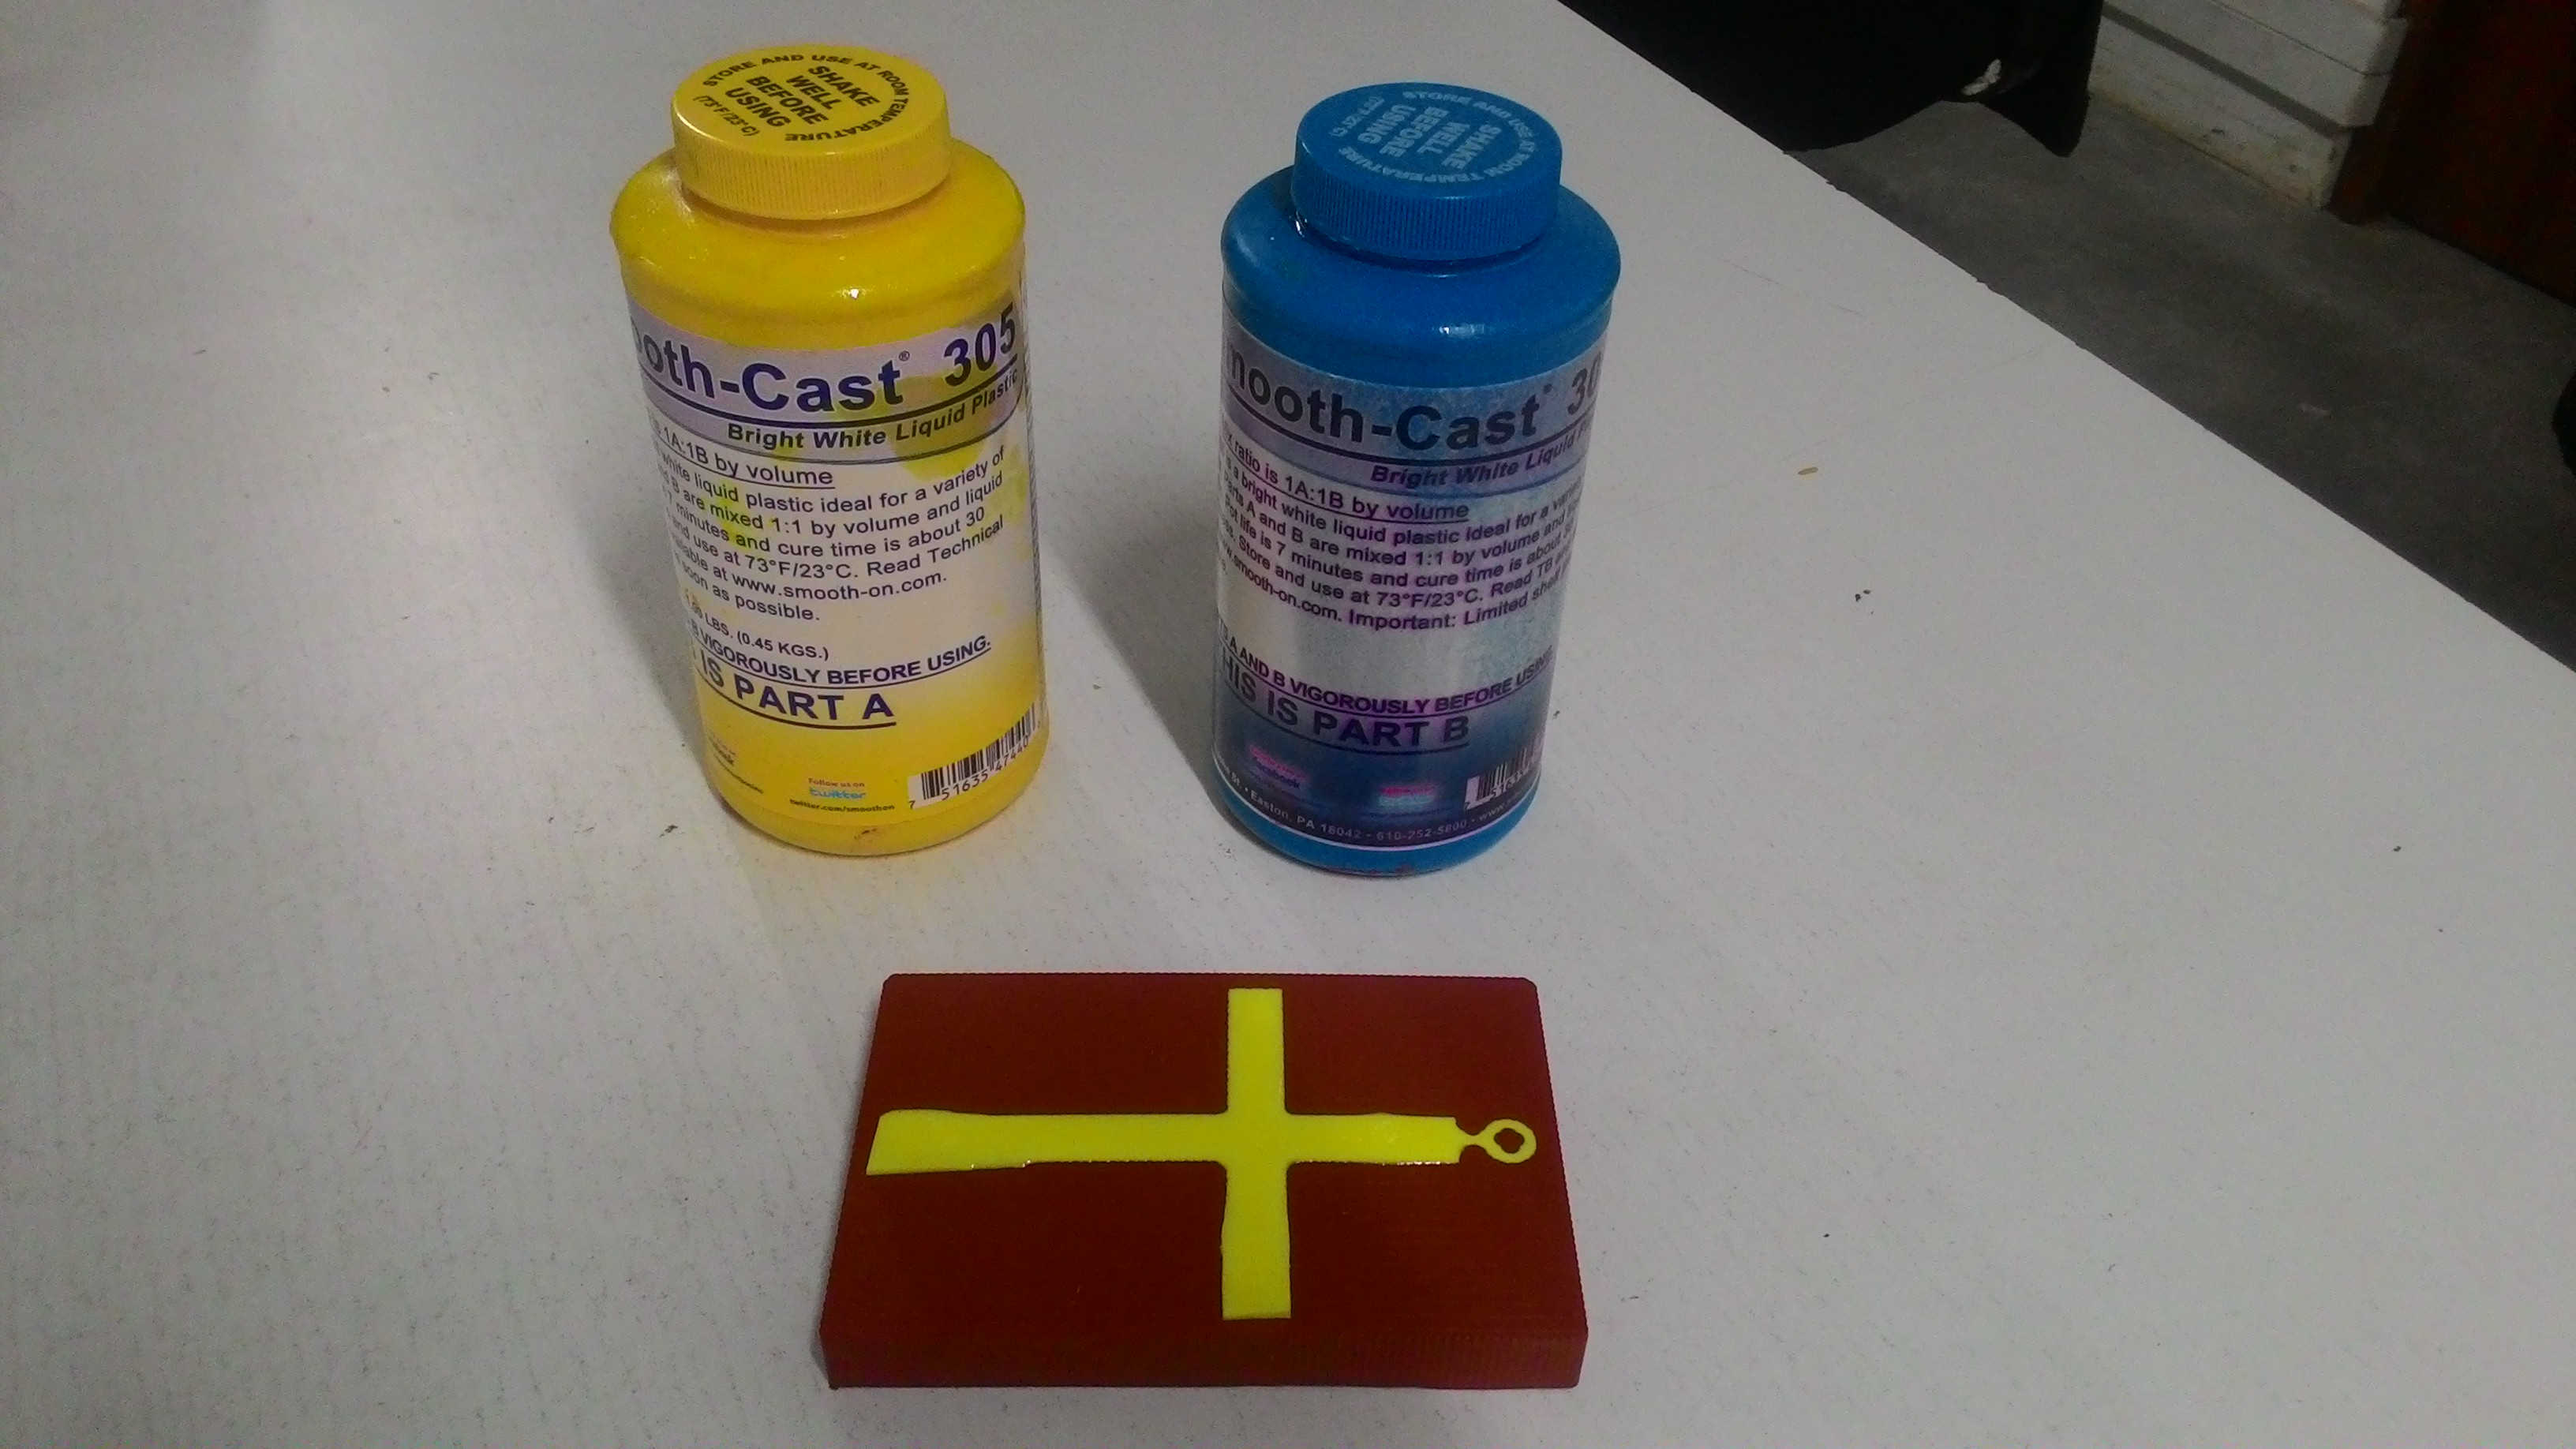
Before making the lead cross, I decided to try out a few different materials available in our lab. I first tried Smooth-cast 305 liquid plastic material. A and B was mixed in the ratio 1:1 and I also added yellow stainer to convert while colour to yellow.
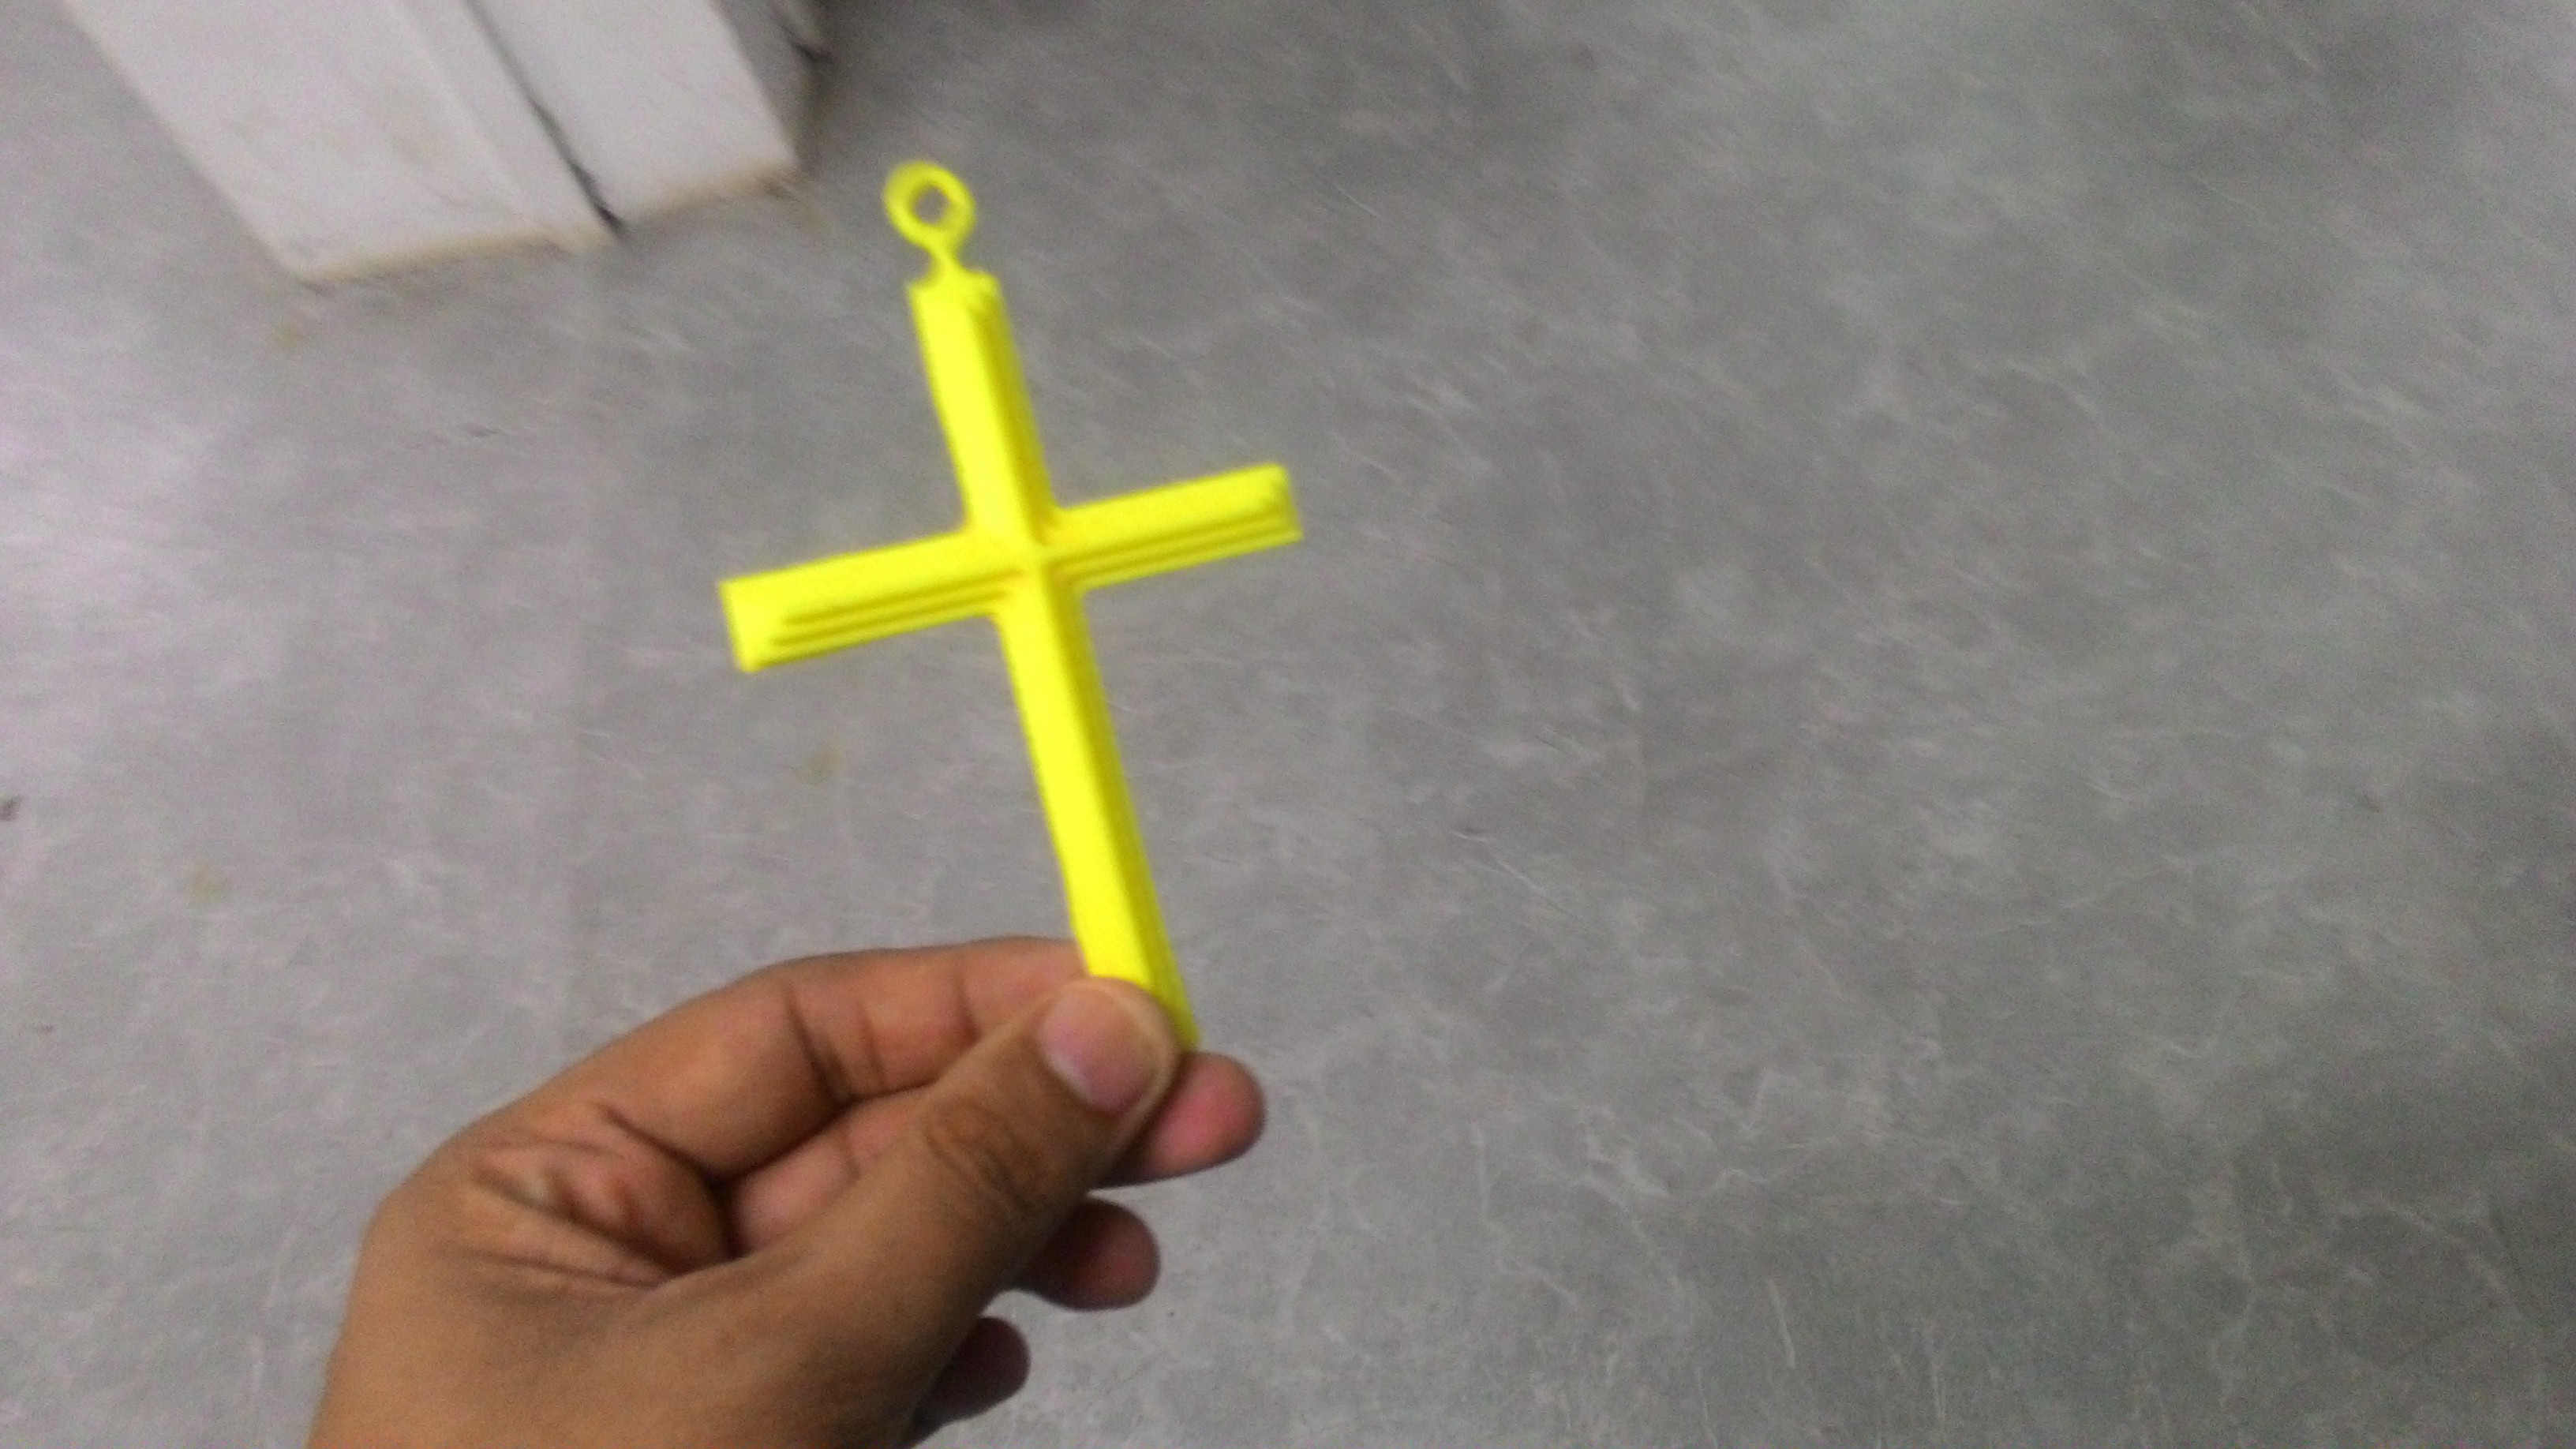
The curing time of this material is less than 30 minutes. After 20 minutes the plastic cross was ready.
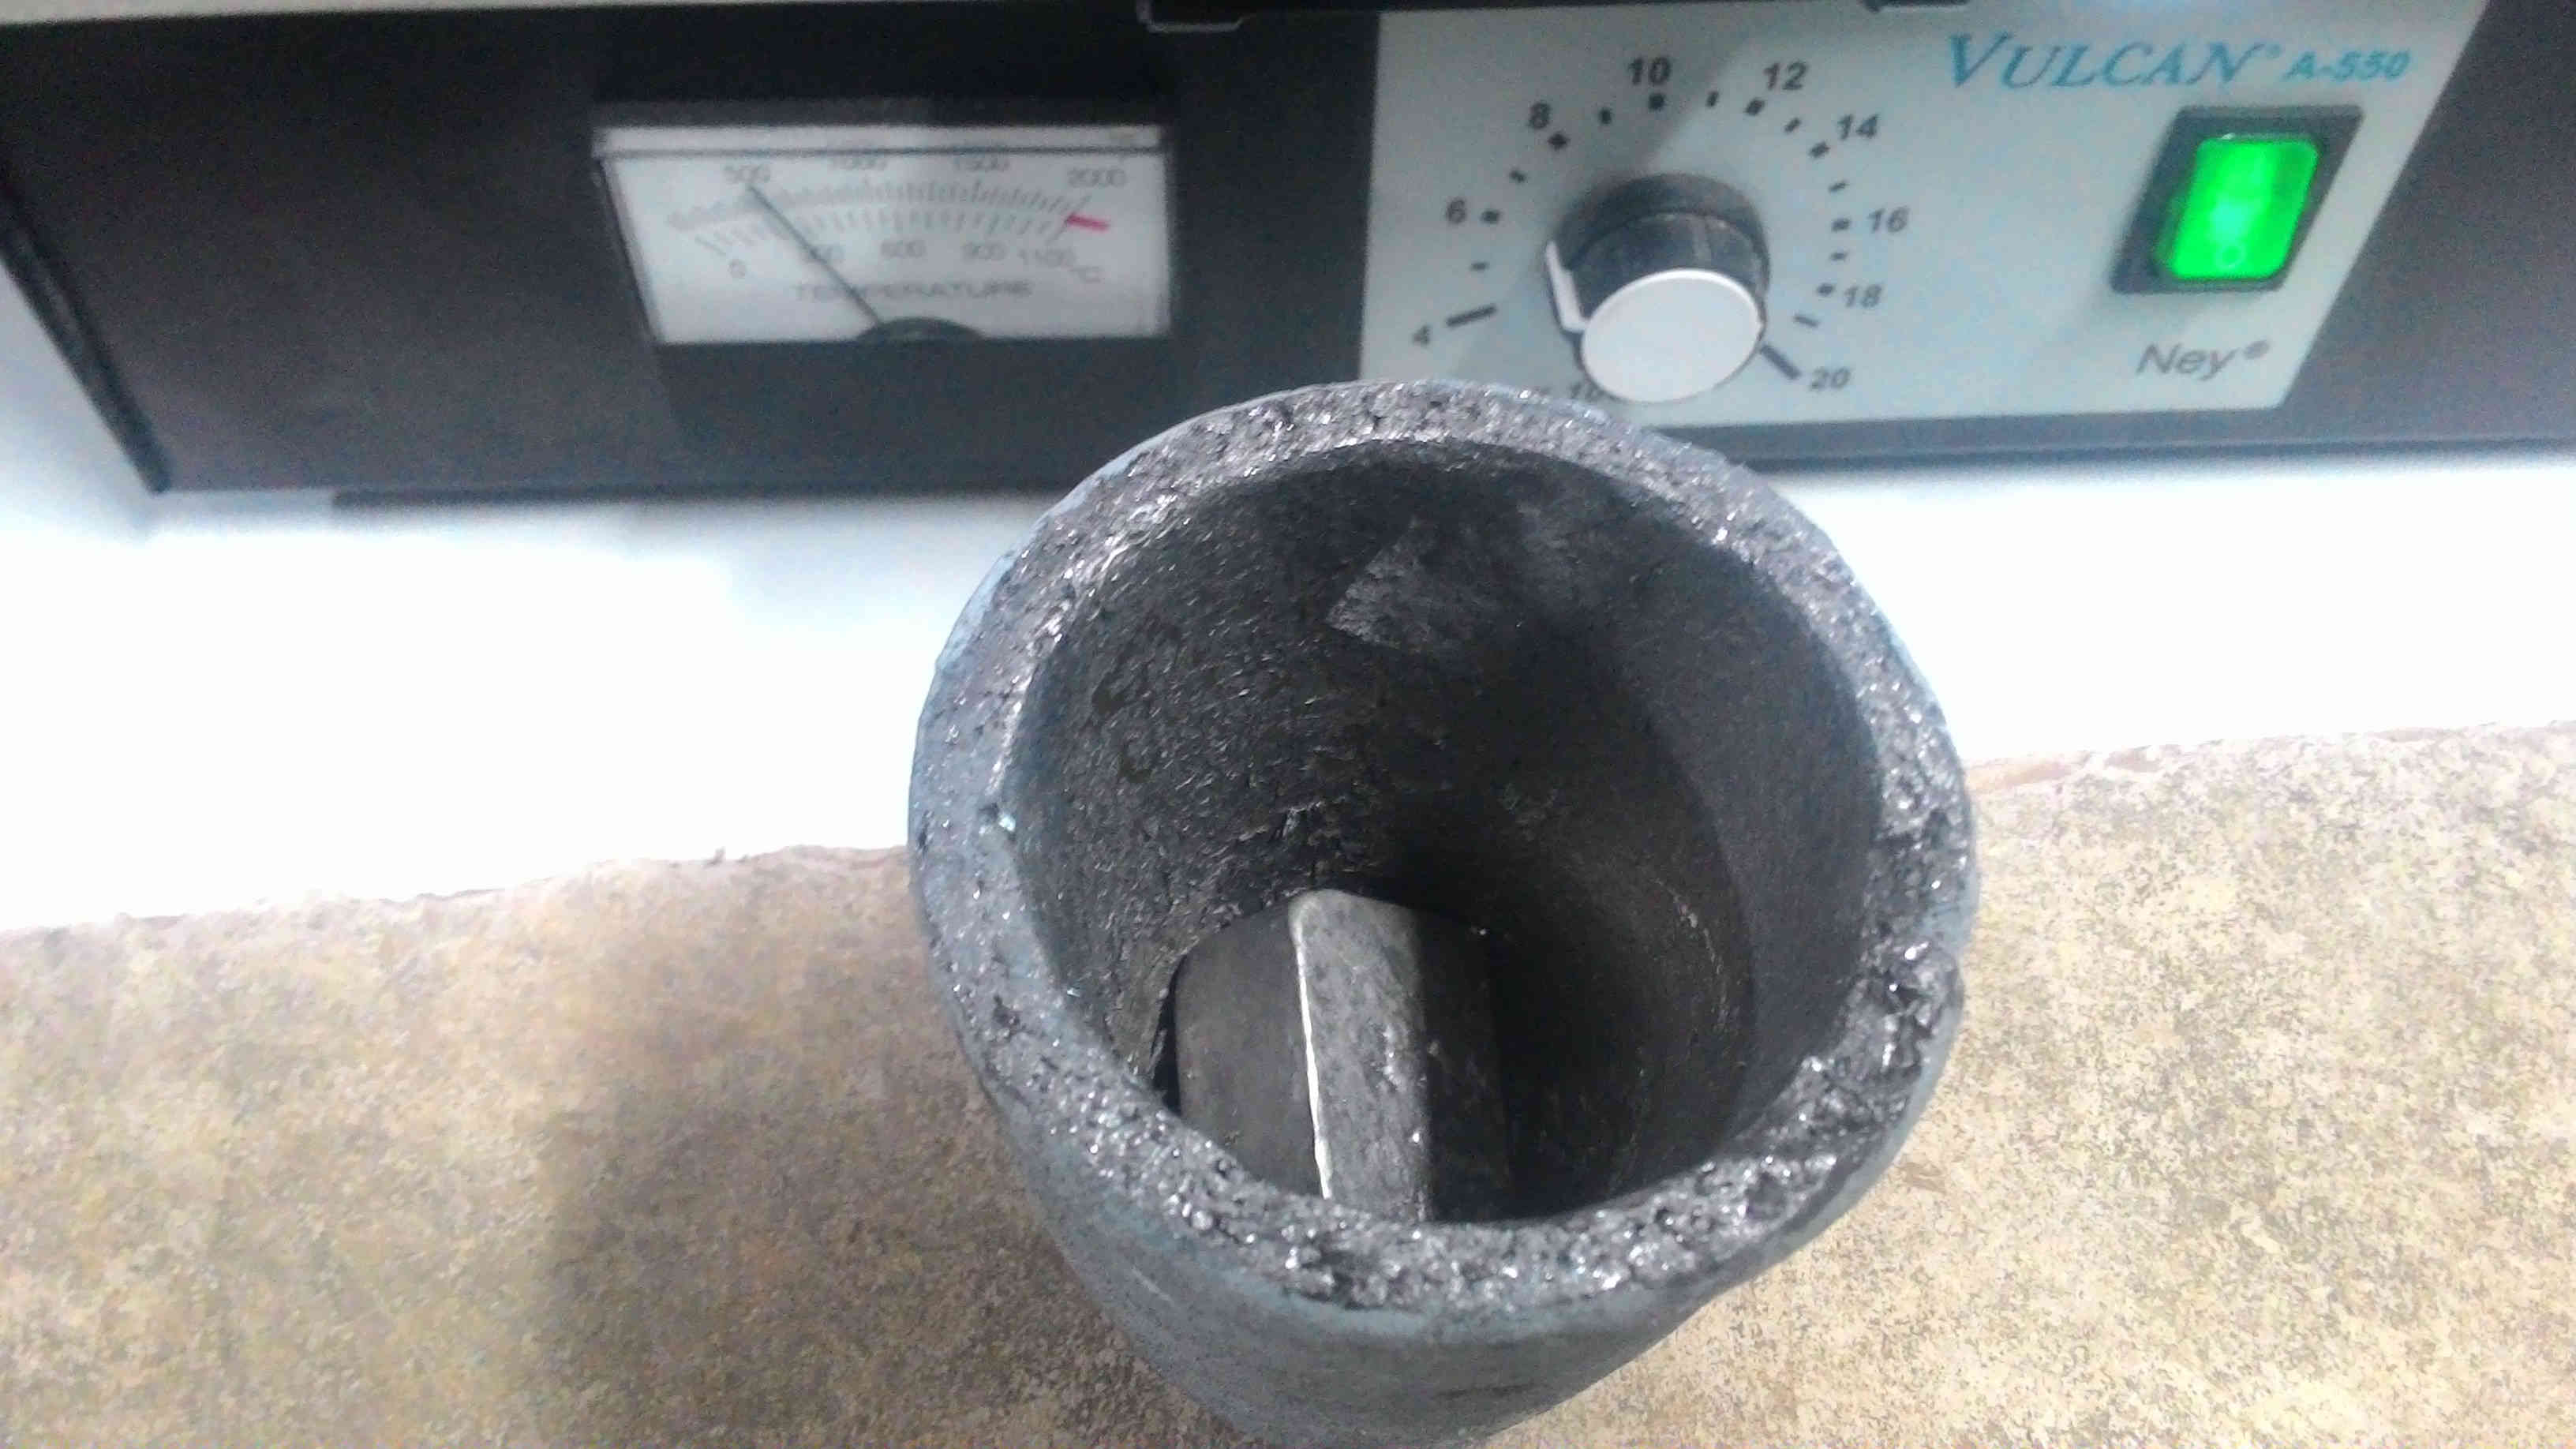
And now to do the final bit, I melted lead blocks in furnace by setting it at 500'C .
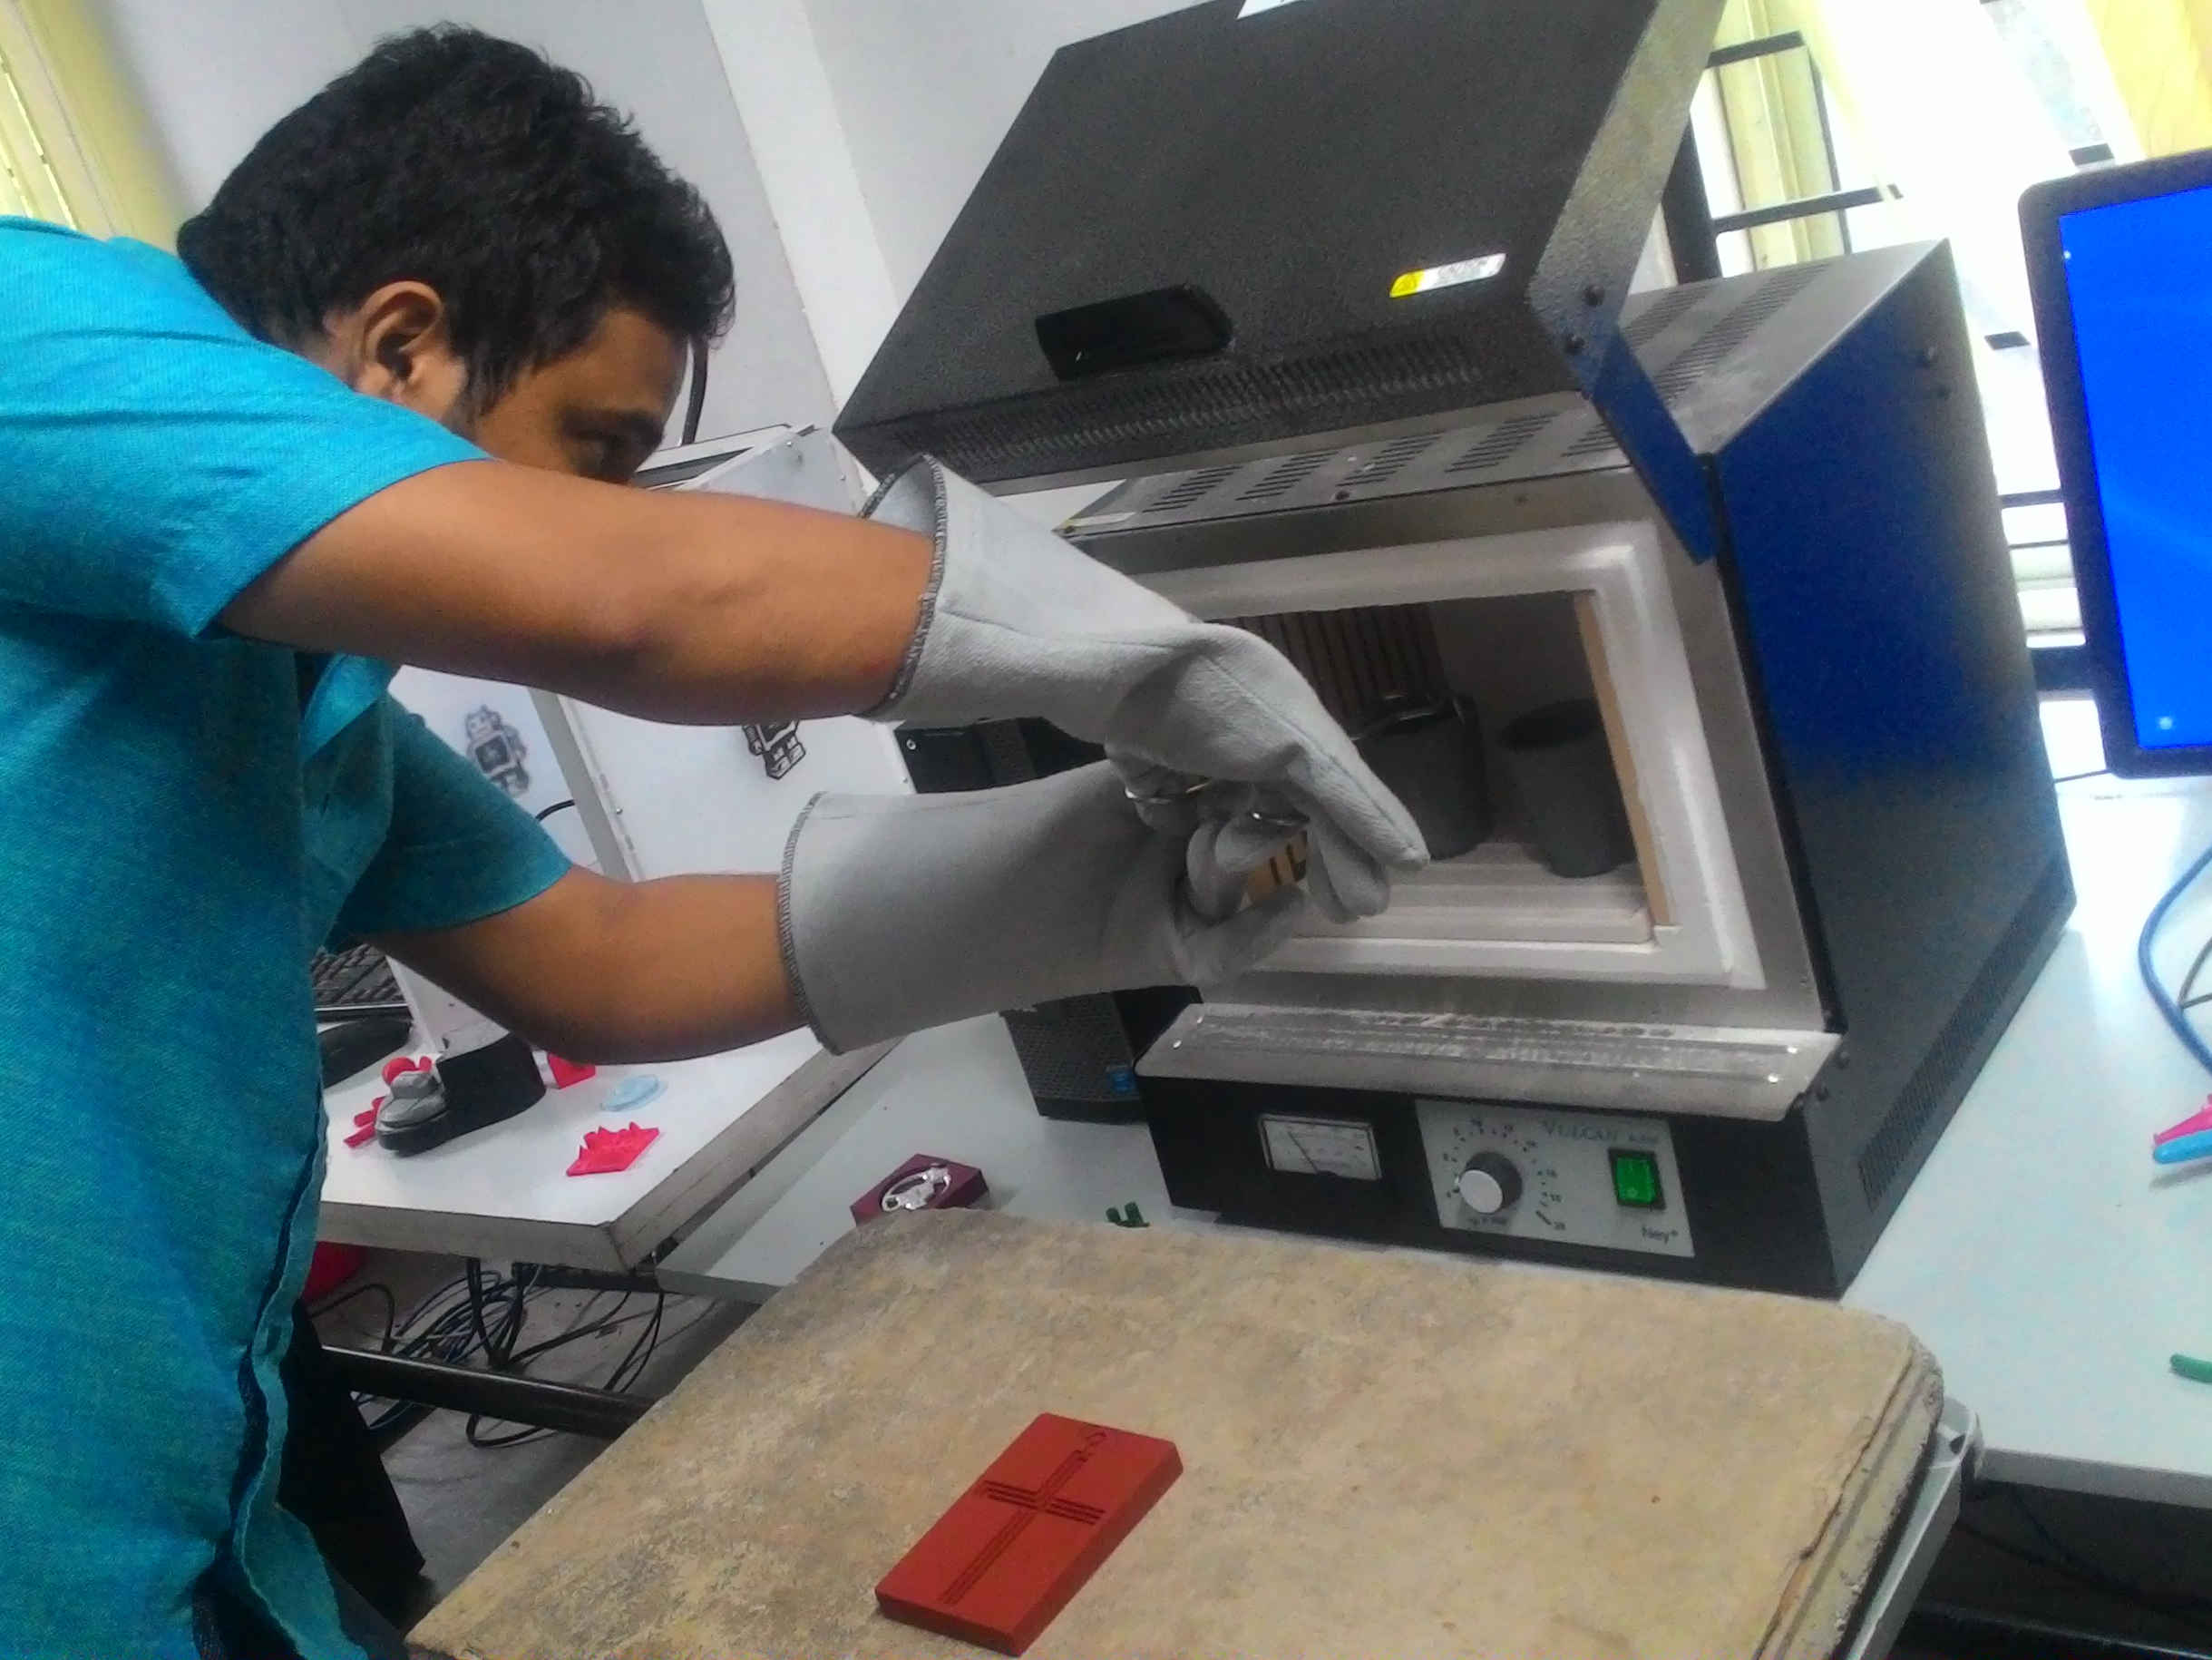
I grabbed the pot with a pair of tongs.
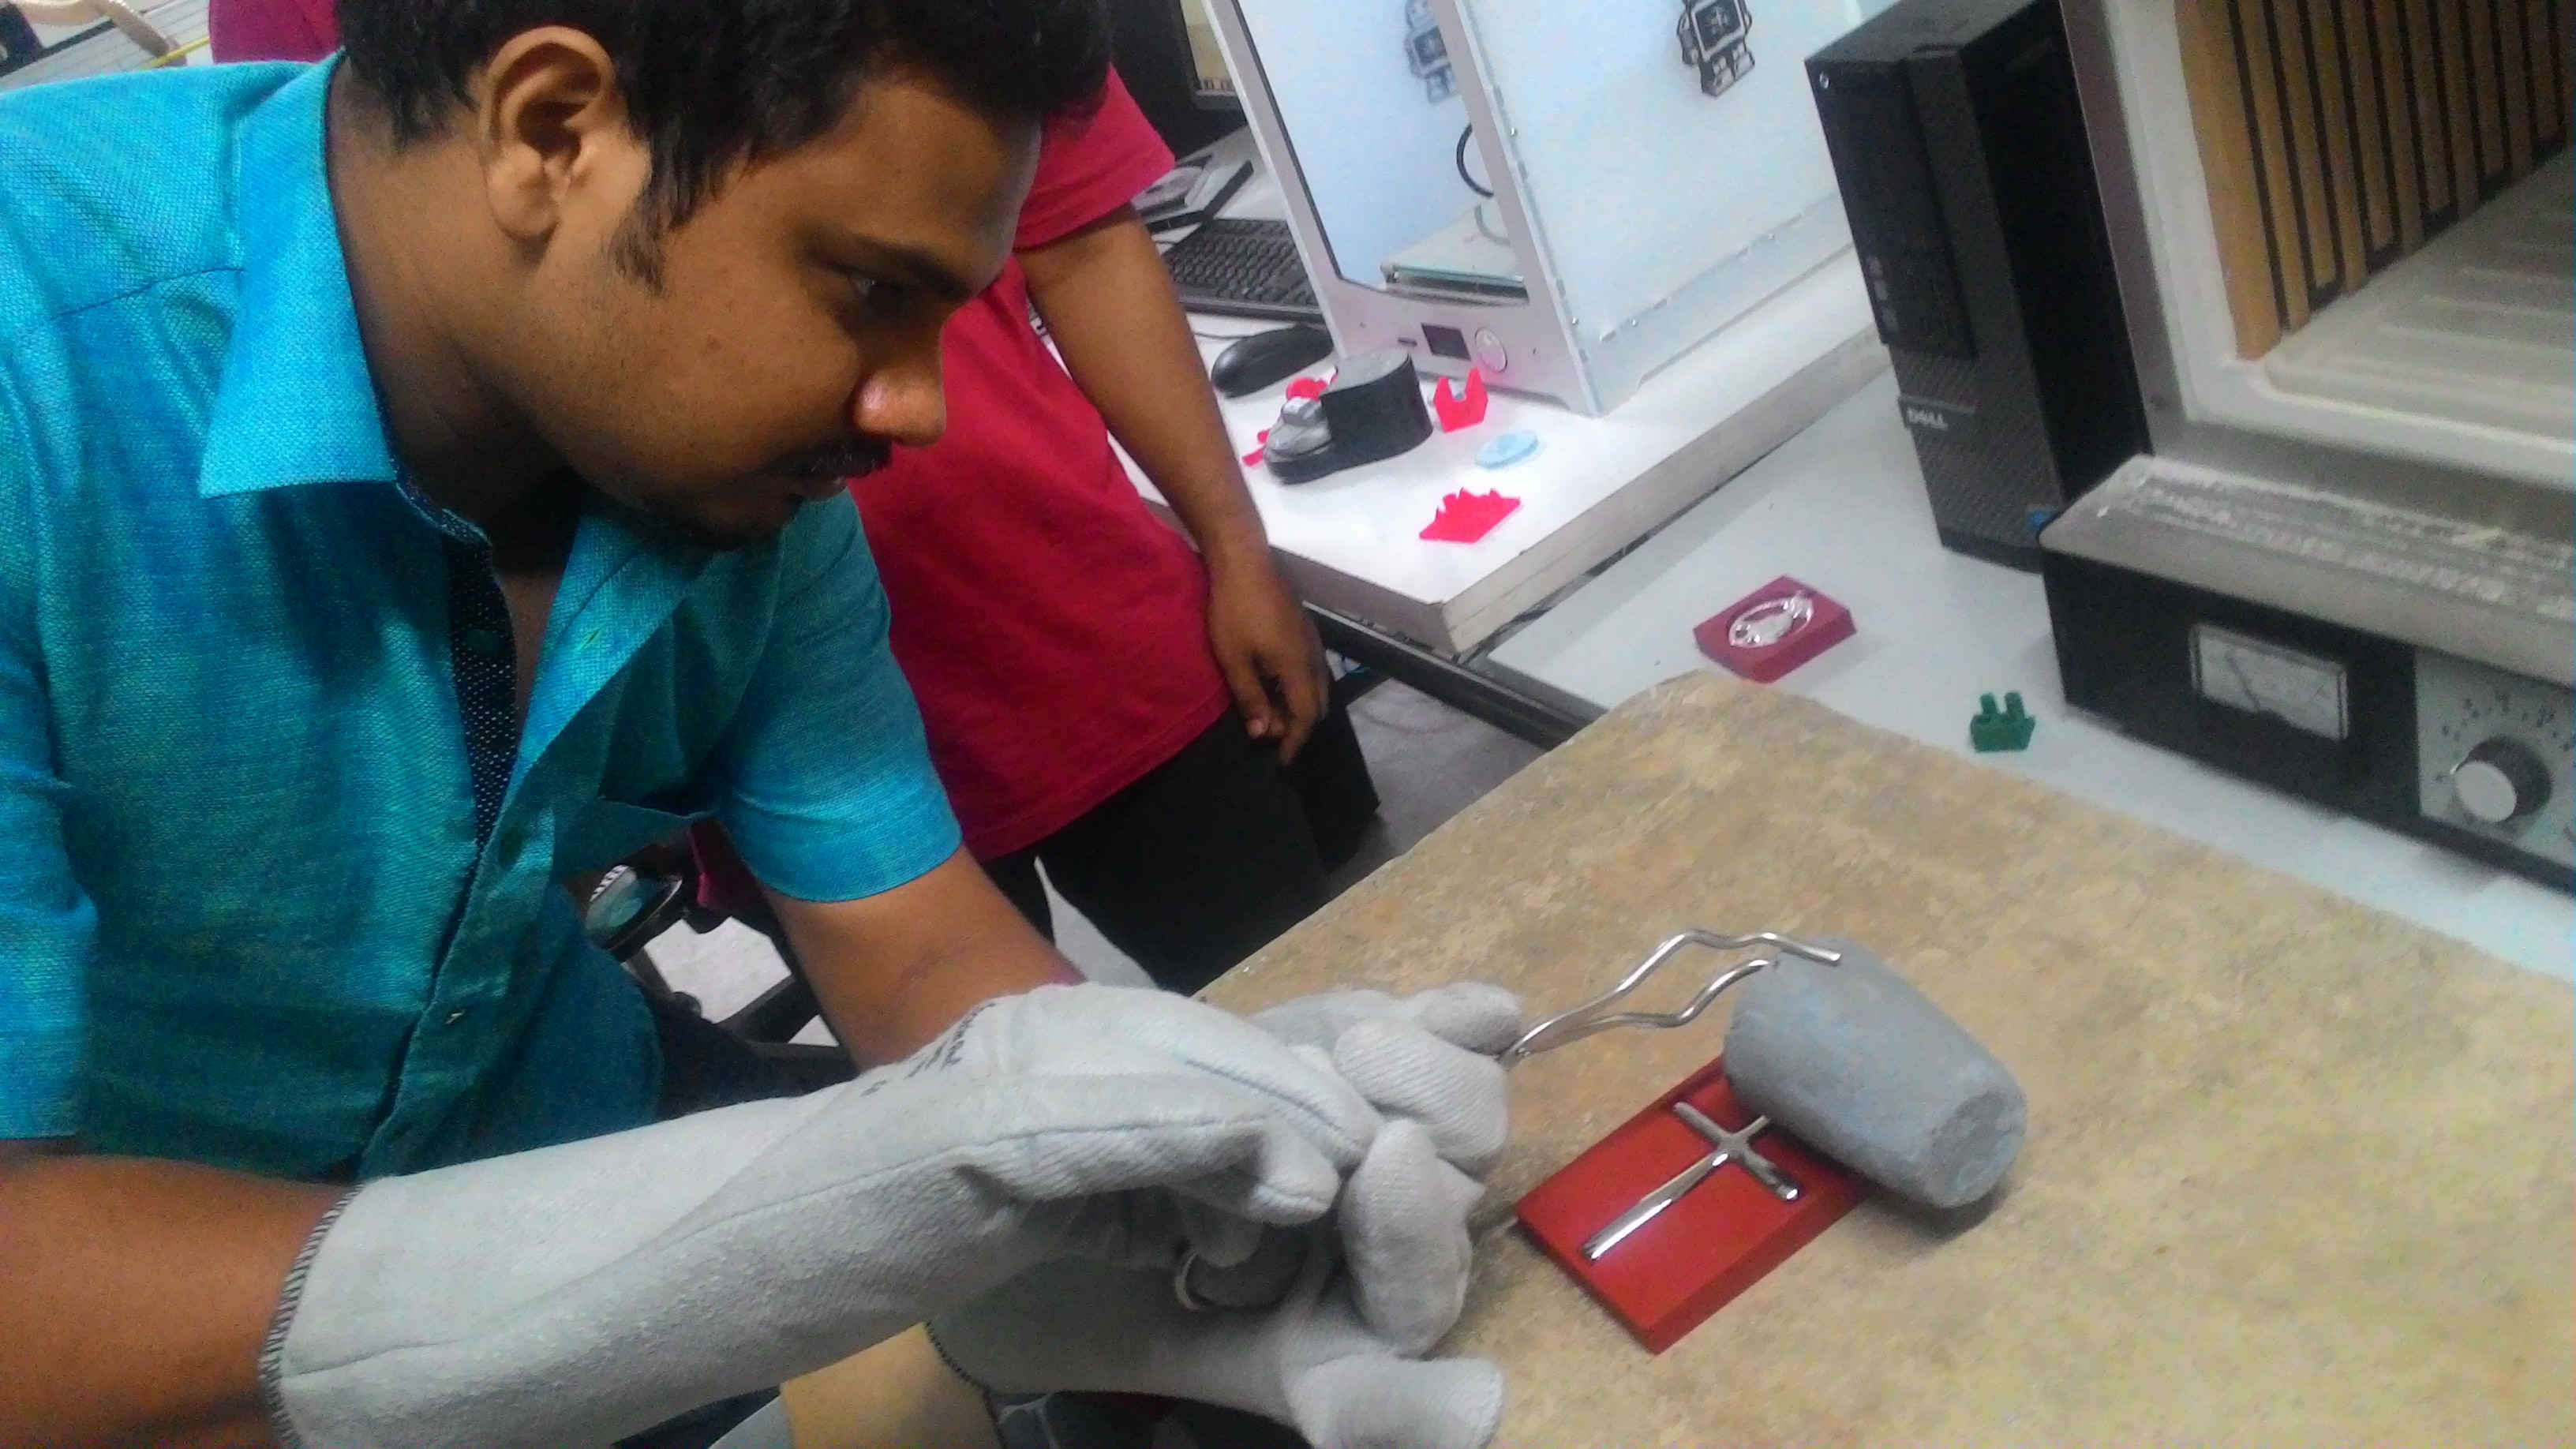
carefully poured it to the heat resistant silicon rubber mold. Within a couple of seconds, a solid metal lead cross was ready.
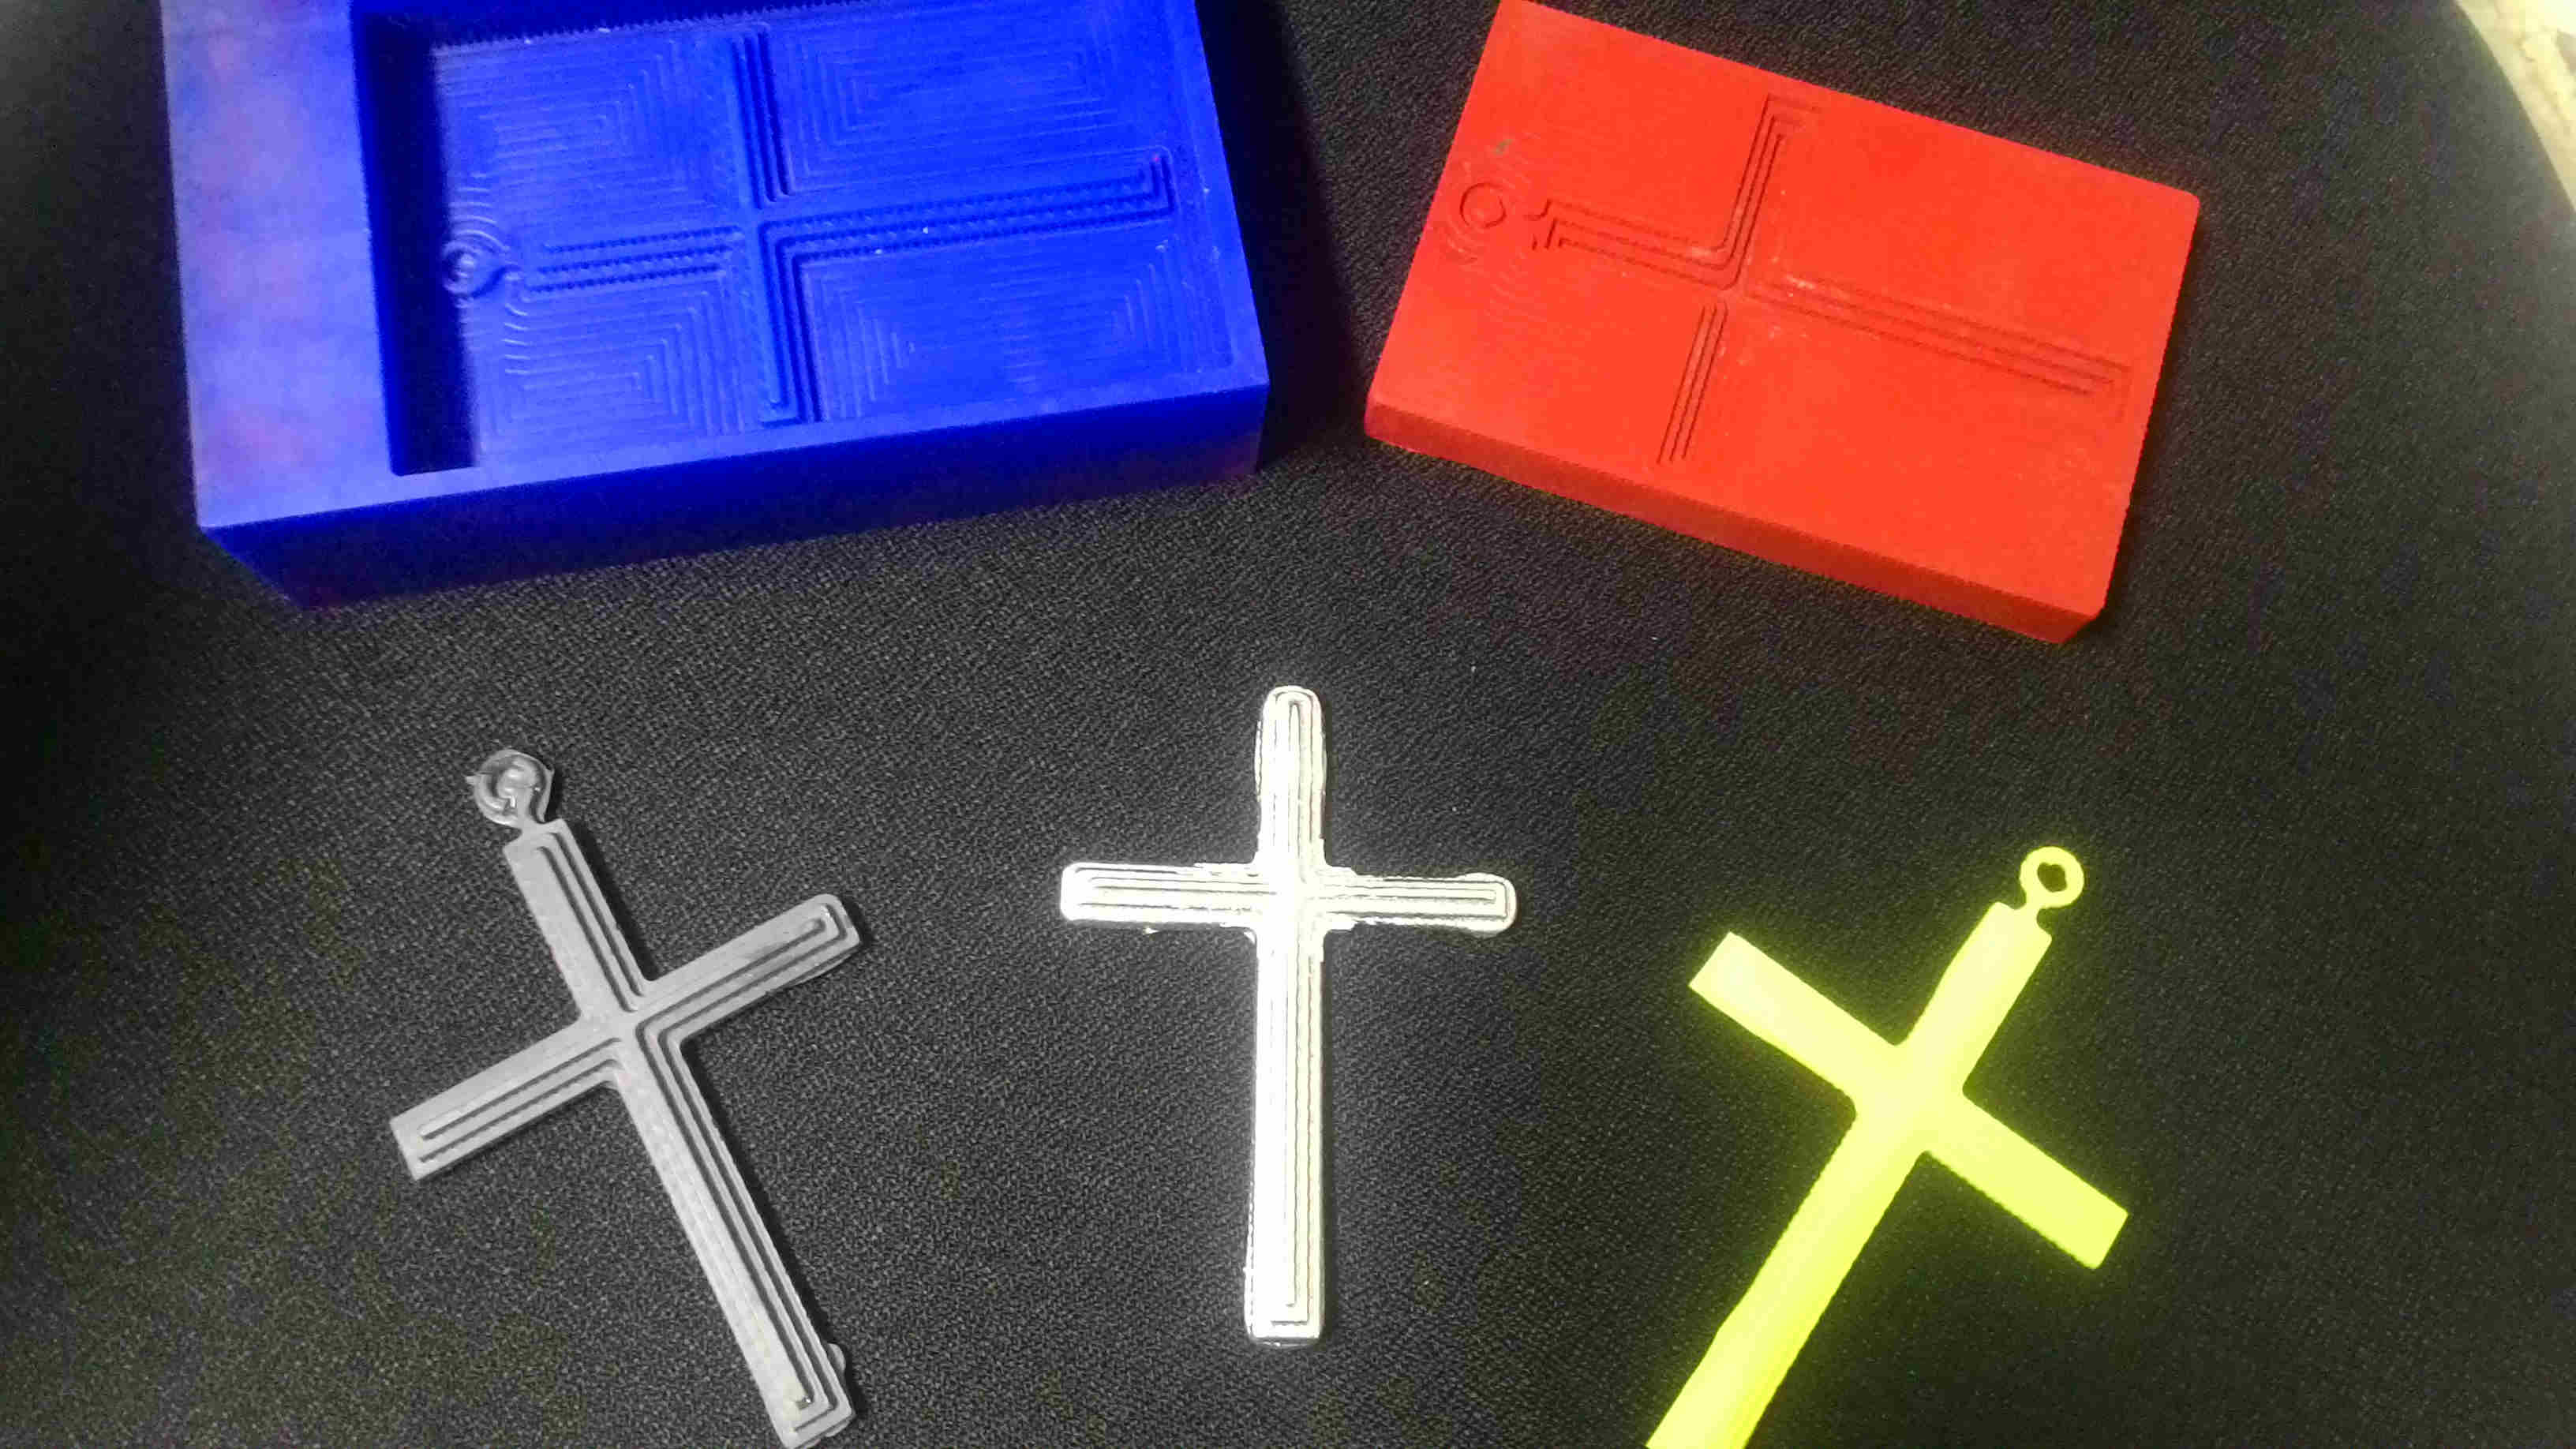
Final outcome.