Objective
Build a cardboard press fit construction kit.
Illustrate the project using a design process
Study chamfer joints
Document the use of the laser cutter.
Constraints
The structure needs to support itself without the use of adhesives.
The joints need to be structured so that they firmly lock in place.
The cardboard should be strong enough to hold heavy objectives(using 275# cardboard).
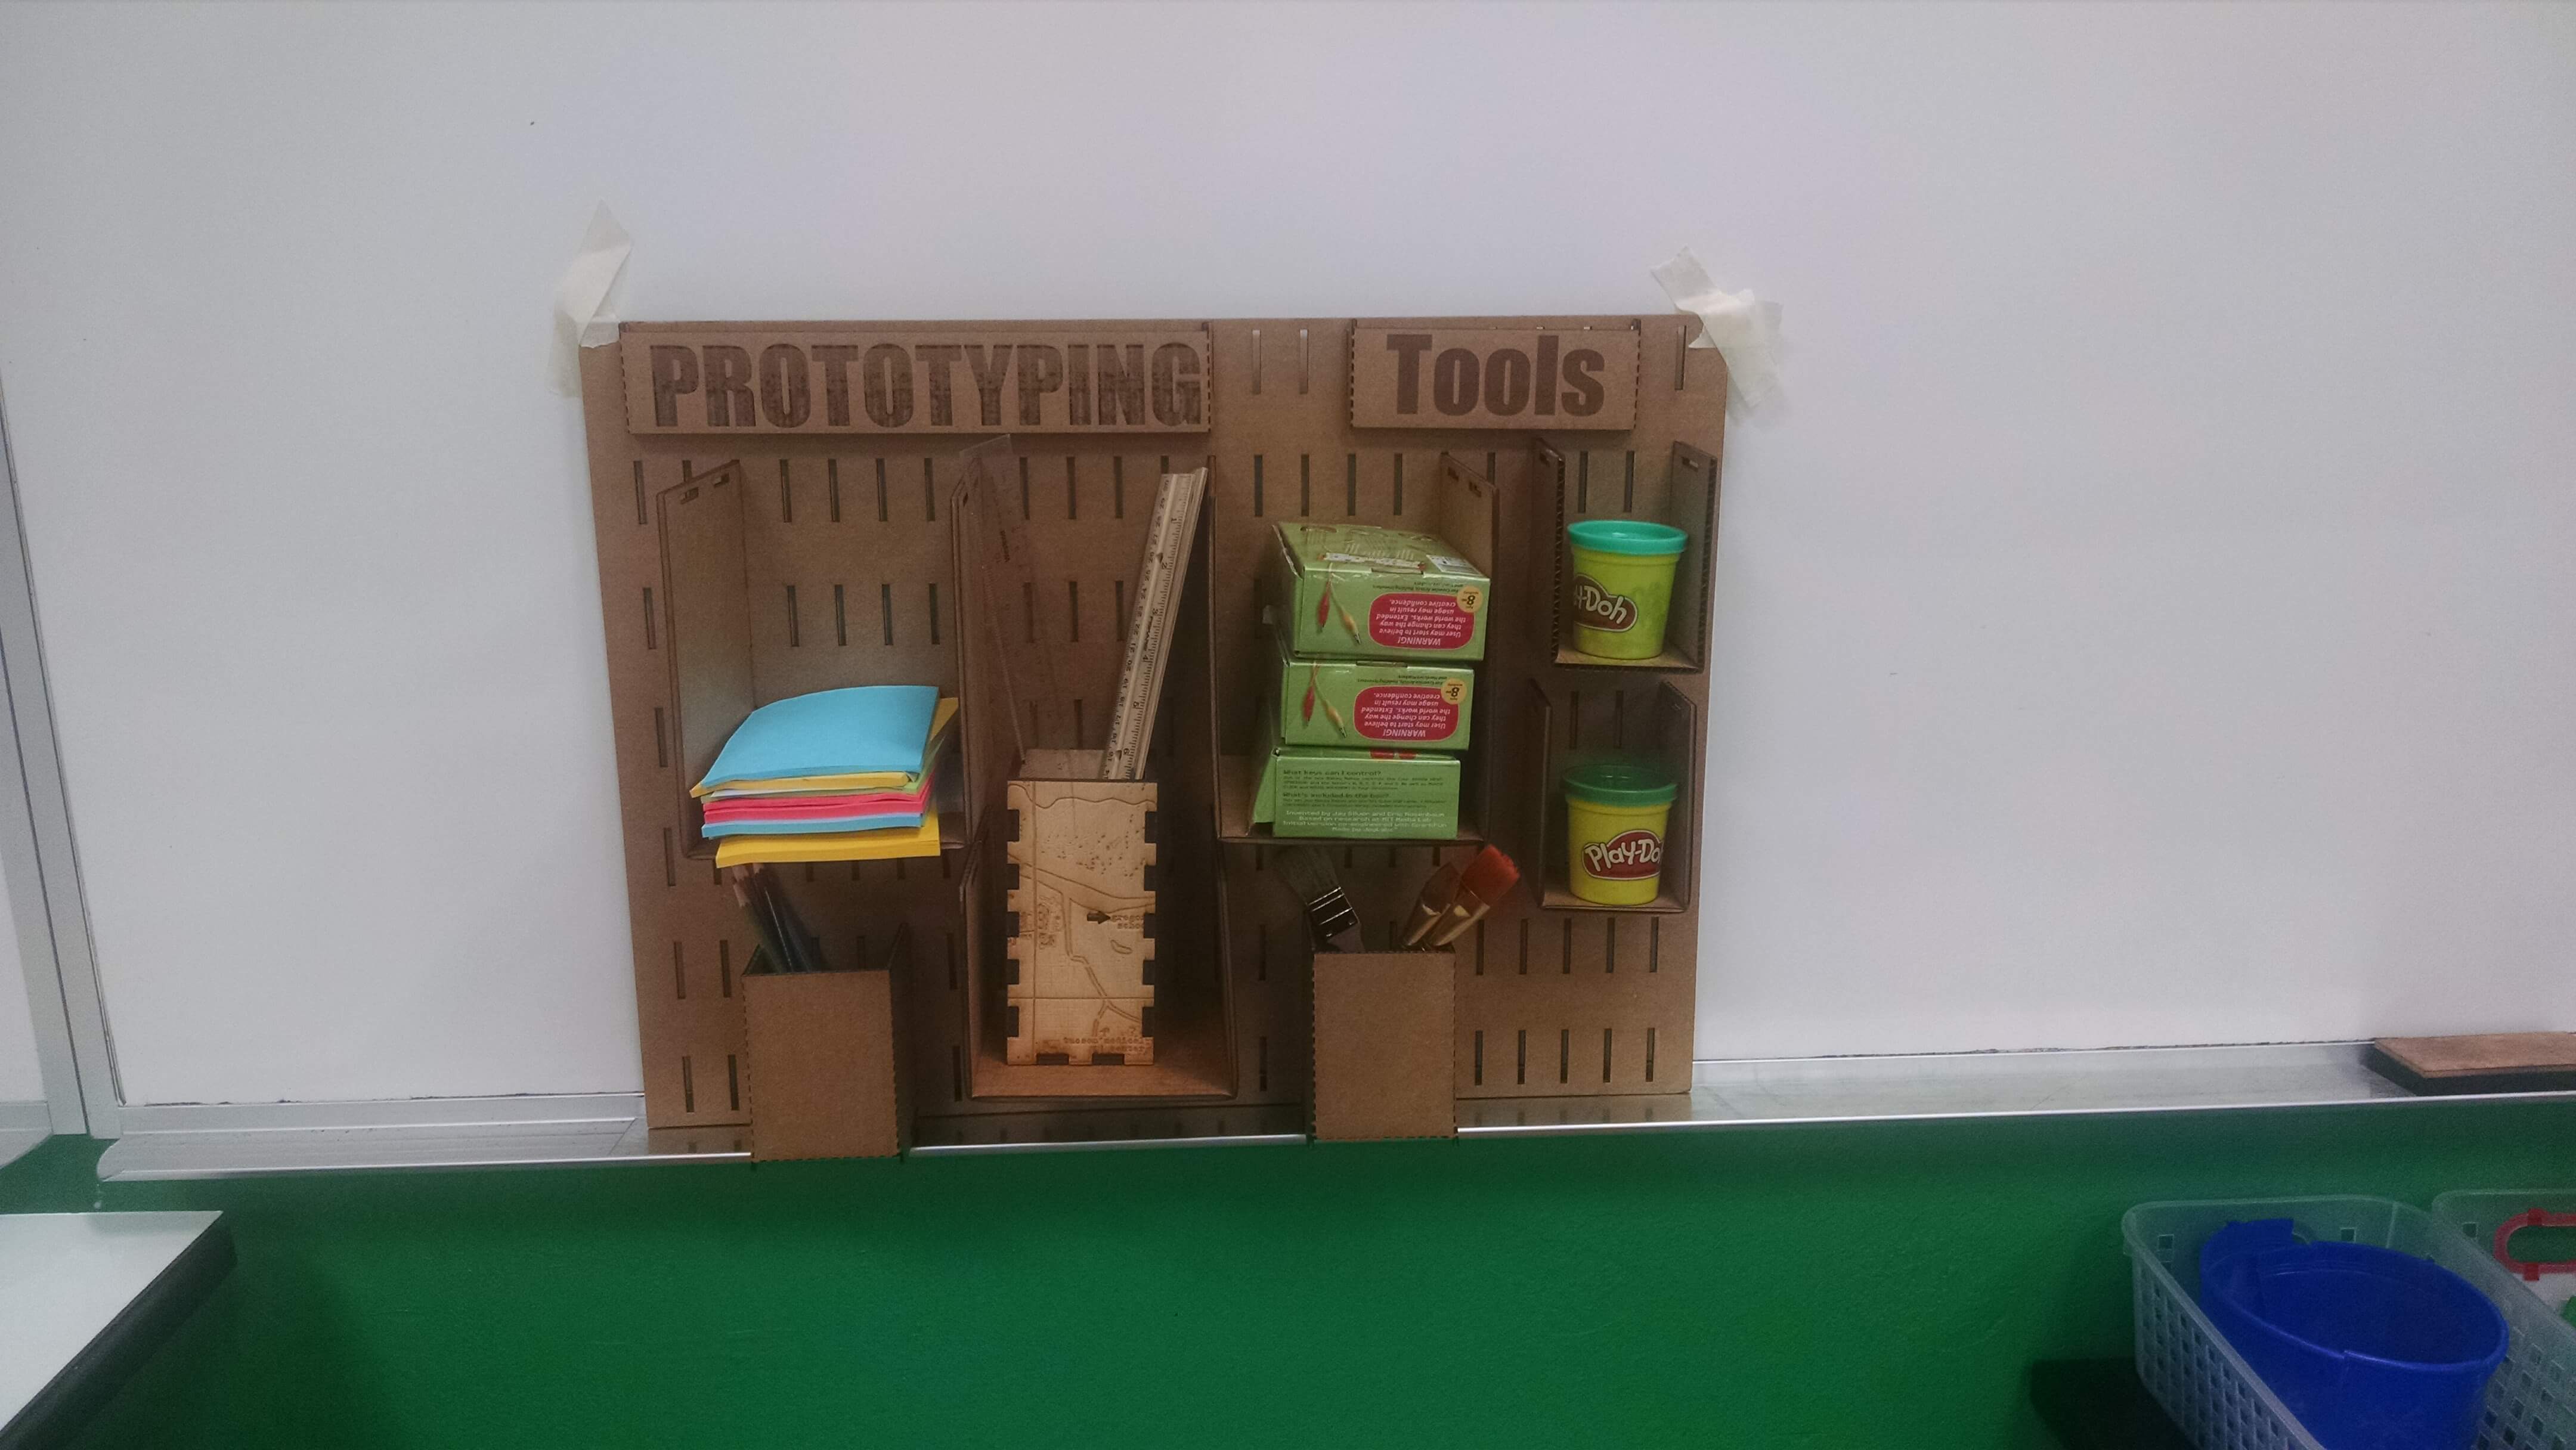
The Idea
The project is to make a cardboard wall board system that allows you to hang cardboard shelves on the wall. It
will work similiar to a pegboard.
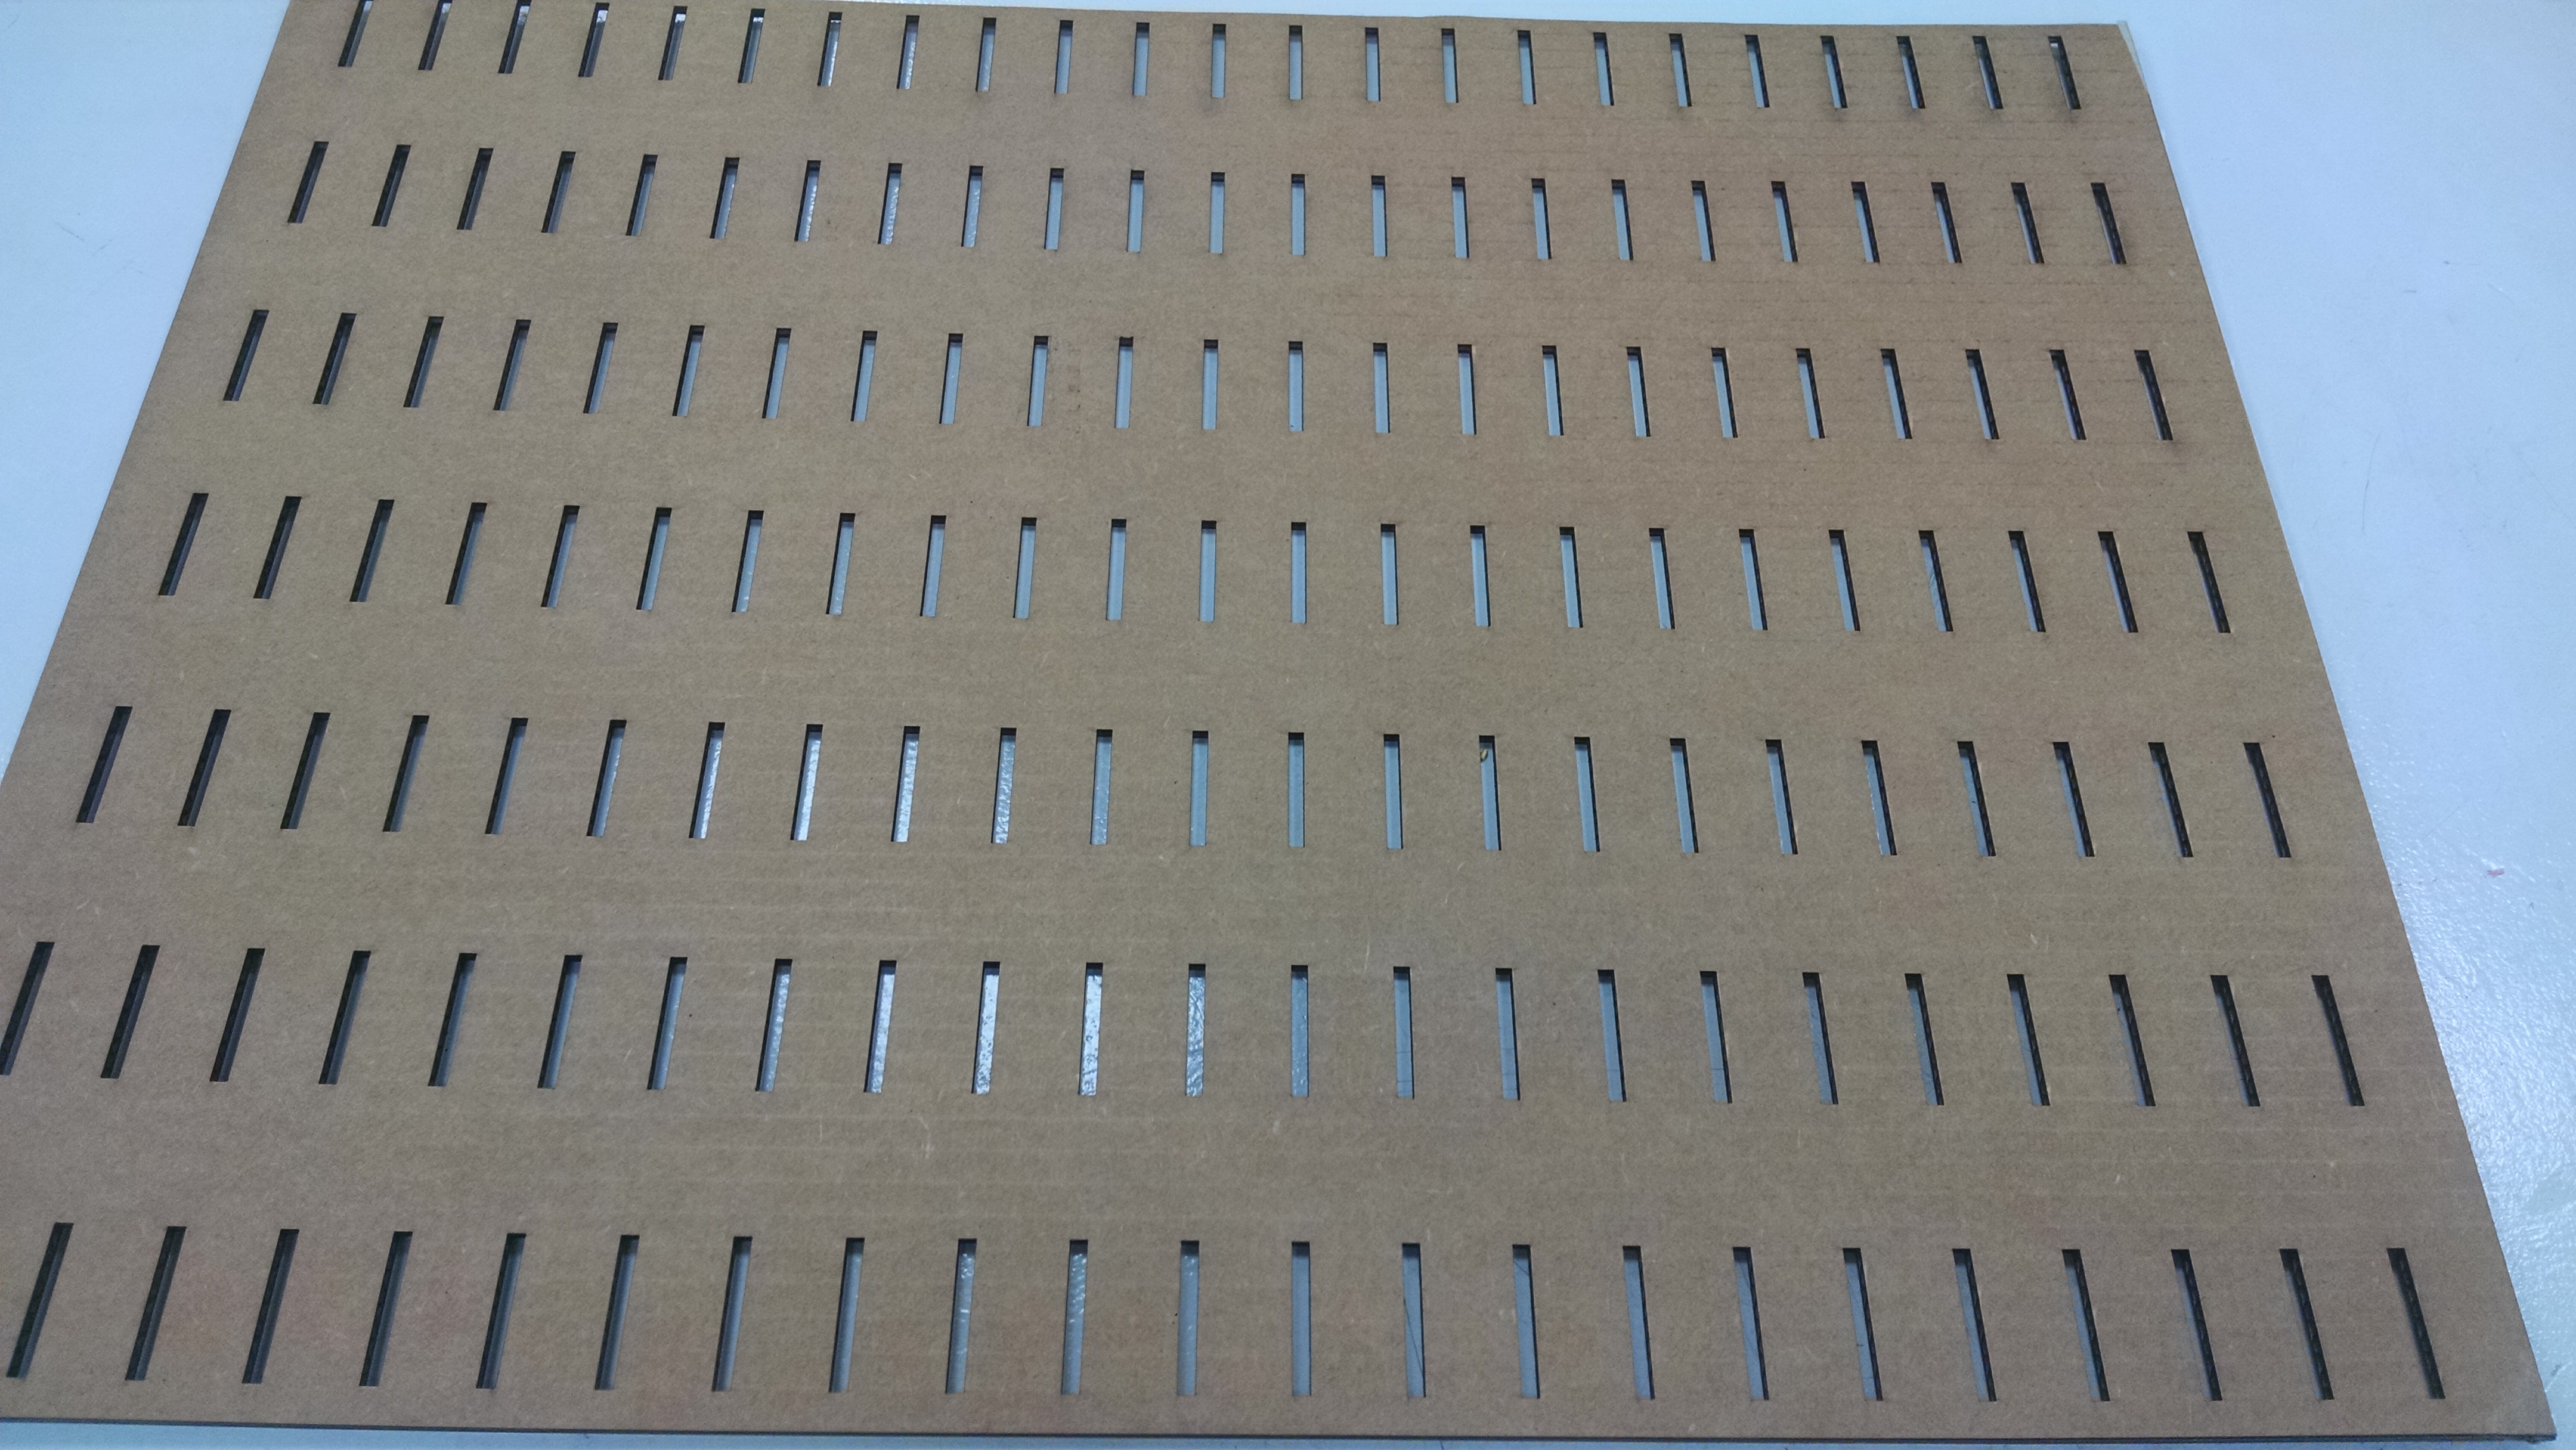
In order to determine how to build the correct size of slots, the thickness of the cardboard was measured.
A practice slit and notch were built.
Parametric Modelling Assignment
Use Inkscape to model a press fit structure.
After figuring out the
proper slot size
, and choosing the spacing between each slot. The backboard was constructed:
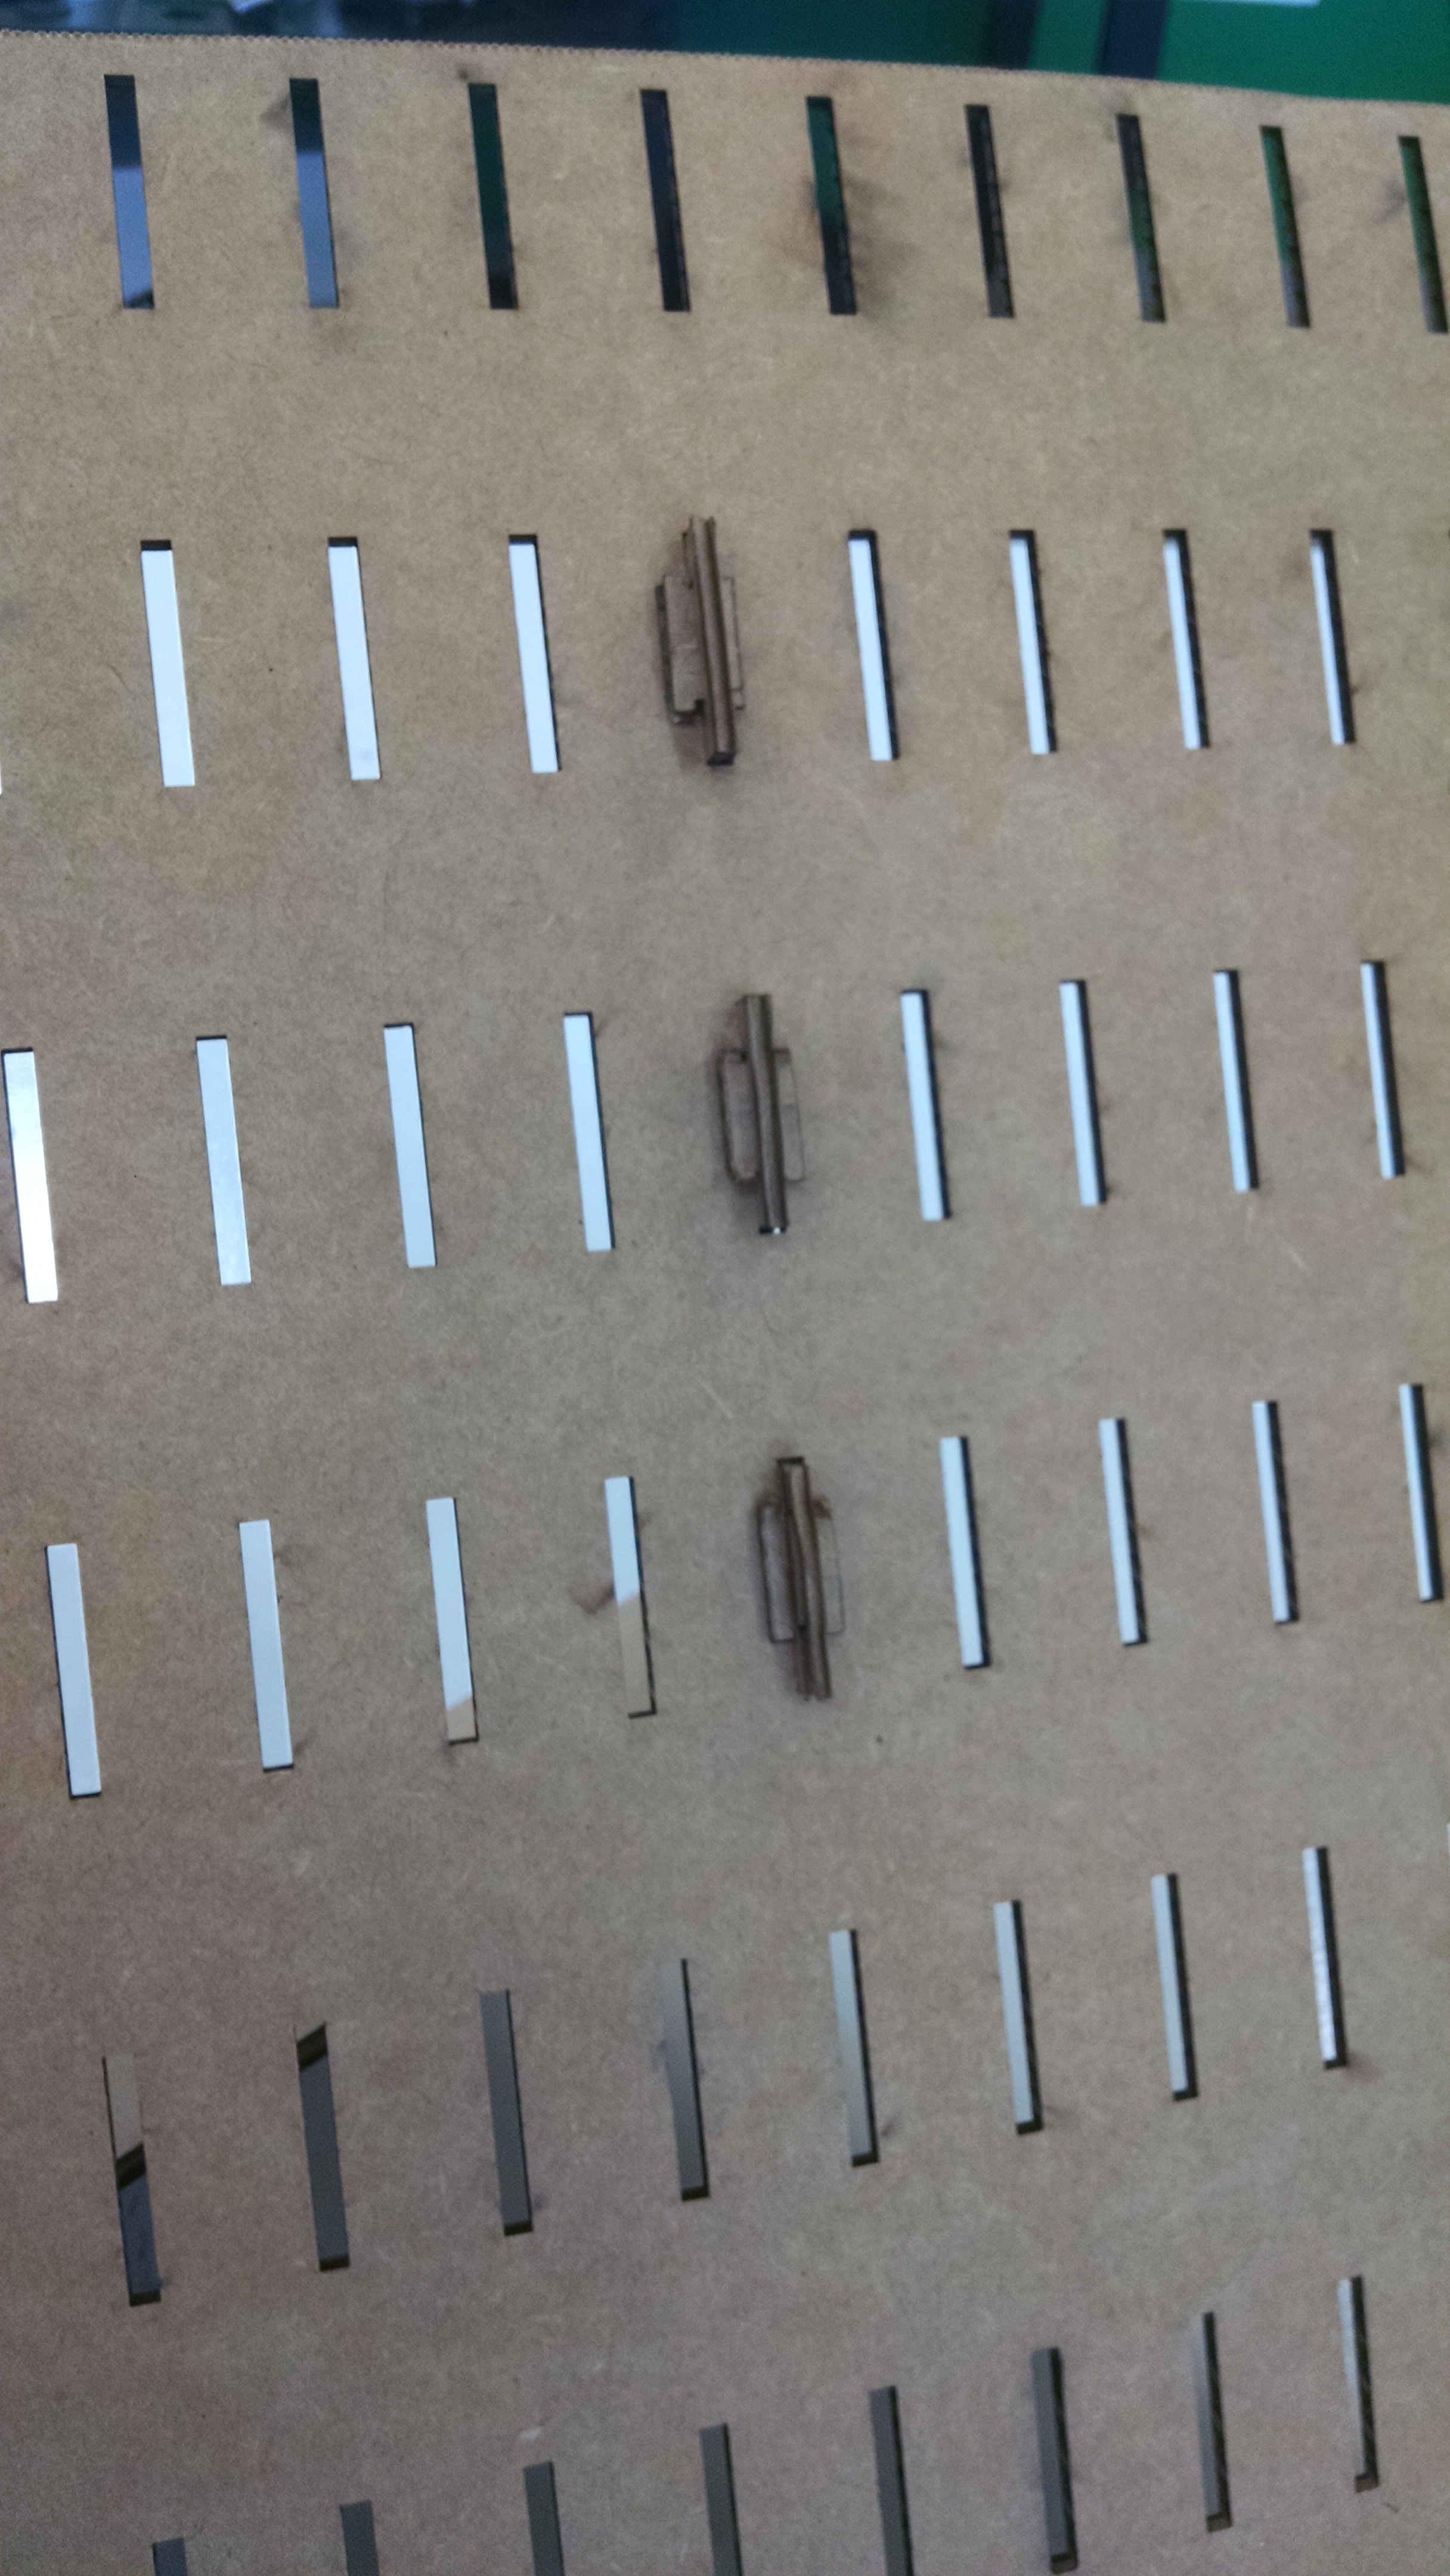
The first piece that was developed was just a faceplate. It was a piece of cardboard that would fit in the slit.
After adjusting the width between the tabs, The faceplate properly fit in the backboard. The second piece developed was
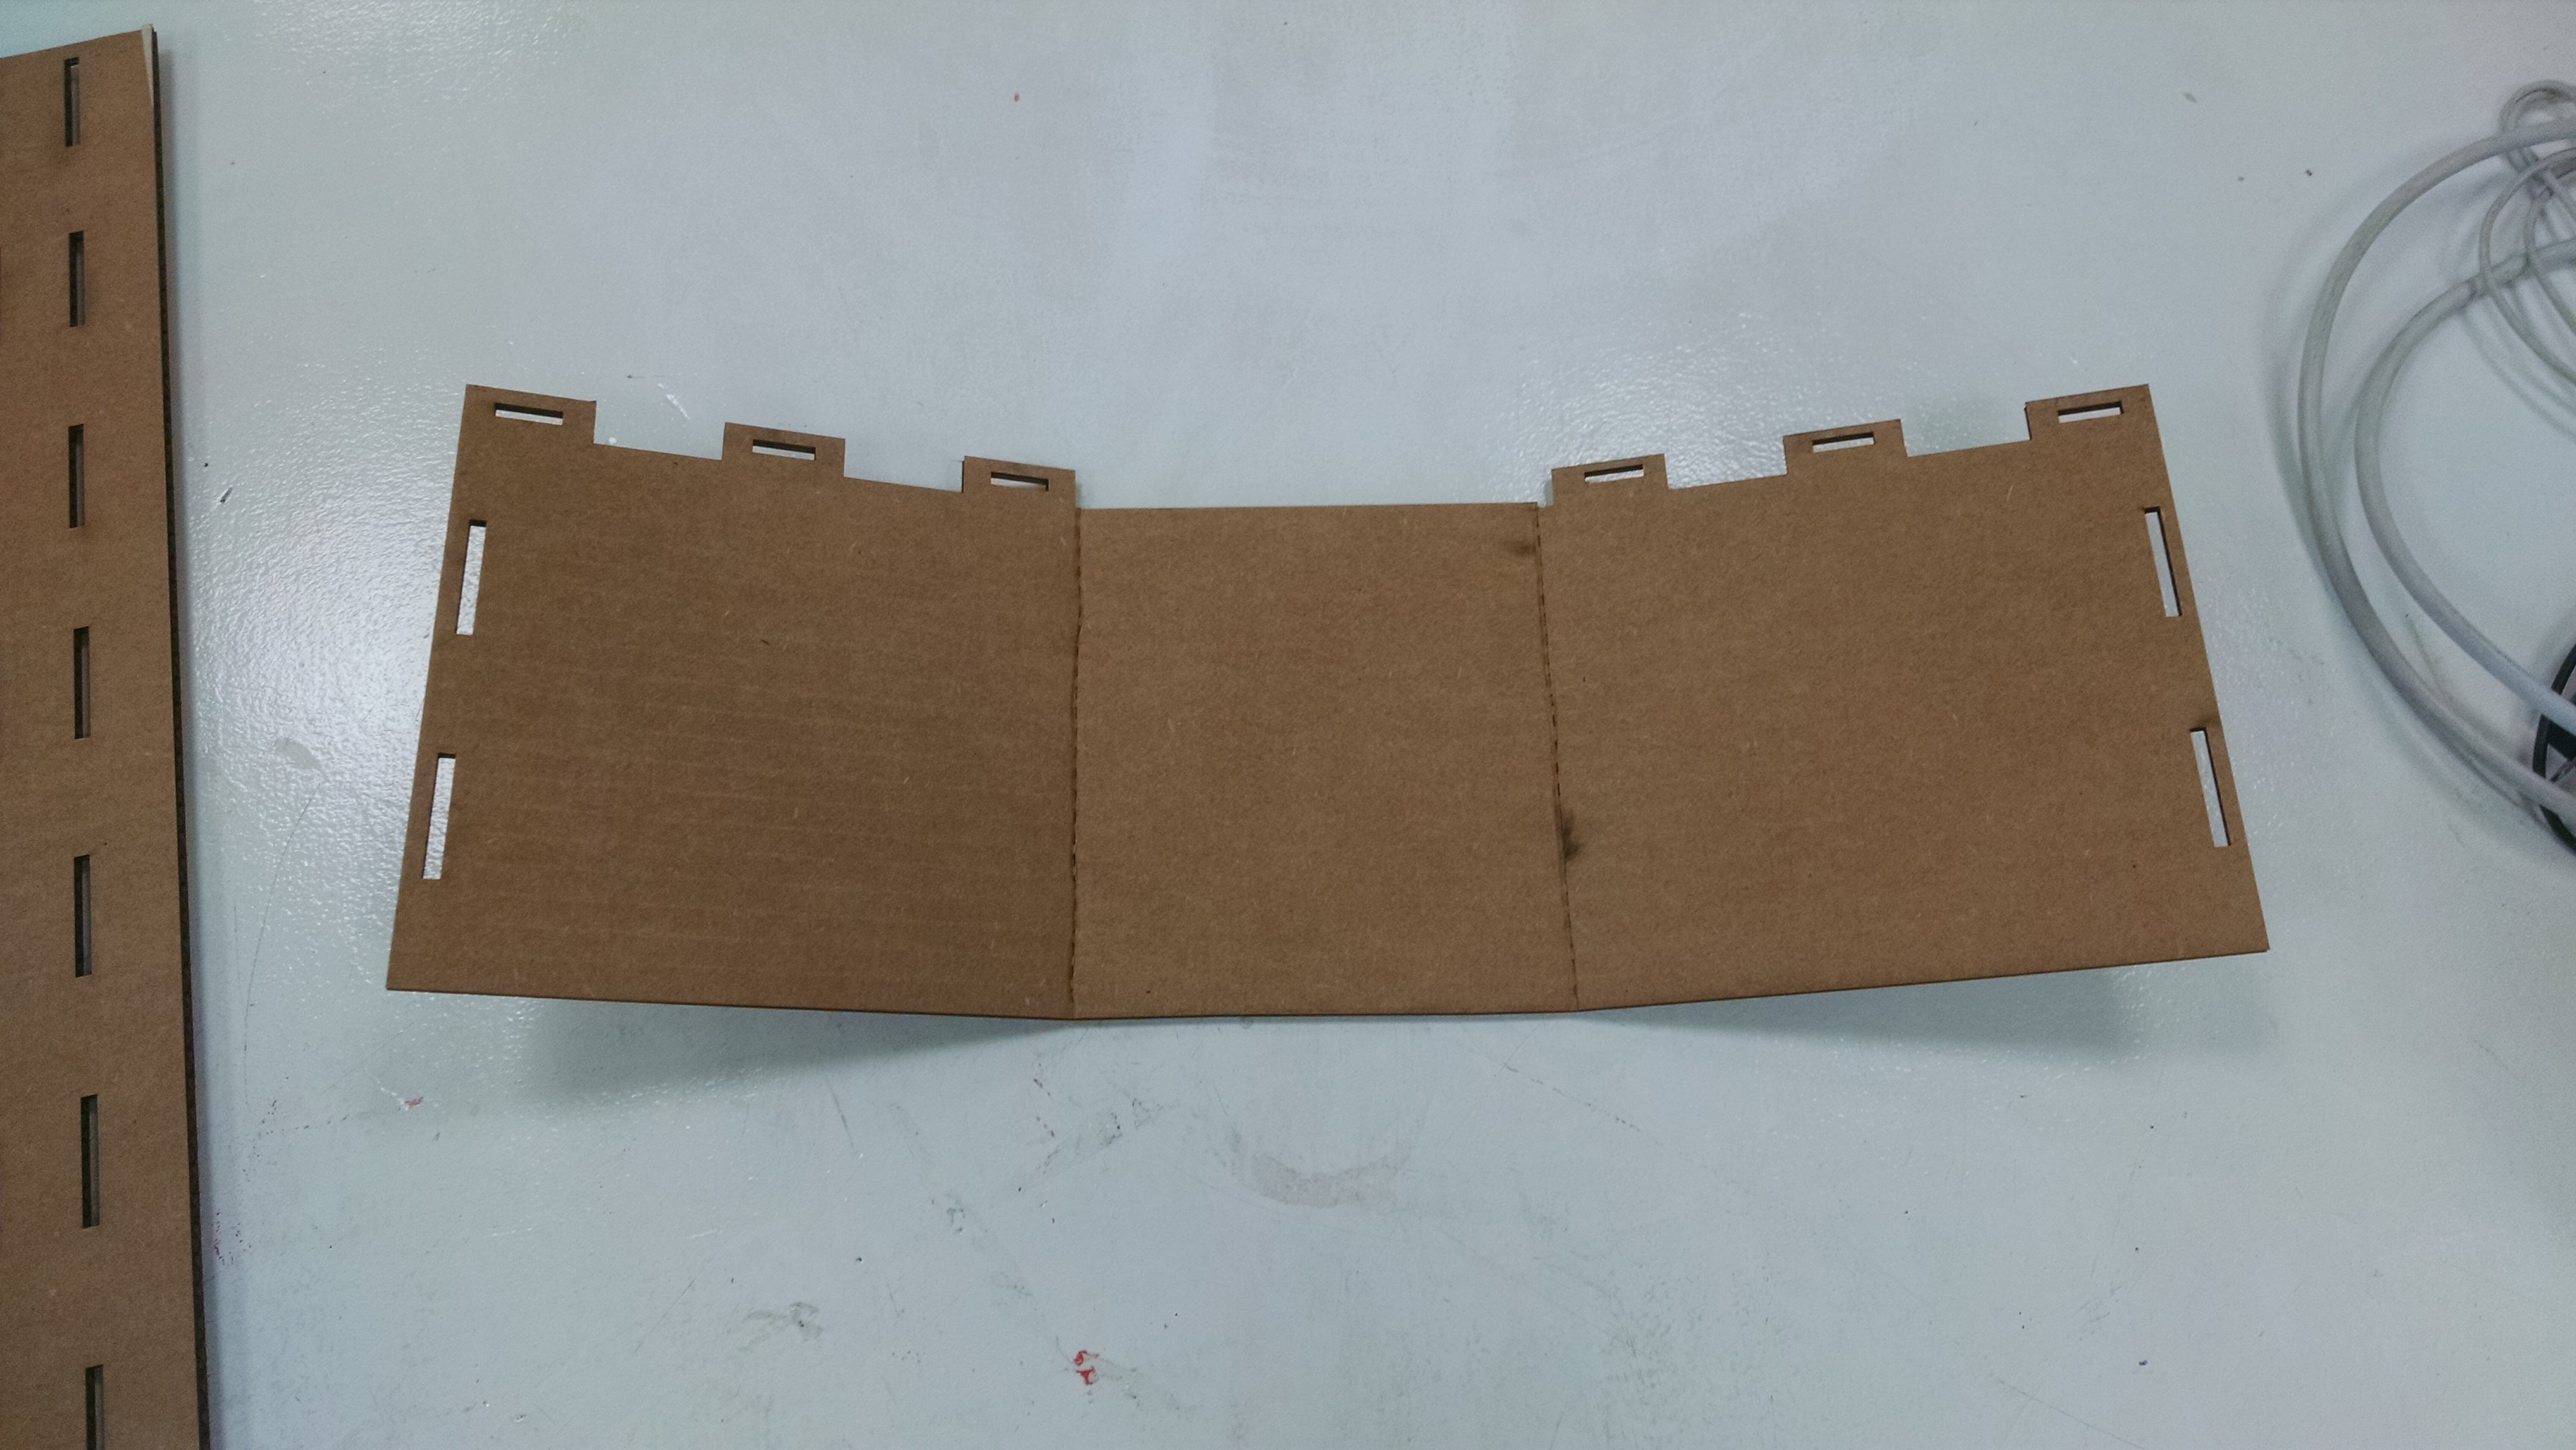
a box that could attach to the pegboard.

After testing this piece with weight inside the cup, it worked well for light objects, but the cup fell out
of the slits after putting larger weights. A modification to the tabs was made. The length was increased so they
extended beyond the surface. A whole was placed in it, so that a second piece could be used to pin the shelfs in place.
A much larger amount of weight would now work.
The pieces on the board were not as large as I wanted. I increased the size of it. This required adding more tabs to the side.
After developing several sizes of shelves and brainstorming other avenues, I put the final pieces together.