Molding and Casting
The goal of this week is to:
Create a Mold
Cast a Part
Plan
Make a tool for the final project.
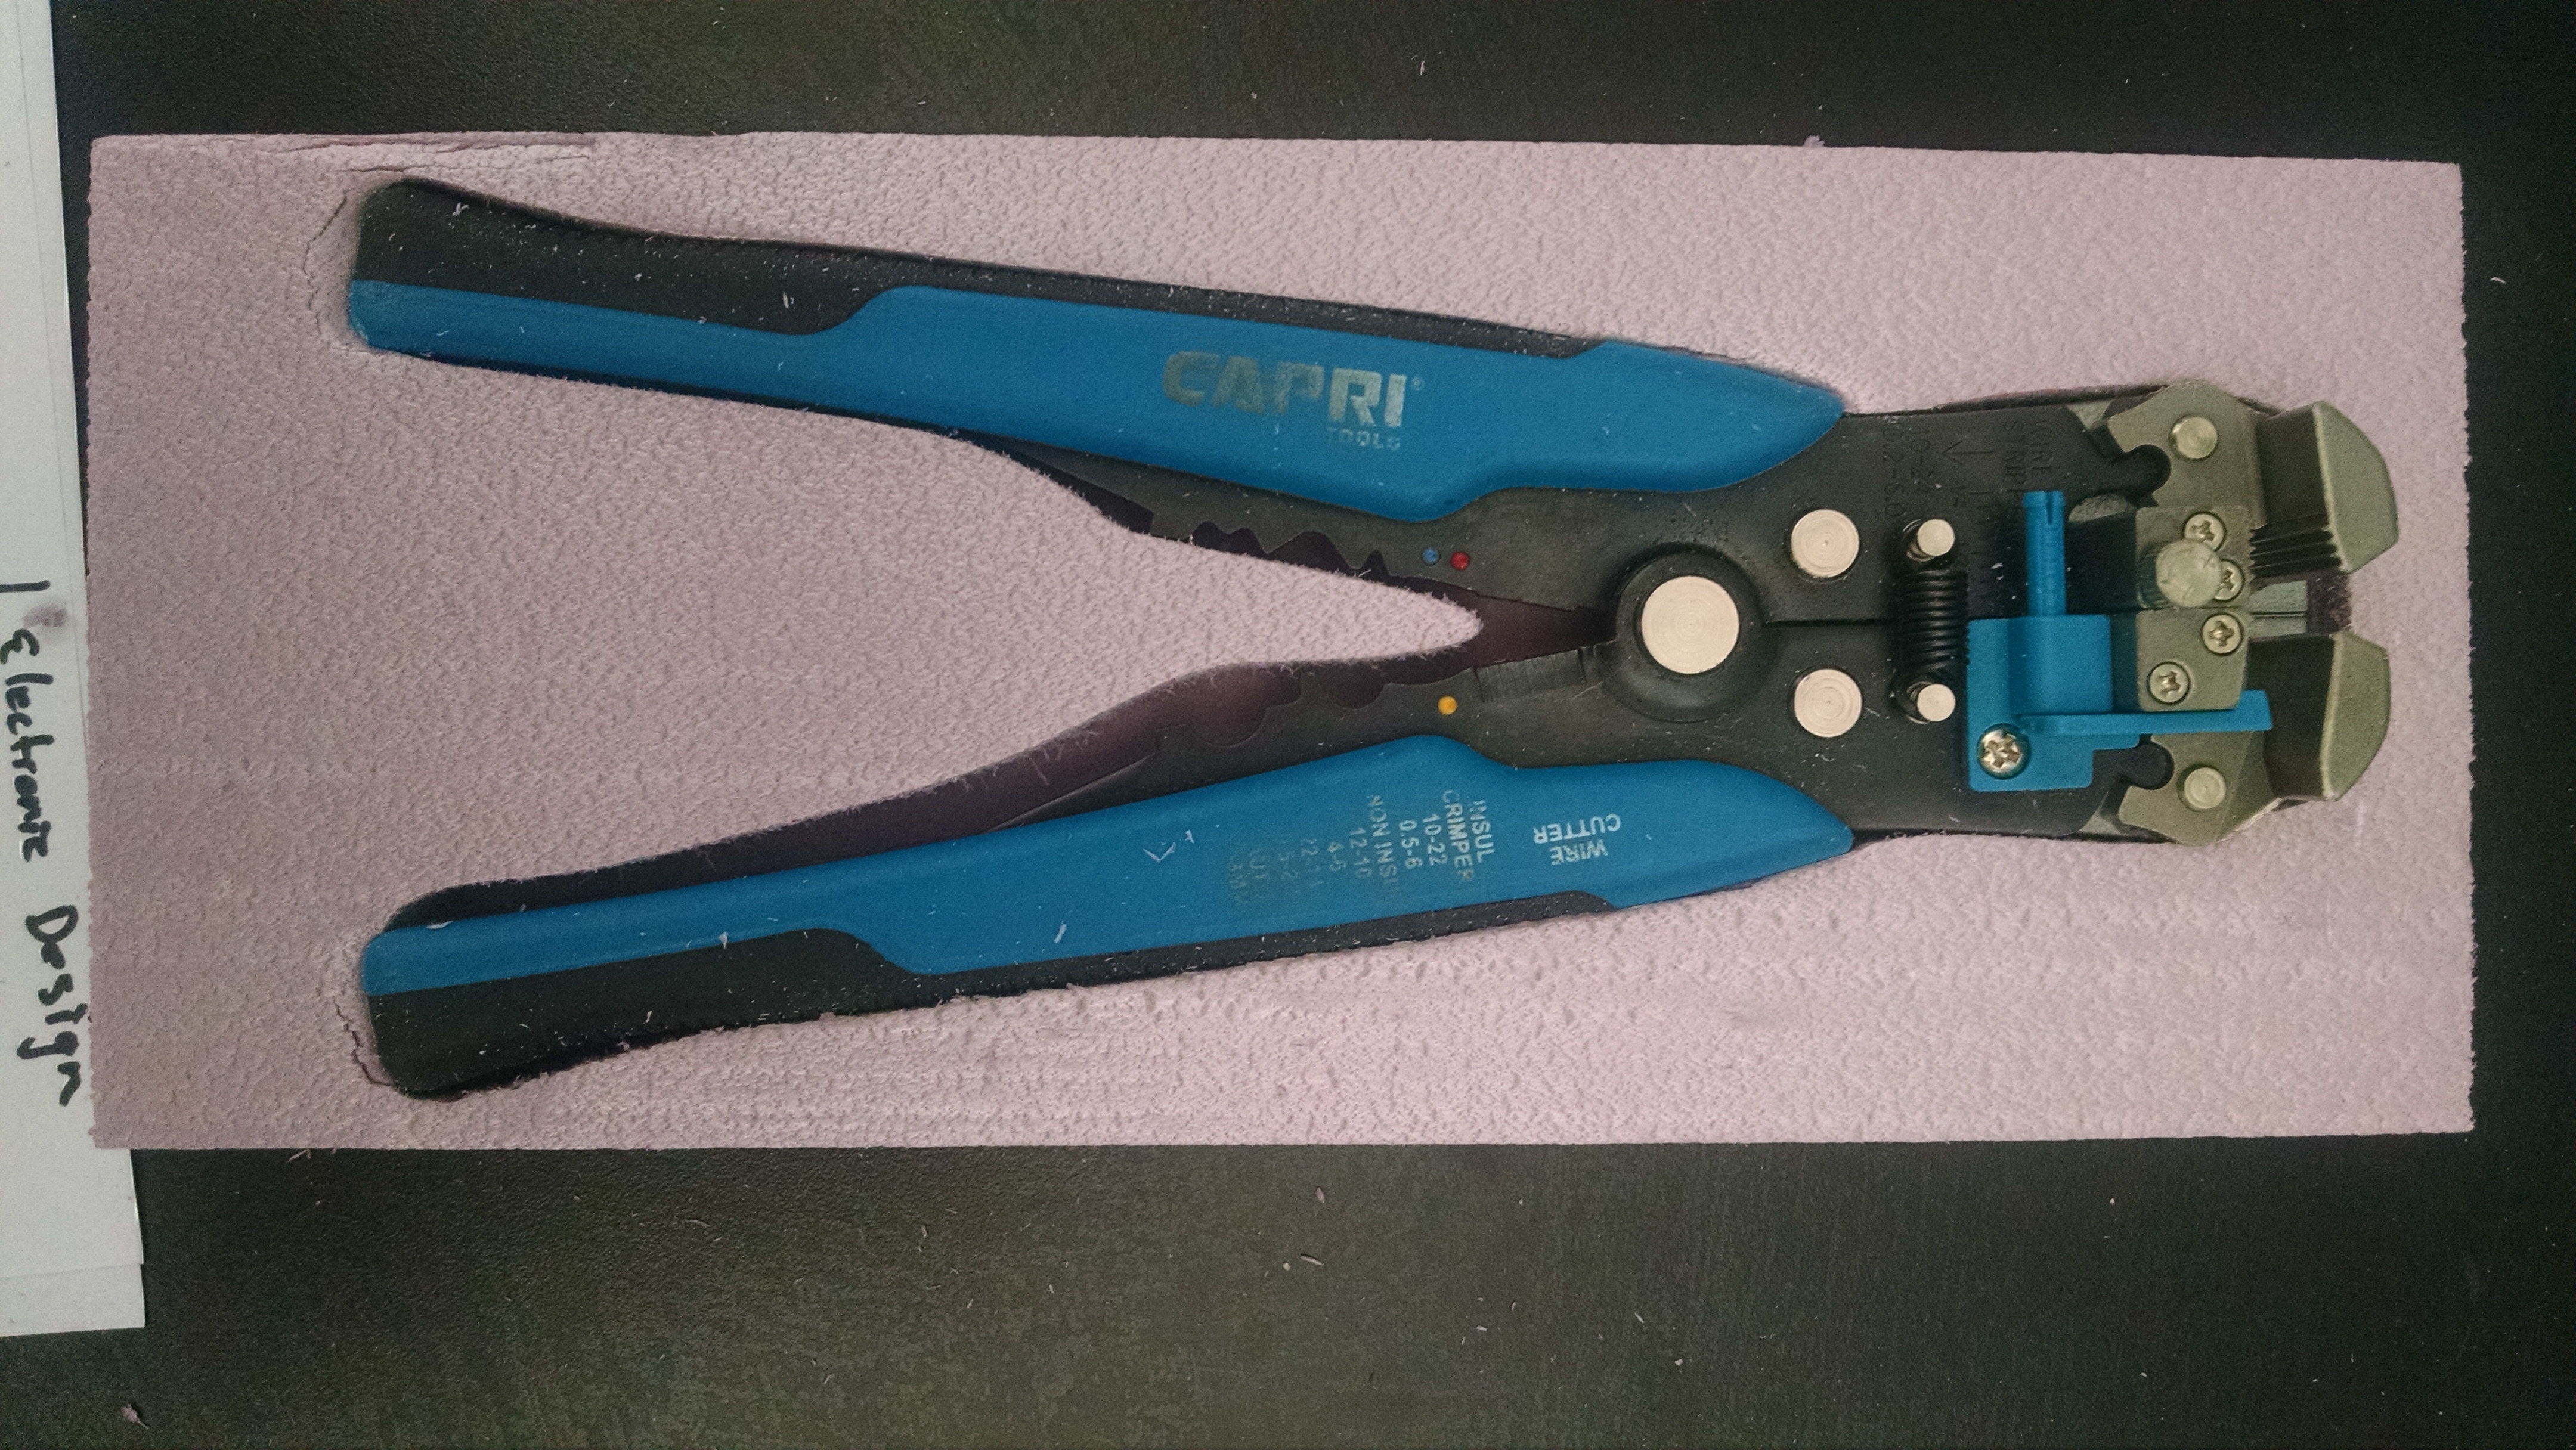
I am going to cast a part to be used on the shelf.
The shelf will hold tools, so I am going to cast a holder for pliers.
Trace a real pair of pliers using CorelDraw.
Use that sketch outline(SVG) to create a millable image.
Mill the pliers using CNC machine.
Choose a soft (semi-rigid) plastic to cast.
Process
This is the starting image:
.jpg) These are the SVGs:
These are the SVGs:


 The SVG were imported into Easel. Easel generated the gcode. I attached pink foam to the
wasteboard of the CNC mill(Carvey) using the clamps and tape.
The SVG were imported into Easel. Easel generated the gcode. I attached pink foam to the
wasteboard of the CNC mill(Carvey) using the clamps and tape.
I choose the correct material type and the
correct size for the material.
This is the milled mold:
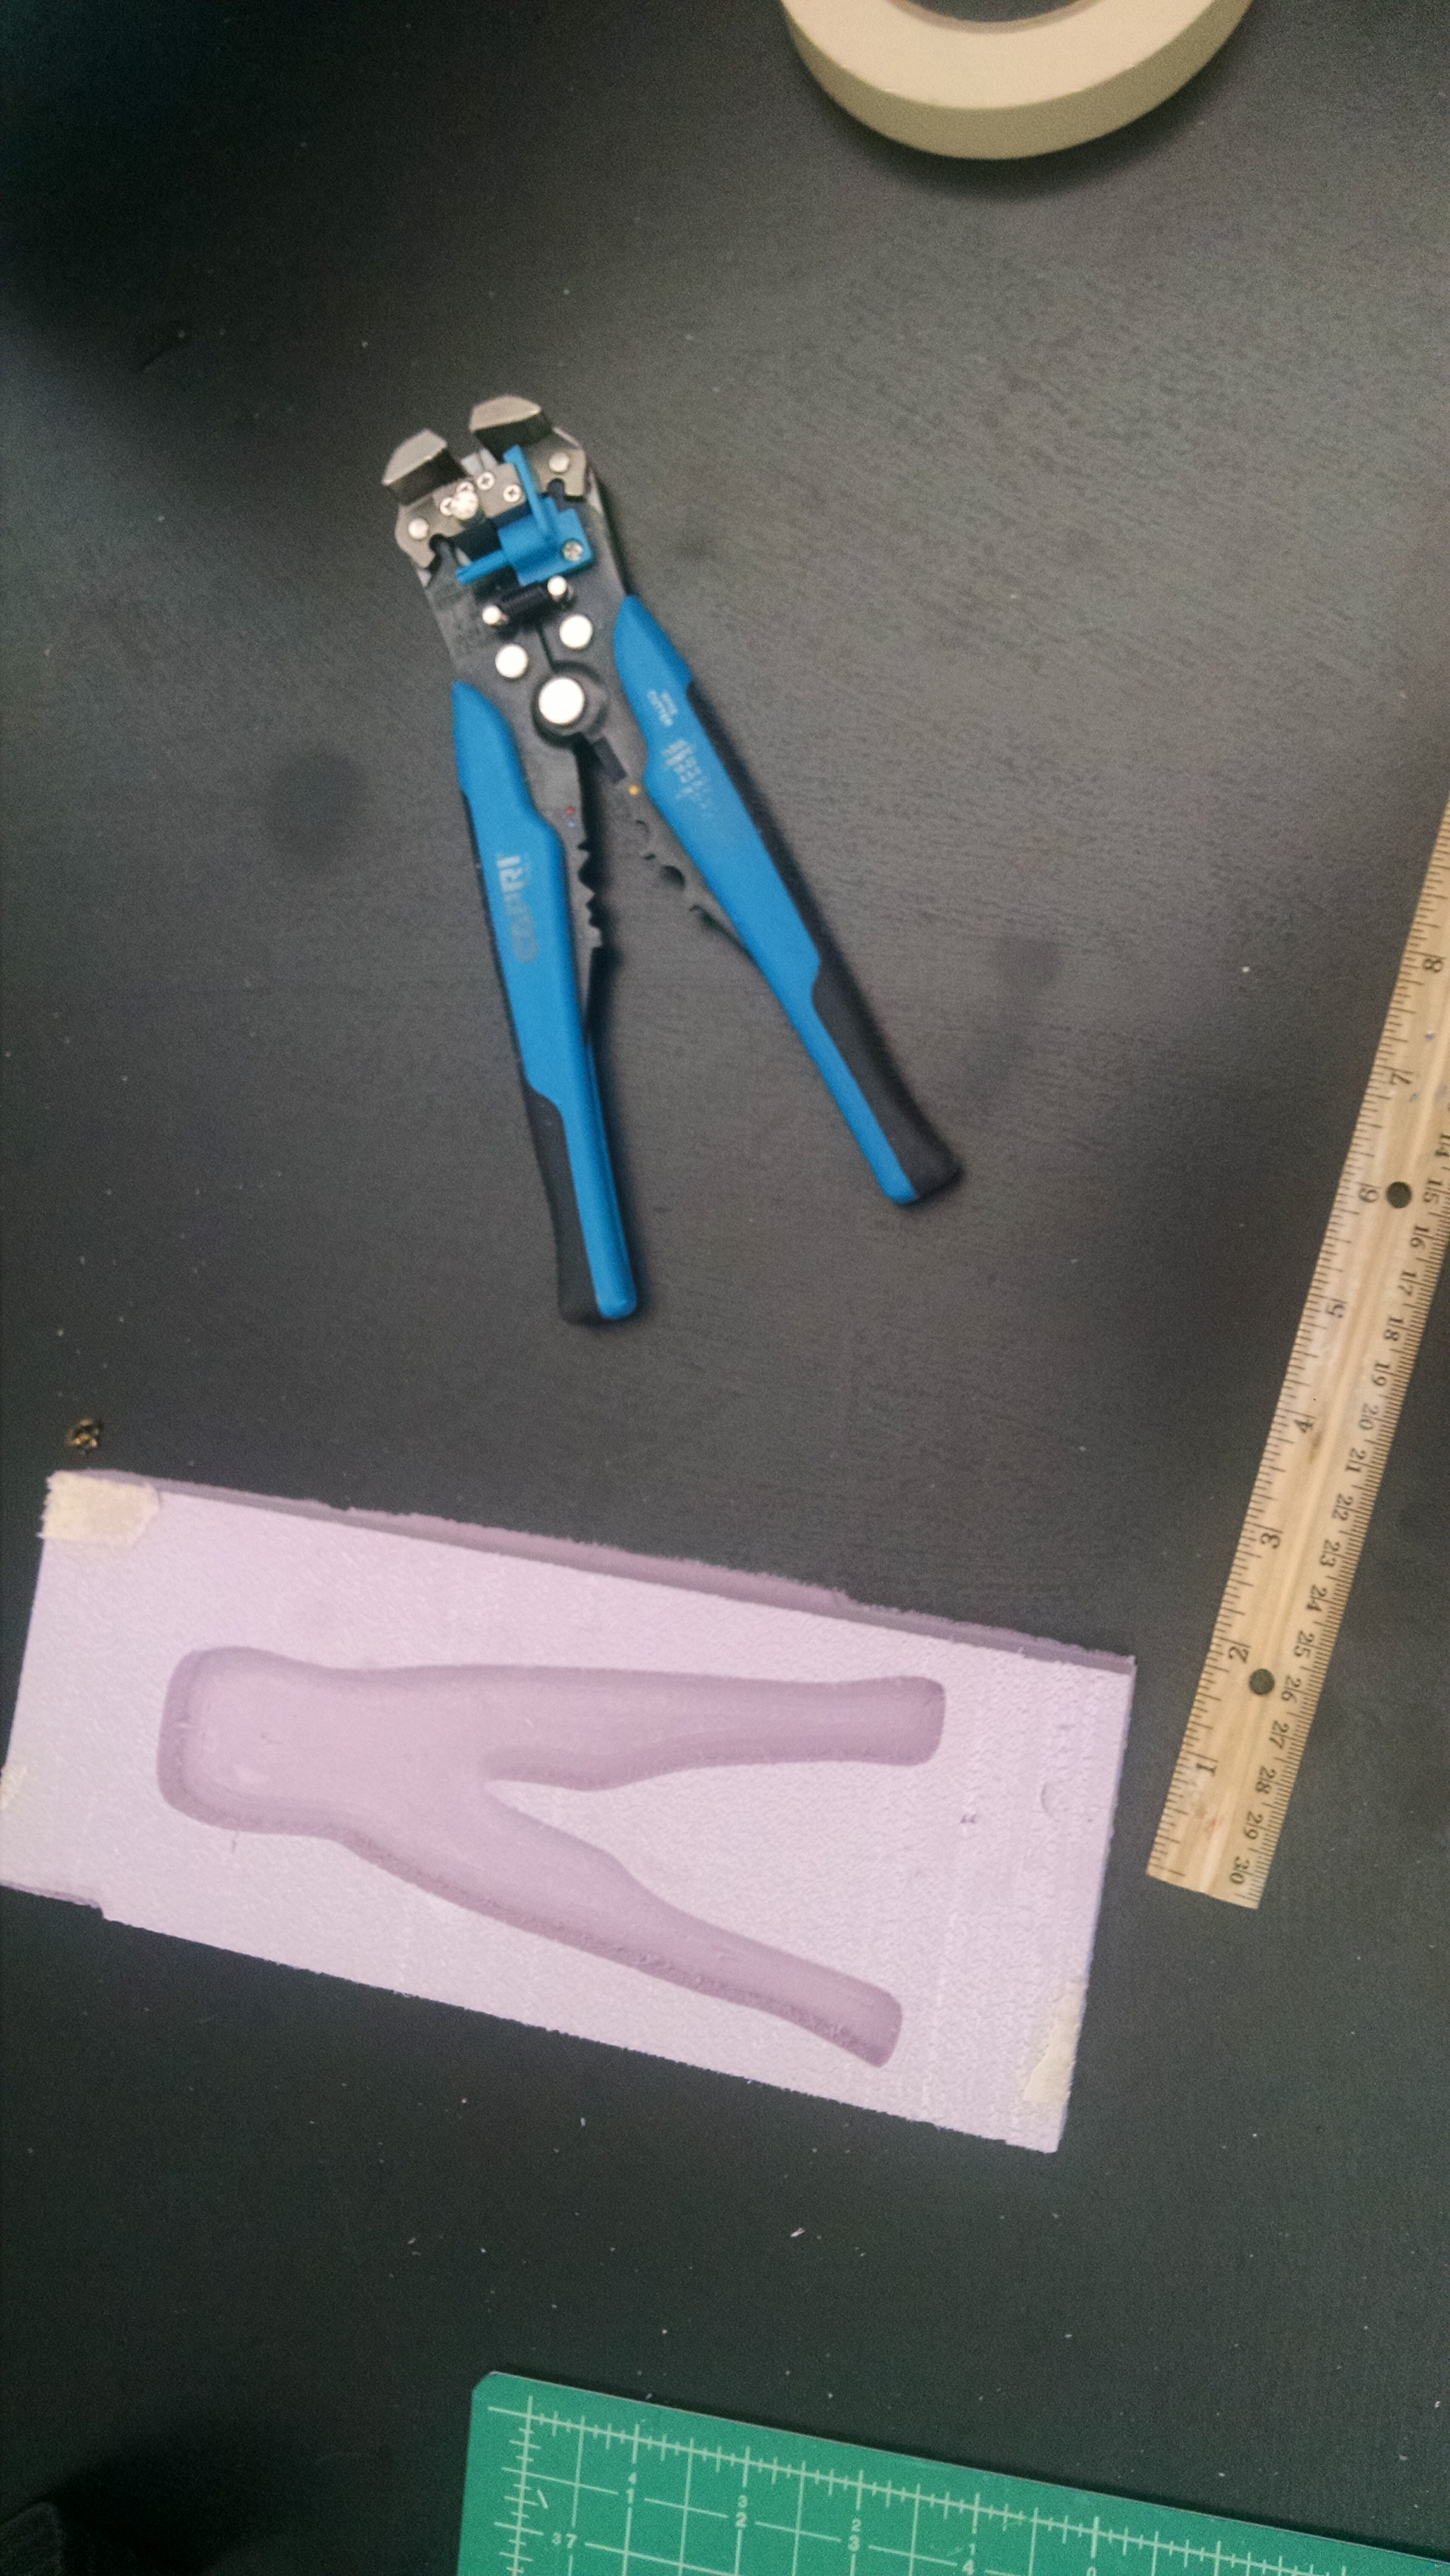 This mold was used to check the size.
 After confirming the size, the reverse mold was made.
This is the cast plastic:
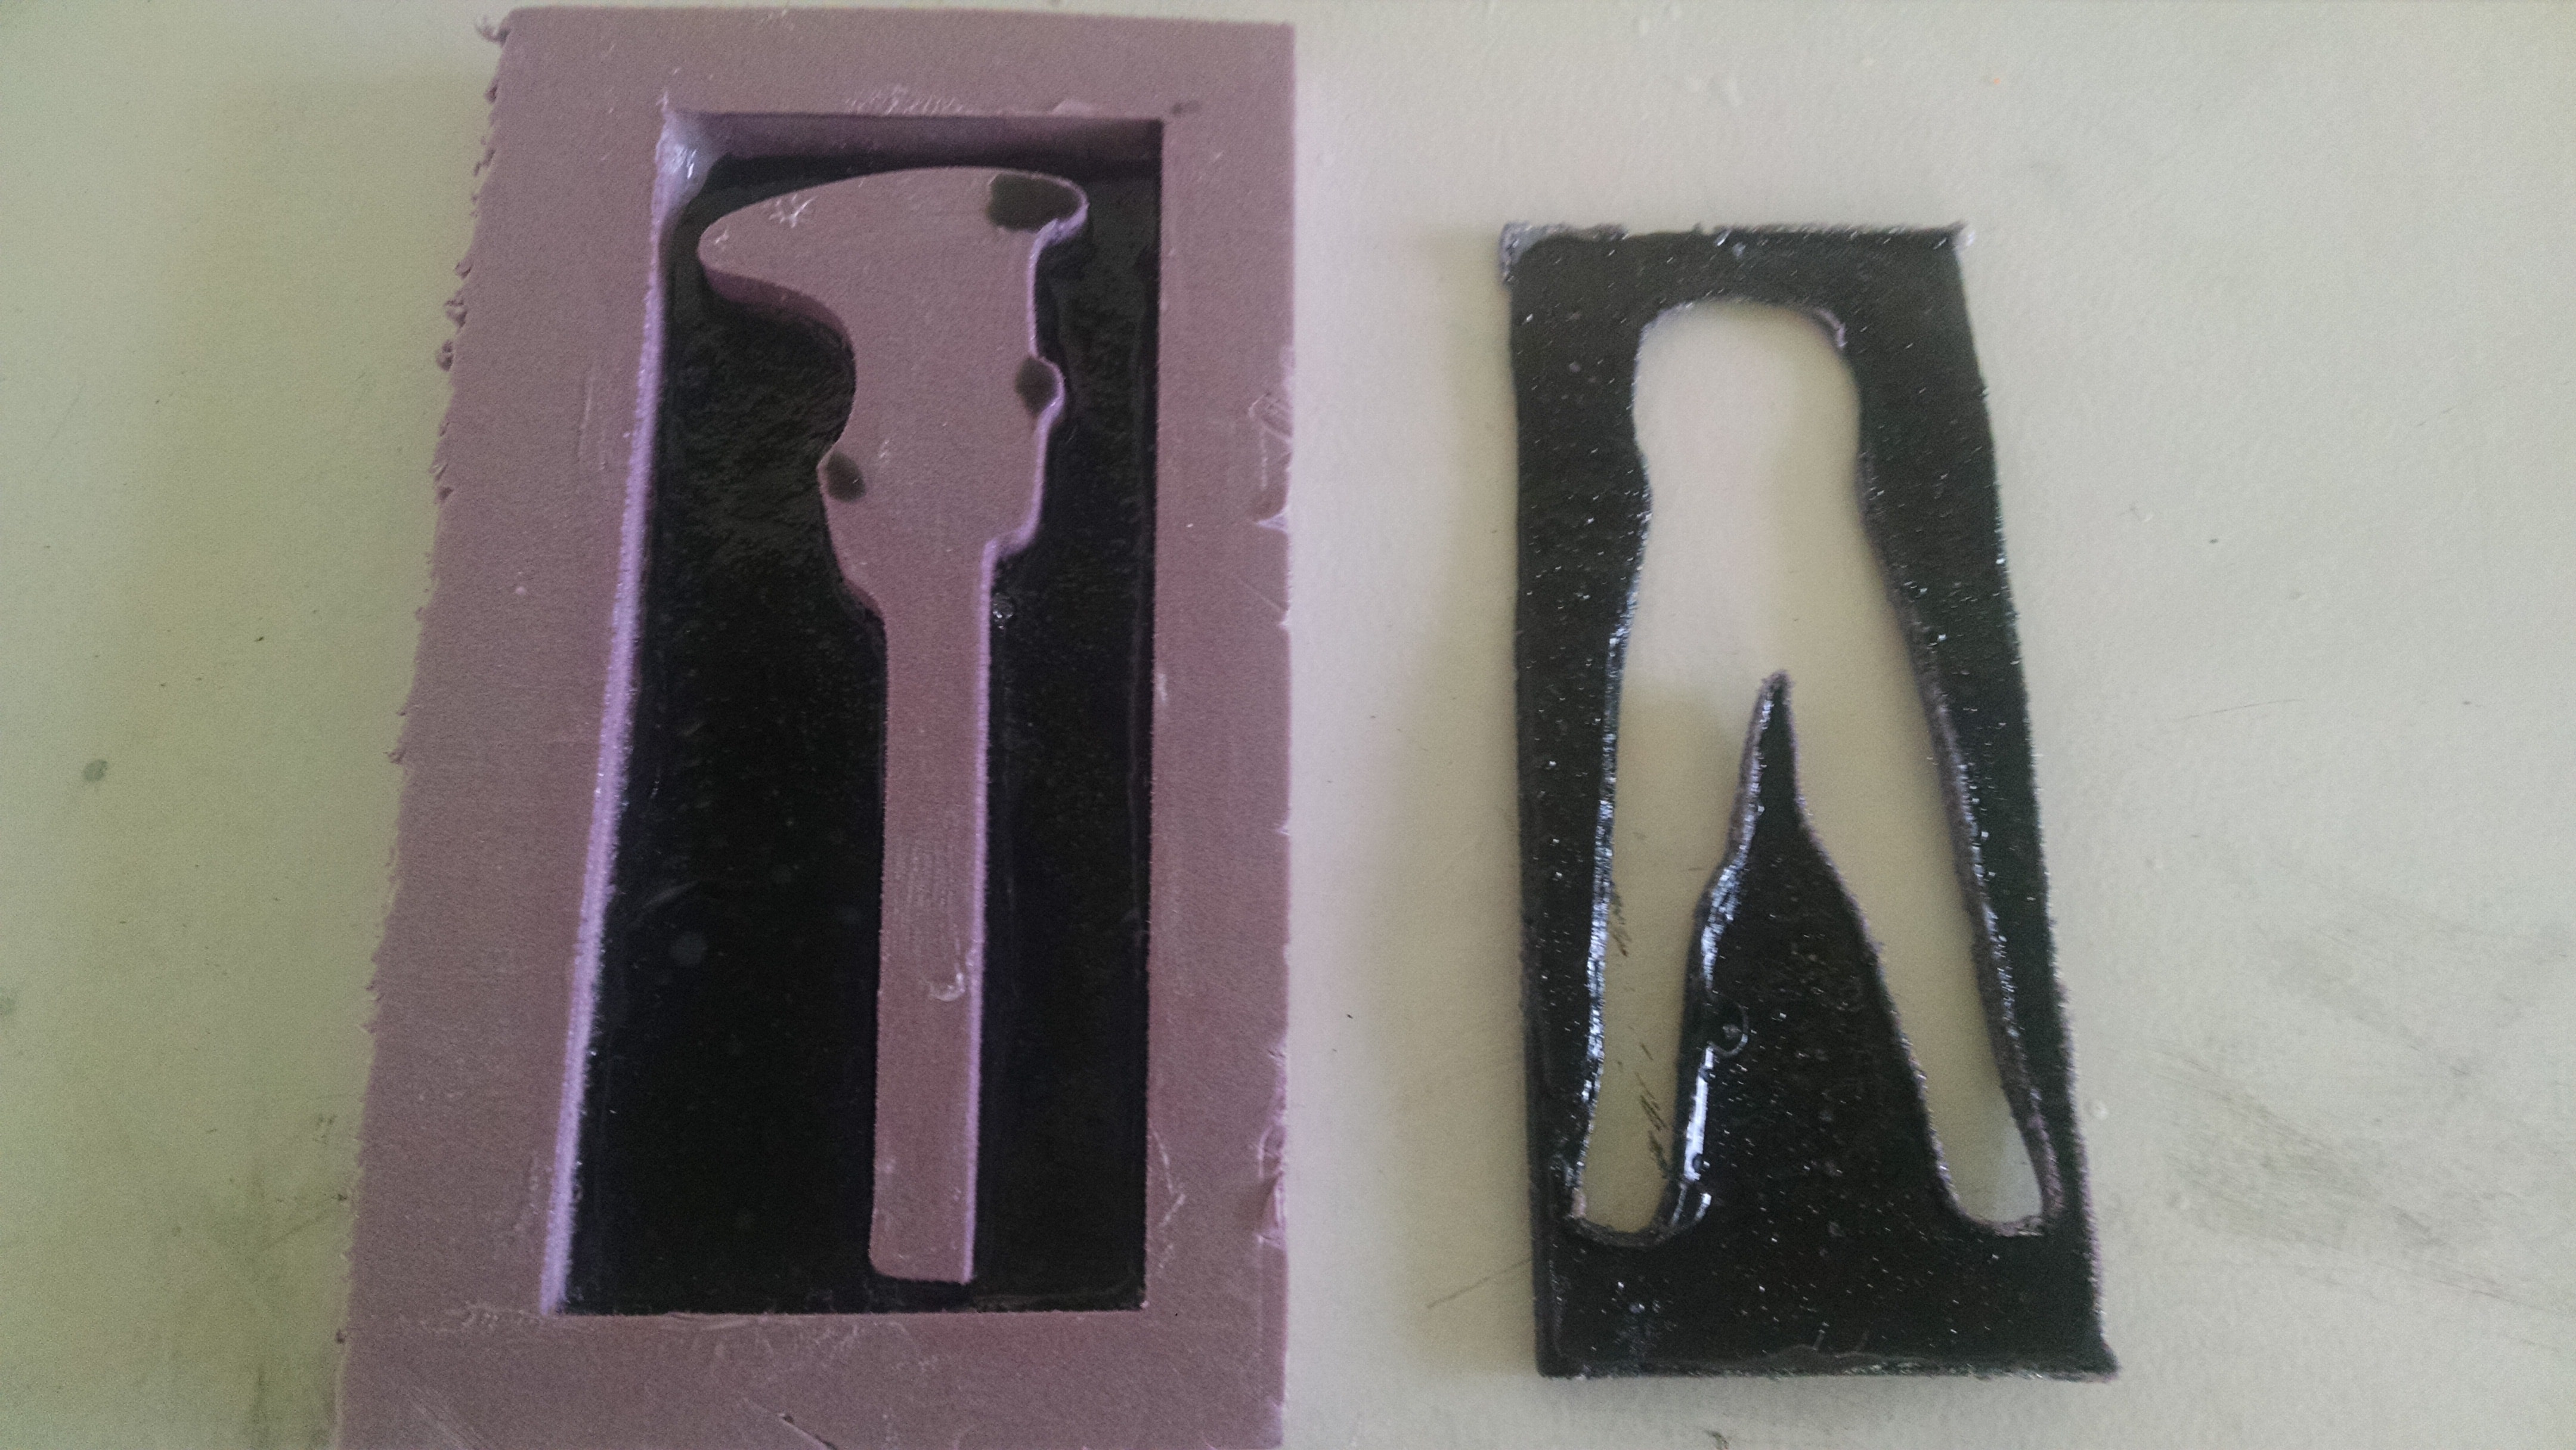 To cast, I chose Smooth-Cast 326. It is a semi rigid material.
I should have cast first with a silicone mold. This would have made a better mold.
The mold is not very smooth.
To cast, I chose Smooth-Cast 326. It is a semi rigid material.
I should have cast first with a silicone mold. This would have made a better mold.
The mold is not very smooth.
I tried several things as a releasing agent. Petroleum Jelly worked best.
Universal Mold Release worked as well, but the rough parts of the mold still
show up in the mold. No releasing agent left a bumpy surface.