WEEK 7
COMPUTER-CONTROLLED MACHINING
Assignment
- make something big
Learning outcomes
- Document the process of design and production to demonstrate correct workflows and identify areas for improvement if needed
Assignement's files
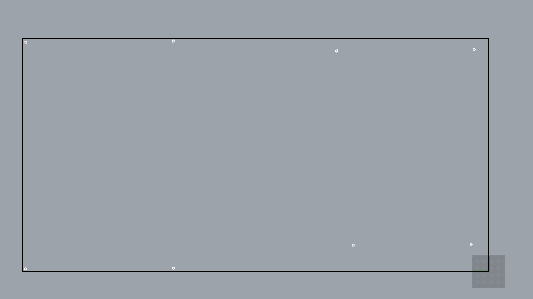
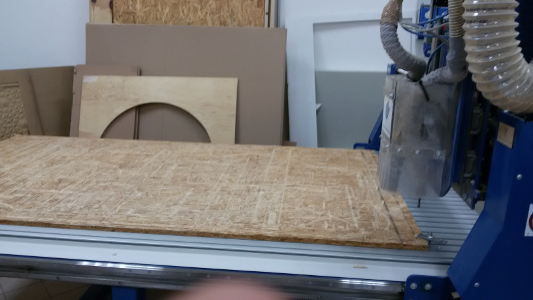
This week's assignment require to make something big using a CNC Milling Machine and a single OSB (Oriented Strand Board) 2100x1100x18 mm in size
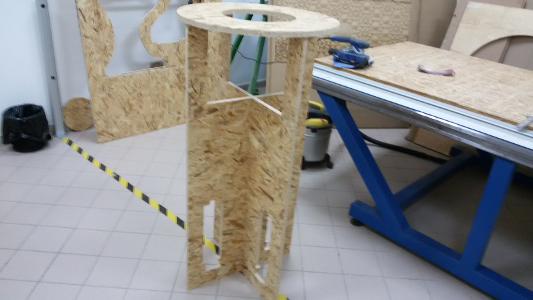
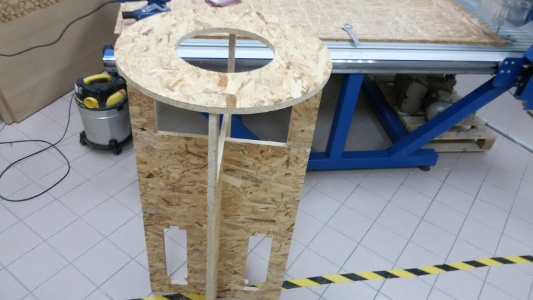
I decided to build a new version of one of my project's structure which it's tall enought to be used in stand
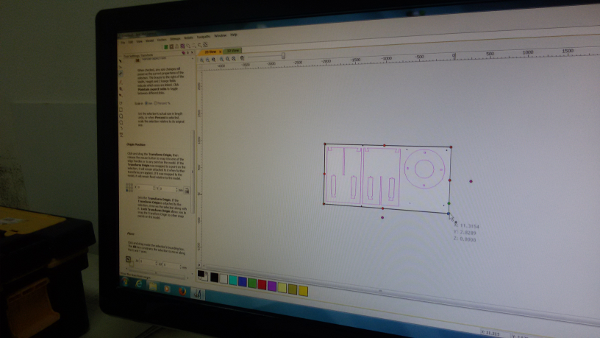
First I made a 3D model
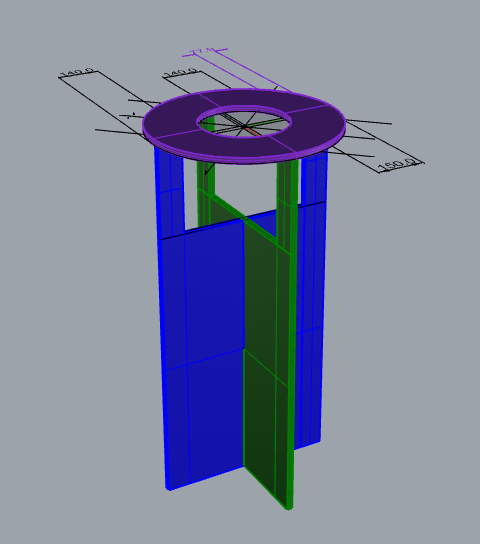
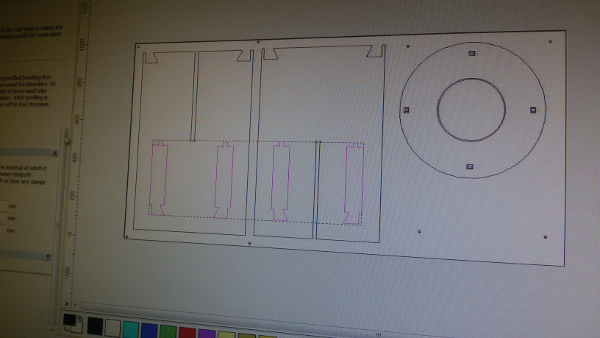
Then I placed every single piece on a single place
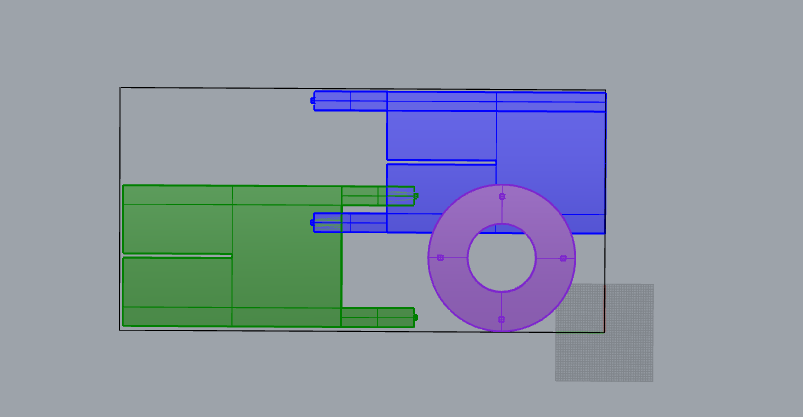
Due to board resctriction I had to find a solution, do I cutted some piece in order to use the available board
Then I added some engrave point to fix the board on CNC machine
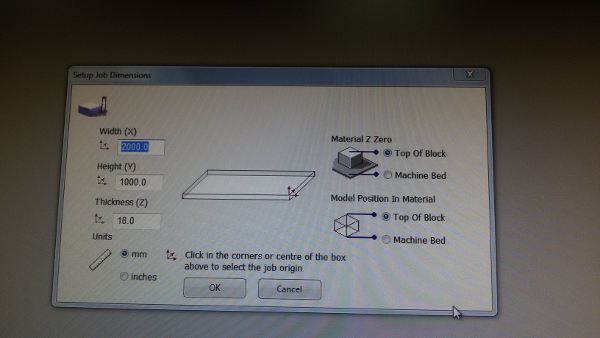
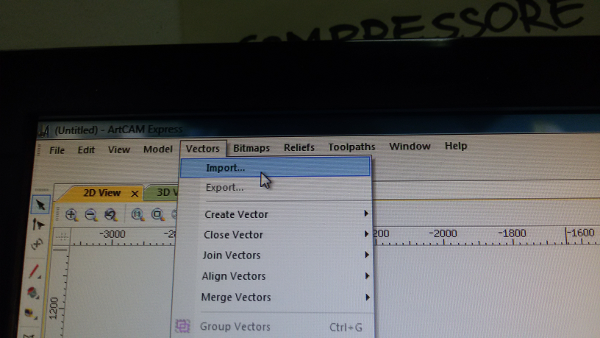
Once exported files in DFX -2004 -lines format ha had to use Art Cam software to set the CNC, so I started ArtCam software and clicked on "new model"

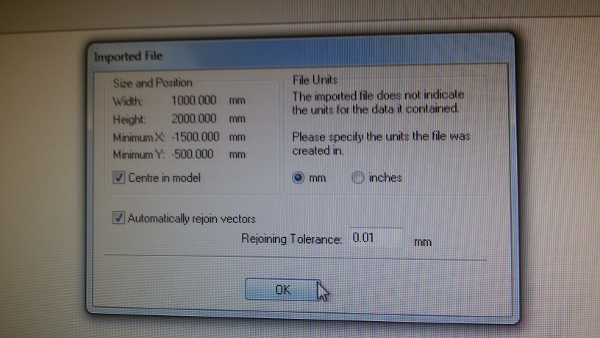
Then set the board width, height and thickness. The Z zero to top of block
click on Vectors -> import
set the tollerance
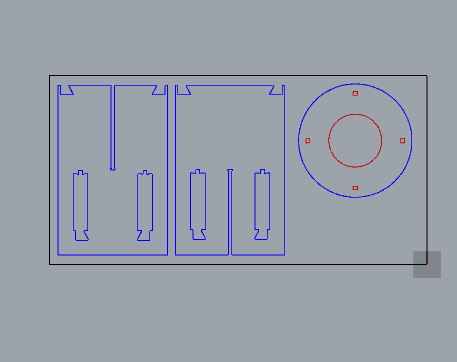
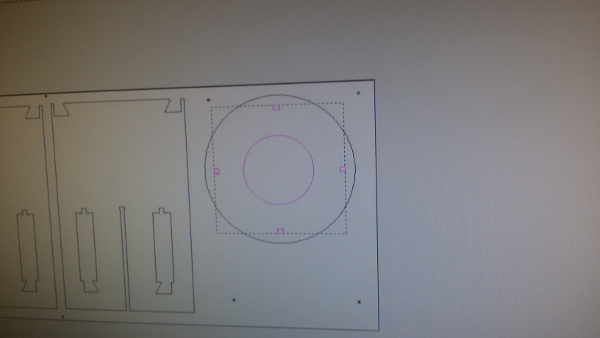
place the vector of engraving points in order to screw the board on surface
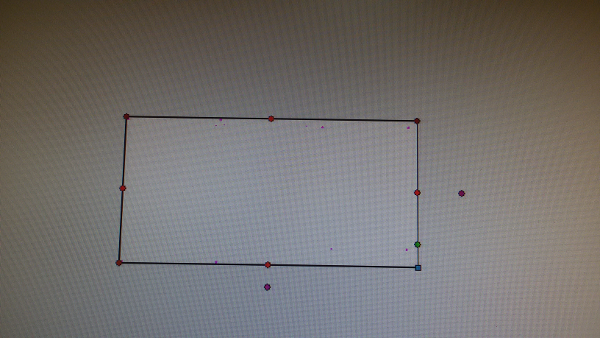
select the engraving points
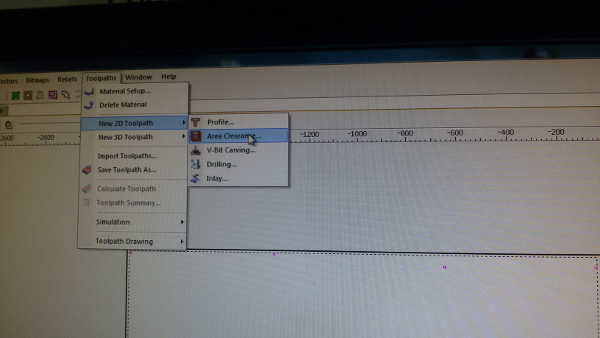
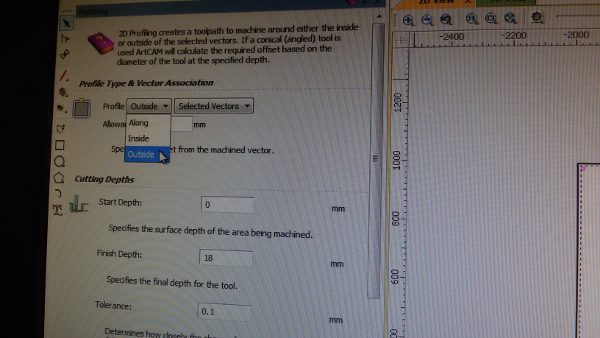
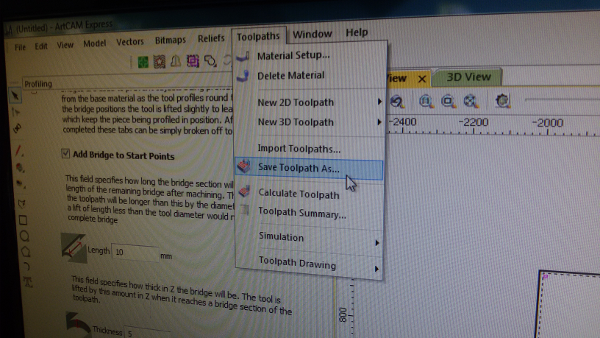
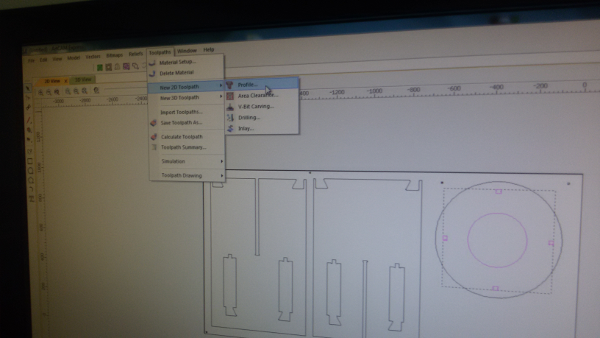
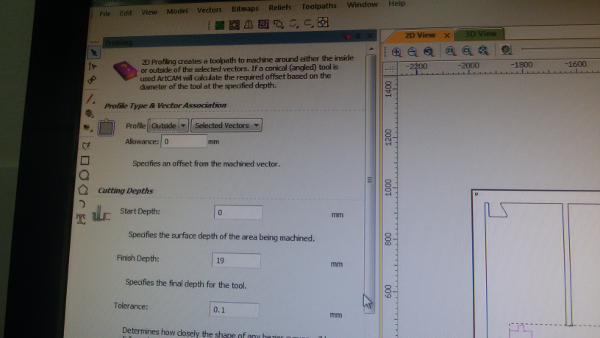
Make a toolpath, select toolpaths -> new 2D toolpath -> profile
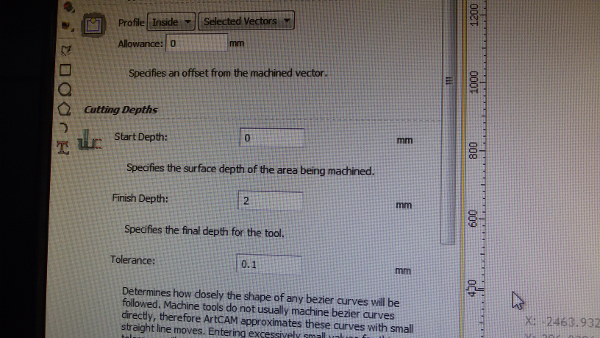
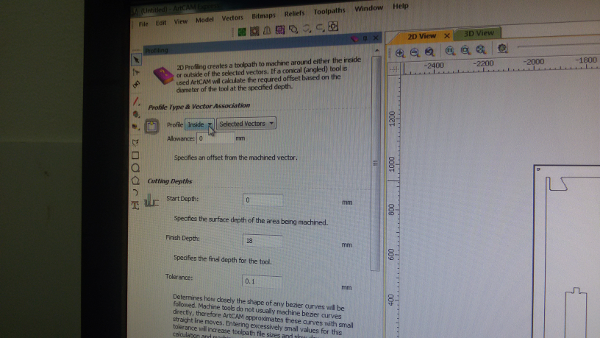
selecti nside
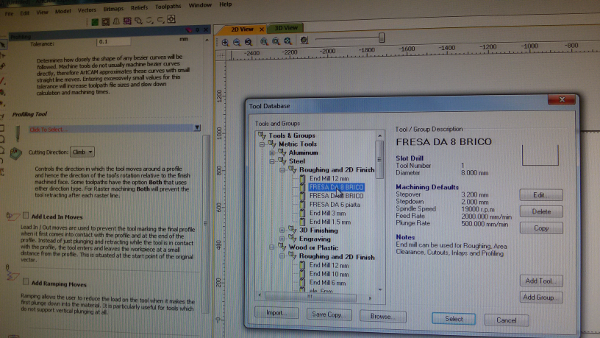
select the tool , in my case 8mm diameter
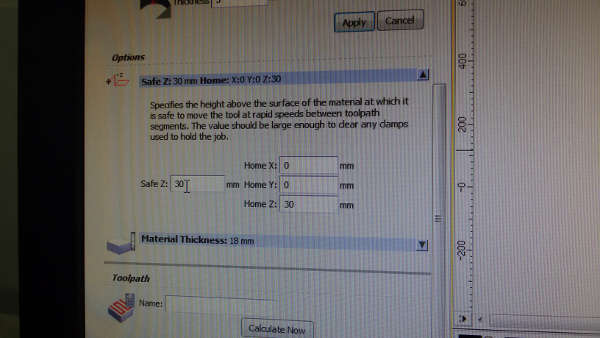
select the safe Z, moving from one point to another the tool will rise of 30mm in order to avoid damages
click on calculate
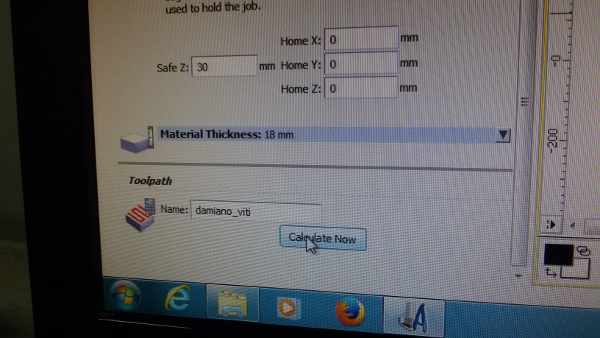
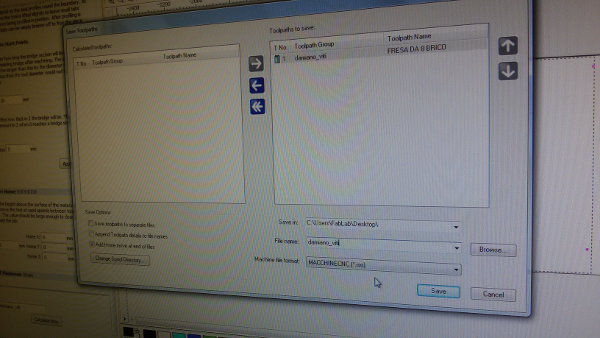
and save!
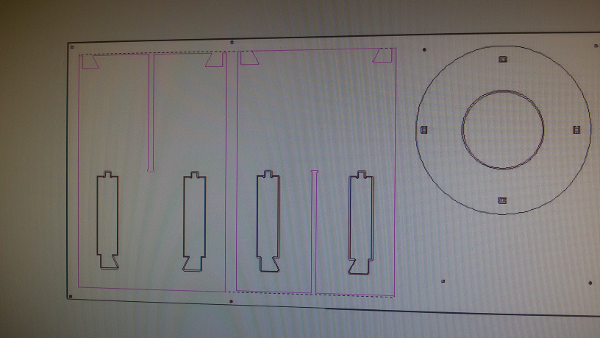
now is time for cut file , over the engraving file
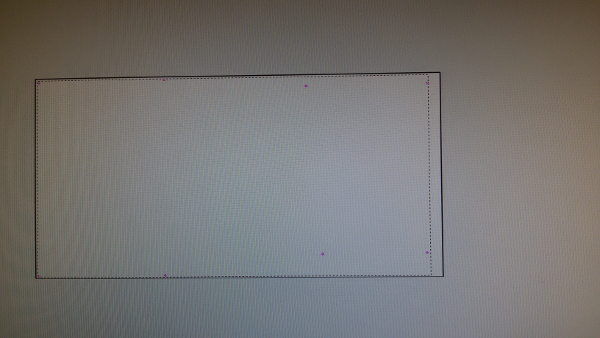
select vector for inside cut
select inside
now is time for inside cut, due to the pieces obtained pourpouse will be used the outside trace
and the outside
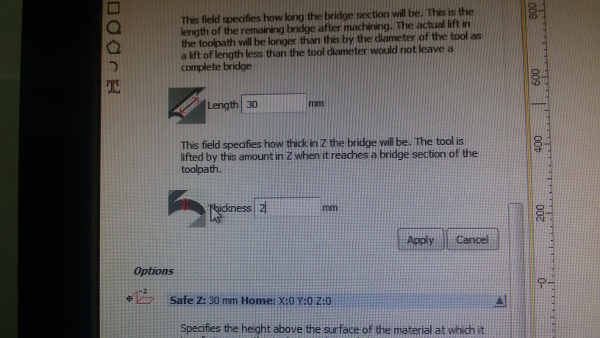
setting the birdges in order to mainain fixed the cutted pieces
now it's time to play with the machine! :-)
machine settings
- MACHINE: Macchinecnc Enterprise
- END MILLING TOOL: 6 mm
- FEED RATE: 76 mm/s
- PLUNGE: 50 mm/s
- SPINDLE: 15000 rpm
- SOFTWARE: Artcam
Machine References
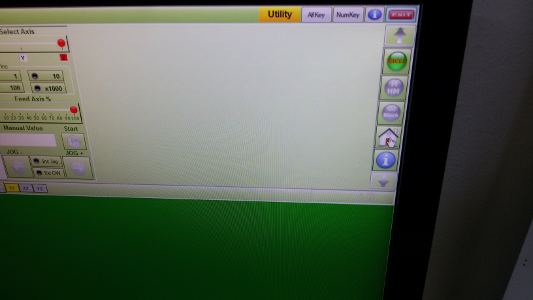
Starting ArtCam
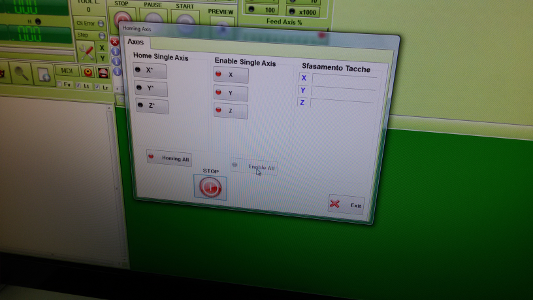
Enabling axies
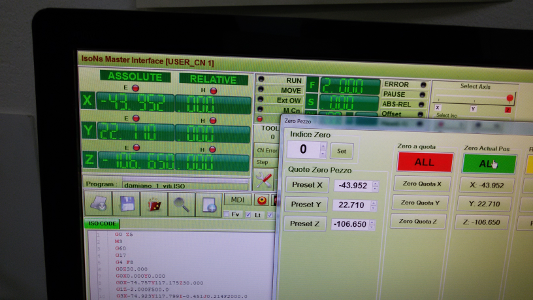
Zeroing axies to relative position
Rocks!!
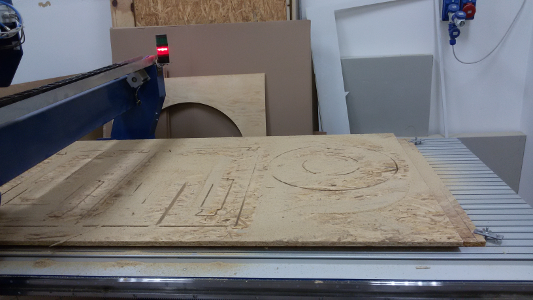
almost finished

Yes! all works as I intended :-D