
COMPUTER-CONTROLLED MACHINING
WEEK 07
Task:
- Make something big
Machine:
- ShopBot
Software:
- Rhinoceros / T-Splines / Script
- Vcarve
- ShotBot control software
Materials:
- MDF: 9 mm
- clipboard
- Milling cutter:
Make something big
Background
Five years ago I participated as an architecture student in a design competition " African cultural heritage in Brazil and Peru", aimed at student and professionals. Organized by the Brazilian Embassy. This contest focuses on fostering creativity focusing on the cultural exchange that has had throughout history of Peru and Africa. under this concept design works that can be a furniture. At the time I made a furniture of corrugated cardboard, assembly and manually cuts.

Rhinoceros / T-Splines / scripts
Waffle System
For this week the assignment is "make something big" so I design a chair of tree legs and seat back support assembly connected with a piece printed in 3D.
Waffle structural system is a method for intersect structure between two surfaces making ribs on x- and y-axis for prepare the 3D model for the CNC mill or laser cutter in Rhinoceros there are different methods: manually by the command "contour", in grasshopper by a definition(Waffle_Structural_System.gh) and with a plugin Rhinonest
via Lift Architects
The waffle system was made following this tutorial by Chidostudio(spanish)
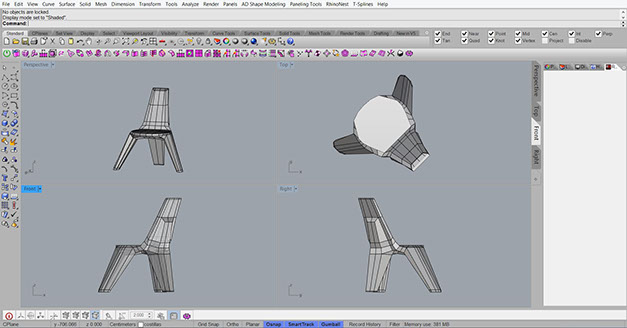
First step: Modeling a chair
In this case the chair was modeled in rhinoceros with the plugin T-Spline. First of all the chair started by a box and then it was edited to reach an octagon, after the edges are extruded for define the legs and the seat back support. Until adequate measures.
-
Short cuts
- A: select vertex
- S: select edged
- D: select faces
- F: select objects
- Tab: toggle smooth
- command "tsInsertEdgeSimple": define the smoooth edges
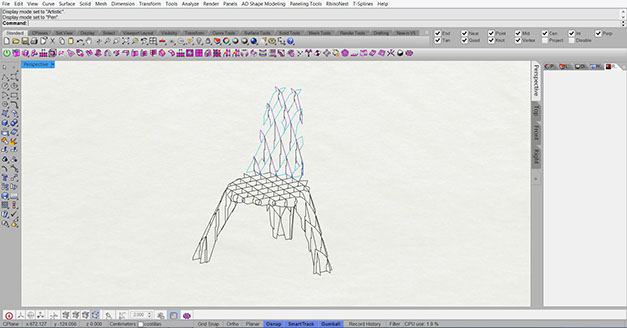
Second step: waffle system
After modeled the chair, following the tutorial by Chidostudio
-
Steps
- "Contour" command to make the gaps between ribs in x-axis and y-axis.
- "Planarsrf" command: fill and make a surface
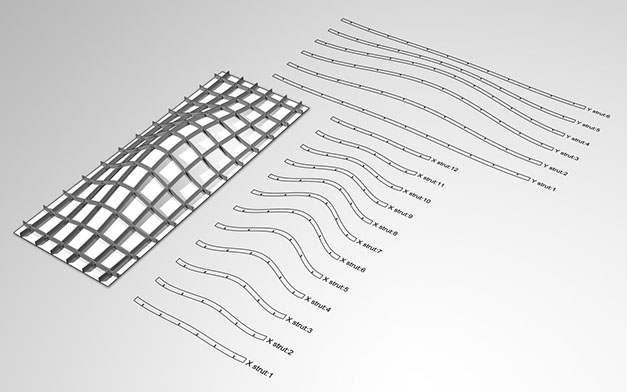
- Load script » cut my own ribs » select ribs by axis » put the dimension of the material
- Load script » select ribs by axis for enumerate each one
Final result
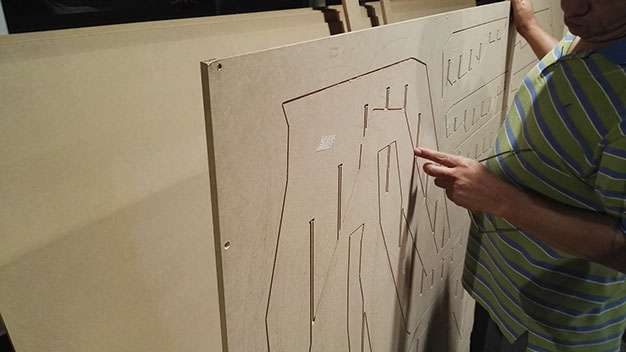
Place each piece, the size according to the table (in my case I used MDF of 2.44m x 1.52m x 9mm) and then export it in .obj format
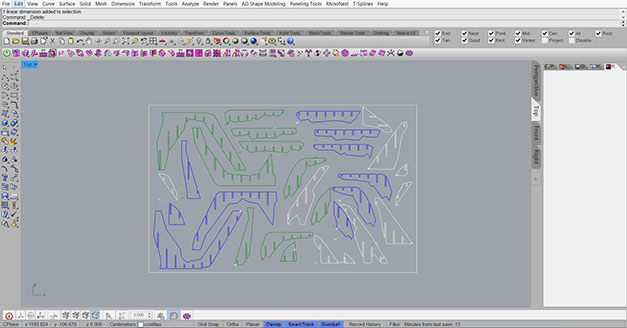
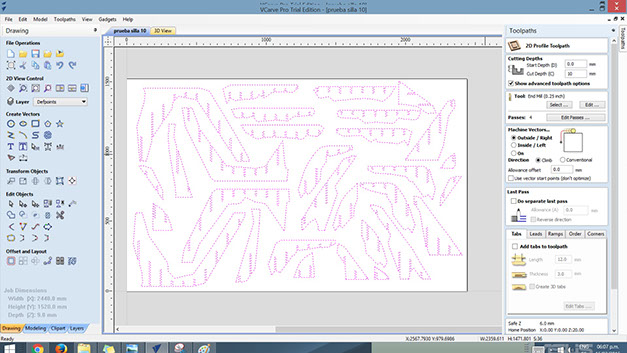
Vcarve
Vcarve is intuitive software solution for prepare 2D and 3D design to CNC routing.
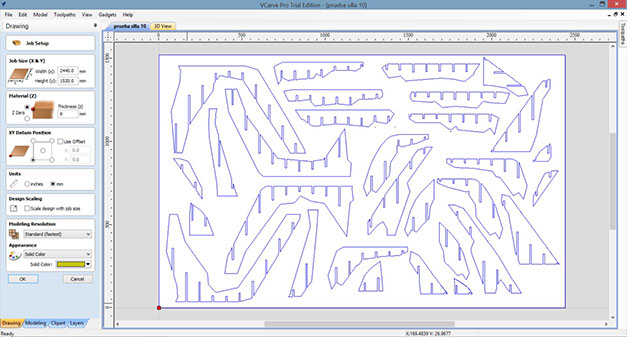
Open Vcarve and open the file exported. Choose the size wooden board, material trickness, units and the most important uncheck useoffset

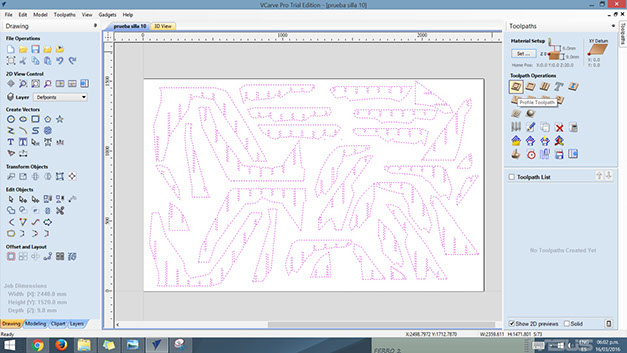
Toolpaths / 2D profile toolpath / choose the type of mill
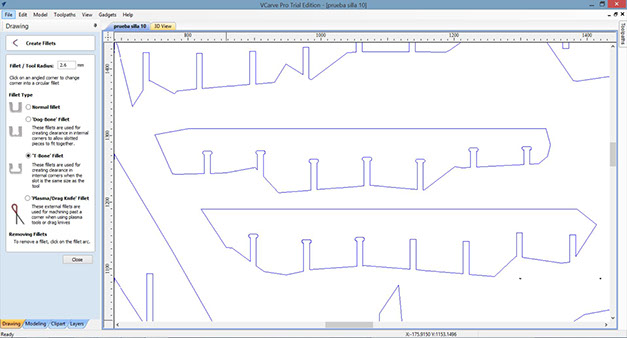
Edit objects/ create fillets / t-bone
The cutter millet can't make 90 degree pass
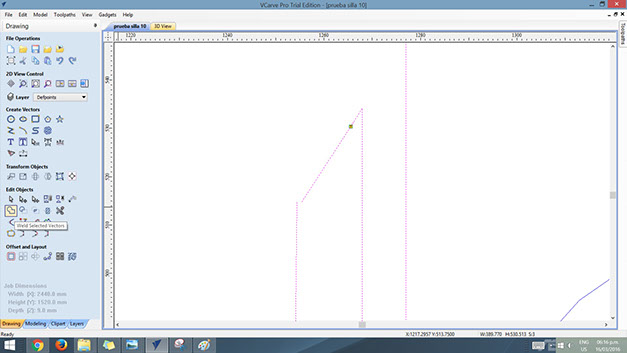
Transform objects / weld selected vectors
Weld open vertex of each object
Cutting Depths : 1mm more of the board trickness
Machine vector : in my case outside / Right
Select pieces
Cutting Depths : 1mm more than the board trickness
Machine vector : in my case outside / Right
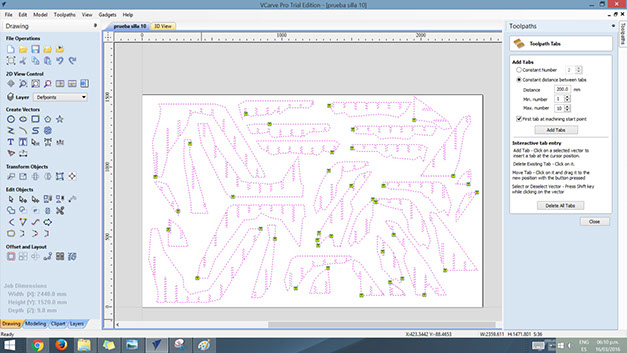
Check in add tab to toolpath prevent parts from moving to pass the milling cutter/ save profile
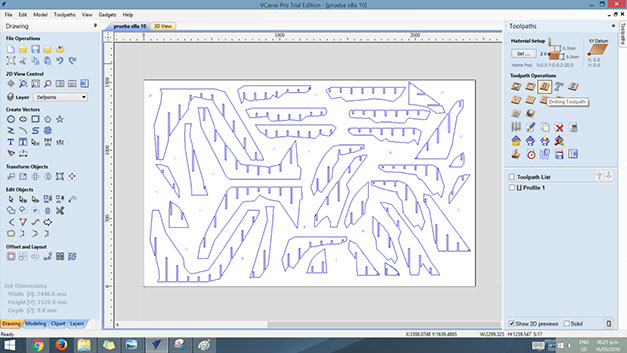
drilling toolpath: made safety the wood board
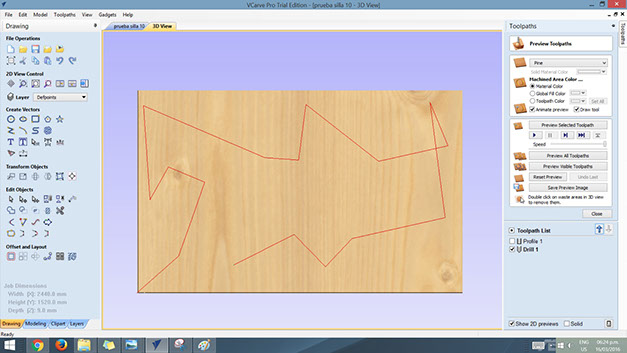
Preview toolpaths, show path/ save profile
Shopbot software
The process of the shobot soft has few step: calibrate XY, Calibrate Z and Cut part
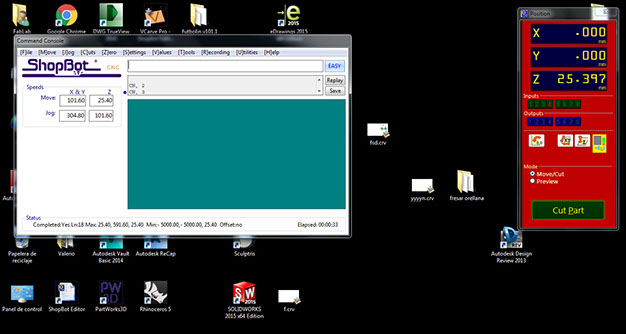
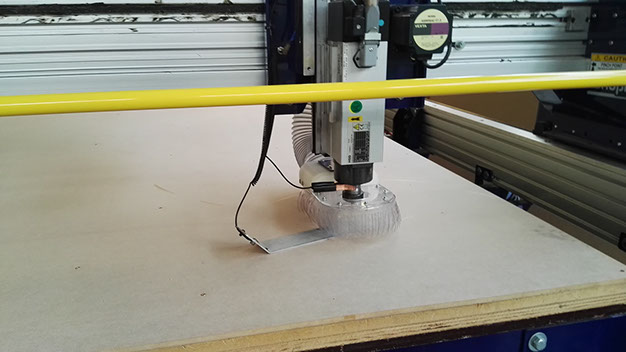
First steps calibrate xy axis and z axis with the aligator cups
- Open shotbot software
- Calibrate yx axis and then calibrate the z axis with the aligator cup
- Open drill profile
- screw manually the board
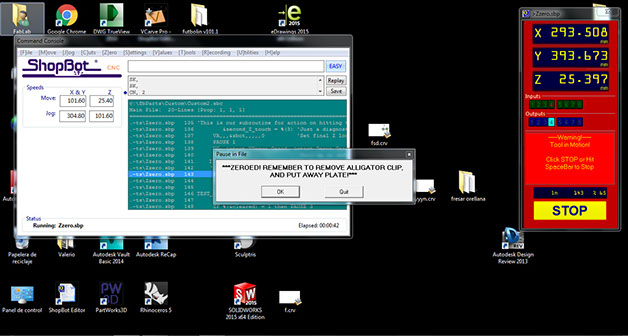
Second step: send file to be cut
- Open profile toolpath
- Calibrate xy and z agian
- Cut Part
- Start
- Recall Last
- When start router the computer start freze
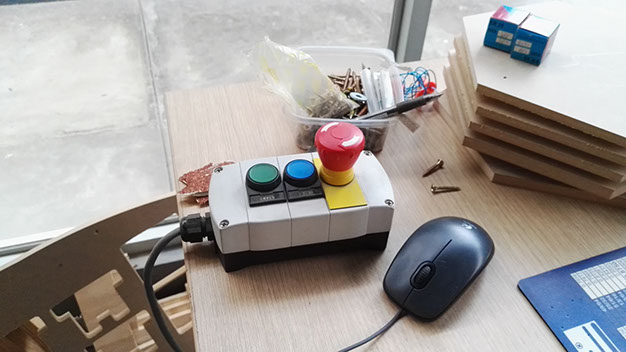
PUSH green button to start
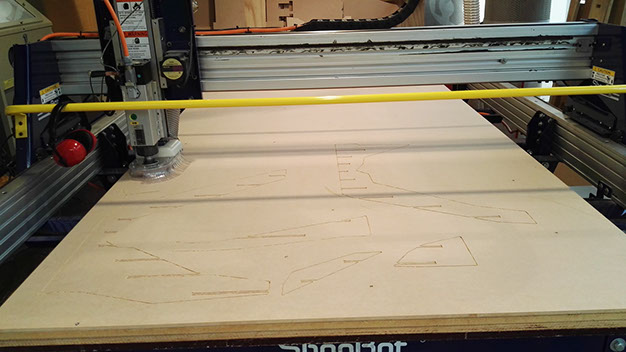
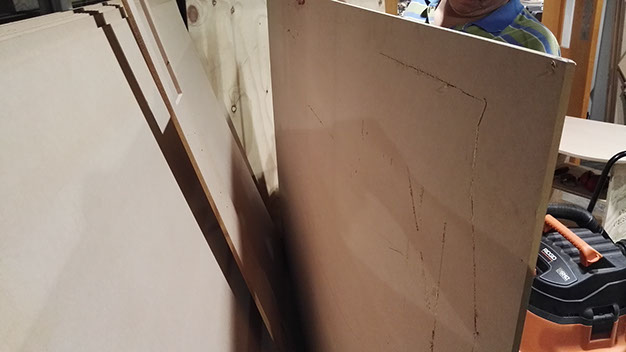
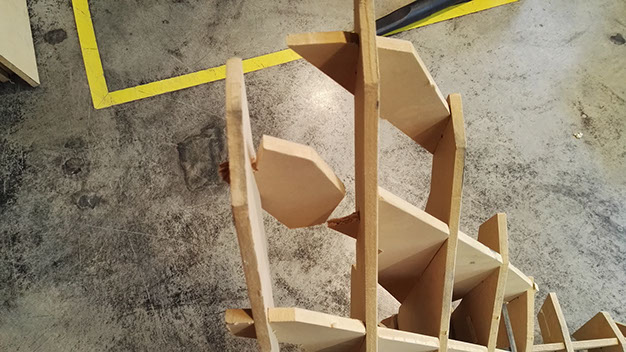
After 1 hour and 30 minutes the each part are ready to be assembly
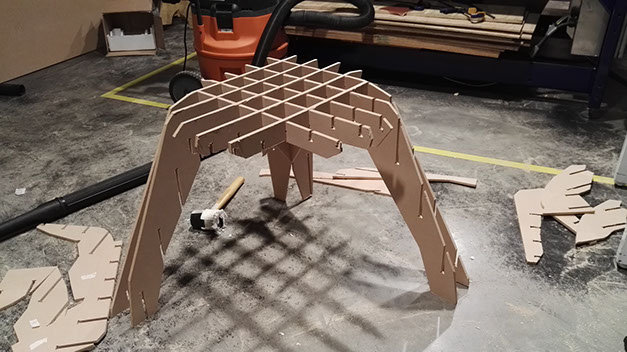
Assembly
- The joins of each parts are to large to be assembly manually so I need a hammer for union the pieces
- The assembly of the chair took me over more than 3 hours

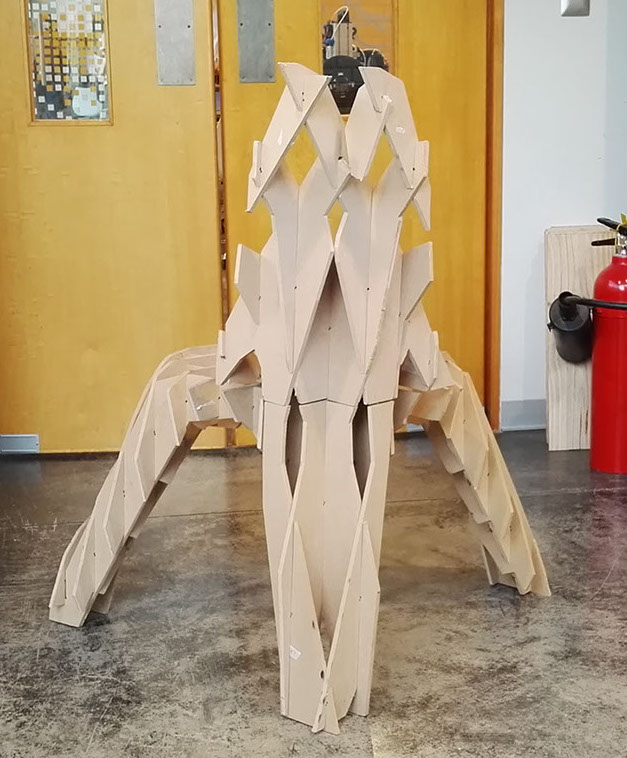
Heroshoot
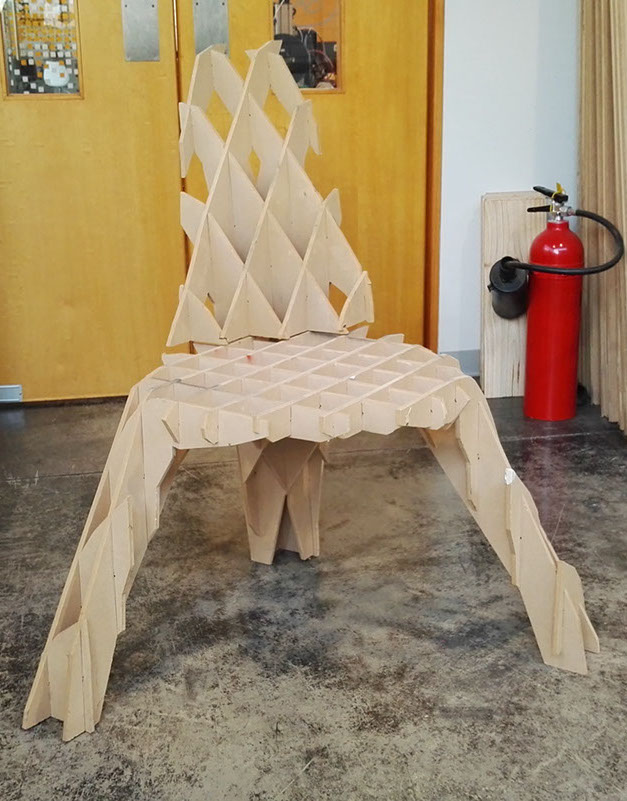
Heroshoot
Problems / fix
The milling cutter not pass the trickness of the MDF of 9mm
Here are tow solutions for start to assembling the chair
- Use drill and drill all the parts again manually: I think it was easy, but not drill all the pieces again took me over more time than shotbot drill the MDF
- Make it again and change the cutting depth to 10.5mm or 11mm
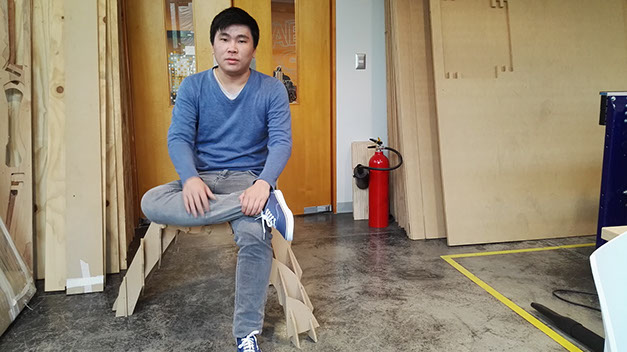
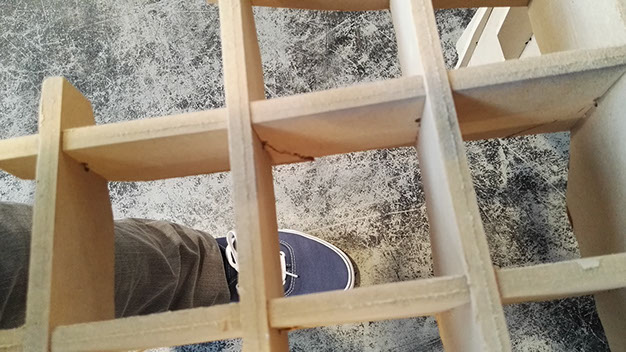
Some problems with the joins, I used to much forced with the hammer and I broke the some parts of the chair but it still strong and can carry my wight
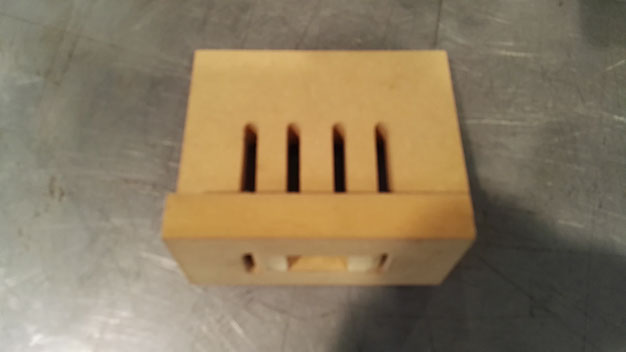
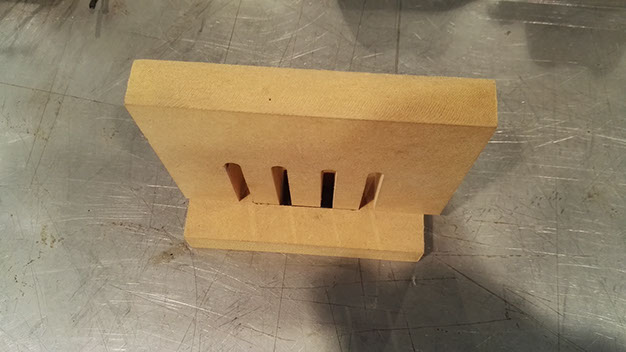
Some joins tested before to start send my chair files
Learning outcomes
- Document the process of design and production to demonstrate correct workflows and identify ares for improvement if needed.
Have you:
- Explained how you made your files for machining
- Shown how you made something BIG (setting up the machine, testing joints etc)
- Described problems and how you fixed them
- Included your design files and "hero shot" photos of final object
Download files
Copyright © Jorge Huang Li - FAB ACADEMY 2016