Week 9 - Mechanical Design
Objetive
make a machine, including the end effector
build the passive parts and operate it manually
document the group project and your individual contribution
Cake Plotter Machine
We decided to build a Cake Ploter Machine, tuned with our peruvian gastronomic boom.
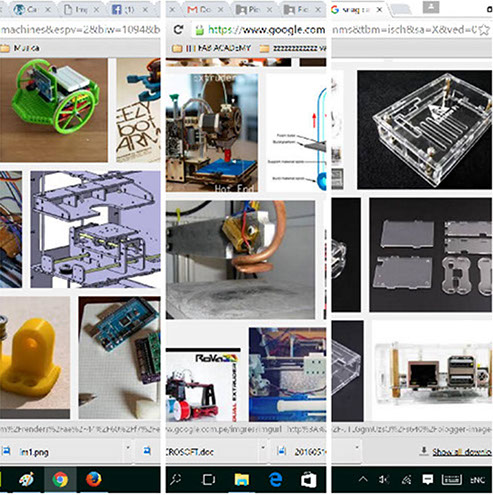
We discussed about the mechanism, and we decided about the COREXY mechanism. Corexy mechanism is fast, simple and flexible, i. We found very usefull information in this site.
As that site mentions, some features of using CORExy mechanism are:
- Allowing rapid accelerations due to stationary (not moving) characteristic of the motors. Paralel kinematics allow that.
- CoreXY can be implemented with only three structural plates, all of which can nest during fabrication.
This machine will have an external extruder.
We added a z axis to allow the extruder move without printing.
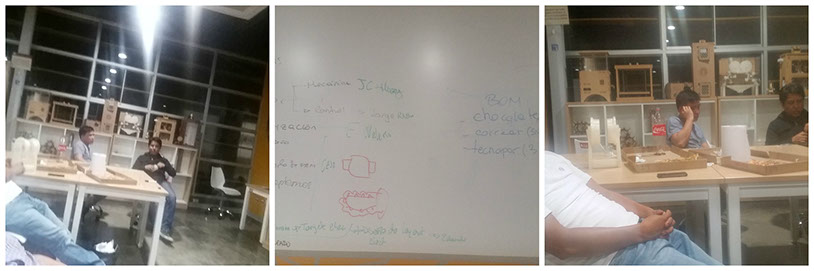
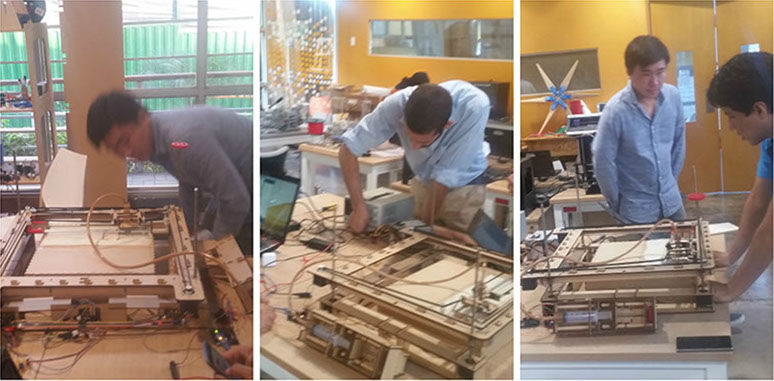
Team work and distribution
I participate in the activities we work together as a group.
We had in site meetings and online communication, first looking for projects, evaluating alternatives to build the extruder, looking for the best one that could adapt to our machine, looking for best designs for snag case, logistics and materials, and all of us were involved in the design and assemby of mechanical and electronic parts of the machine.
Looking for local materials for the cake surface and for the extruded liquid. I went Downtown to a place known as El Dorado, where you can find everything for birthdays cakes. I saw many materials for our experiment, and bought some.
The mechanical design
(The files linked here, are part of the group assignment)
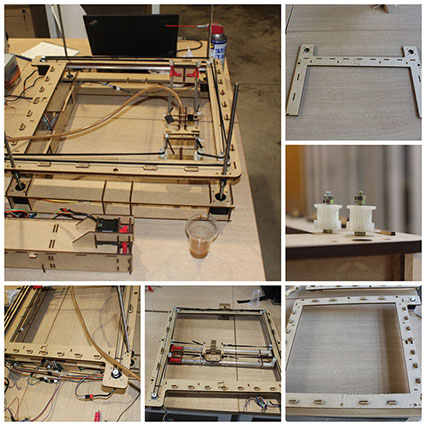
Cutting parts..............................................................................................................................................................................................
We decided to make it with a radio of 35 cm enough for an average cake. Not for special ones, like weddings.
We decided to use 3mm MDF and laser cut because is very easy to make rapid changes or adjustments.
A problem we faced is our laser cutter only works with 30 X 60 cm MDF plates, not big enough for manufacture the dimension we need. So we had to create separate pieces that join together.
When we were building the machine, it started to bend because of the motors weight. That is why we had to add two more long sticks at the sides, making a square. The bending stopped.
In the structure design, we had a big change in the z-axis structure: first we considered to use 2 stepper motors and bars at each corner (4), but after some test of that solution, the weight of the motors destabilized the system and the frame was moved into a sloping position.
The design had to be re-thought, this time we plan to put one motor in each corner. That solution worked fine.
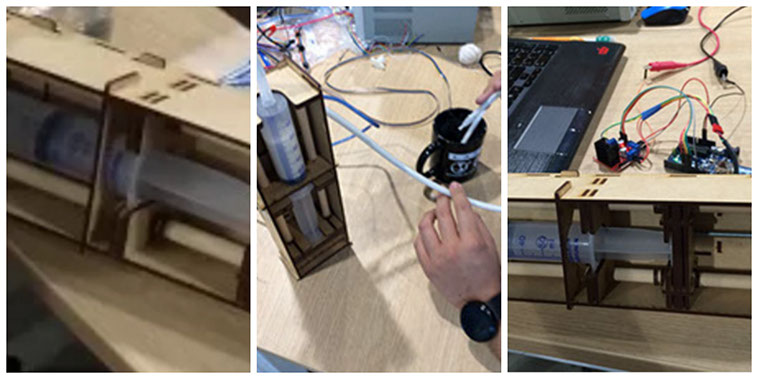
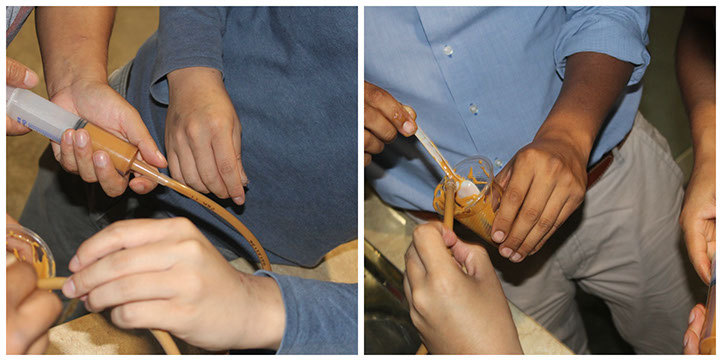
The extruder
Jorge Huang and me were in charge of the extruder.
We tried an 3D printed extruder based on a previous documentation at instructables.com. We widen the extruder throat, to adjust the speed of outflow of material.
We even got into the moment we tried many materials and connecting stepper motors controlled by Arduino.
It worked partially, but not fully sucesfull.
We decided to try another extruder, this time based on syrunge mechanism, and laser printer extructure, wich worked better than the first try.
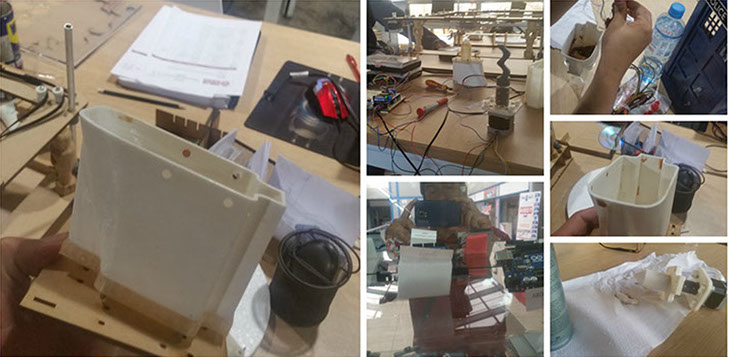
Preparing the extruder for interation
o put it into the machine, I designed some versions of a coupling box.
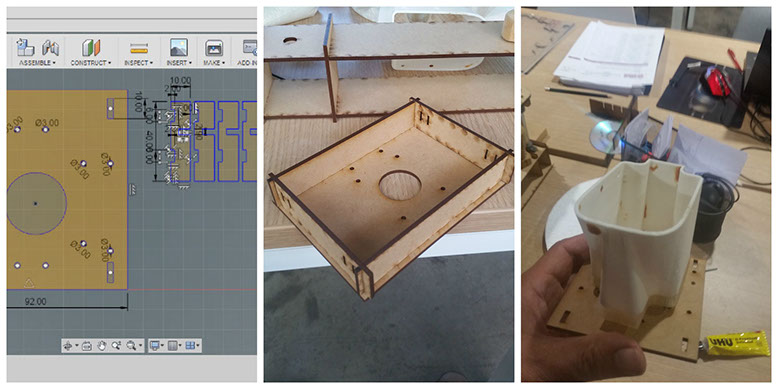
New version of the extruder
We made a new version of the extruder, based on a syrunge mechanism. We choose to stay with that version, and integrate with the main machine.