Week 7 - Computer Controlled Machining
Assignment
make something big
Building the first FogCatcher
Materials and Tools:
- A 9 mm MDF sheet, 1520 x 2440mm
- ShopBot Milling Machine
- Milling cutter 1/4¨
- Milling cutter 1/8"
- Electric screwdriver and bolts to fix materials to ShopBot
- Mallet
- Vacuum cleaner
Software:
- Autodesk Fusion 360 (software for design)
- VCarve (intuitive software solution for cutting parts on a CNC Router)
- Shpbot 3 software
Design
Designing in Autodesk Fusion, I was trying some alternatives for fog-catcher
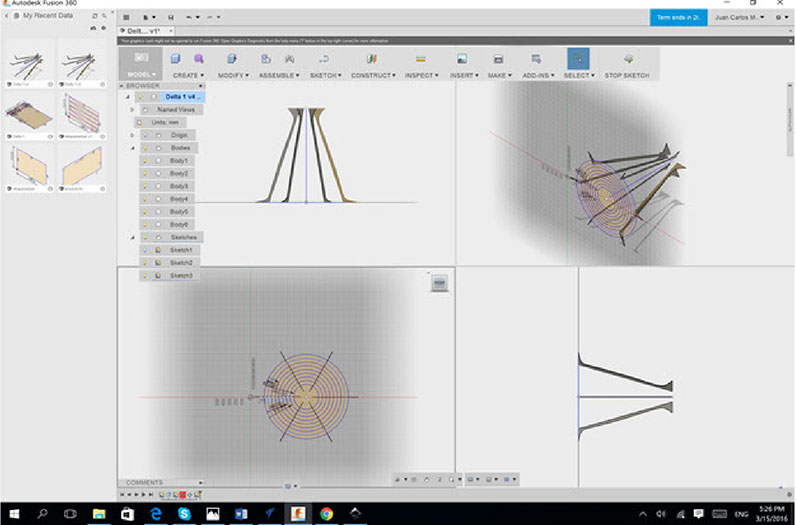
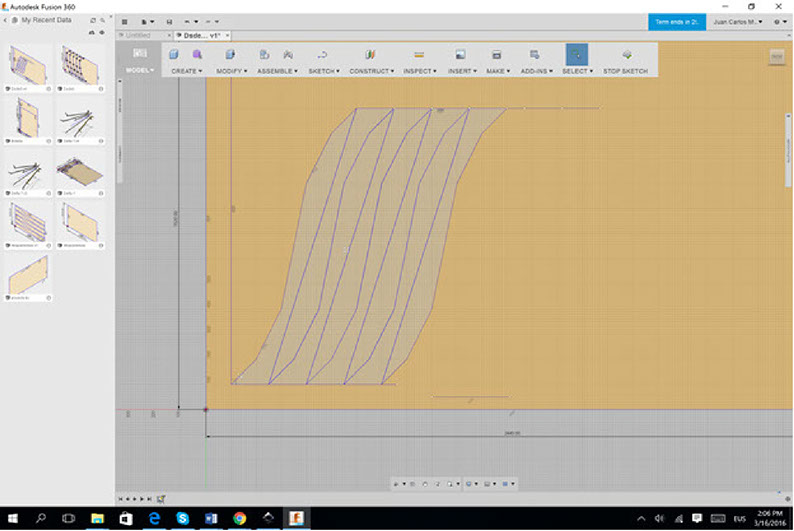
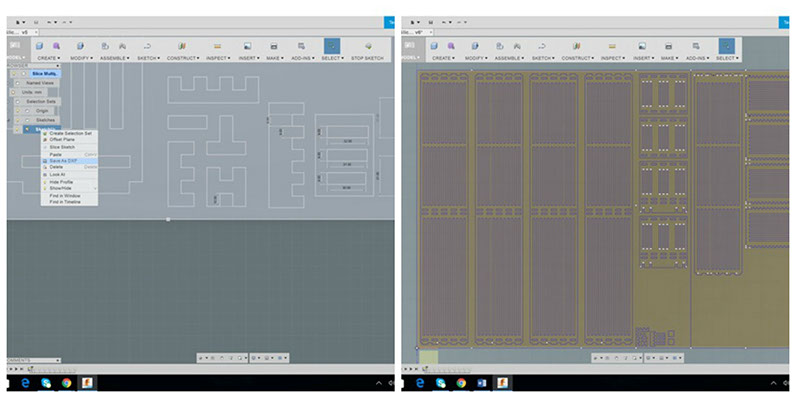
The last figure is my the definitvie design. The file with the pieces to be plotted was ready.
Plotting my design in a Shpbot
Creating the Path in VCarve
- Run VCarve
- Import the .dxf file, already generated by Autodesk Fusion 360
- Configure the material size, thickness and the position of XY origin.
- take care not to use offset in the origin.
- Set the measurement unit in mm.
- Go to PartWorks to generate the first path to be marked, the Drilling Path. Draw the points where the screws will be screwed by using the command "Create circle". Note: The circles should be located in a position to prevent a collision between the milling cutter and the setscrews during the plotting.
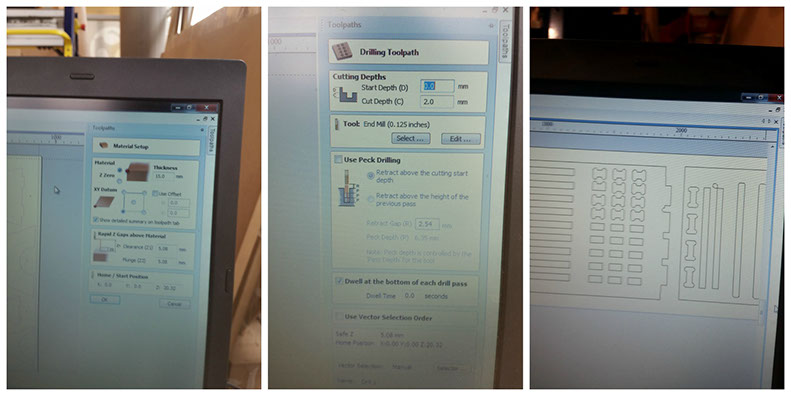
- Record the file in .spb format.
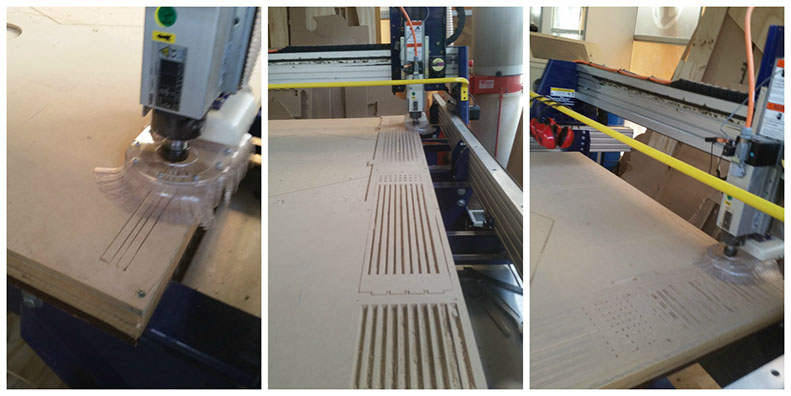
- The milling cutter diameter was 1/8’’. If another milling cutter is onthe Shopbot, your can change them with a spanner as you can see in the pictures
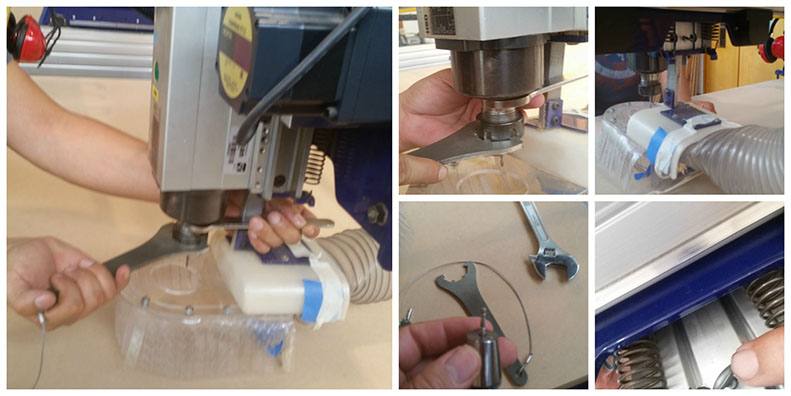
- Clean the sacrificial plate, with a vacuum cleaner, the idea is to make the material uniformly laid.
- Place the 9 mm MDF sheet on the ShopBot
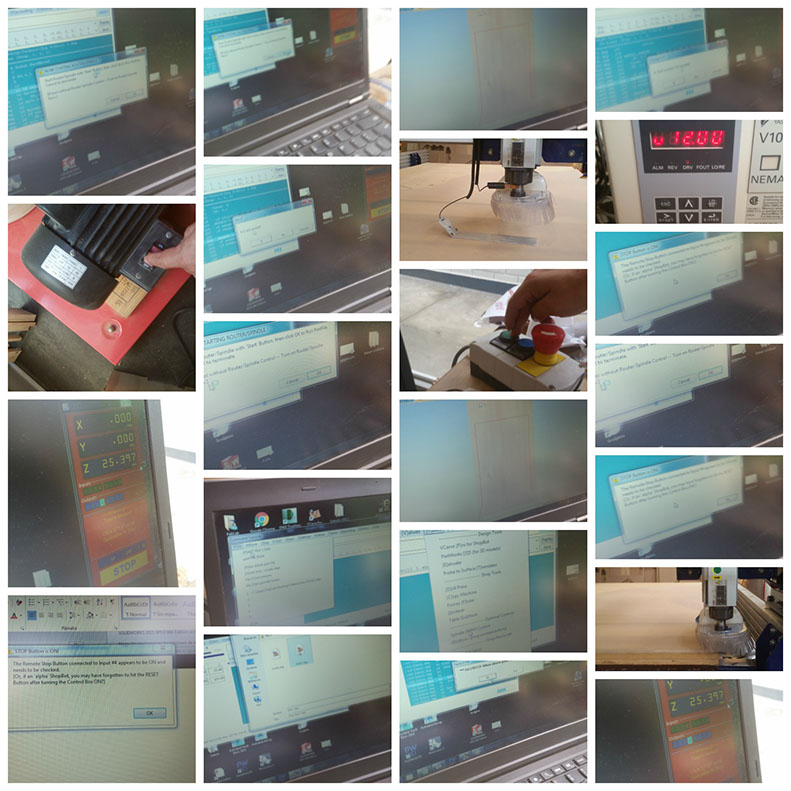
Cutting my design
Verify the RPM is setted in 12000.
Go to ShopBot software, opene the.spb file with the drilling path.
Clicking on "Start" in the ShpBot software window. In that moment G code is beeng created.
A message asks to activate the milling cutter rotor. The Shpbots green button labeled as "Start" should be pressed.
The milling rotor begins to work, and after a last confirmation message, it start the drilling path.
Sometime, an message could appear asking you to RESET the machine. There is a BLUE buton,you have to press, and restart your Shopbot software.
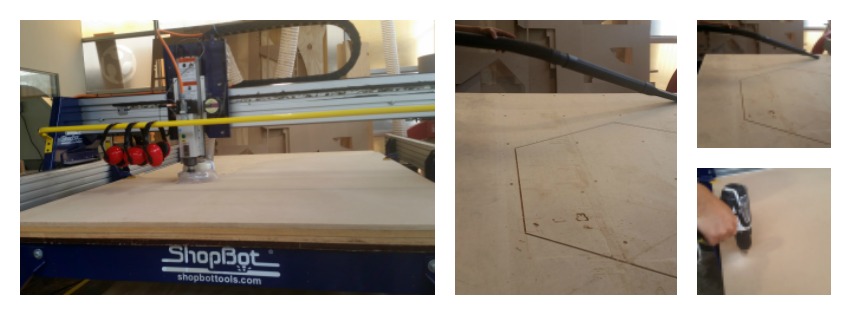
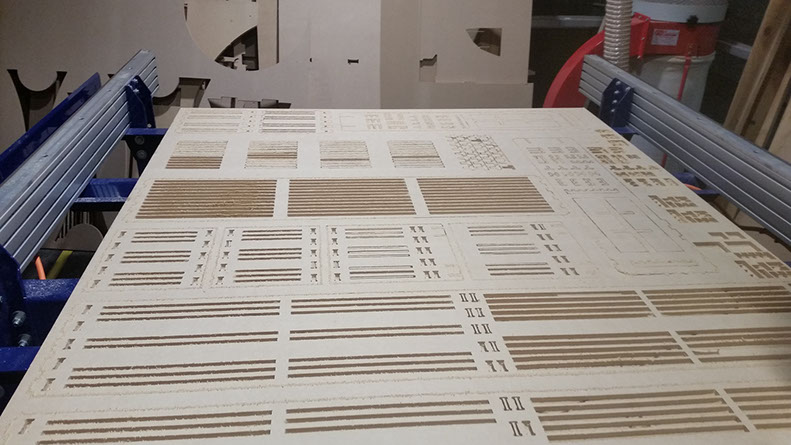
Following the path outlined in ShopBot, I anchored the material on the sacrificial plate, using some screws; screw heads should not protrude beyond the plate. Thus, I prevented any collision between the milling cutter and the screws.
With the MDF on the sacrificial plate, I generate the other paths in PartWorks.
And use a using a smaller diameter milling cutter, 1/64¨
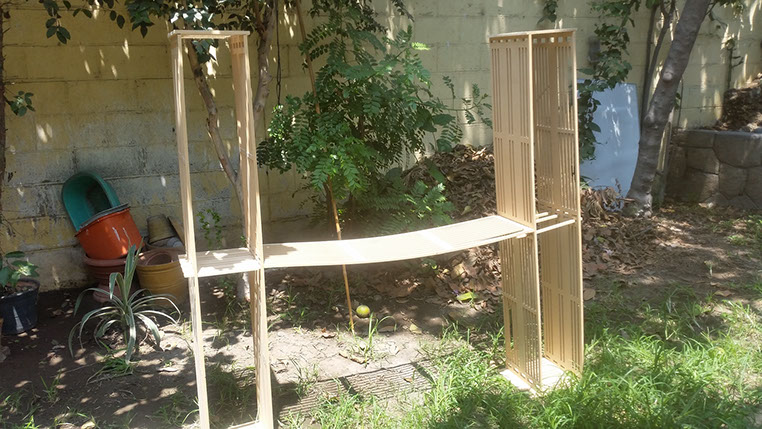
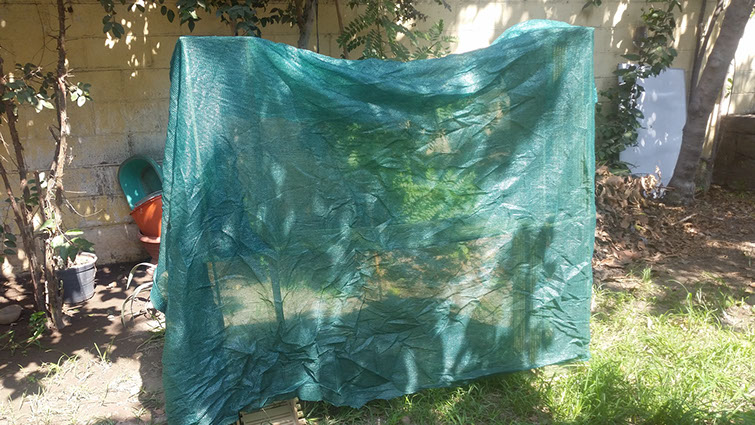
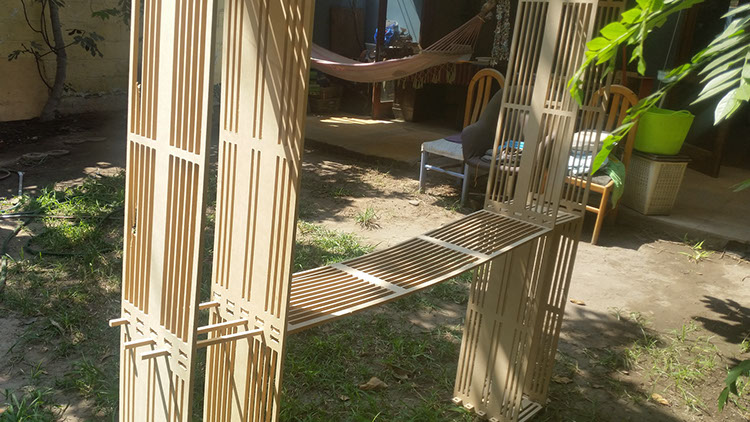
In the following pictures you can see the fogcatcher assembled that was placed first in my garden.
Recomendations
- Screws placed in the MDF to maintain it fixed, should not protrude. It is to prevent collision betwen screw and the milling cutter.
- In case of any emergency, press the RED button to immediately stop the machine.
- Goggles and earmuffs should be used to prevent some risks.