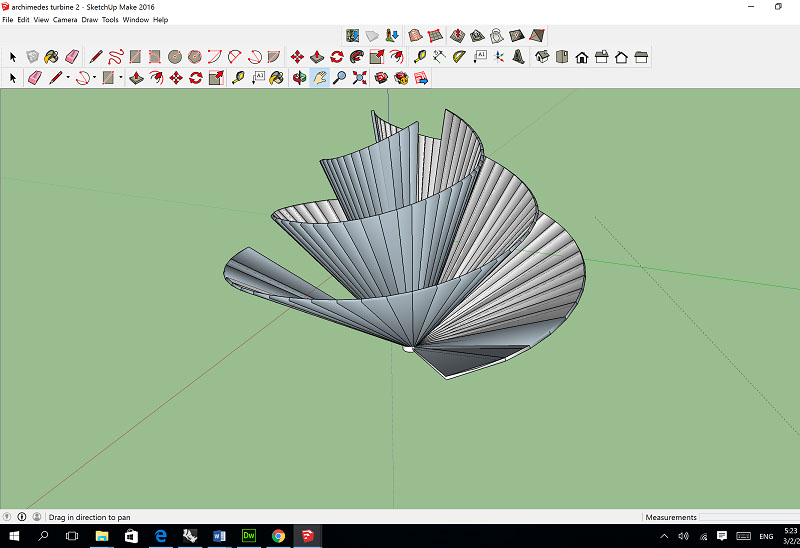
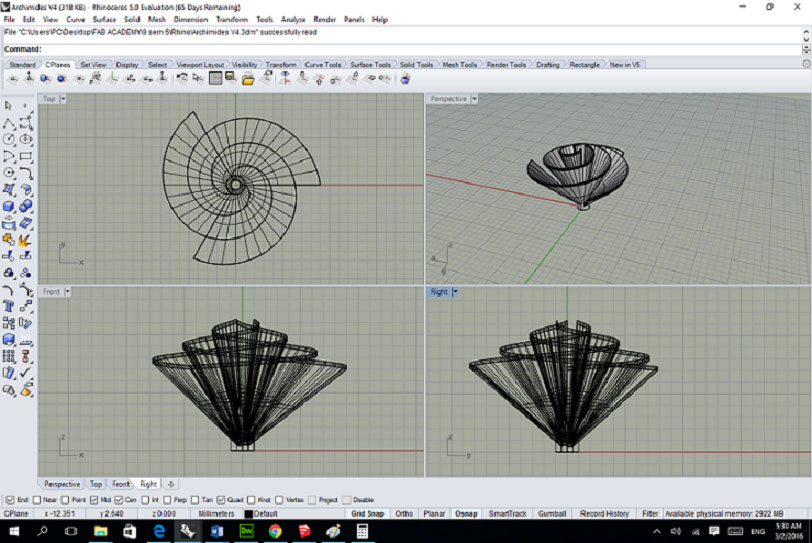
For make a 3D print, I want to do a model of turbine as shown in the following pictures. I made first in Sketchup, and then in Rhino.
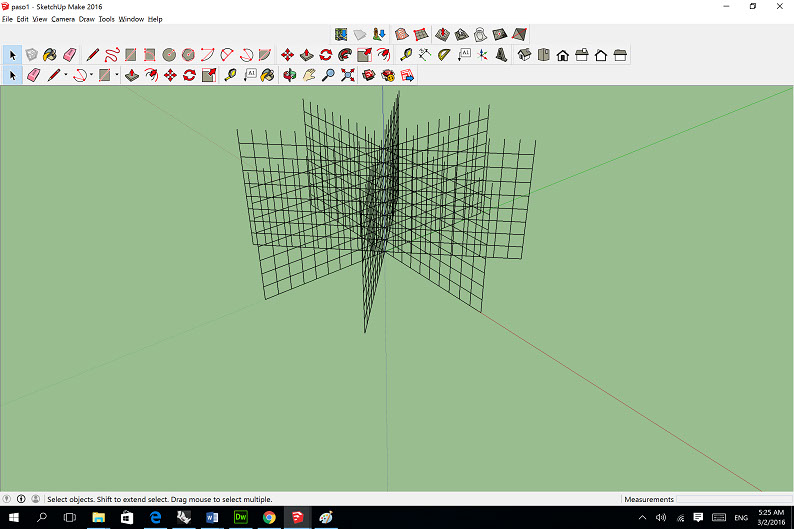
In sketchup, I was looking for the way to do a spiral, no such direct way, but I had to build first a mesh, and use the "arc with 3" point to build a curve that began down and was going up and getting close to the center.
Week 5: 3D Scanning and Printing
Advantage of 3D printing
- 3D printing allows to develop ideas faster than other methods.
- he 3D printing process allows the creation of parts through additive manufacturing at rates investment much lower than traditional machining.
- verify a design before investing in an expensive molding tool, mitigating risks, achieving clear communication with the clients, and feedback. It could be very usefull with methodologies like Design Thinking
Advantage of 3D scanning
Quickly capture all of the physical measurements of any physical object
Save time in design work
Ensure parts will fit together on the first try
Design and 3d print an small object that could not be made substractively
After that, I draw a pint in the base, and filled triangles with that point on the base. Then extrude every surface to have solid sheets.
I tried to print that, in OBJ format in the Makerbot Printer, but couldnt print because some problems in the structure of the solid. But the way to fix that seemed like to be longer than trying other tool. I used Rhinoceros for do again the model, that was more direct.
In Rhinoceros, I used the commands: spyral, loft, ExtrudeSrf, ArrayPolar, and copy with Gamball. After that for bulding the axis I used the Cylinder and Boolean Diference commands.
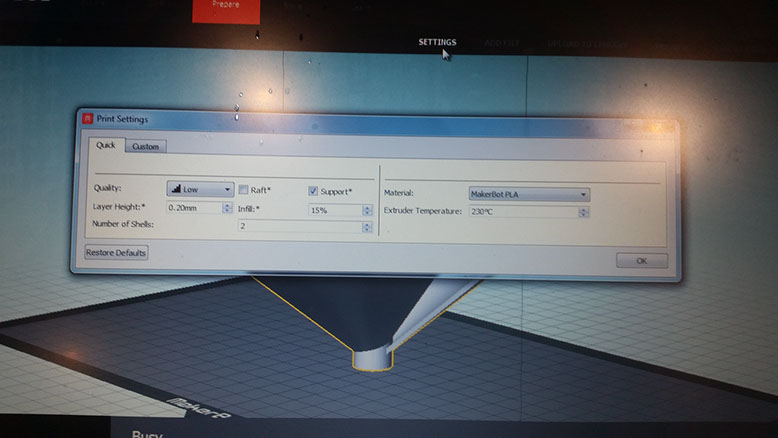
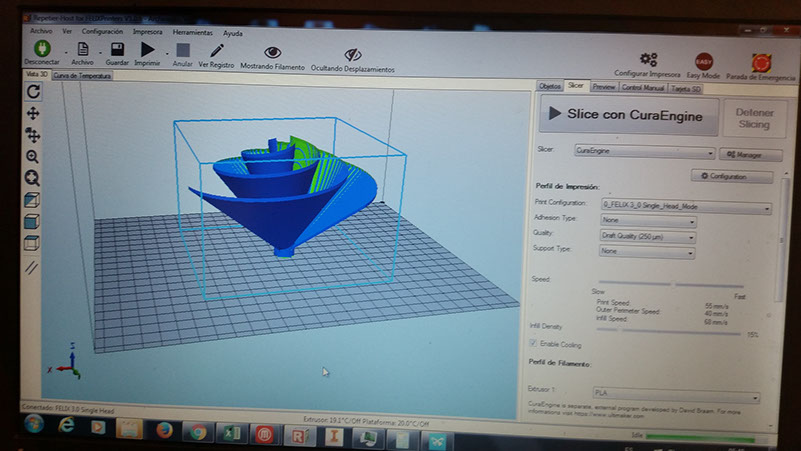
First I tried to print with the Makerbot Printer, with the shown parameters.
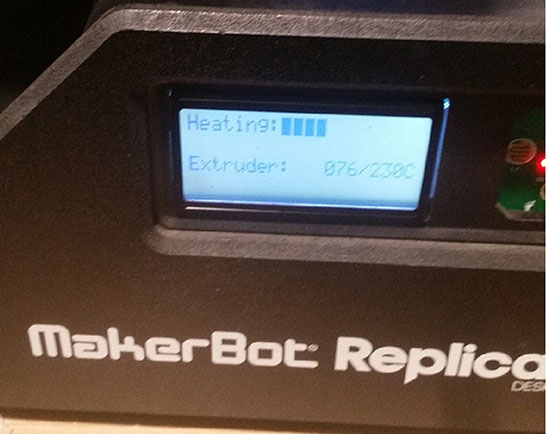
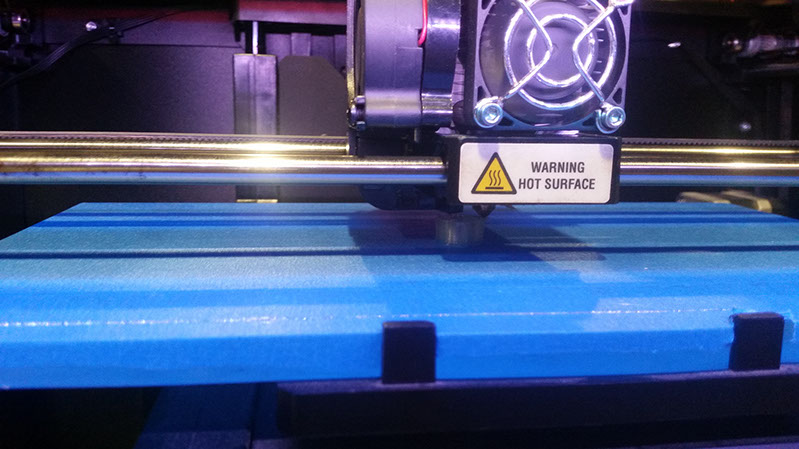
It began the job heating
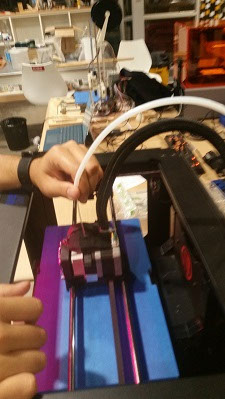
Some adjustments on the header. There was a lump at the end of the PLA
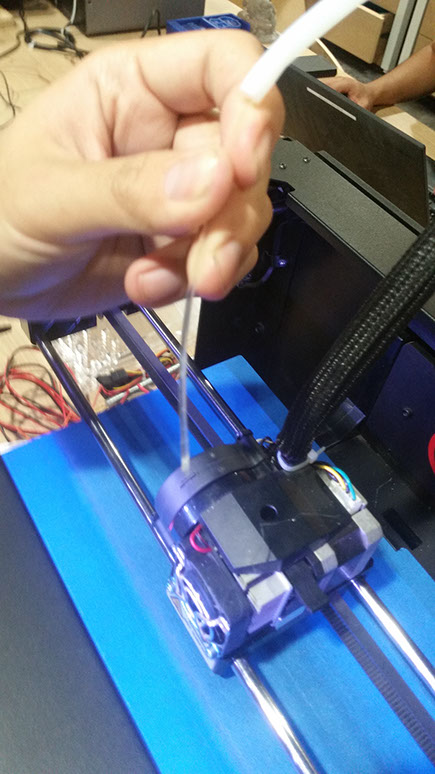
The Makerbot working
But it stoped, there was another lump at the end of the PLA.
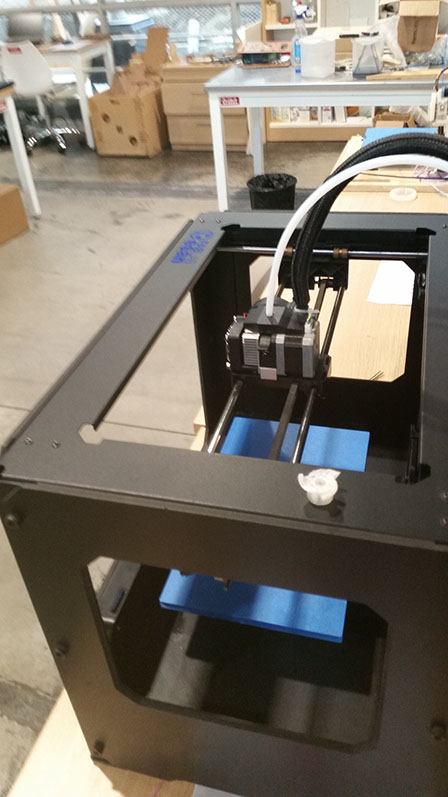
My instructor told me that something in the temperature mechanism was not working well. We tried on the Felix unit.
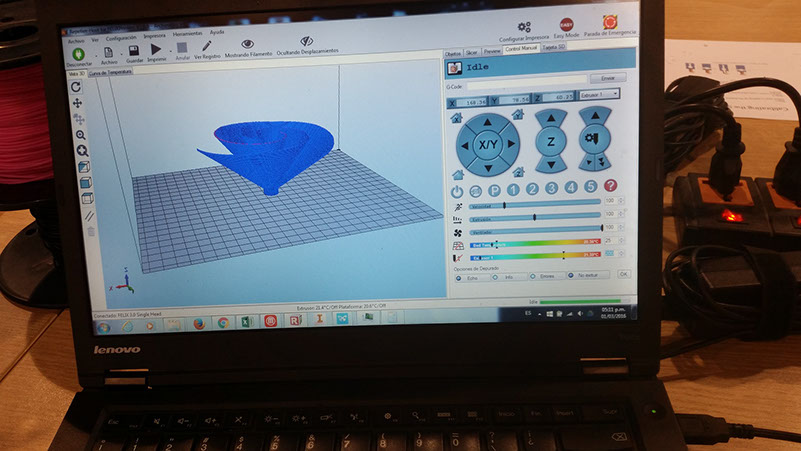
The parameters were seted as the picture,
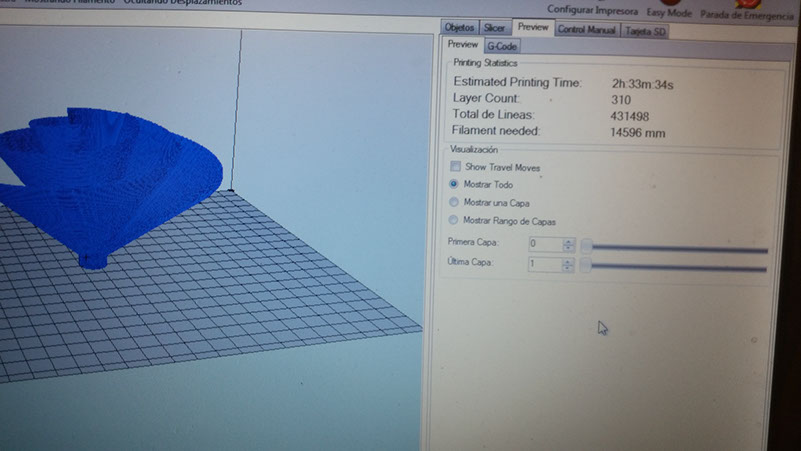
The printing was good until the highest part, in that time, PLA was not streaming well.
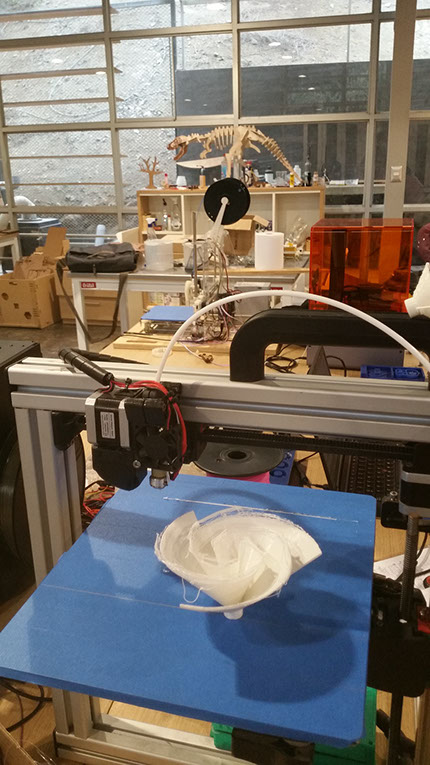
This object couldnt be made substractively because the distance between the leaves is decreasing in a regular pattern, until it joins. In a substractively way an awl should be able to enter to those spaces, and the spacial geometry doesnt allows it.
3D Scan an object
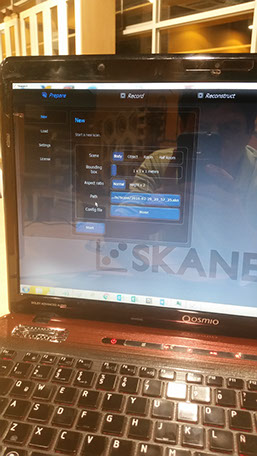
The scanning proces with Kinect device and the software used to process the images was the Skanect.
I used the Scene: Object, Bounding box 1.6X1.6X1.6 m, Aspect Ratio: Normal

After a 360 around the object:
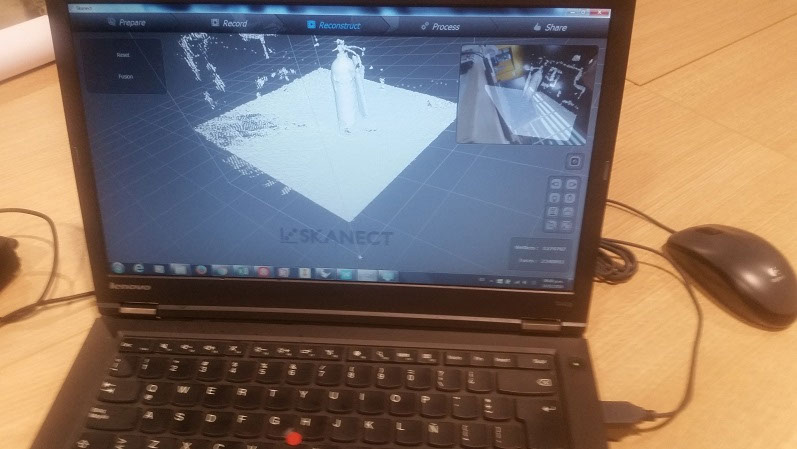
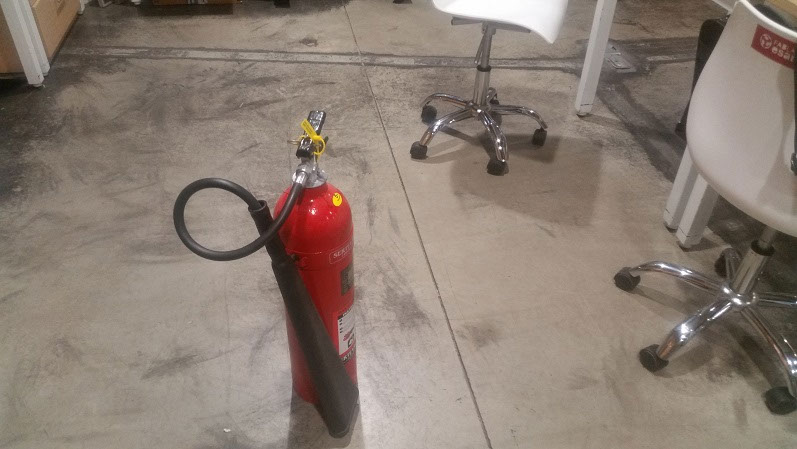
The object scanned was a fire extinguisher
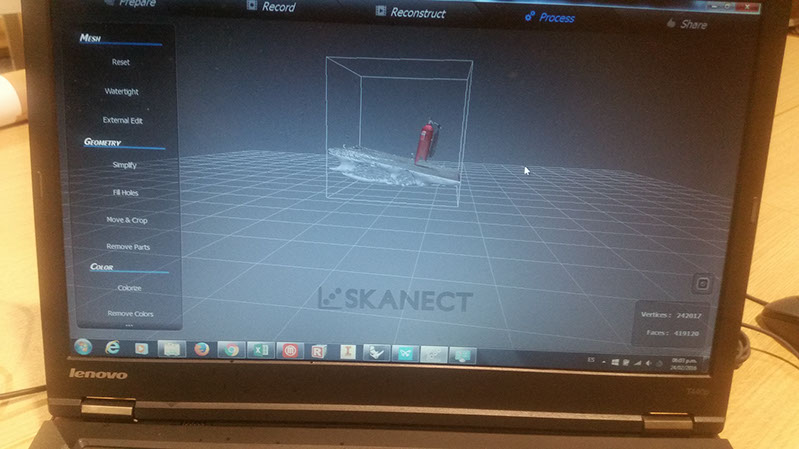
And the result: the object in 3d:
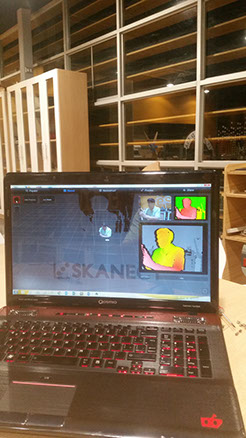
For the next attempt, using a rotating chair of the office, instead of going around the object with the Kinect taken. I used the options:
The result:
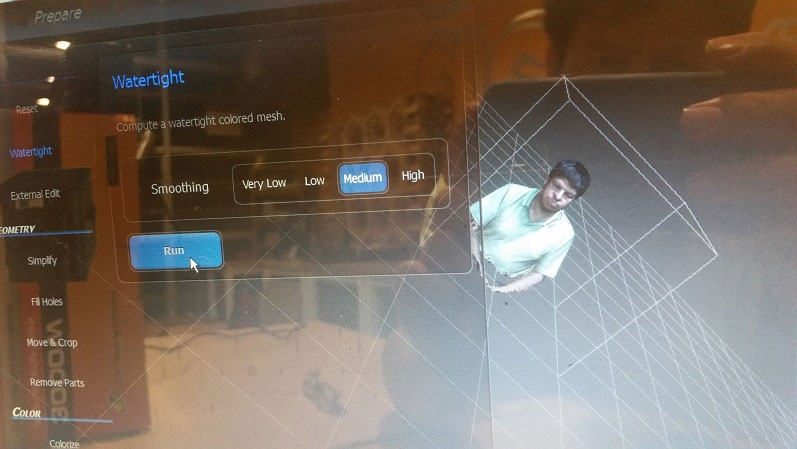
UPDATE: SCANNING WITH MODELA
I will use the Dr Picza Software to scan an image in 3D
Once launching the software, the following screen appears.
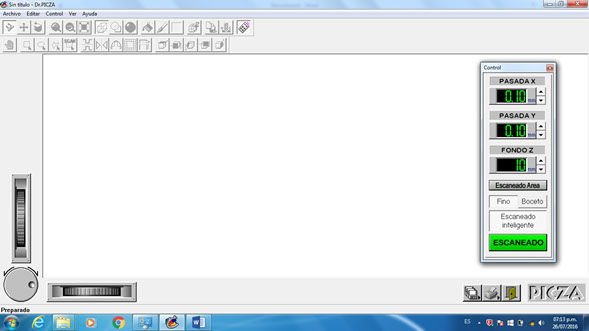
The main parameters are shown and it represents the resolution, that means the distance between one testing point and another, for x and y axis. And the deep distance in z axis, to be scanned.
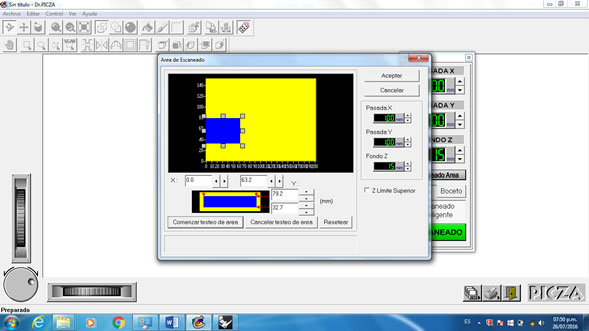
The the scanning area could be defined, in the blue rectangle. I choose only the face part, with the objetive of not taking too much time.
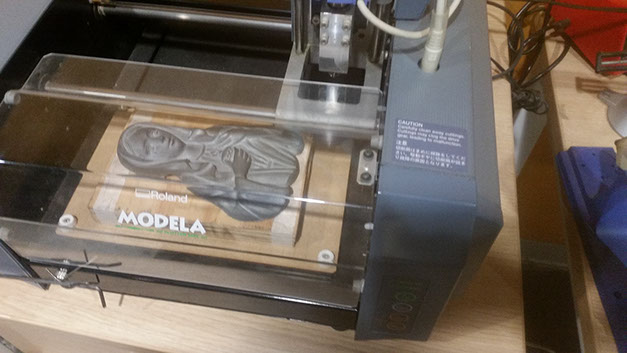
Preparing the Modela and the image, to be scanned.
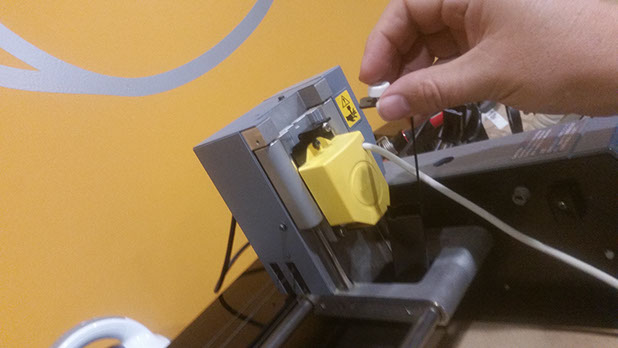
The header need to be changed. First remove the milling header, and then install the scanning header
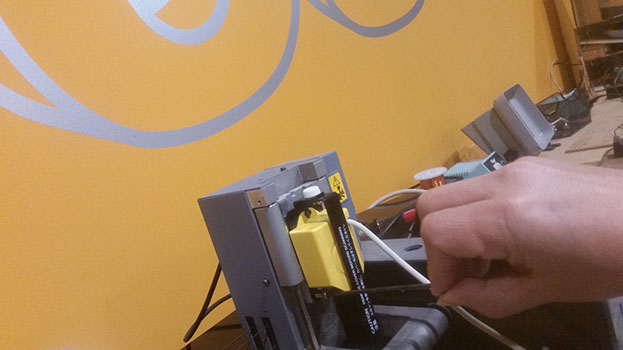
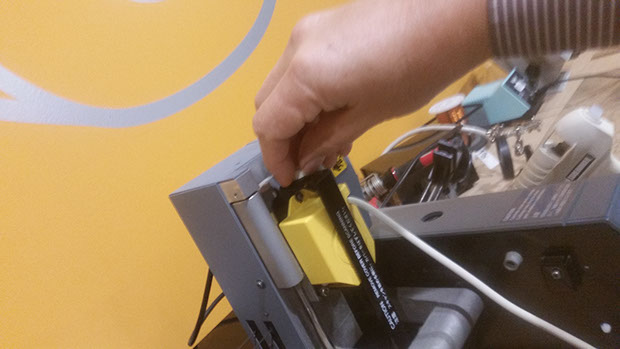
The contact needle is protected, once the header is installed, the protector must be removed
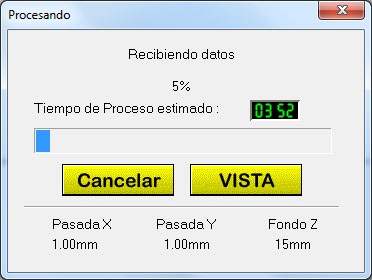
Begining the scaninng with the Green Button
The estimated time of precess is displayed, in this case almost 4 hours.
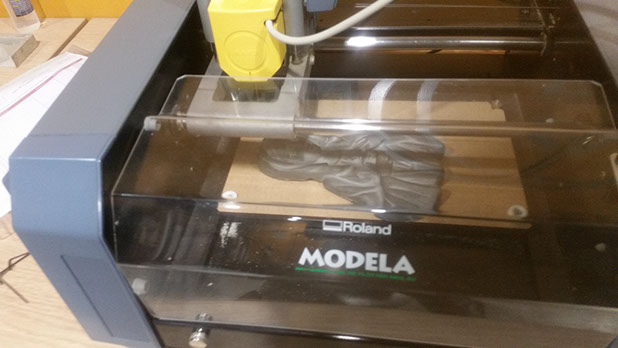
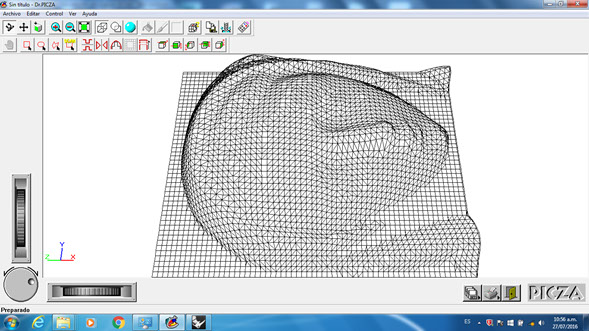
Scanning the image, a test first
Next day, I found that everything gone ok, and the mesh was built
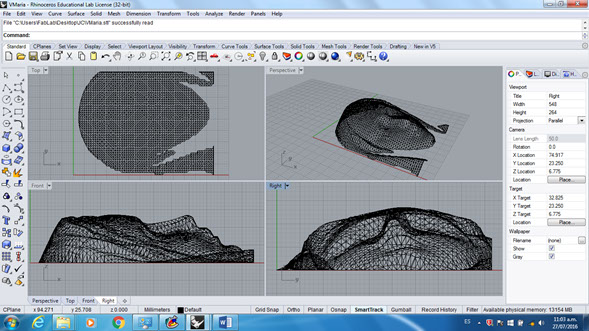
I exported that mesh to an *.stl format
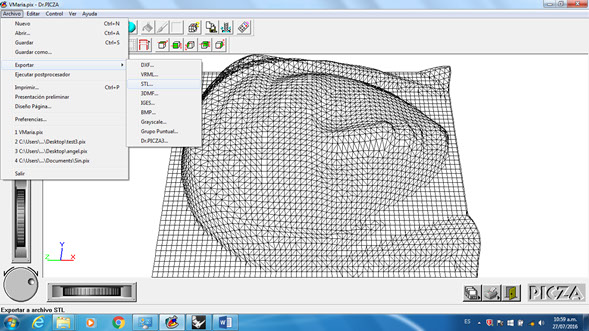
That format can be appreciated in a software like Rhino