Week 3 Computer Controlled Cutting
Assignment
Design and make a press-fit construction kit
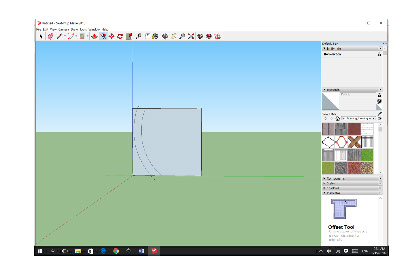
First Model (not cutted)
First I made an rectangle in x-z plane: 20x15 cm, then a Curve, and applied the Offset option:
I made rectangles (4 each 10 cm), 2 cm inside the figure, using tape measure tool, and the Erase element
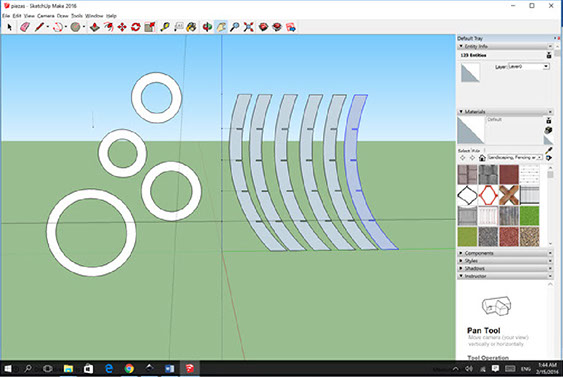
Draw concentric circles, with 50 segments for each circunference. The final pieze
Second Model (cutted)
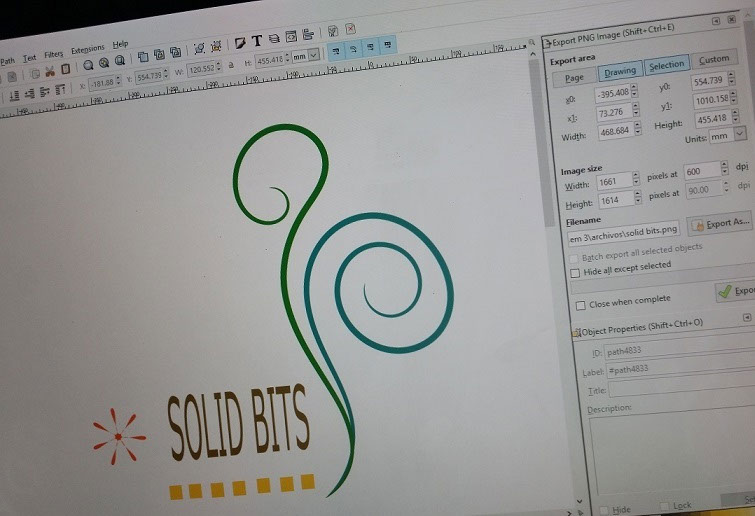
Using Inkscape Bezier-curves with Create-Spiro Path mode, and after that filling with Filling Bounded Areas.
I created a 1 cm x 0.31 cm rectangle, considering the thickness of the MDF material is 3.1 mm.
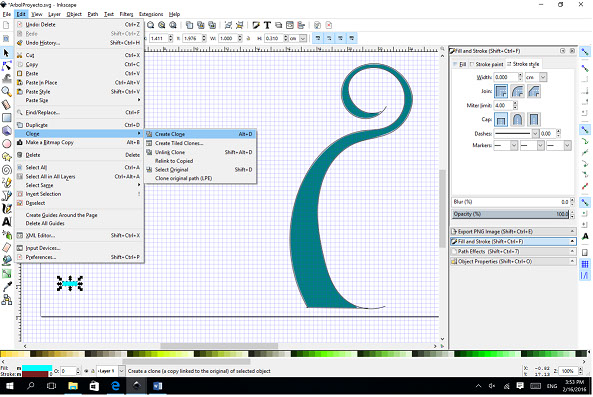
I cloned it with the Create Clone option
Then I used the Path/Diference option to make the little holes in the main figure

generating a new one, using the Difference (Between Path) option, to cut the top part.

Then I made the concentric circles, that will fit in the previous designed figure.

Then, in order to harness the material to be used, I made other concentric circles inside the ones below.

Duplicating the designs, ready to be cutted
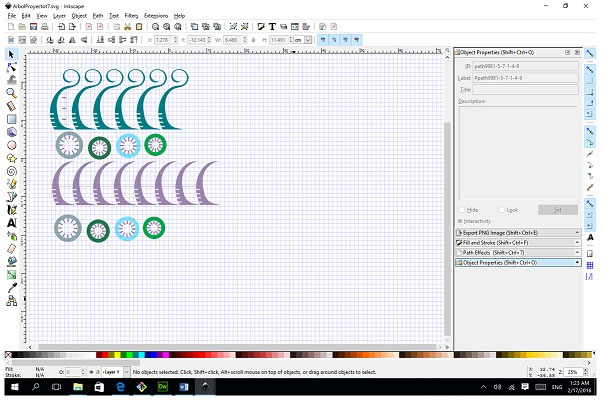
After exporting the file, saved as a (dxf) to be cutted.
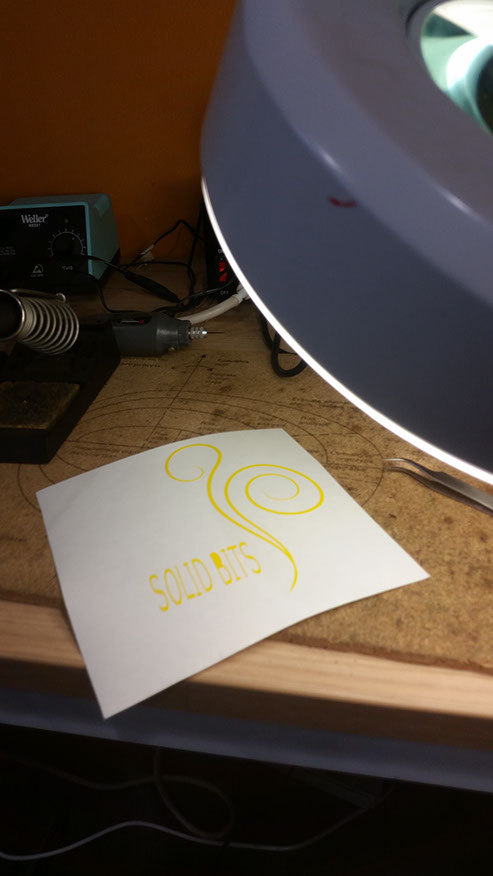
This is the laser cutter we use, the Mini Epilog Laser. Is a CO2 laser systems to engraving and cutting of wood, acrylics, plastics, stone, and others.
There is a complete guide to use Using the Epilog Laser Cutter
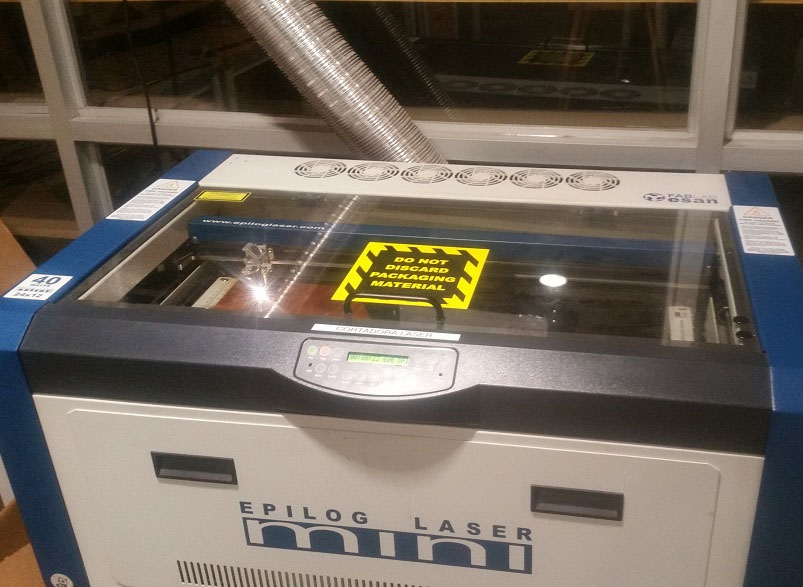
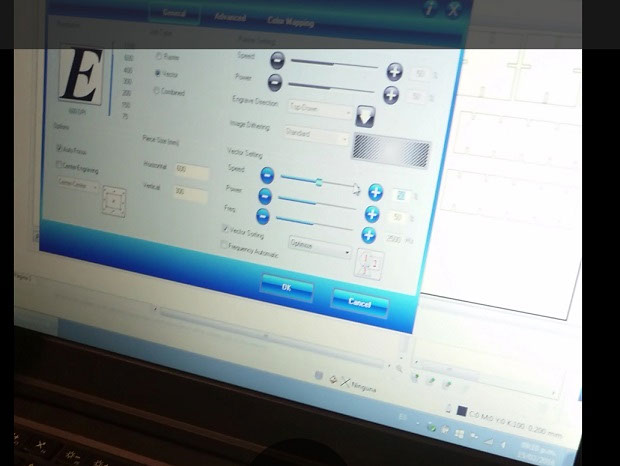
Have to considerate the values of speed, power and frecuency, depending on the material, in this case MDF
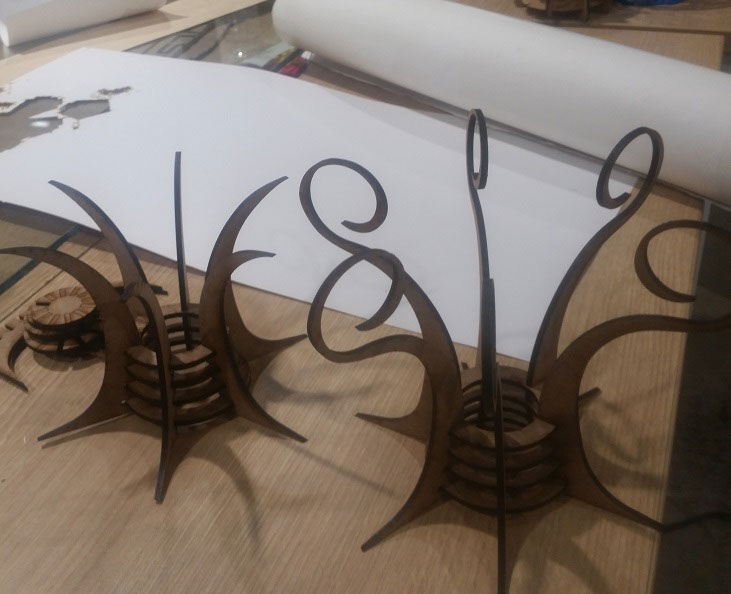
The final results, already assemblied using pressfit concept
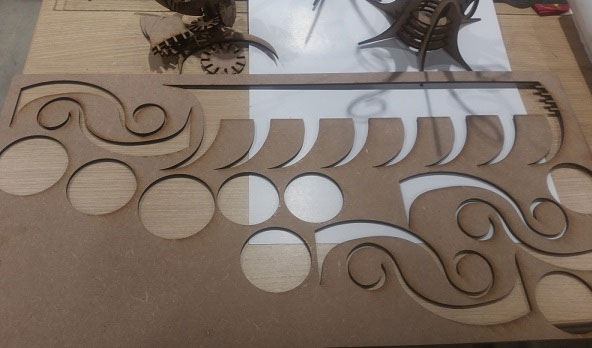
Here you can see the mdf after the piezes were extracted from it
RECOMENDATIONS
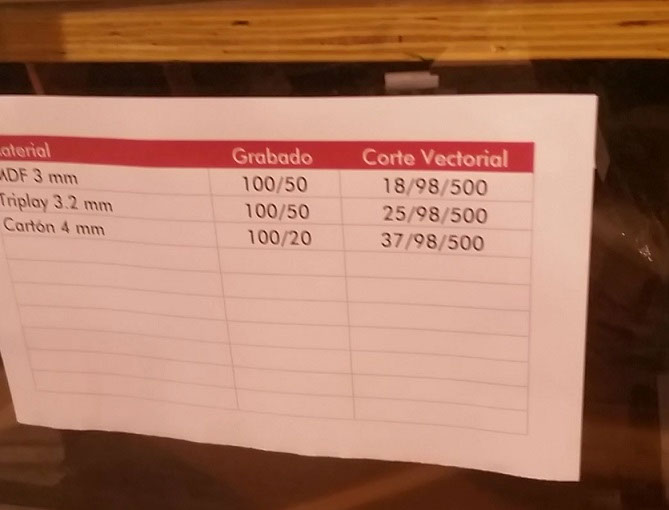
The set of Power velocity and frequency per material shown in a picture, are recomended values depending on the material and its width. If those are not enough, the cut could be incomplete, or if they are higher than recommended, take care about burning material.
You need to be aware during the cutting process, Watch out for any smoke produced during the process.
It is recommendable to use the "autofocus" option, otherwise the z axis probably will not be adjusted properly.
Small tests should be made to ensure the quality of the cut, verifying the adjustments.
VINNYL CUTTING
I made my svg file using Inkscape. The branches were done using the Bezier-curve and the From Clipboard shape.

After I had my svg file, I exported that form Inkscape.
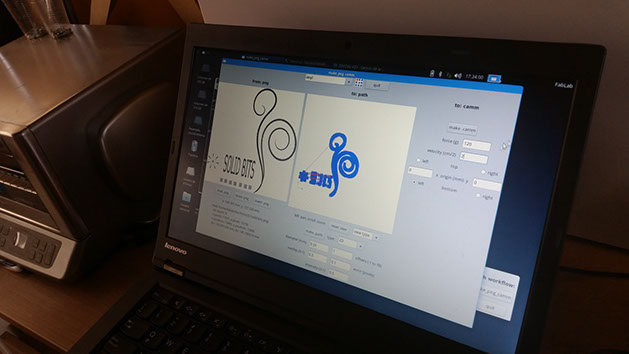
The machine to be used is Roland Camm-1 CX-24. And a affordable user manual is made by Anna Kaziunas
To begin the process, I launched the Fab Application, and setting the basics.
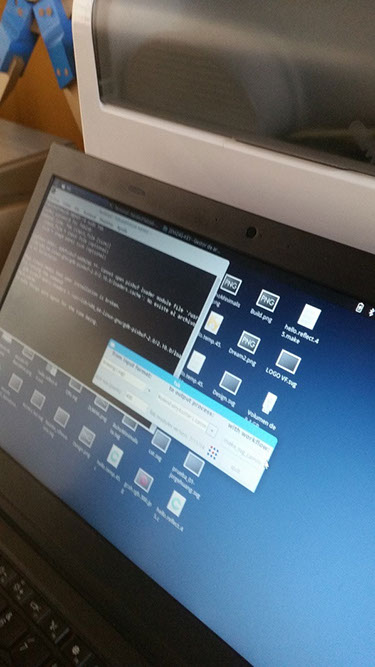
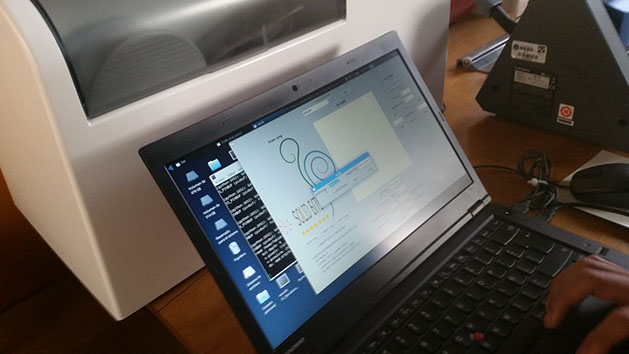
About to be printed
Adjusting the sheet.
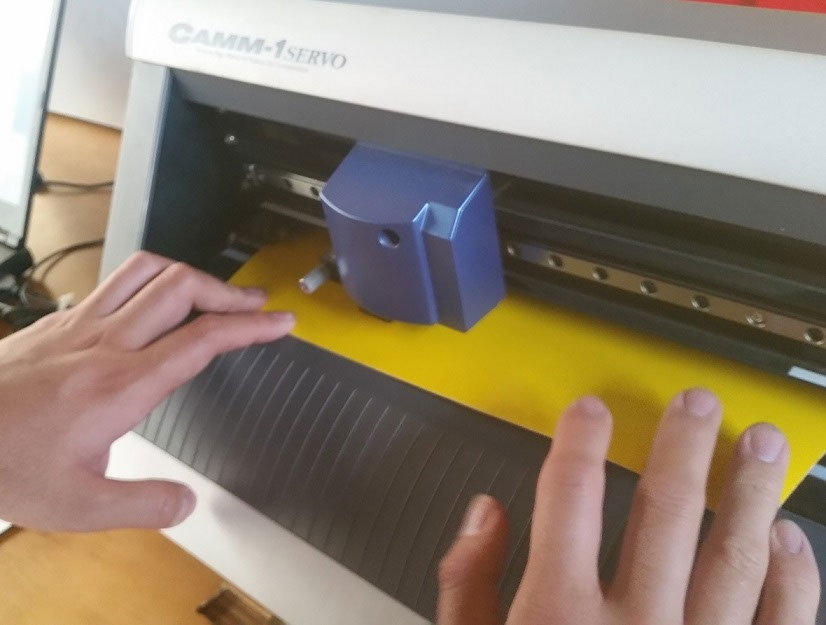
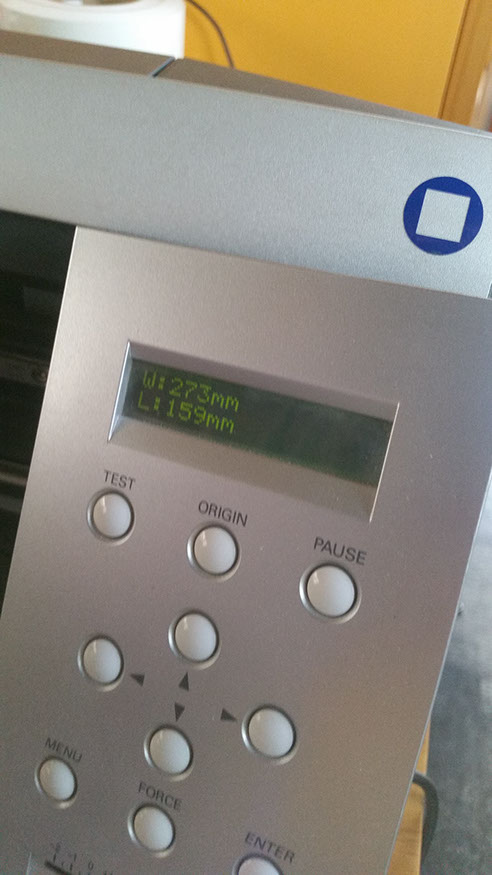
The weight and Large of the sheet is automatically detected:
Finally, the sticer impressed