Week 2: Computer Aided Design
I tried some of the tools:
-Sketchup
-Inventor
-Rhino
-Thinkercad
-Inkscape
-Fusion 360
In all of them I did some exercises, but I did my first ideas of the design of my project, with Sketchup
Sketchup
I was thinking that the Air Capturing System, could be implemented as an decorative structure, here some ideas ilustrated with Sketch:
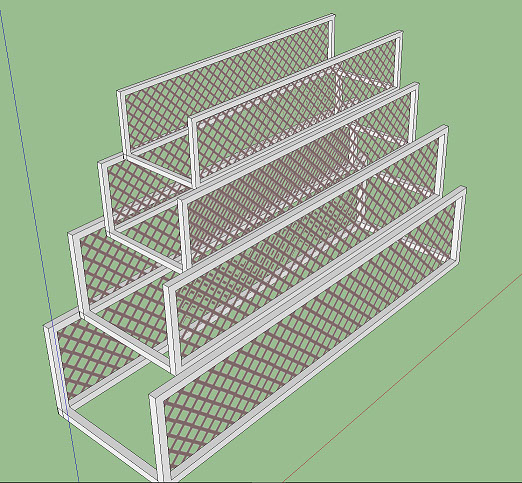
The structure catch fog form the air and the shape allows to be stable.
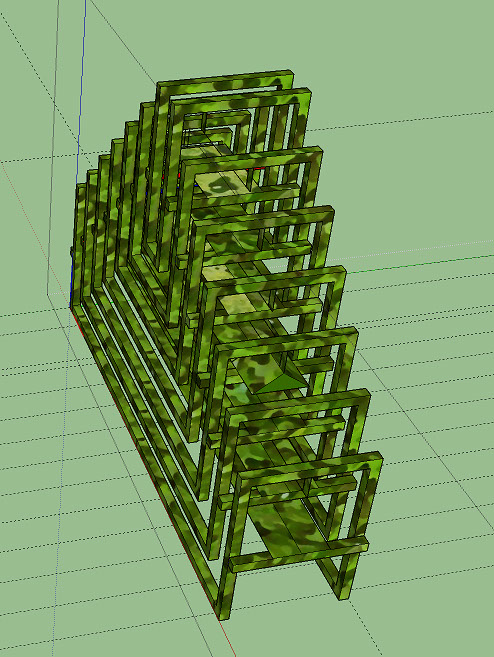
The previous form is a good way to get the area maximized in a volume,to be in contact with the air.
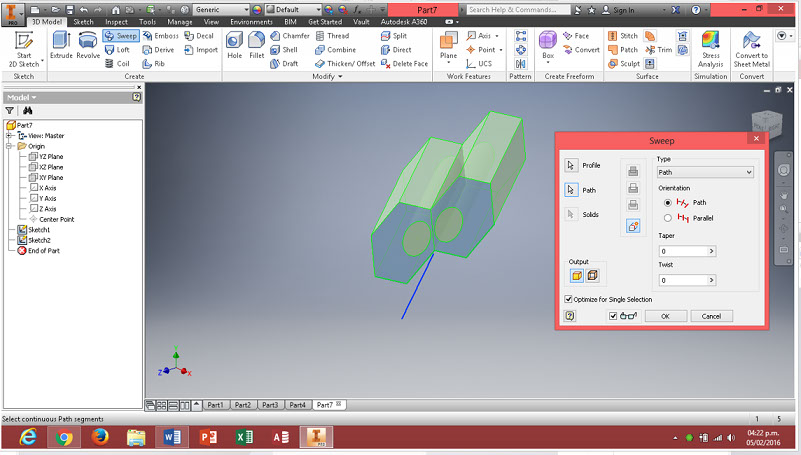
Inventor
Not as easy to use as Sketchup, has lots of options and icons in the pannel. I tried some basic features like revolv, mirror, sweep.
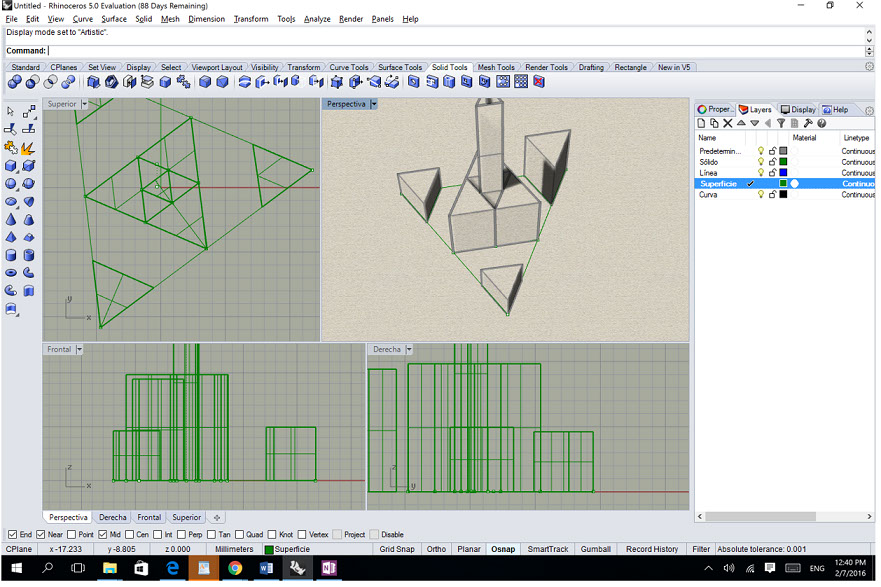
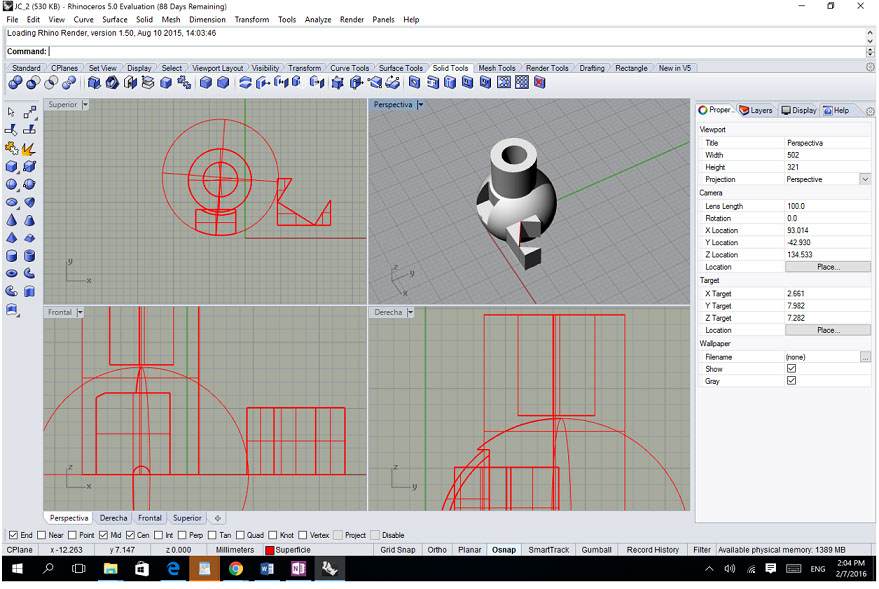
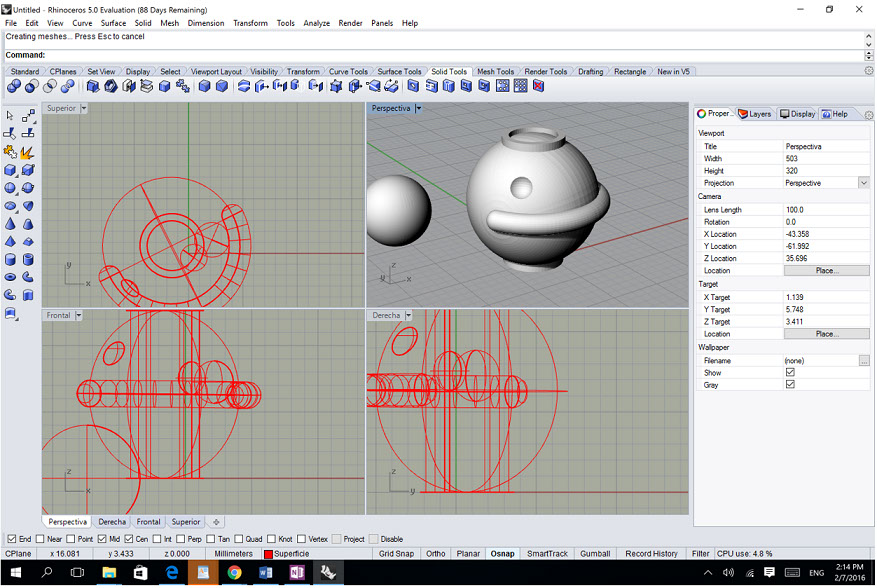
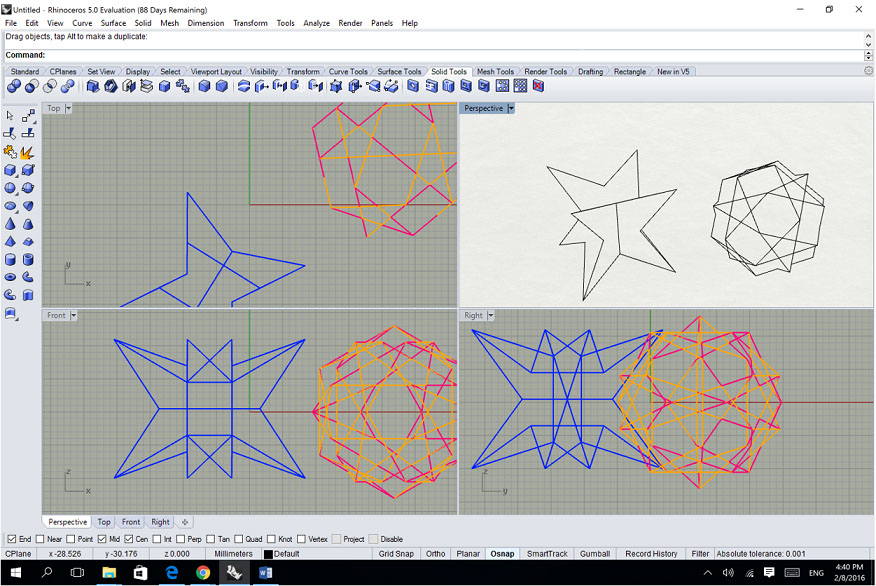
Rhino
Very good experience with Rhino, it has tutorials and support documentation that helps.
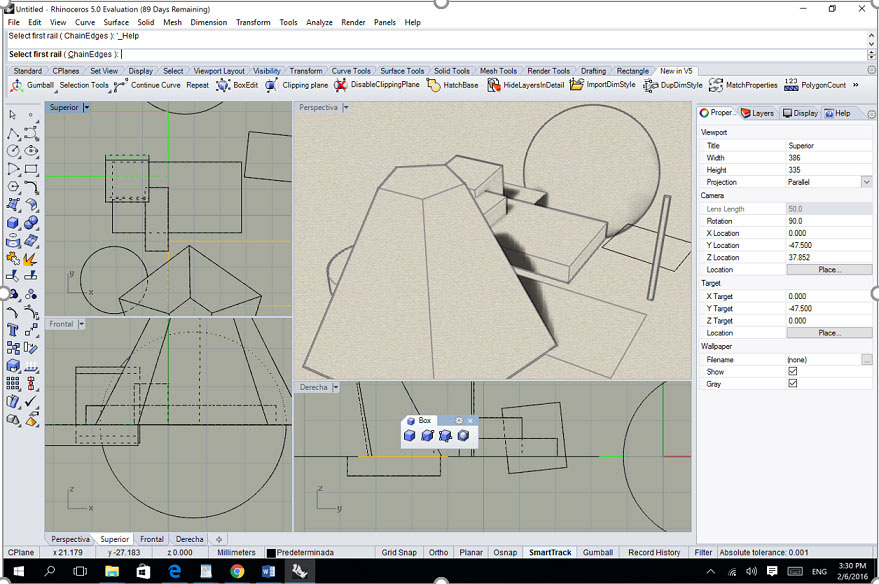
Somethink that helps a lot is the F1 key, from the command field, it takes me to an online help, related with the command.
Some other practices:
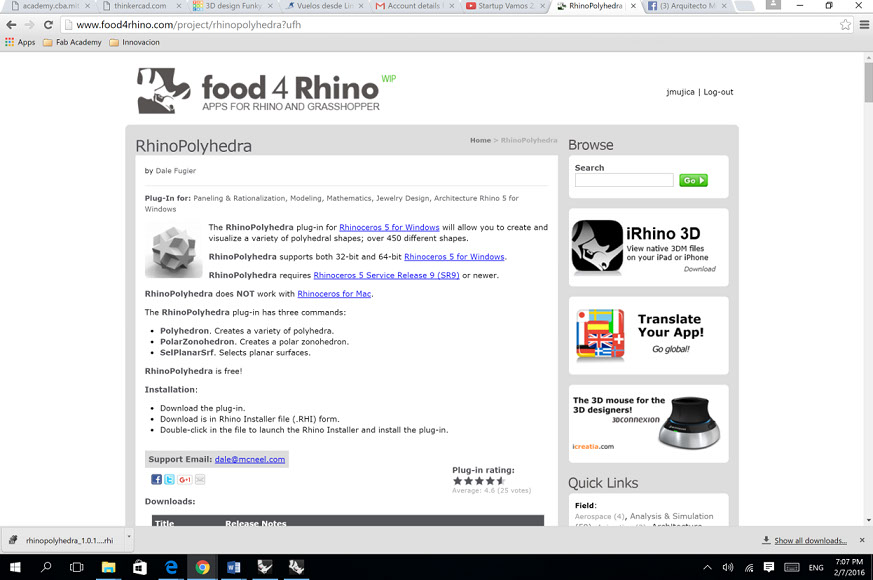
And there is an interesting tool food4Rhino, wich have many apps for Rhino and Grasshopper
Thinkercad
Very easy to use. In my experience, Its very useful to work with Helpers, it defines a new plane, in wich is very easy to put new objects.
I made those with boxes and cylinders, using the Workplane on Helpers. I did this:

Some other using Tinkercad Shape Generators, and duplicate option
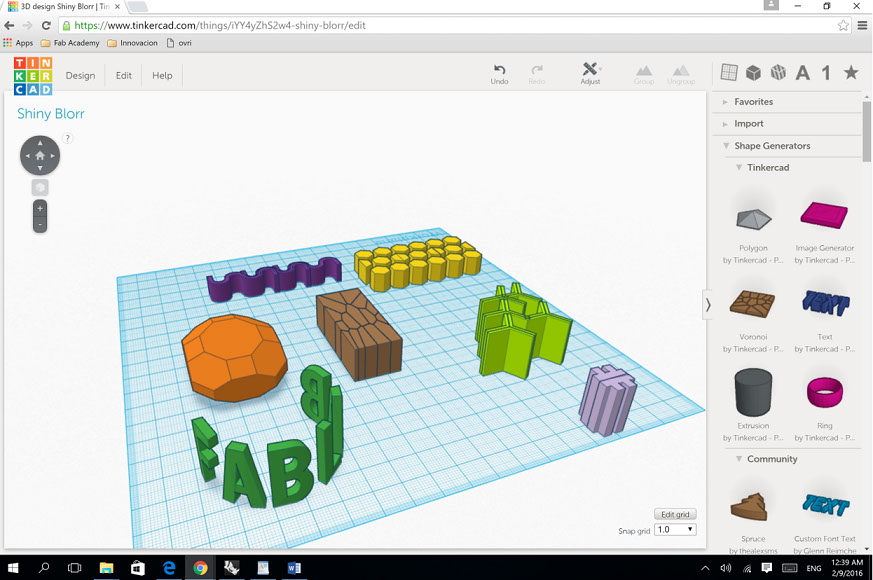
In ThinkerCAD, the files are in the cloud. They are in my account:

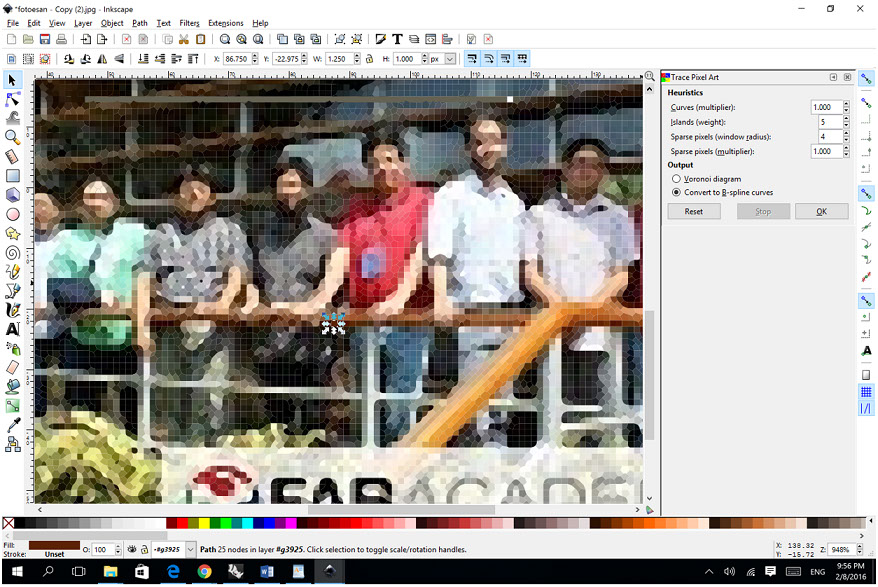
Inkscape
Between its functionality, Inkscape allows to vectorize one bitmap picture. I tried with the option Path / Trace Bitmap. It generates a svg file.
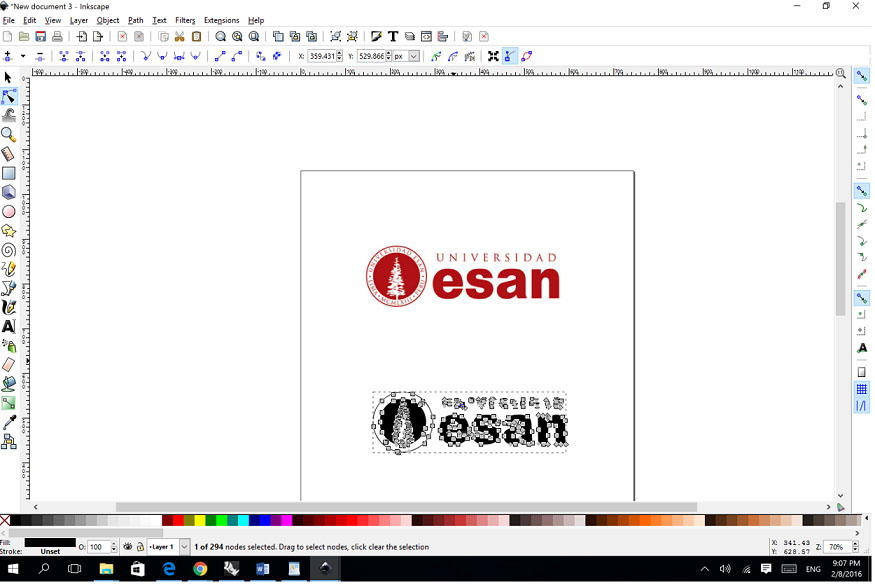
Using the Path / Pixelart option, applied to a groupal picture, the result is this
Update: Fusion 360
With Fusion 360 you can create designs with a very easy-to-use, powerful industrial and mechanical design. It connects your entire product development process in a single cloud-based platform. Main big applications are:
- DESIGN allows to quick iterate on design ideas with sculpting tools to explore form and modeling tools to create finishing features. Solid modeling, Parametric Modeling and Mesh Modeling.
- ENGINEER AND SIMULATE: Test fit and motion, perform simulations, create assemblies, make photorealistic renderings and animations.
- CAM Create toolpaths to machine your components or use the 3D printing workflow to create a prototype.
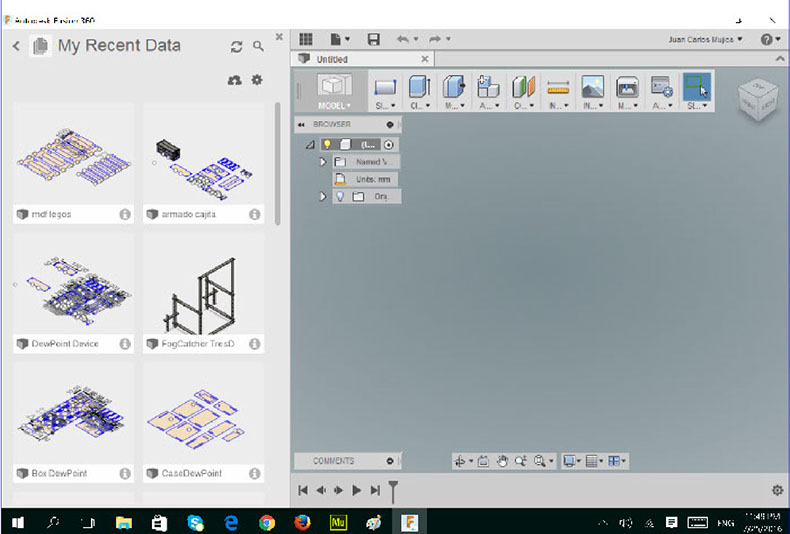
Once you launch Fusion 360
Clicking on nine squares you can see My Recent Data, where you can see all designs
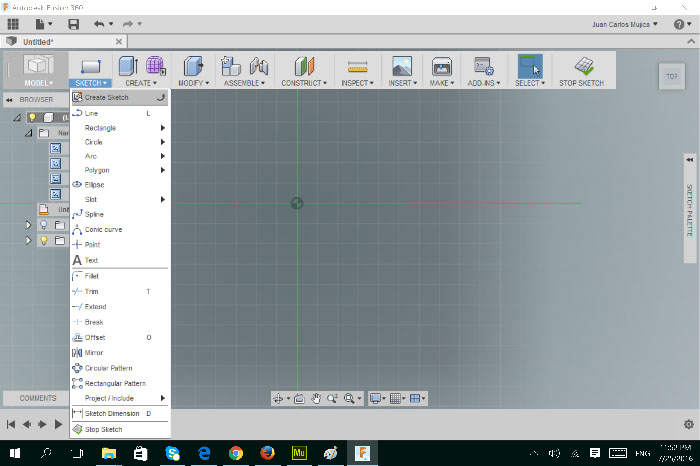
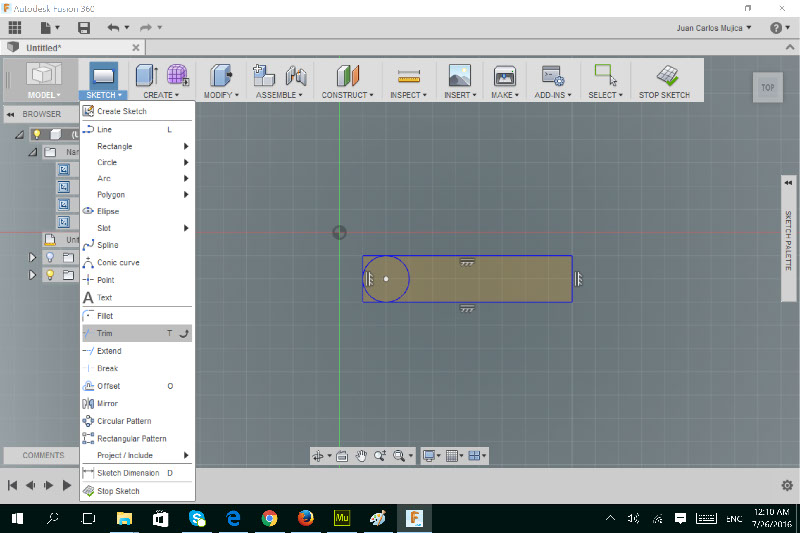
Click on Create Sketch
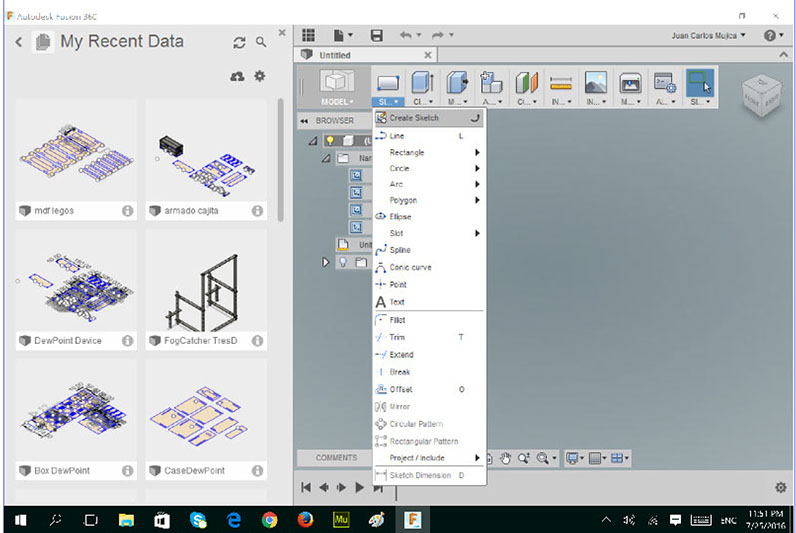
Open the Sketch option, you have all those options, like Rectangle, Circle, Text, etc etc. All those are to work on a 2D plane.
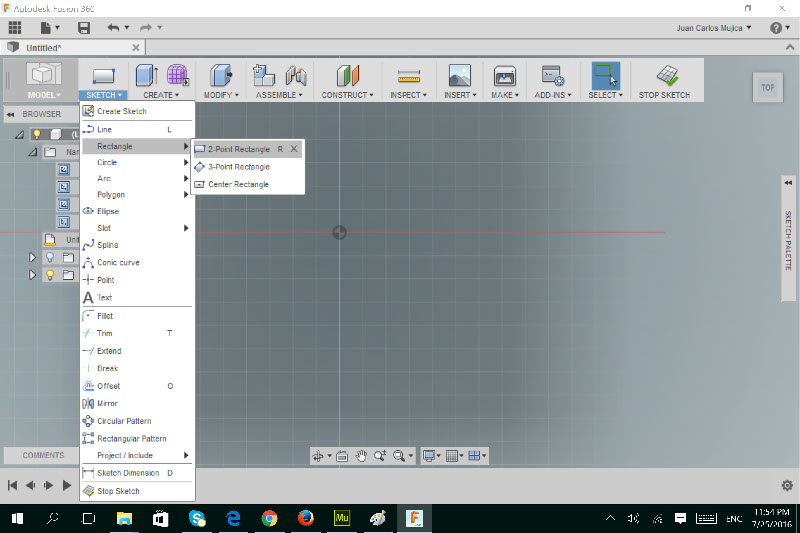
I will design some 2D object. I click on "2 Point Rectangle"
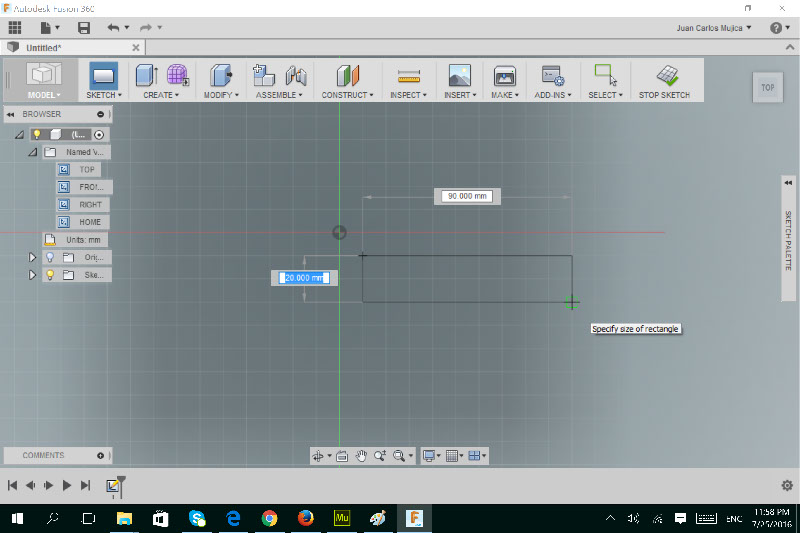
You can see now the measurement of each side
Then I choose 2 Pint Circle
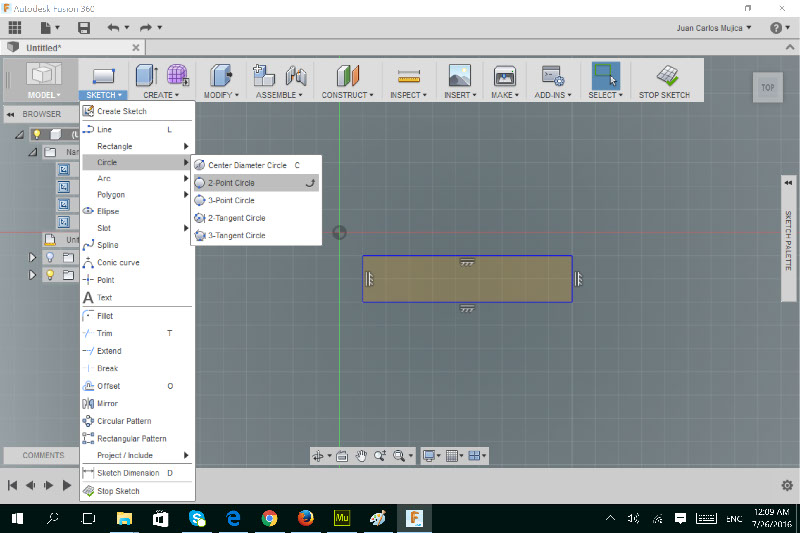
I choose two points of the sides of the rectangle

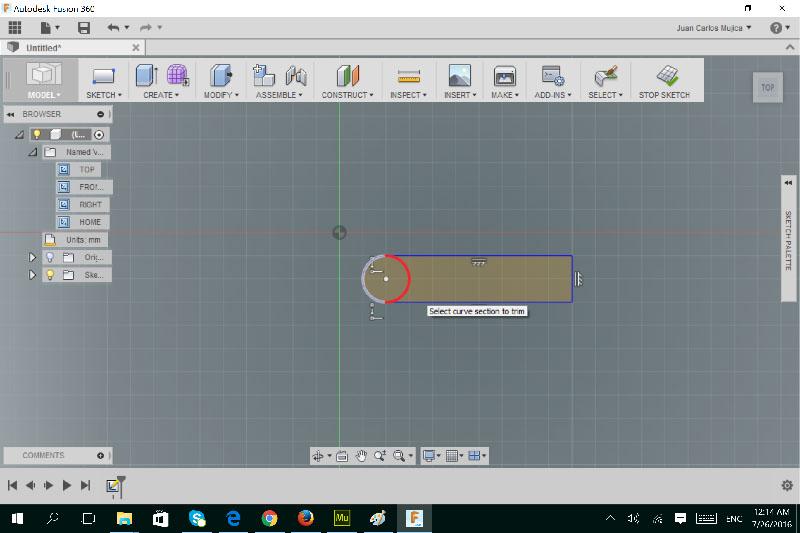
You can use the Trim option
While the cursor goes on the elements of the draw, some gets red. If you click there, that line will be erased.
The last segment to be erased
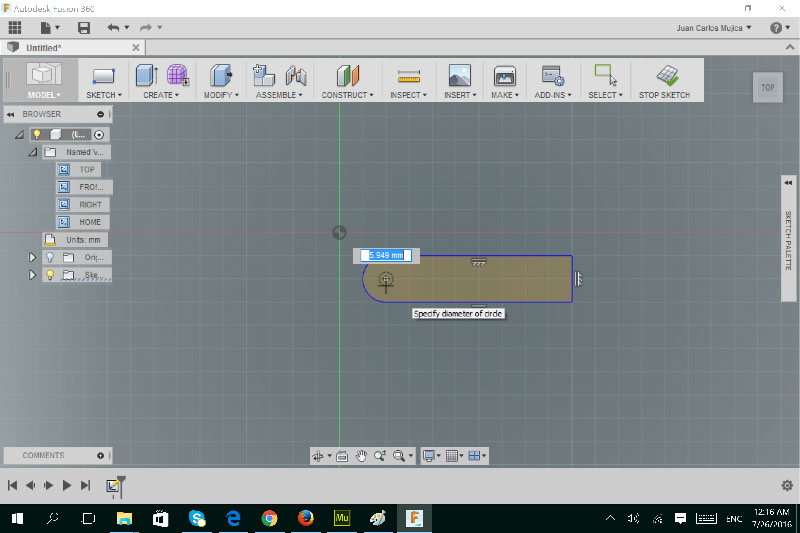
Using the Center / Center Circle Diameter
When the measurement appear, you can write there
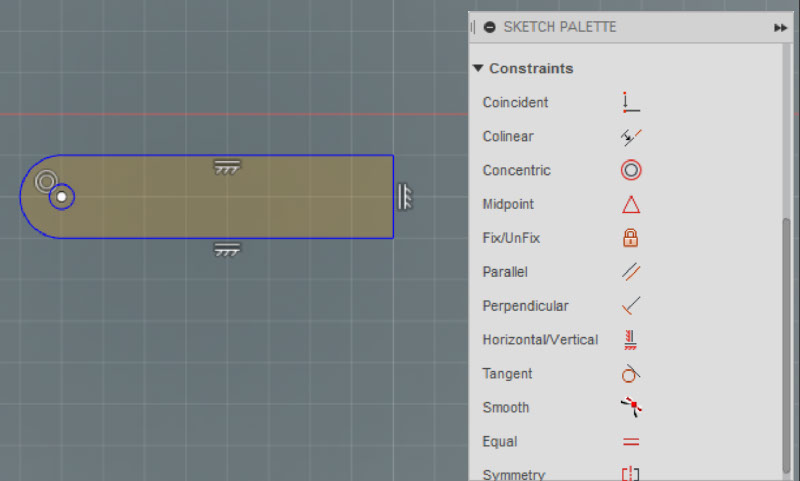
There you can see the constraints, in this case the paralelism between sides. You can erase them whenever you want.
Using Center to Center Slot

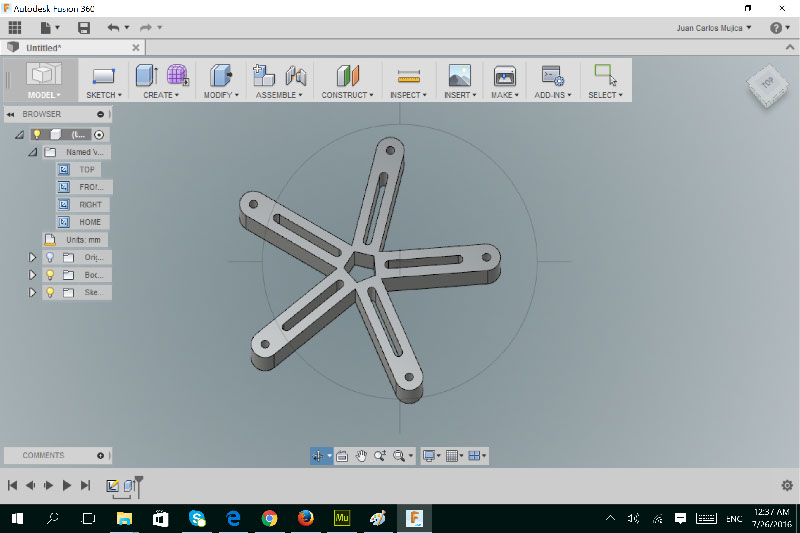
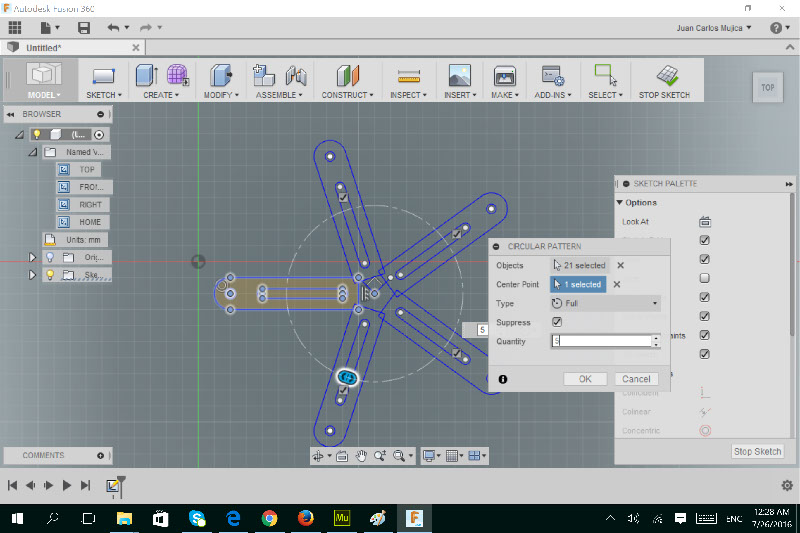
Then I used the Circular Pattern
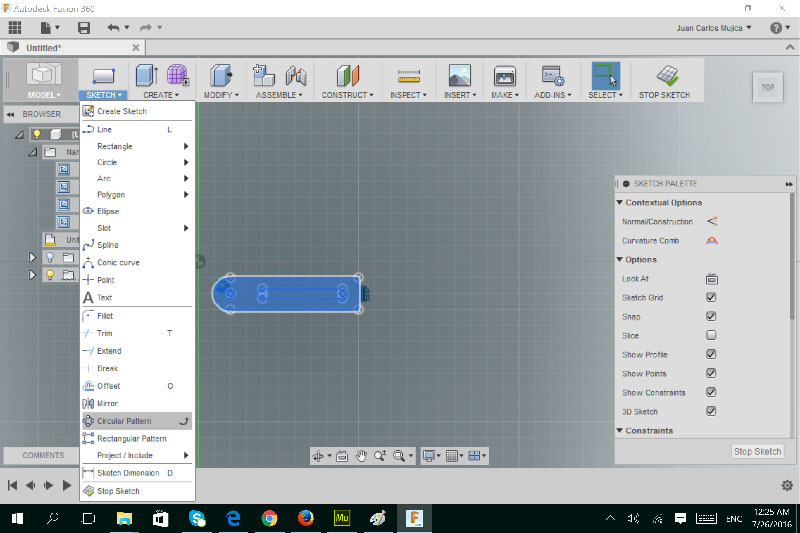
First select the objects and then select the center point.
In quantity, you can write the number of copies to reproduce.
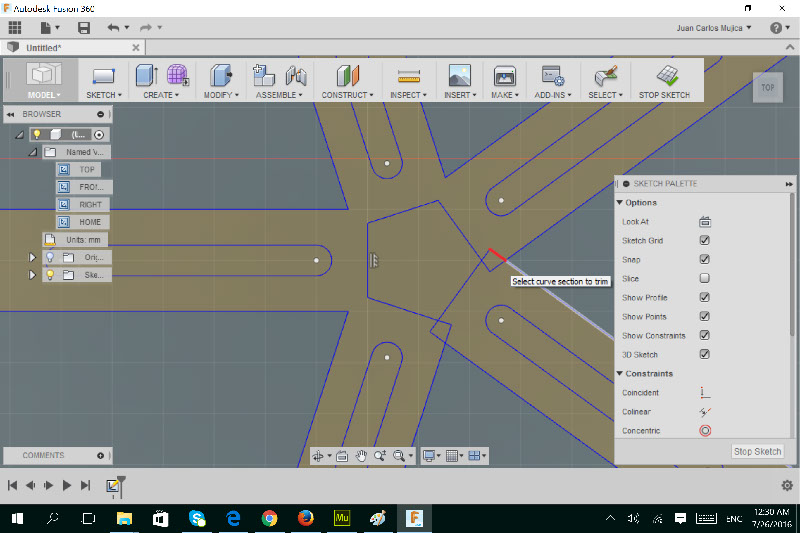
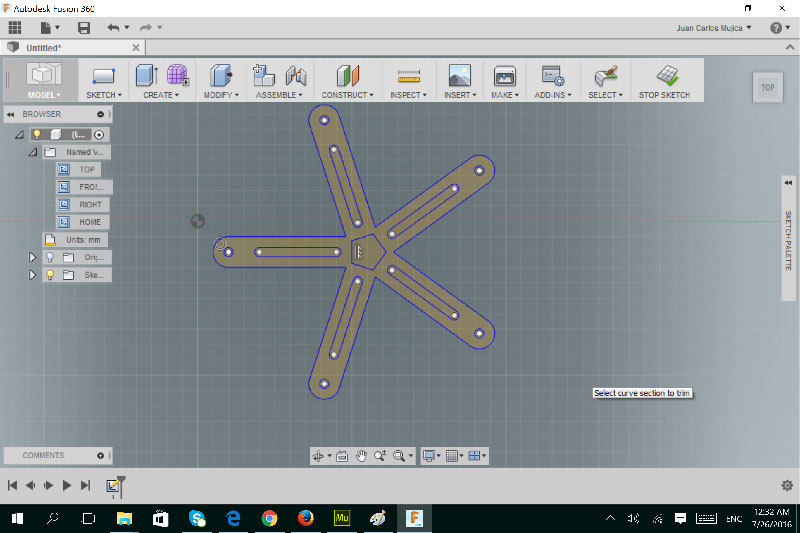
And to clean the aspect, use Trim option
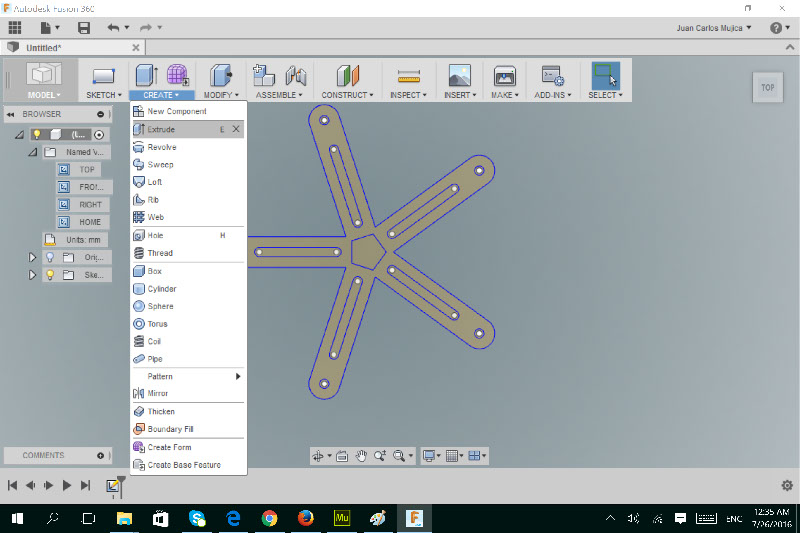
The resulting 2D object
Fusion 360: Transforming in a 3D Object
First click on Stop Sketch. Doing this, you are not any more in a 2D word.
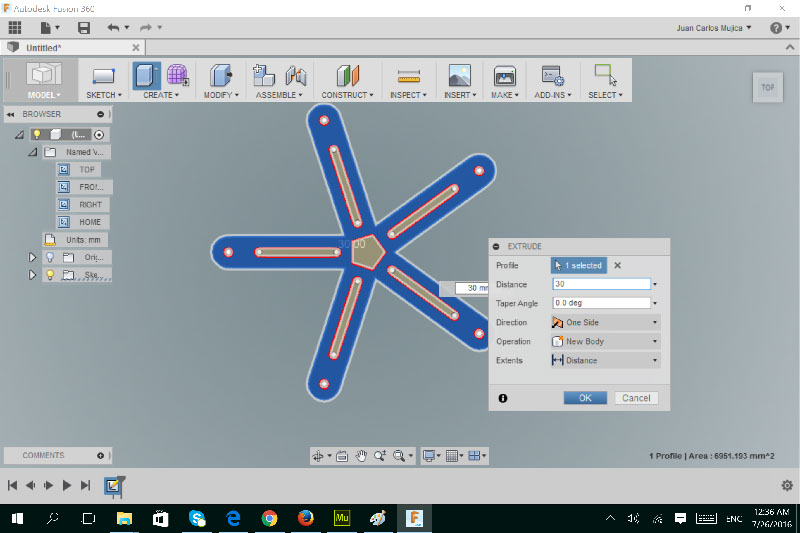
Use the Extrude option
Select the profile and put the distance to extrude
Select the Orbit option, and you will see this