Week 12
Molding and casting.
This week's assignment is to design a 3d mold, machine it, and cast parts from it. So i'm going to create a 3D part, export STL file, machine it on chemical wood, create a silicon mold, and cast parts from it.
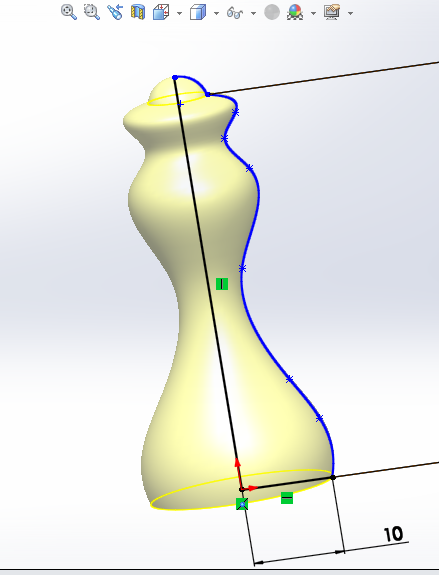
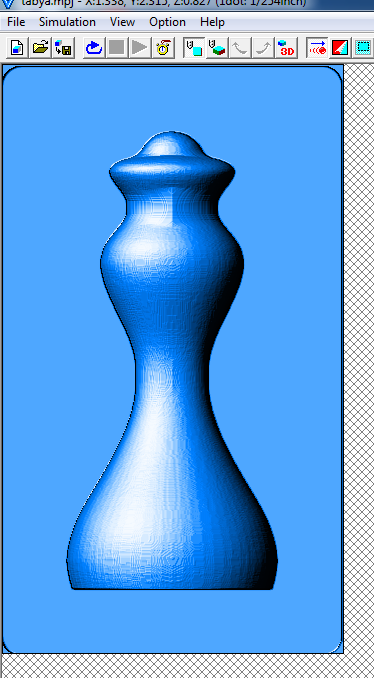
I designed a simple chess piece. i picked the bishop as it is very easy to design using revolove feature. The last thing here is to export the STL file for machining.
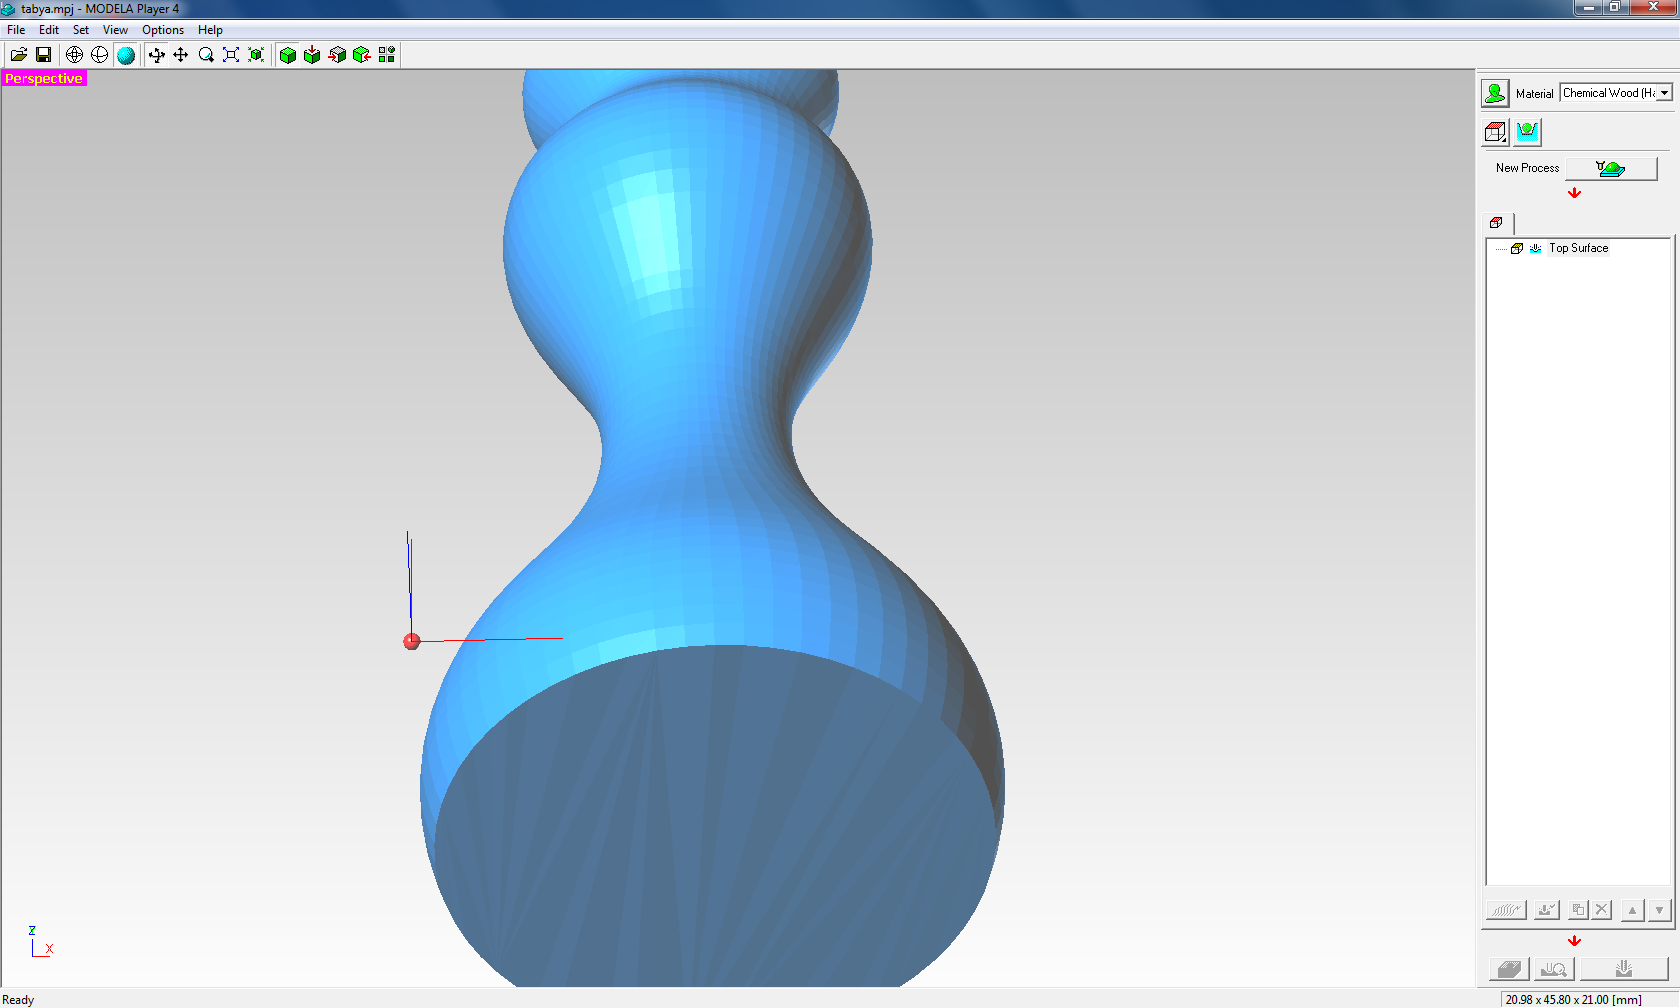
I used Modelaplayer4 to generate the tool path for the machine. The first step is to import the stl file into the software.
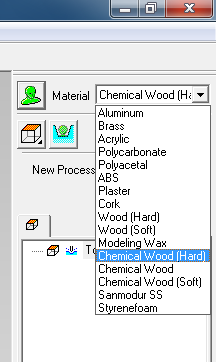
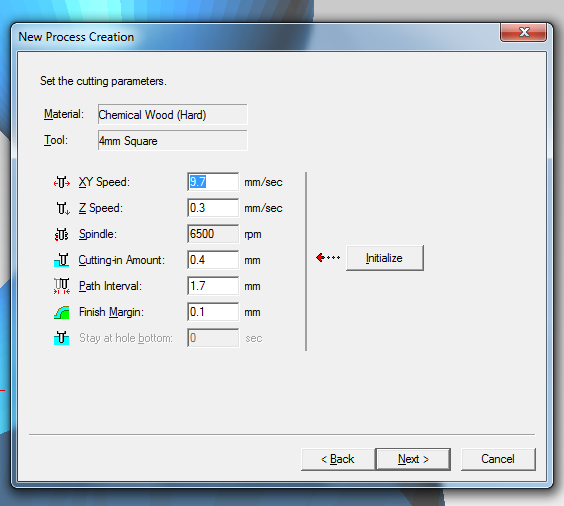
Choose the material from the top right corner. I'm going to use chemical wood for the mold. The material is critical for machining, as every material has its own cutting parameters for proper machining. If you choose incorrect material, the finish might be bad or you can break the endmill.
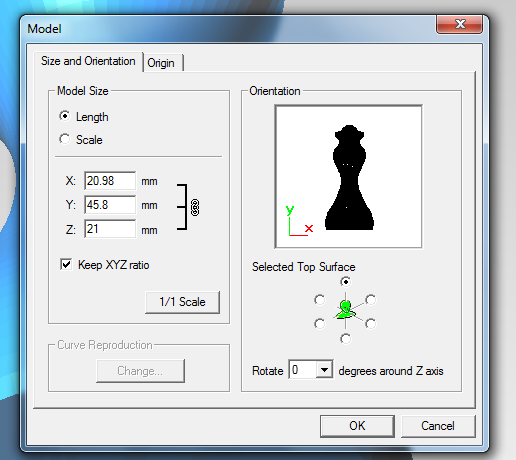
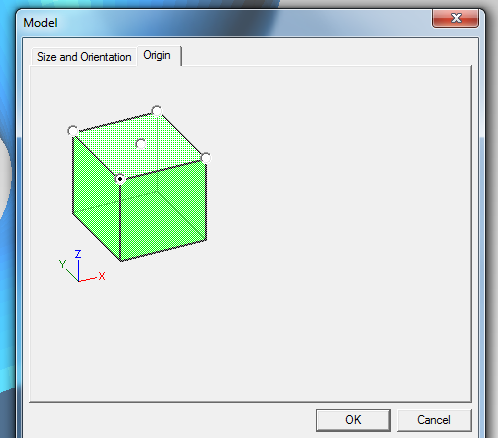
From the model button i can change few things about the model, like the dimensions or the origin point of the model. I left this as default.
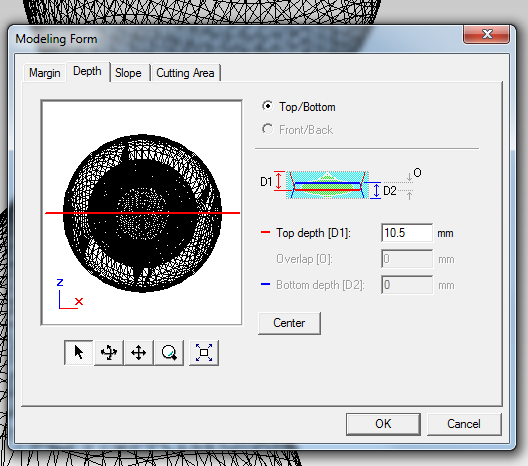
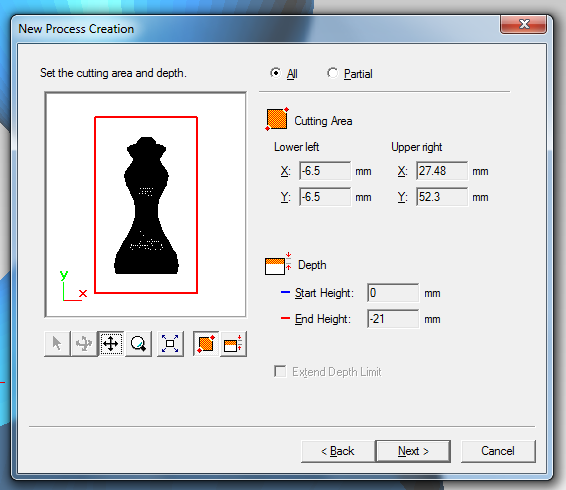
I've made incorrect part because i didn't consider this step. We need to specify the cutting depth, for my model i will cut the half of the model. Because i'm going to make two half molds and use them to make the full cast part.
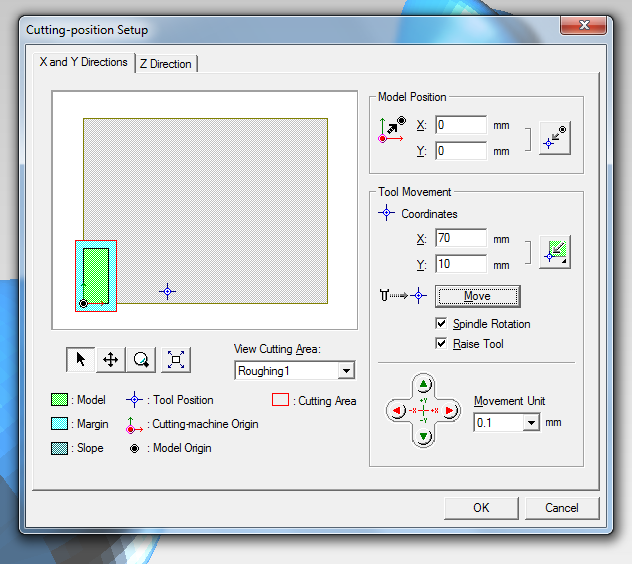
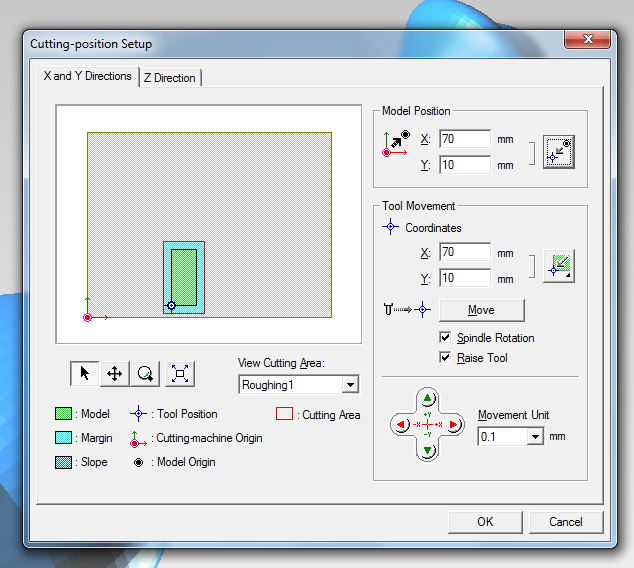
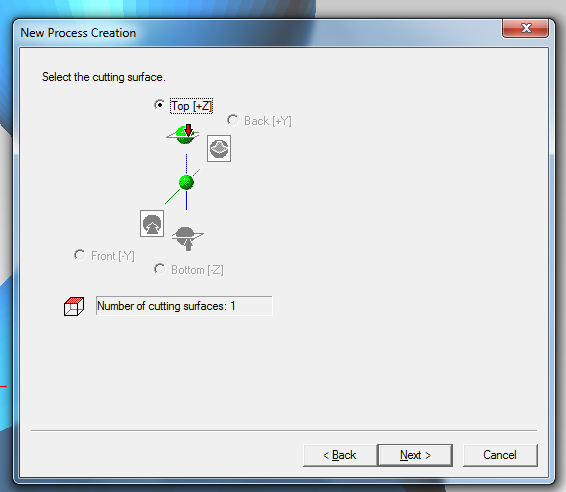
Now we have to configure the cutting position setup. It is all about setting the origin or the start point of the cutting. You can move the endmill using the X-Y coordinates panel to see if the place fits.

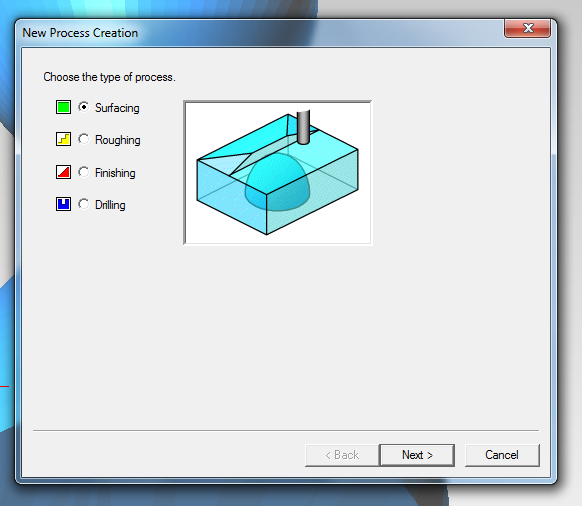
Now we can add a new process. The first process is roughing which is removing larger chunks of material. The second process is finishing which creates a smooth fine model.
For this process i'm going to use 4mm square endmill.

This step defines the cutting area, i didn't change anything here.
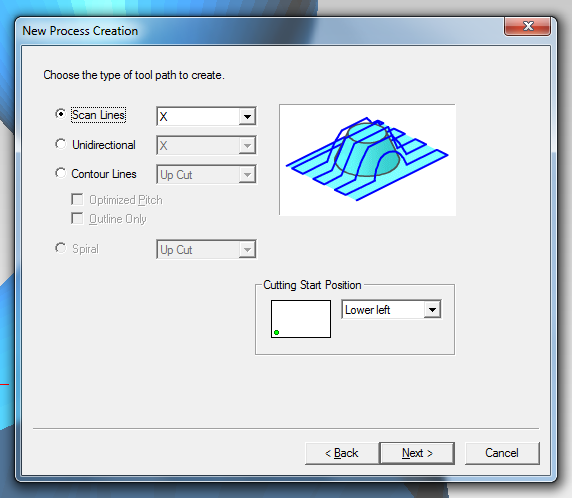
In this step we choose the direction of cutting. For the cutting X lines will be enough, but for smooth finish i'm using both X-Y lines.
The last step is setting the cutting parameters, it comes default for the material, i didn't change anything.
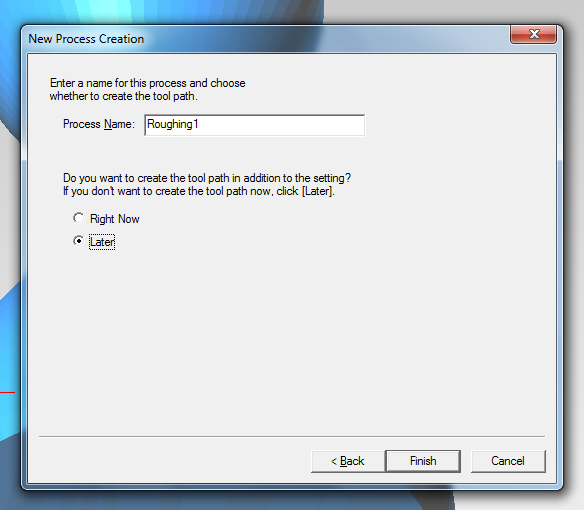
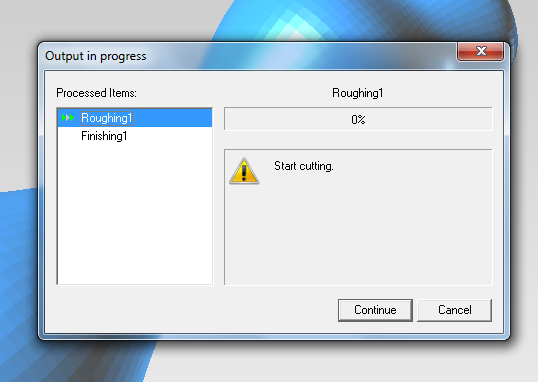
Finally give the process a name and i choose send it later, but you can choose send it now if you have everything ready.
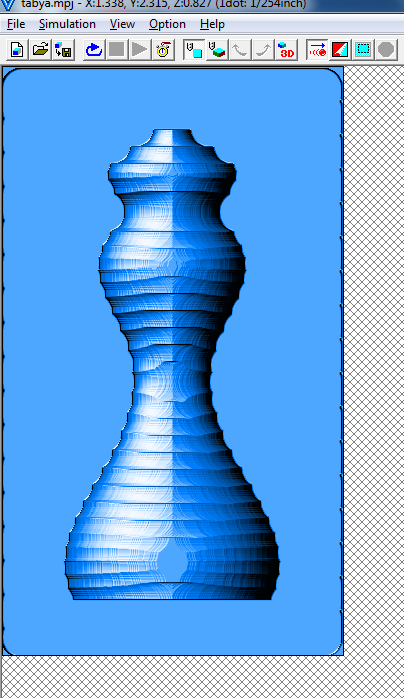
Now the software generated the toolpath for the machine.
I created another process and choose finish with X-Y scan lines.
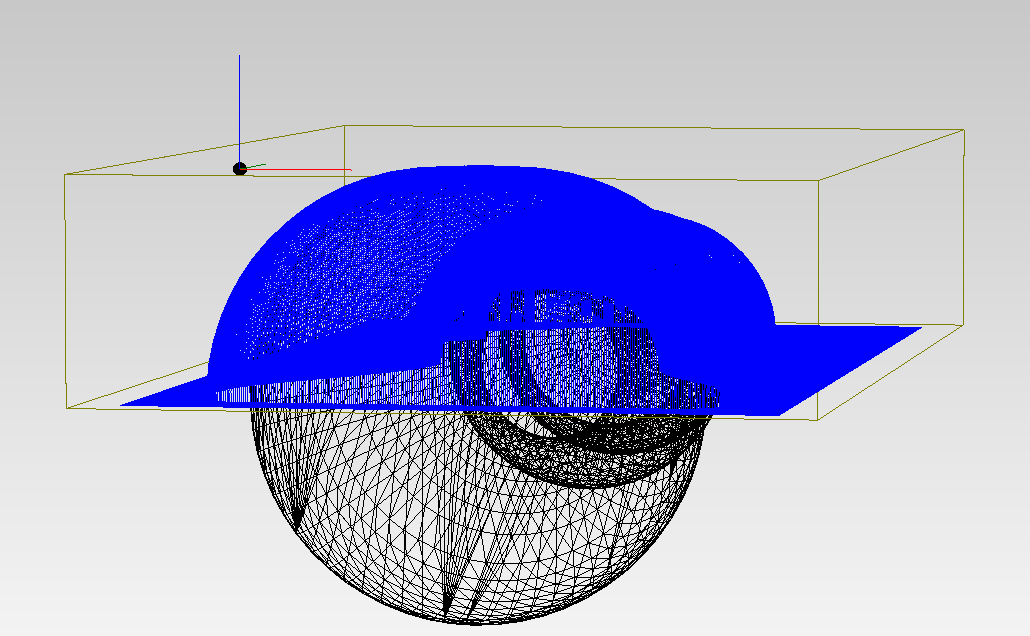
Now we are ready to send it to the machine, but we can preview the part on the virtual modela. And zero teh Z axis.
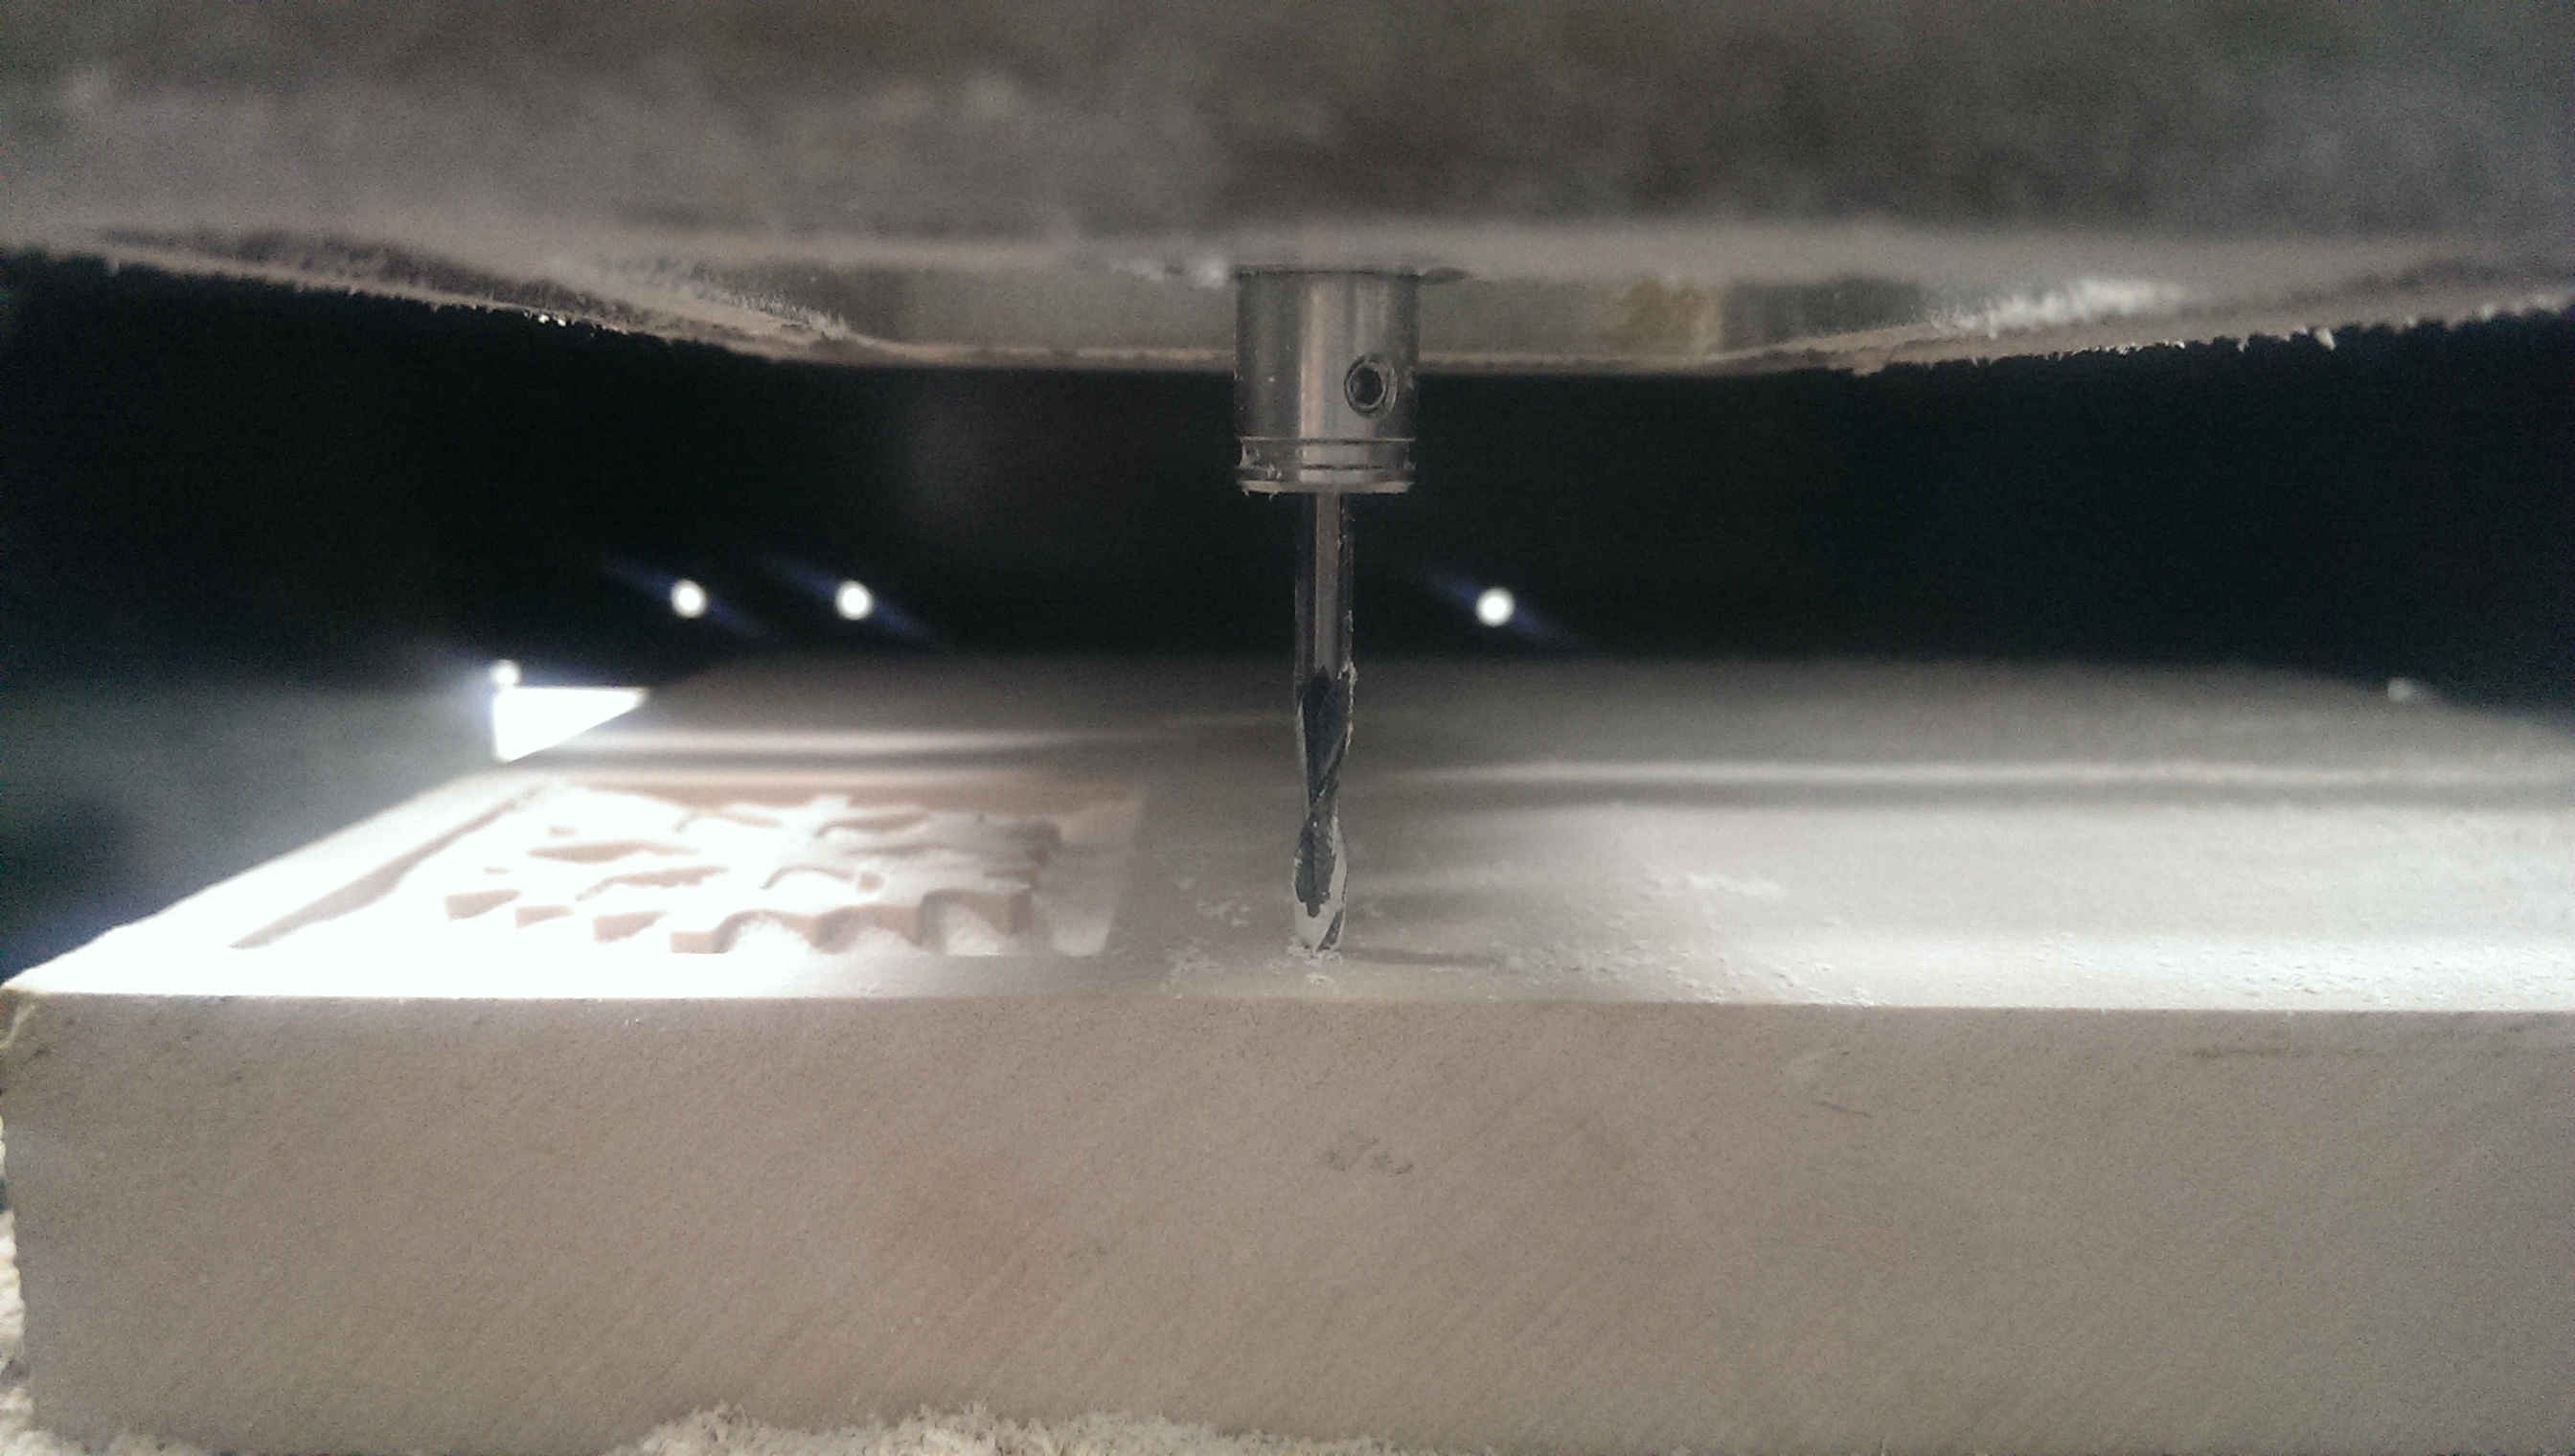
Send the toolpath to the modella and wait.
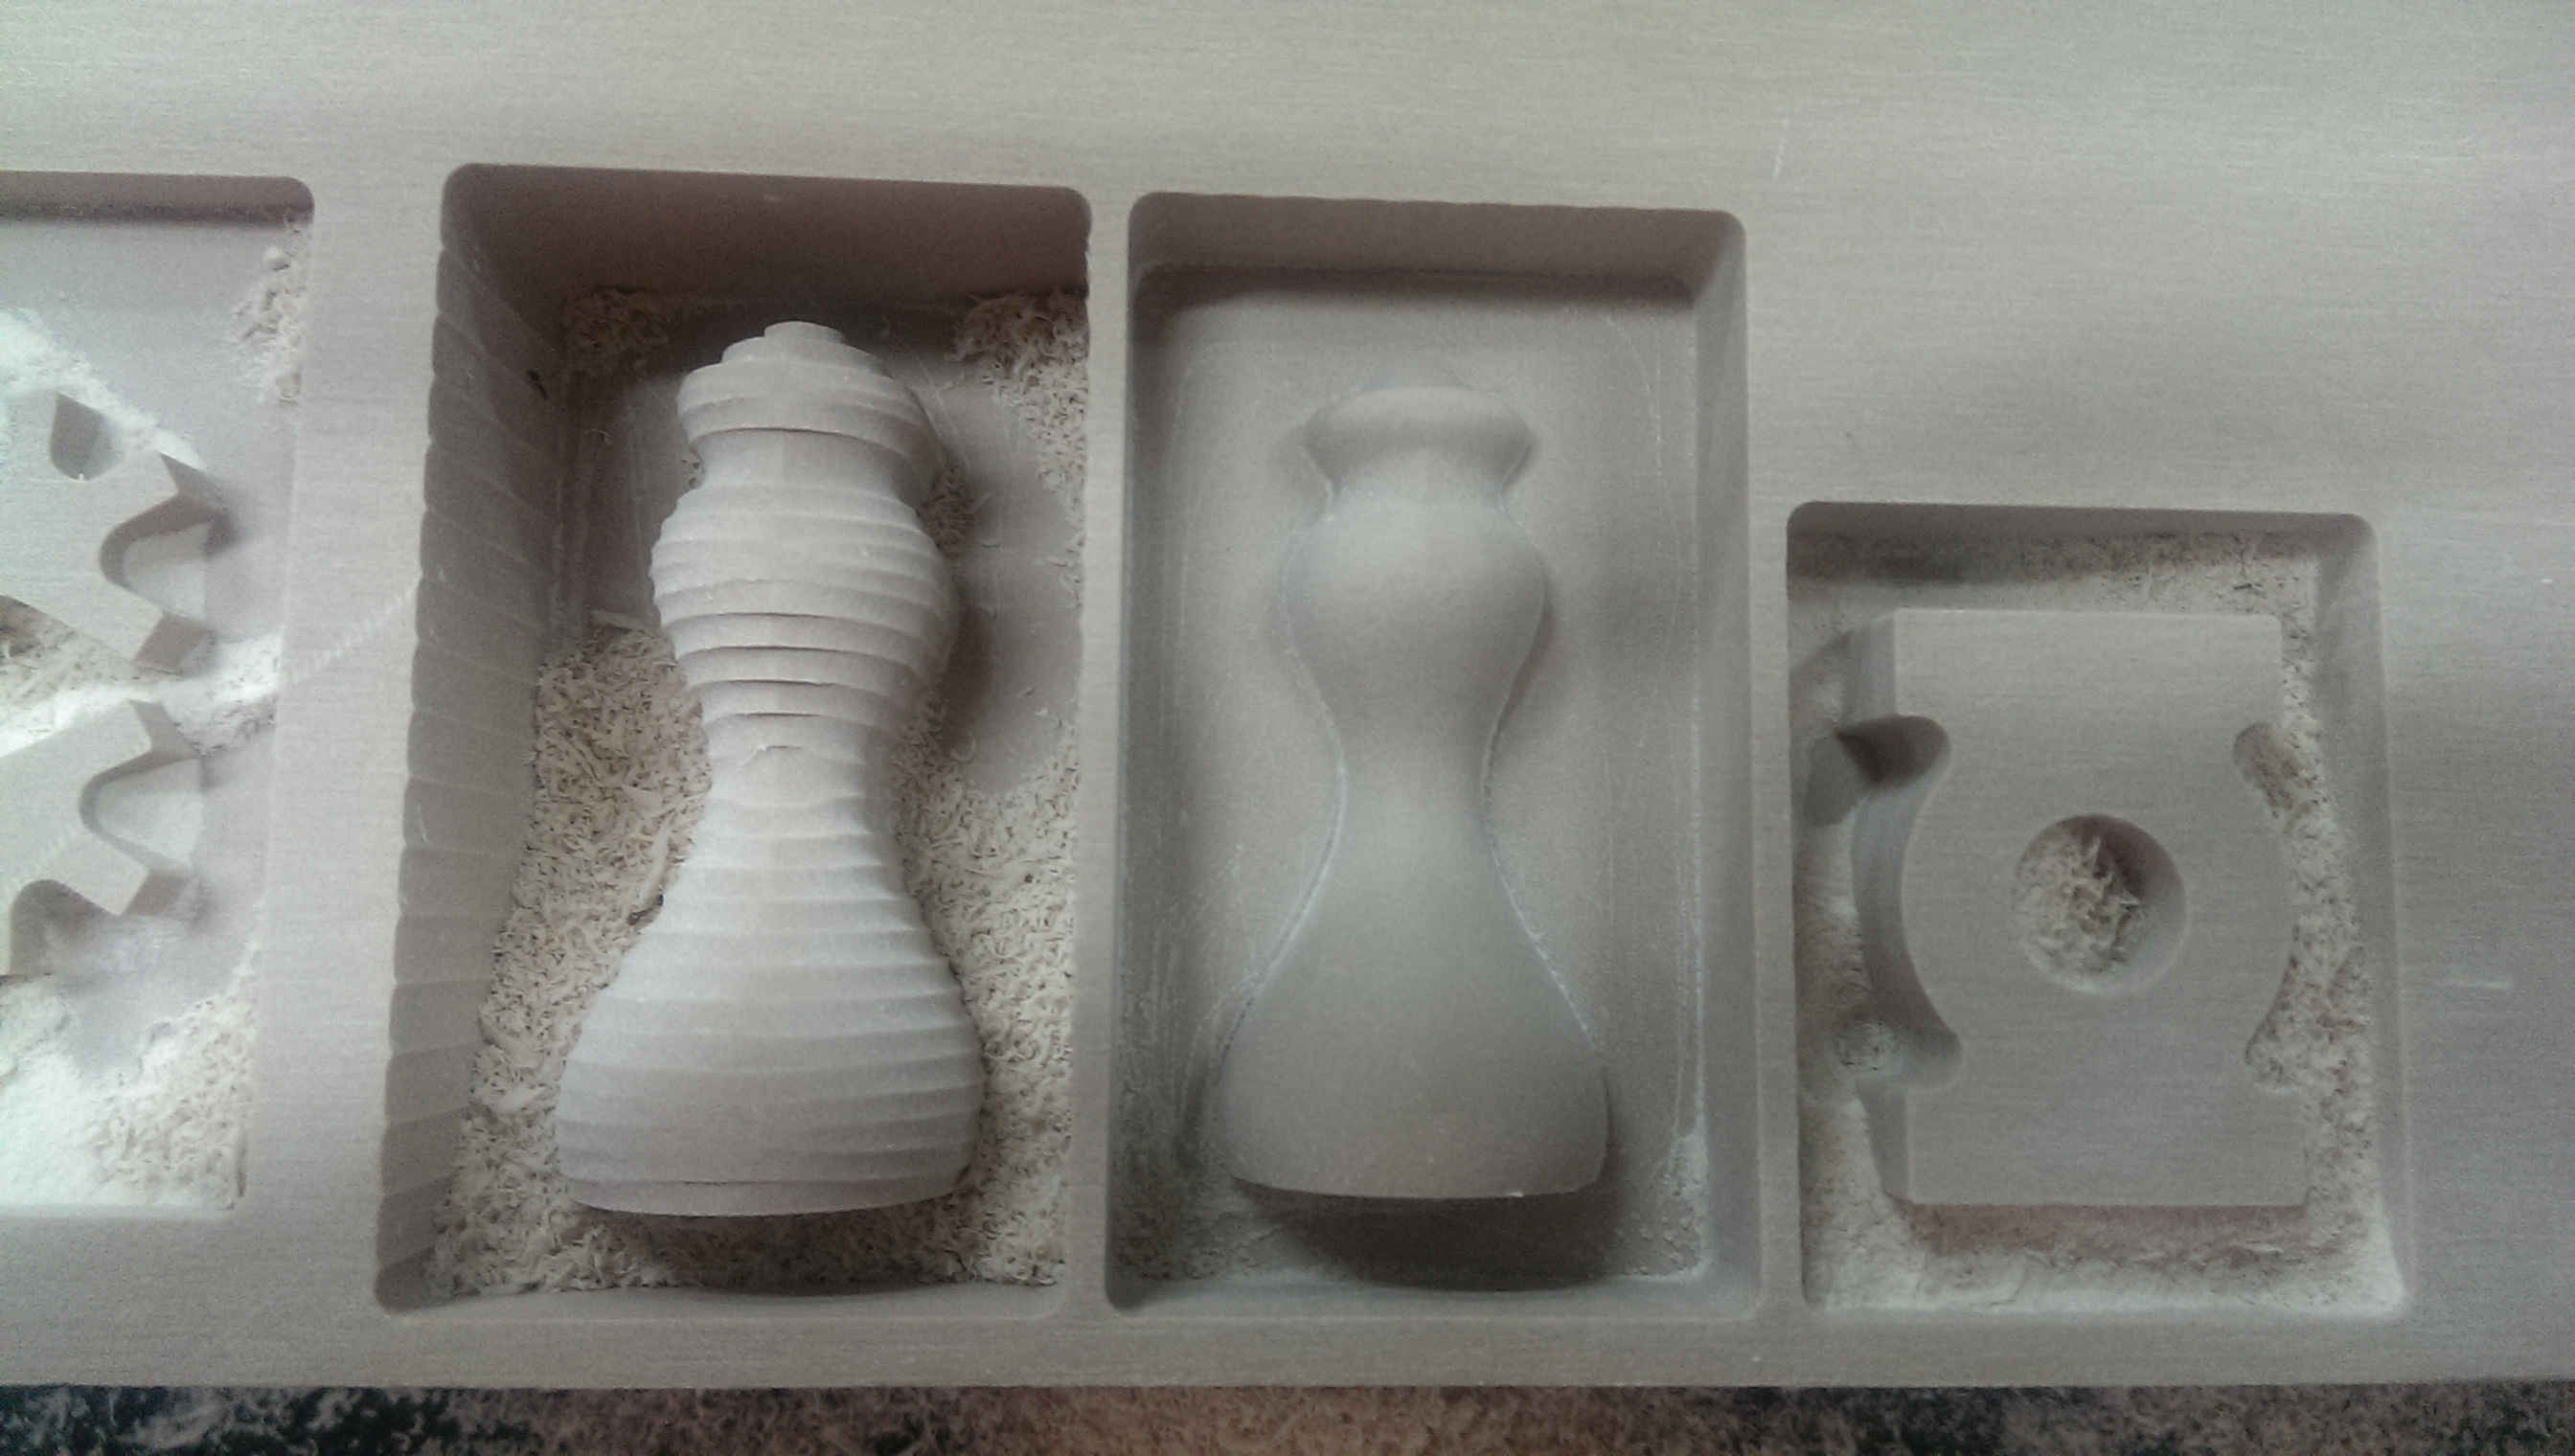
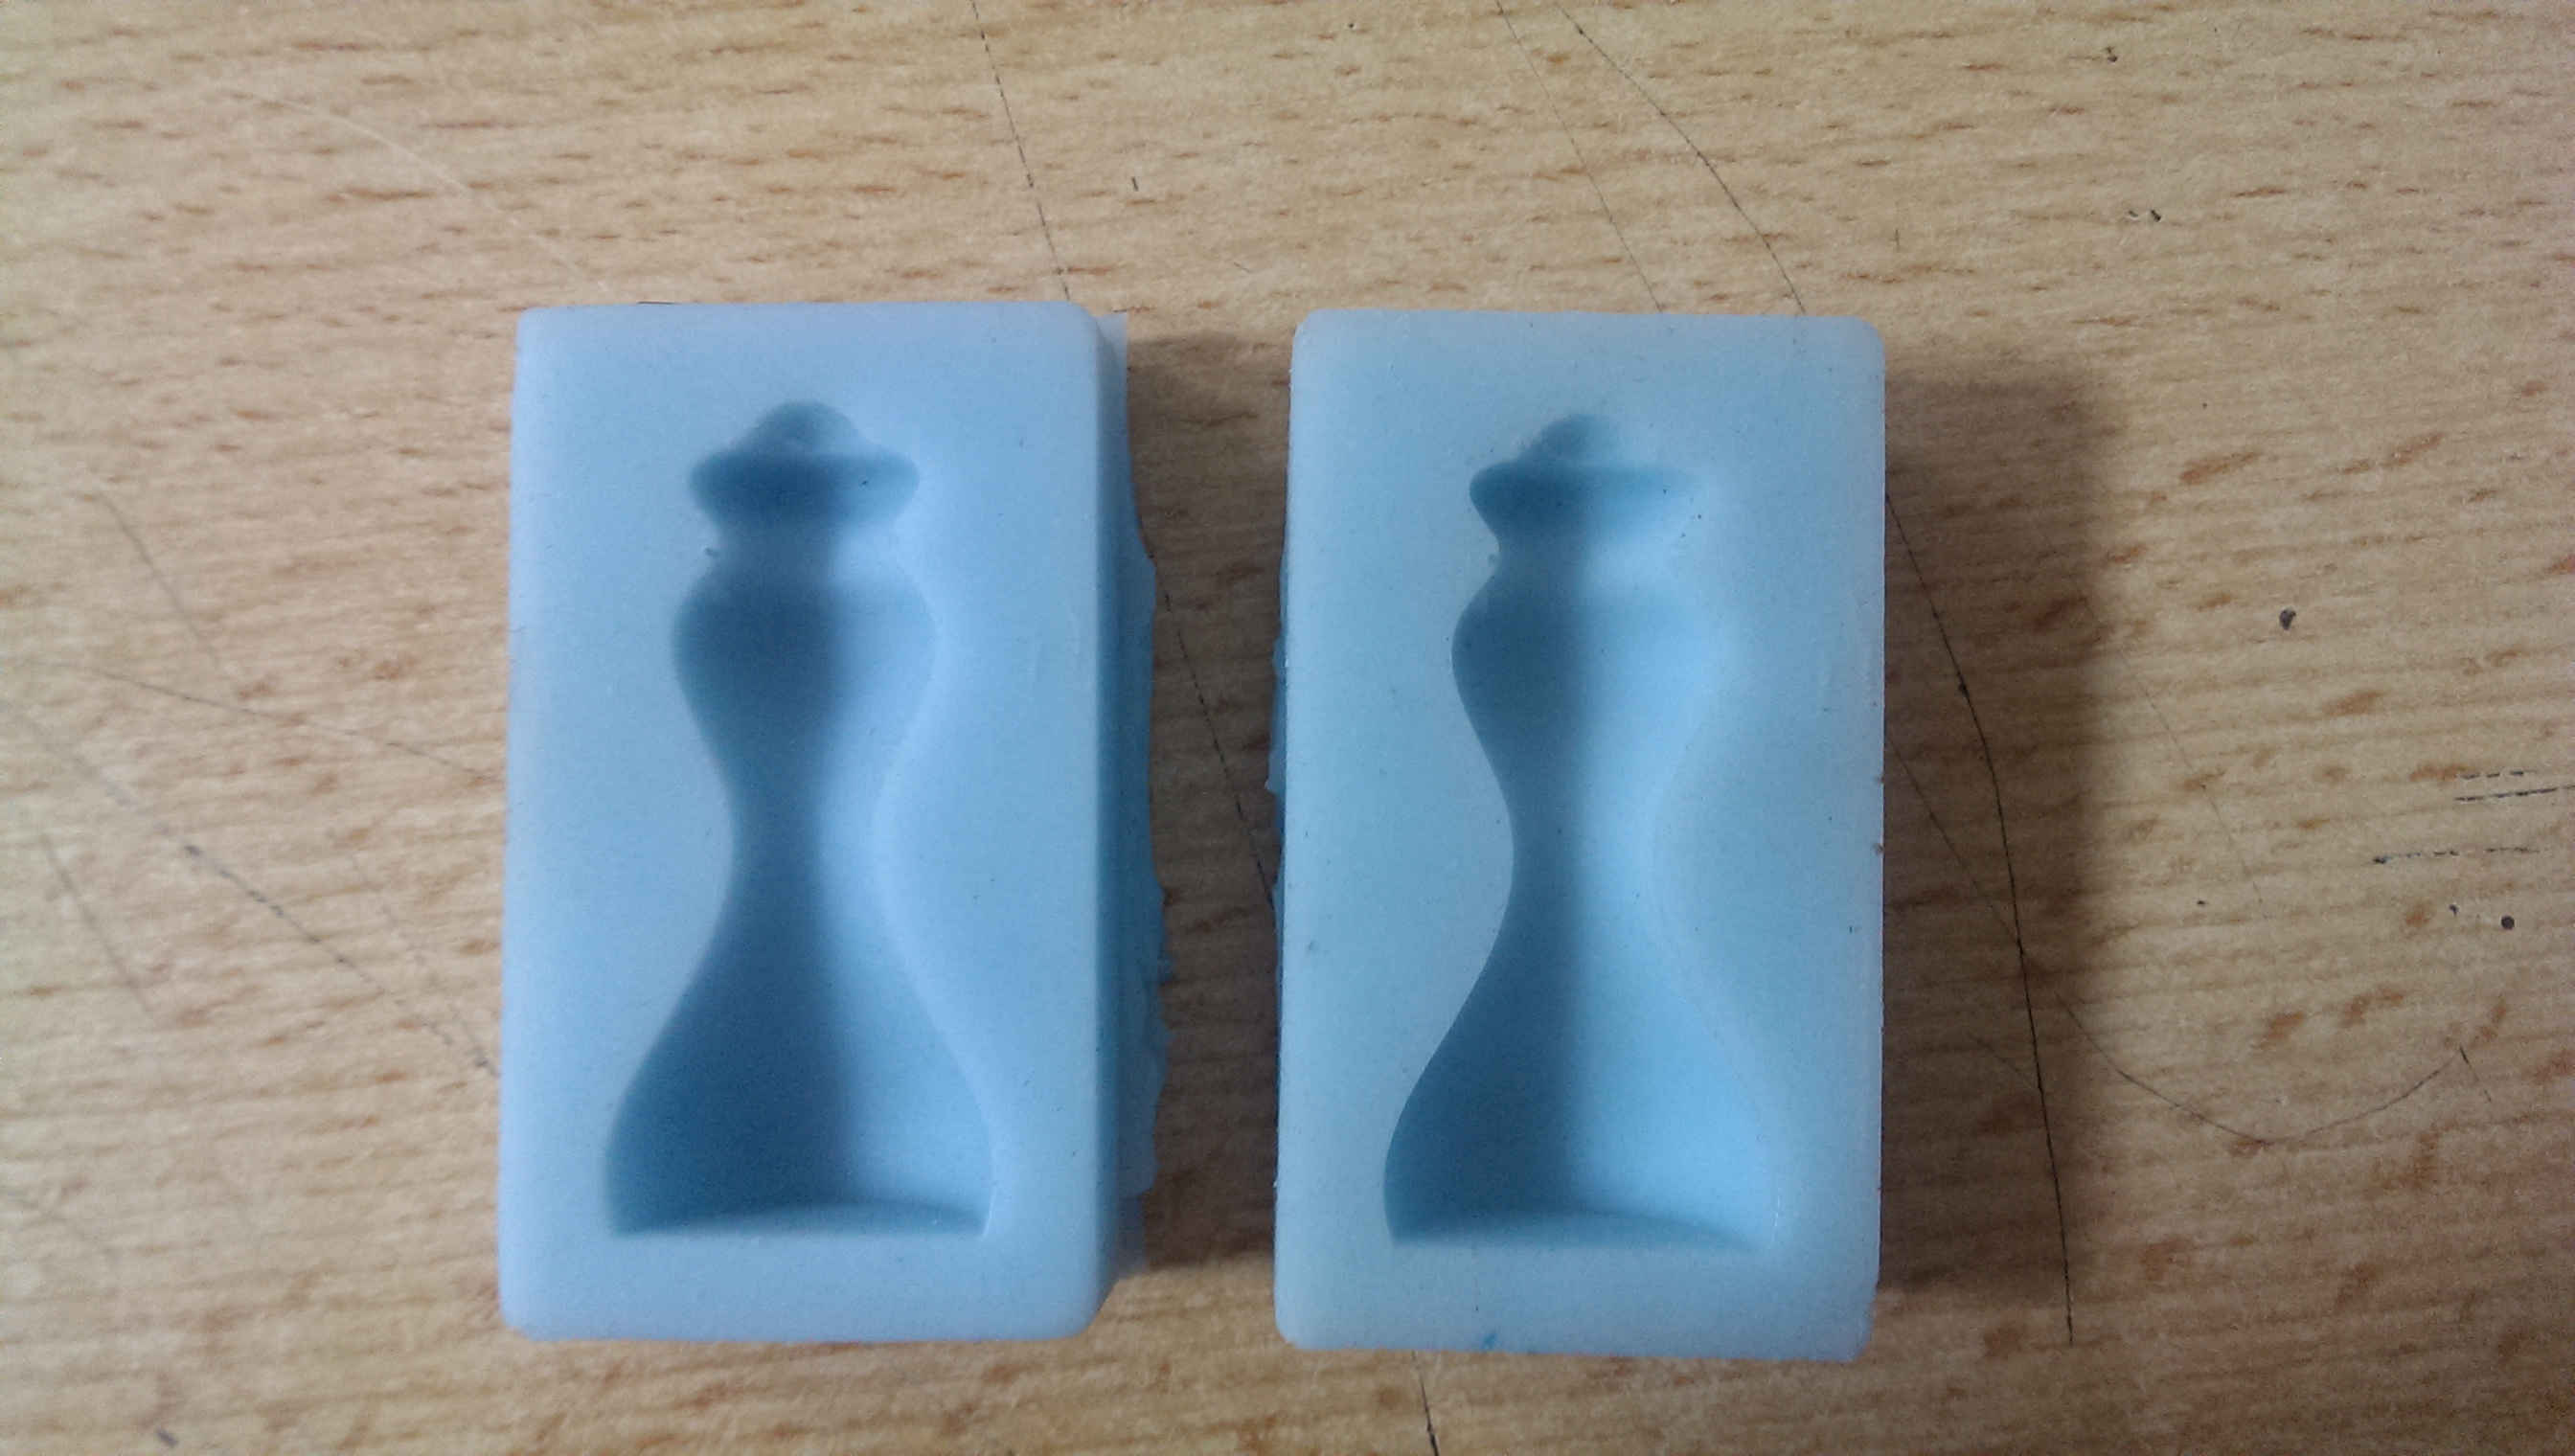
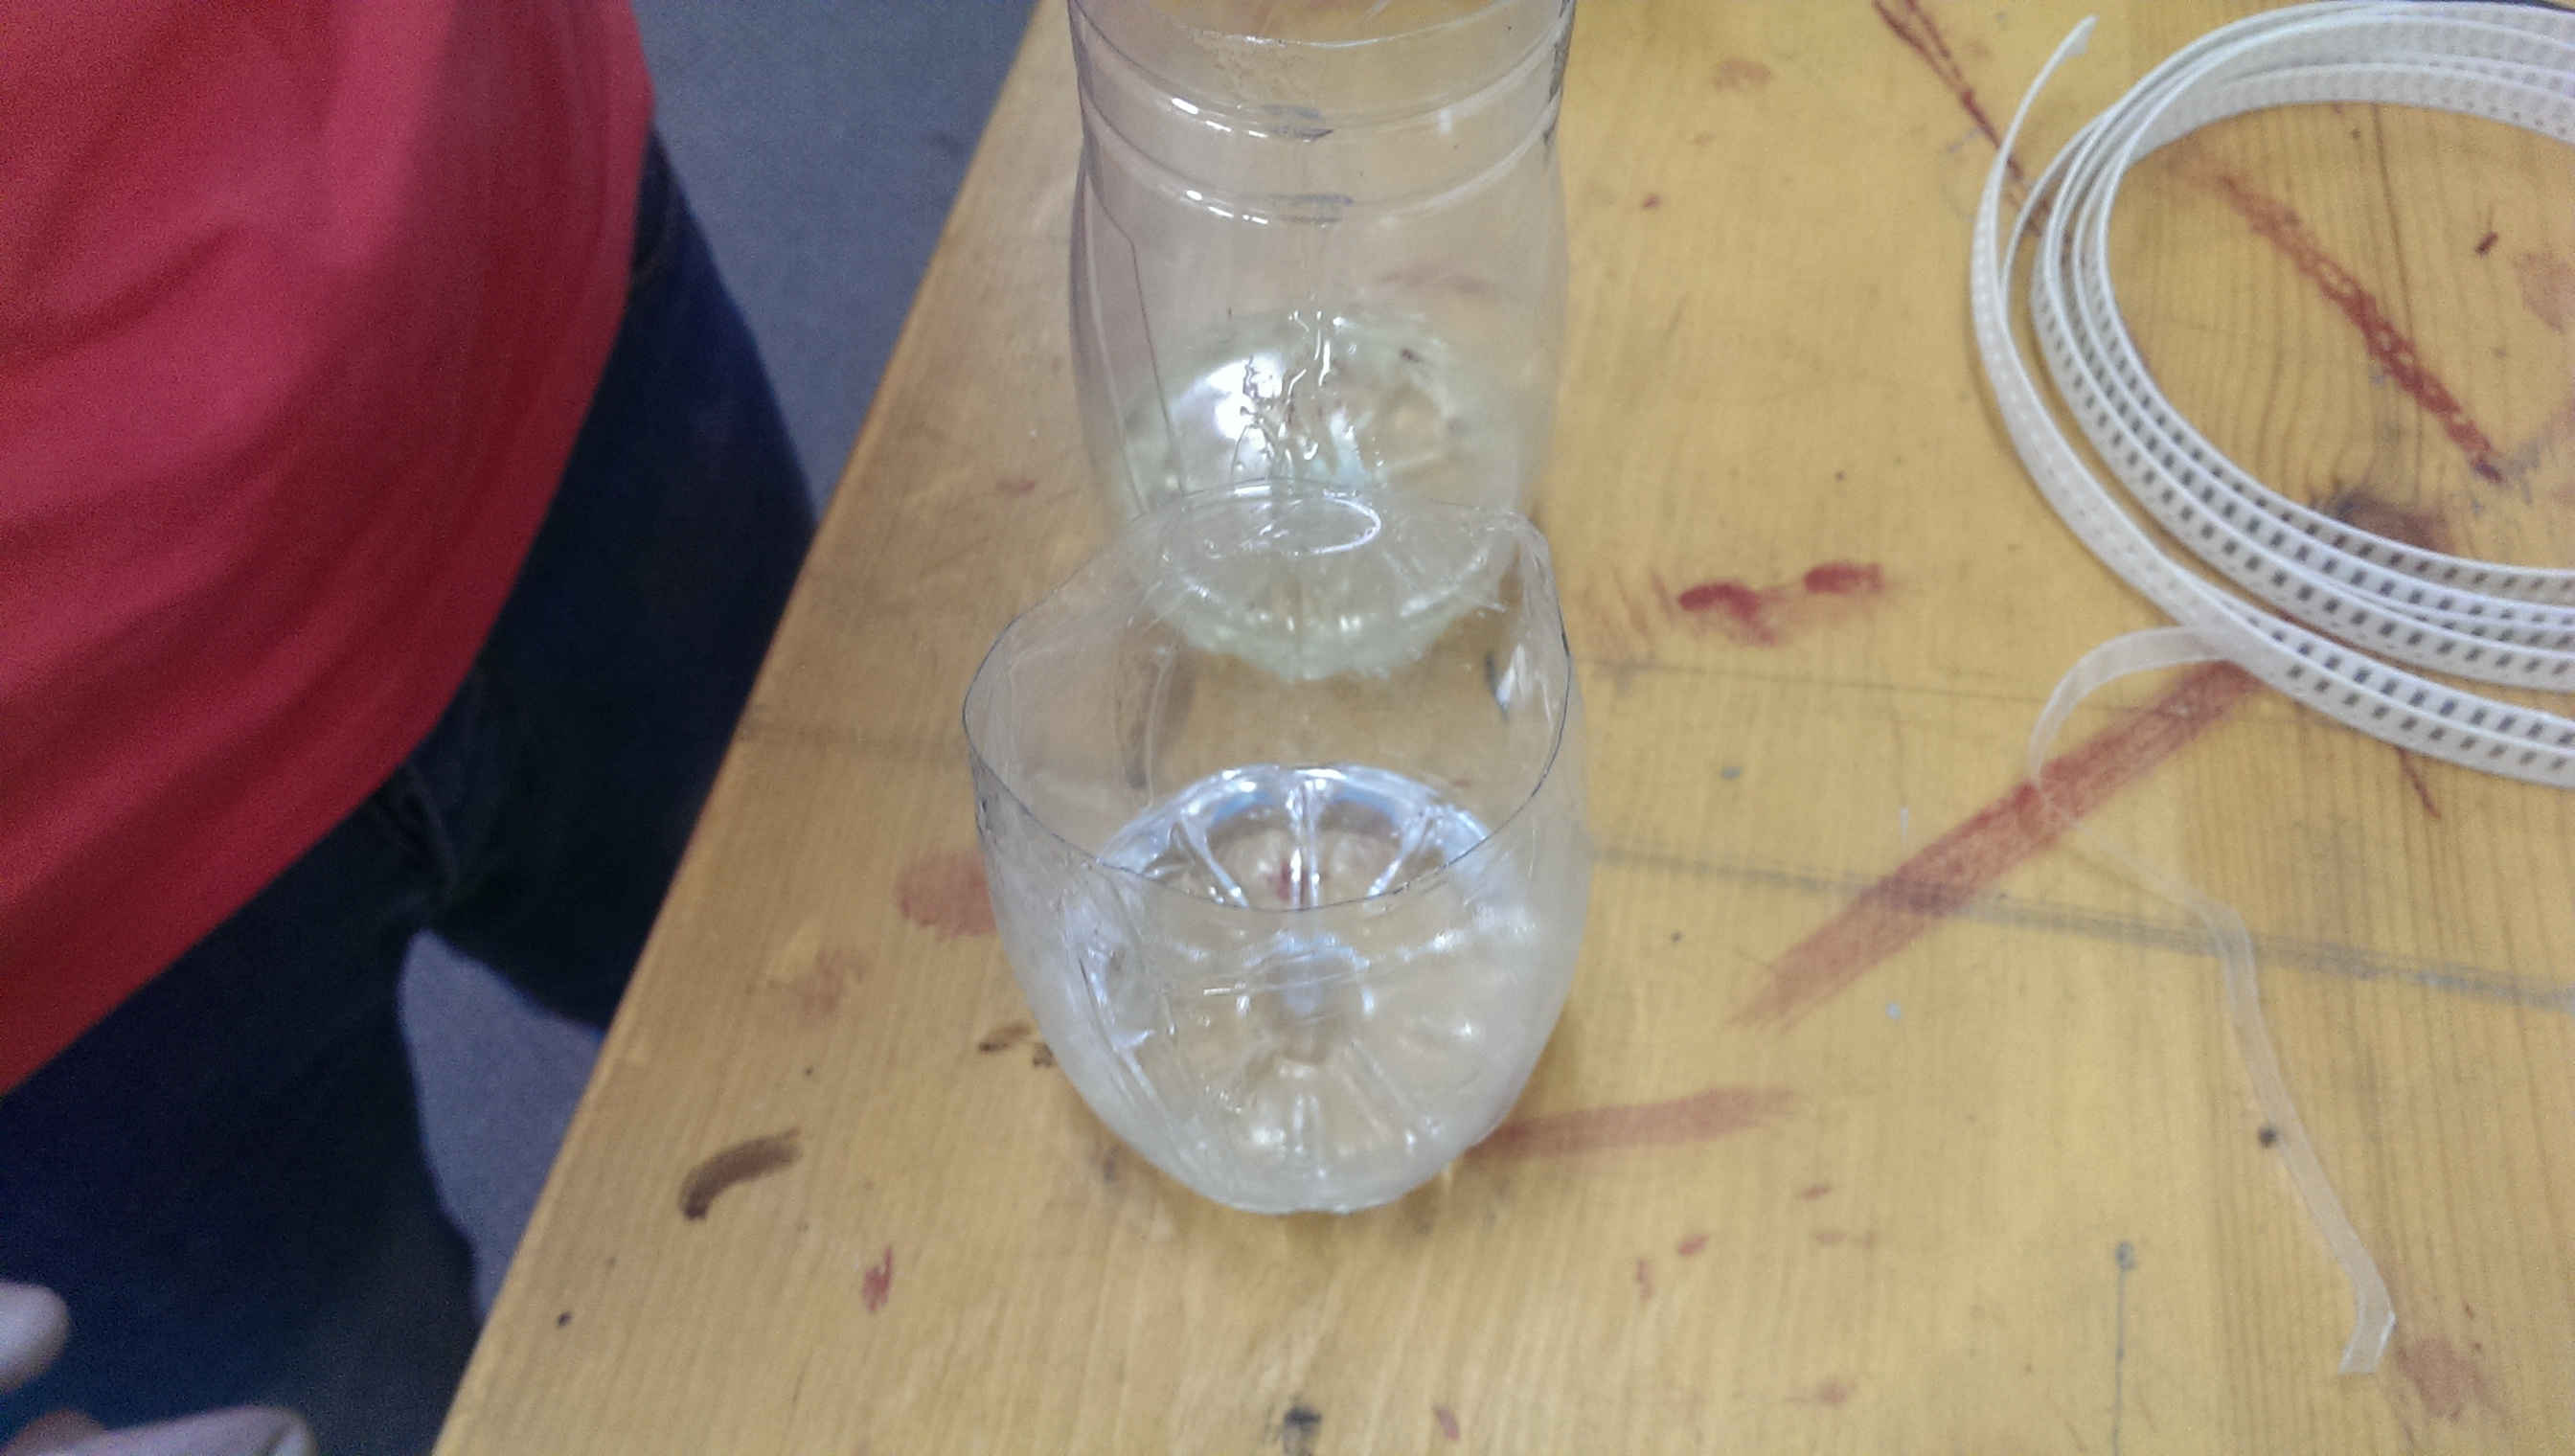
On the left is the mold with incorrect depth. The other one is the correct mold.
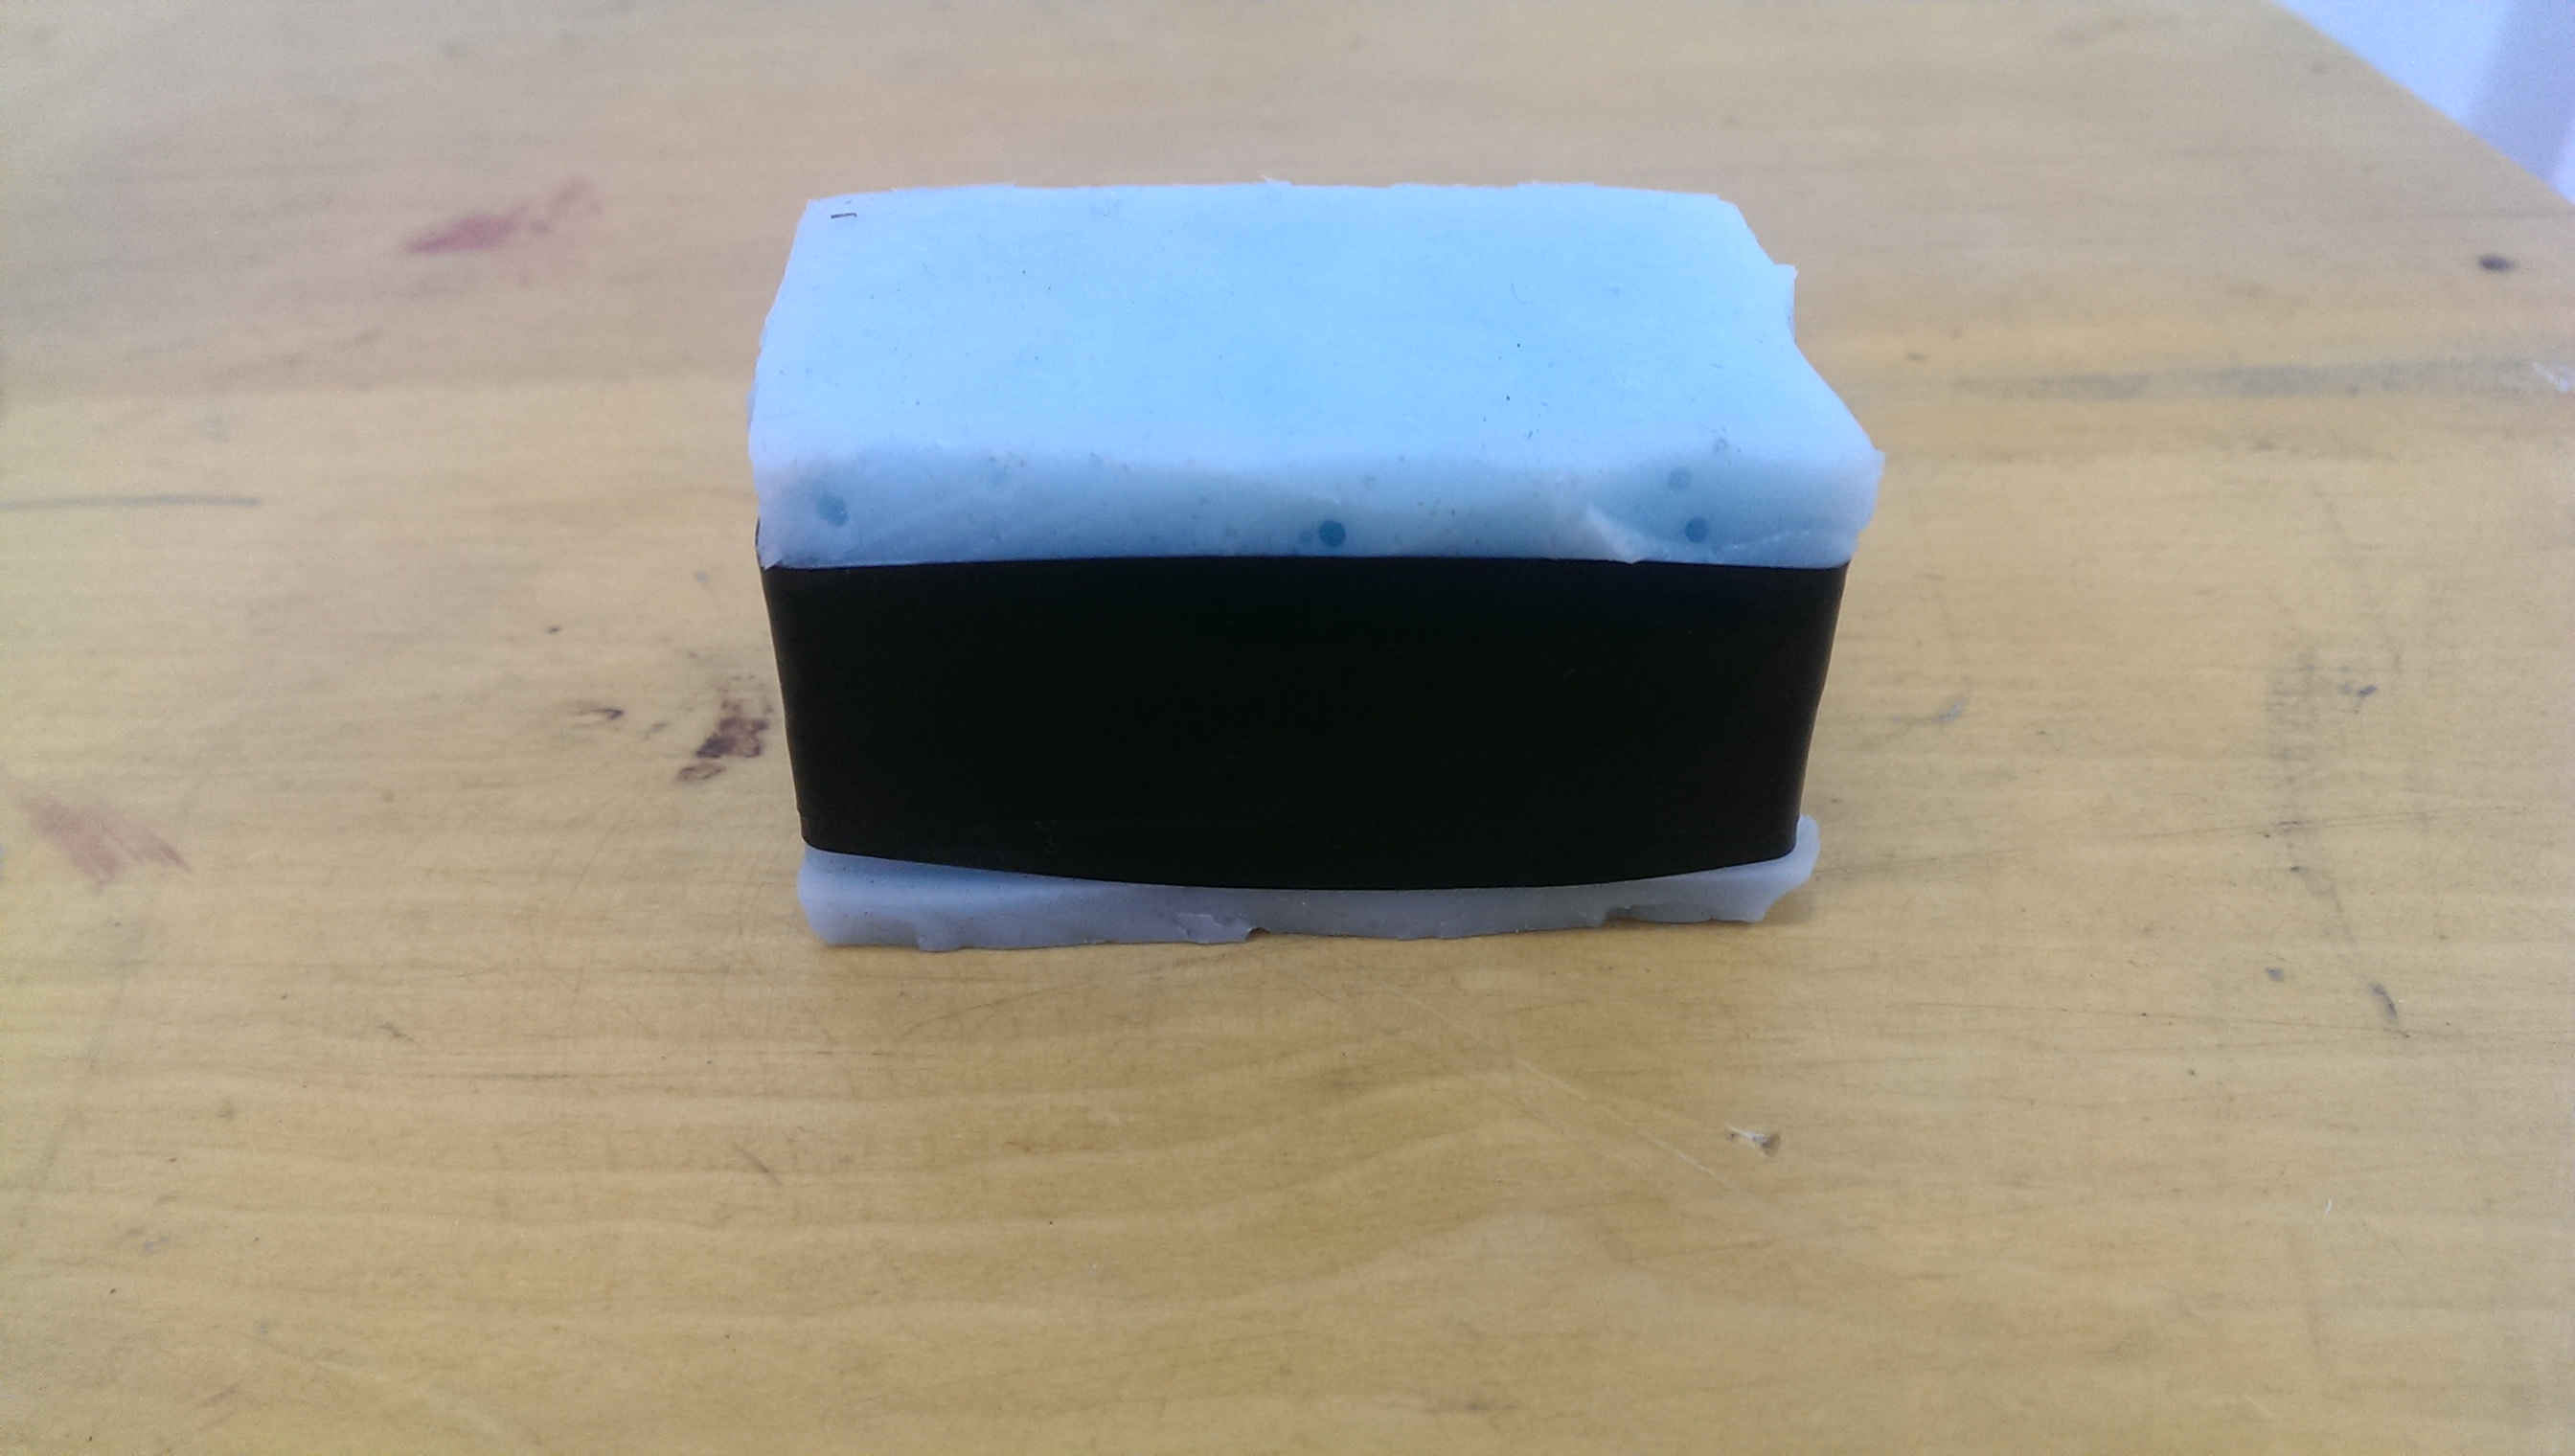
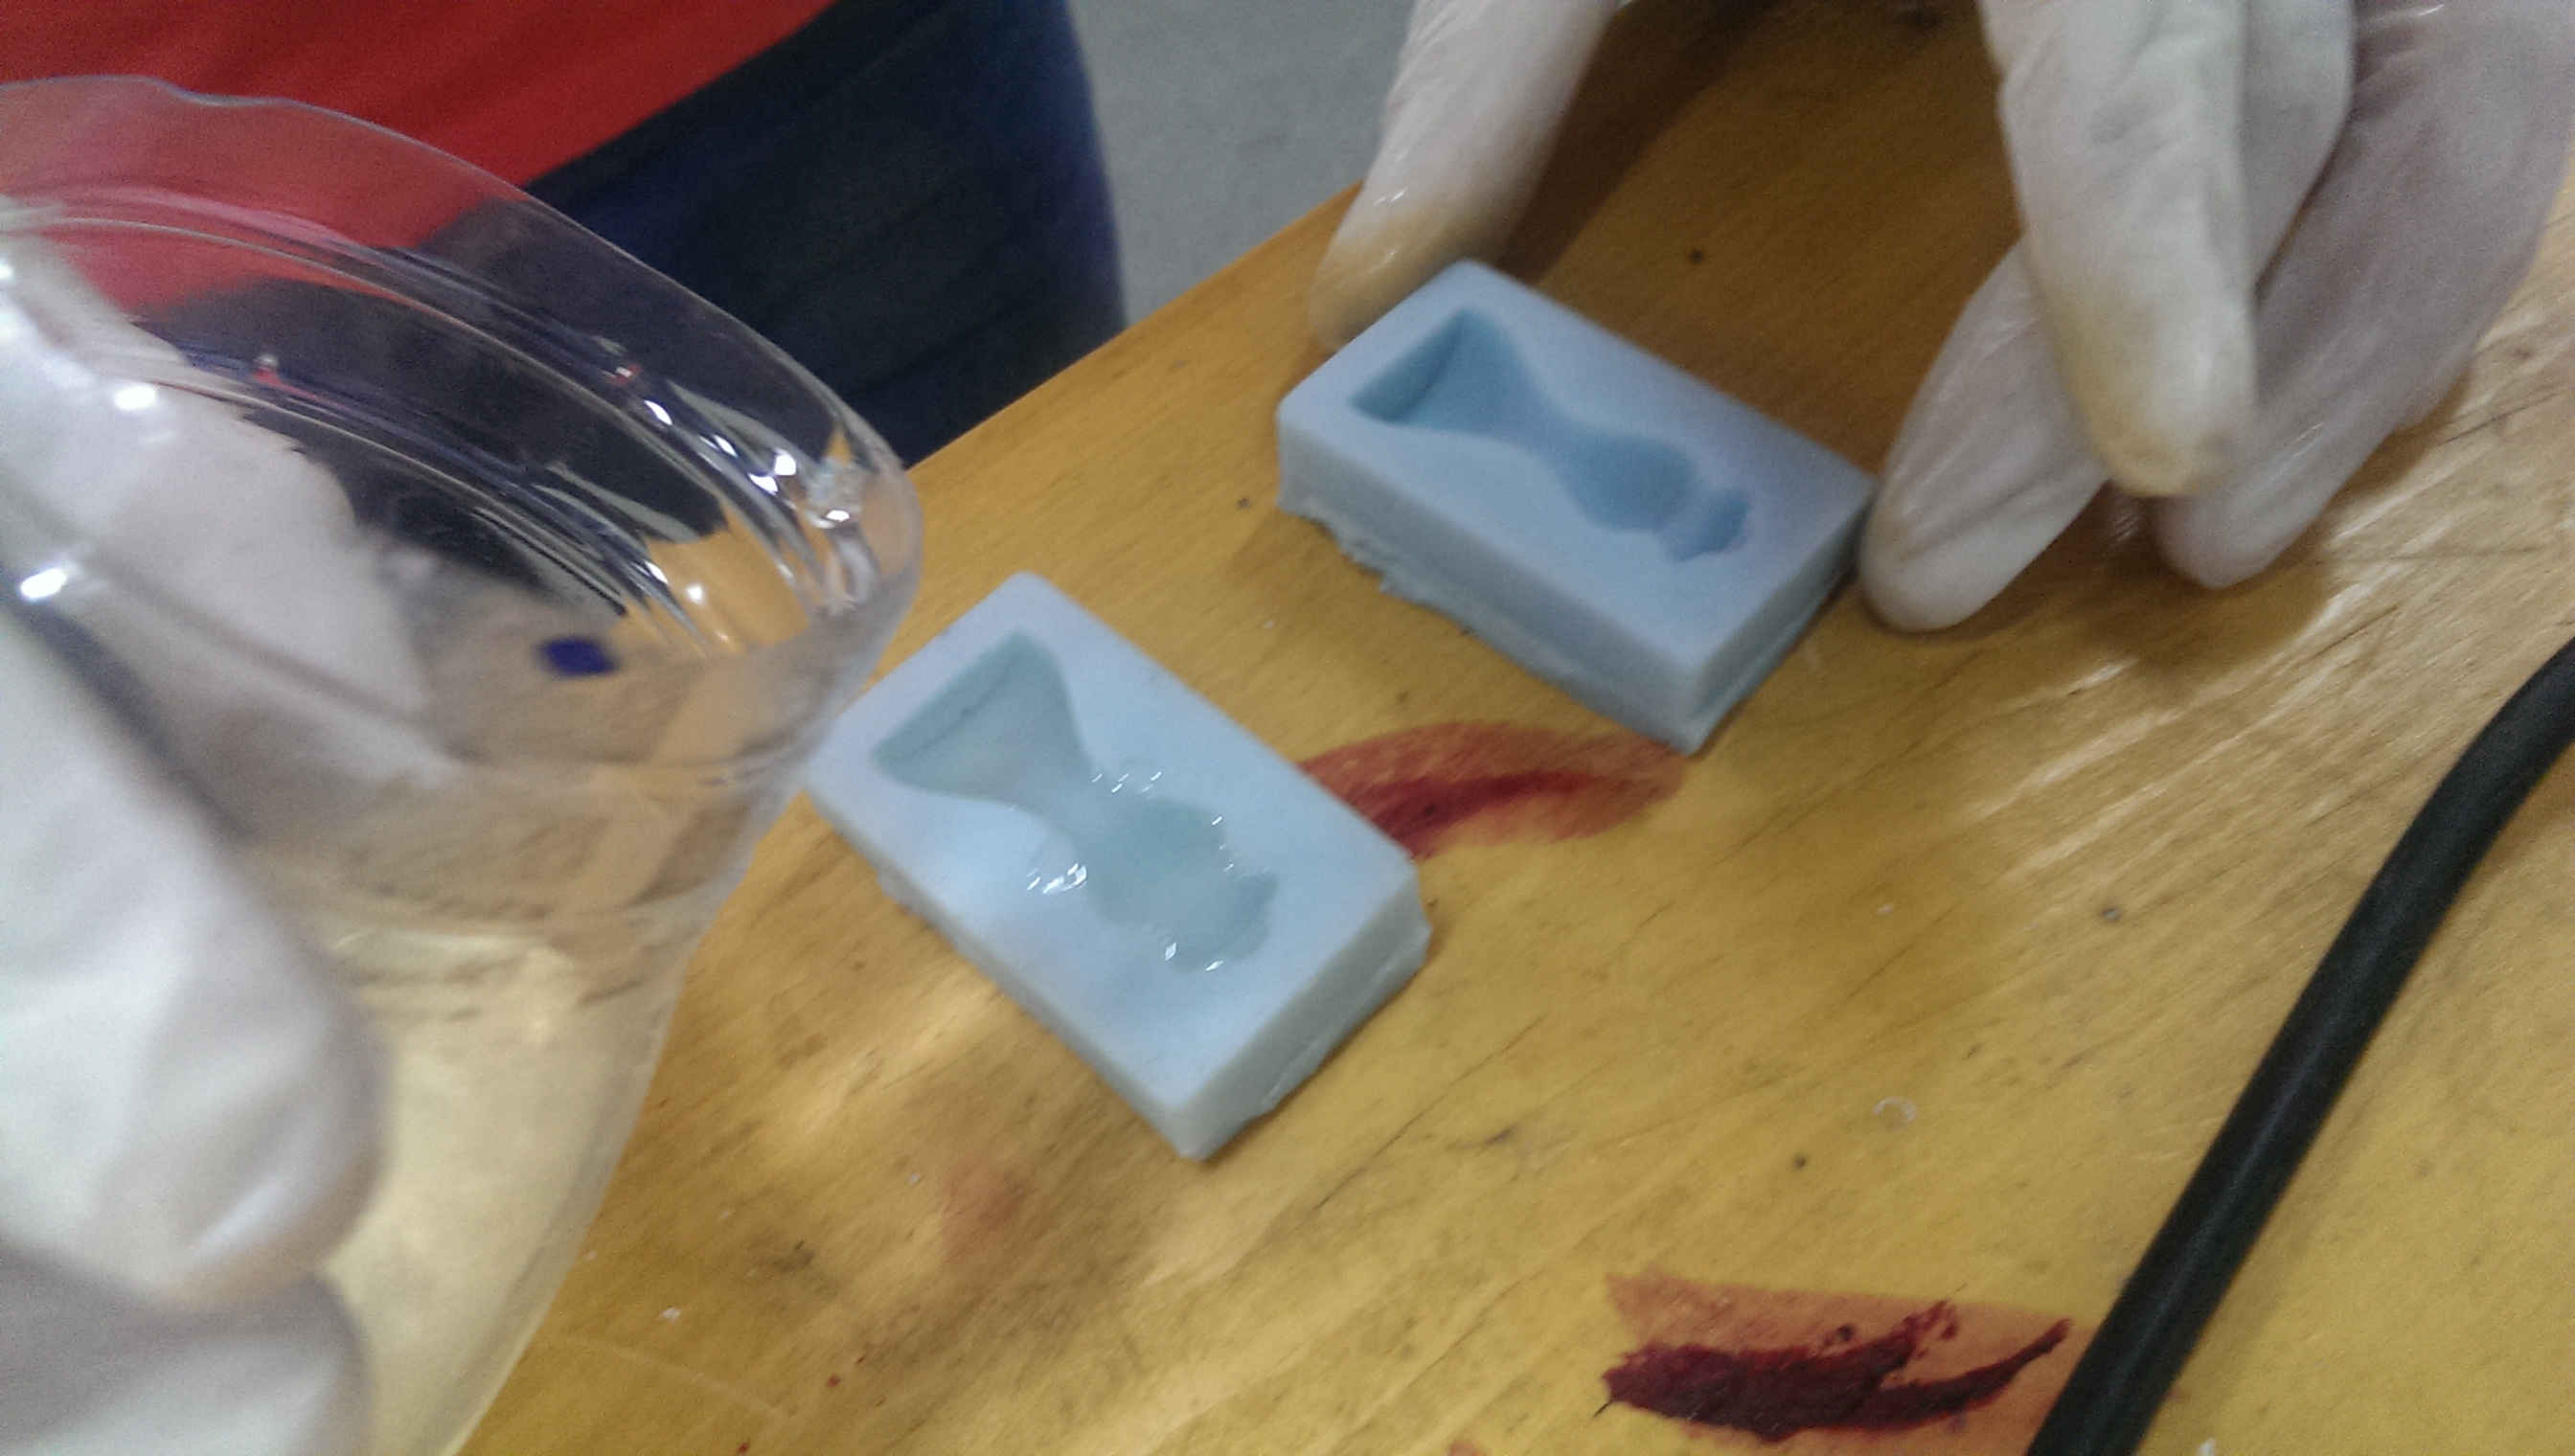
I mixed the silicon with the hardener. The ration of the hardener to the silicon is 1:10, after mixing i poured the mix in the mold.
I waited around 8 hours for the mold to dry, then molded another one.
To cast the positive out of the mold i should stick the two molds together and pour the casting material in it. There are some mistakes with design that will make the casting process harder. I forgot to add spout to pour the liquid into it and vent to allow the air or the excess liquid to get out. So i tried to pour the liquid using a syringe, but the liquid is so thick that i couldn't pull it into the syringe. What i've done is to cast two halfs and stick them together using the same material as glue.
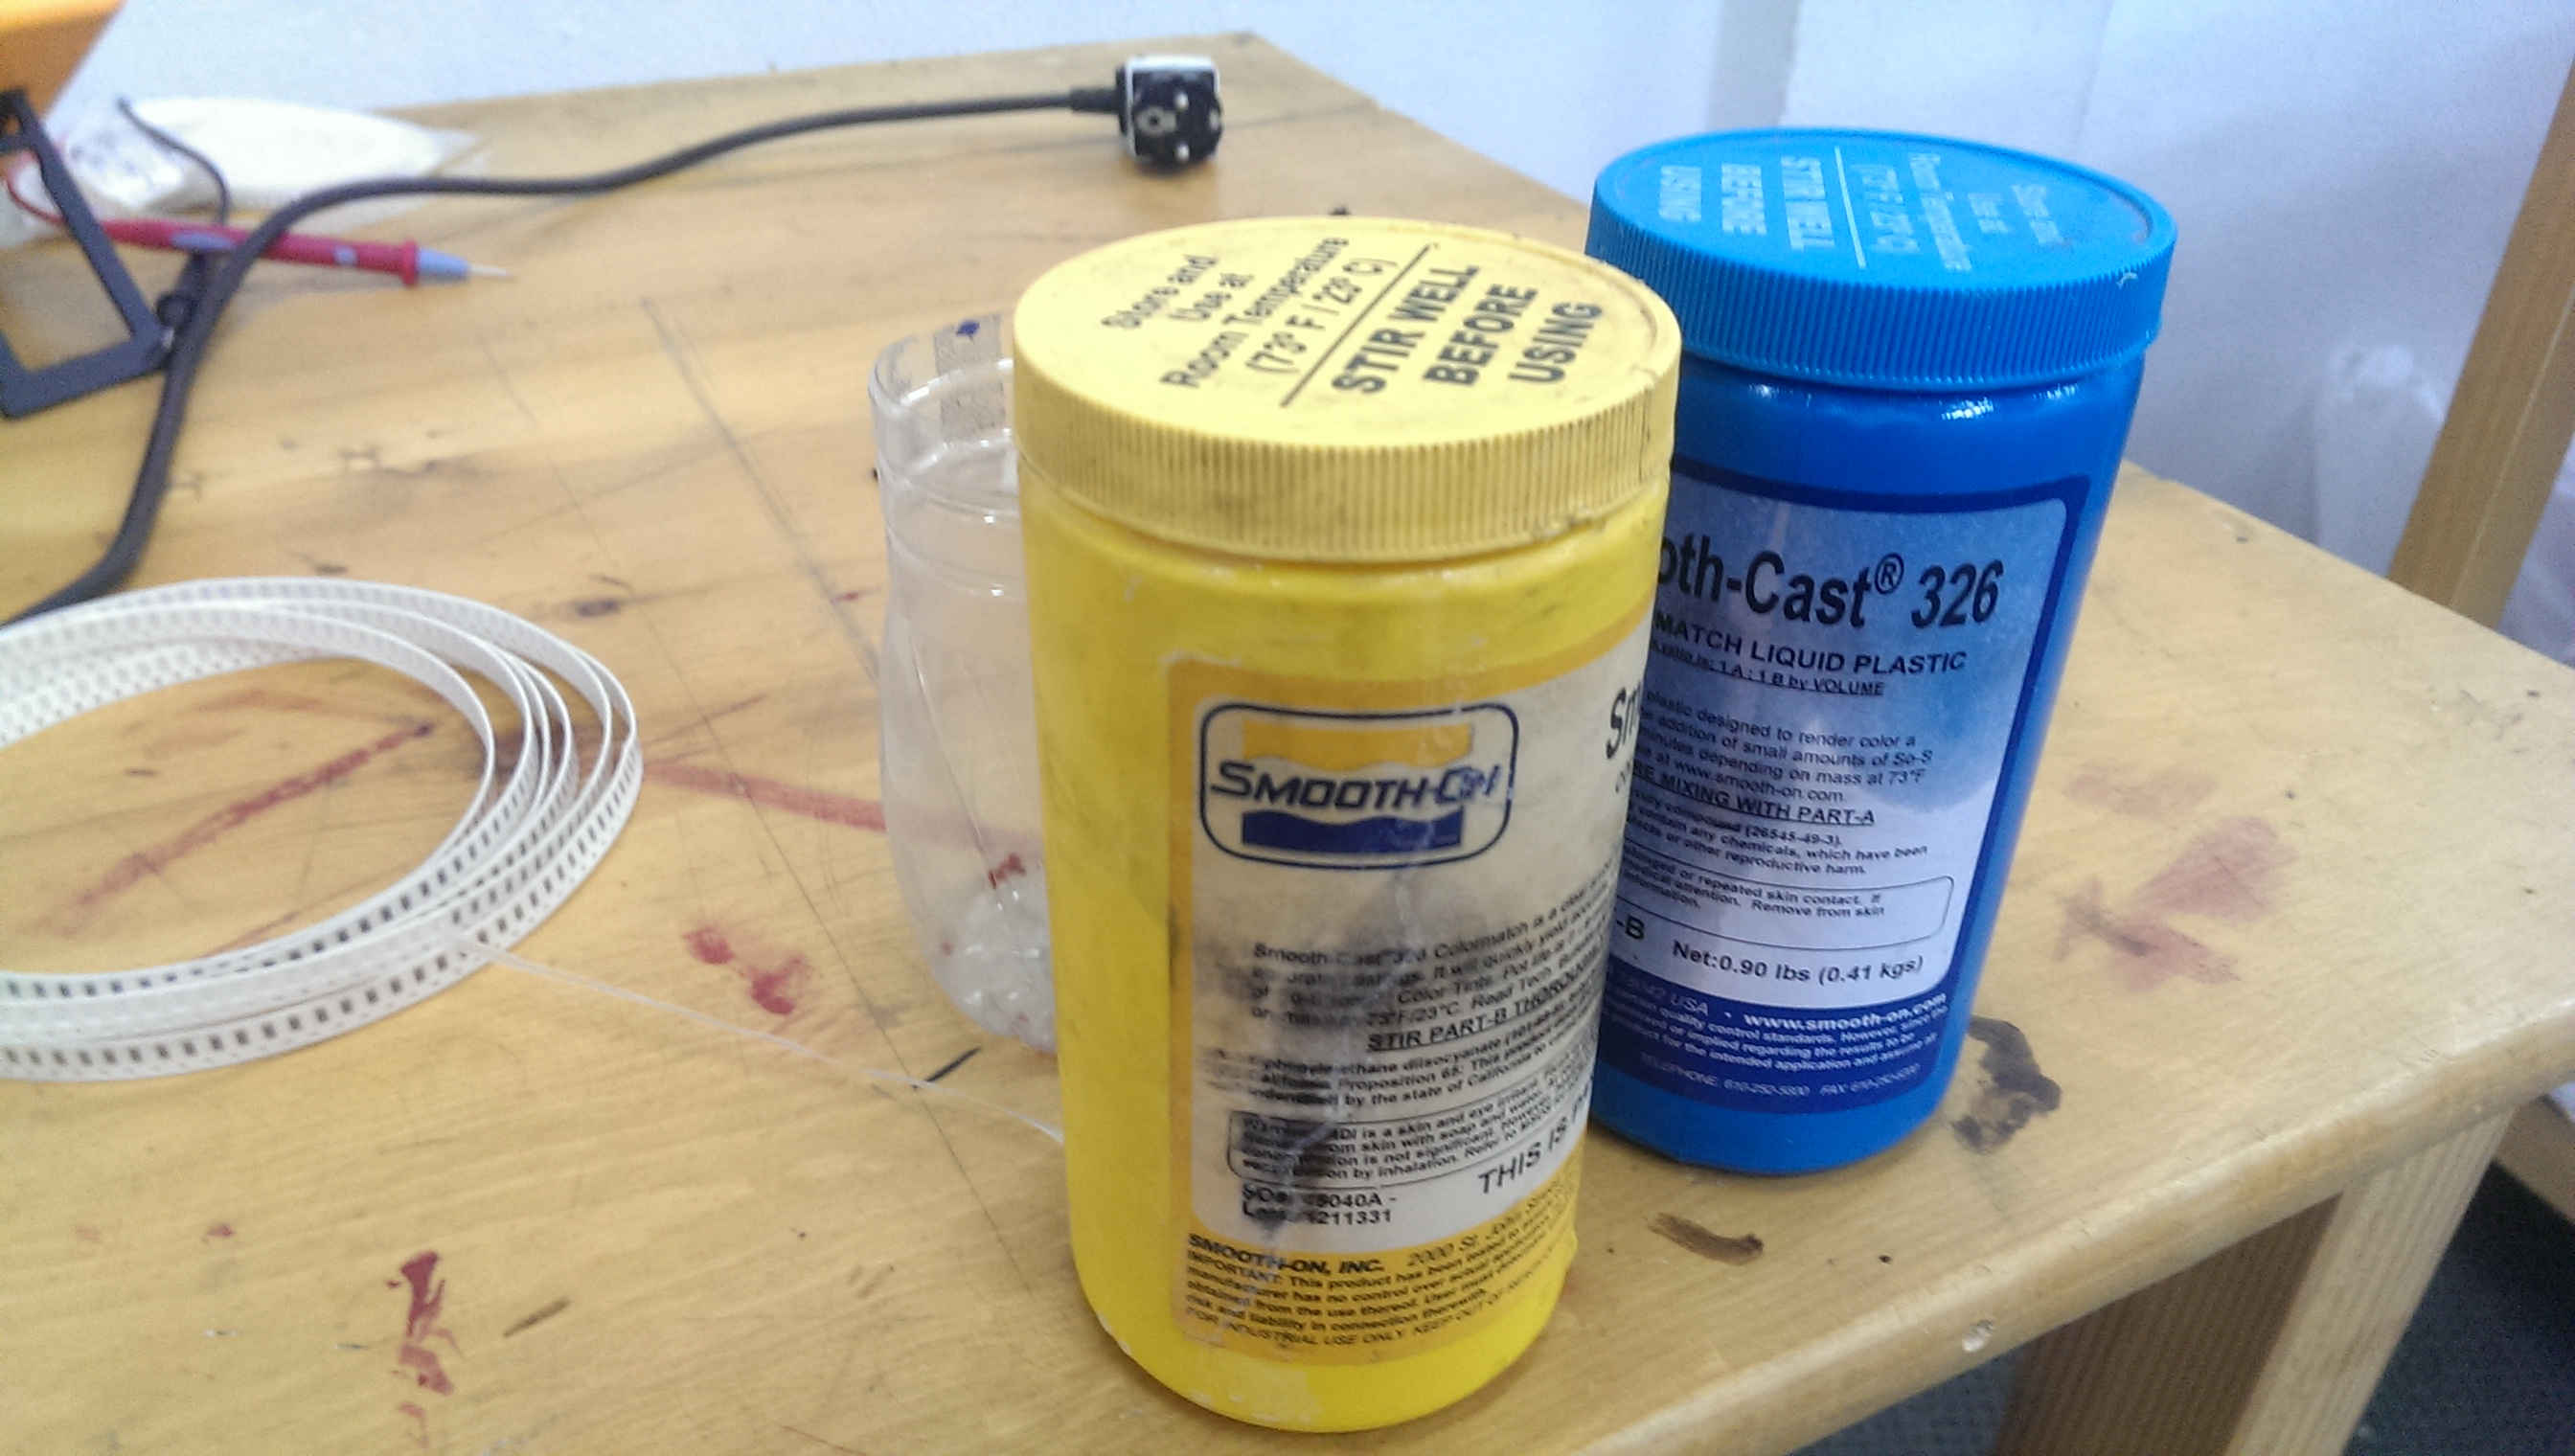
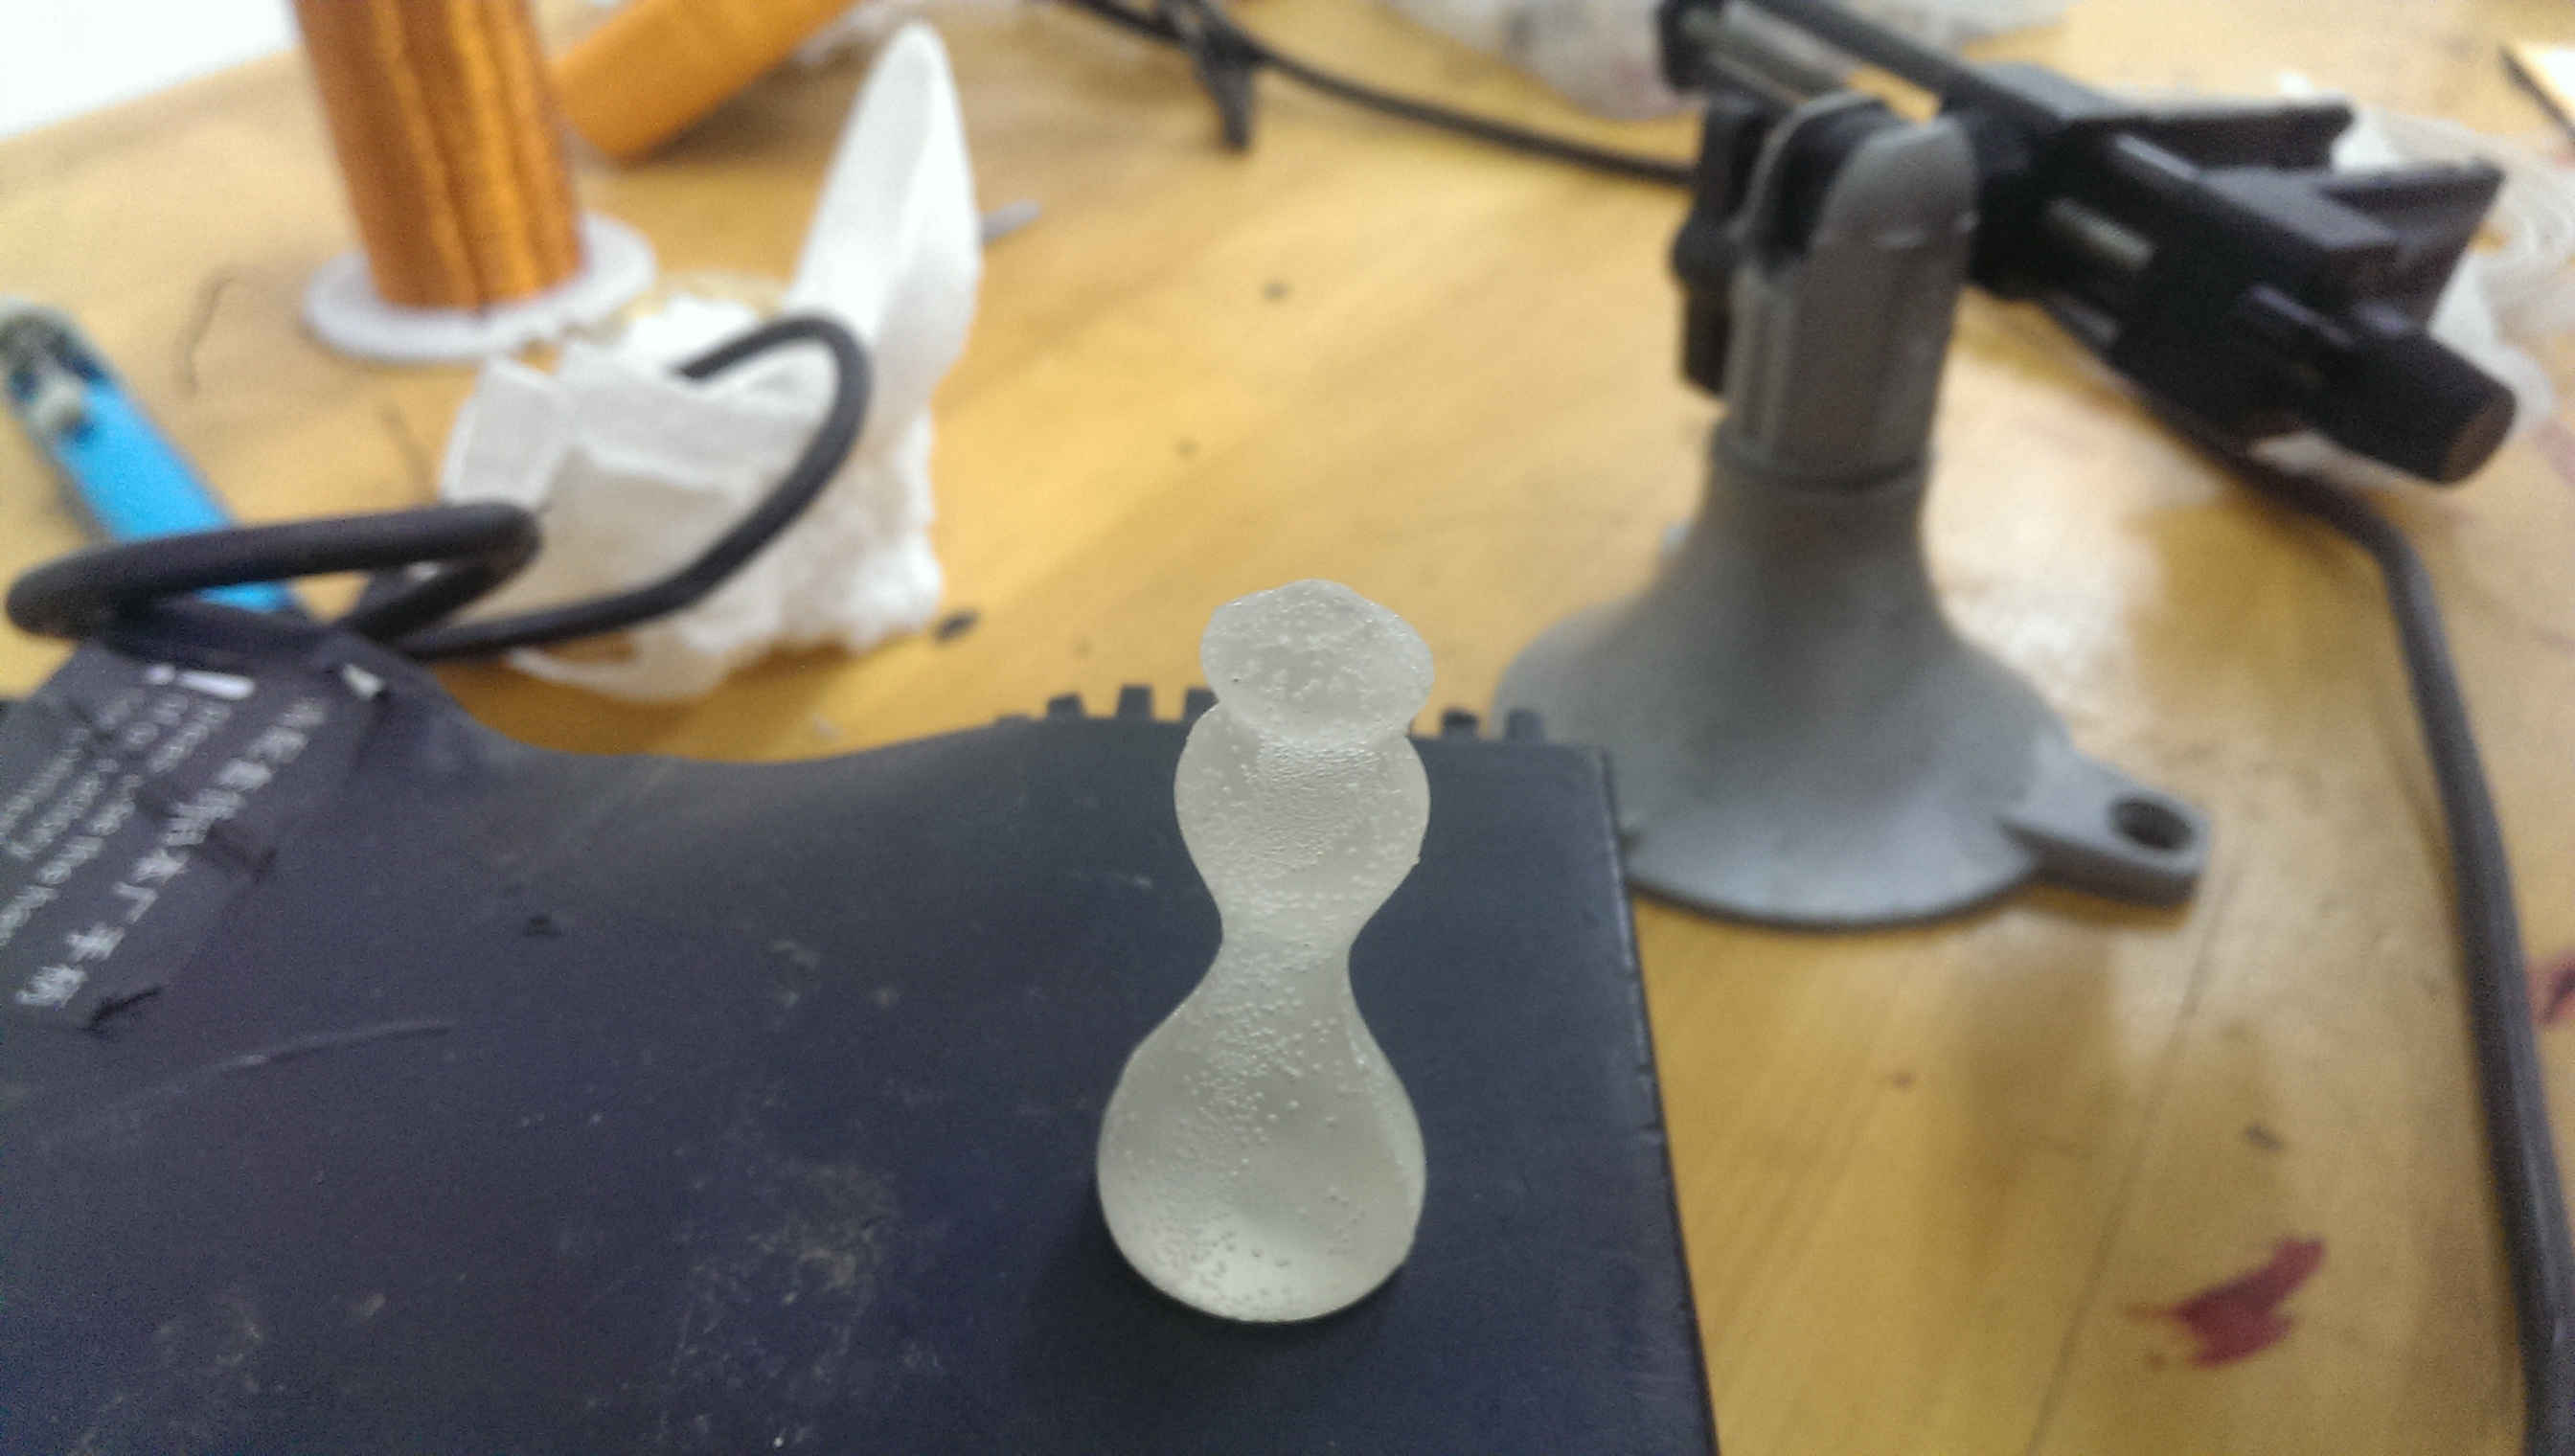
It took around 10 minutes to dry.
That's all for week 14, Happy molding and casting.