Overview
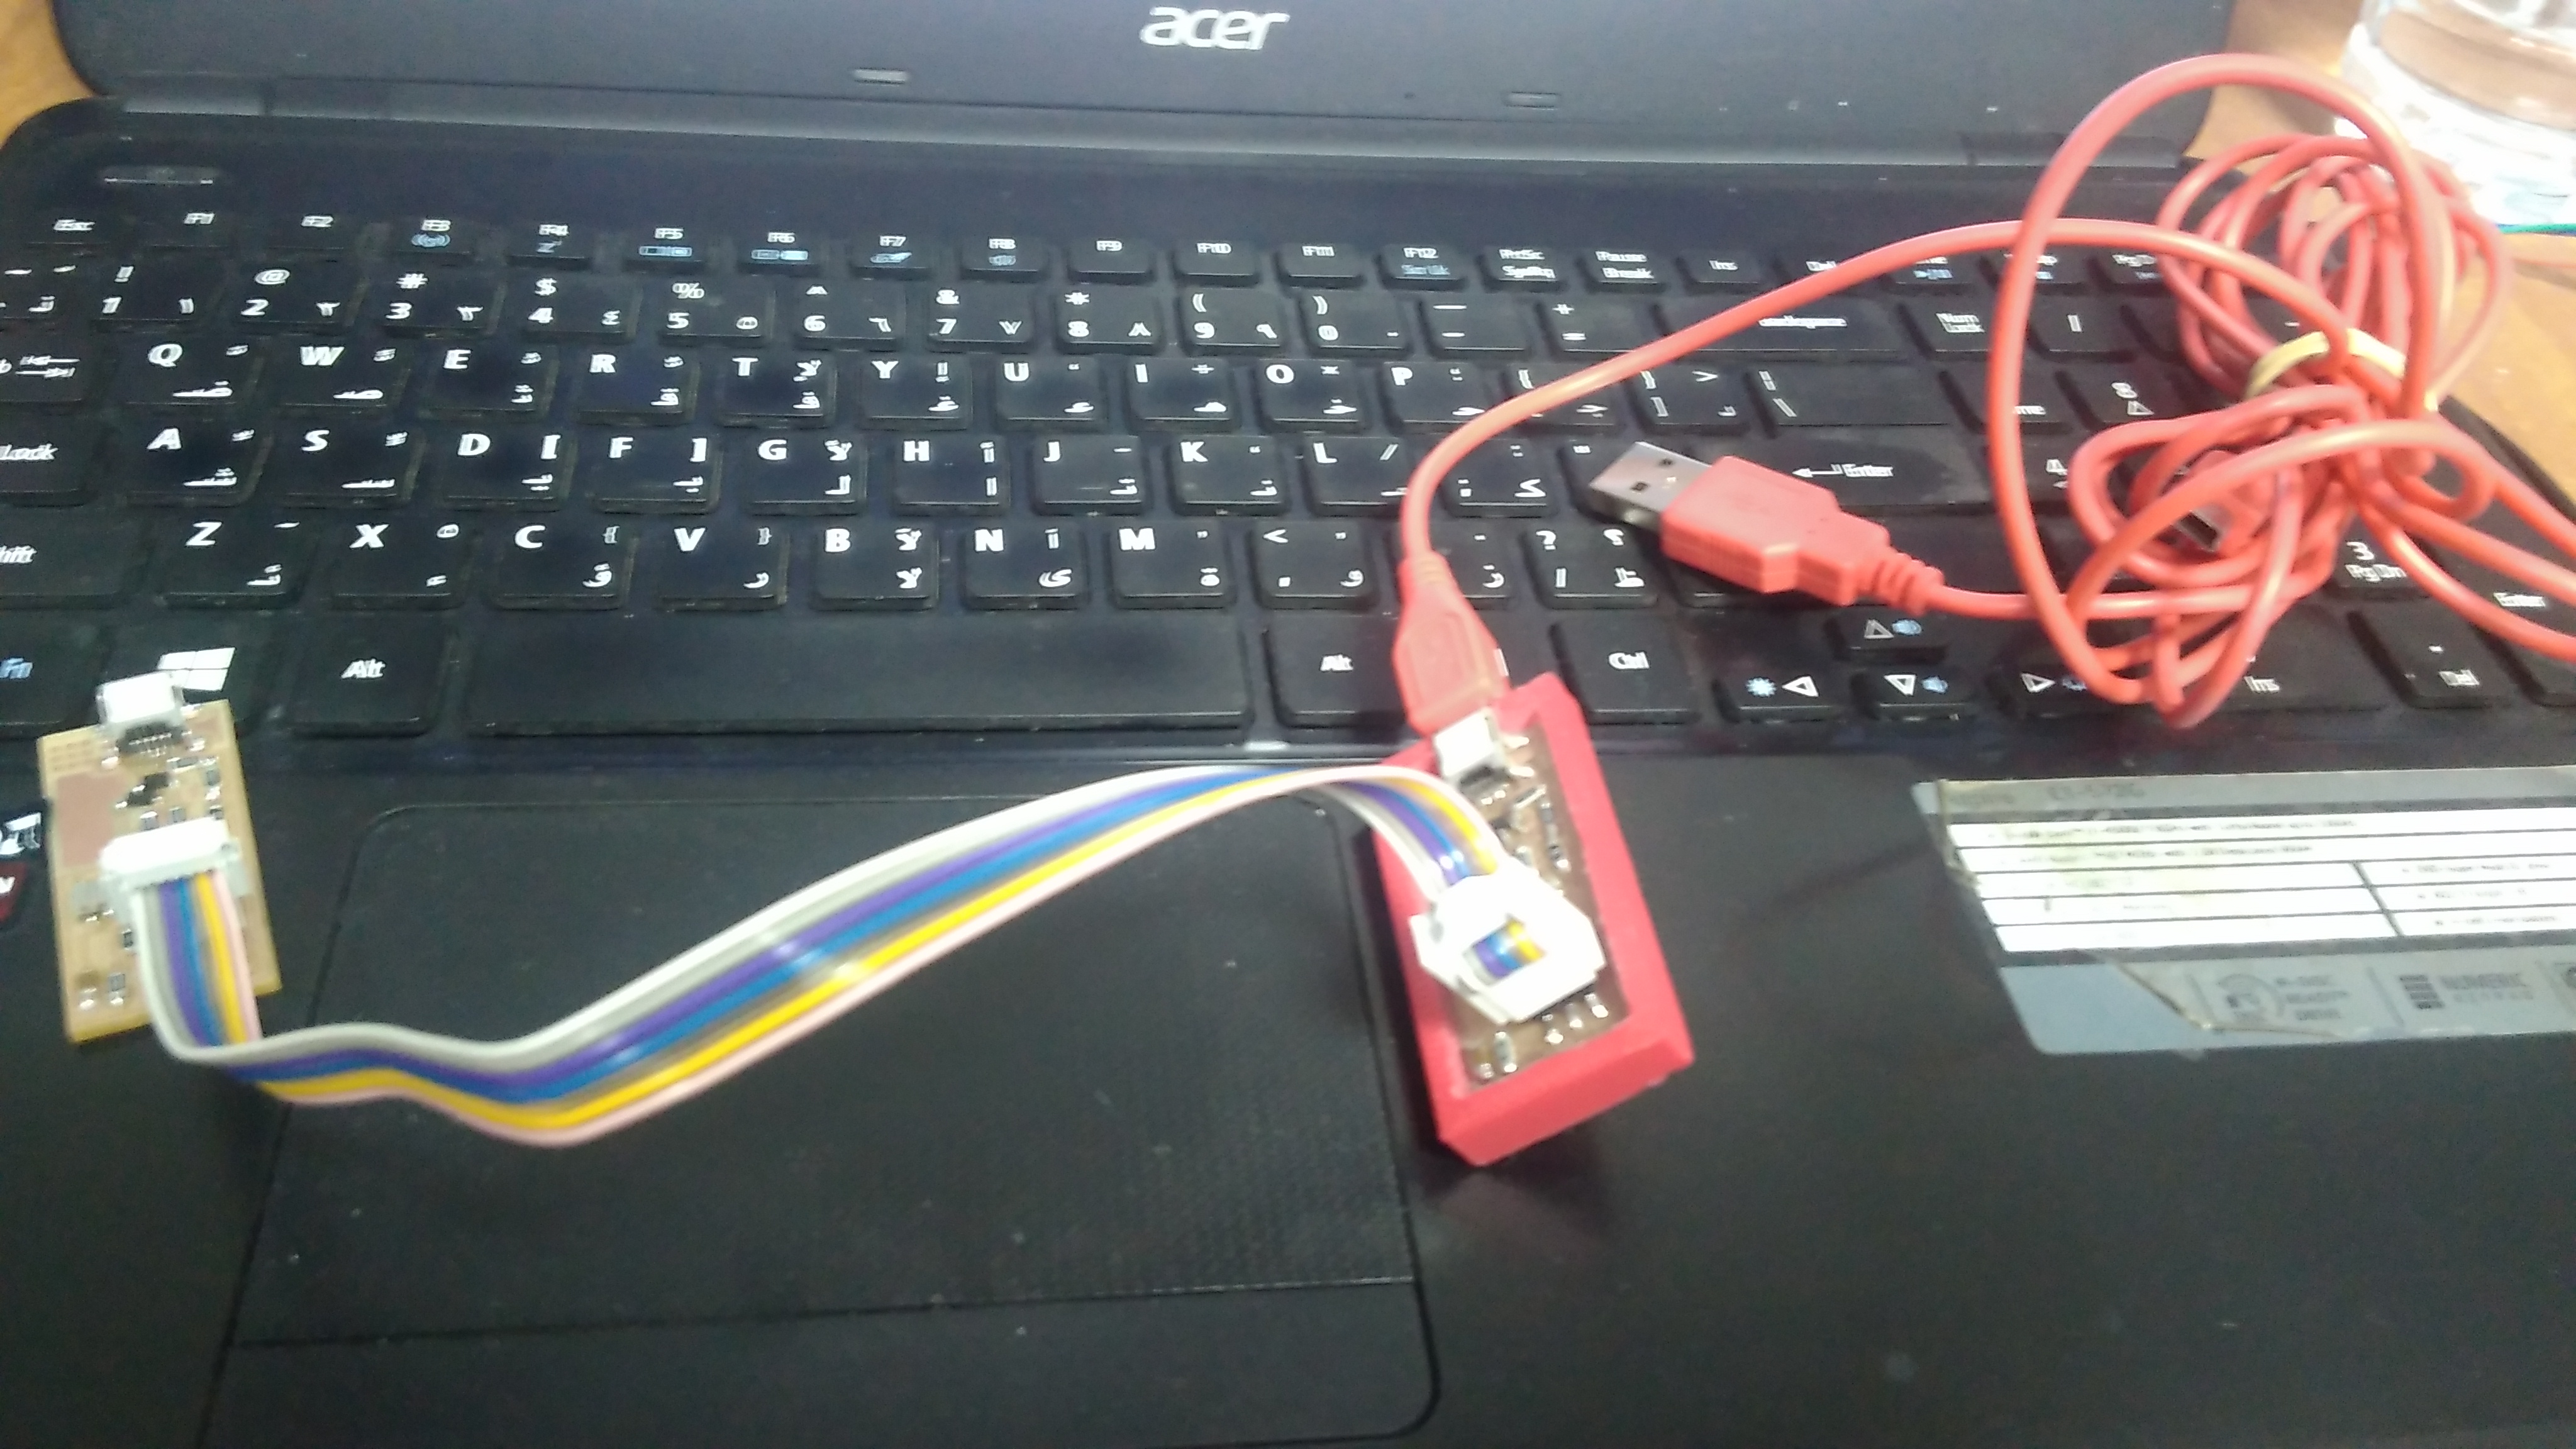
For this week's assignment, It was required to make an in-circuit programmer. It was required to mill the board, stuff it with components and program it.
What is the FabISP?
The FabISP is an in-system programmer for AVR microcontrollers, designed for production within a FabLab. It allows you to program the microcontrollers on other boards you make.
Downloading the traces and milling the board:
1st: Setting up the Modela:This is an important step before begining to mill. You can check the steps in details in the tutorials here on Fab Academy website, detailed and useful.
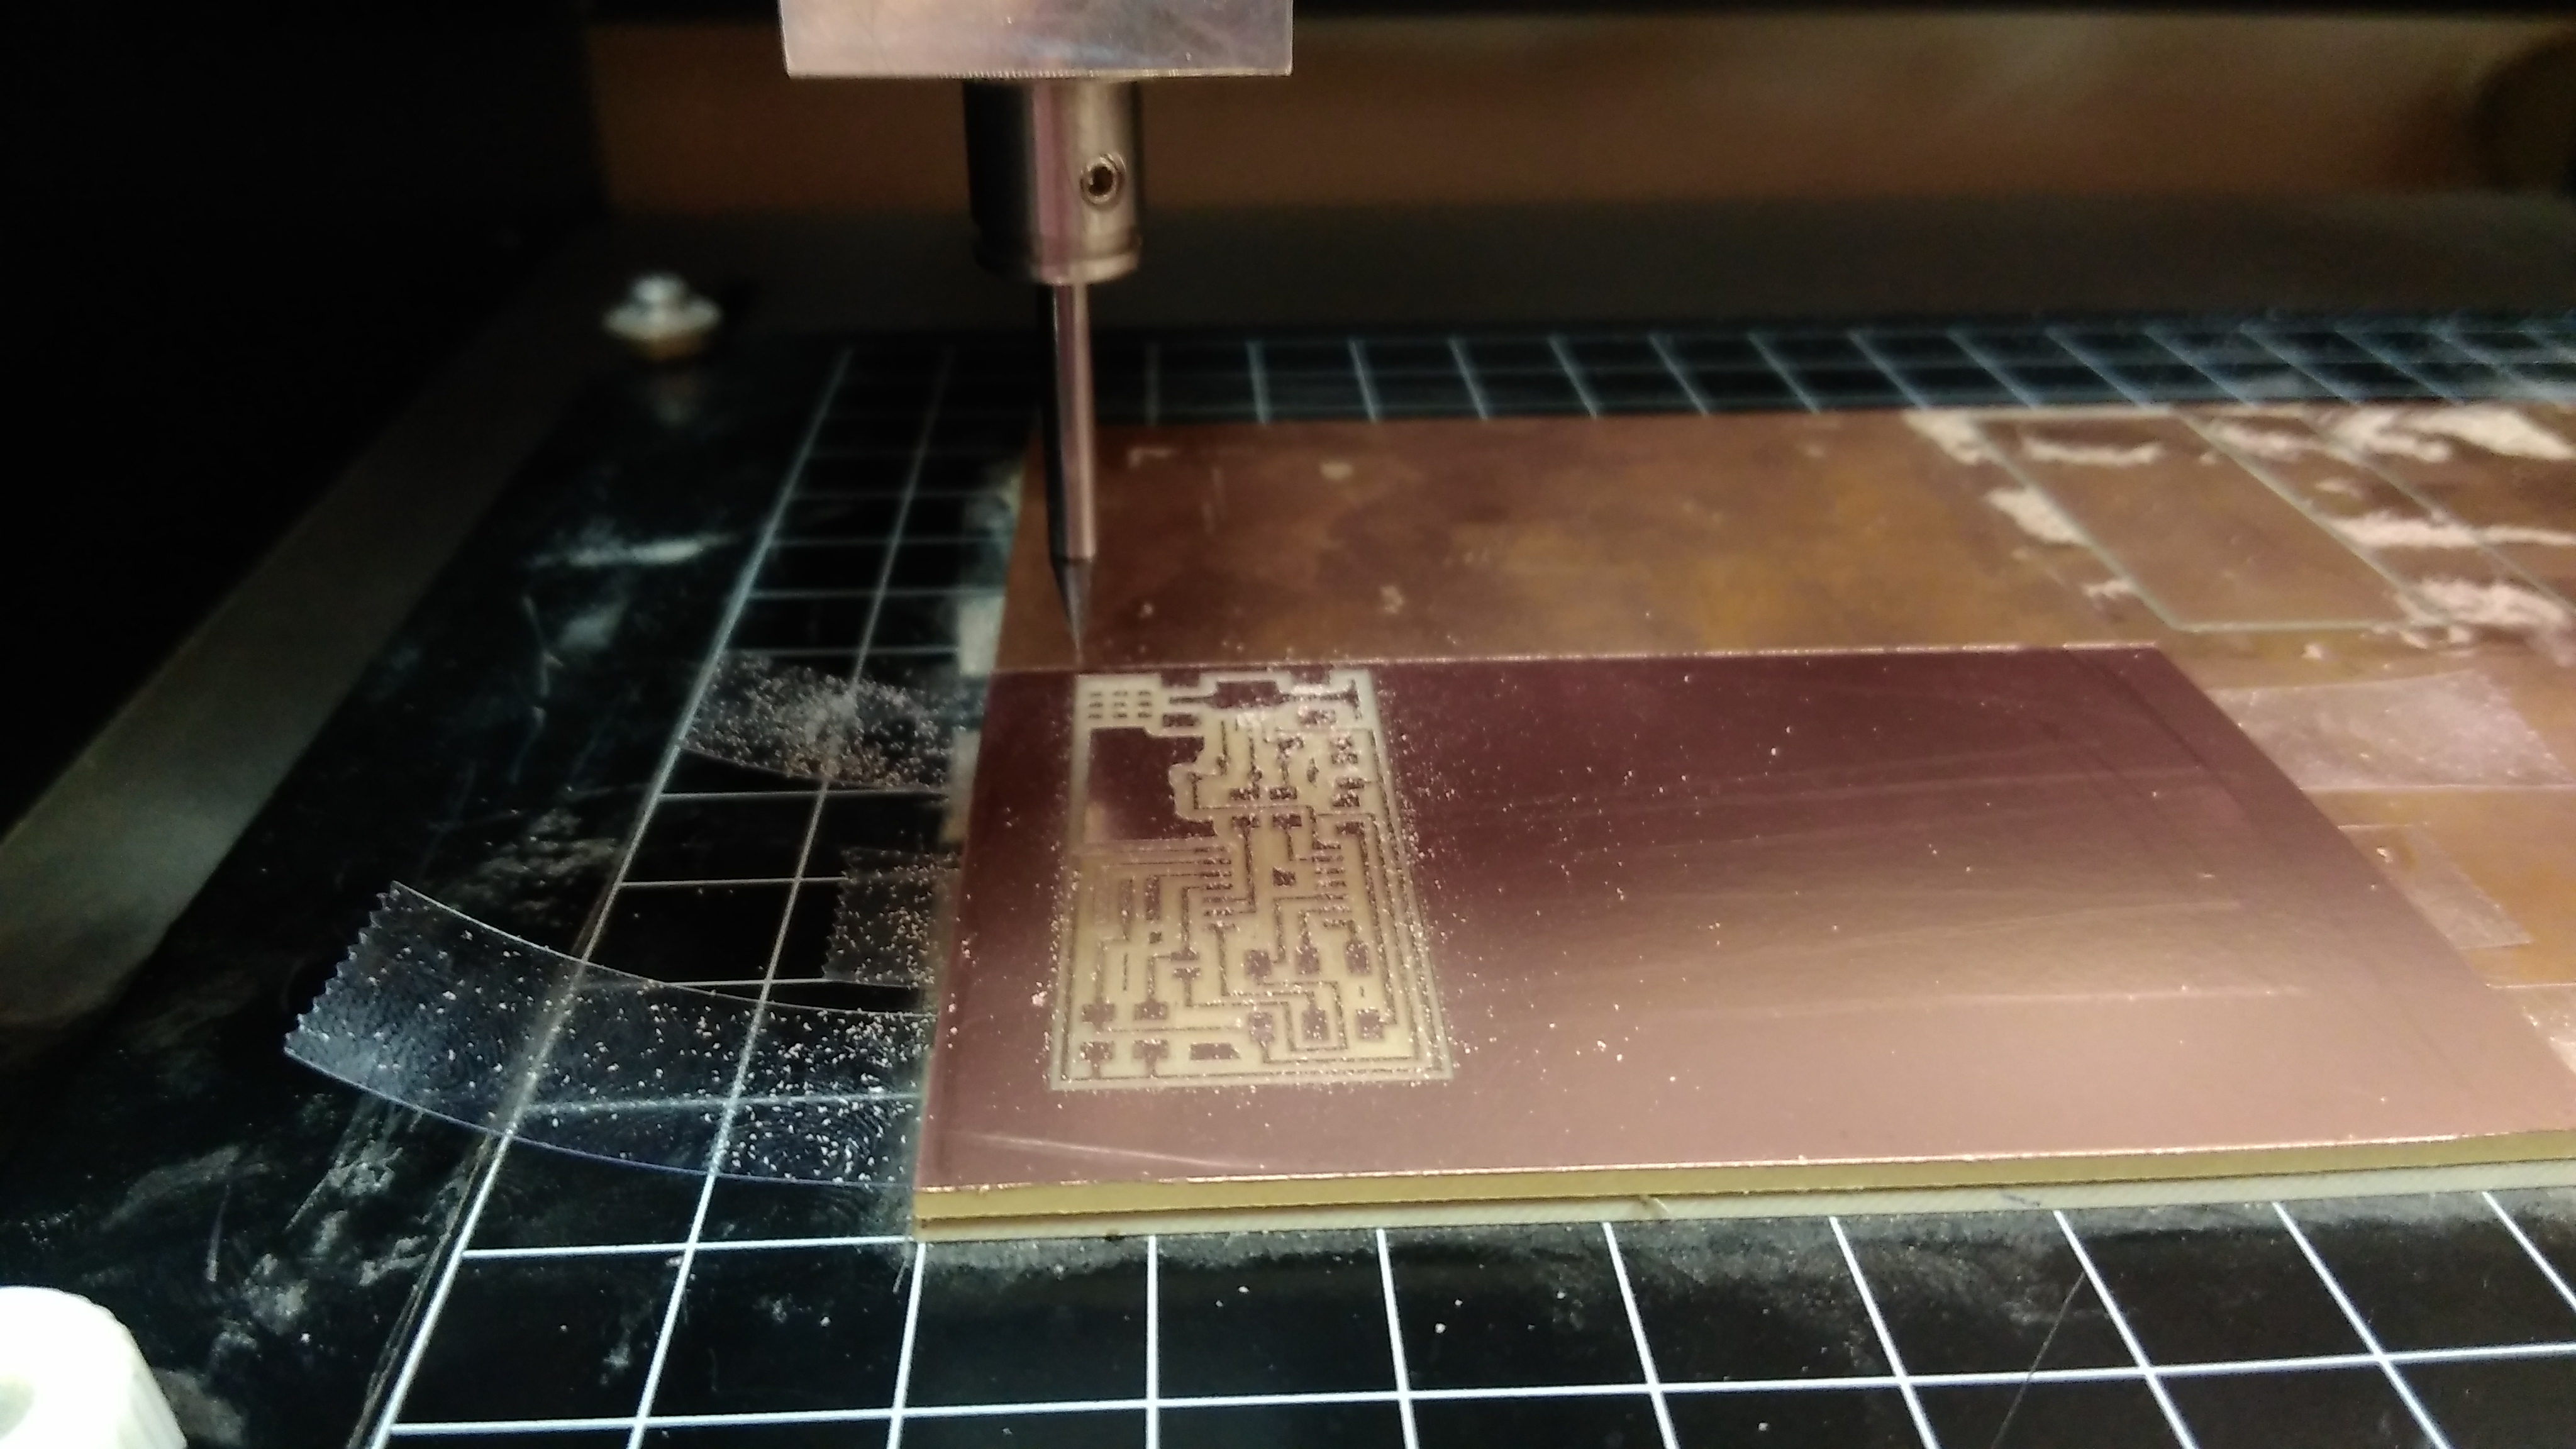
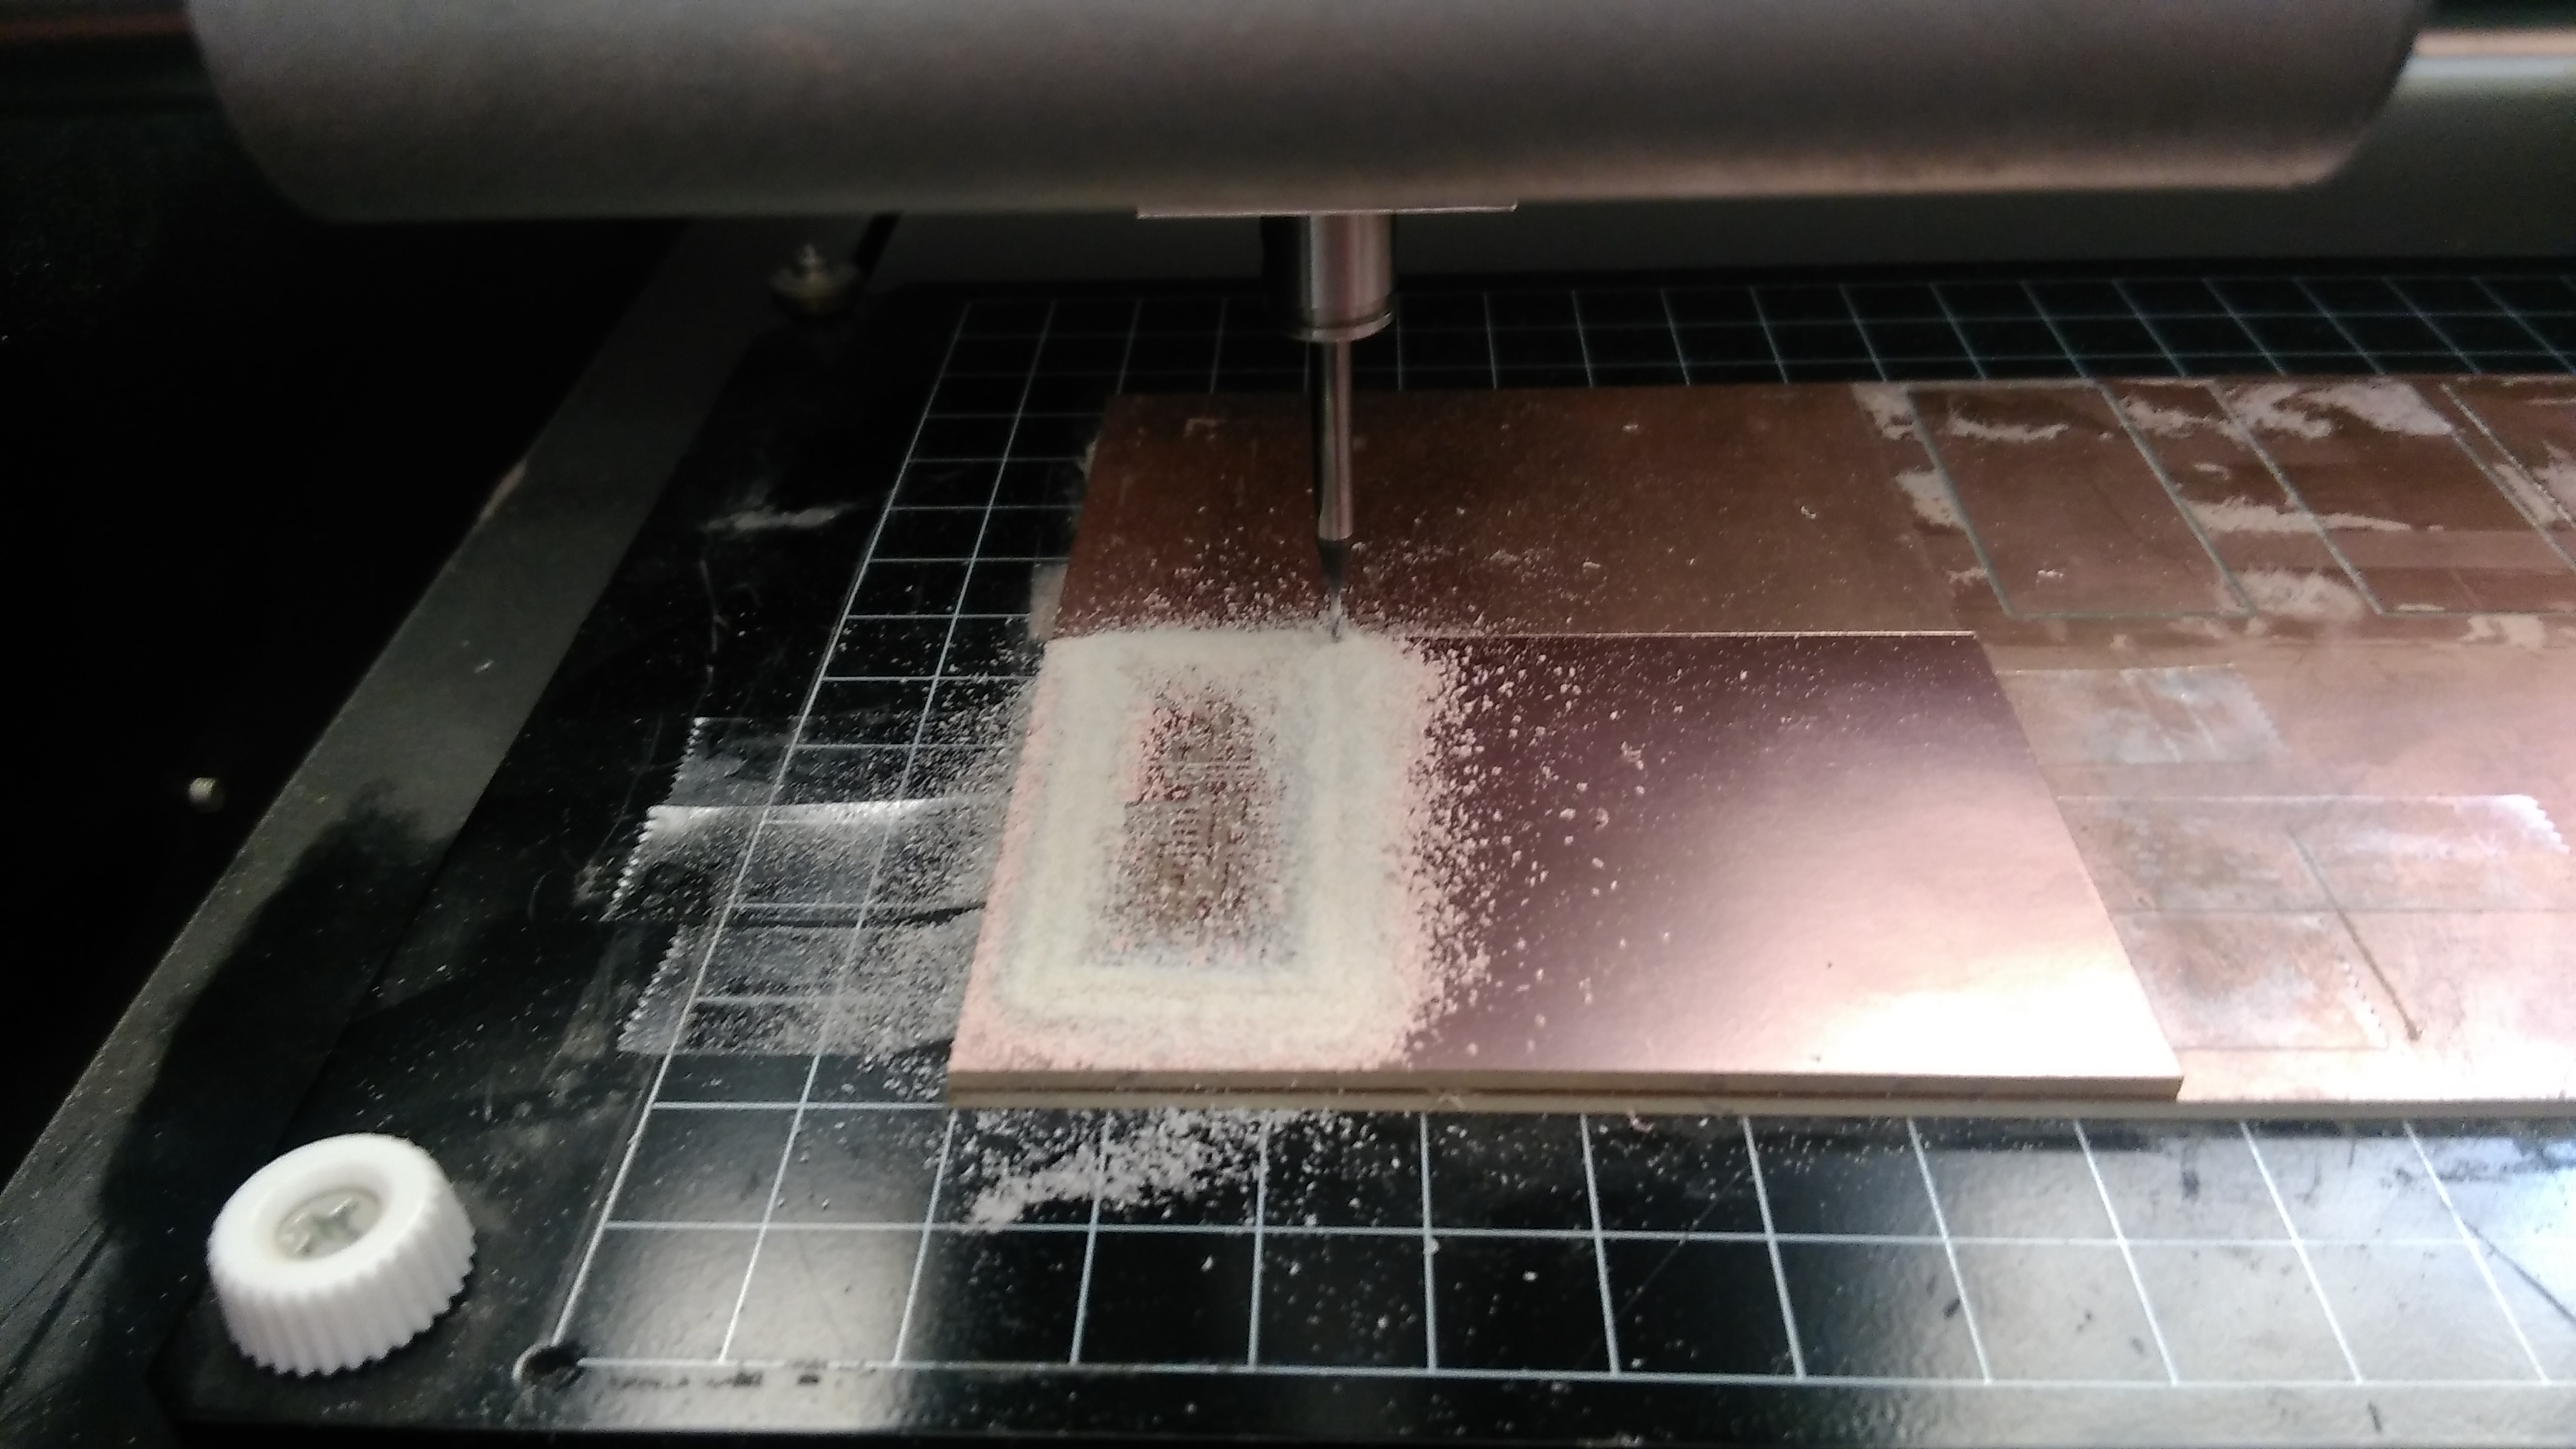
2nd: Milling the traces:This is how the traces look.
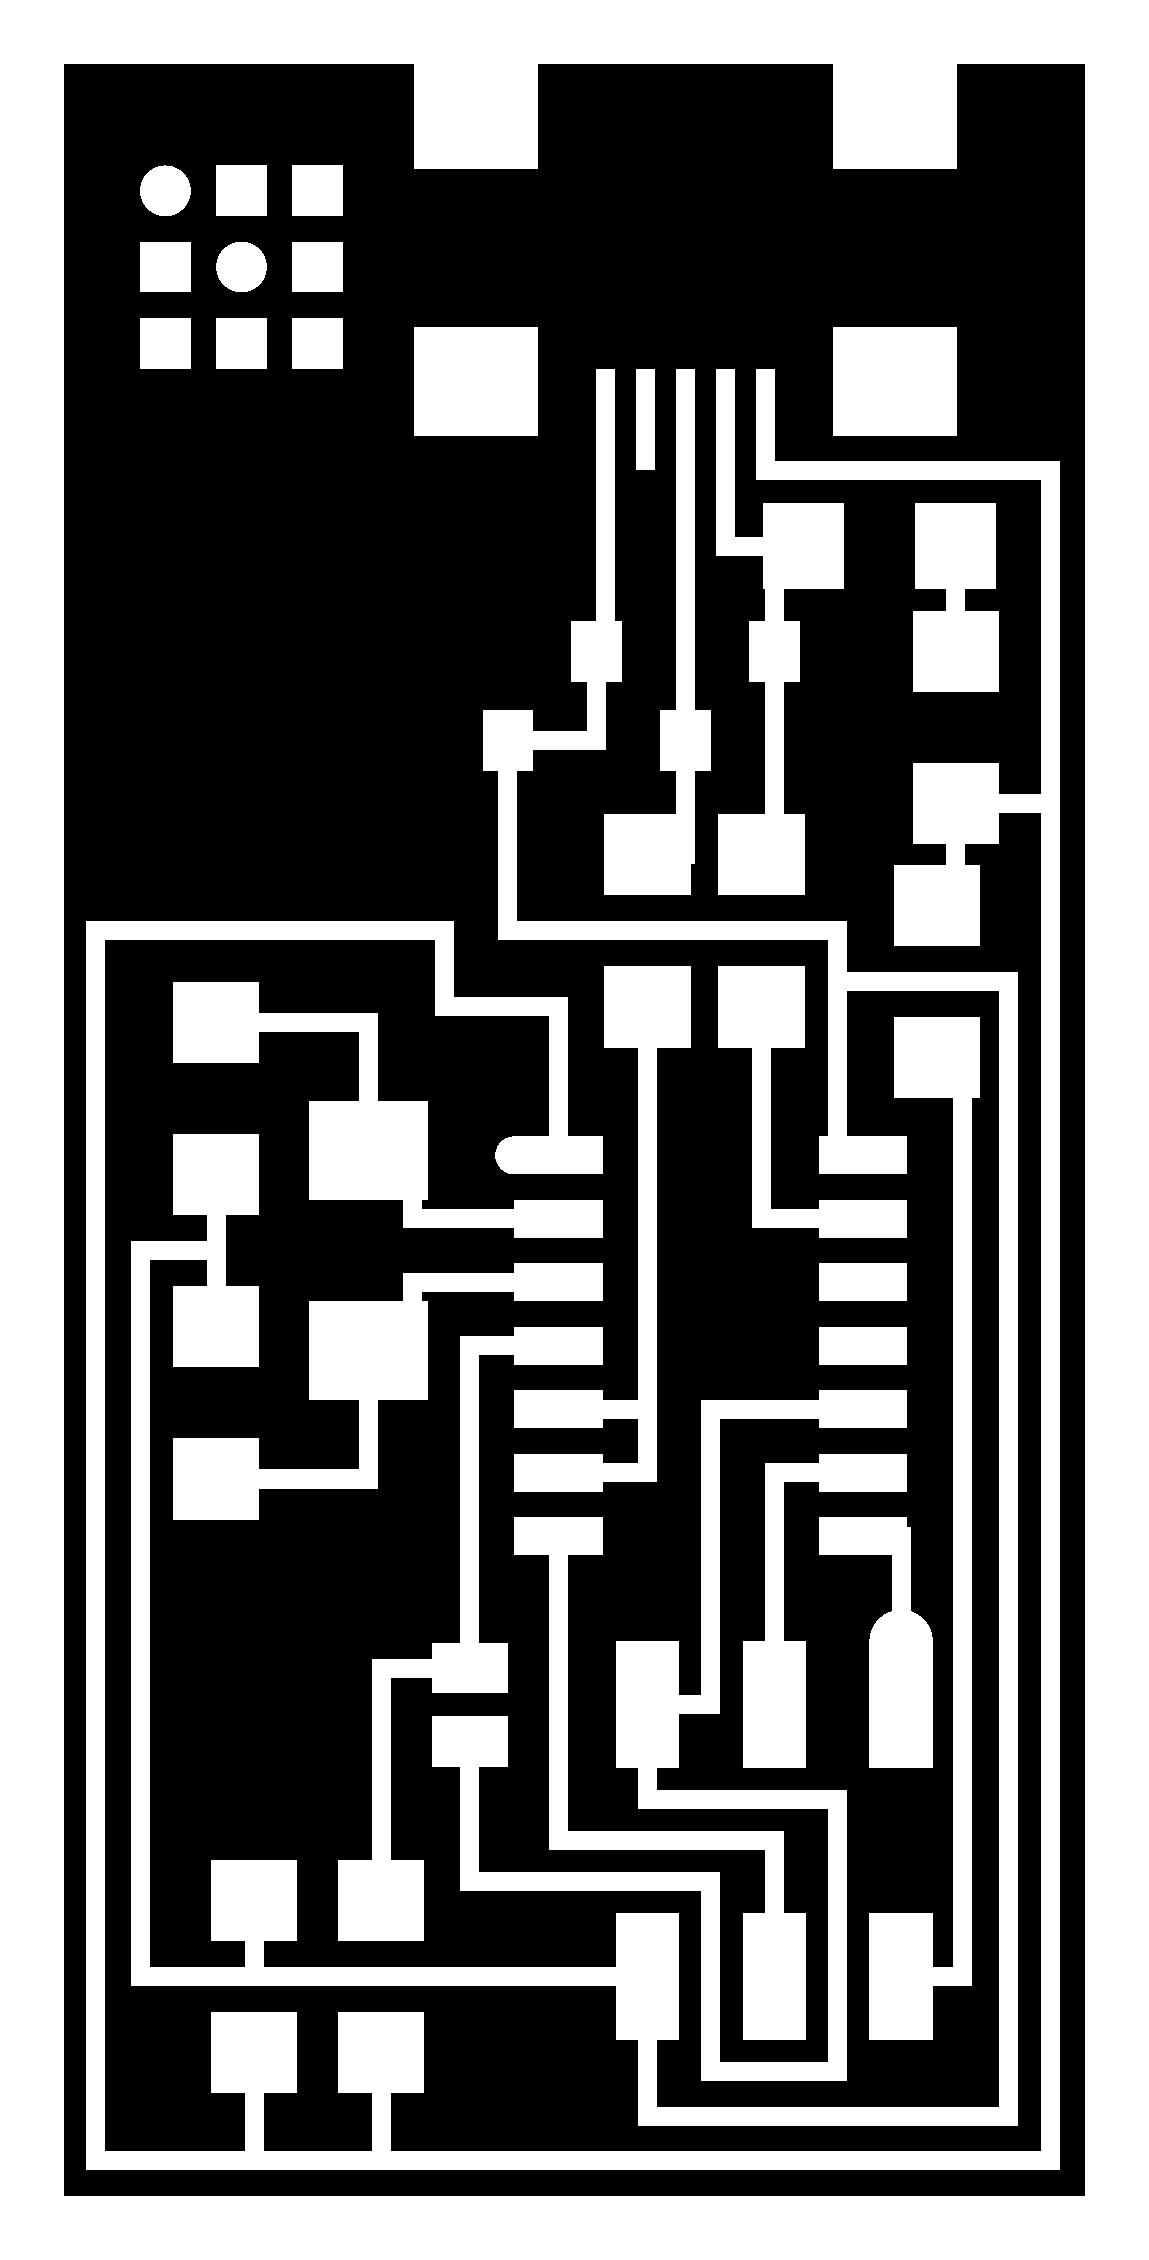
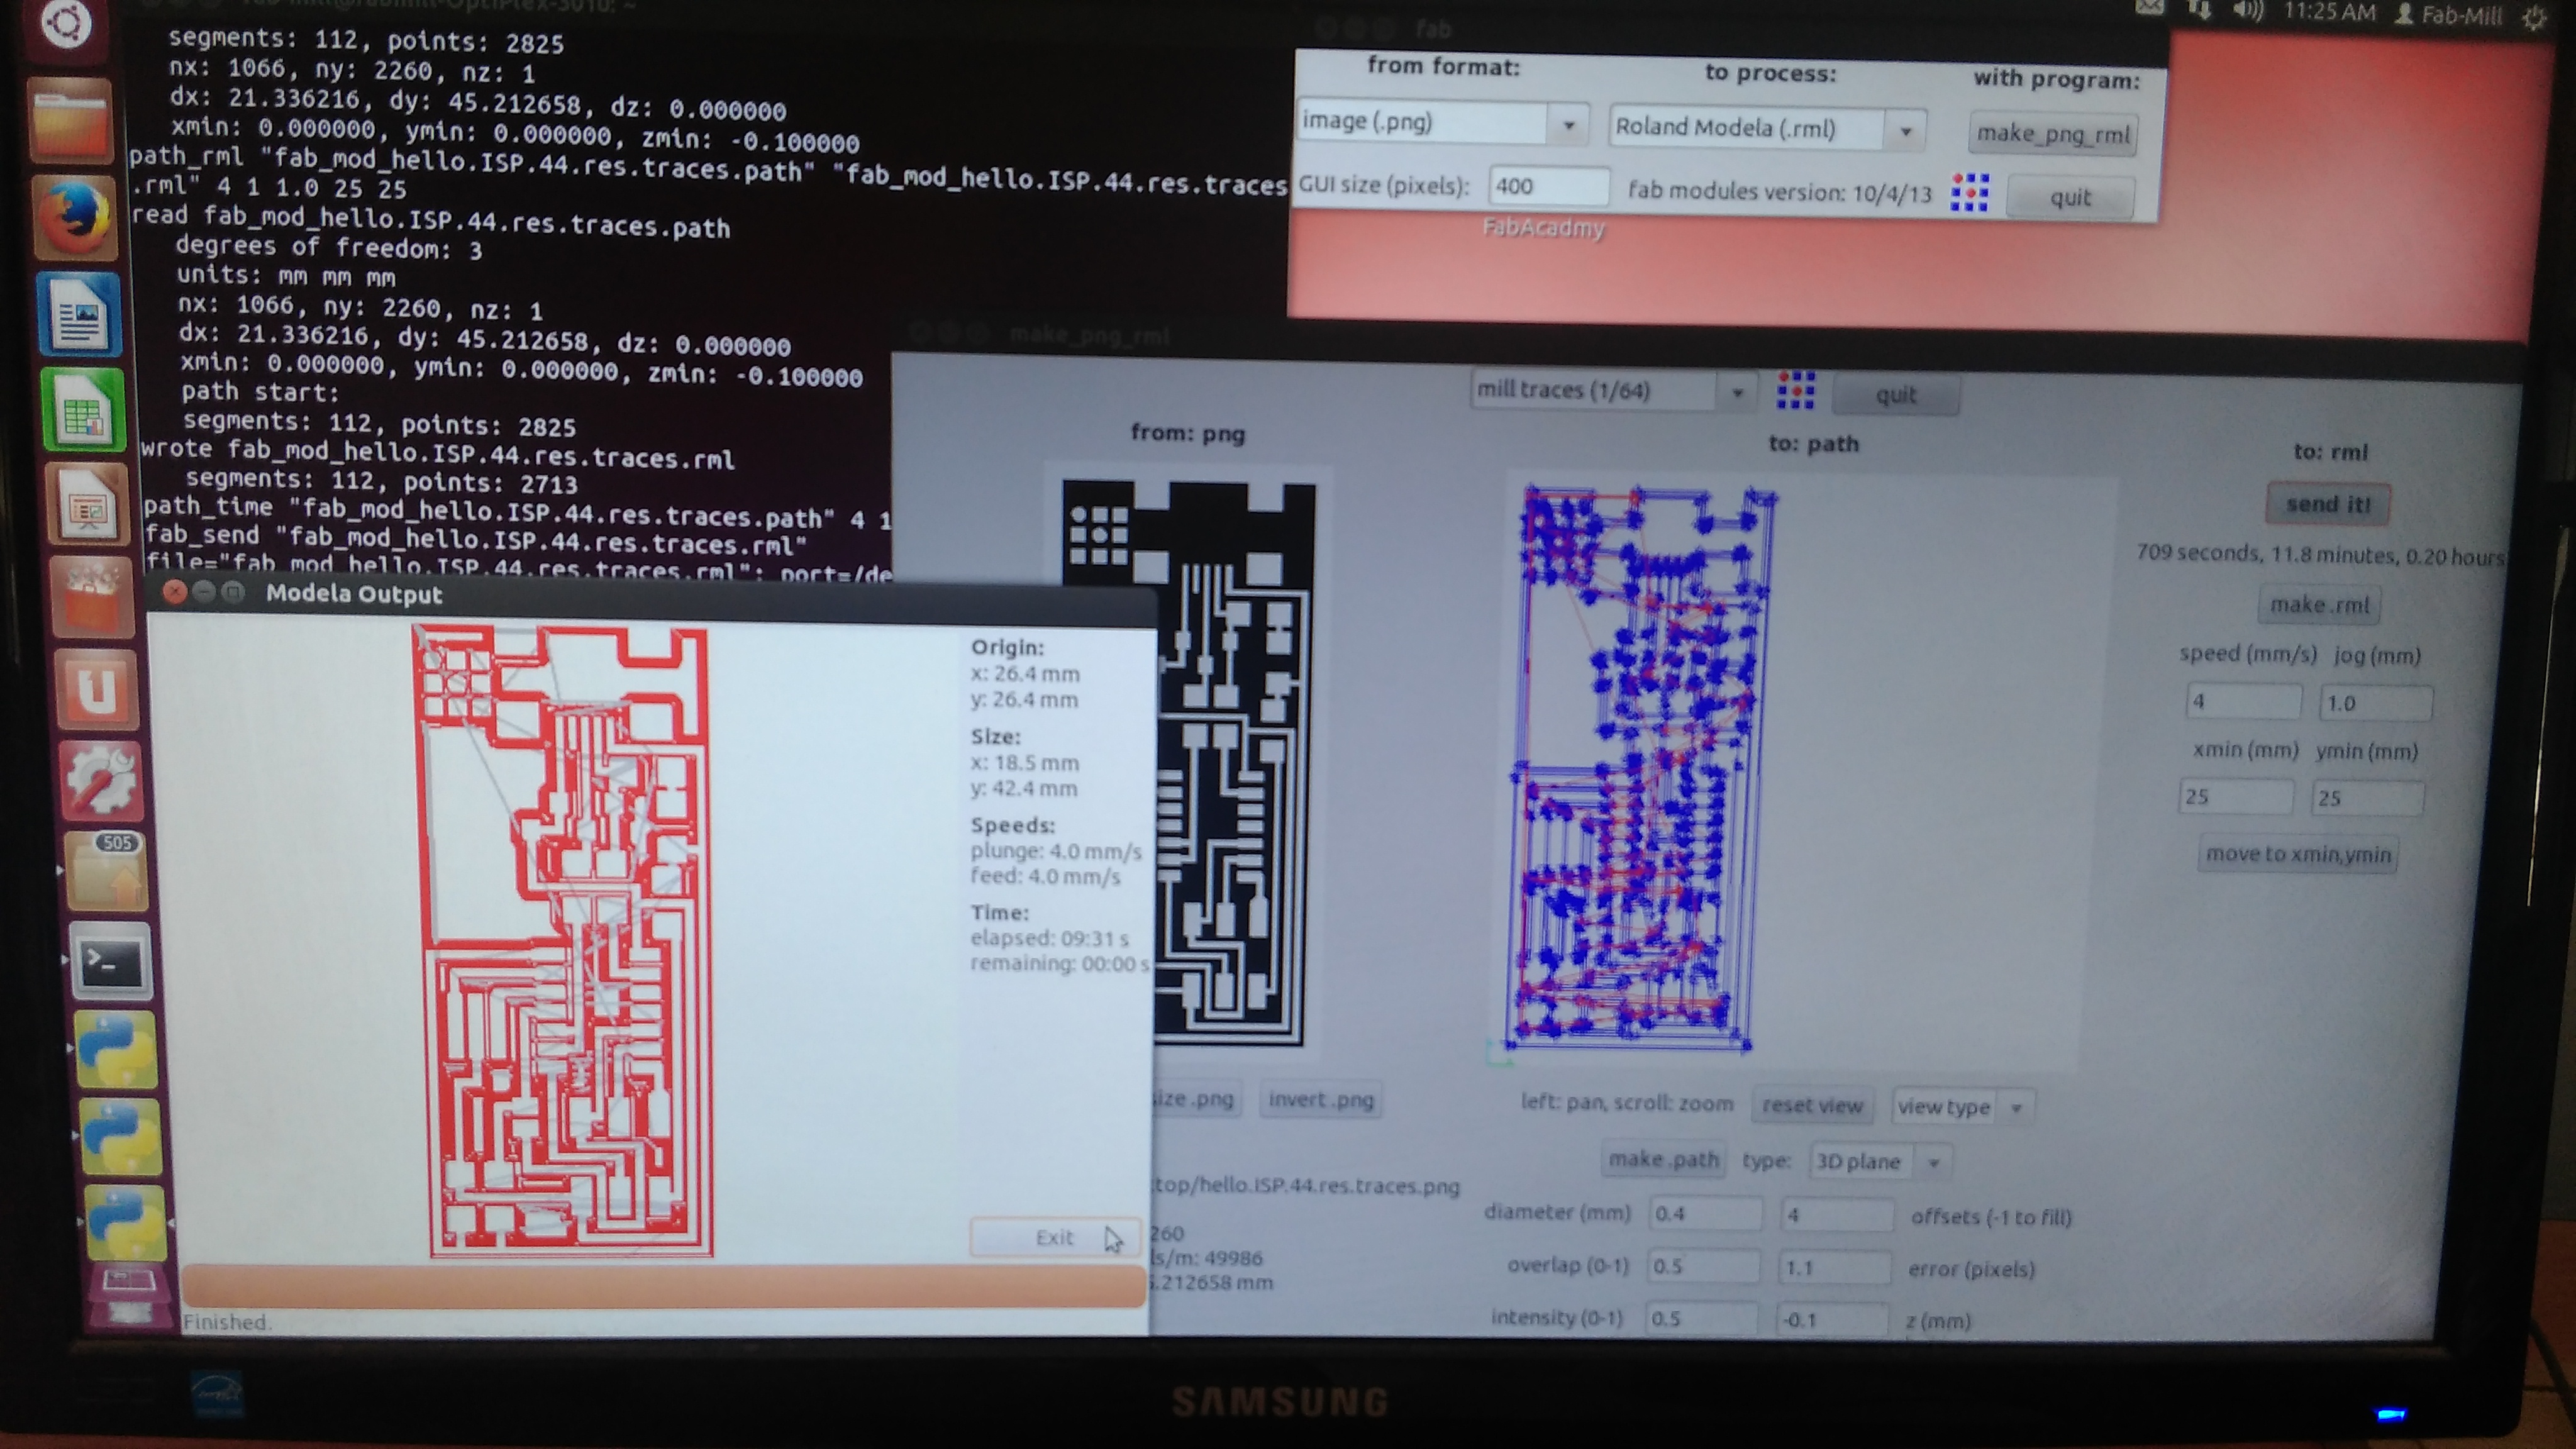
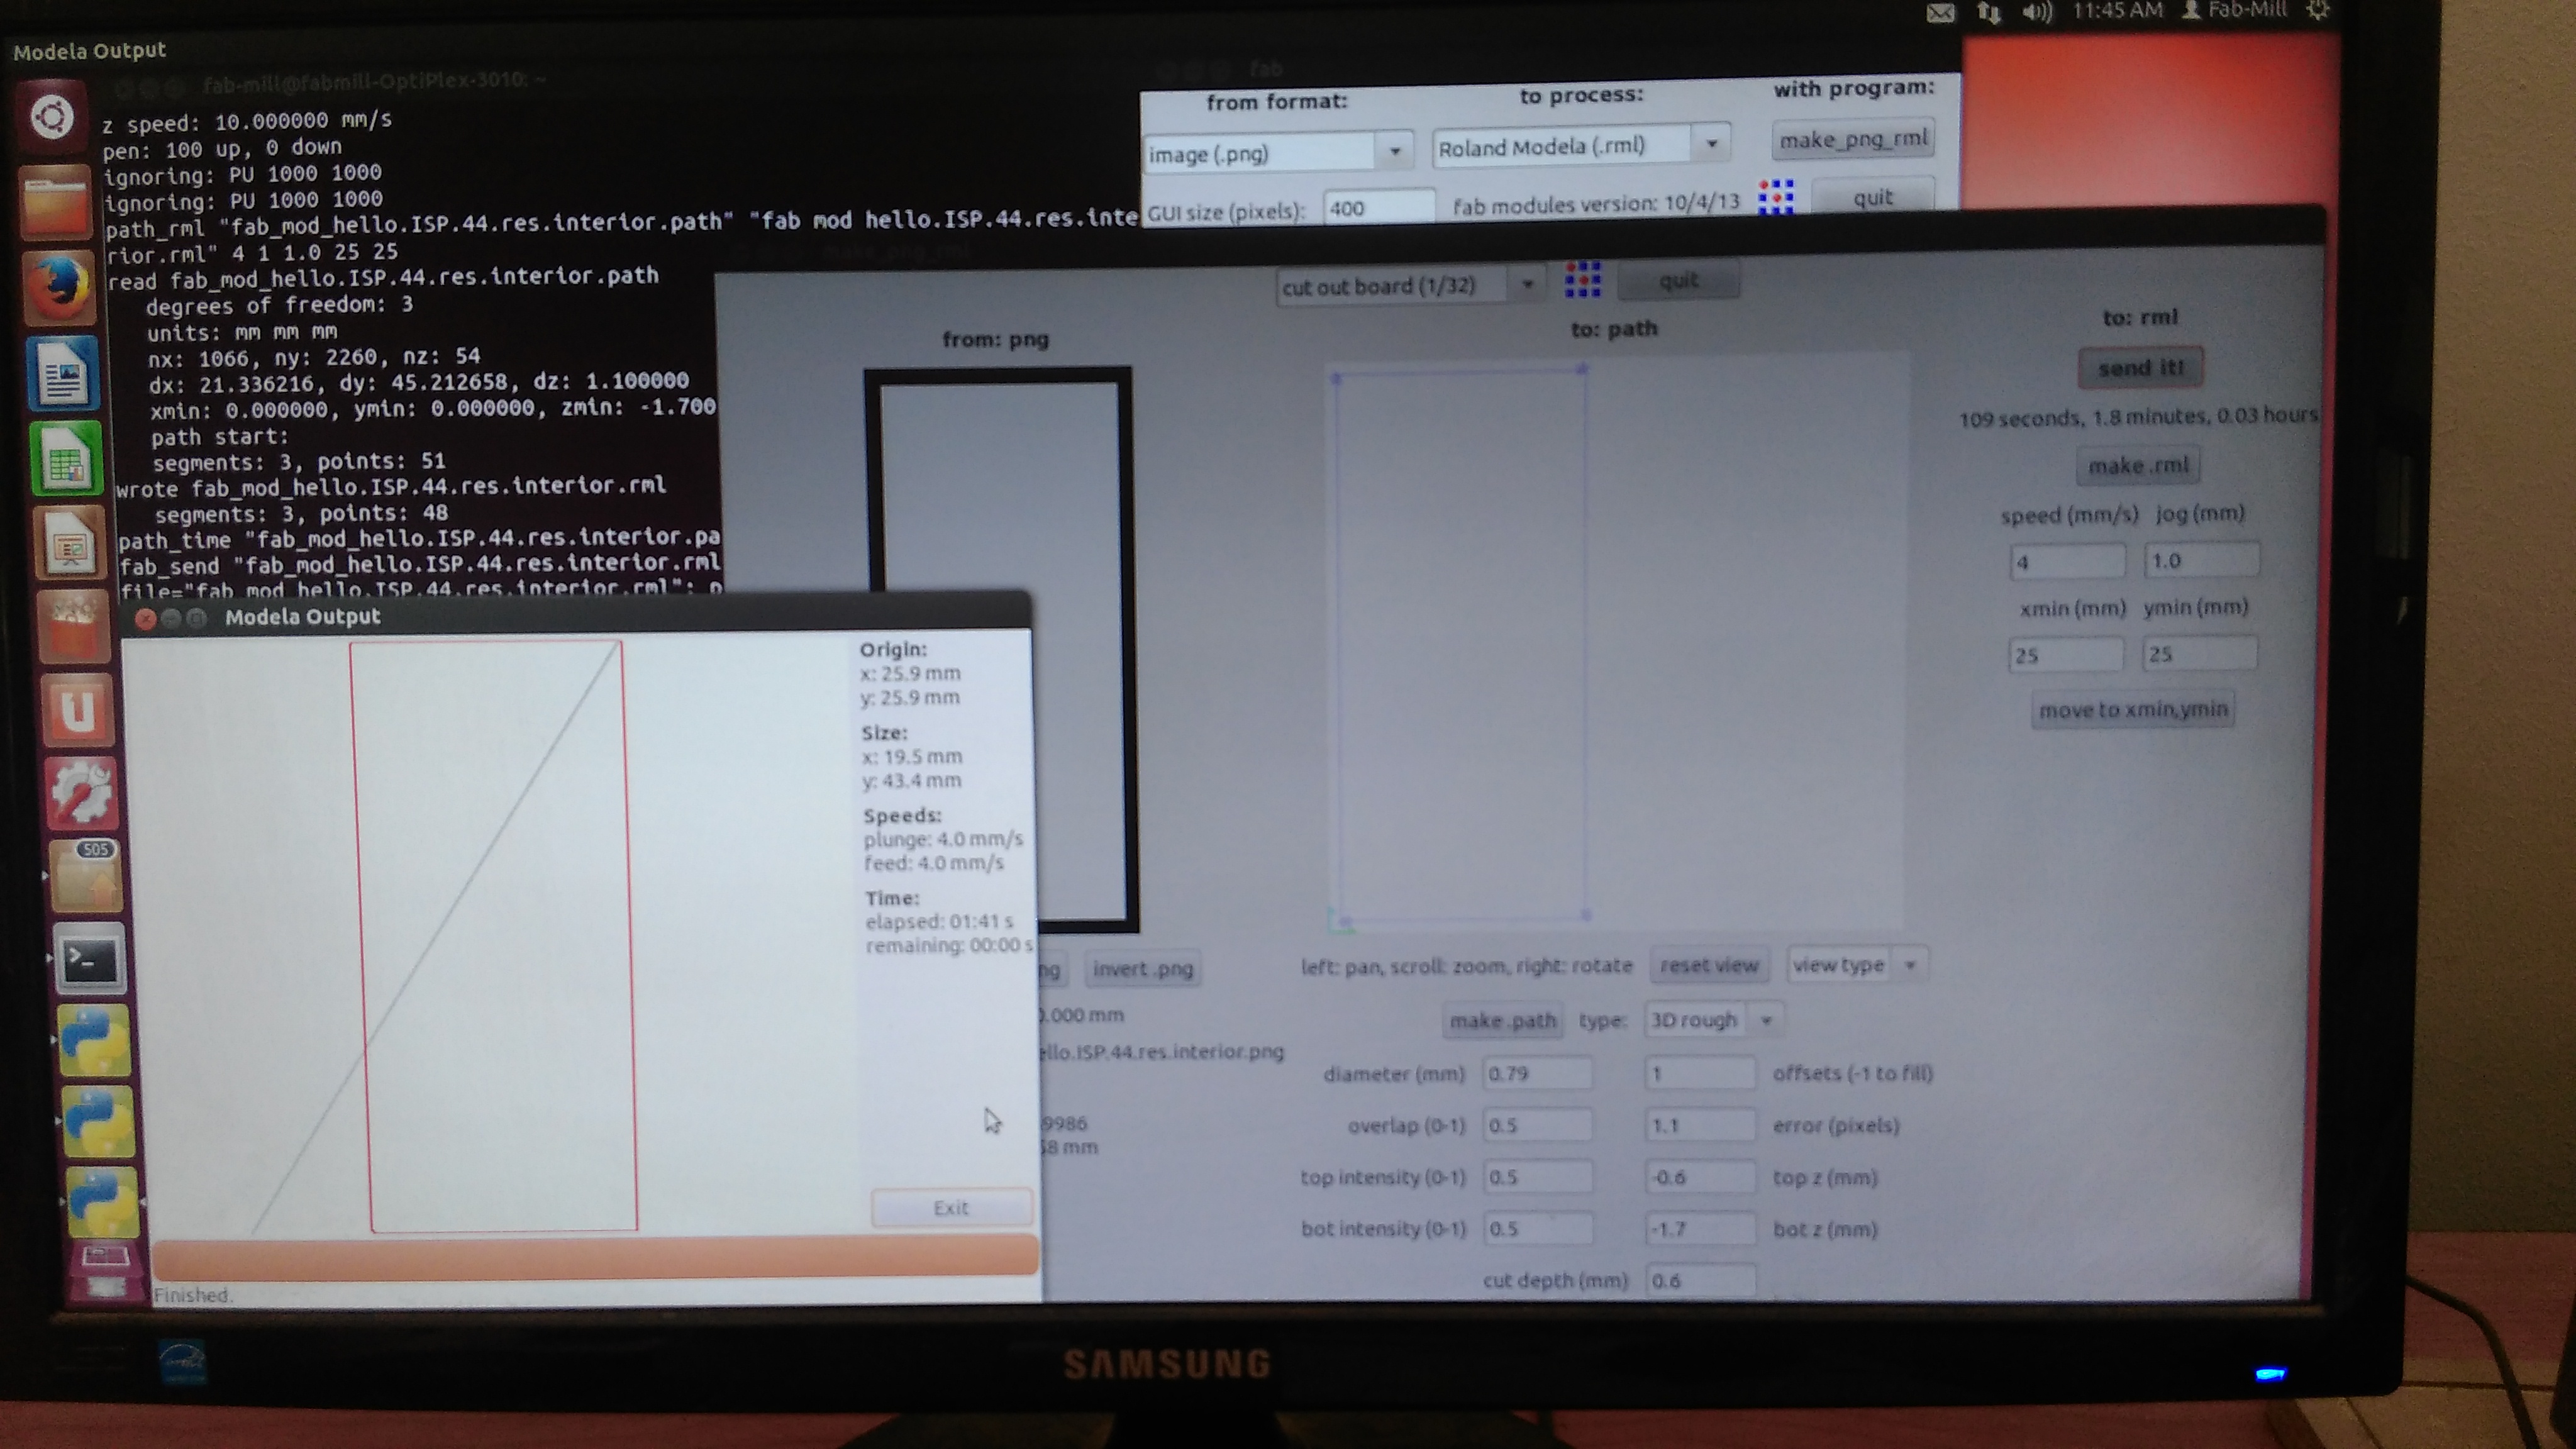
Using Fab Modules, the rml is created and begin milling.
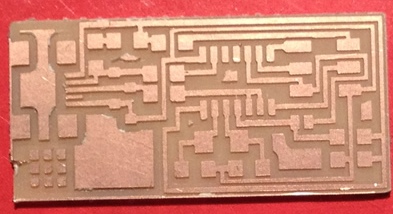
This is how the outer looks.

Using Fab Modules, the rml is created and begin milling. This is how it looks.
This is how it ends. PS: For integrity, This picture is taken from the tutorial page as I forgot to take shots of mine before soldering the components.
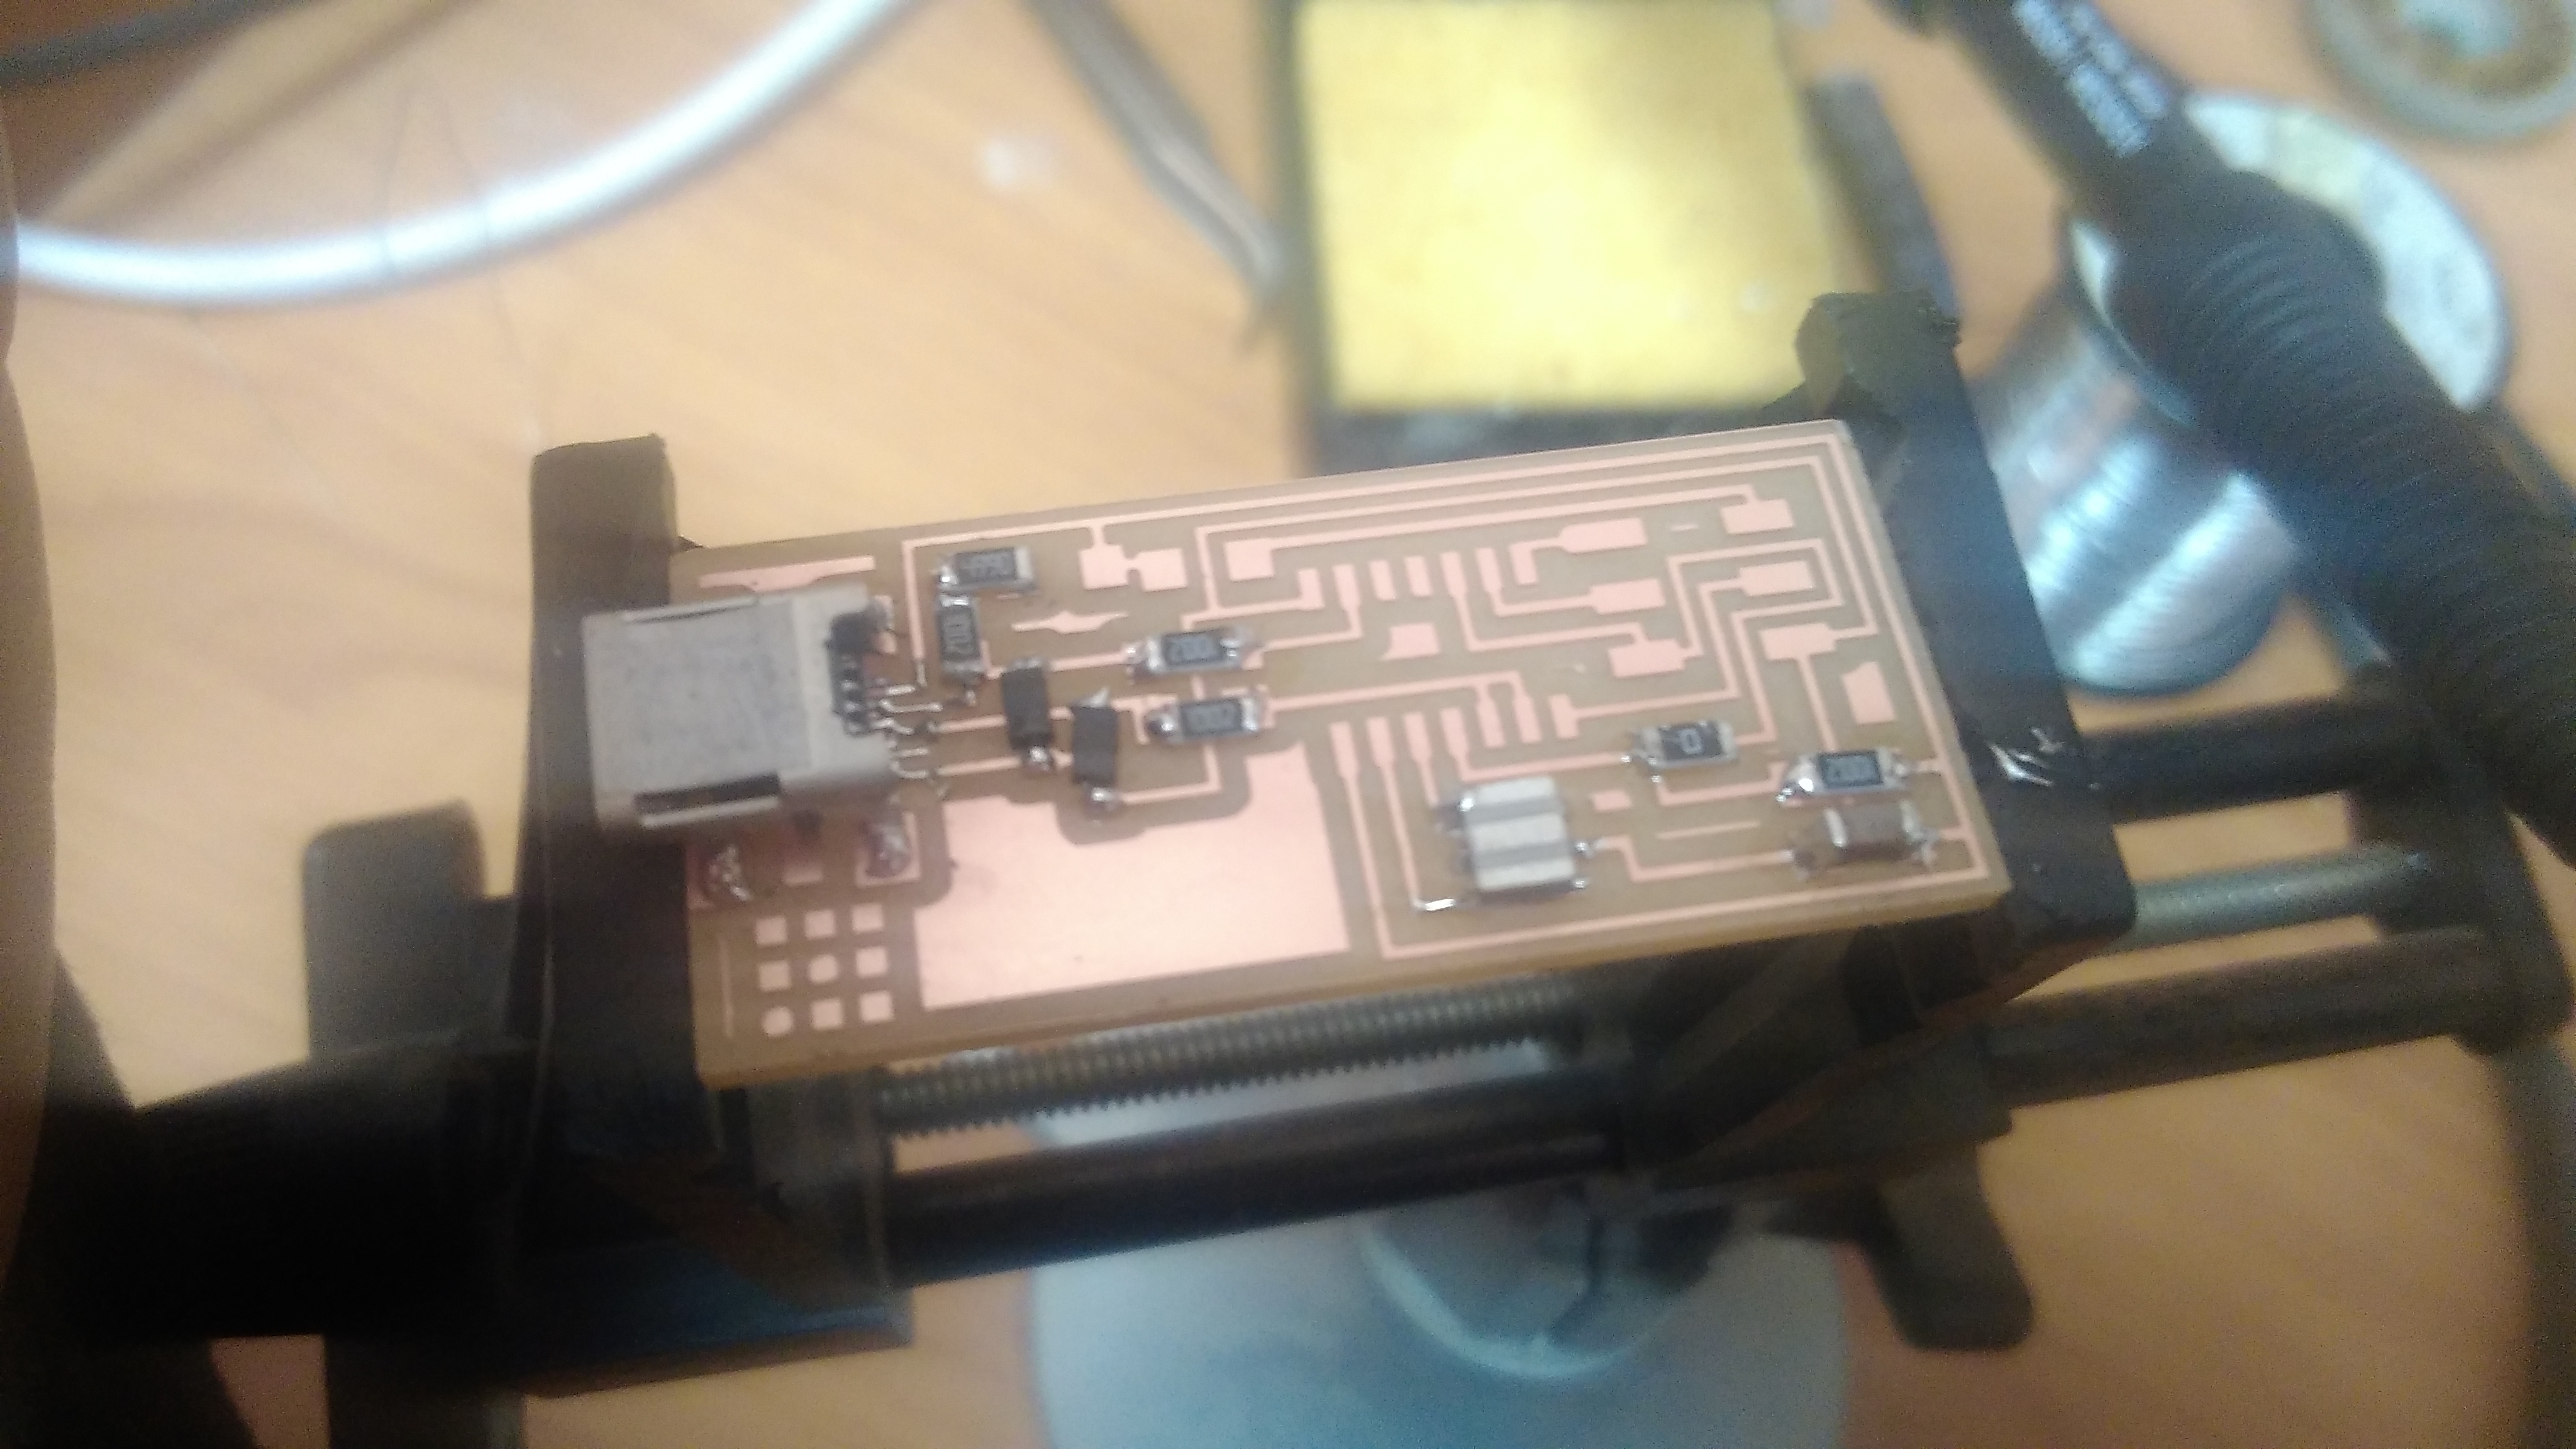
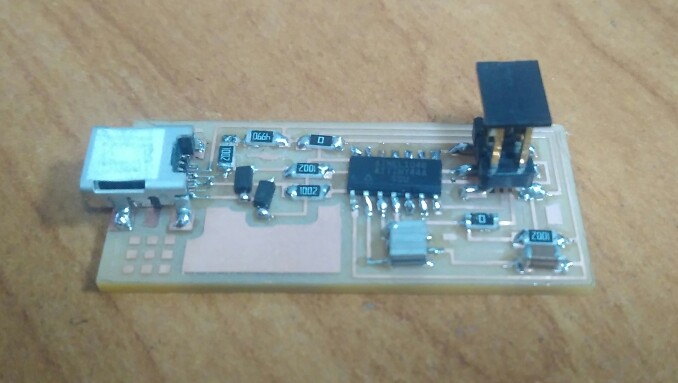
Soldering the Components:
1st: The Required components:2nd: Soldering components and final product:
Programming the Board
Getting the board to program for the 1st time on windows requires few steps to be done.
And here, we go.