Overview
For this week's assignment, It was required to model a possible final project, and post it on your class page.
1st Step: Sketching the project
As the project is a gripper robotic arm with 4 degrees of freedom. I needed to make a simple sketch to imagine the design together.

2nd Step: Getting to work!
To draw the design on the computer, I used to do this at first 2 programs: Sketchup, and Coreldraw. But unfortunately something went wrong with my computer in last minutes, so I had to redo this all over again with Solidworks.
And Since I had no previous experience with solidworks, I went through tutorials, through Lynda.com
3rd Step: 2D Design and 3D design
At this point, I started my first steps in implementing the design after learning.The strategy was to draw the 2D and then extrude it directly to the 3D.
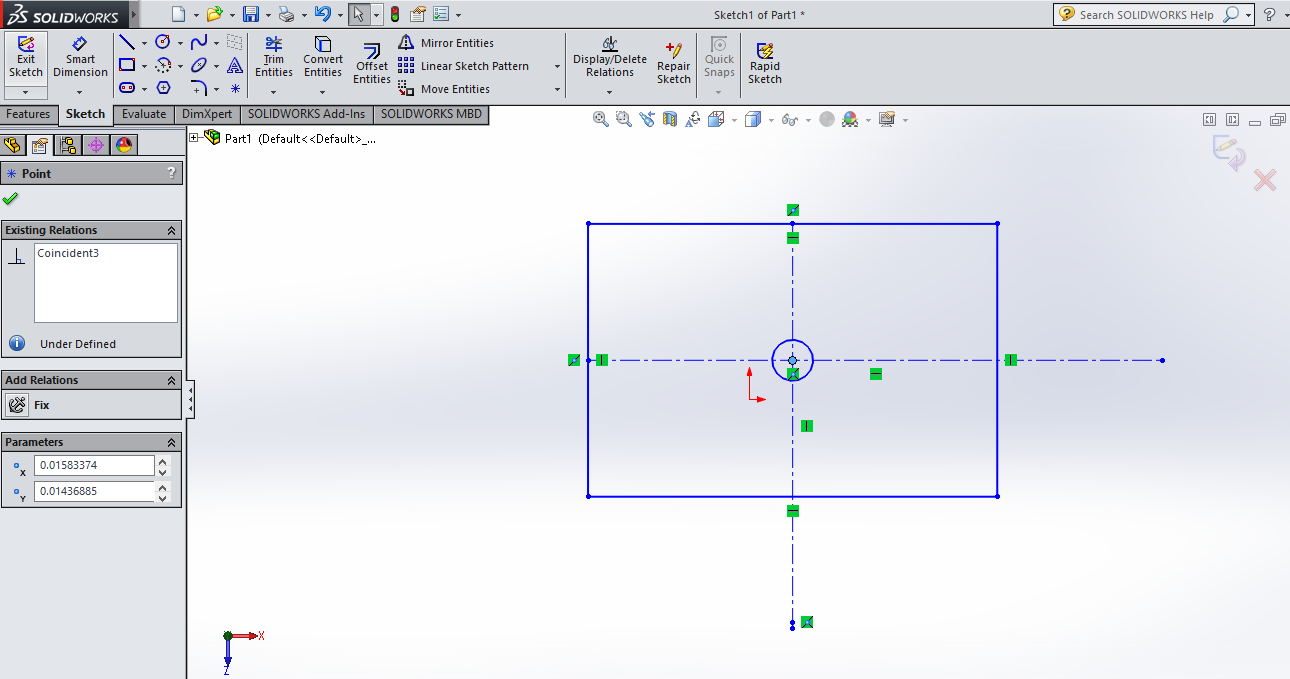
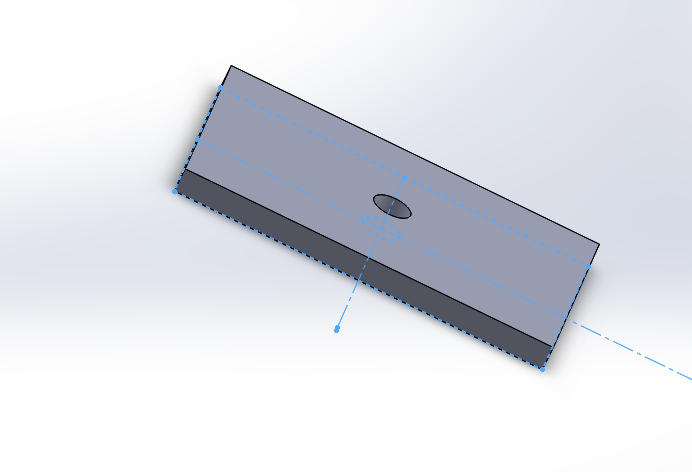
I started with the base of the arm. it's a simple box with a hole to fix the servo motor moving the base inside.
The 2D design.
The 3D design.
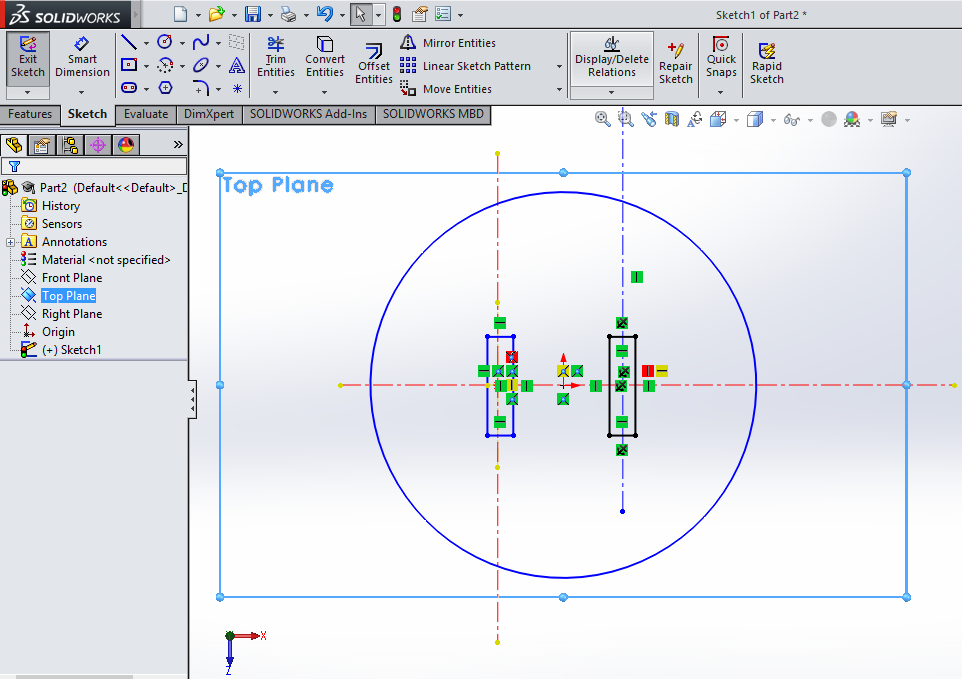
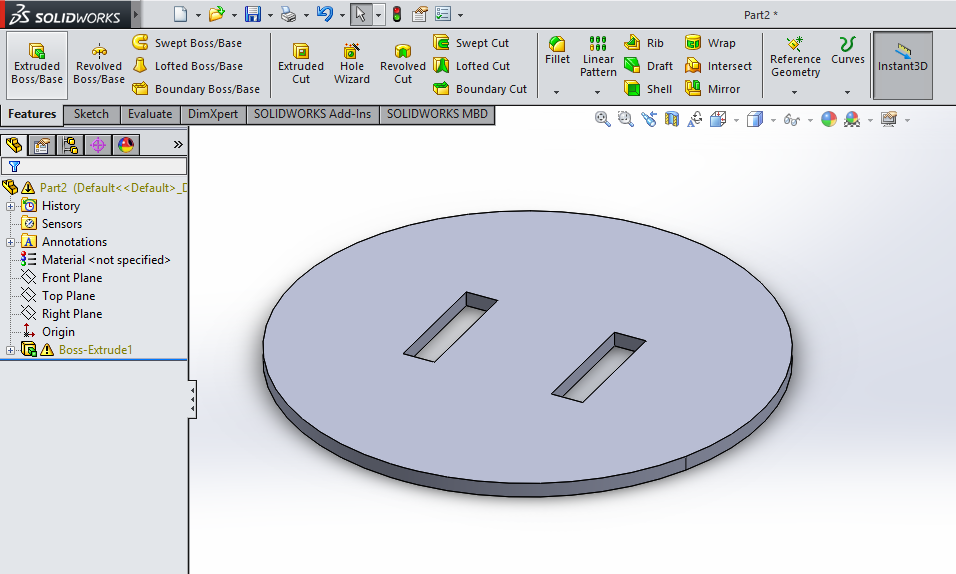
And then the 2nd base comes next.
This base is the main base in which the joints are going to be fixed as press fit.
The 2D design:
The 3D design:
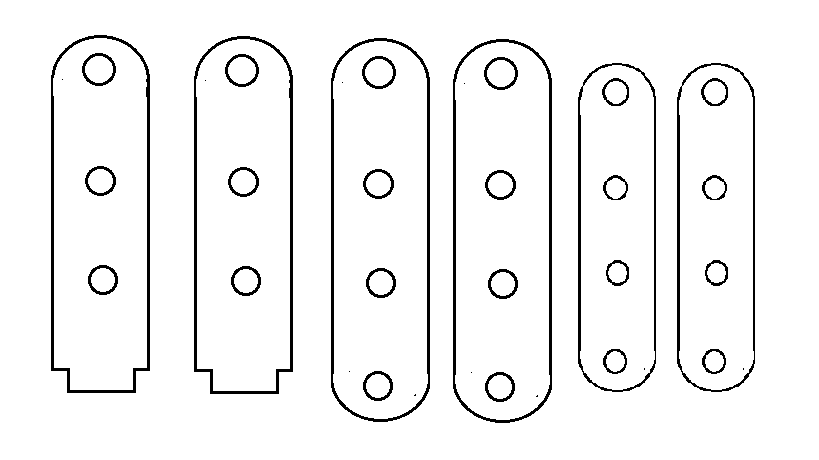
For the joints, I used "Paint" as another 2D tool.
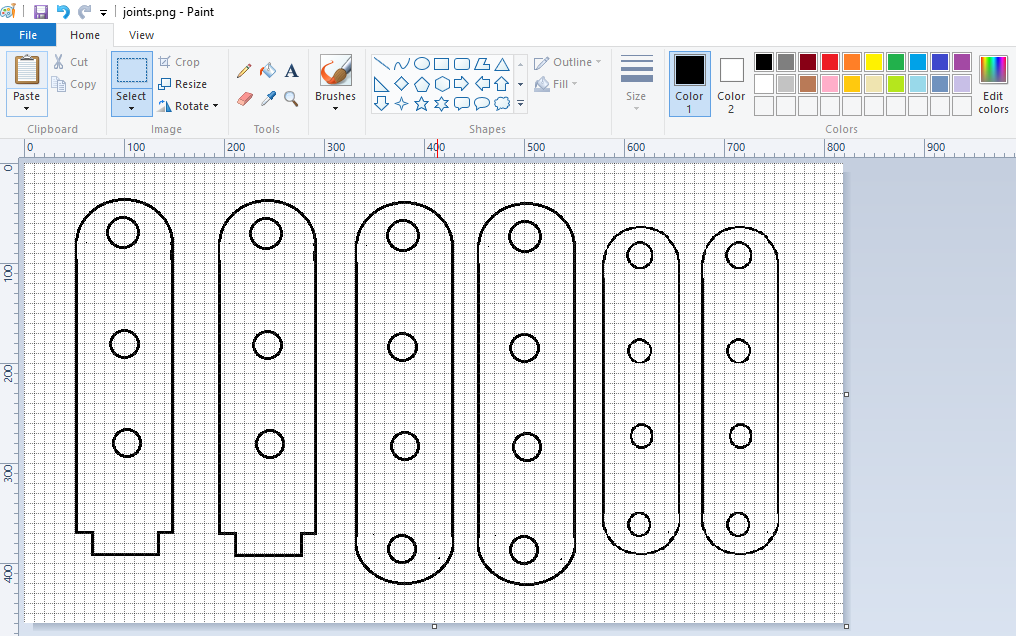
and here is the final look.