
Week 4 - Electronic Production
Anna Kaziunas tutorial was extremely inspiring to complete this assignement
MACHINNING
Positionning of the epoxy/copper plate in the machine (MODELA) with double side tape
It's important to verify the planeity of the MDF plate before use because it could create some default on the machined copper plate :
- Different level of machining with a conic tool give different width of copper track on the plate
- The tool could be detroy if the effort on it are too strong

Clean the space of machining to avoid any colision during process
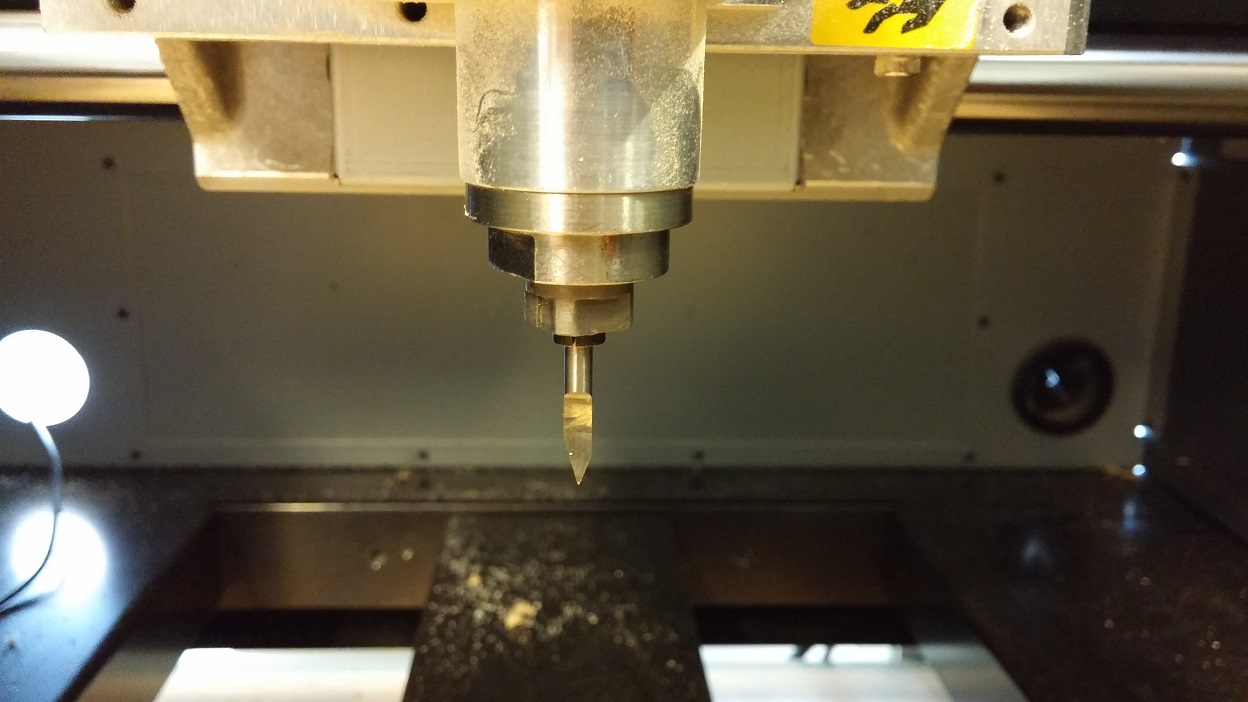
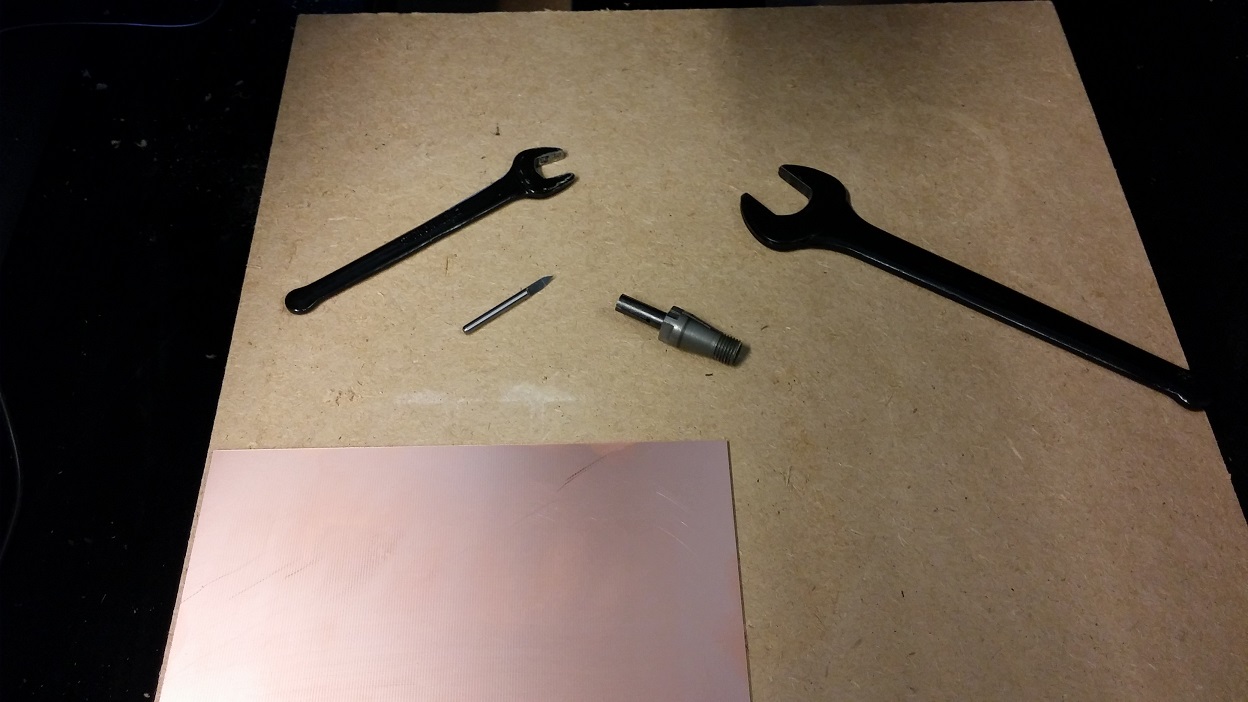
Choose the correct tool and install it on the machine
This one is specialized for electronic production

Machining electronic product need an important precision regarding the size of the track of the circuit board.
This precision is given by de Z-zeroing of the plate, so it's one of the most important step of this tutorial
There is 2 method for Z-zeroing the plate.
- The first one is to approach manually the tool tip, loosen the tool in order to drop it on the plate and retighten it. It's the Static Method
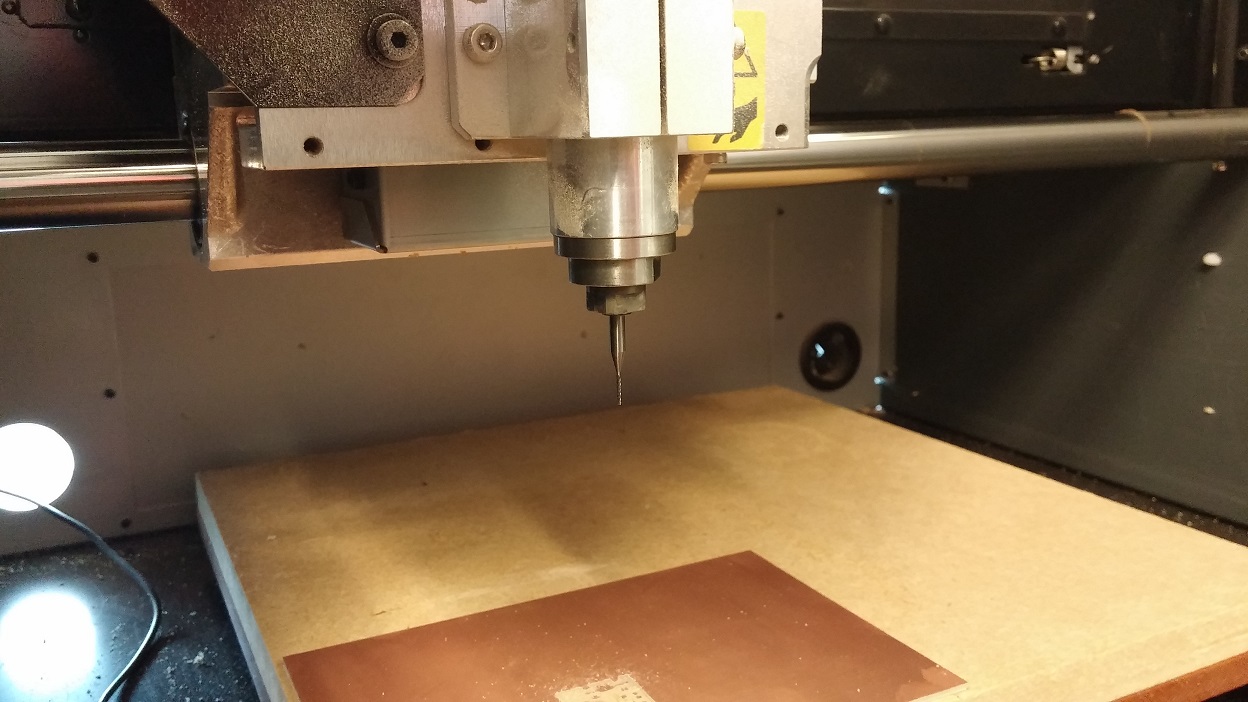
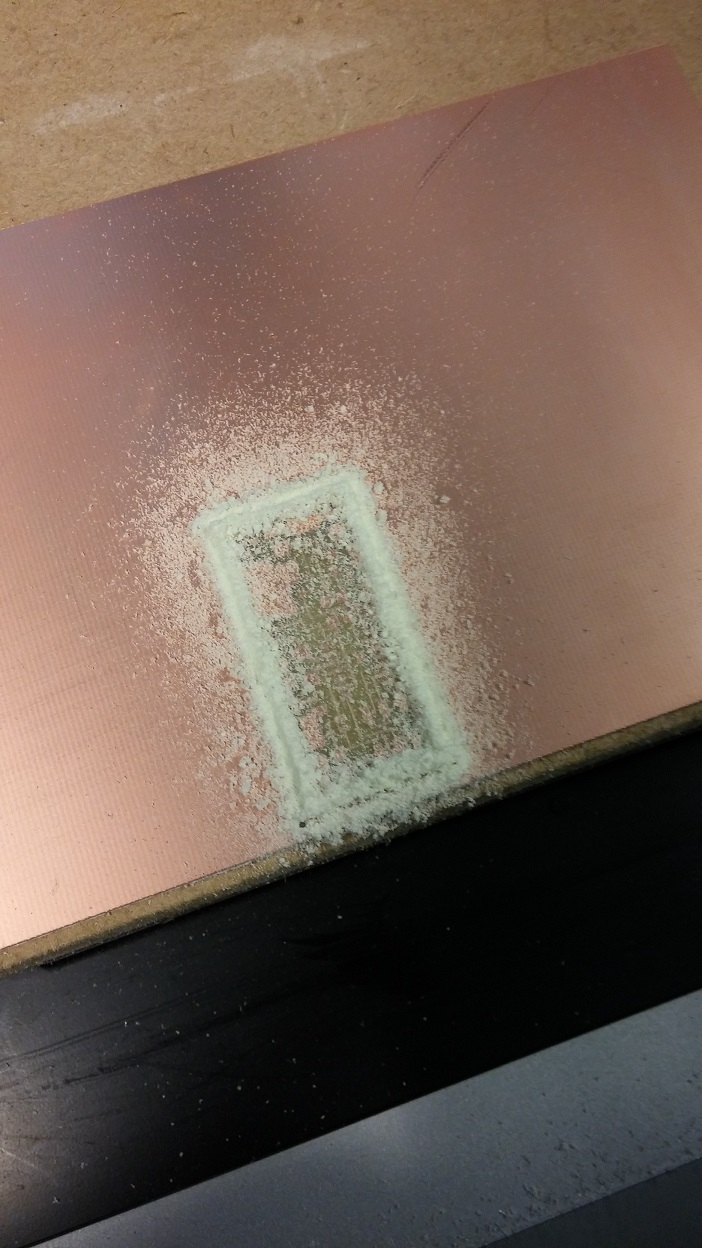
- The second one consist in rotating the spindle, approach the plate with the control software until dust appear at the tool tip. It's the Dynamic Method
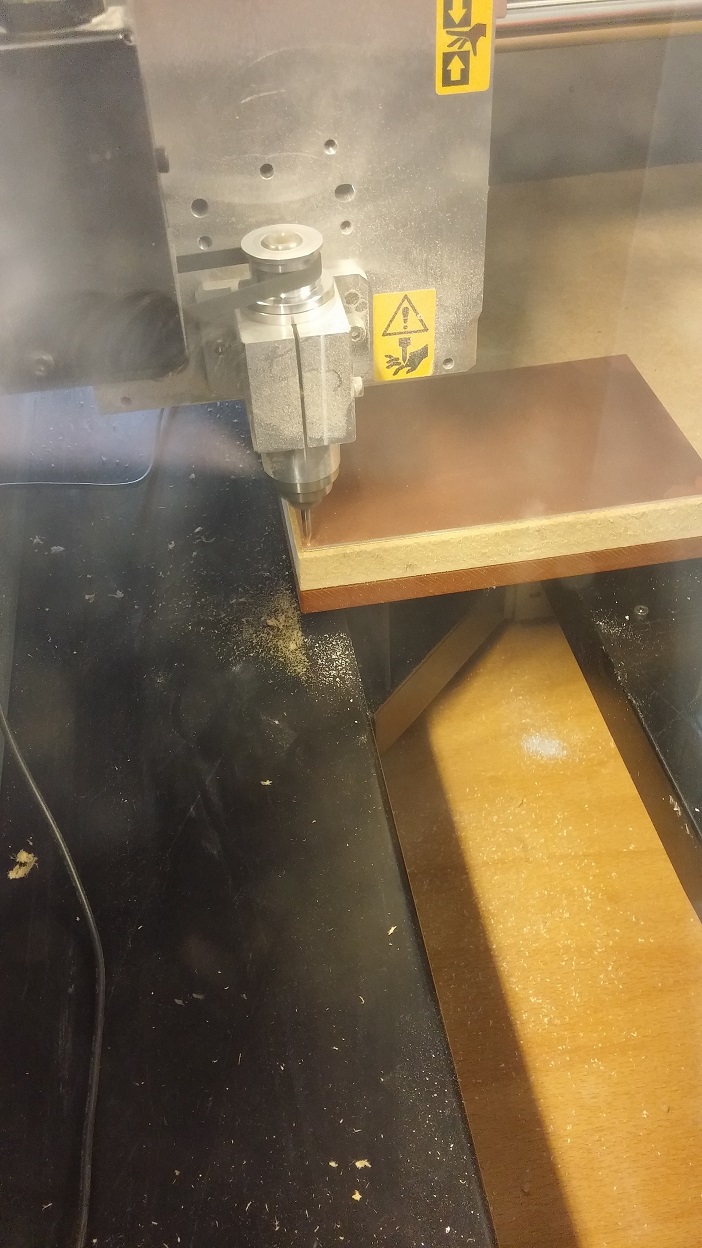
This picture show the Dynamic Method explained before.
To avoid any issue with the Z-zeroing step you can also "surface" the MDF plate with the right tool before electronic machining.
This method need to be done each time when the room where is install the machine is subject to temperature variations
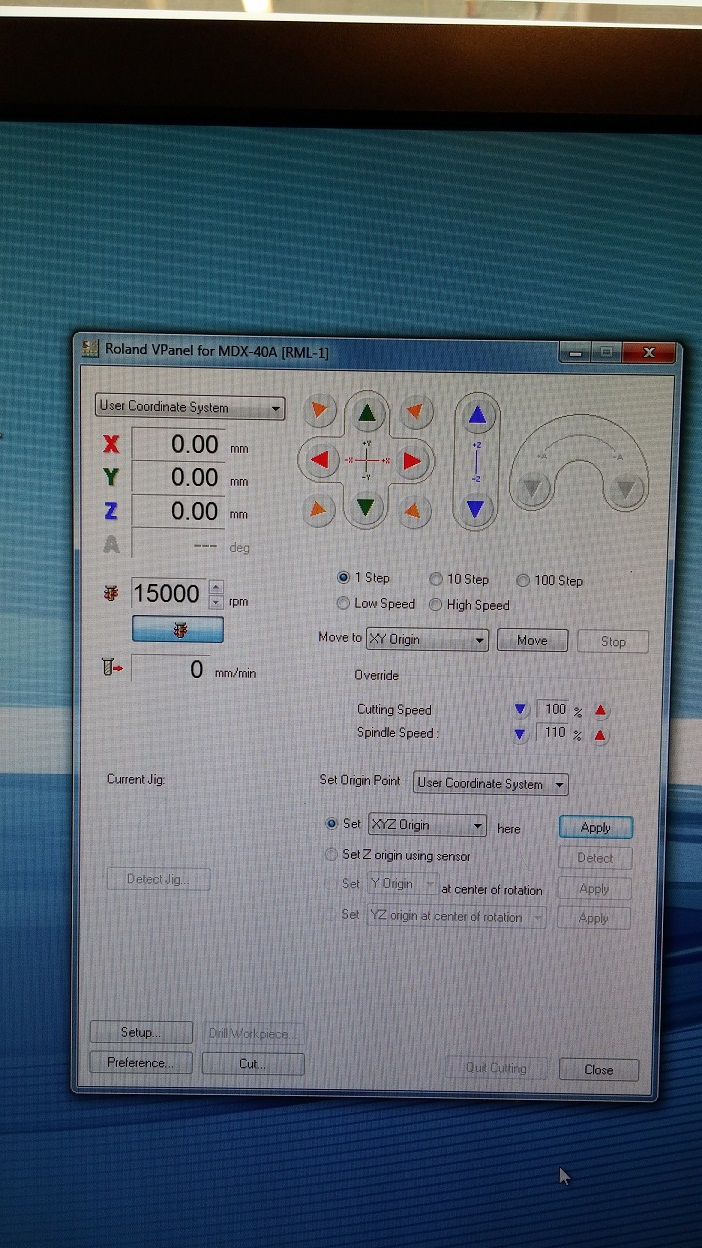
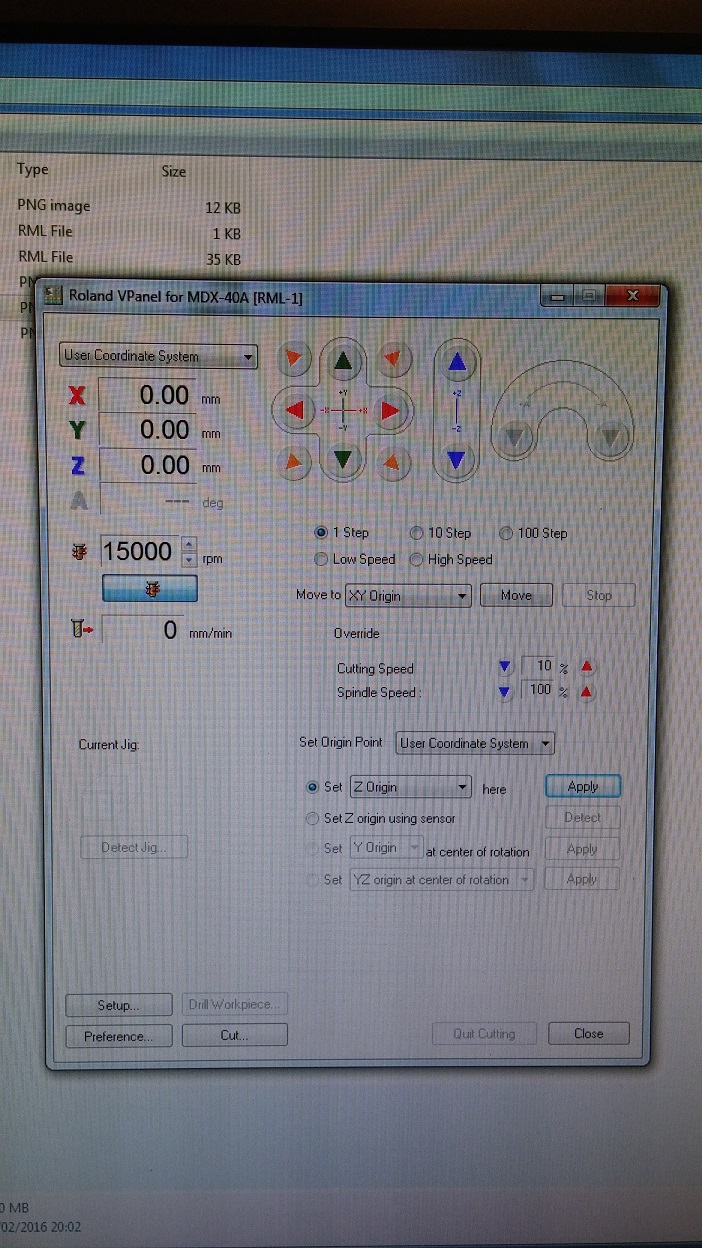
When the Z position and X/Y position is good for you, you can "Set XYZ origin" to Zero.
As you can see on the picture the coordinate are set to 0 after pushing the apply button
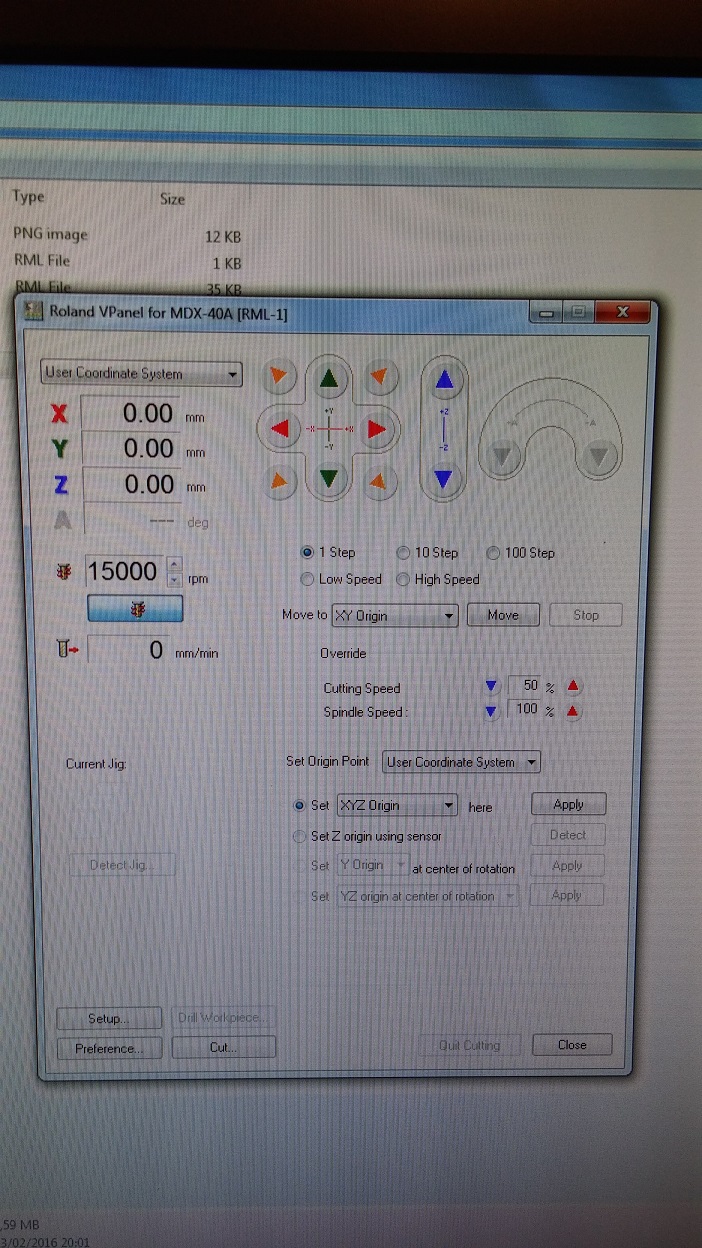
Now you can set the cutting speed. Romain told us that the best cutting speed was 50% of the max speed for movement and 100% for spindle speed.
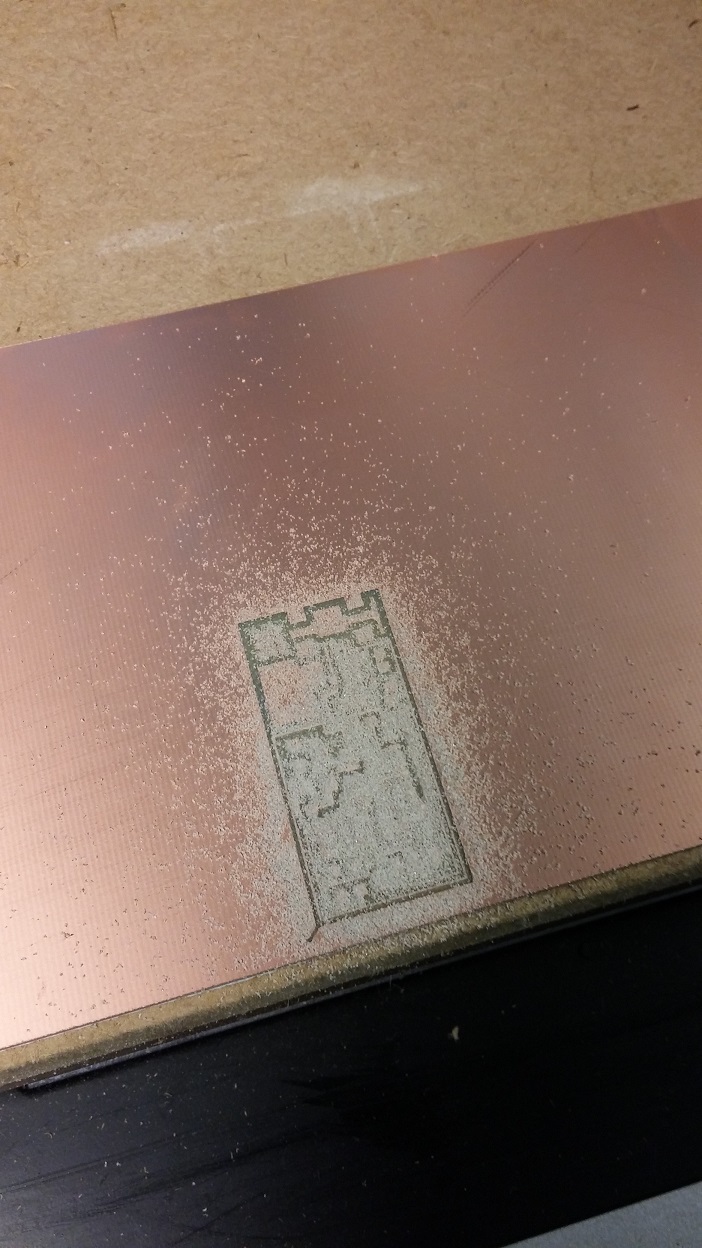
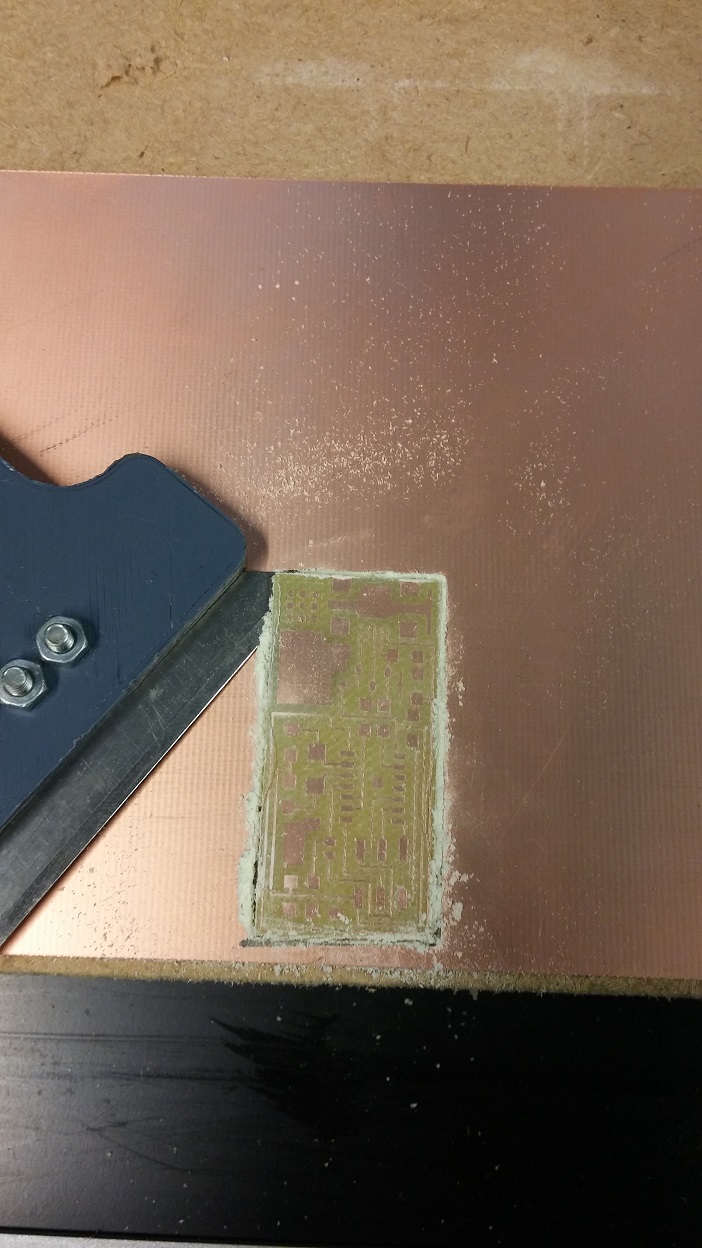
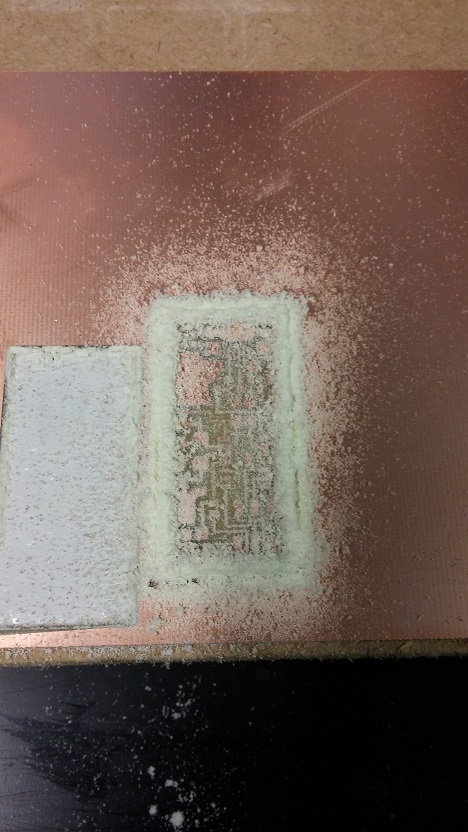
Here is the engraved plate
Now we need to install the tool for clipping and Z-zeroing the plate again (Each time you mount/unmount a tool, you need to Z-zero the plate).
Be careful : DO NOT X/Y zero the position of the tool to ensure that you clip/cut the board exactly around the engraving
So when you had choose the Static or Dynamic Method, Z-Zero the plate by applying "Set Z Origin"
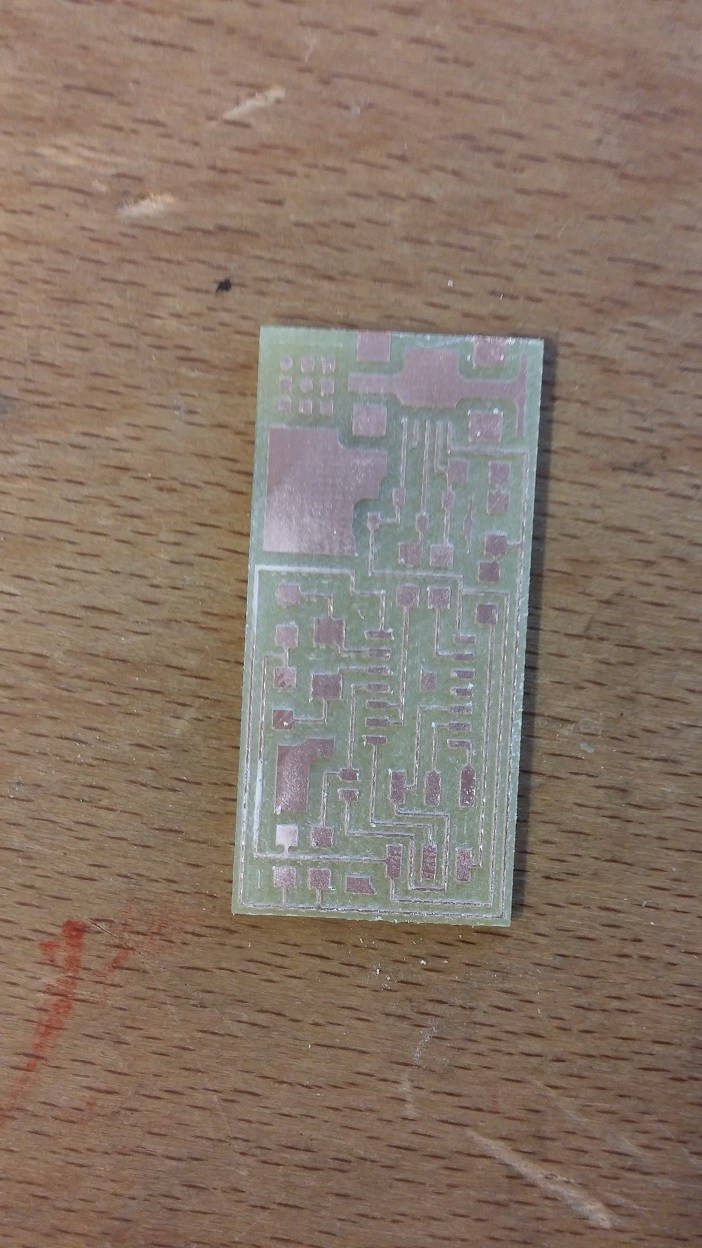
Here is the clipped board
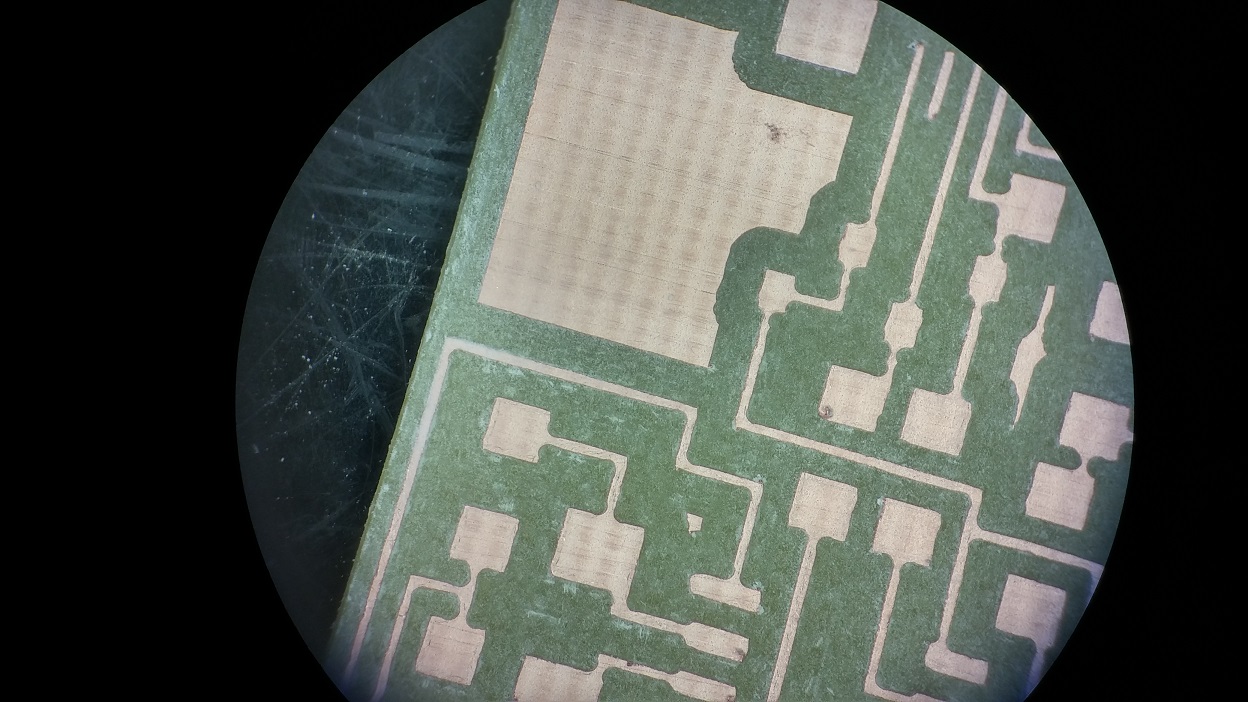
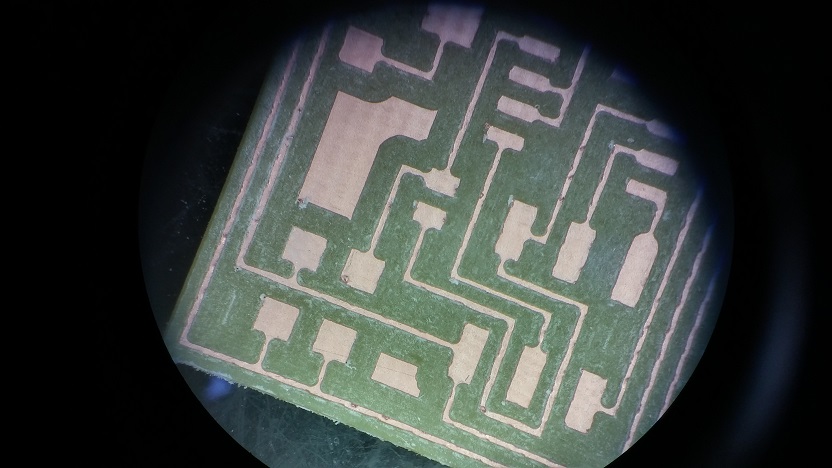
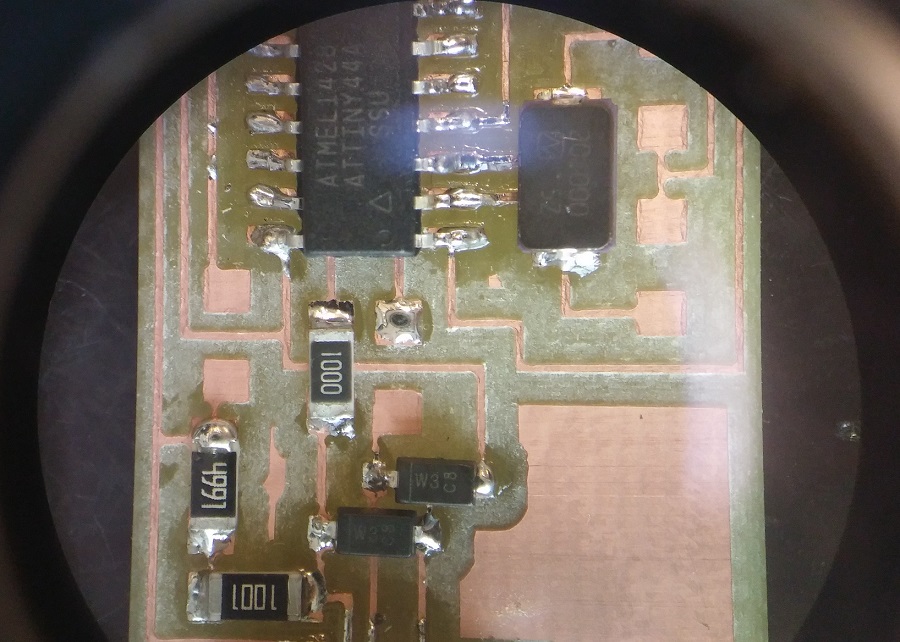
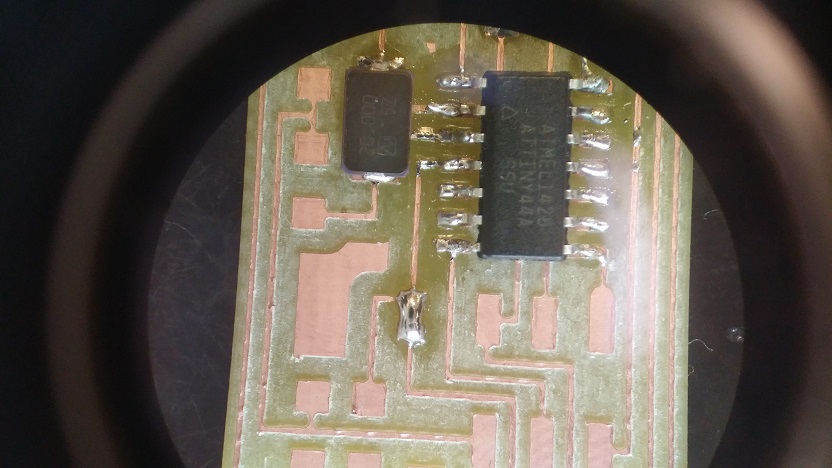
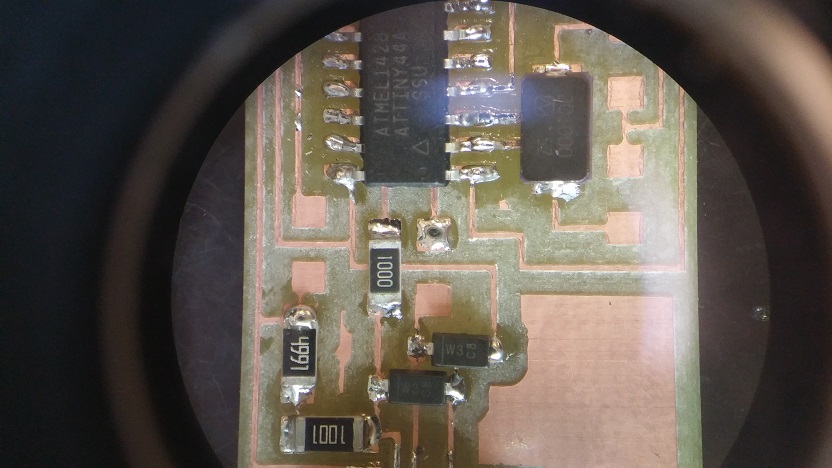
Inspection of the track on the microsope to ensure the continuity on each track.
NB : You can also use a multimeter to check the continuity
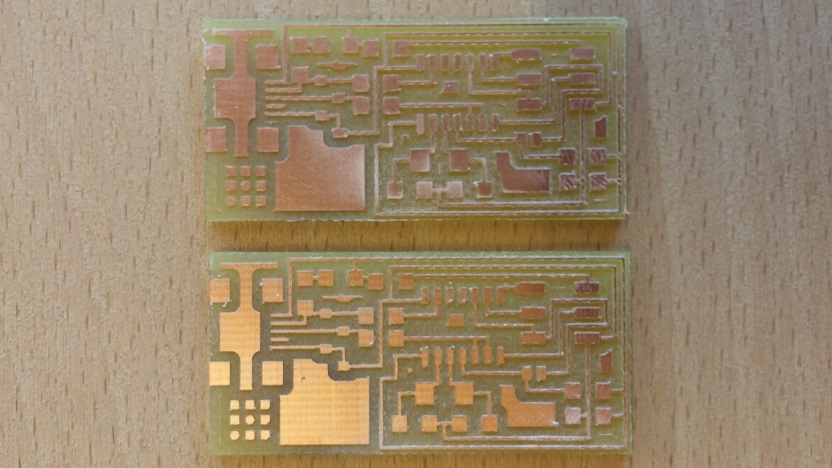
I decided to produce another board just in case of problem during soldering step
SOLDERING
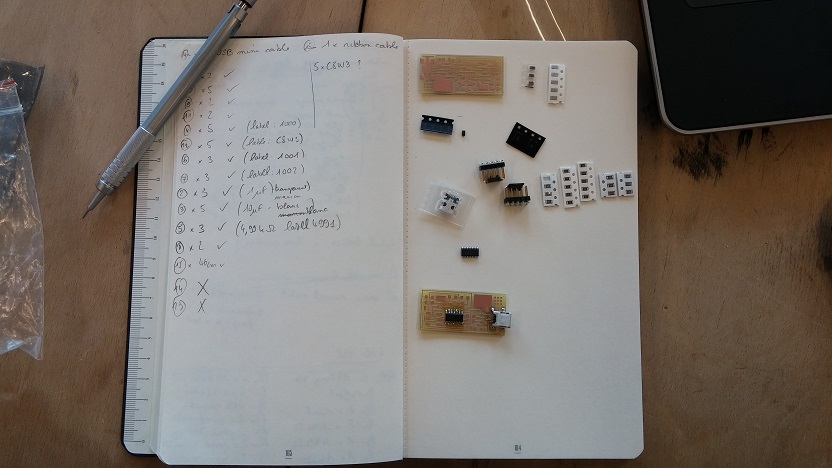
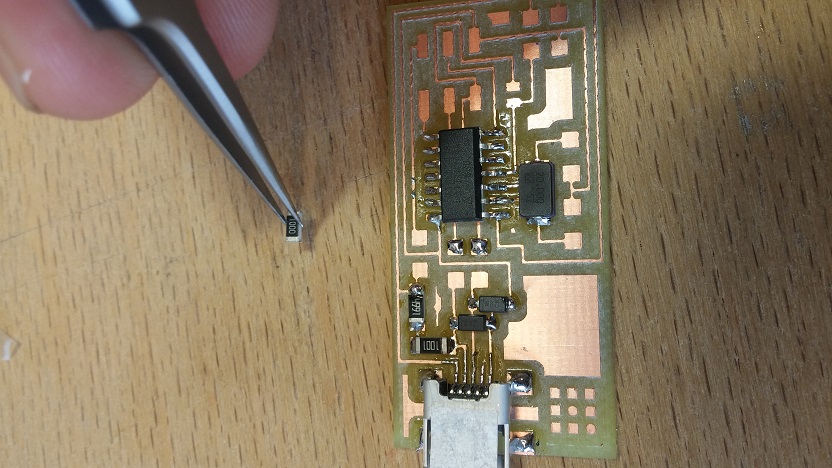
Collect all the components needed for this board.
The best method is to "tape" them on paper with the description wrote near them.
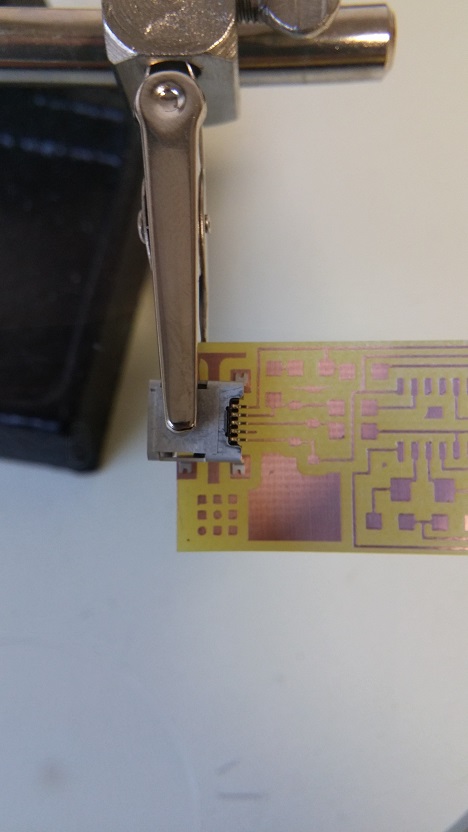
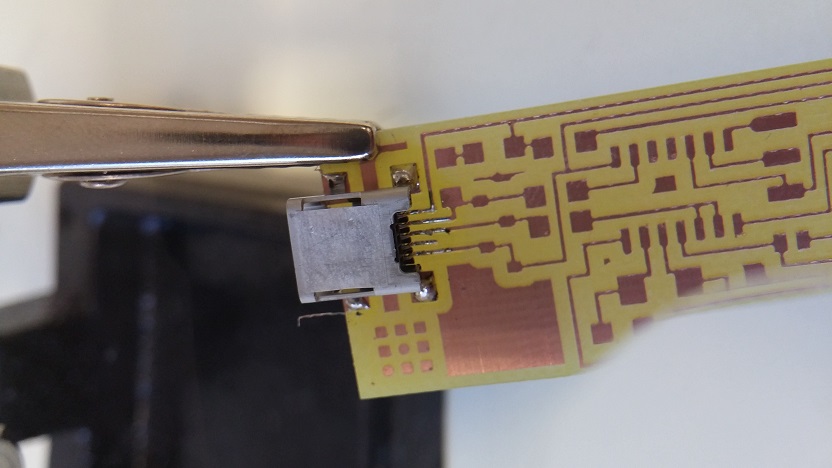
Found a method to keep in position the first component (for this board, it's better to begin with the USB) and start soldering.
To solder, put your soldering tip on the track to heat it for few seconds.
When it's heated, put your tin in contact with the track and normaly it will flow to cover the surface of copper and you're OK.
You may have to repeat this many times to be confident with it, but when you're good it's really pleasant to do ;)
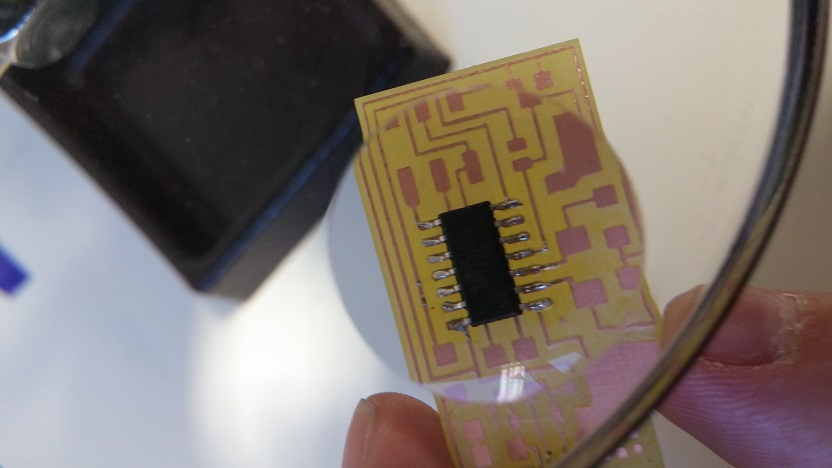
Some pictures of the soldering work :
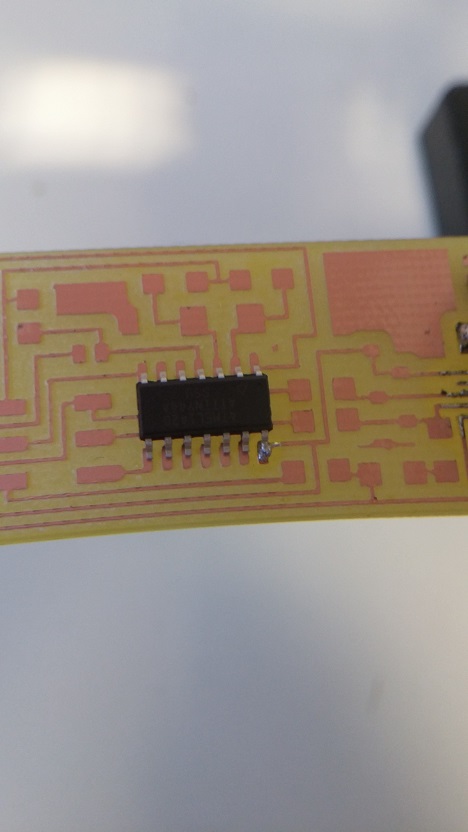
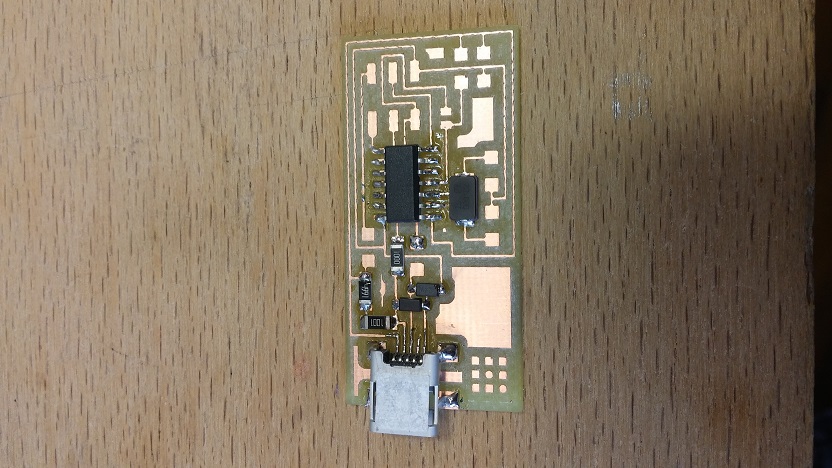
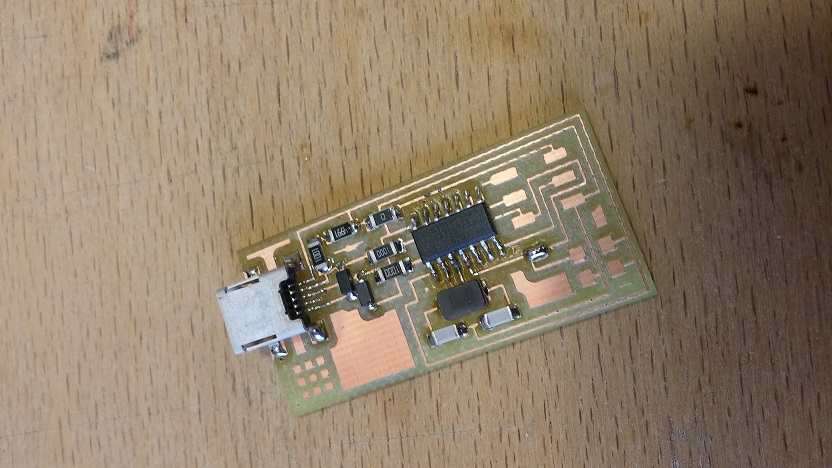
The final result
PROGRAMMATION
This tutorial was made for Windows 7
- Install WinAVR
- Download the drivers AND the Firmware (you can find them on Anna Kaziunas website.
- Plug the programmer (FAB ISP the 0 Ohm and jumper desoldered to be able to programme a new ISP)
- Install the drivers (in French : Gestionnaire de Periphérique/Mise à jour de pilote/vers le dossier téléchargé)
- Connect the programmable ISP
The set up is now : 2 FAB ISP connected on USB and together with 6 pins (refer to the color of pin and they need to be connected "straight" not "cross")
- Modify the "Make" file :
- From this :
- To this :
- Save it
- Open a terminal (in "execut" insert "cmd")
- Move the firmware to the folder indicated by the terminal (normally C:\users\YOUR NAME>)
- Open the folder in the terminal
- insert the following command :
- make clean
- make hex
- make fuse
- make program
#AVRDUDE = avrdude -c usbtiny -p $(DEVICE) # edit this line for your programmer
AVRDUDE = avrdude -c avrisp2 -P usb -p $(DEVICE) # edit this line for your programmer
AVRDUDE = avrdude -c usbtiny -p $(DEVICE) # edit this line for your programmer
#AVRDUDE = avrdude -c avrisp2 -P usb -p $(DEVICE) # edit this line for your programmer
cd firmware
cd fabISP_mac.0.8.2_firmware
TIPS : you can tape the first letter "f" (for this example) and "tab" to get the different name of folder/files
Congratulation you have already program your first FAB ISP and you're now able to program other FAB ISP with this one ;)
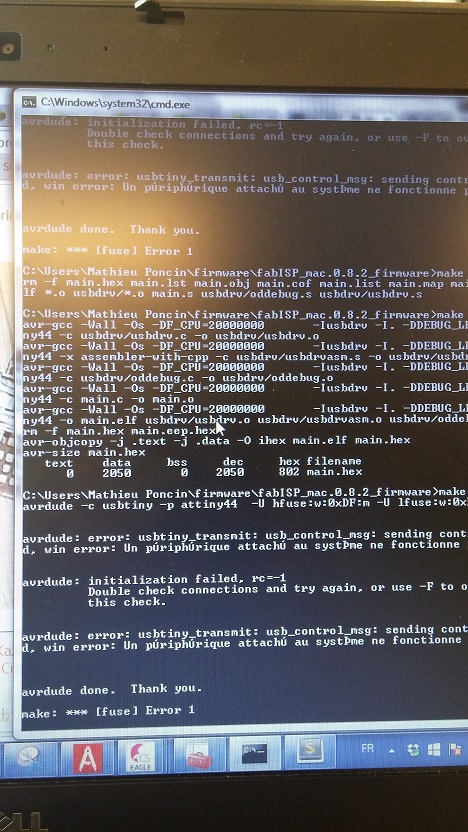
You can see some screenshots below
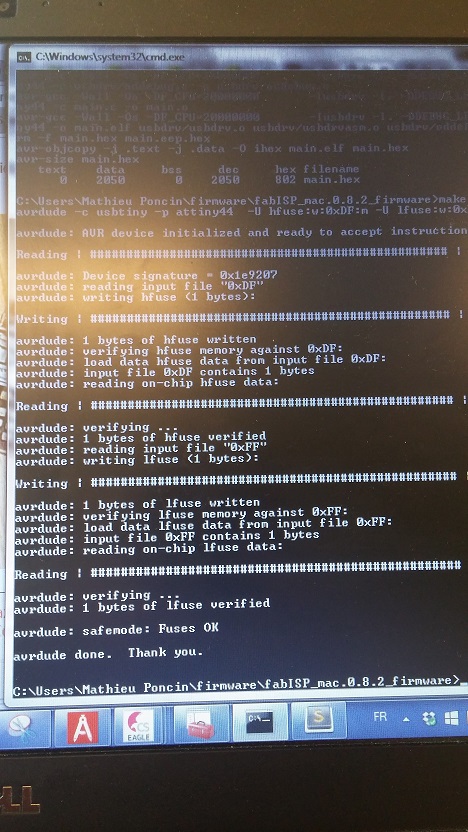
The system should display the following lines if you succeed :
avrdude: safemode: Fuses OK
avrdude done. Thank you.
CONGRATULATION