Setting up
As I never made my own Webpage, I first started reading tutorials on HTML5 and CSS language, I quickly understood that working on a Linux machine would be more productive so I created a double boot on my PC.
Dual Boot
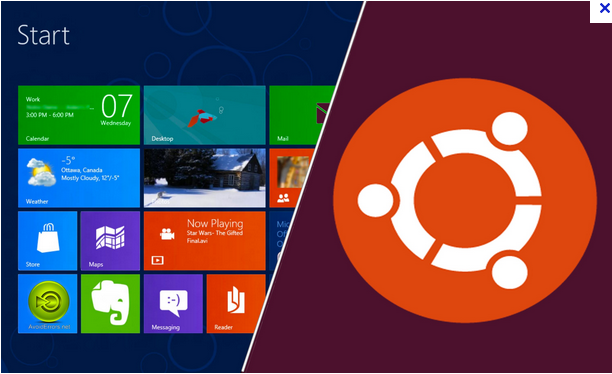
Having a dual boot allows you, when you start your computer, to chose with which operating system you want to work, can be really handfull if you installed Windows 10 on your computer ( I just hate it).
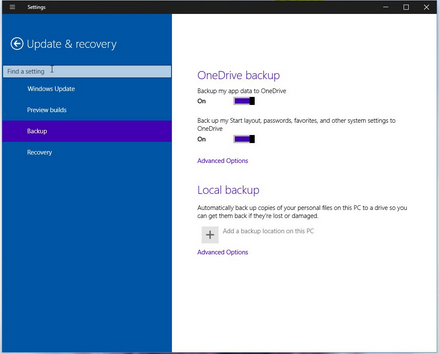
So first you want to make sure you created a back up for your files
And you also want to find the Windows recovery CD/DVD if you ever had one, thats if you mess up and get something like this :

Once you took all these precautions we can start!
The easiest way of doing this ( and the safist) is to install Ubuntu after Windows
These are all the steps:
Click Here!
Once you finised, restart your computer you should get a menu like this one :
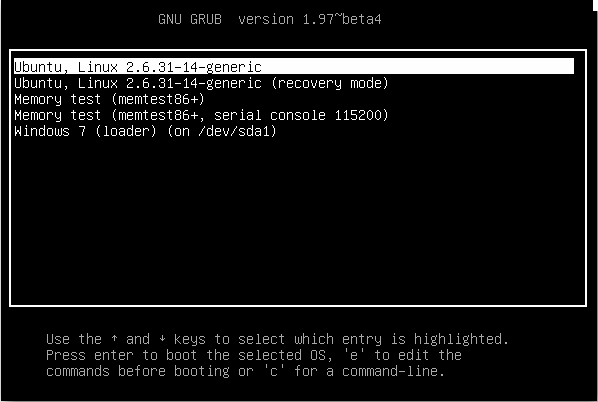
Now you have the option to work on Ubuntu ( I find it way more stable than Windows 10 plus on Windows the the terminal is almost inexistant).
HTML
I've then started coding my first Webpage, I could have used a template but I thought that having some notions of HTML5 could always be helpfull .
I had never made a website, so I started from scratch, I looked some tutorials on the web, quickly understood that I would have to write html pages:
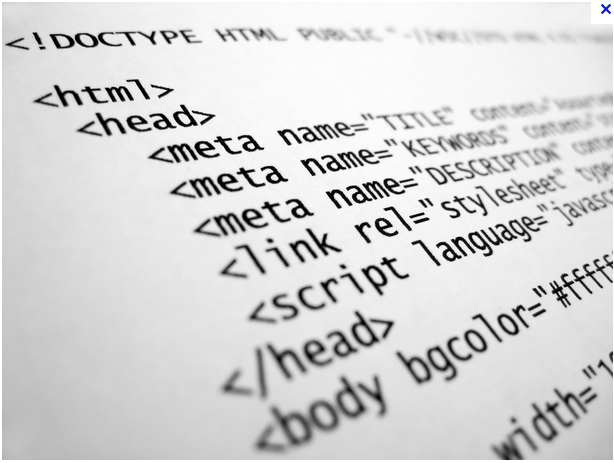
But also CSS to add some style!
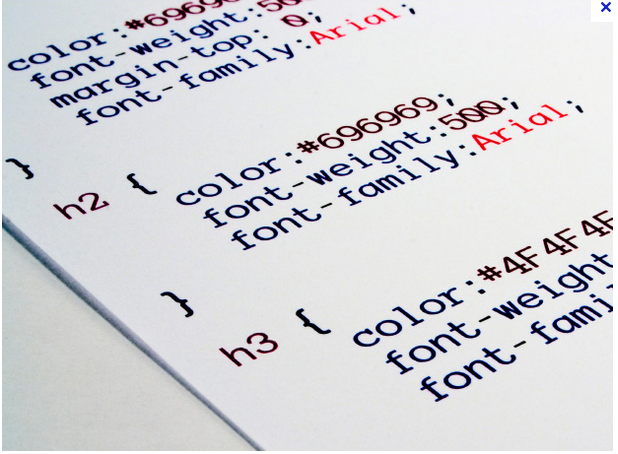
So I found that the most convinient way of working, was to have you editor on half of the page, and your browser on the other half, like this:
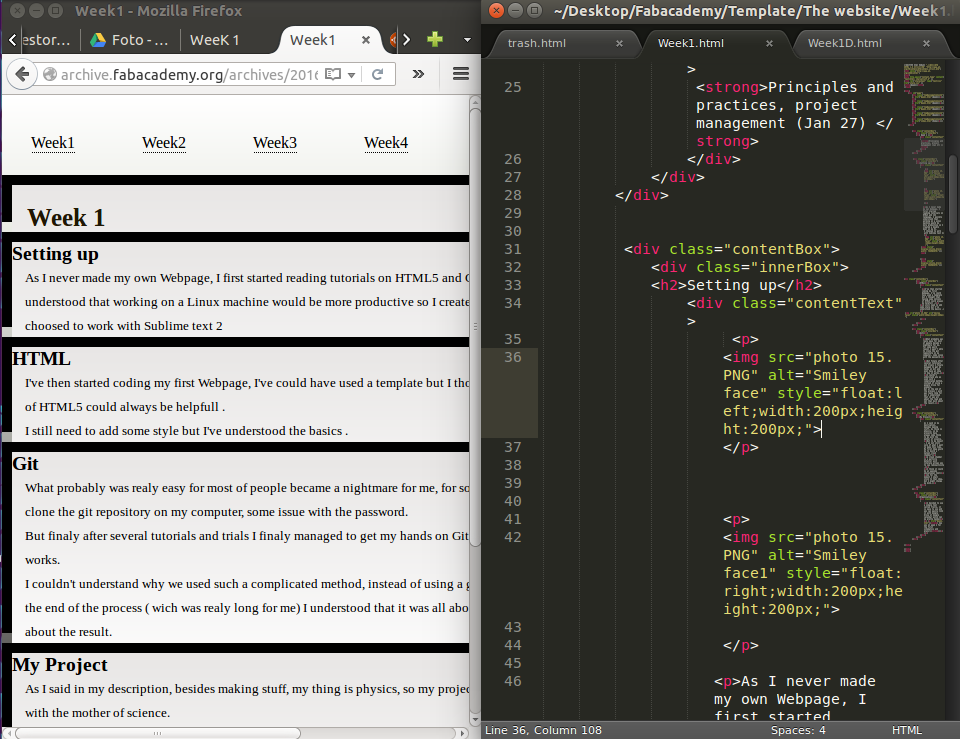
I choosed to work with Sublime text 2
You can use shortcuts to be even quicker : CTRL+S for saving on Sublime , and CTRL+R on your browser to refresh your page after changes.
I still need to add some style but I've understood the basics .
Note: finally I did use a template.
Install and configure Git
What probably was realy easy for most of the people became a nightmare for me, for some weird reason I wasn't able to clone the git repository on my computer, some issue with the password.
But finaly after several tutorials and trials I finaly managed to get my hands on Git and even have an idea on how it works.
I couldn't understand why we used such a complicated method, instead of using a google drive for exemple.
But at the end of the process ( wich was realy long for me) I understood that it was all about the road and not that much about the result.
Working on Ubuntu forced me to pass by the terminal to install new softs, for Git,on your terminal type :

Once you followed the steps, you want to make sure you've got the latest version :

Now you want to configure git, on one side you should have a link to the Git page of the Fabacdemy, you need to create an account and a password.
Once youve done that, you can type on your terminal :

And check you confiuration :

The last step is to configurate your SSH :
Click Here!
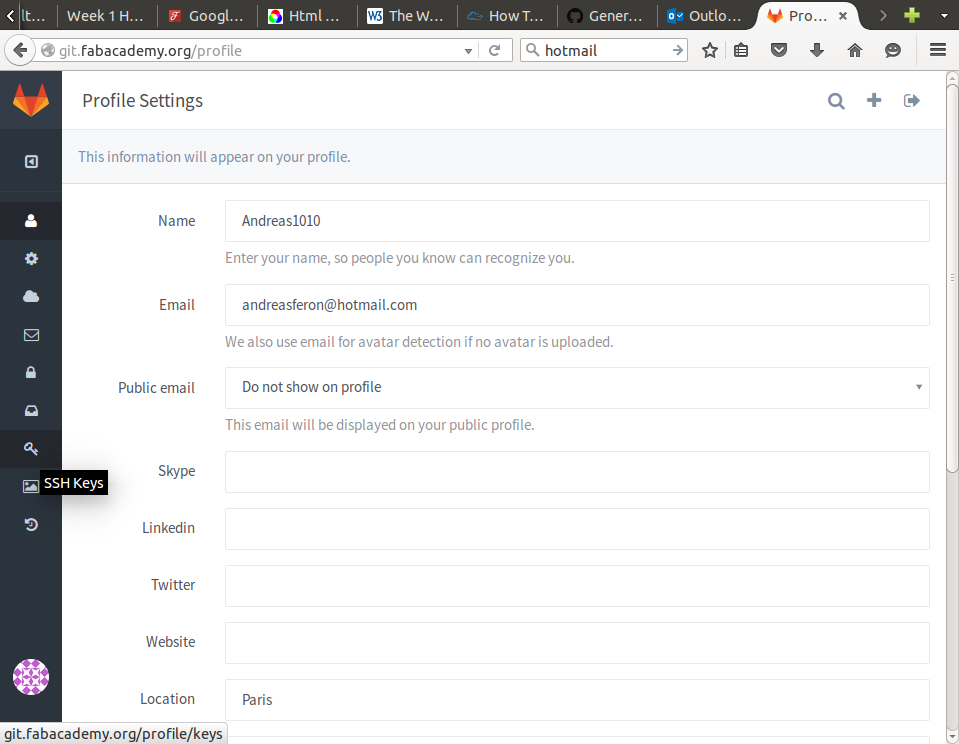
Once you followed those steps, go to:
git.fabacademy
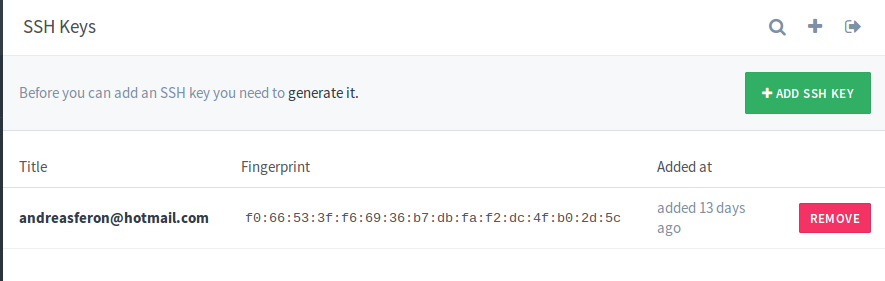
And in Profile look for SSH key :
You want to copy/passt the SSH key, and should end with something like this :
To test your conection:
Click Here!
Use Git
First you want to create a new folder, this will be your local repository, open a terminal in that folder and type :
Now we need to clone our local repo:

If you use a distant server :

This is how your local repo is structured:
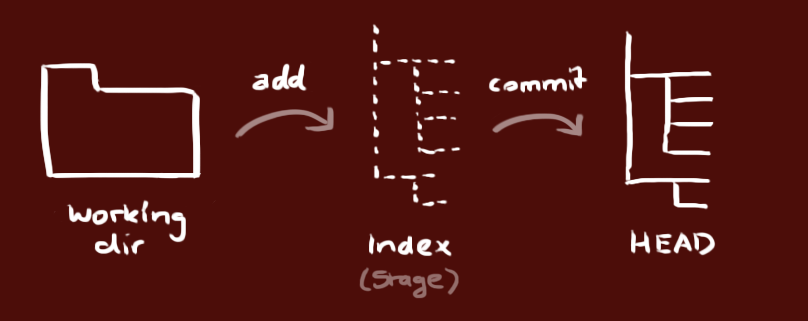
To add a file to your repo (this is the first step in a normal workflow with Git) , just type :

Then you need to validate (you can put any message it is just a reminder) :

Now your changes are in the Head of your local repo, we need to send them in the remote repo, simply type :

(You can remplace "master" by the branch in which you want to send the changes)
If you didn't clone you local repo and want to connect it to the distant repo, you need to add it:

Or just type "git pull" this will reconnect you to your distant repo.
Atention!
If you change your password on the Git website you need to totaly disconect/reconnect in order to validate the change of your password, if not it will keep the old one, this has been one of the main issues for me .
Screenshots
One of the most important thing! Take screen shots of everything you do!
I found Screenpresso that works perfectly for me, you can add a little icon on your screen that comes to be really handy.