This assignment was to create a large mould and then make a fiber composite using that mould. I decided to use the Shop Bot and some foam for my mould. I had never cut foam on a CNC before, so I thought it would be fun to try.
The first thing I did was design my mould using VCarve. I imported the fab logo as a .jpeg and then I converted it to a bitmap so that I could just use the outlines.
![]()
![]()
I wanted to try to cut the images with "step downs" so that there was a more gradual "slope" to ths shape, so I tried using the "offset" tool. First I inched the pieces away from one another to give some room for my offset, then I created some offsets 0.25 wide because that was how wide my bit was.
![]()
Then I selected each outline separately and set the toolpath to a different depth. For the deepest pocket, I used the Inlay pocket toolpath and I set it to raster. The other "outlines" I set as a profile toolpath at shallower depths.
![]()
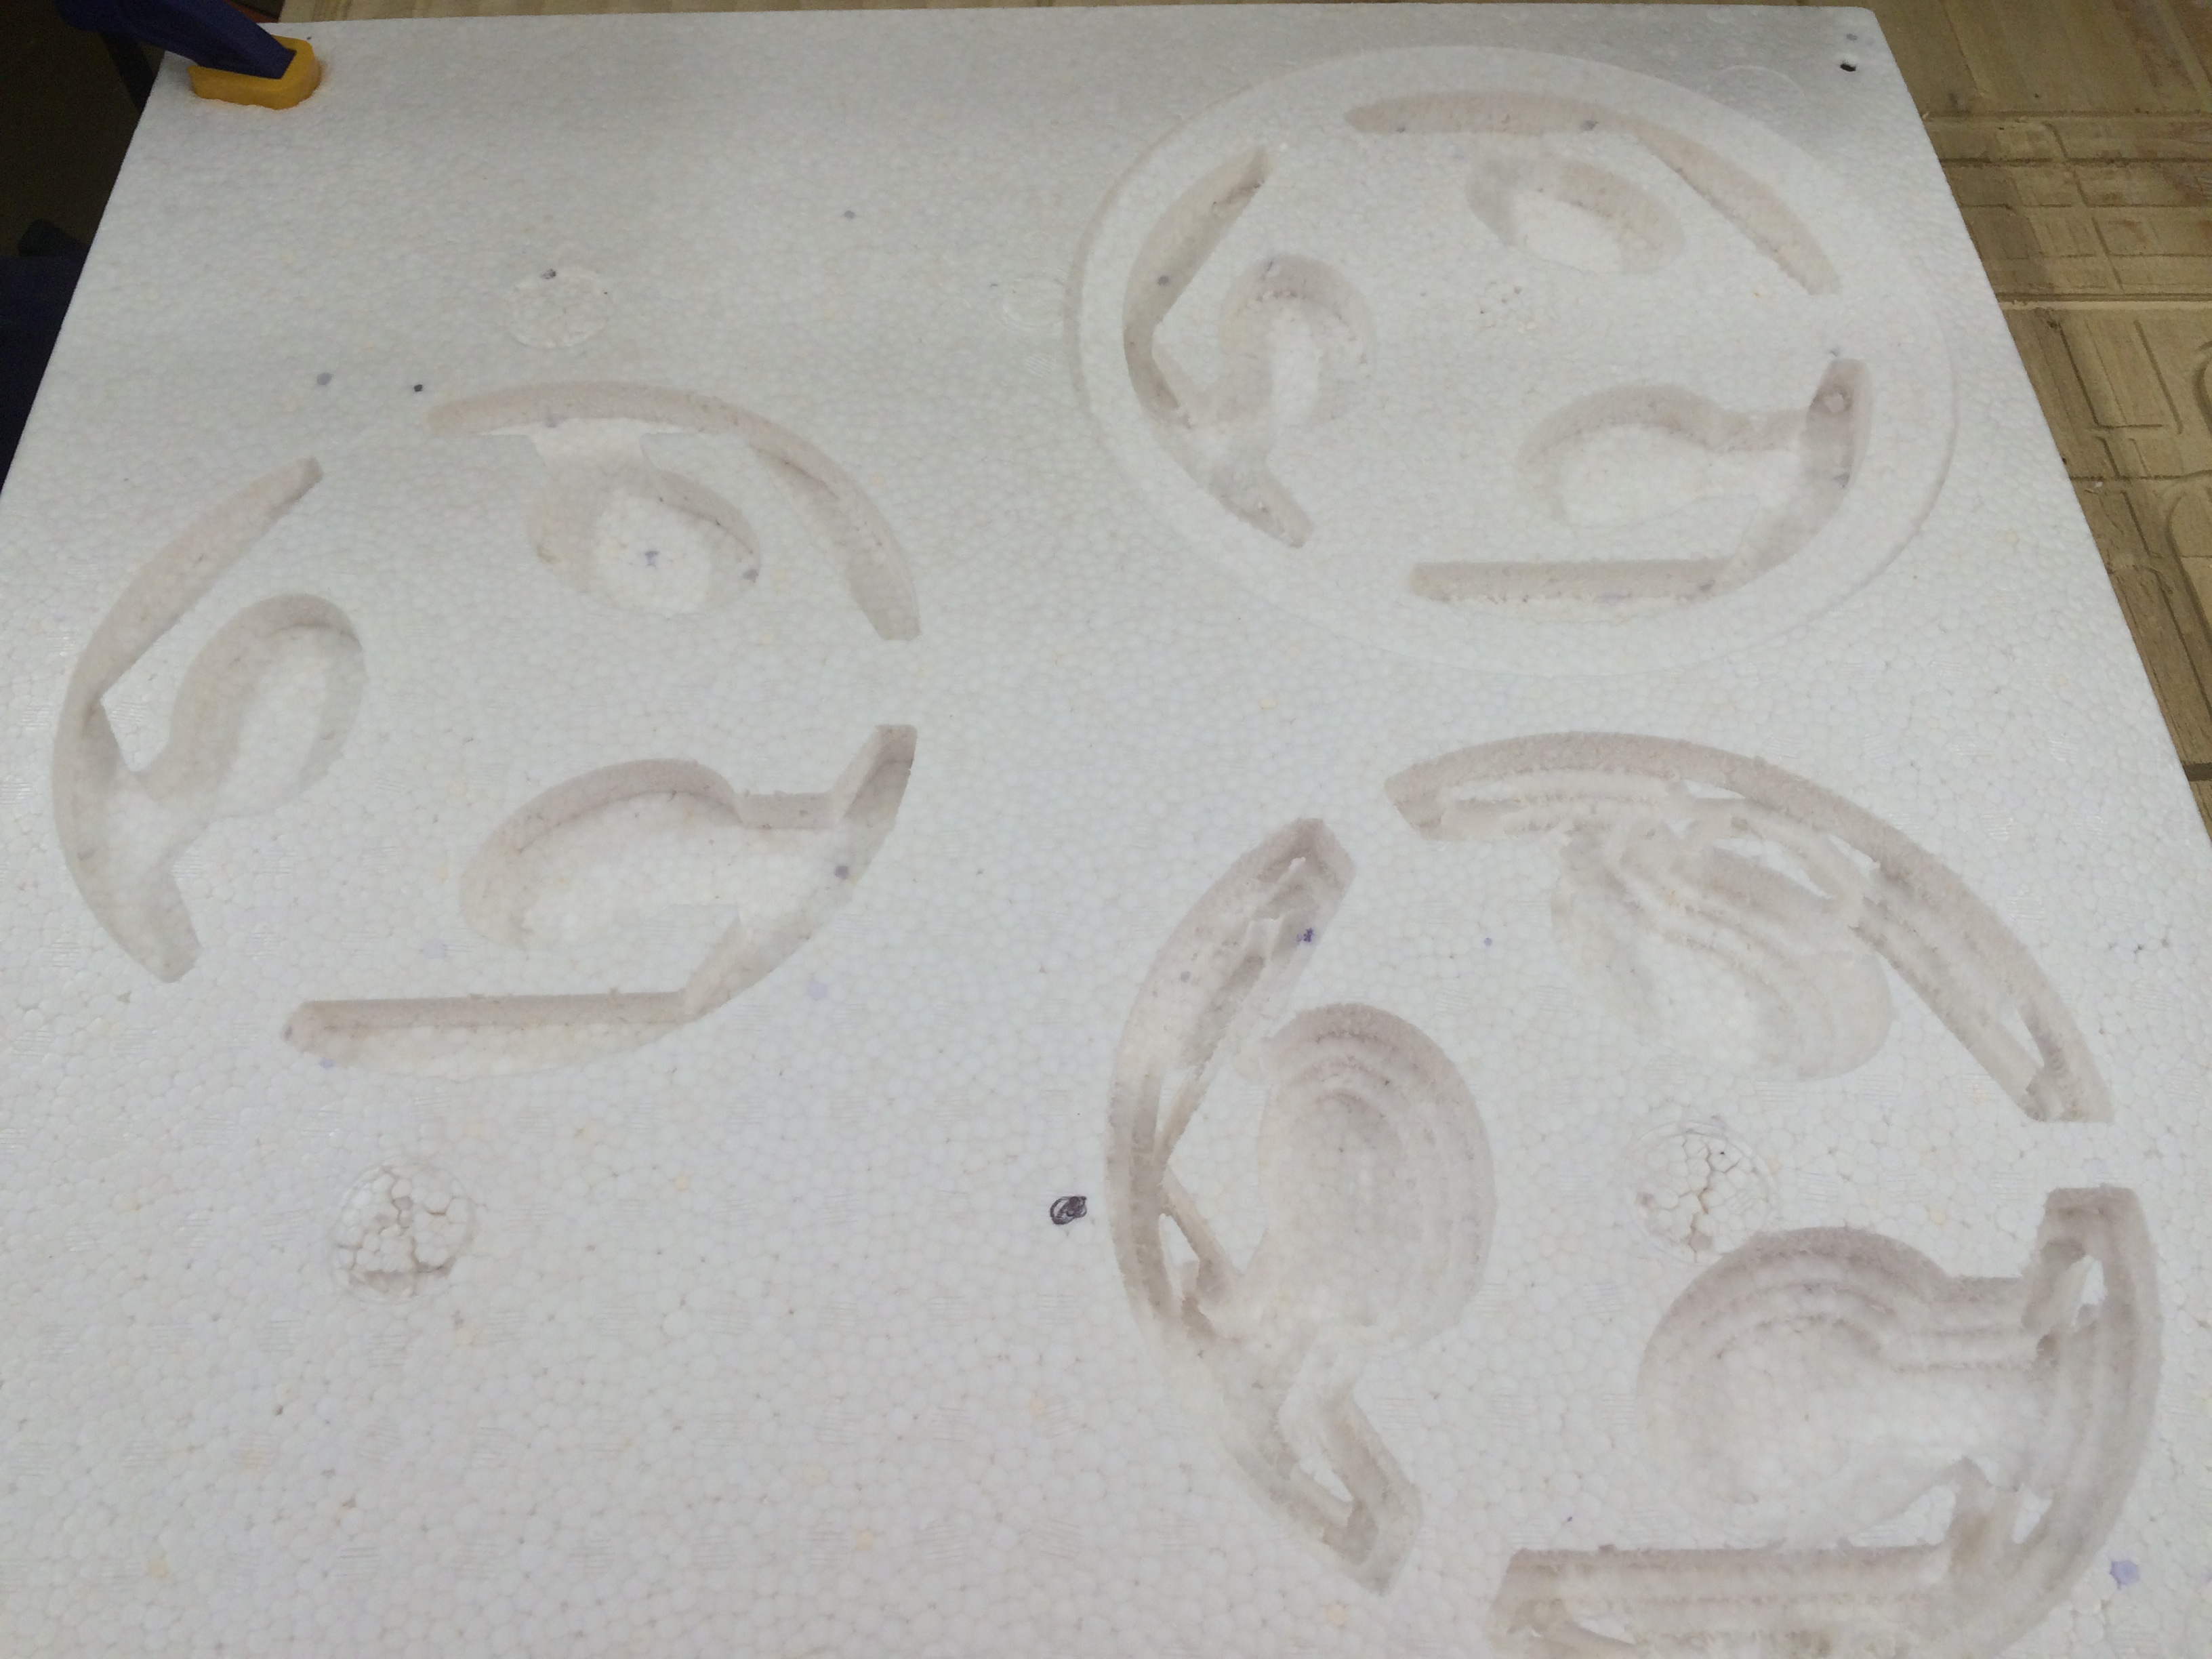
Then I cut it on the ShopBot using a 1/4" 2FL straight bit. I was unhappy with how it turned out, though. The offsets were too wide, and where it did work I thought the step downs didn't look that great anyway.
![]()
Back in VCarve, I deleted the offsets and I just selected the entire image for a pocket inlay toolpath of 0.75" depth rastering. I noticed that the top surface of my foam was uneven, though, so I also wrote a smoothing toolpath around the whole circle at a depth of 0.25" just so the whole thing would have an even surface. I figured out how to specify the stepover distance. What I had to do was open the tool options and change the stepover percentage which was originally set at 100%. I changed the percentage to 50% for a smoother look.
![]()
![]()
At the ShopBot, I cut one without the smoothing pass and one with the smoothing pass to see the difference between the finishes.
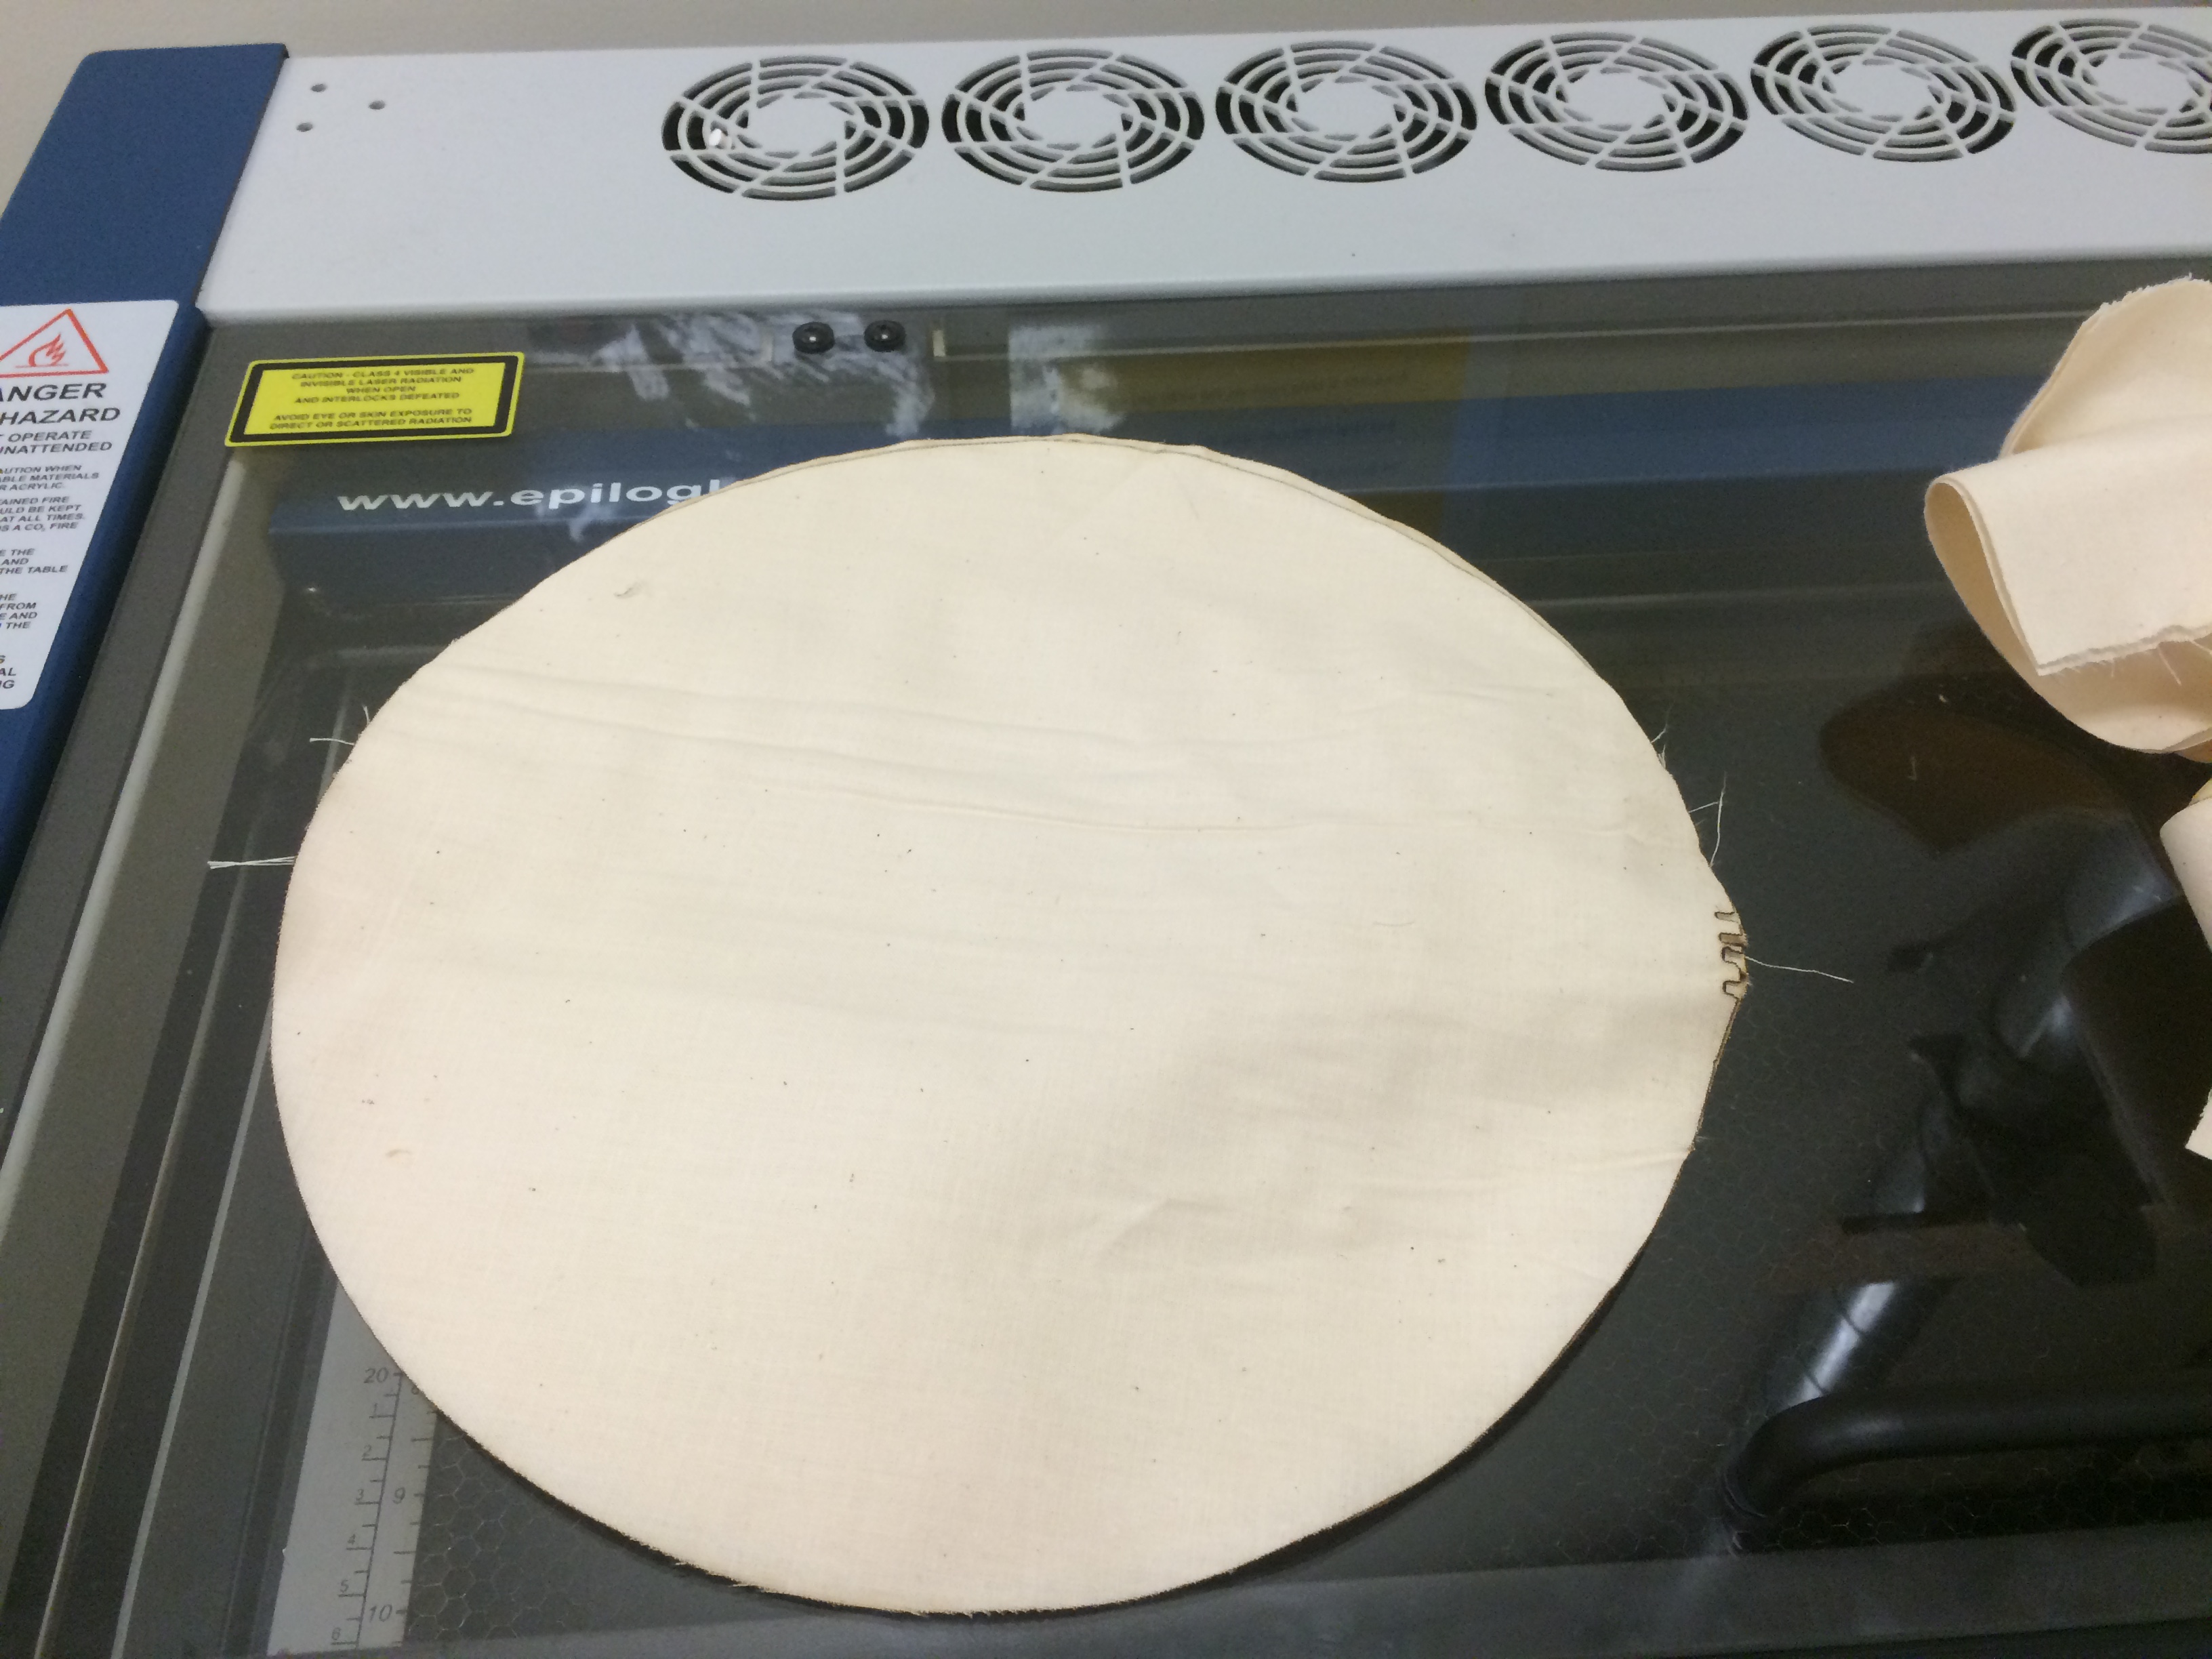
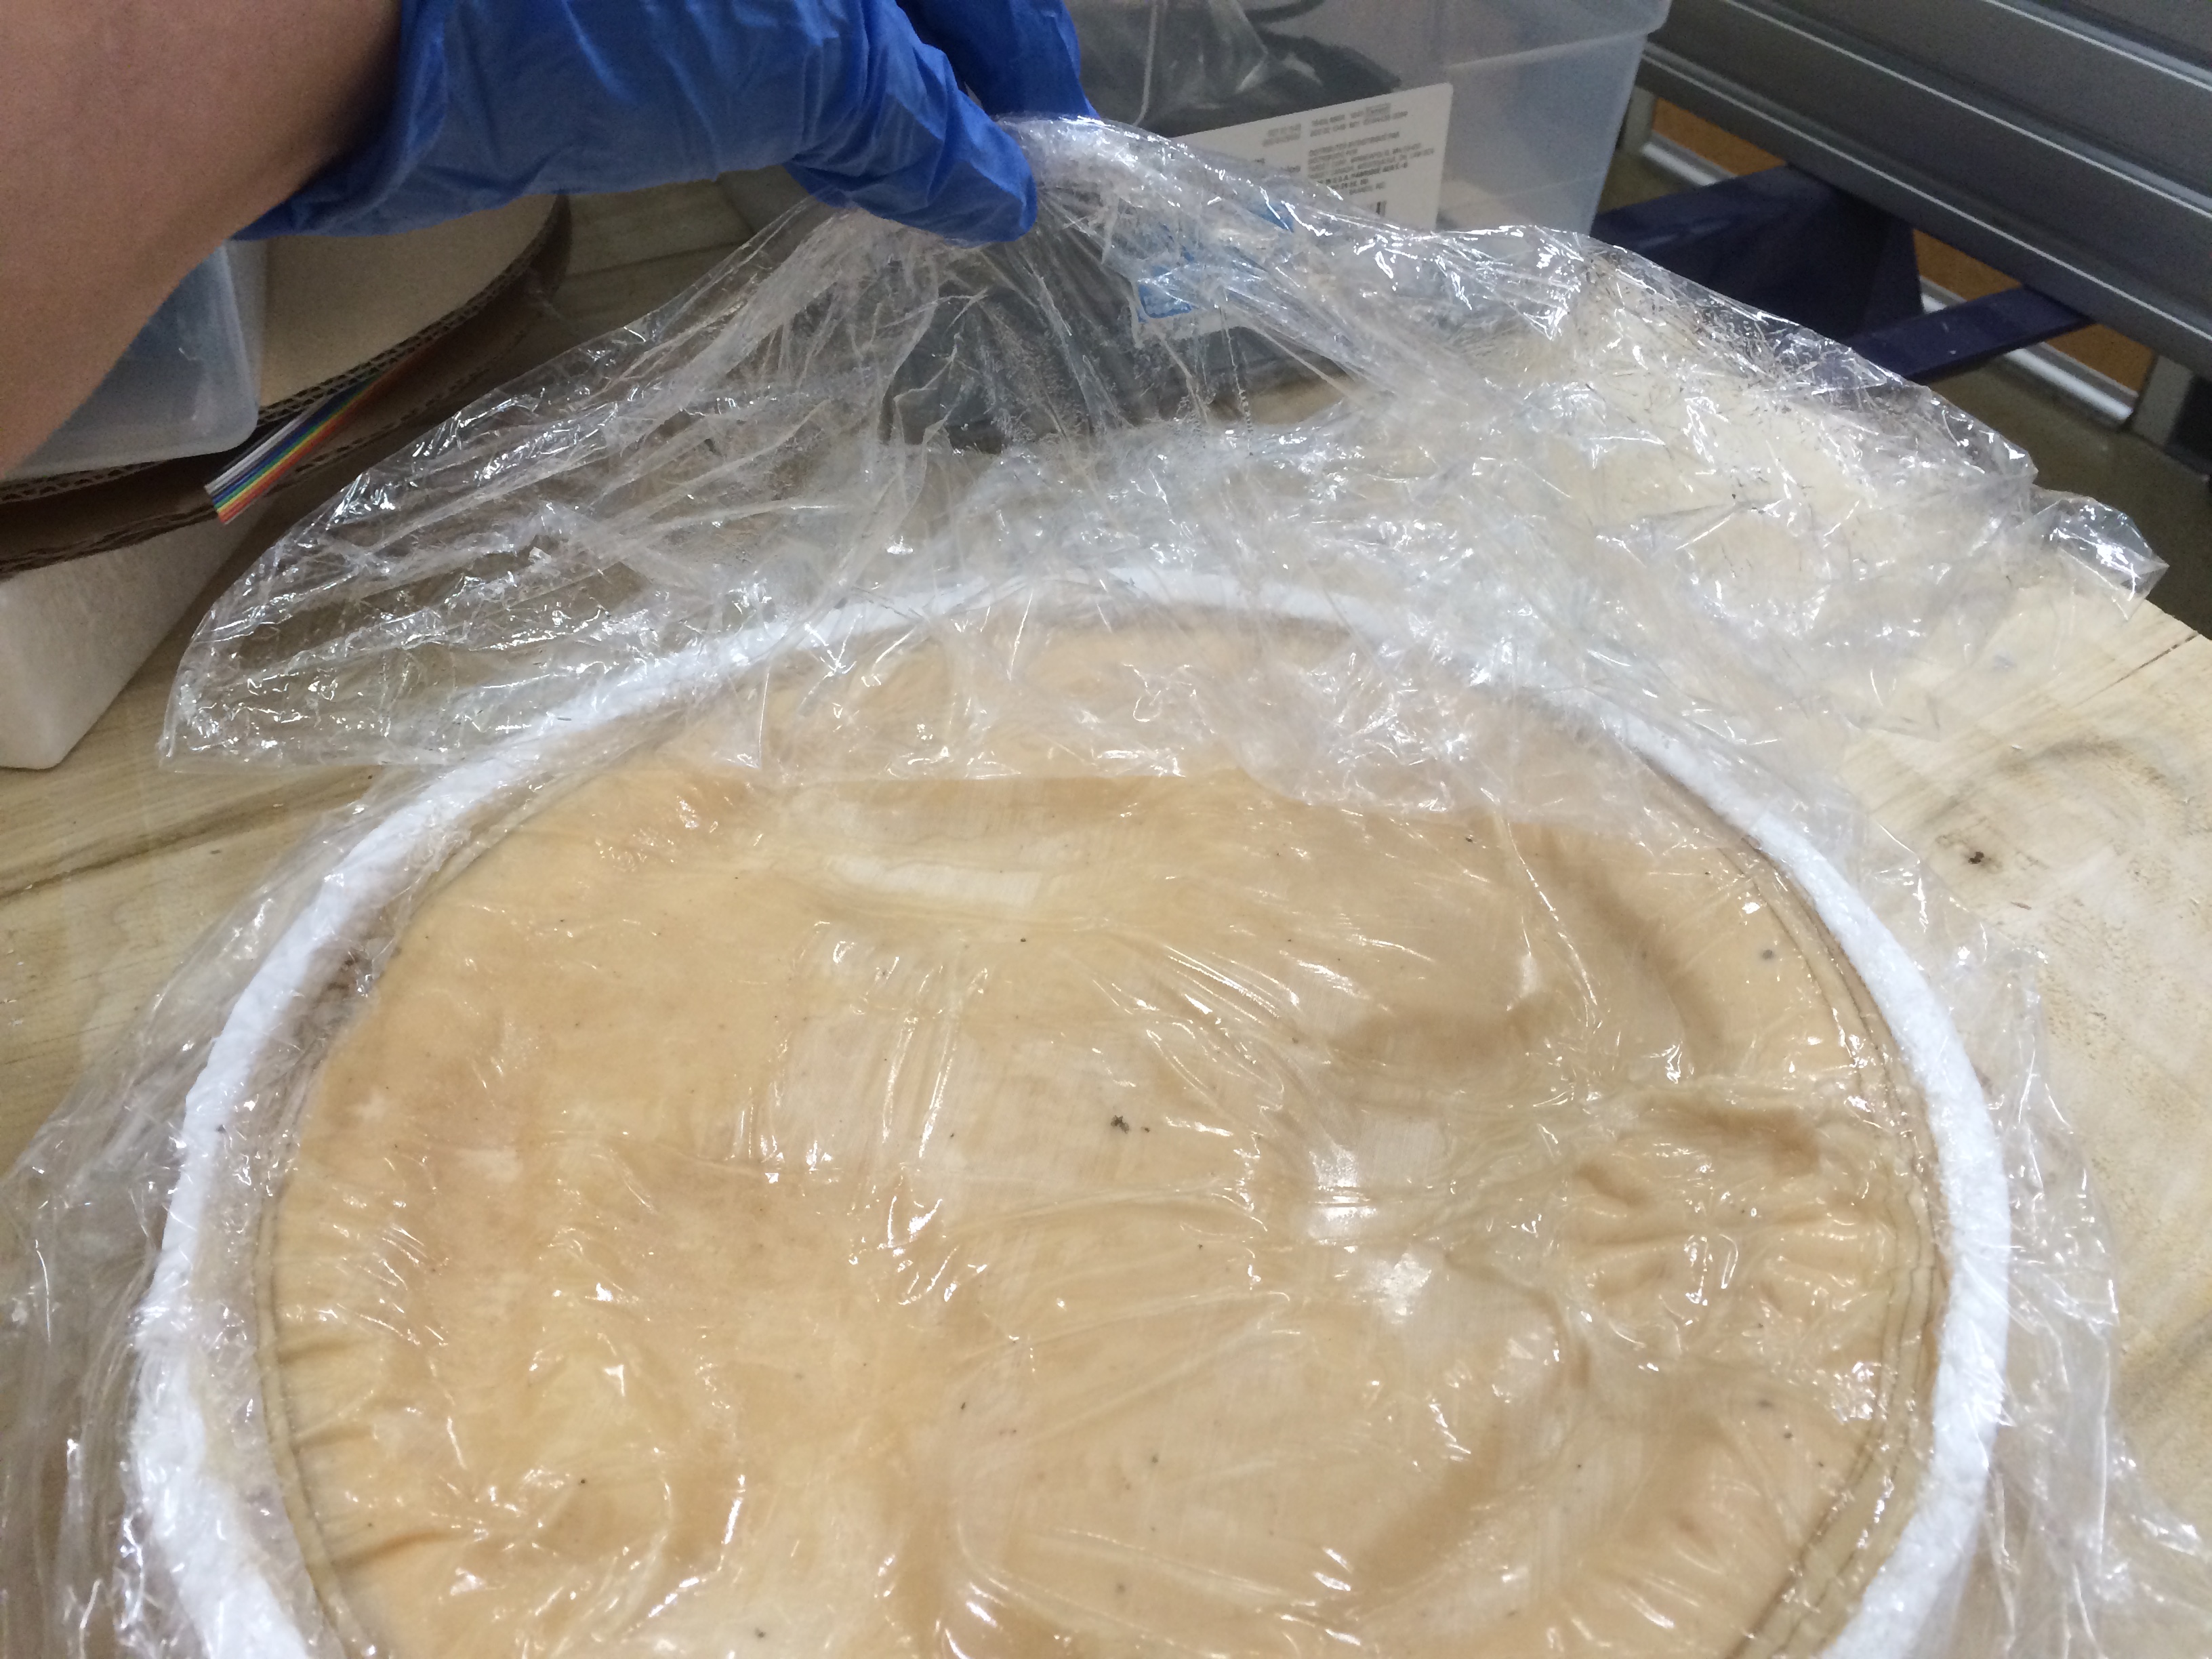
I picked the best mould, cut it out on the scrollsaw, and prepped it for the composite. I didn't have any release agent, no vaseline either, so I used plastic wrap coated with a thin layer of oil. Machine oil. (That was all I had). I cut the thin muslin fabric I was using into circles with the laser cutter.
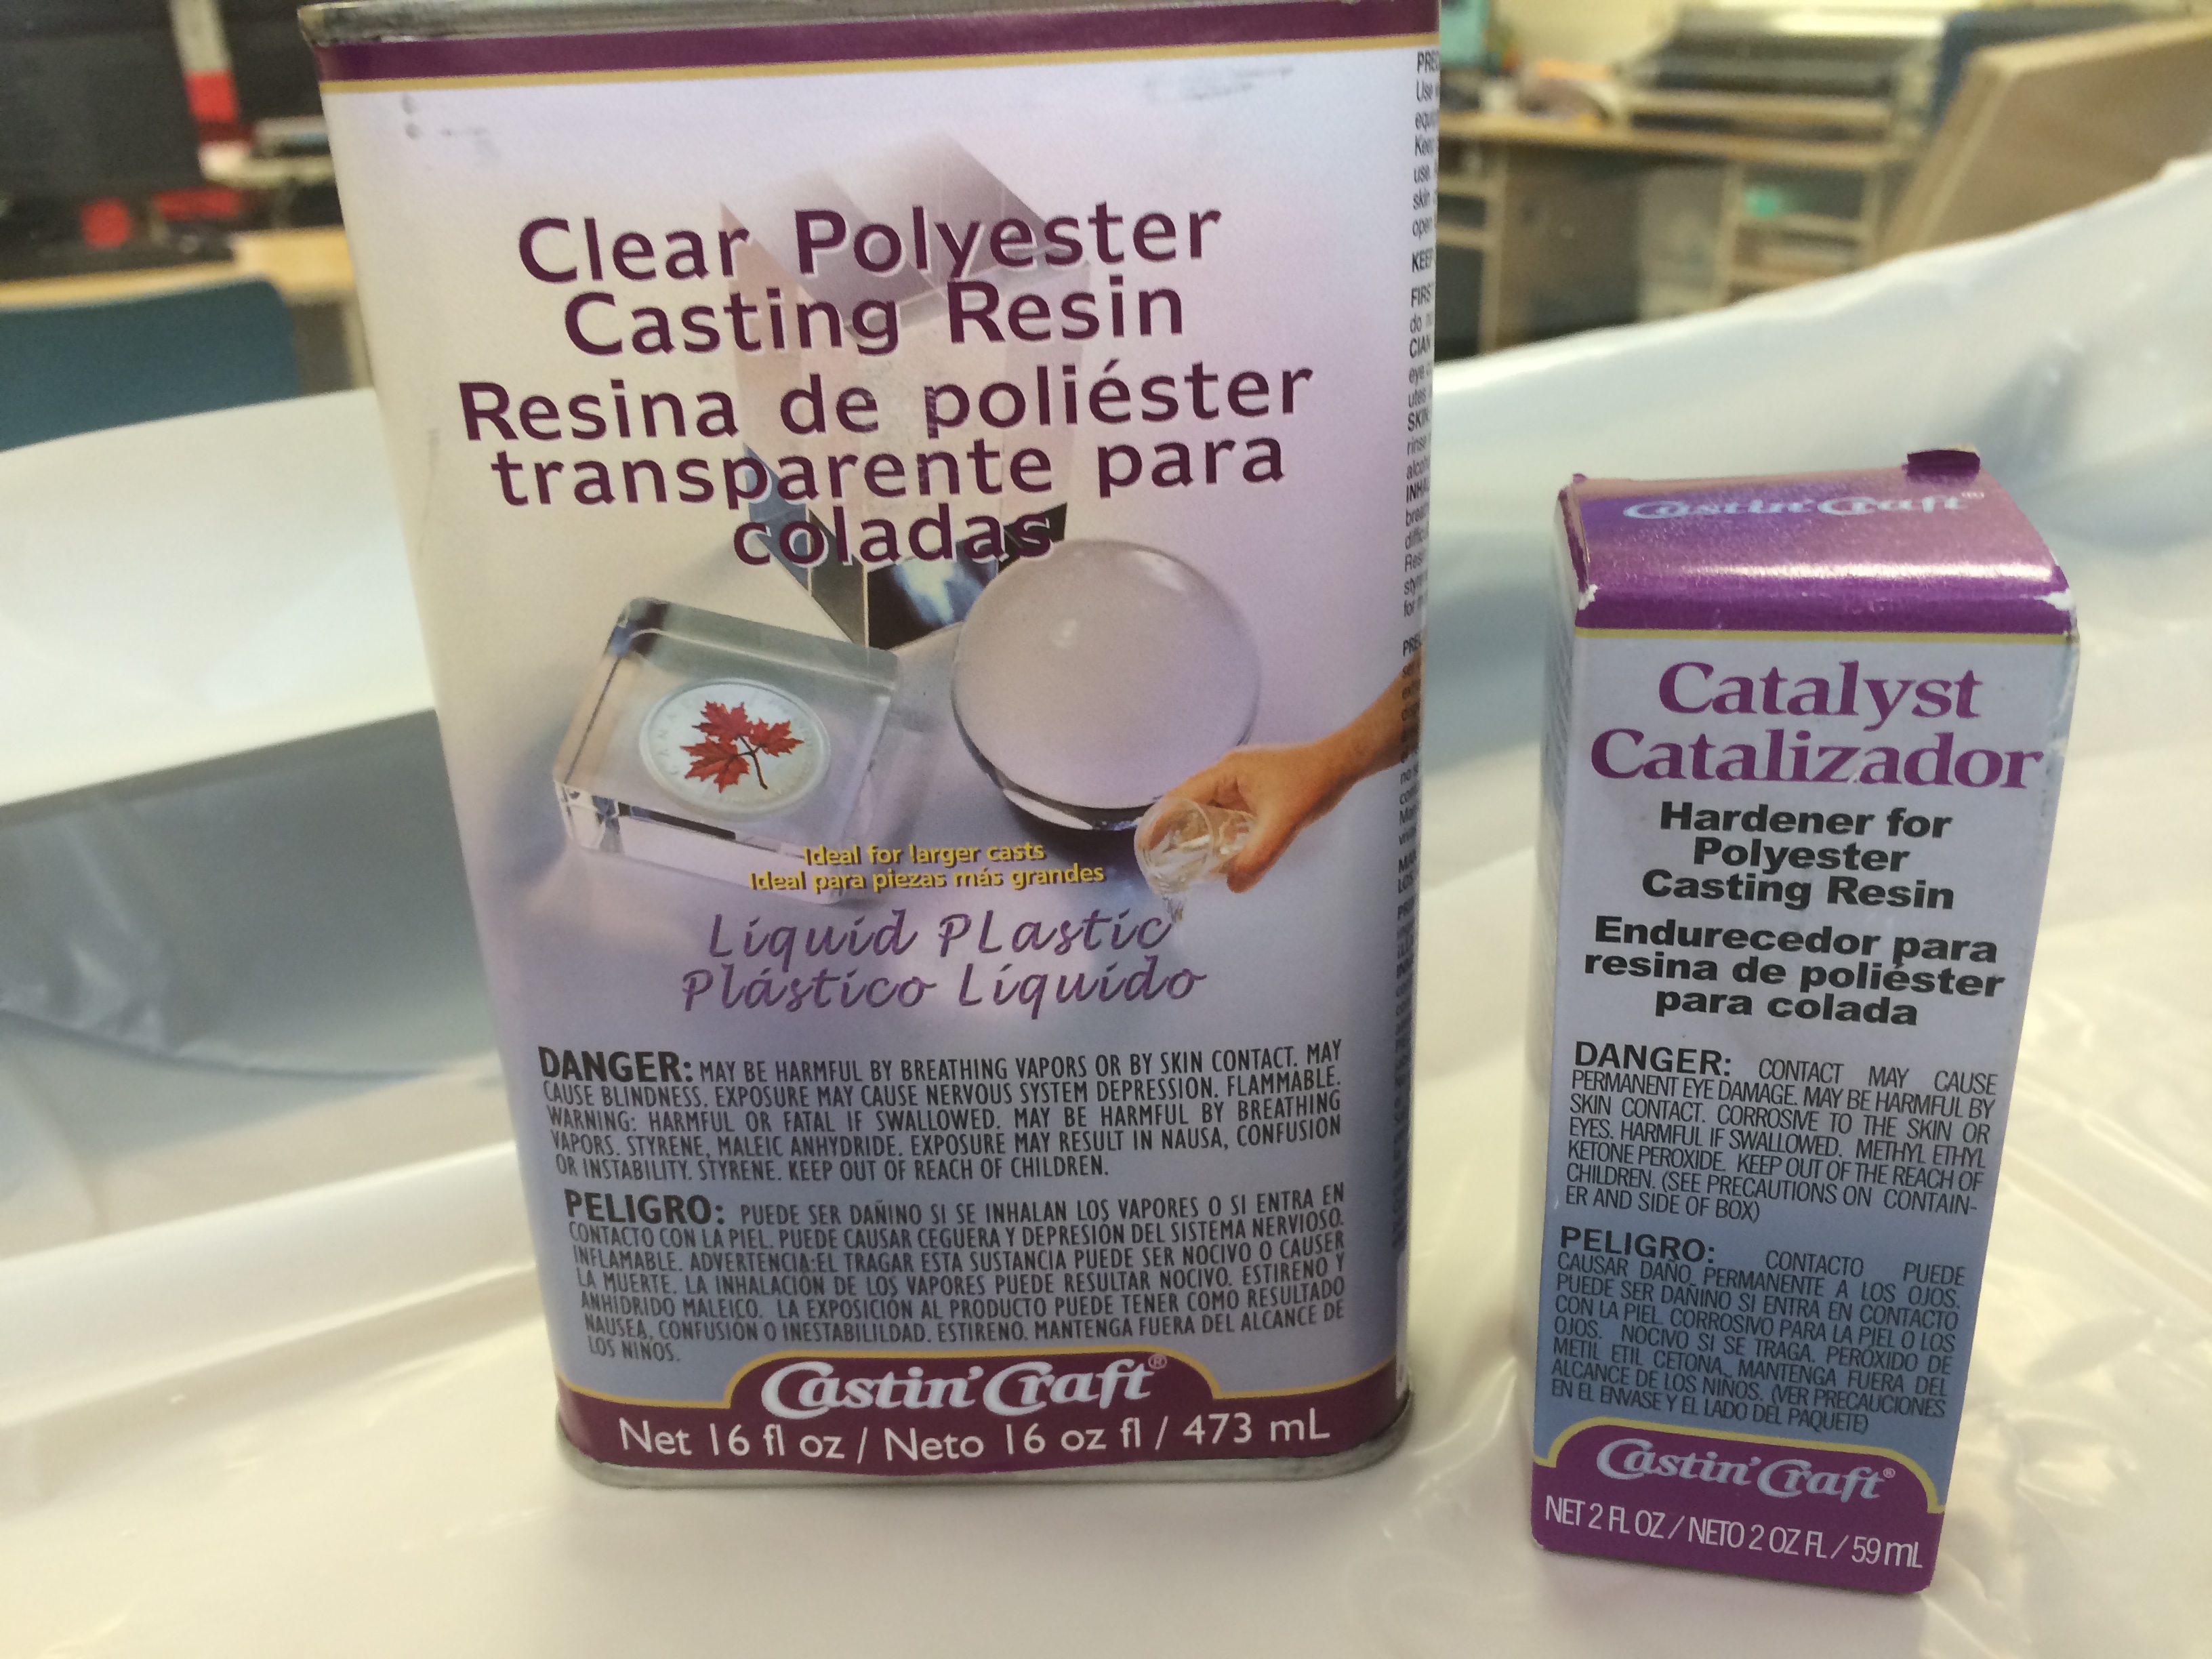
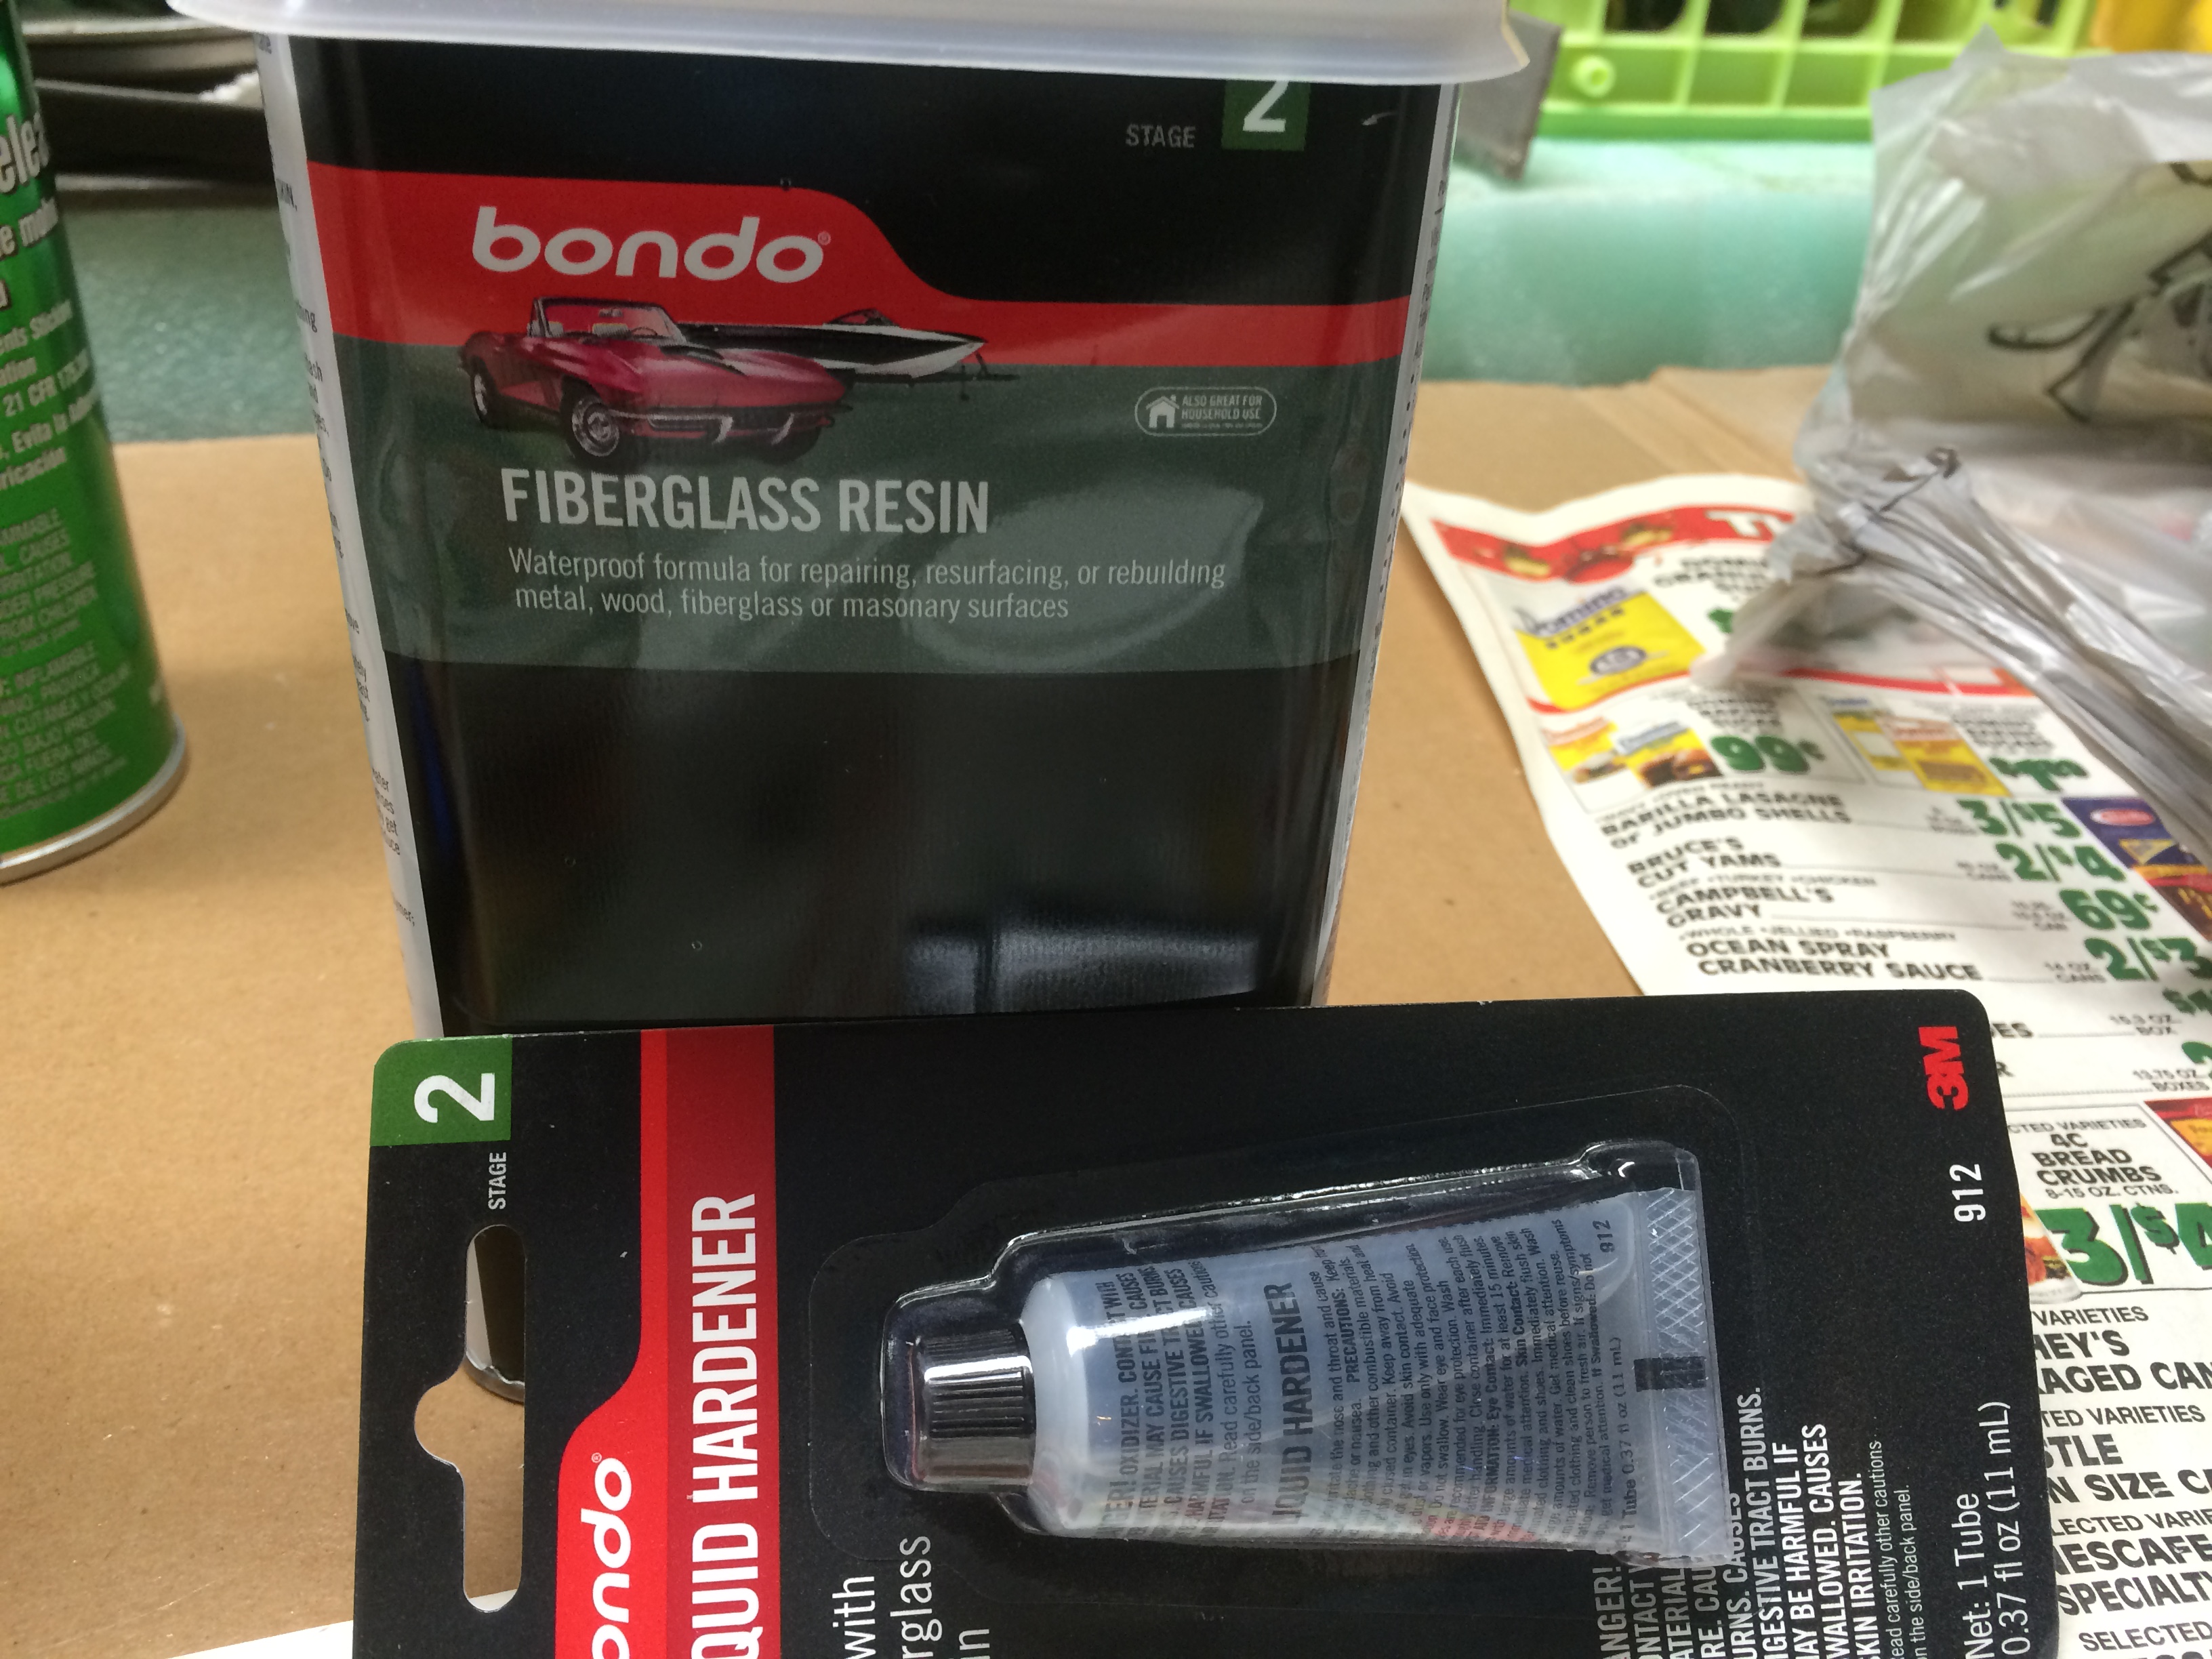
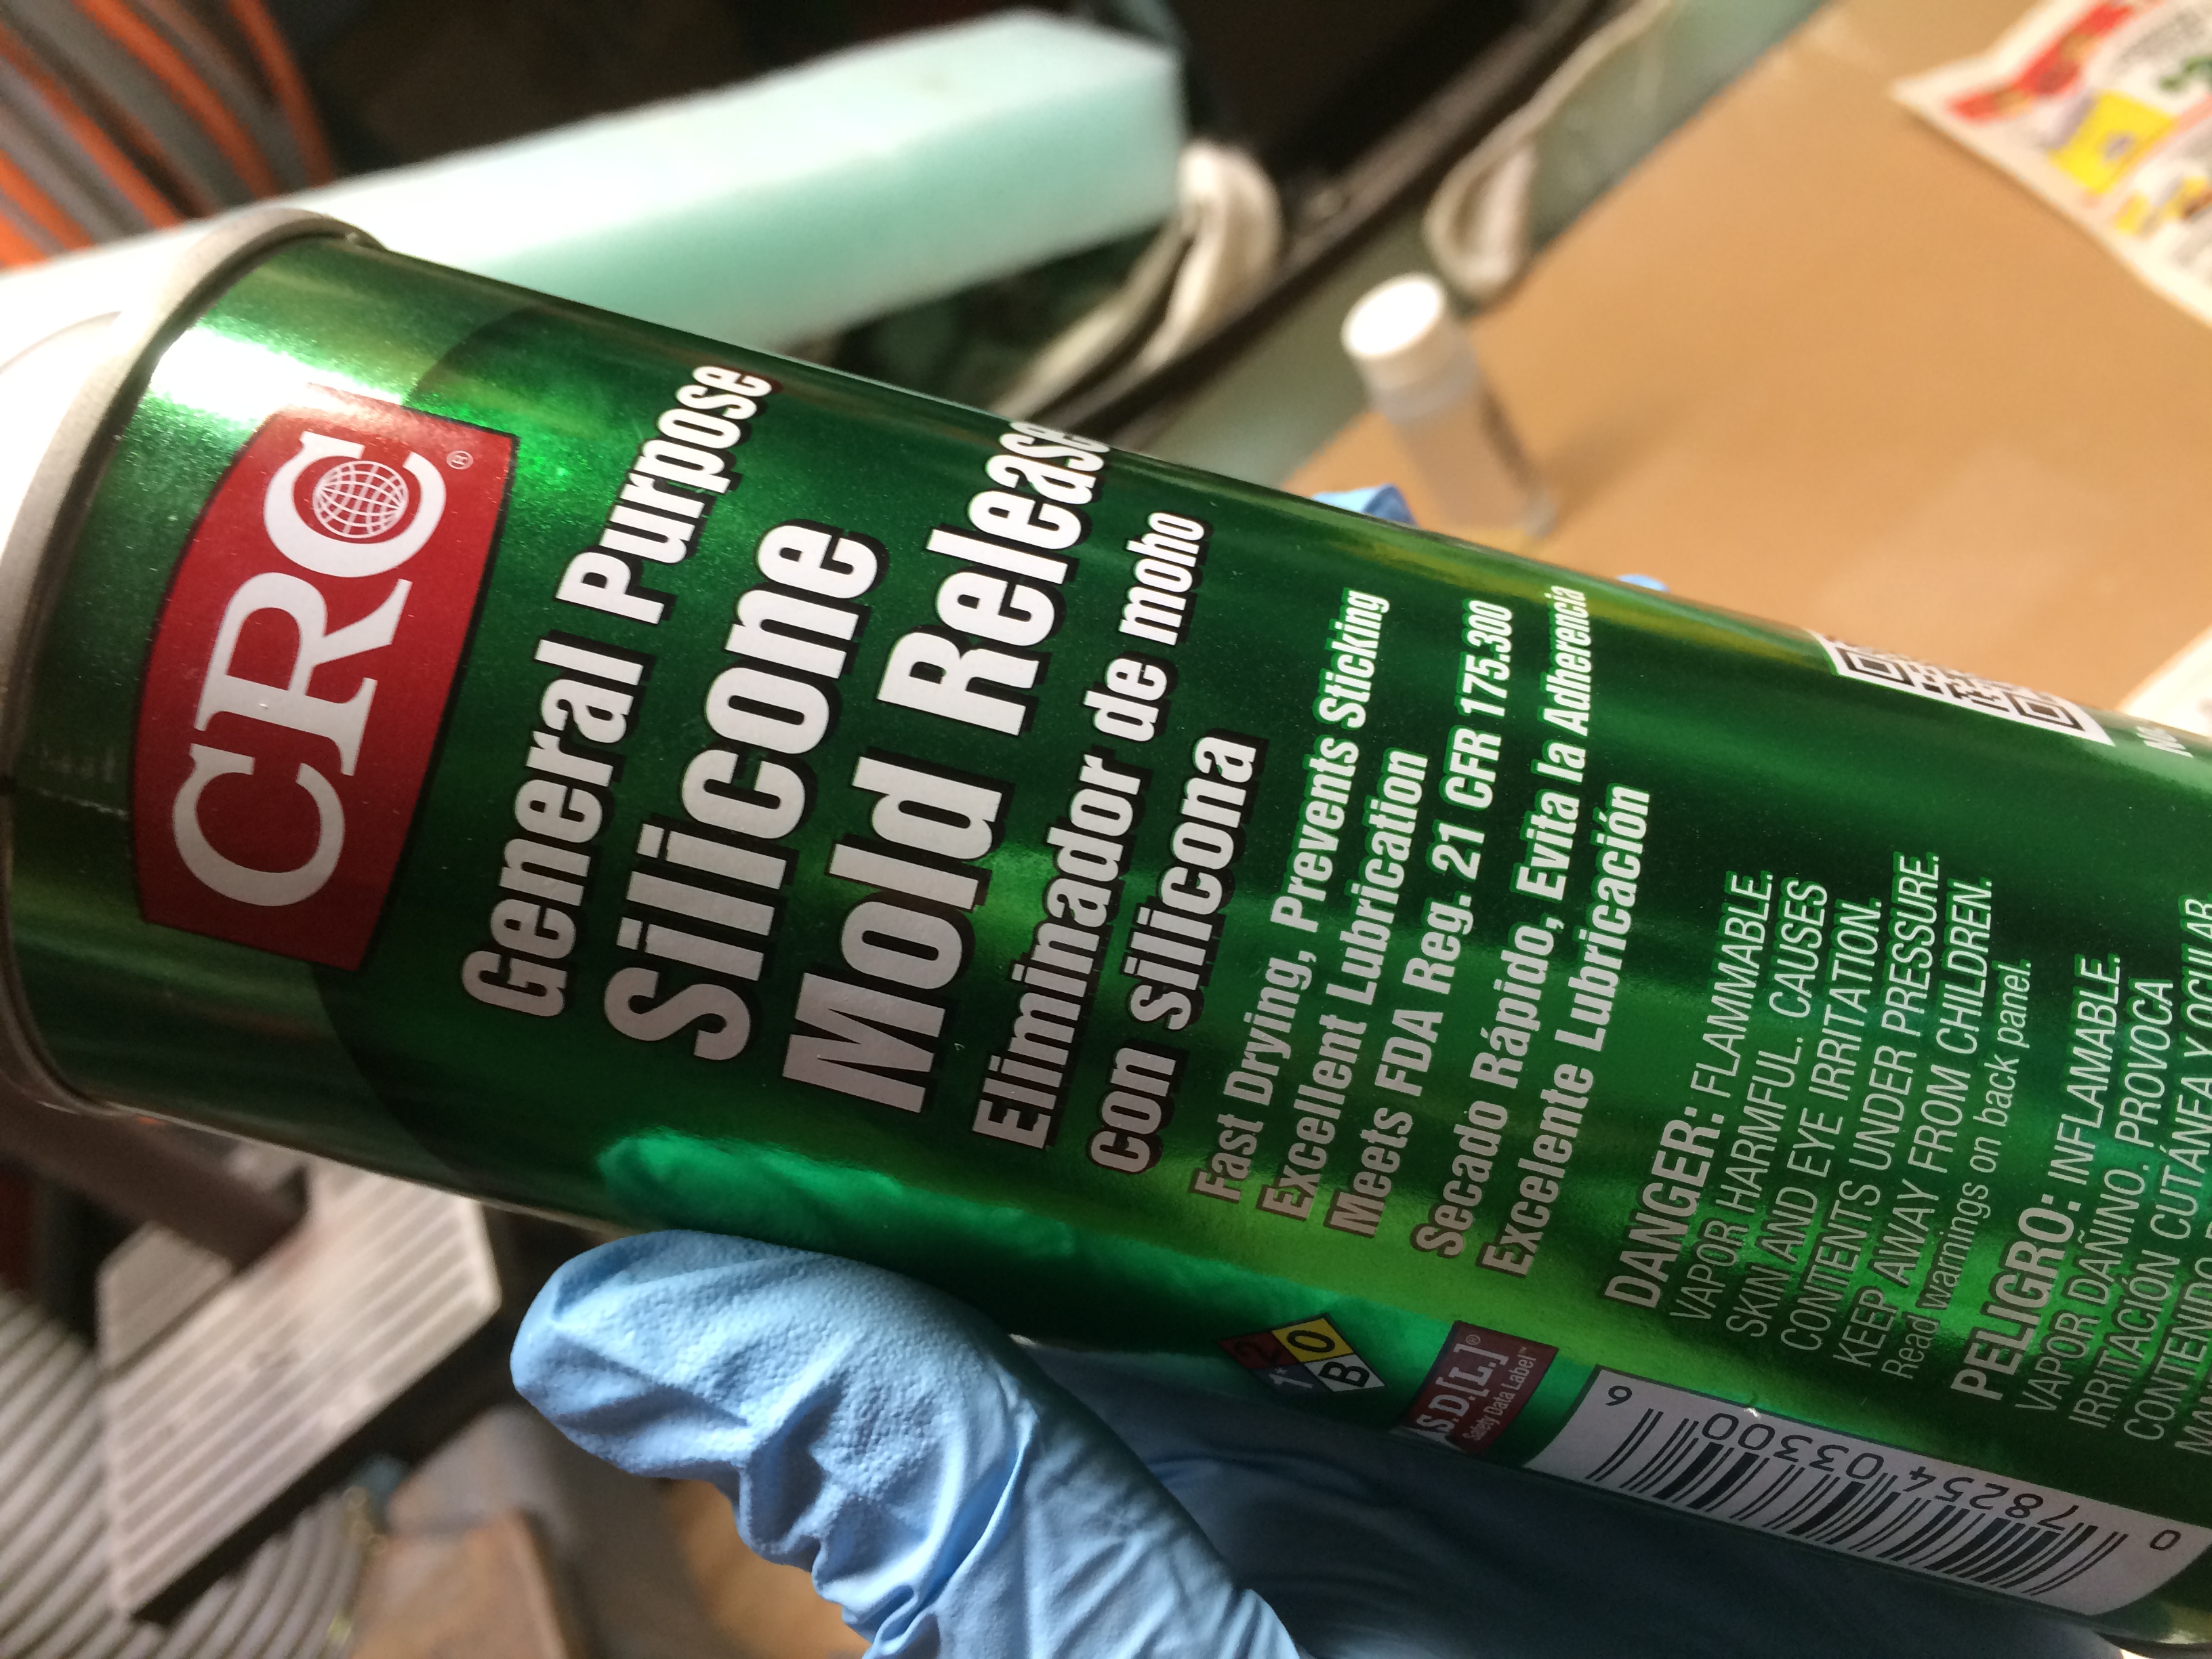
 This was the brand of resin that I used. I bought the hardener separately, and the chart on the back tells how many "drops" of hardener to put in per ounce of resin based on the thickness of your desired layers.
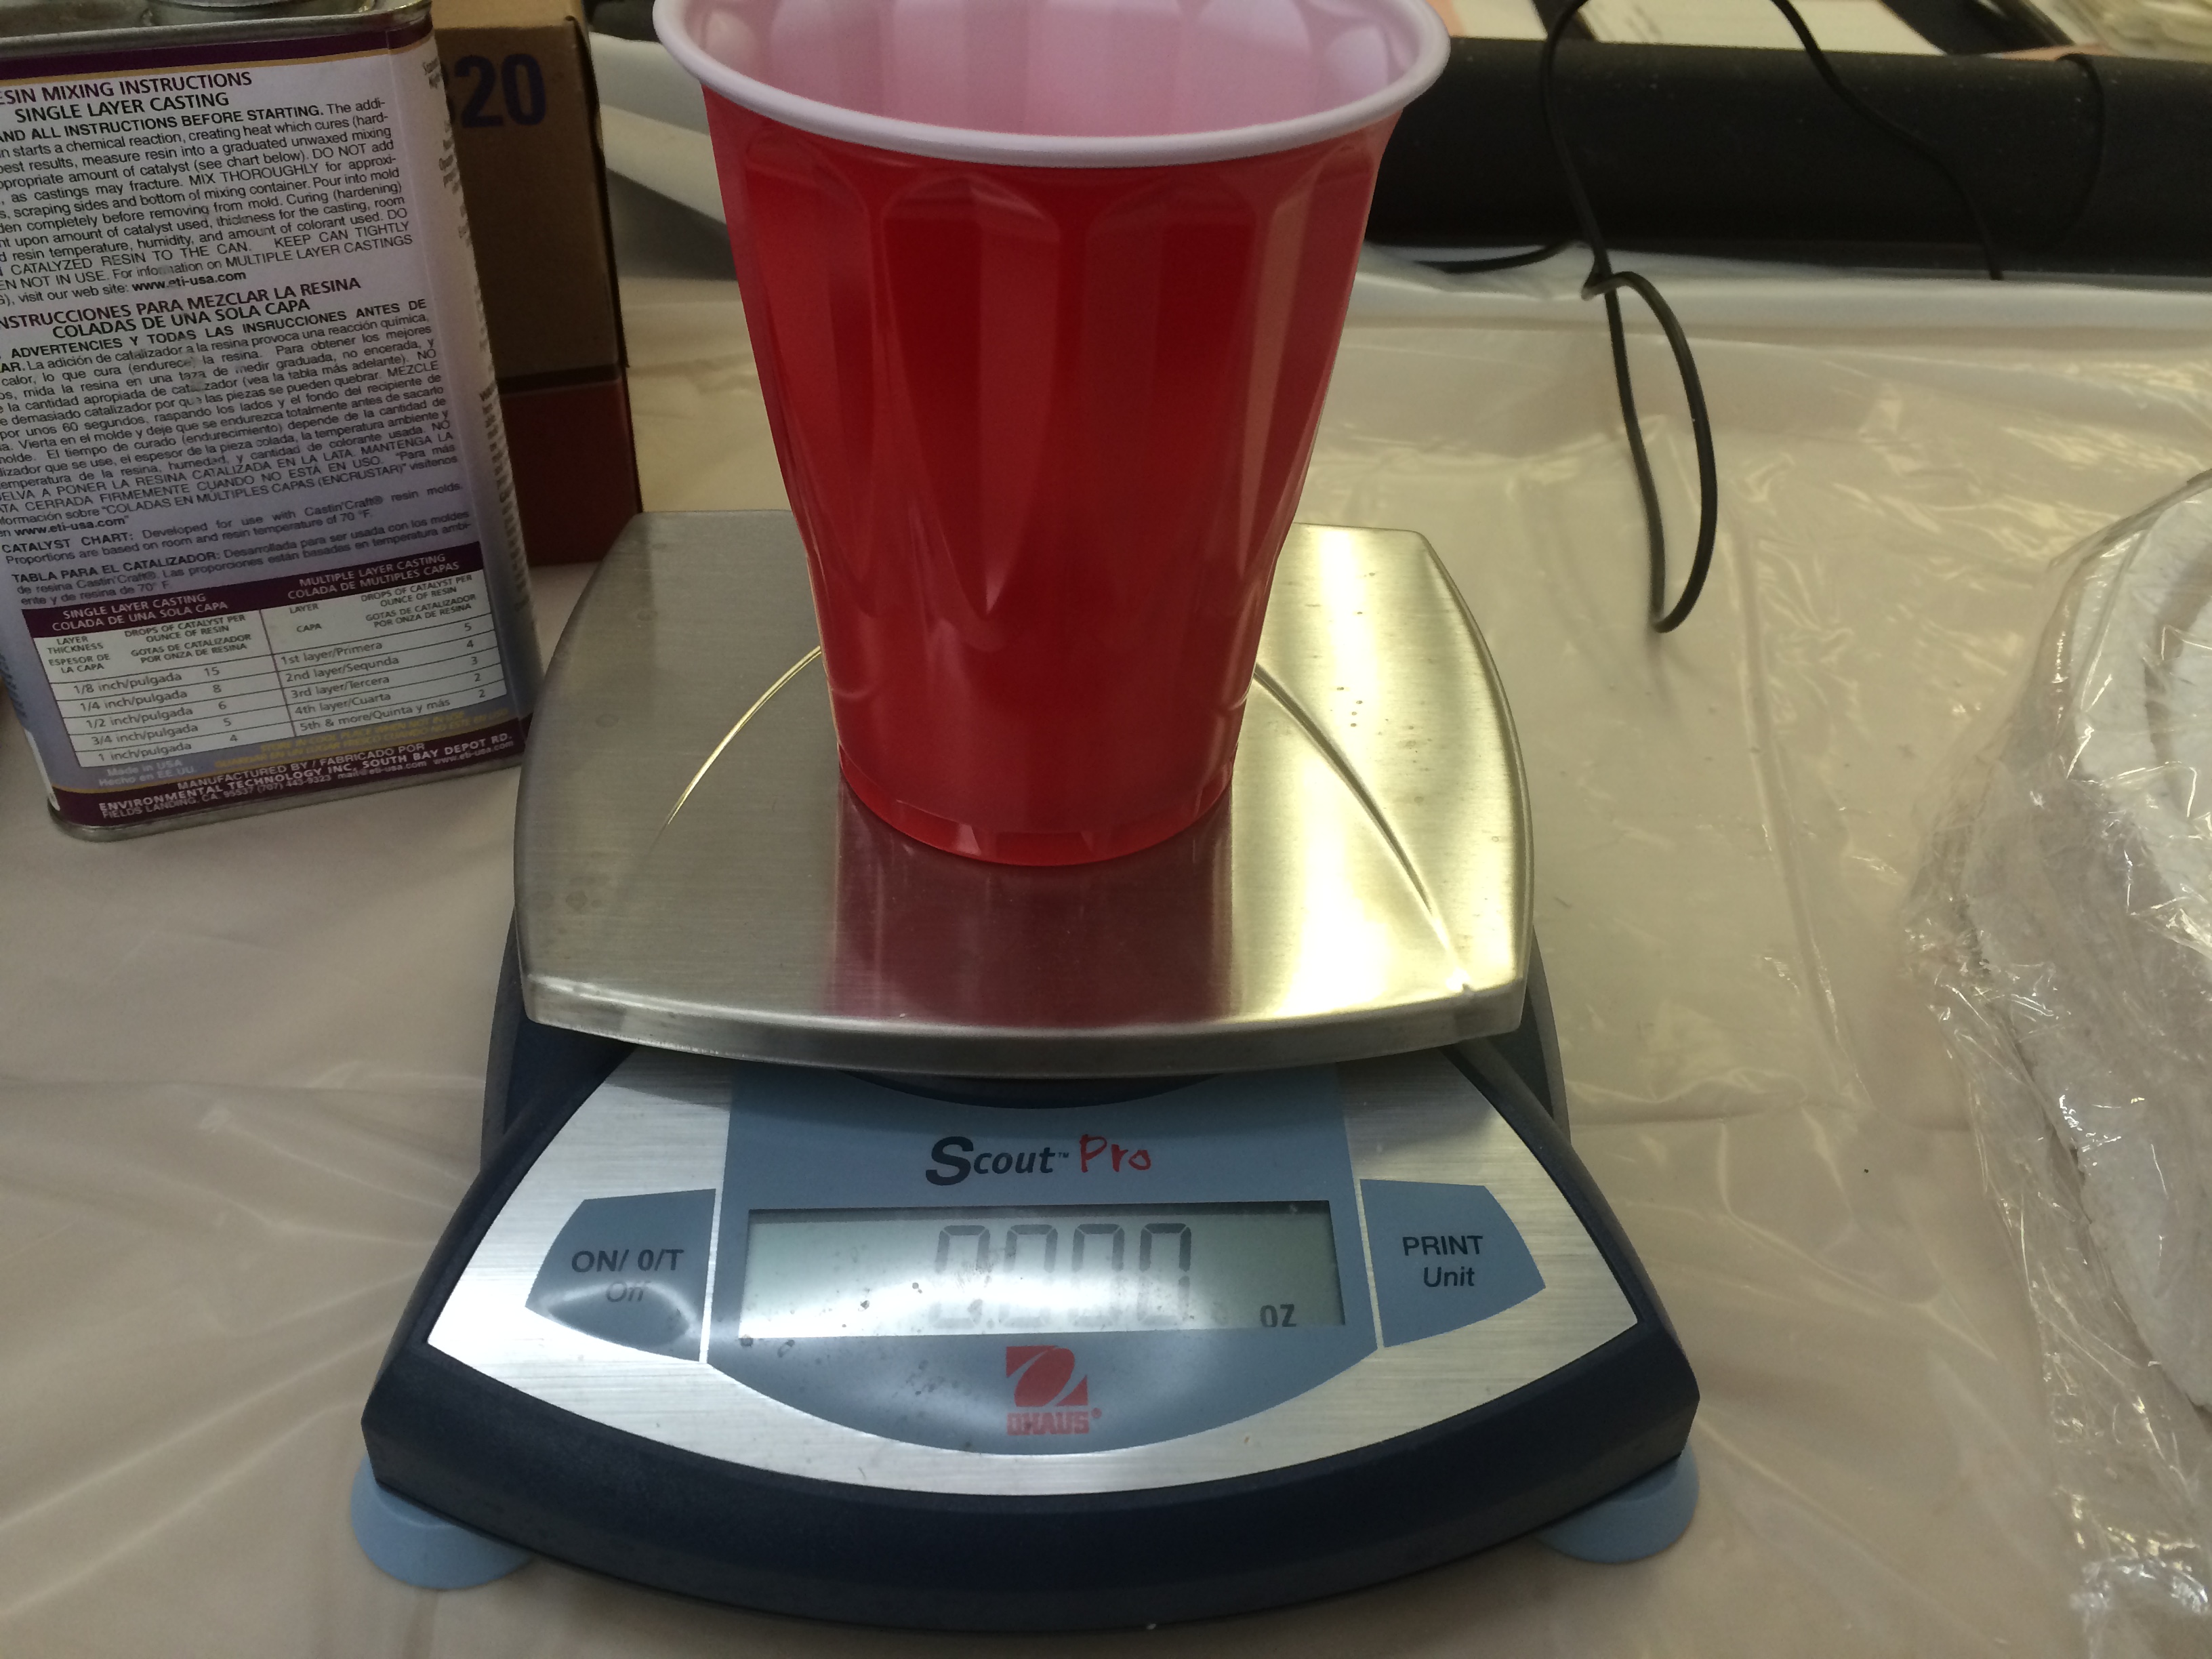
I measured three ounces of resin, which meant I was supposed to put in 45 drops of the hardener. It was very difficult to count 15 drops, the drops were uneven and fast.
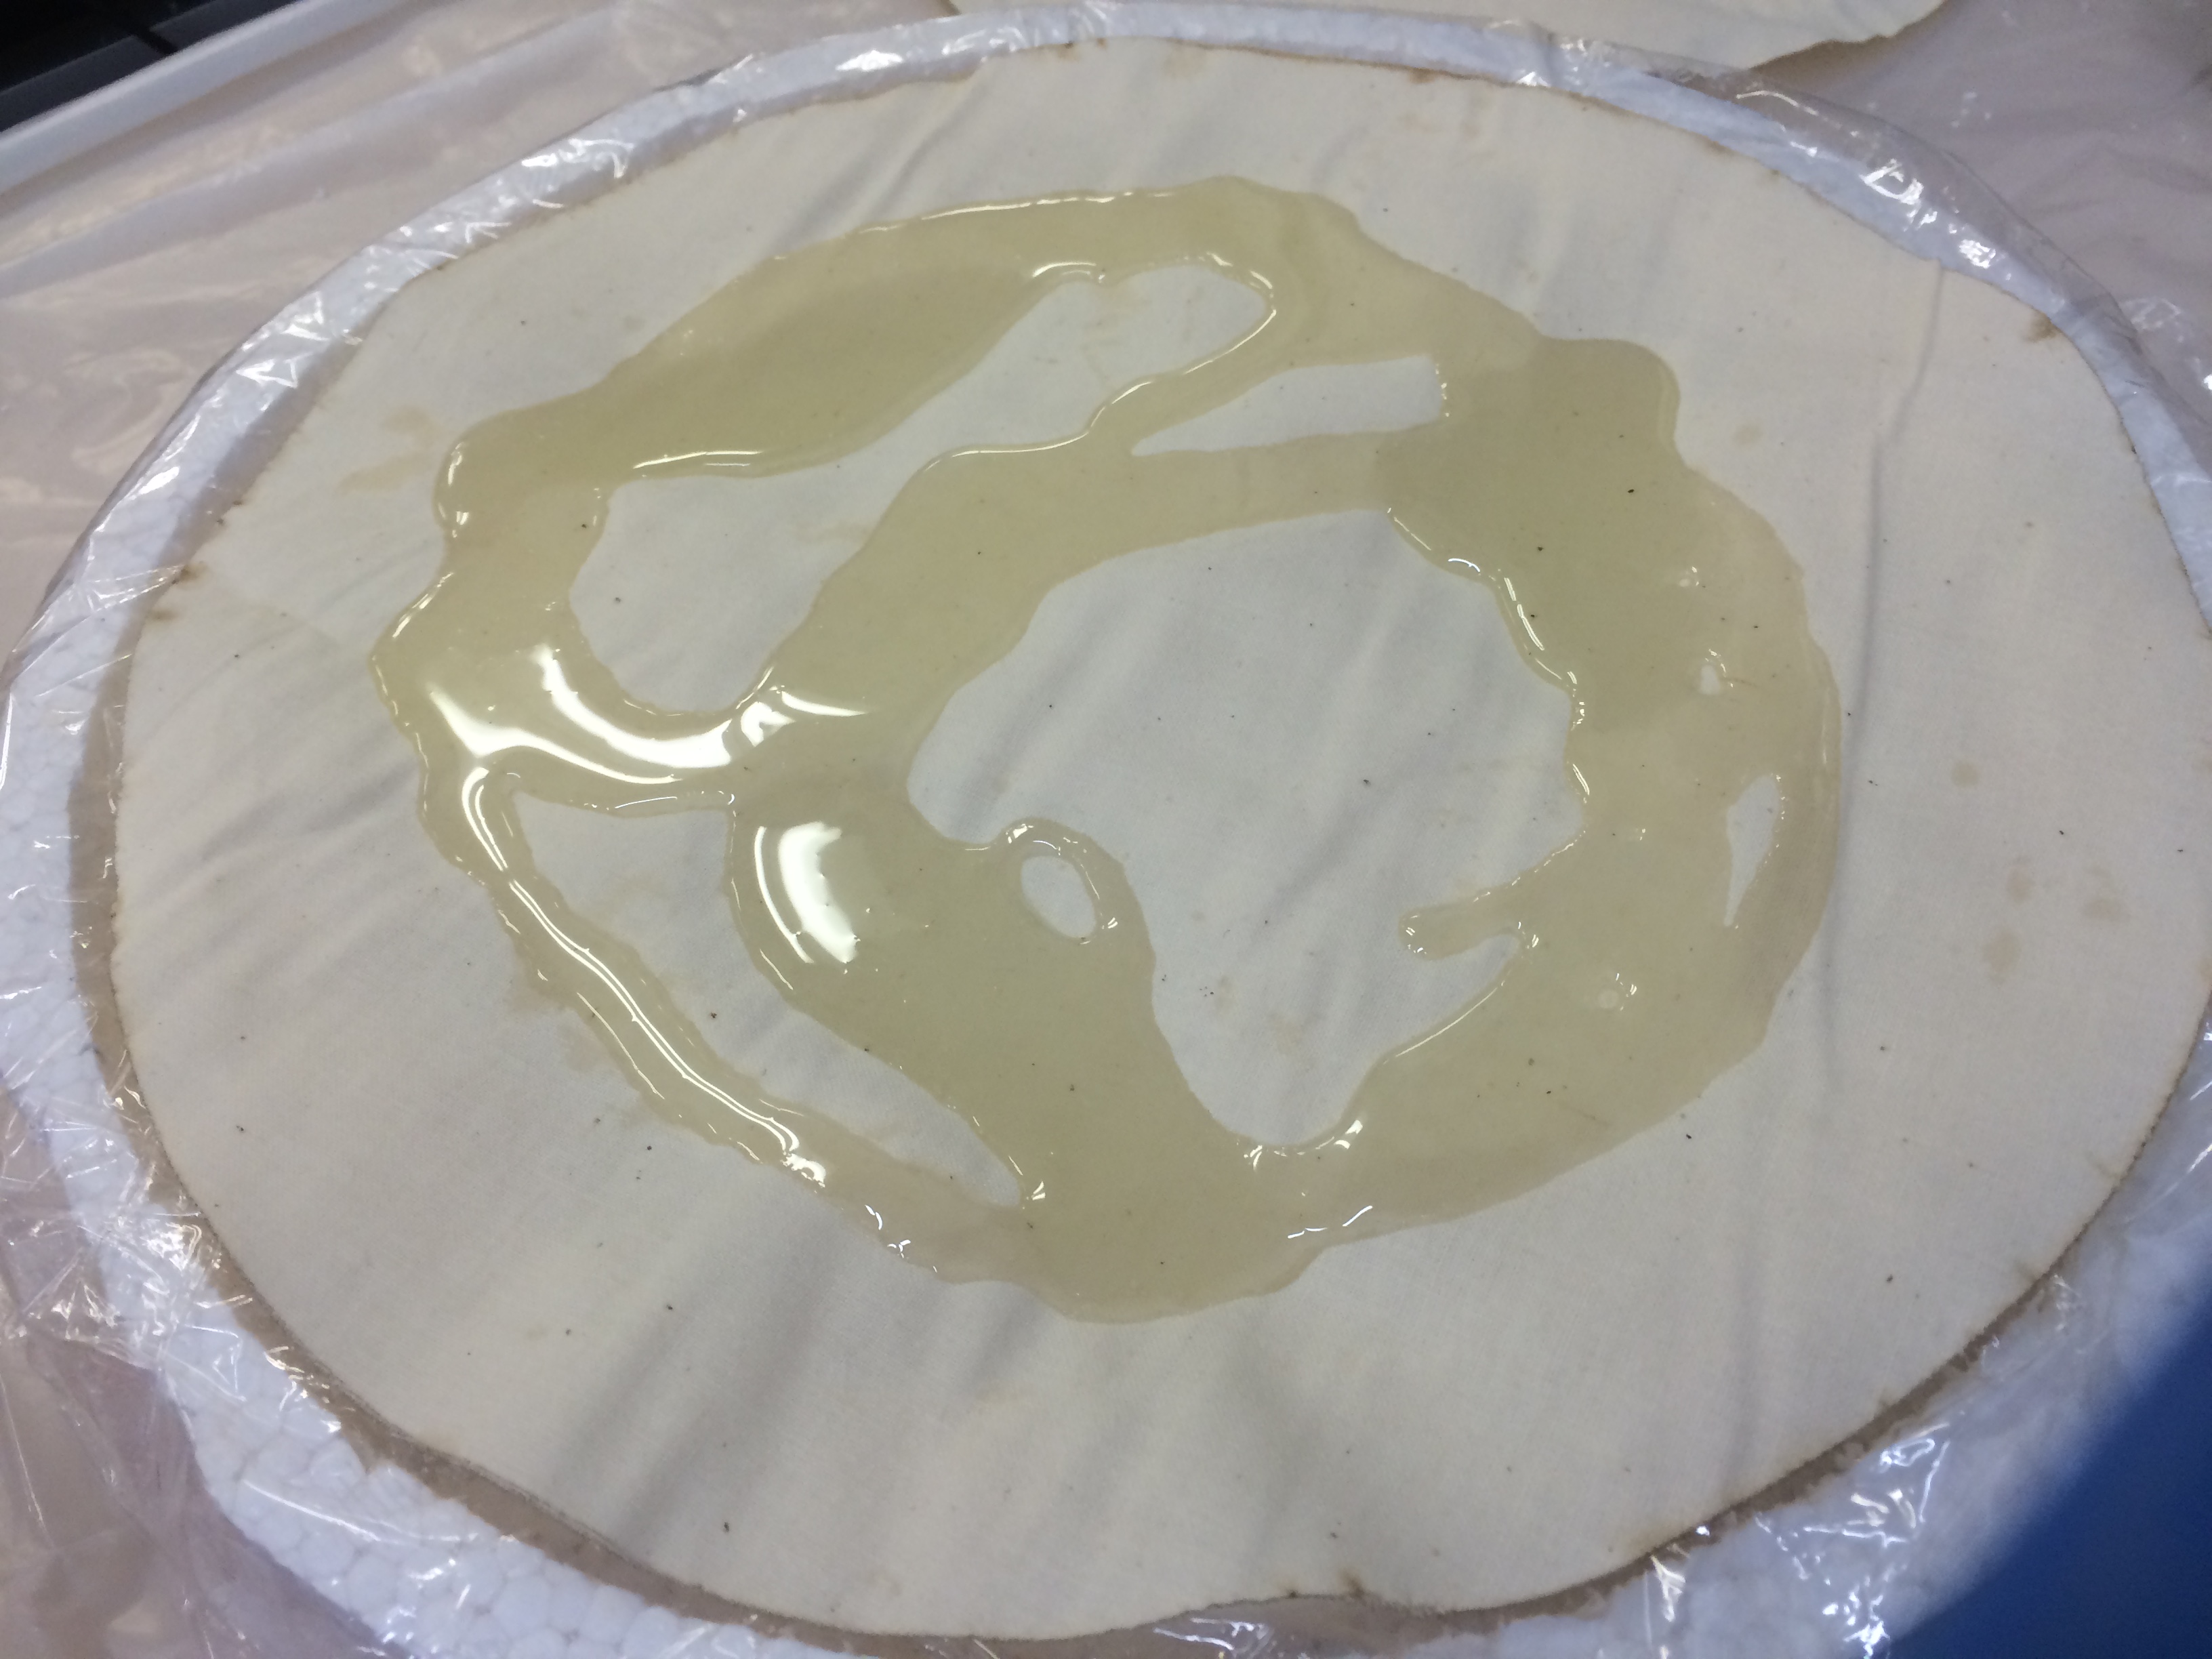
Once I had the mixture well stirred, I carefully laid out one piece of fabric at a time, coating it carefully in a thin coat of resin. I poured it our and then worked the resin in with a brush.
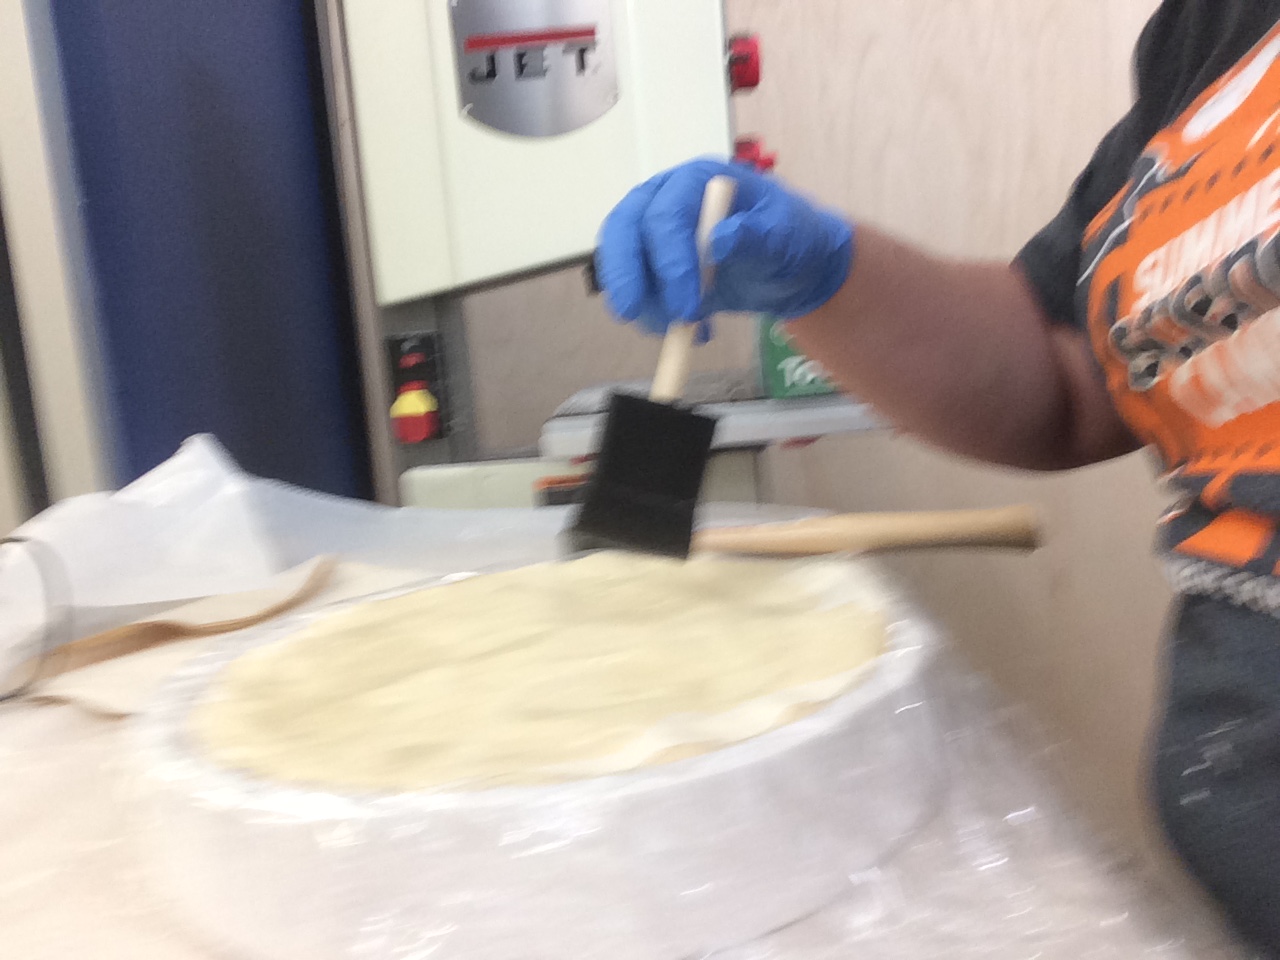
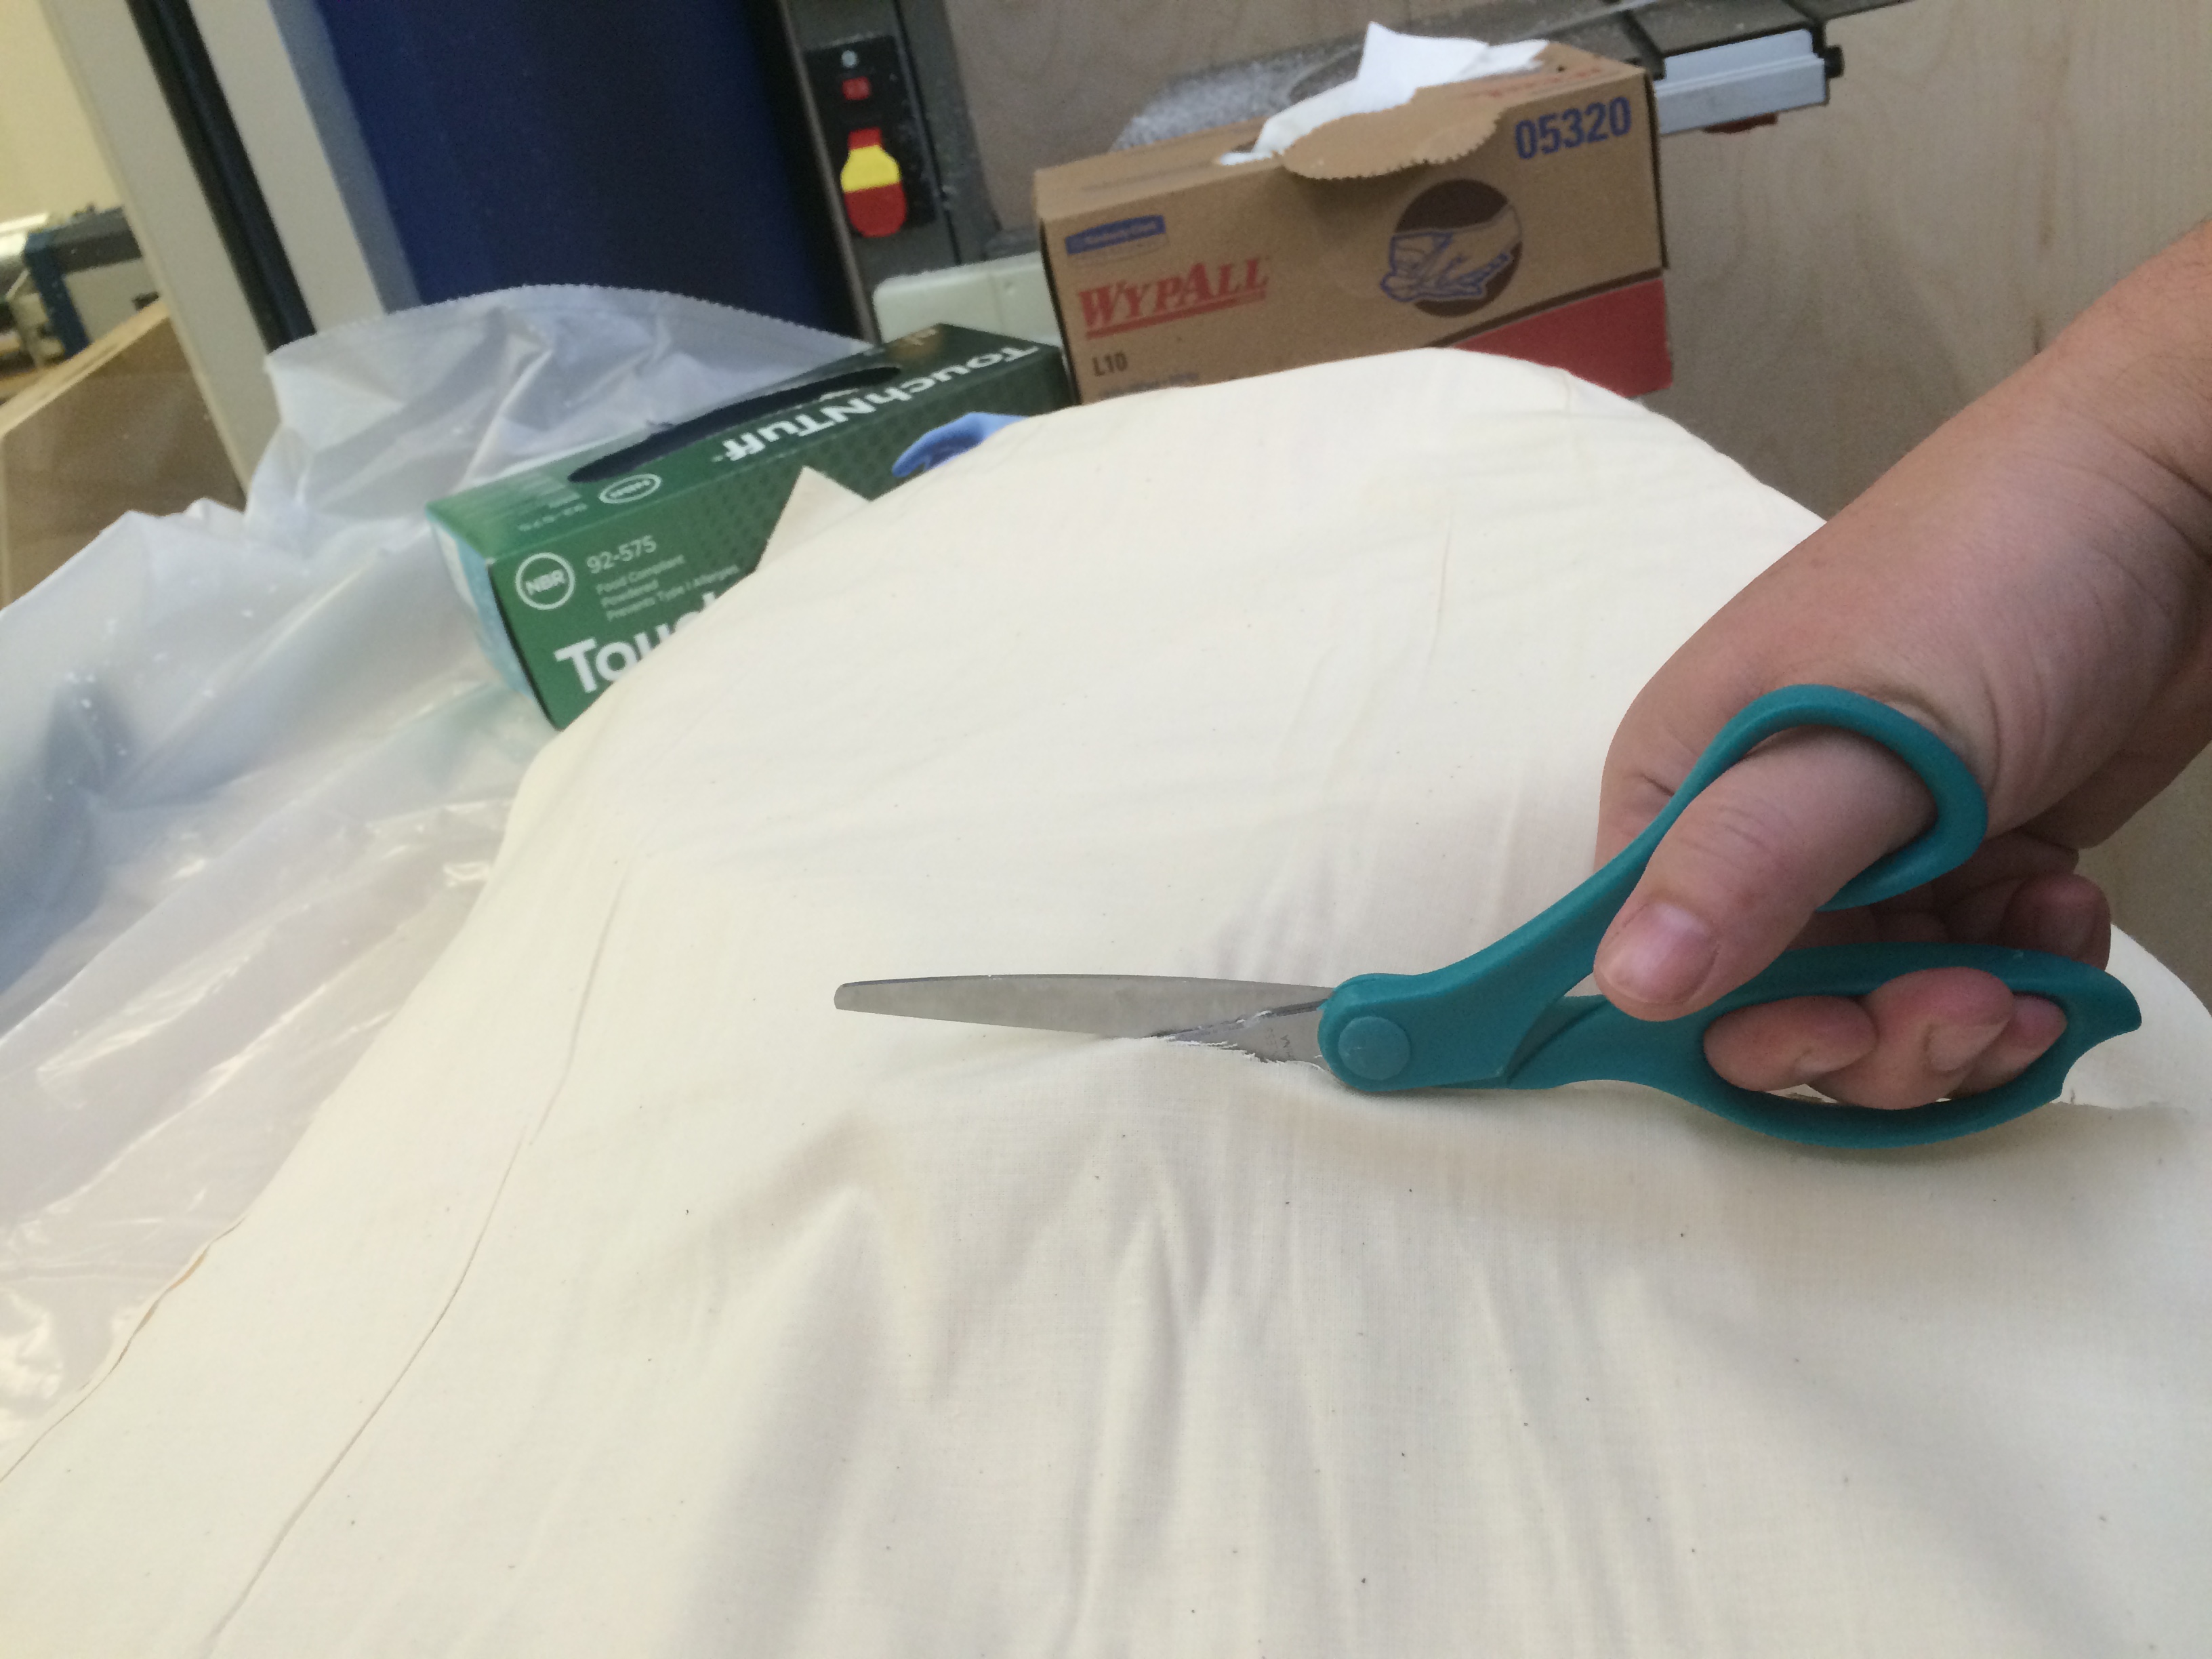
I made five layers of fabric this way, having to stop halfway to mix another three ounces of resin. Then I prepared a top layer of plastic wrap coated with machine oil. This I sandwiched altogether and put in a vacuum storage bag.
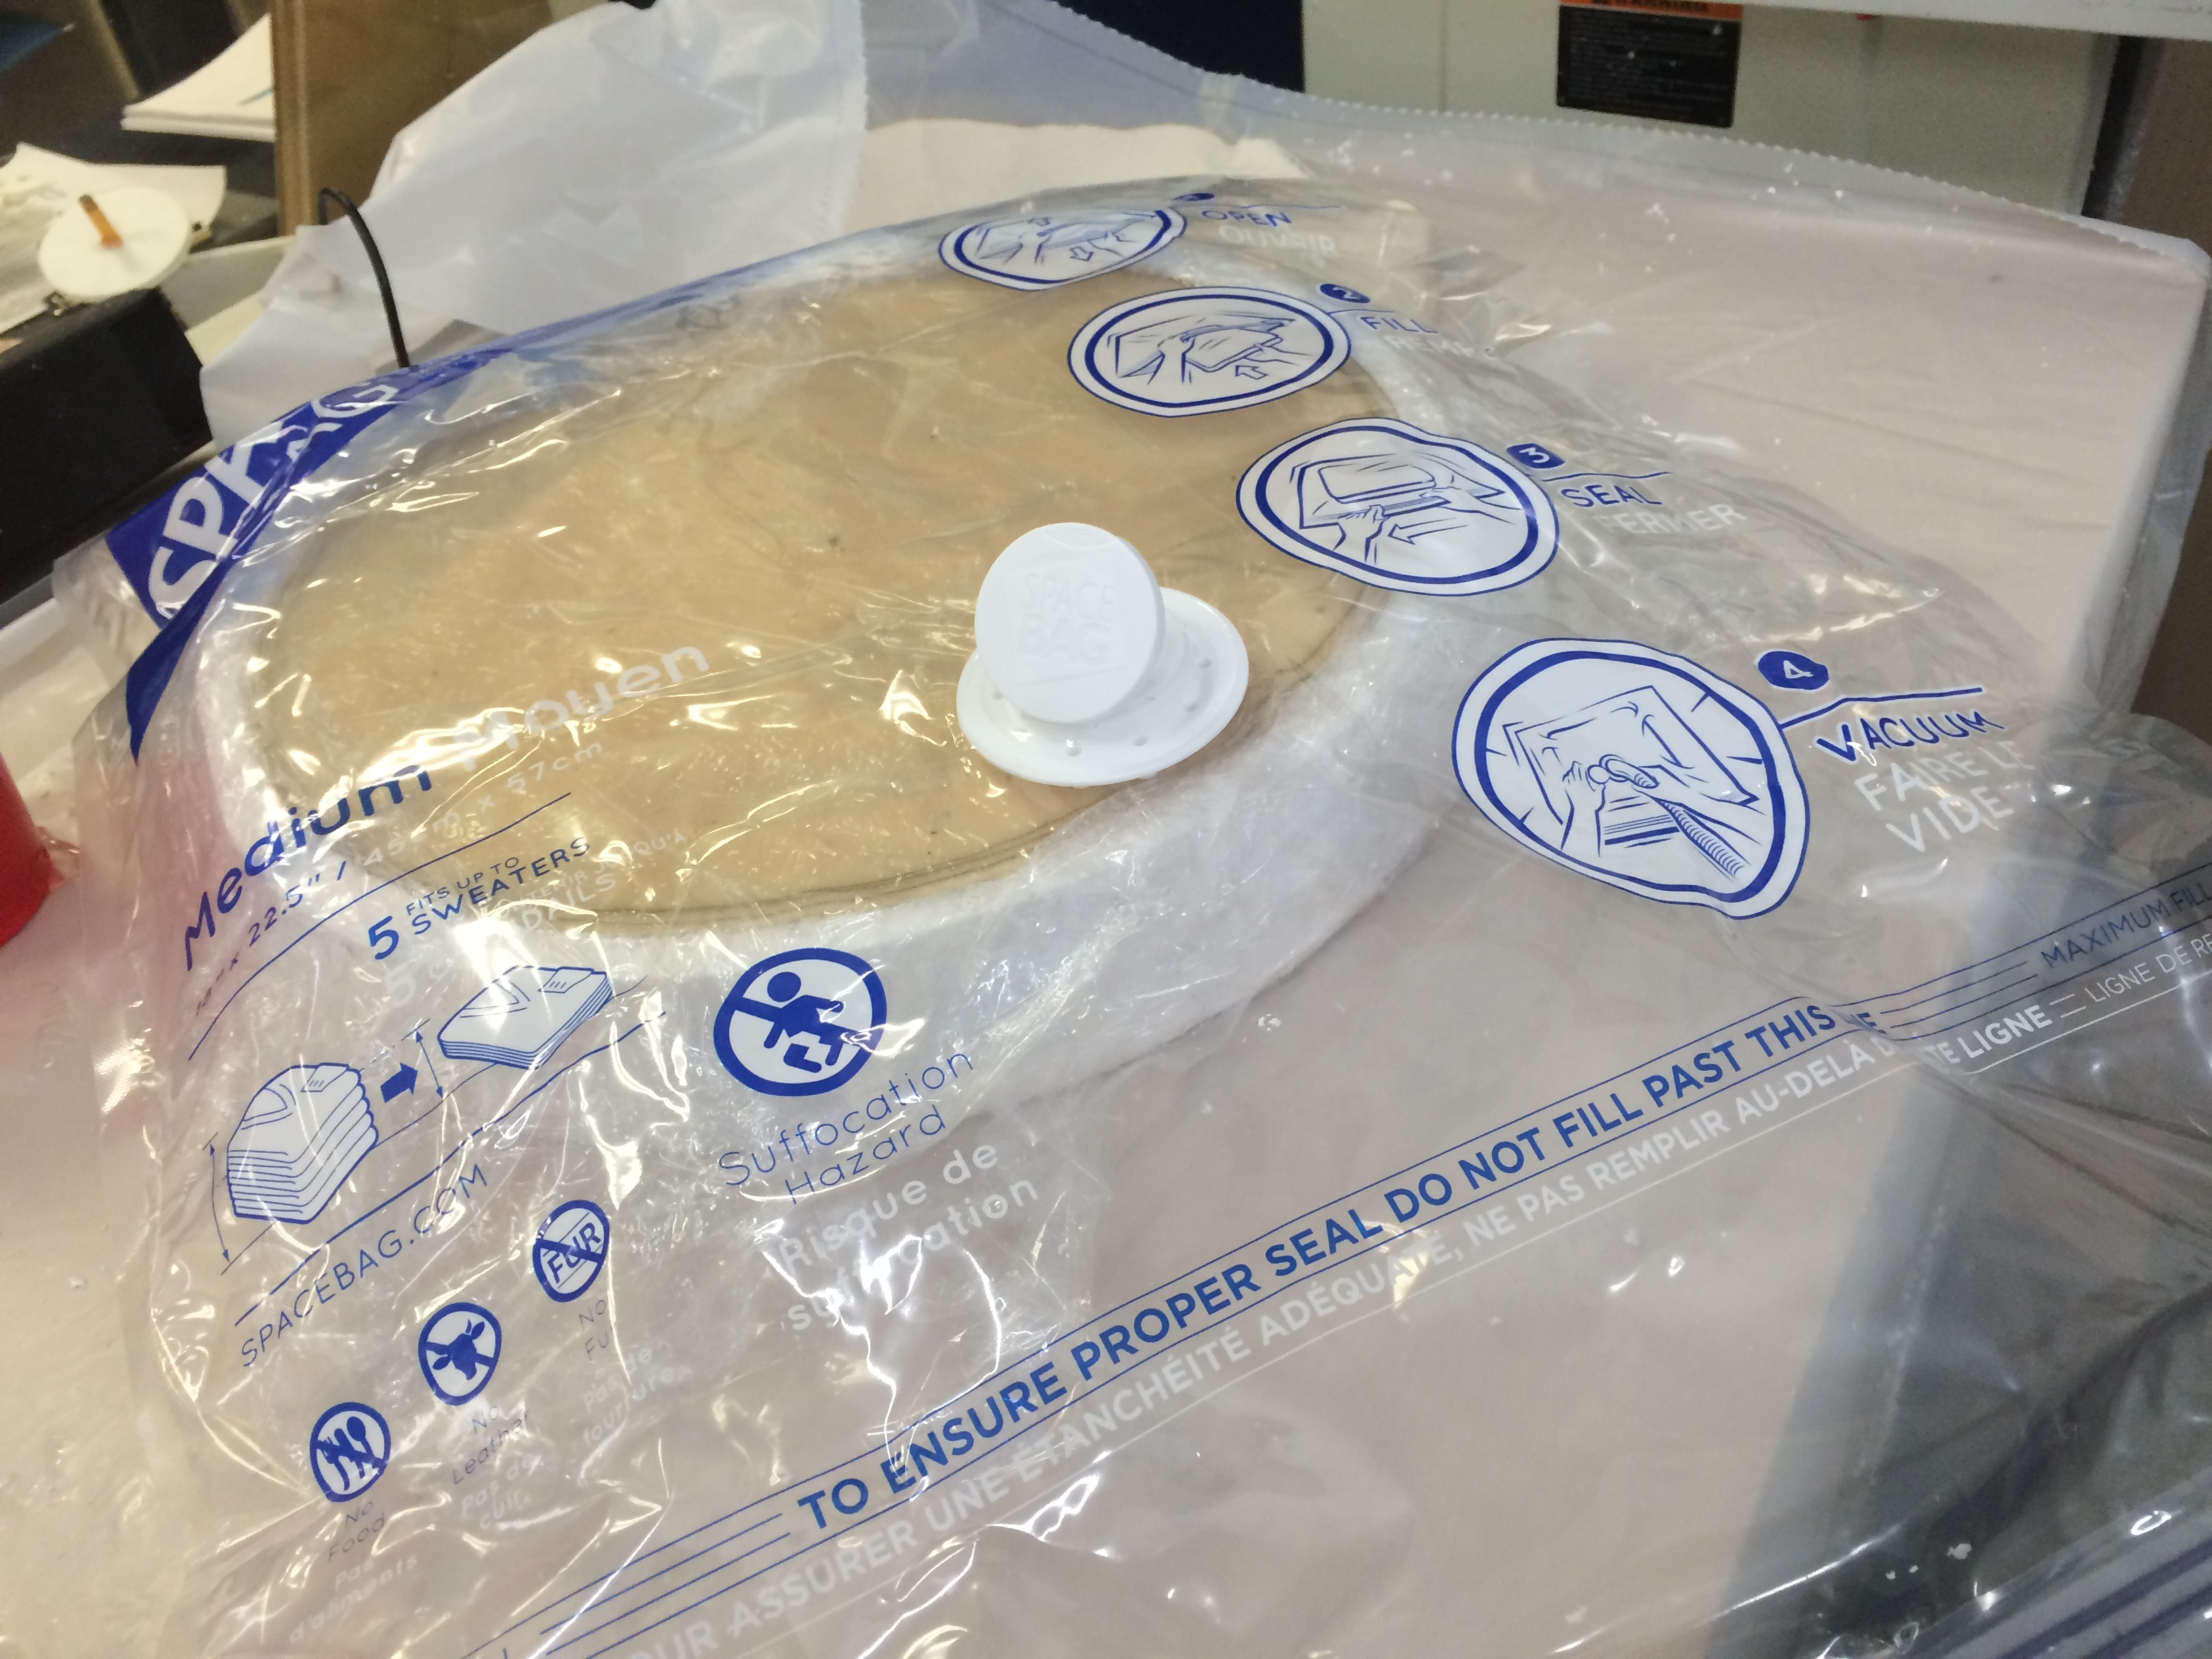
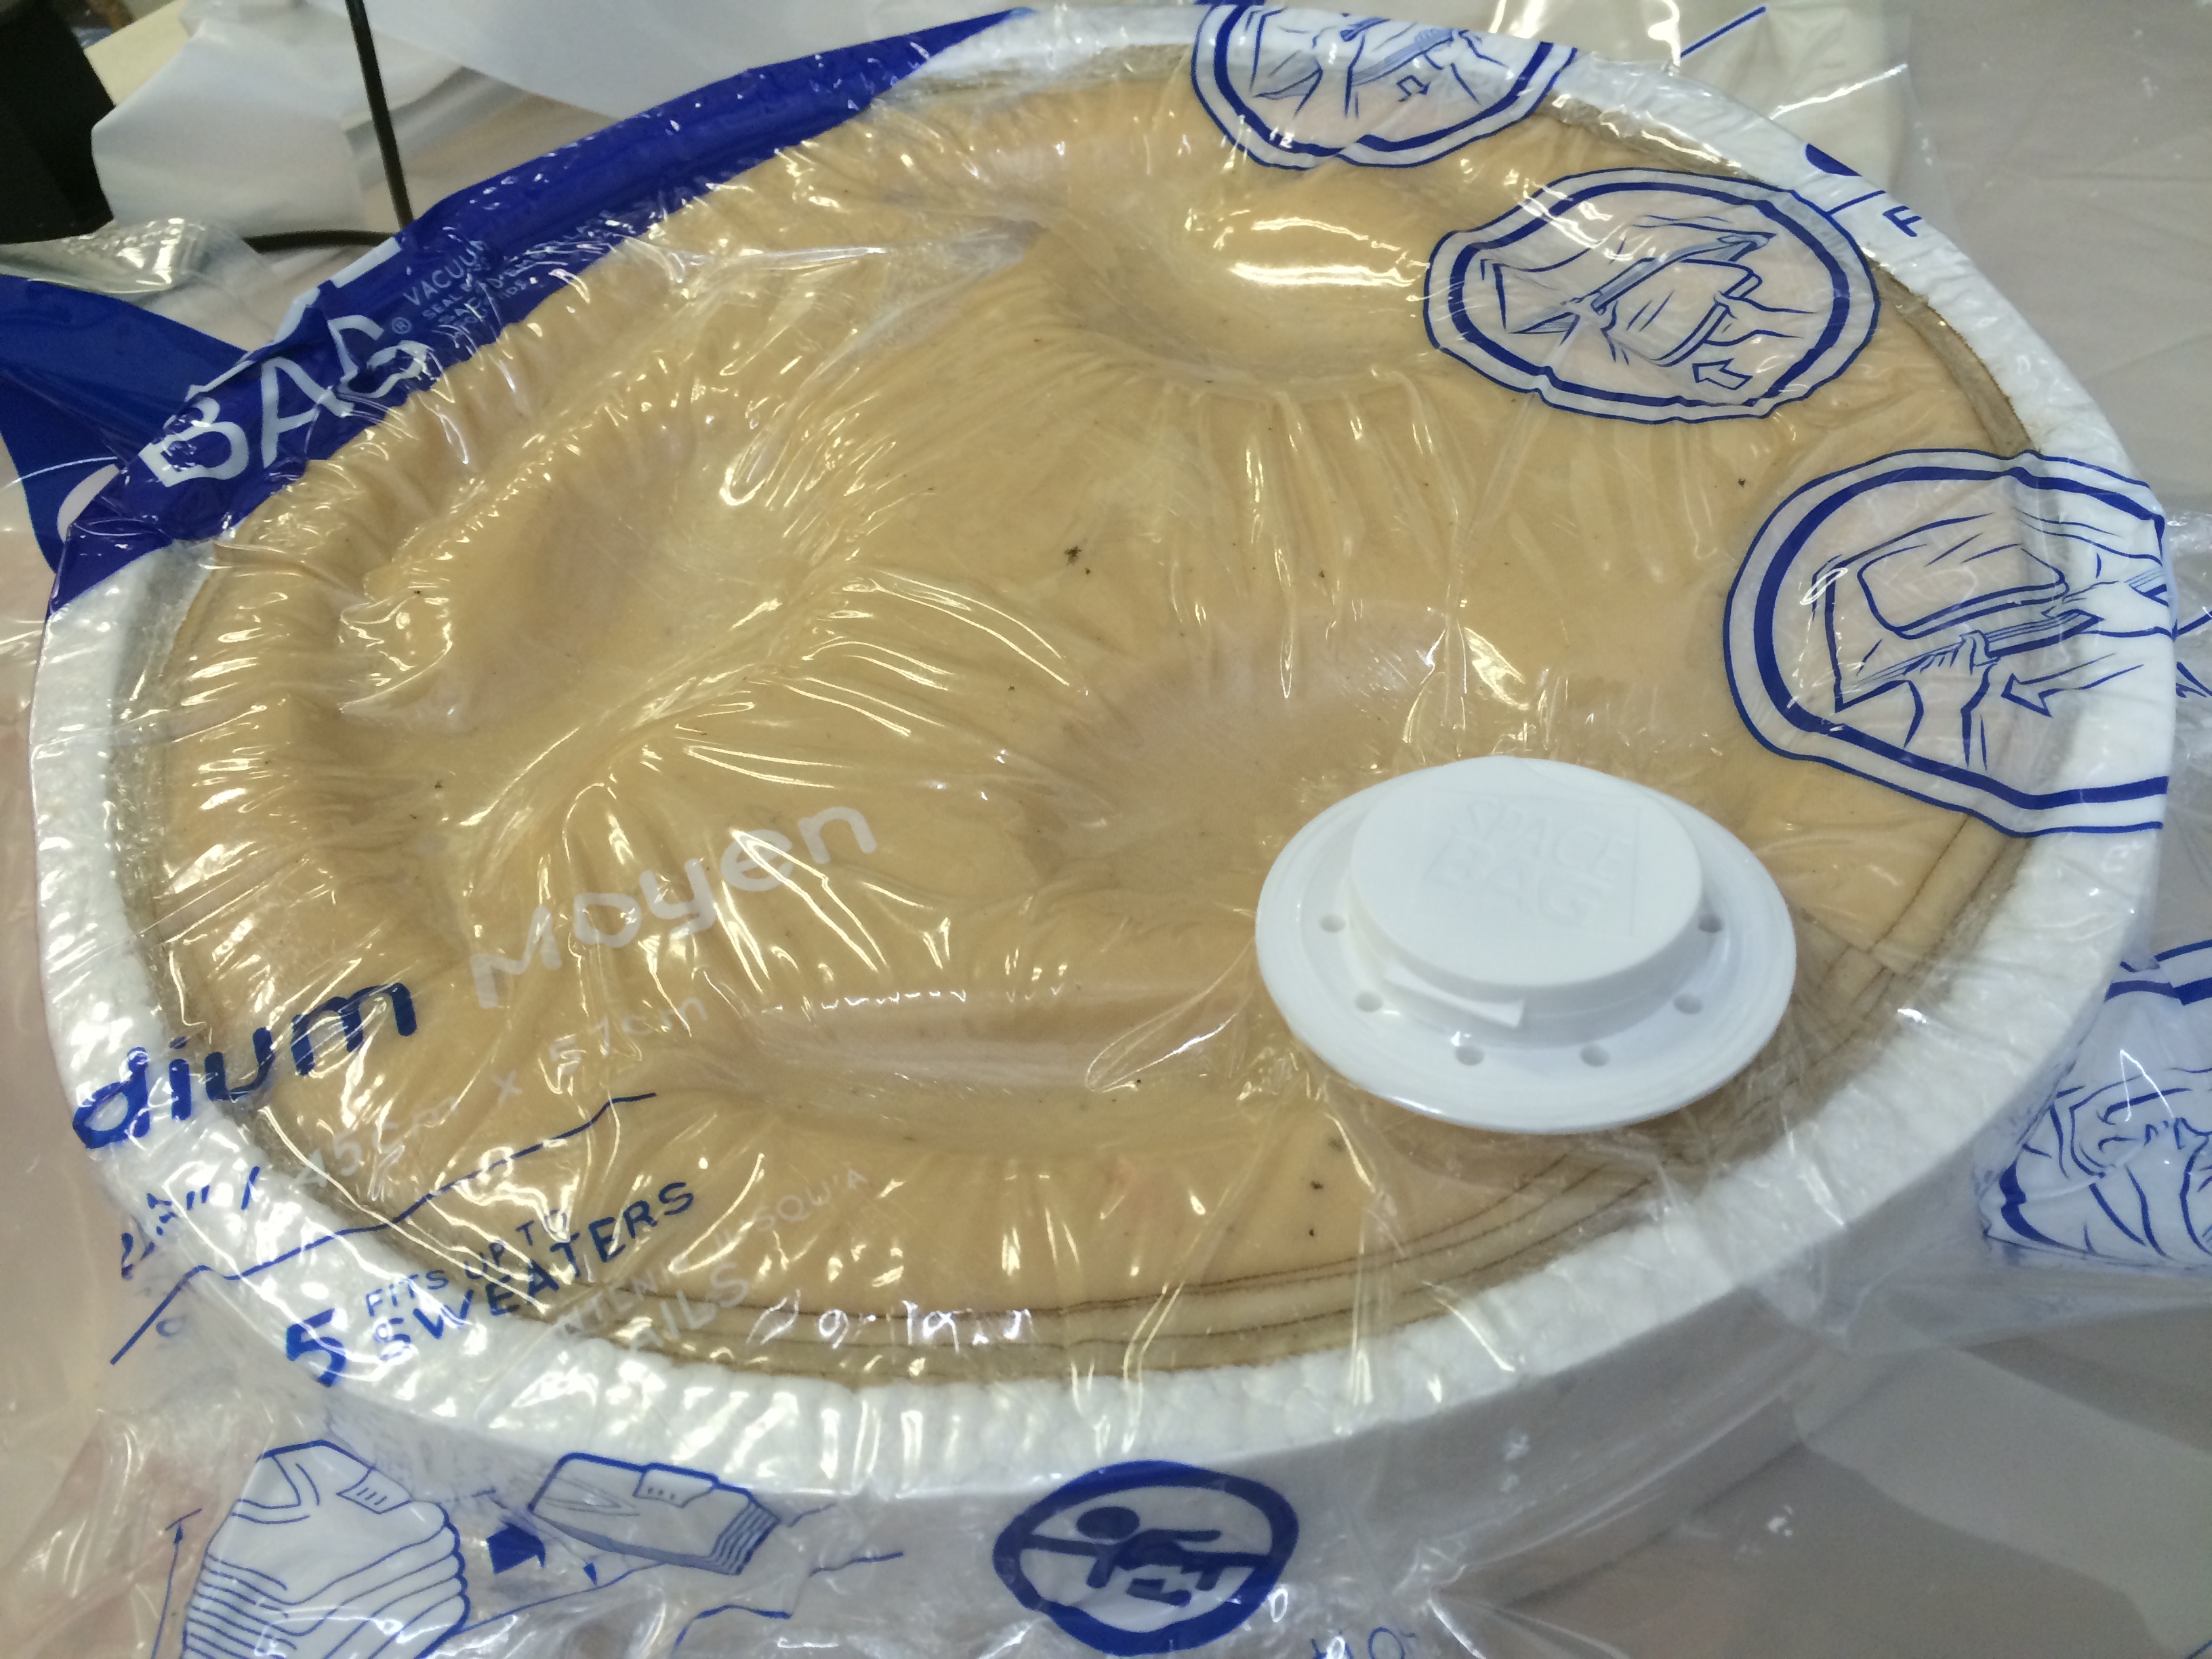
Then I used the Shop vac to remove all of the air. While I was vacuuming, I tried to press down into the mould with my fingers because I felt that the fabric wasn't conforming eoung to the mould.
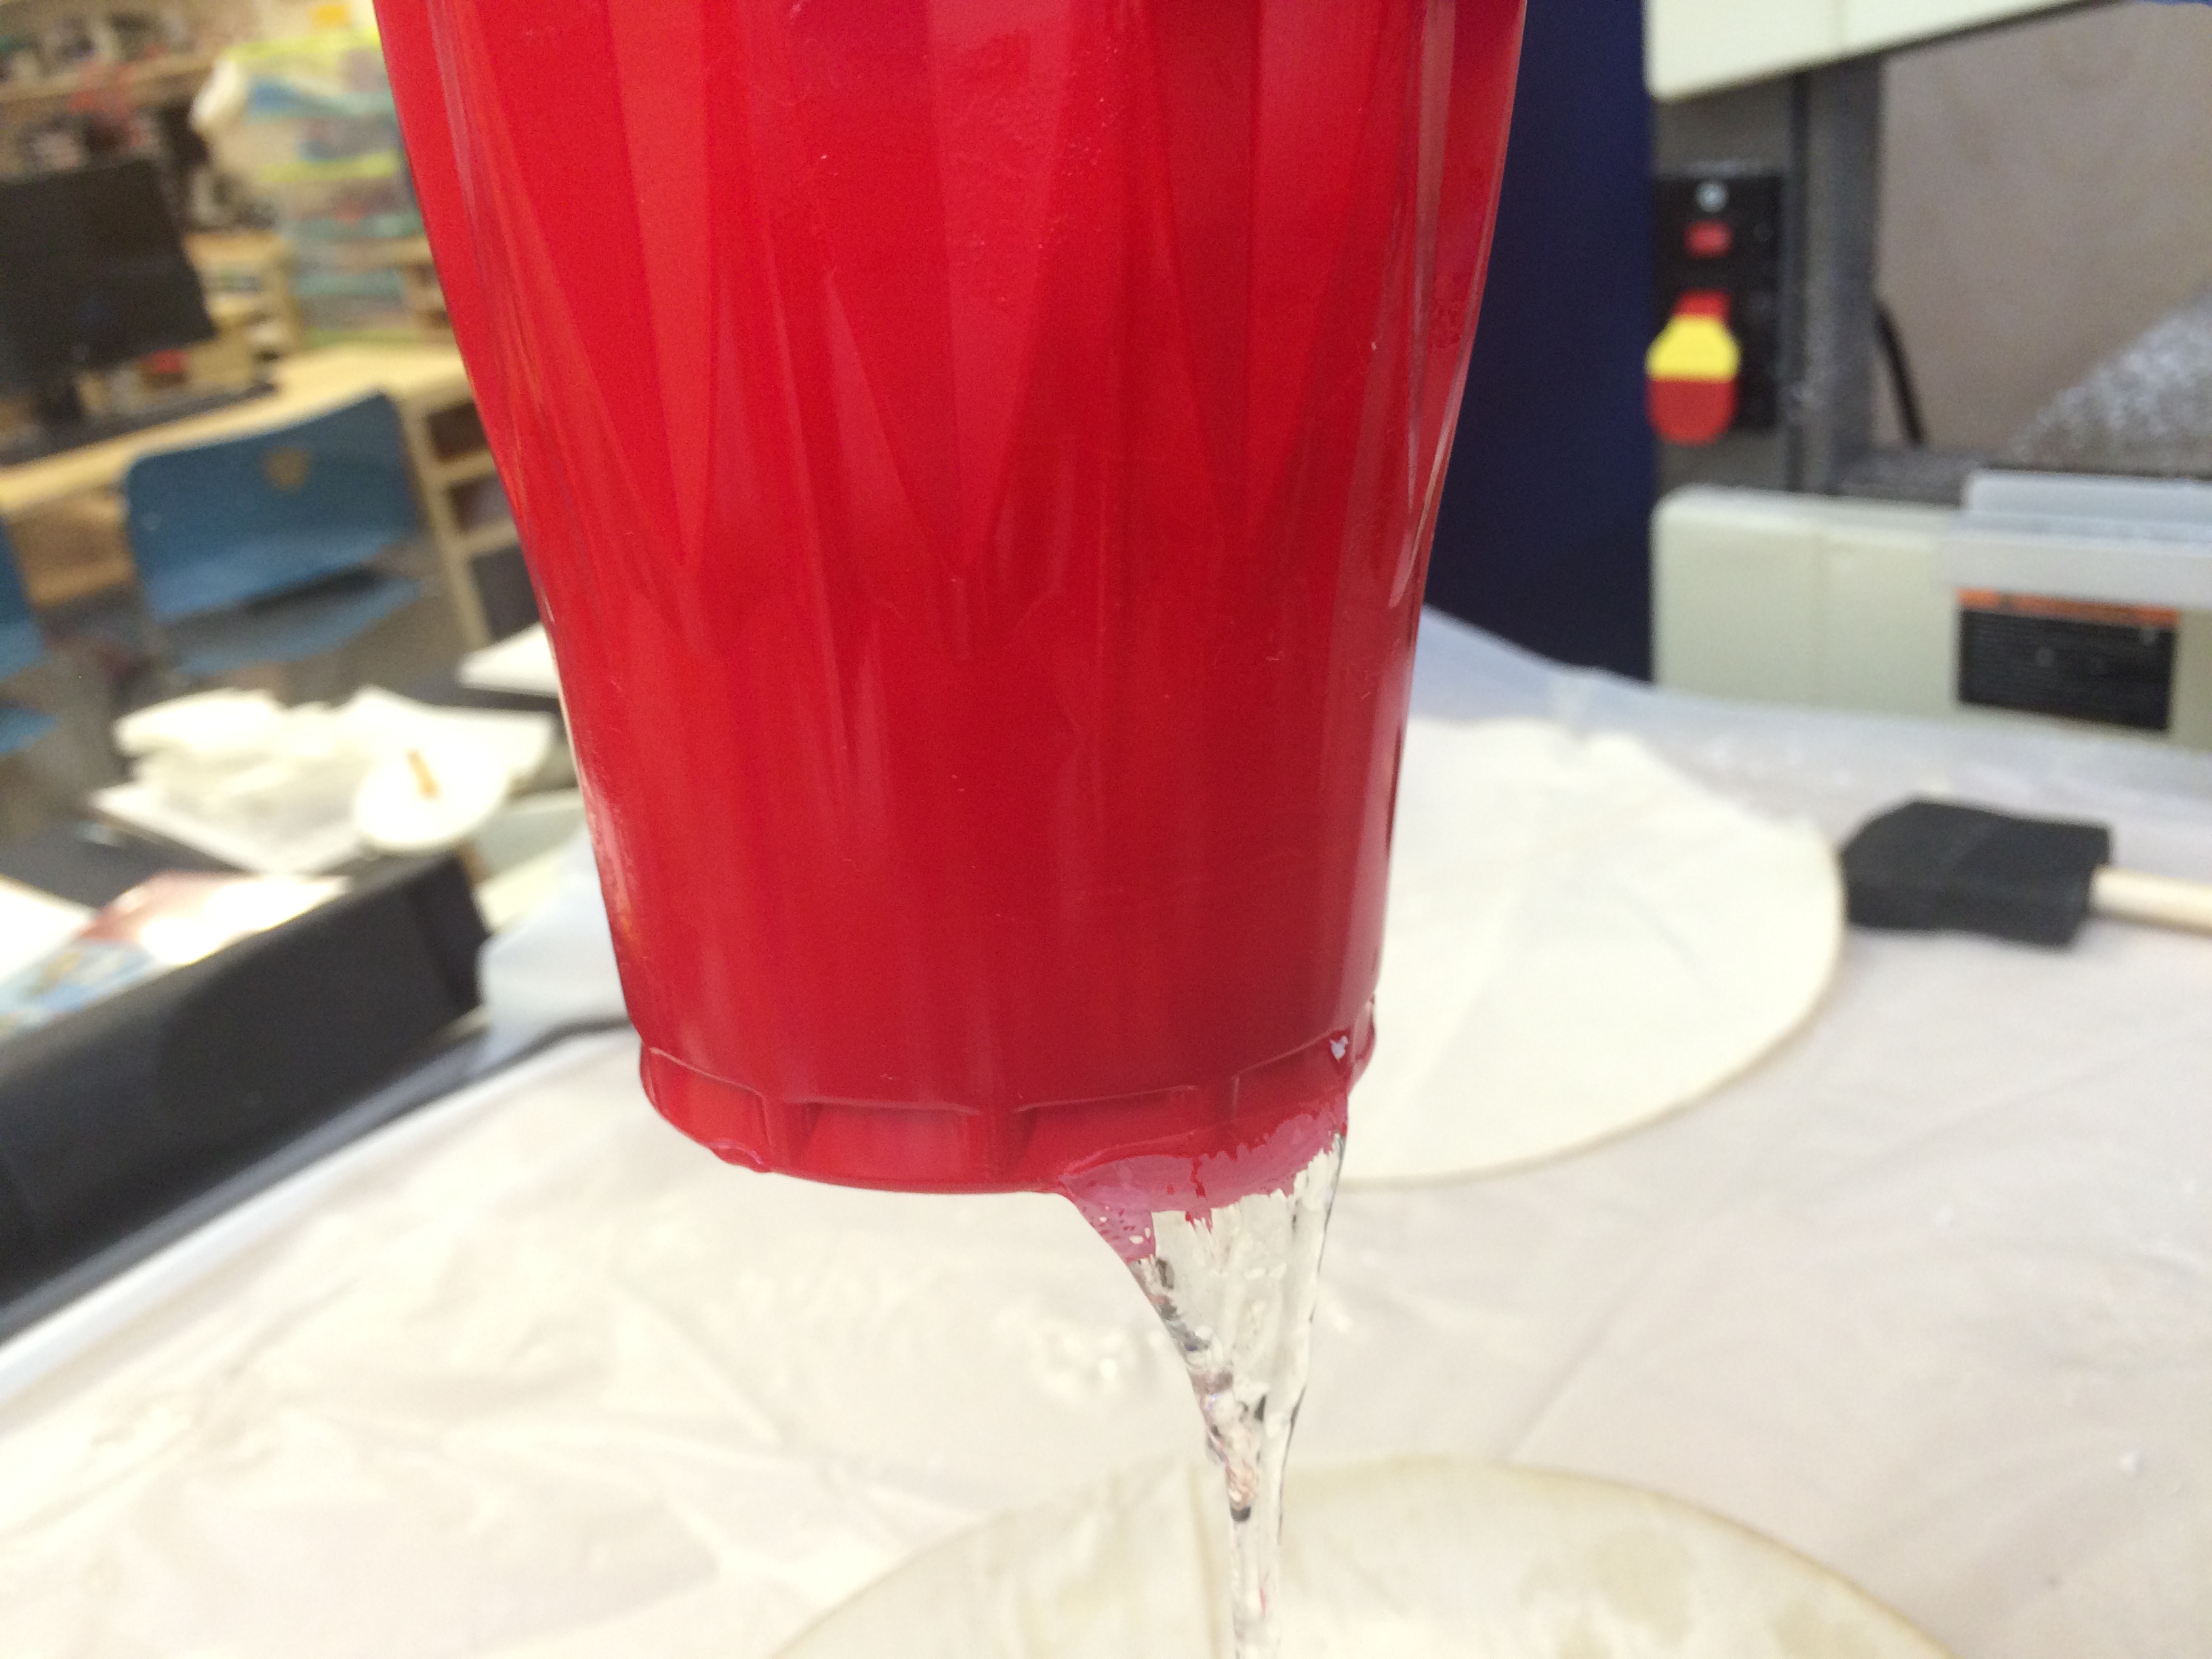
When I went to clean up, I noticed that the resin mixture had eaten through the bottom of my red solo cup.
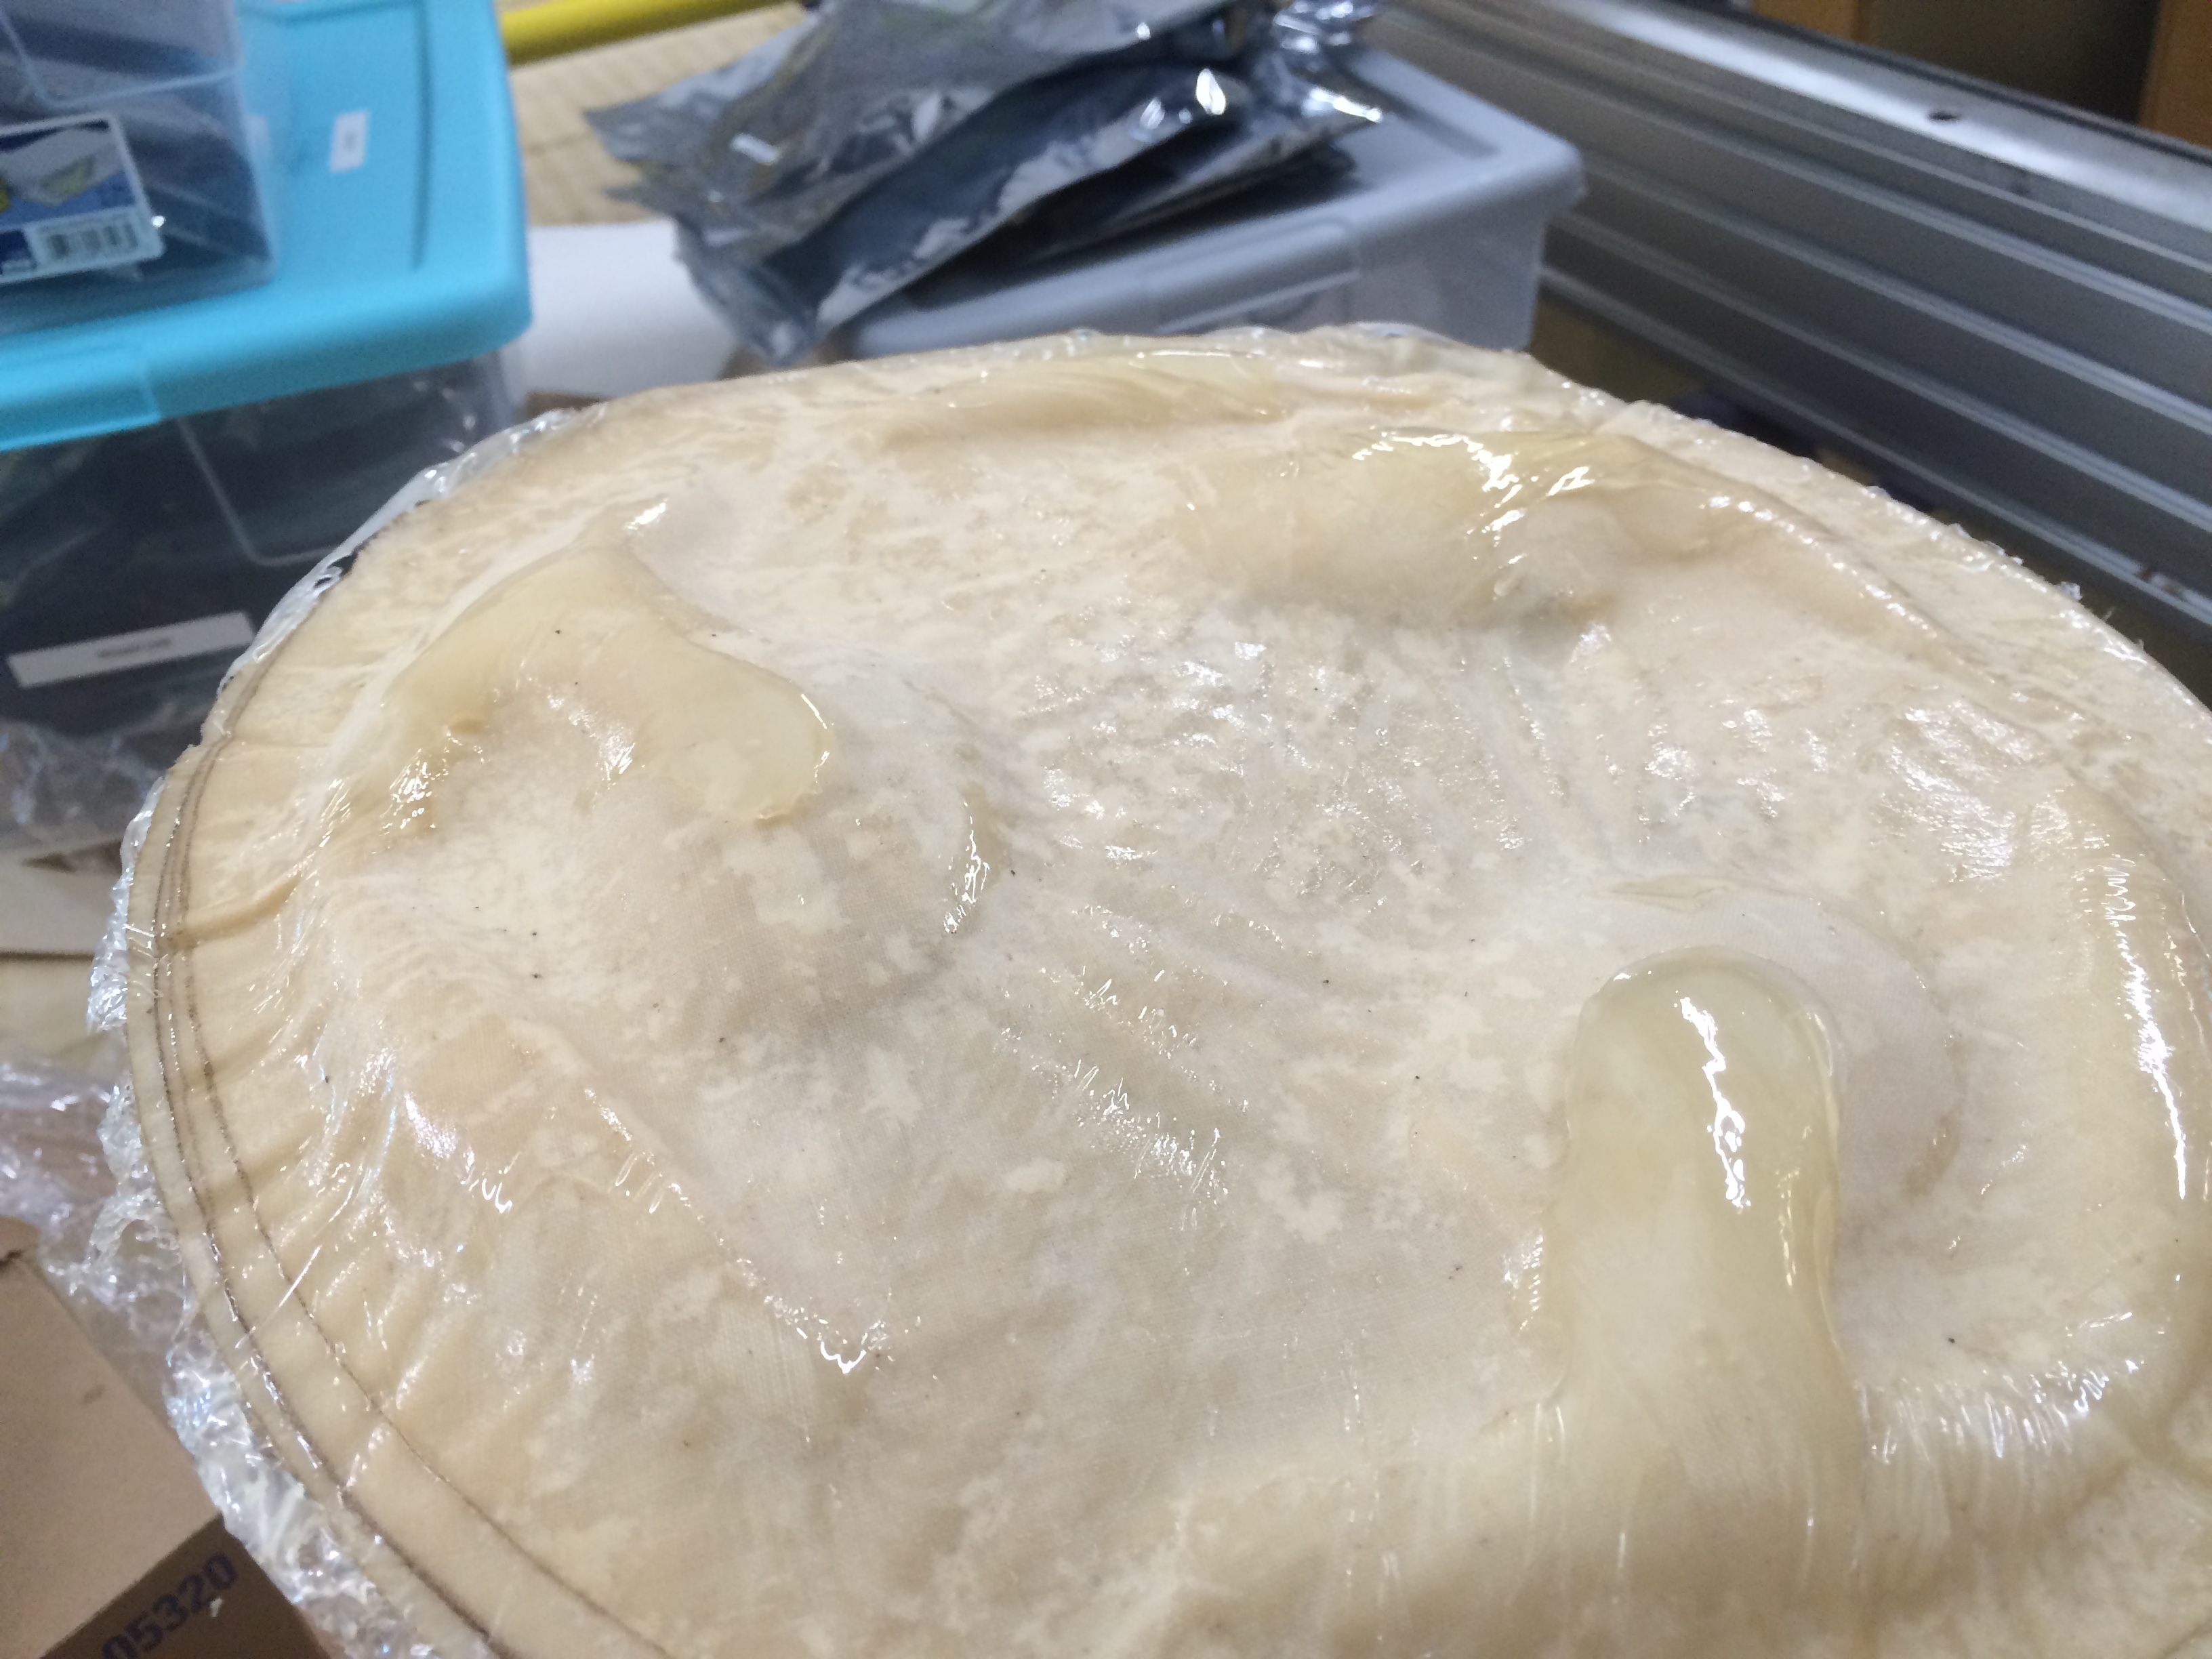
The next day I carefully removed my fabric composite from the bag, and it was hard to the touch. The plastic wrap peeled off quite easily, and I was able to remove it from the styrofoam mold without breaking the foam at all.
I was unhappy with my final result because the fabric didn't take to the mold shape as closely as I would have liked, plus there were little pools of resin at the bottom. It is pretty solid, though, so I guess at least I mixed the 45 drops of hardener correctly!
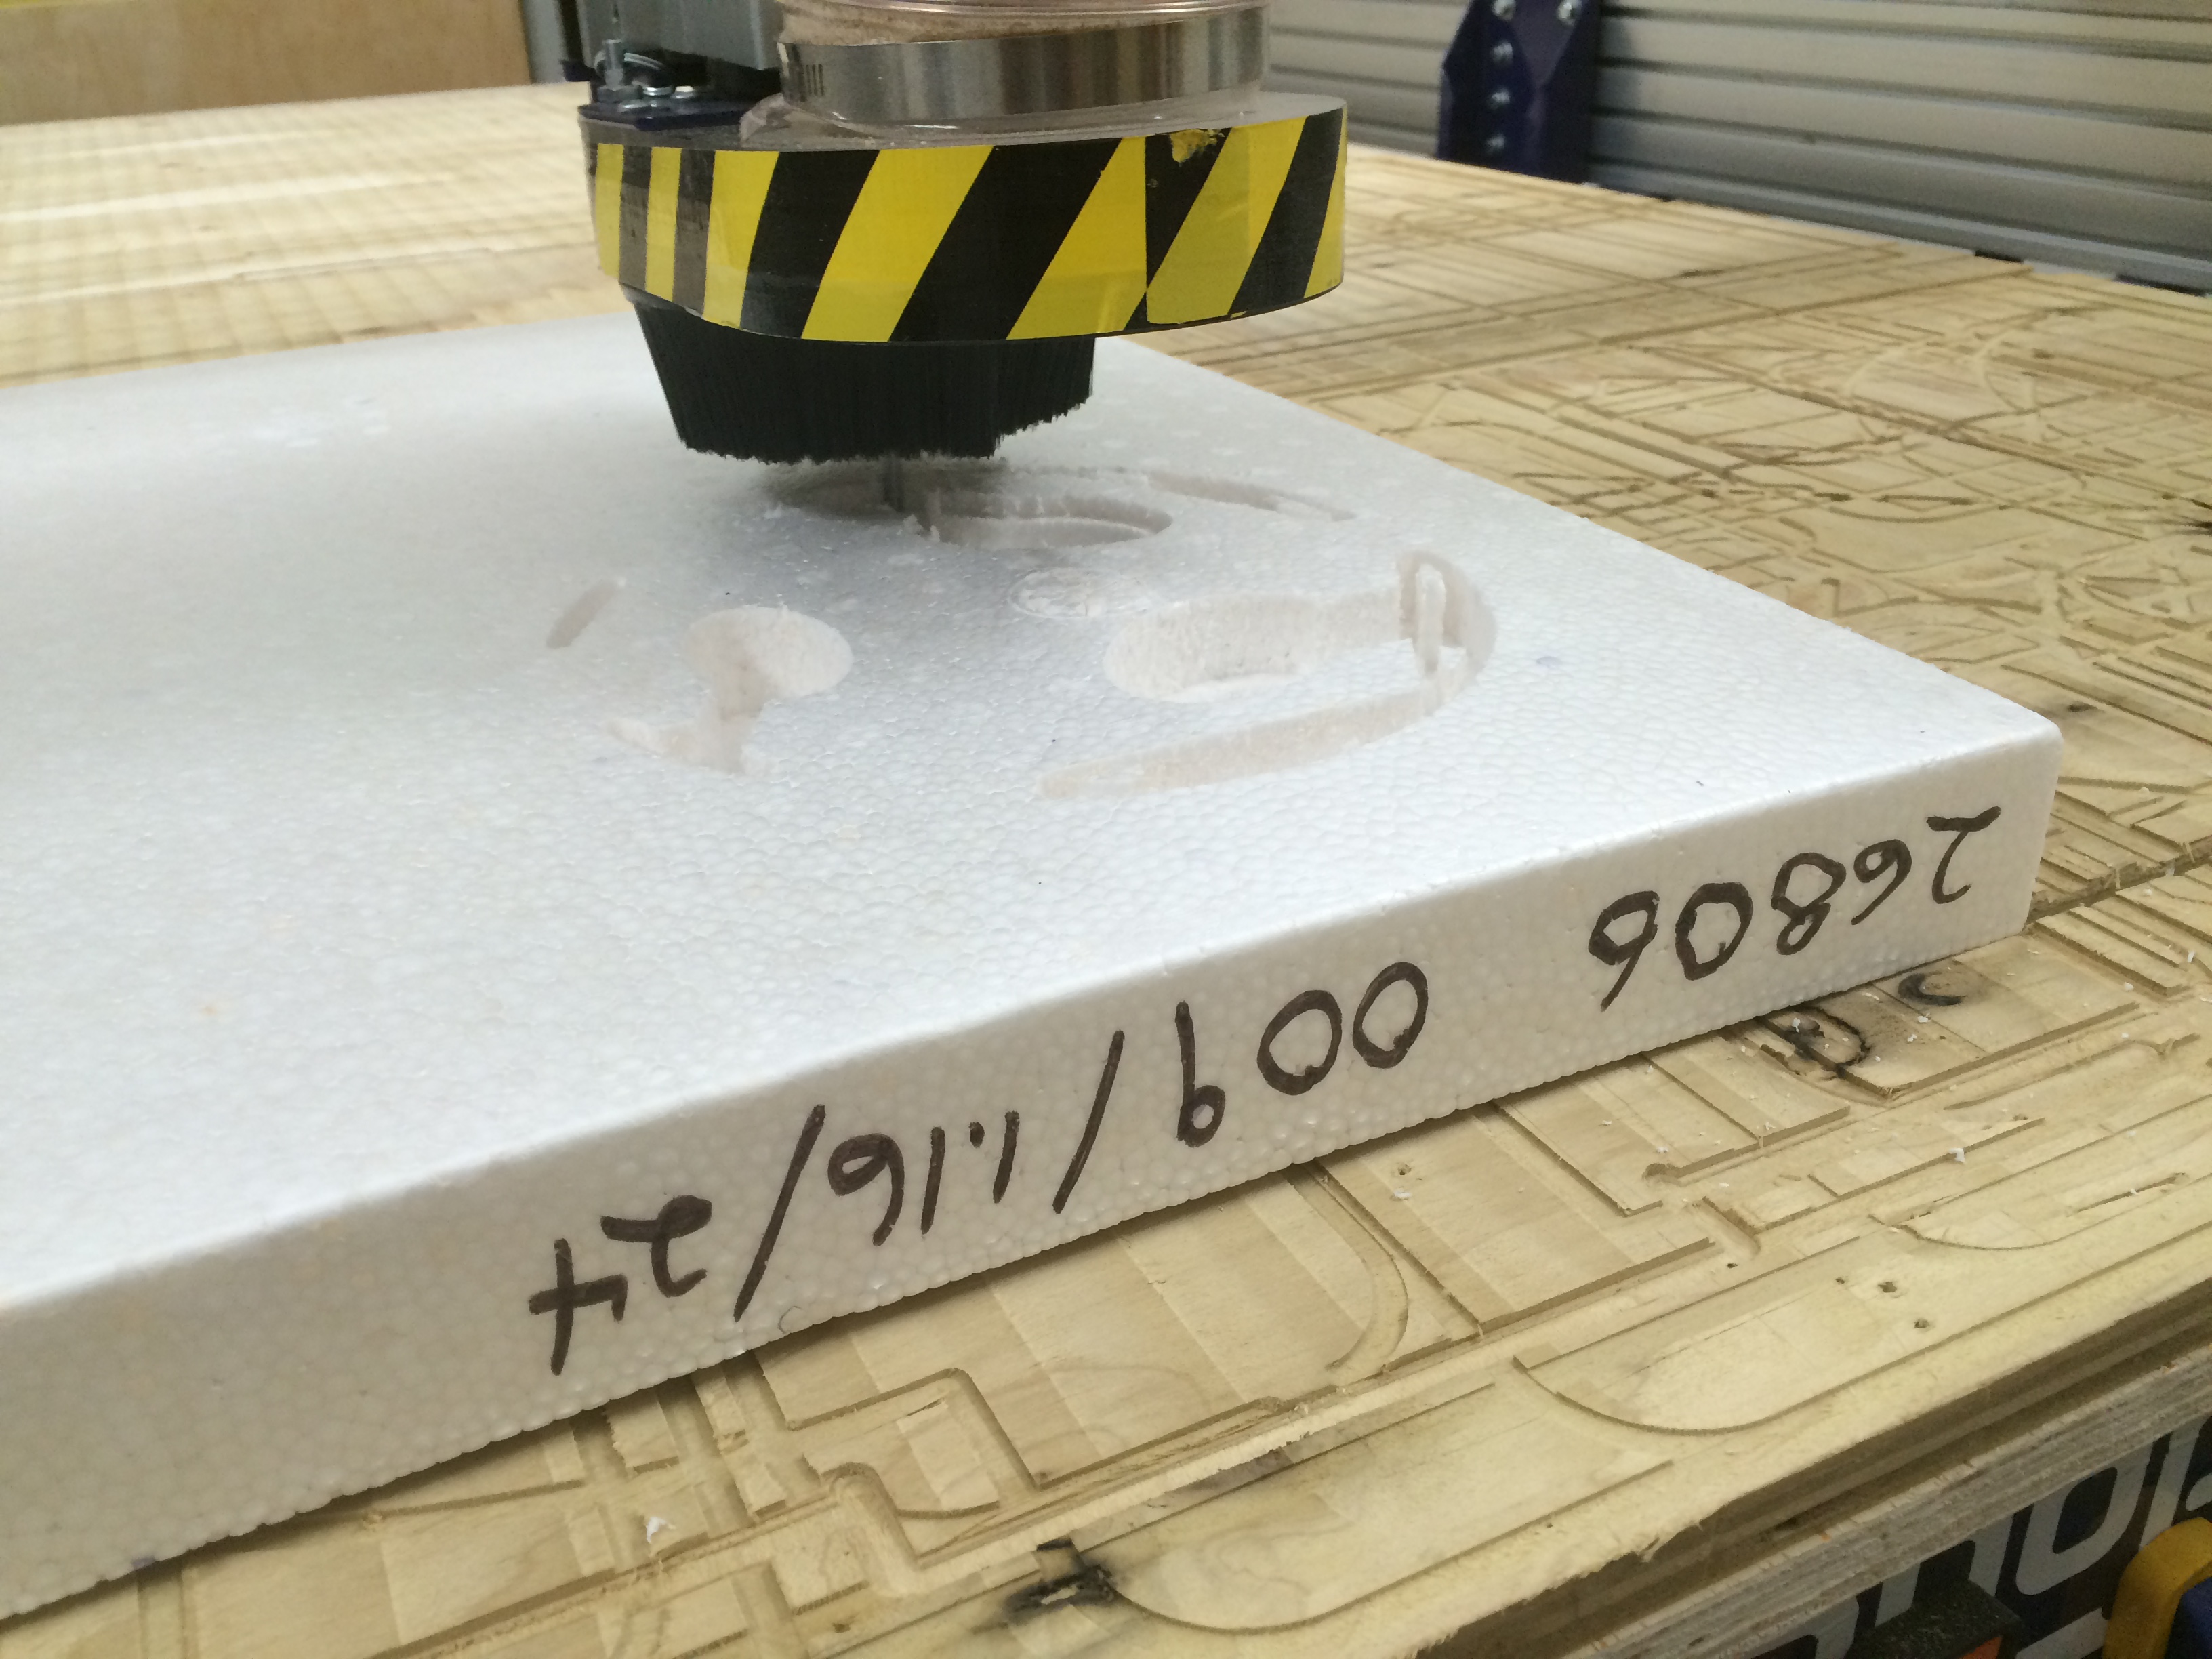
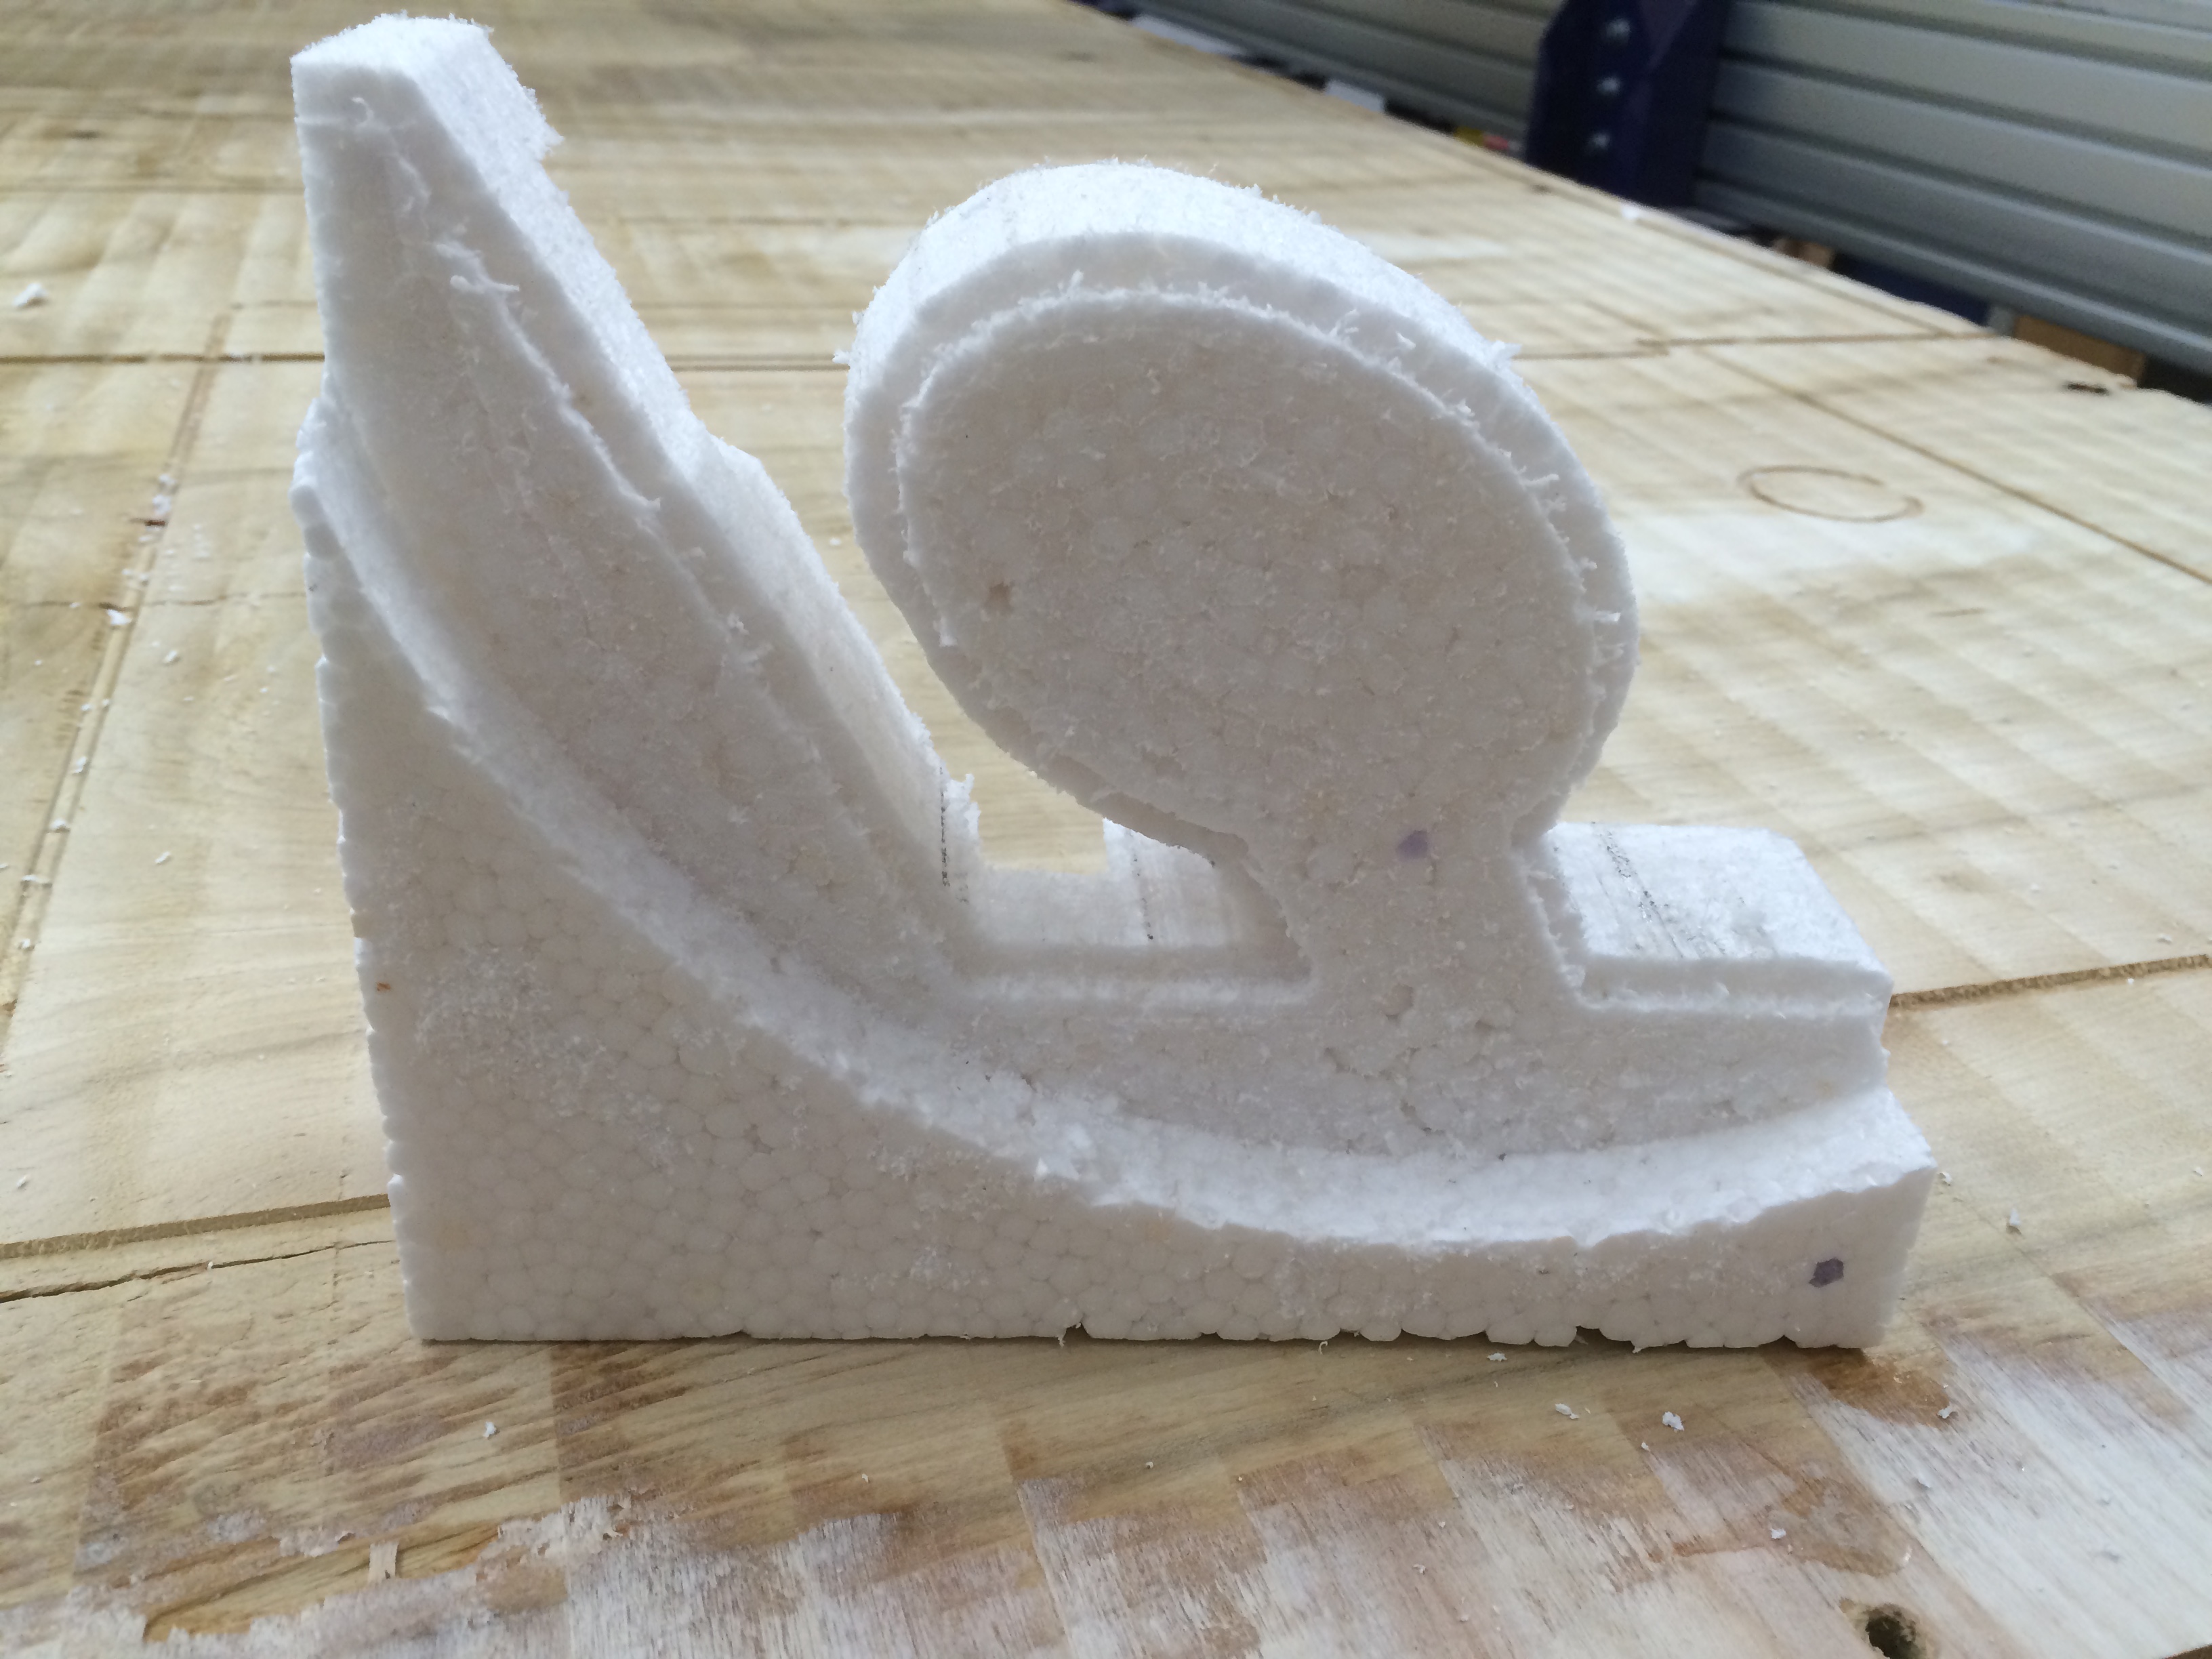
I reconfigured my styrofoam design so I was just cutting out one head. I thought I could more easily wrap it with the burlap that way. Here is my VCarve file with the new design. When I cut it on the Shopbot, it looked like this:
I painted the styrofoam and then coated it with the only release agent I had in the shop at the time, and I hoped it would work.
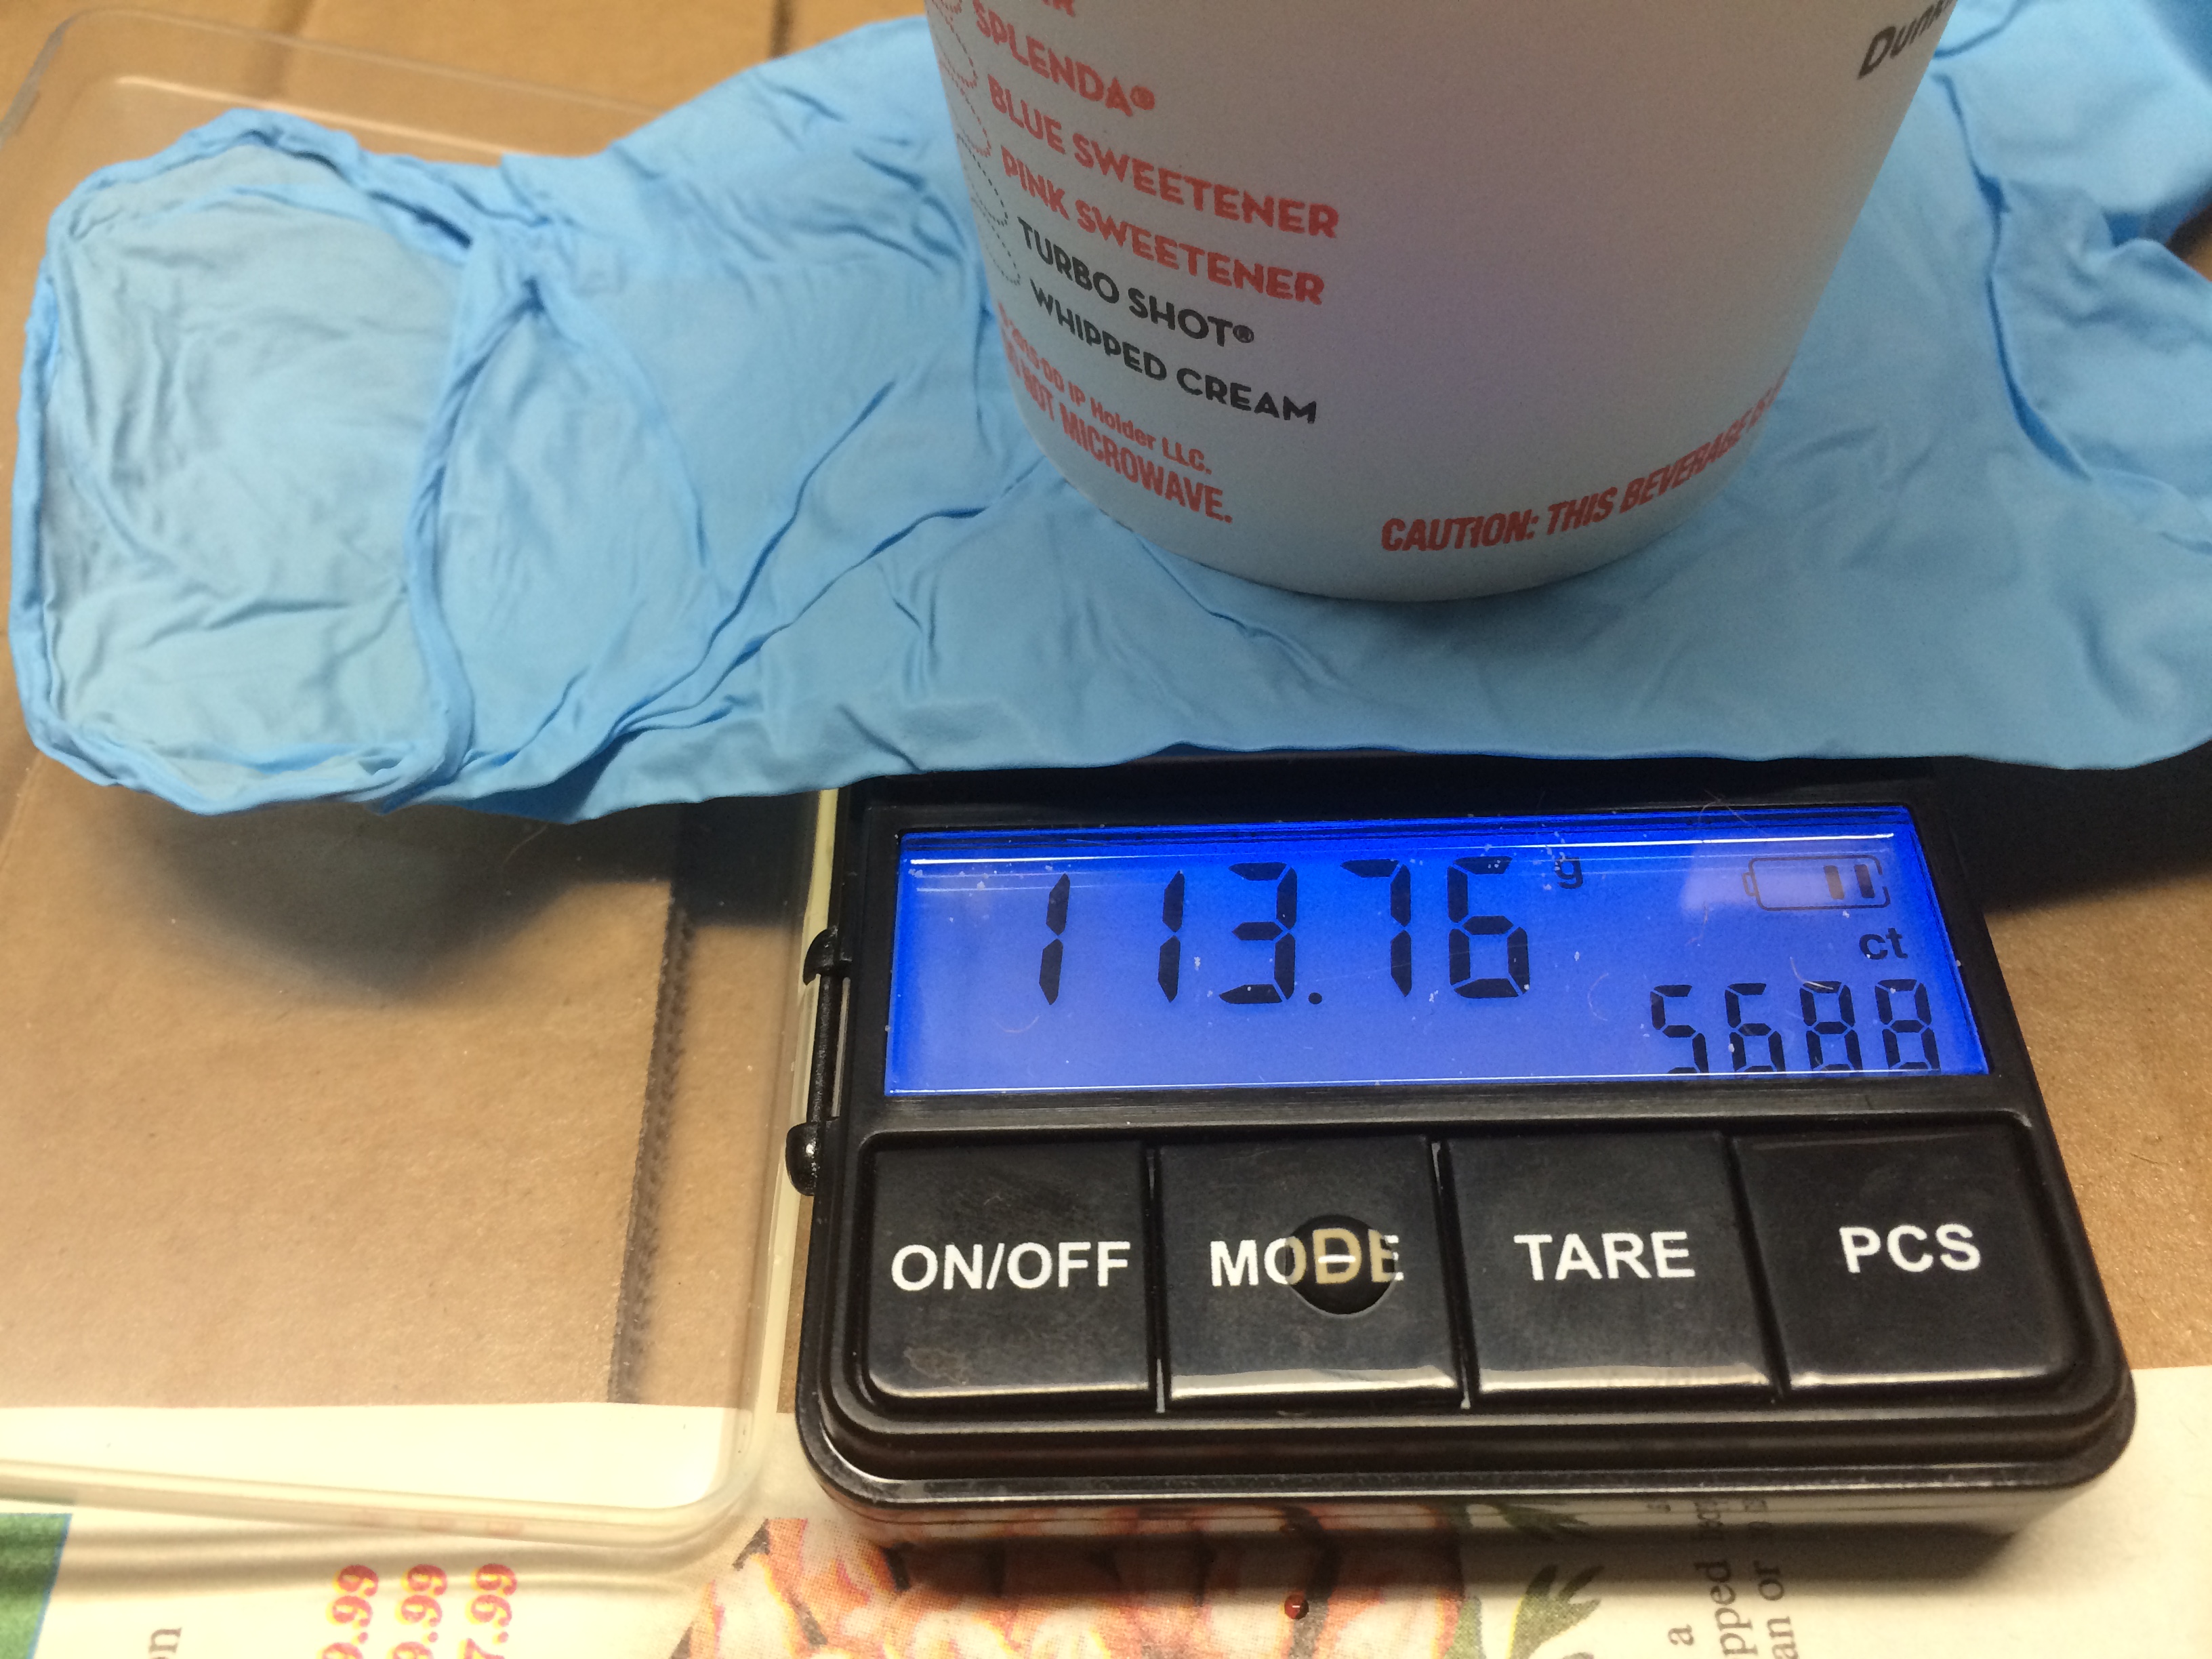
When it was time to mix up the fiberglass resin and the hardener, I only had a scale that would measure in grams, so I had to convert from ounces to grams. According to Siri, 28.3 grams are in an ounce.

I wanted to mix up three ounces, so I measured approximately 113.4 grams of the resin.
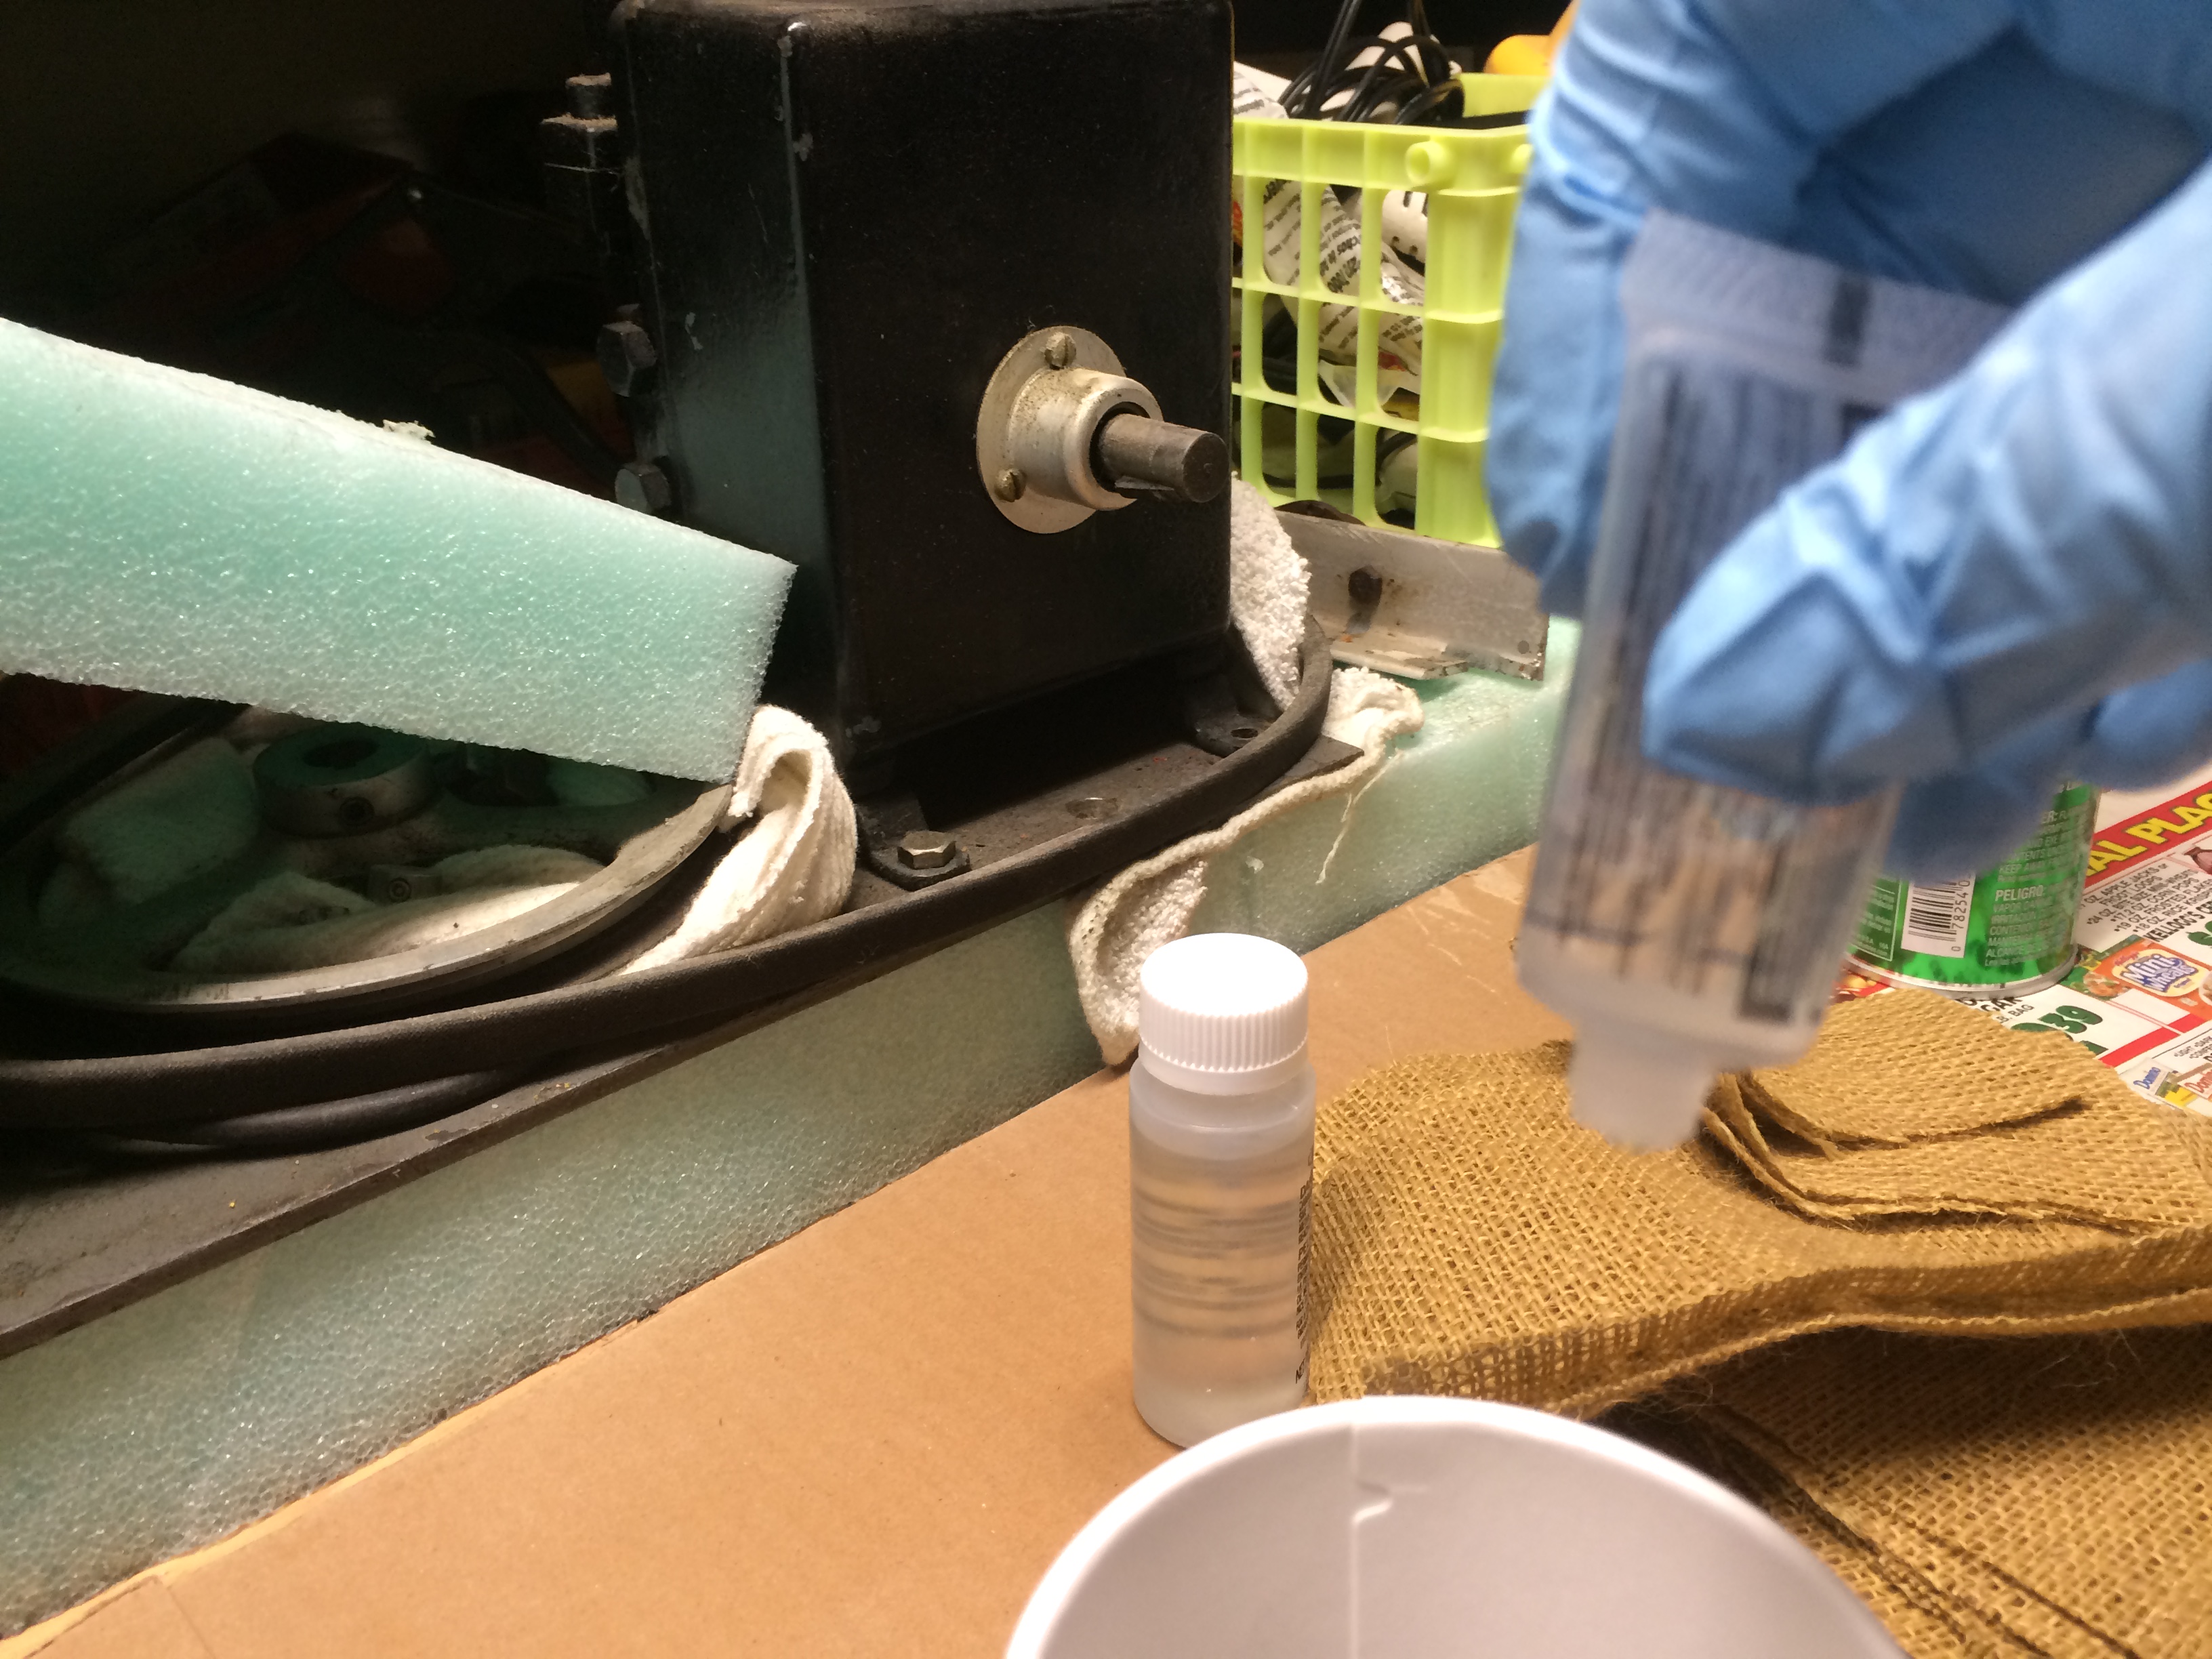
I added 10 drops of hardener per ounce, so that was a total of 40 drops.
It looked pretty gross all mixed up.
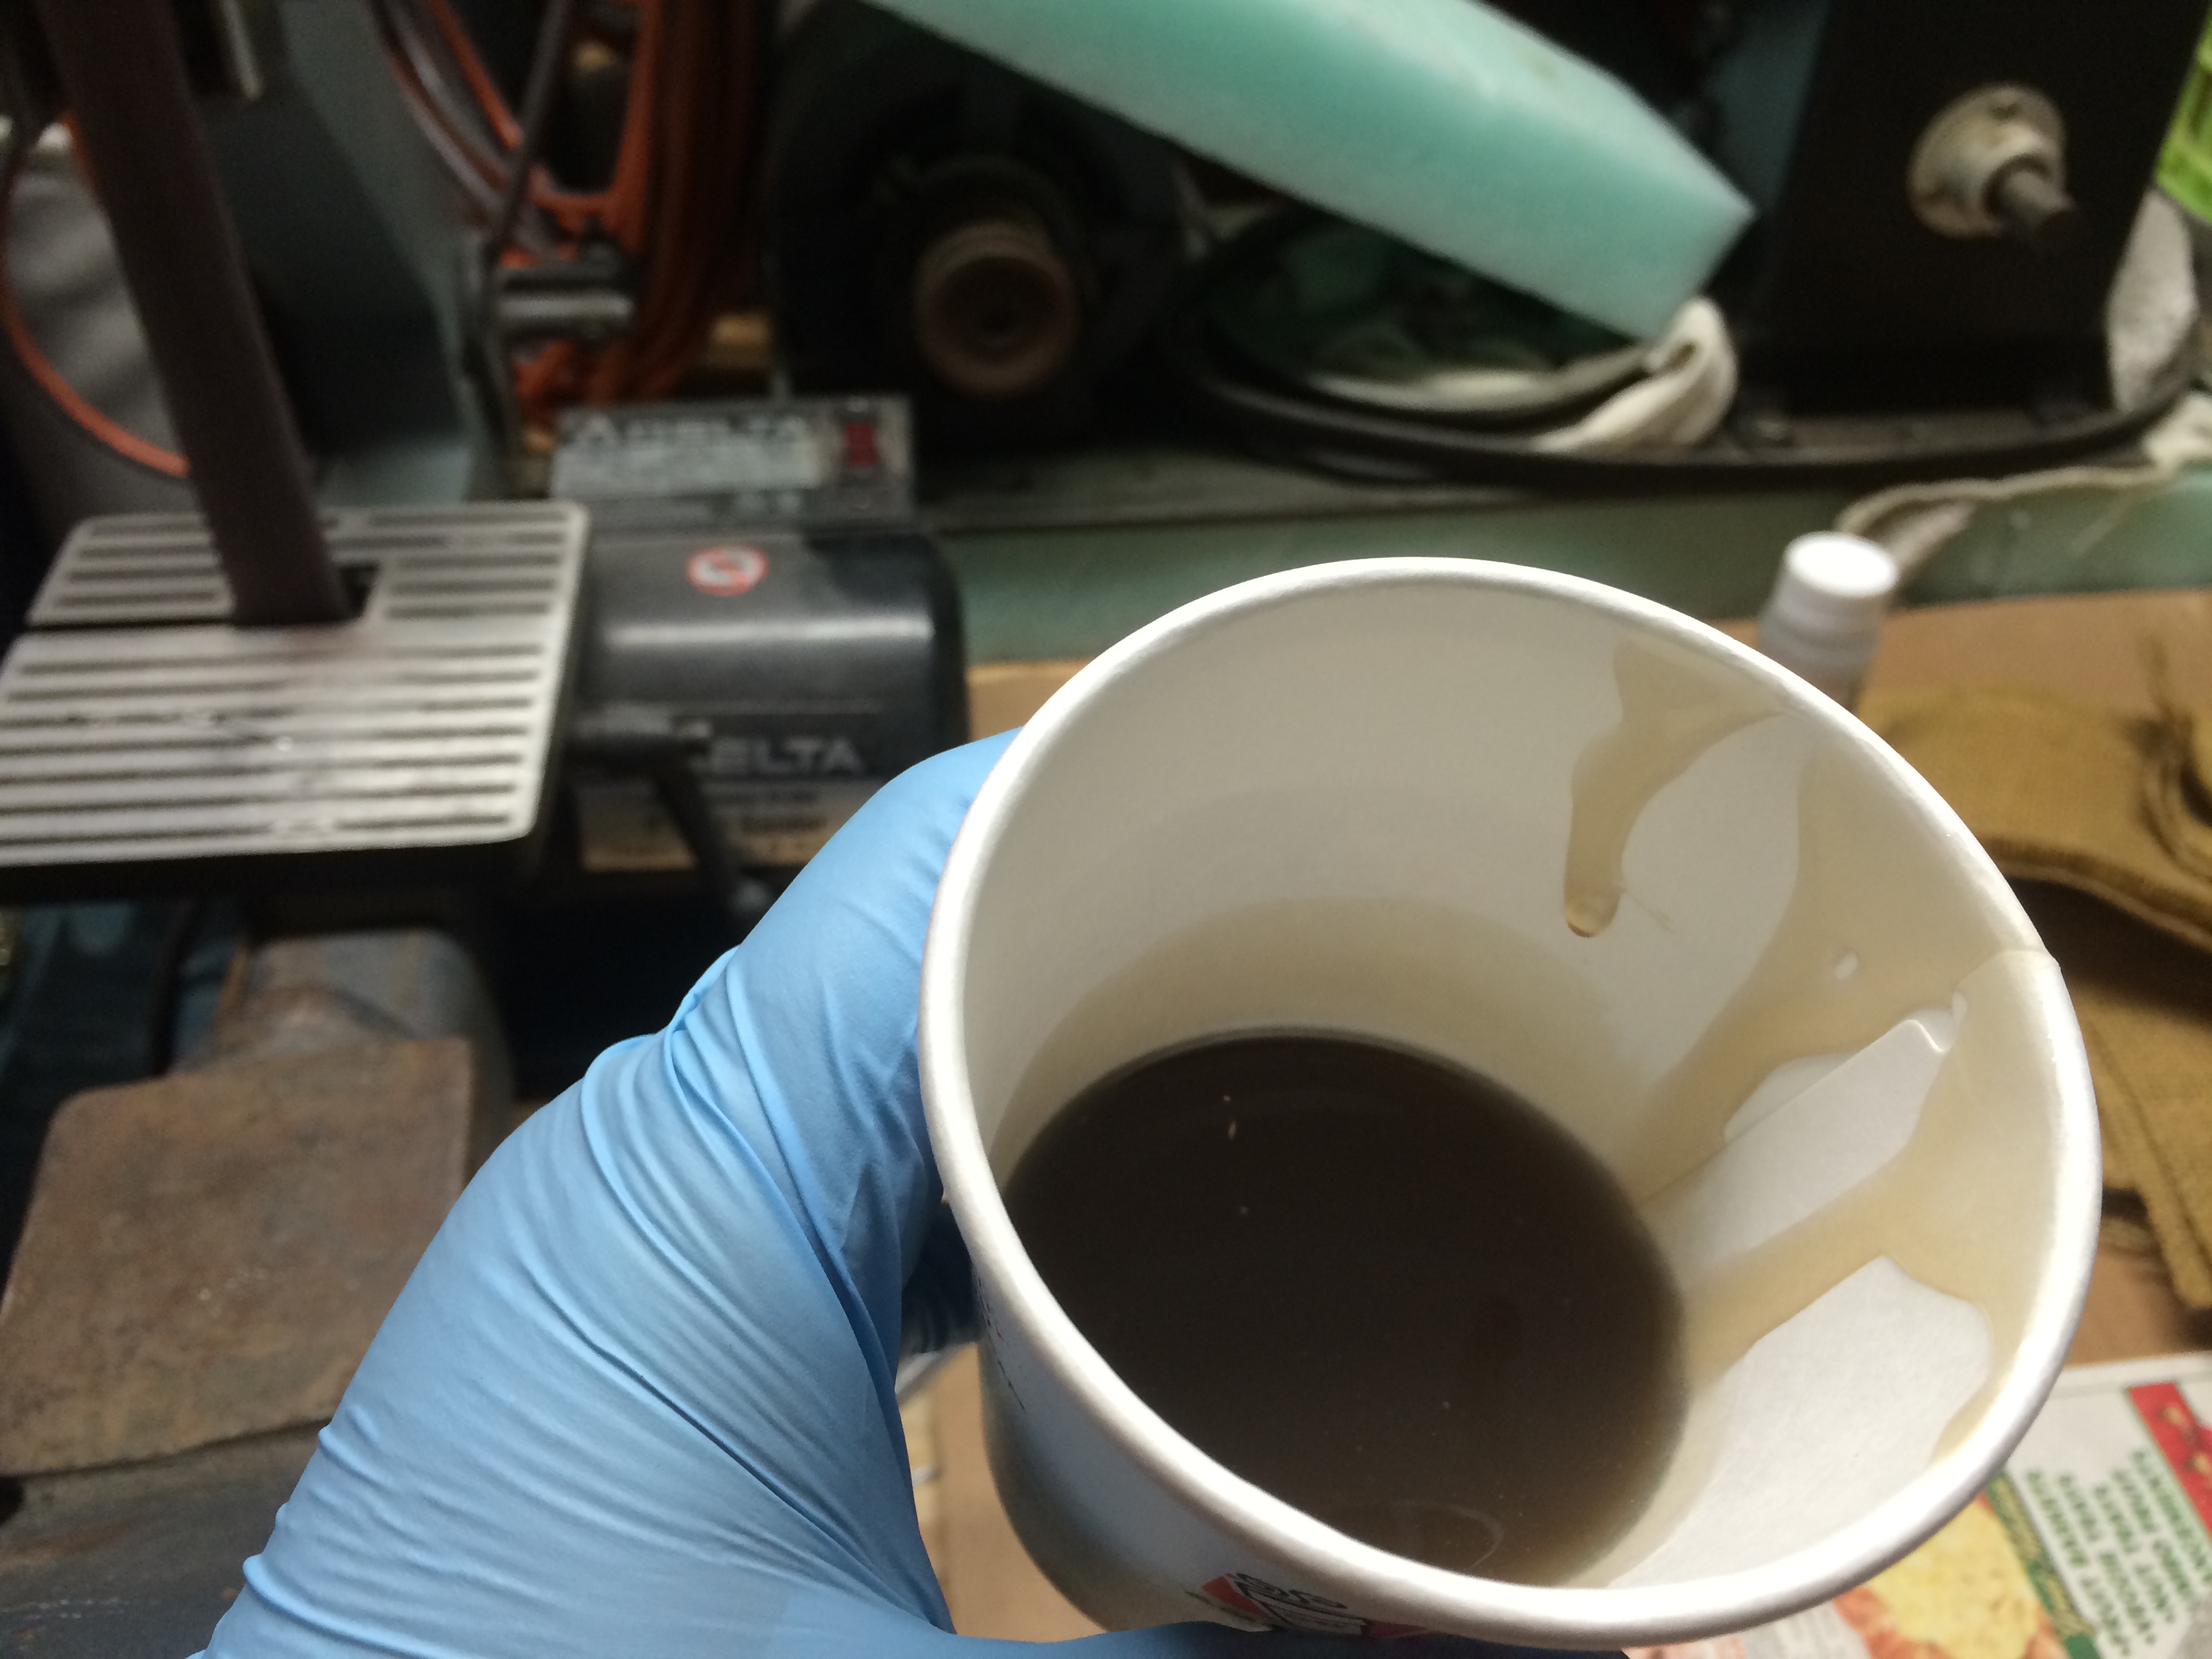
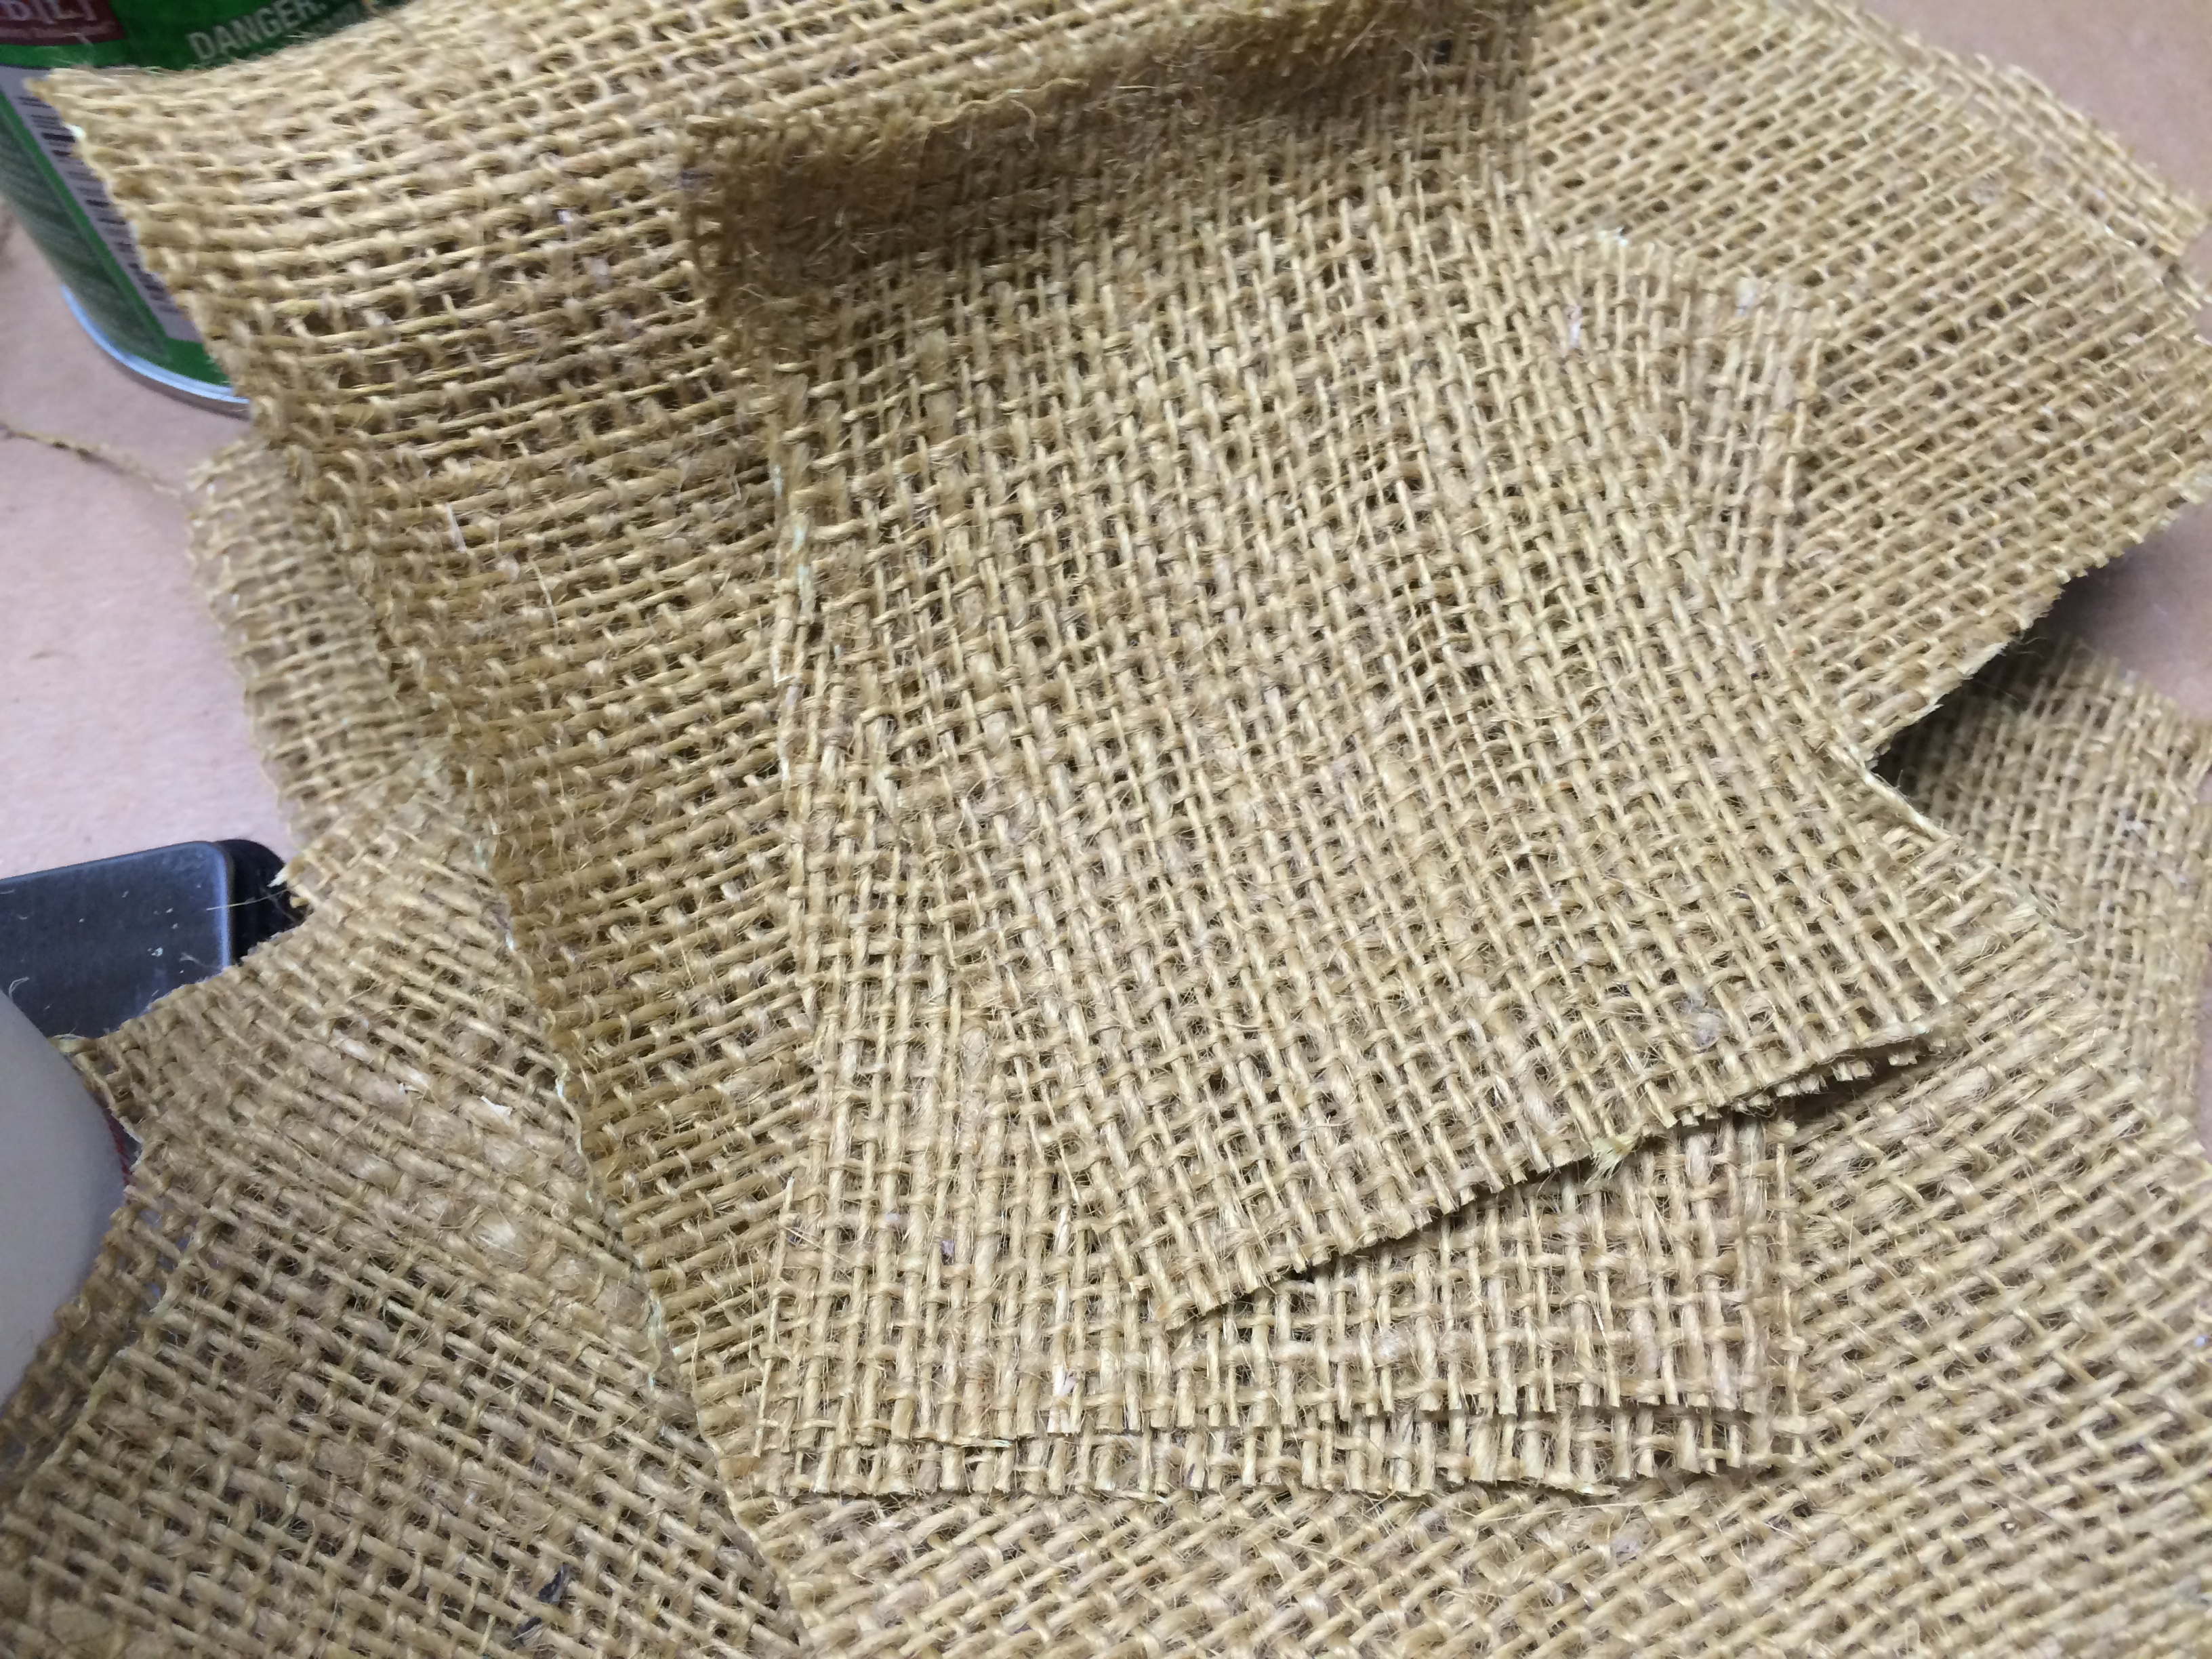
I had to work very quickly, and I infact had to throw out the first batch of resin since I was moving too slowly. By the time I had mixed my second batch, I was ready with thinner strips of burlap, and I started coating the head.
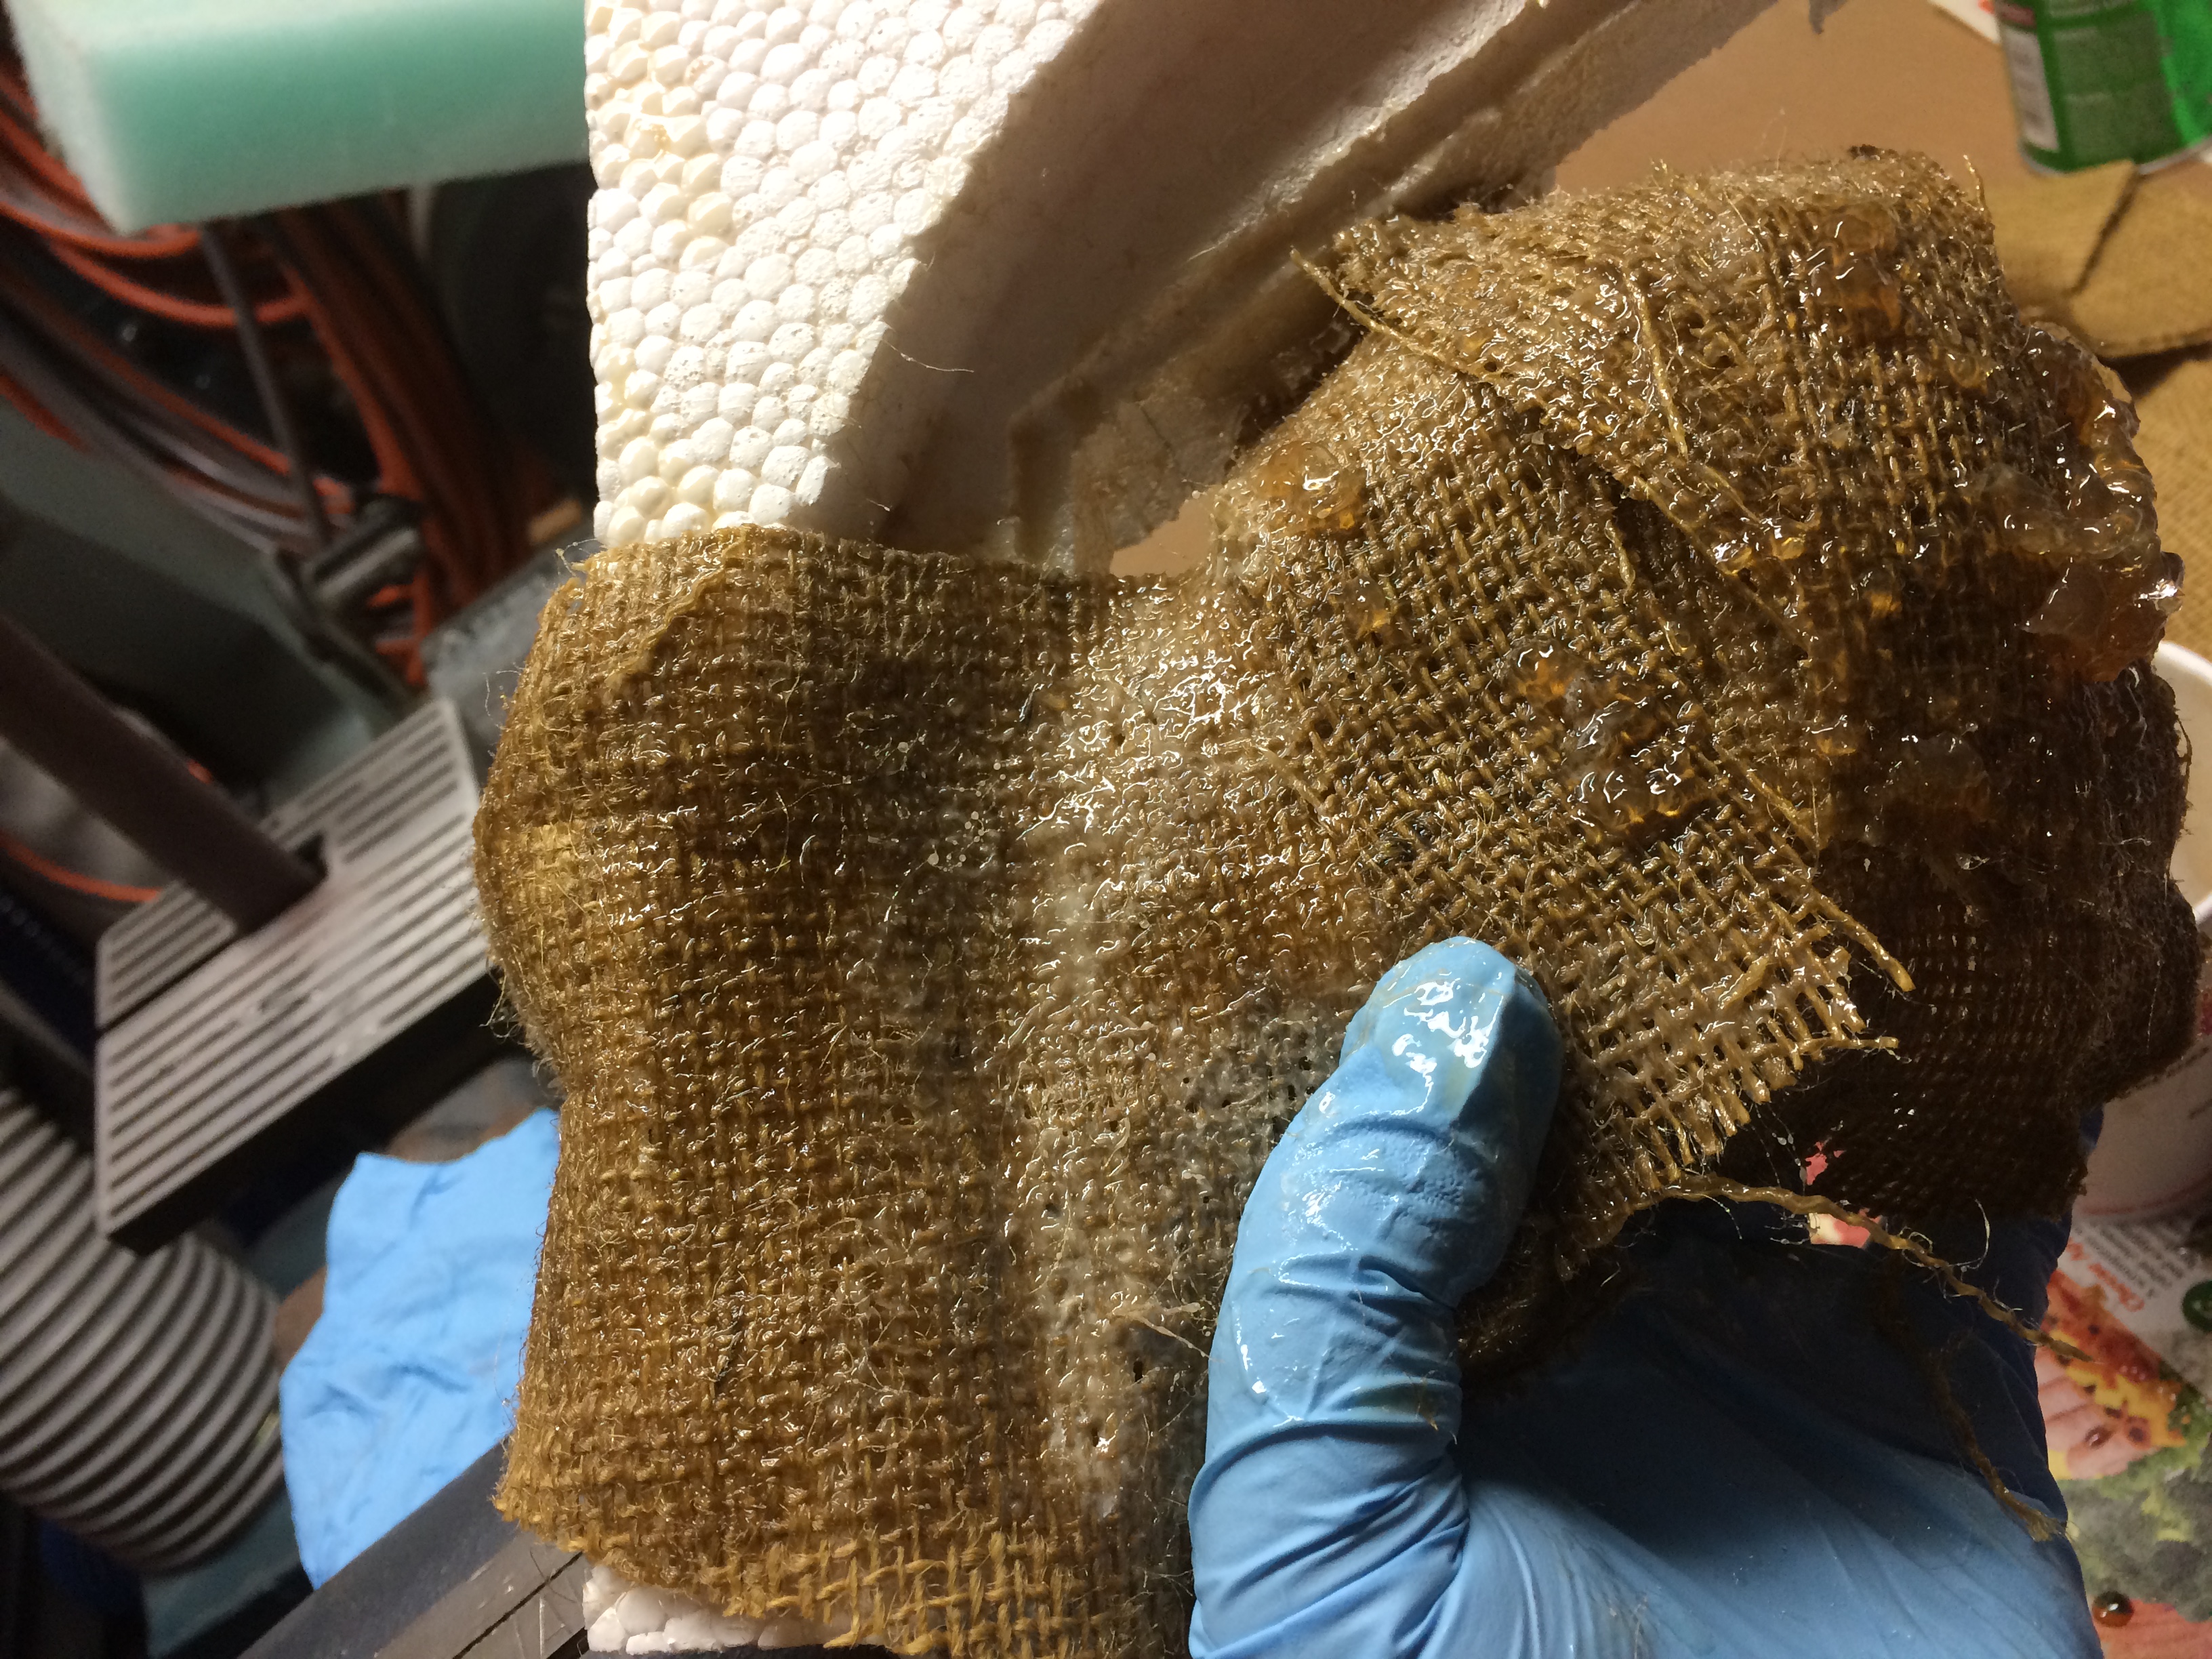 I had to mix up a third batch in order to cover the rest of my mould. This second part wasn't very easy since the first part was heating up quite a bit.
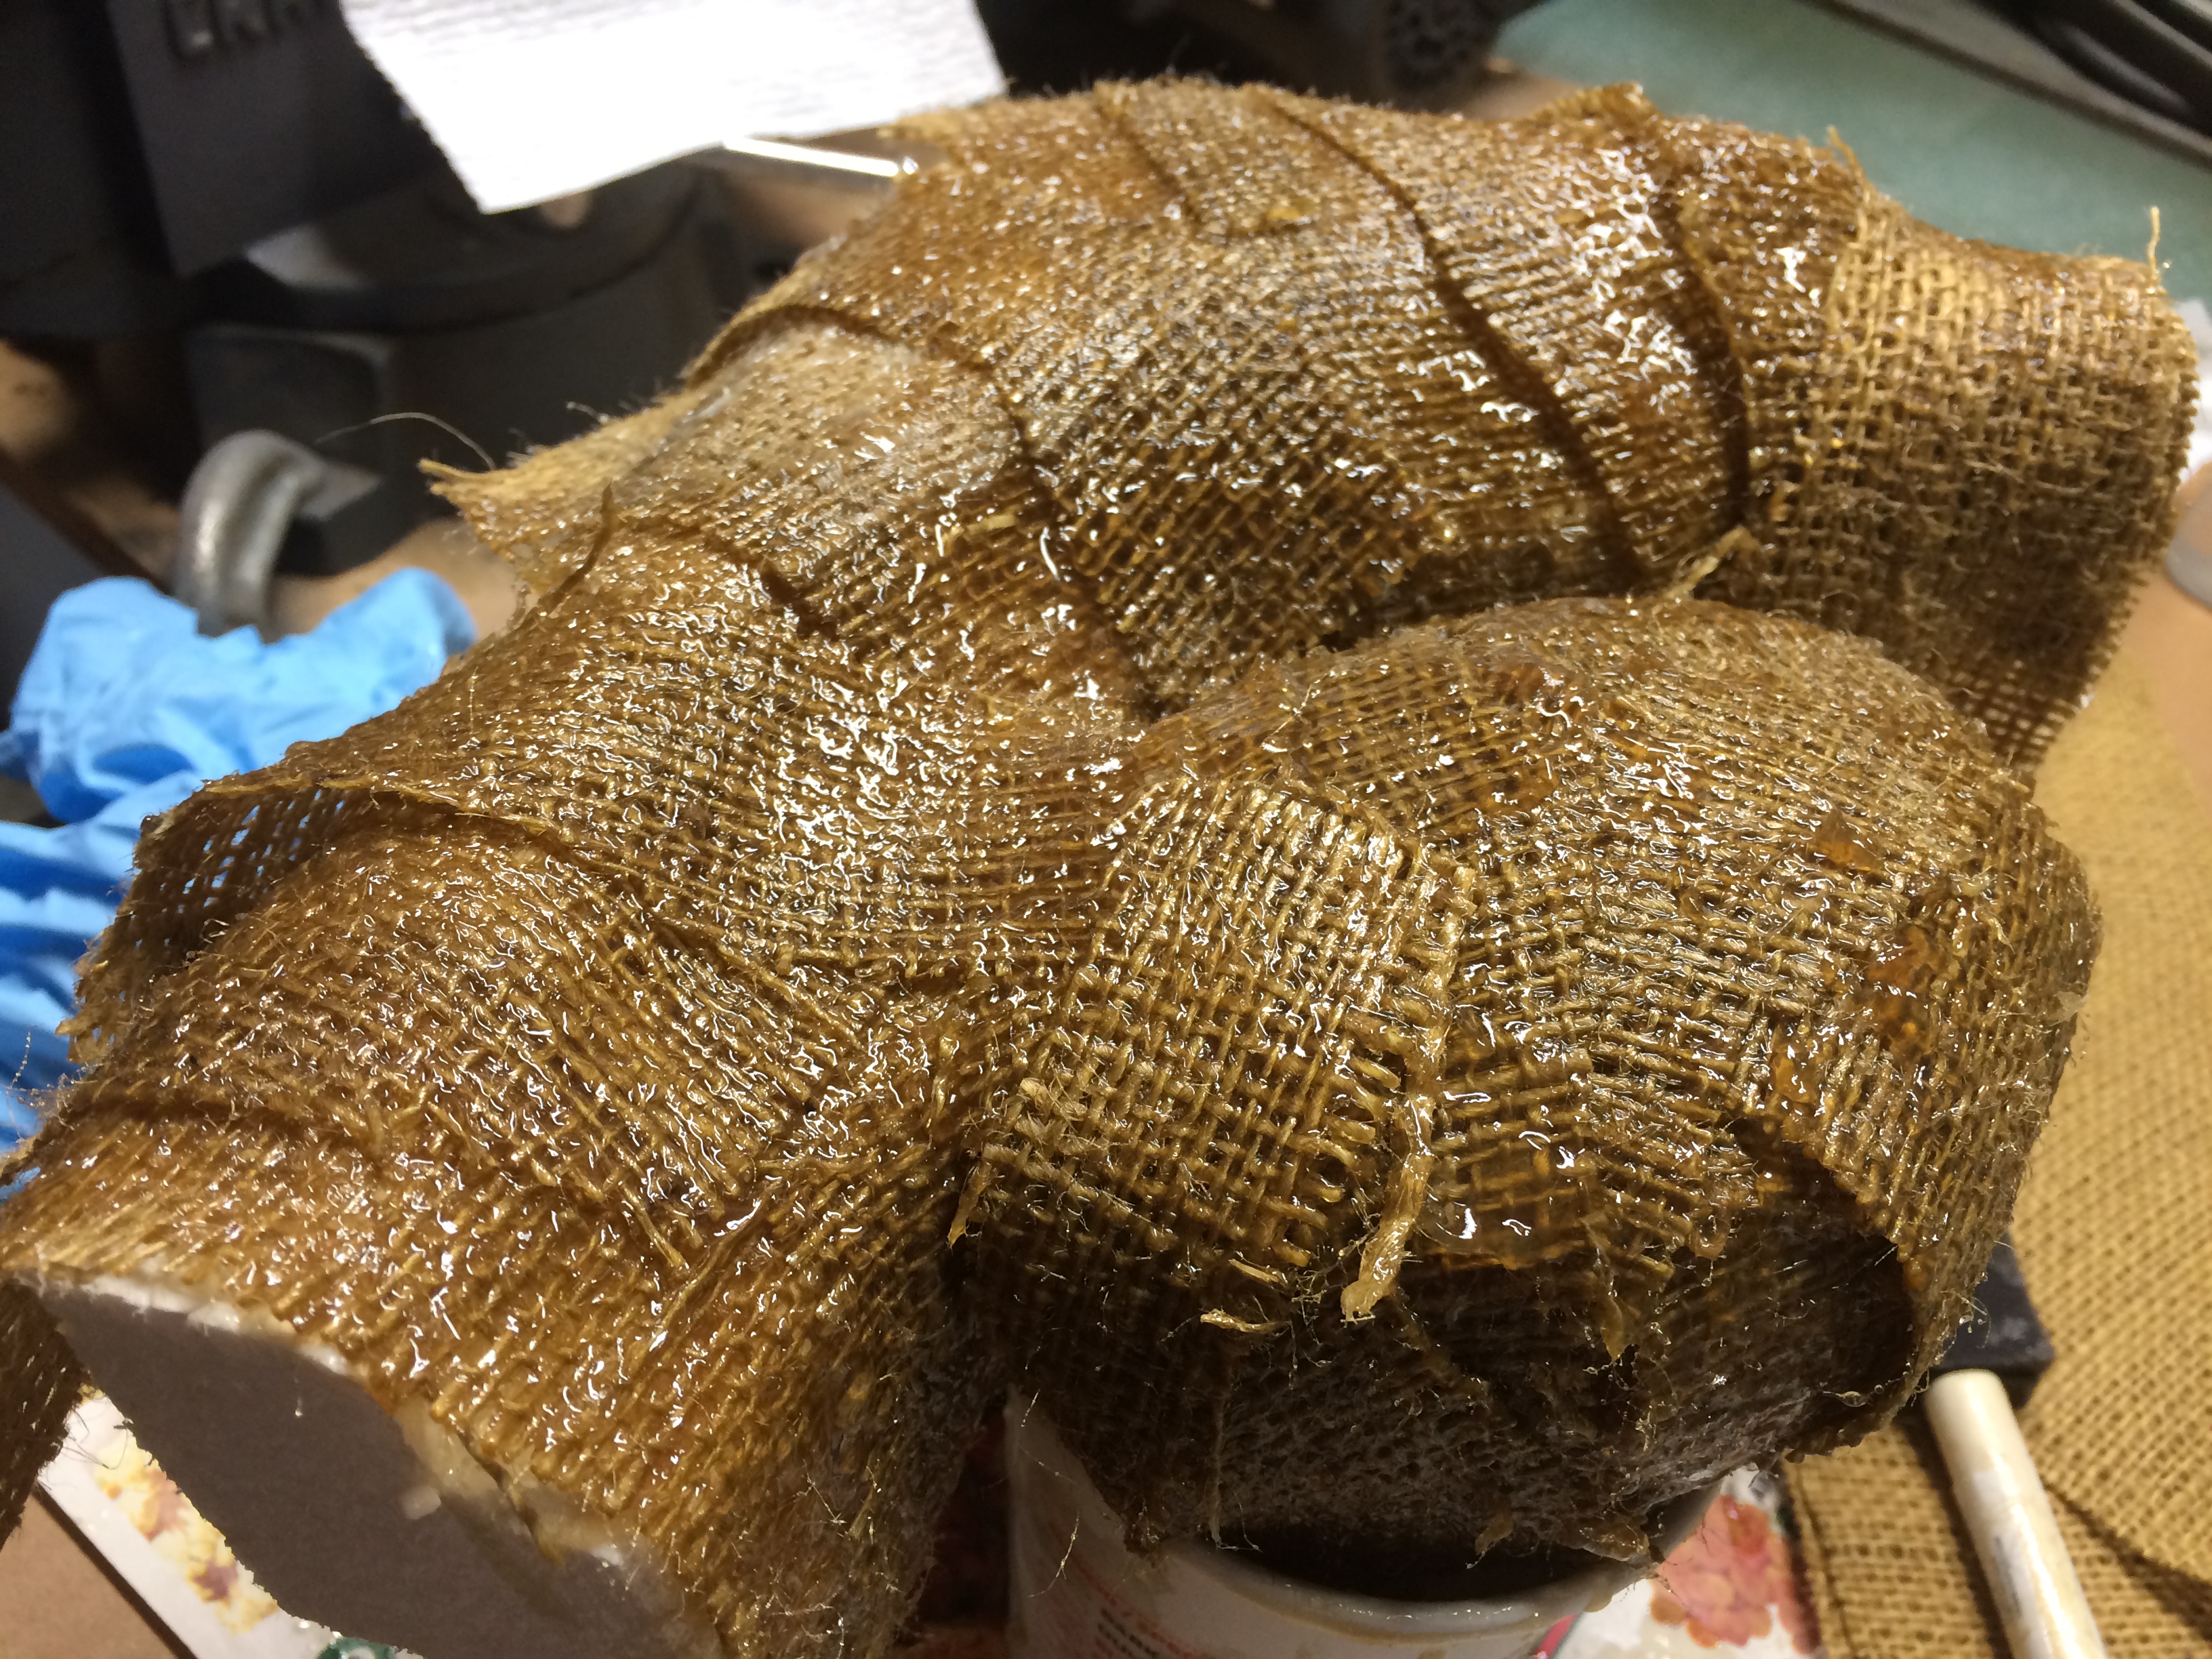
Once I got it sufficiently covered, (this was by far the messiest project I have done...) I set it up in the vacuum bag for overnight.
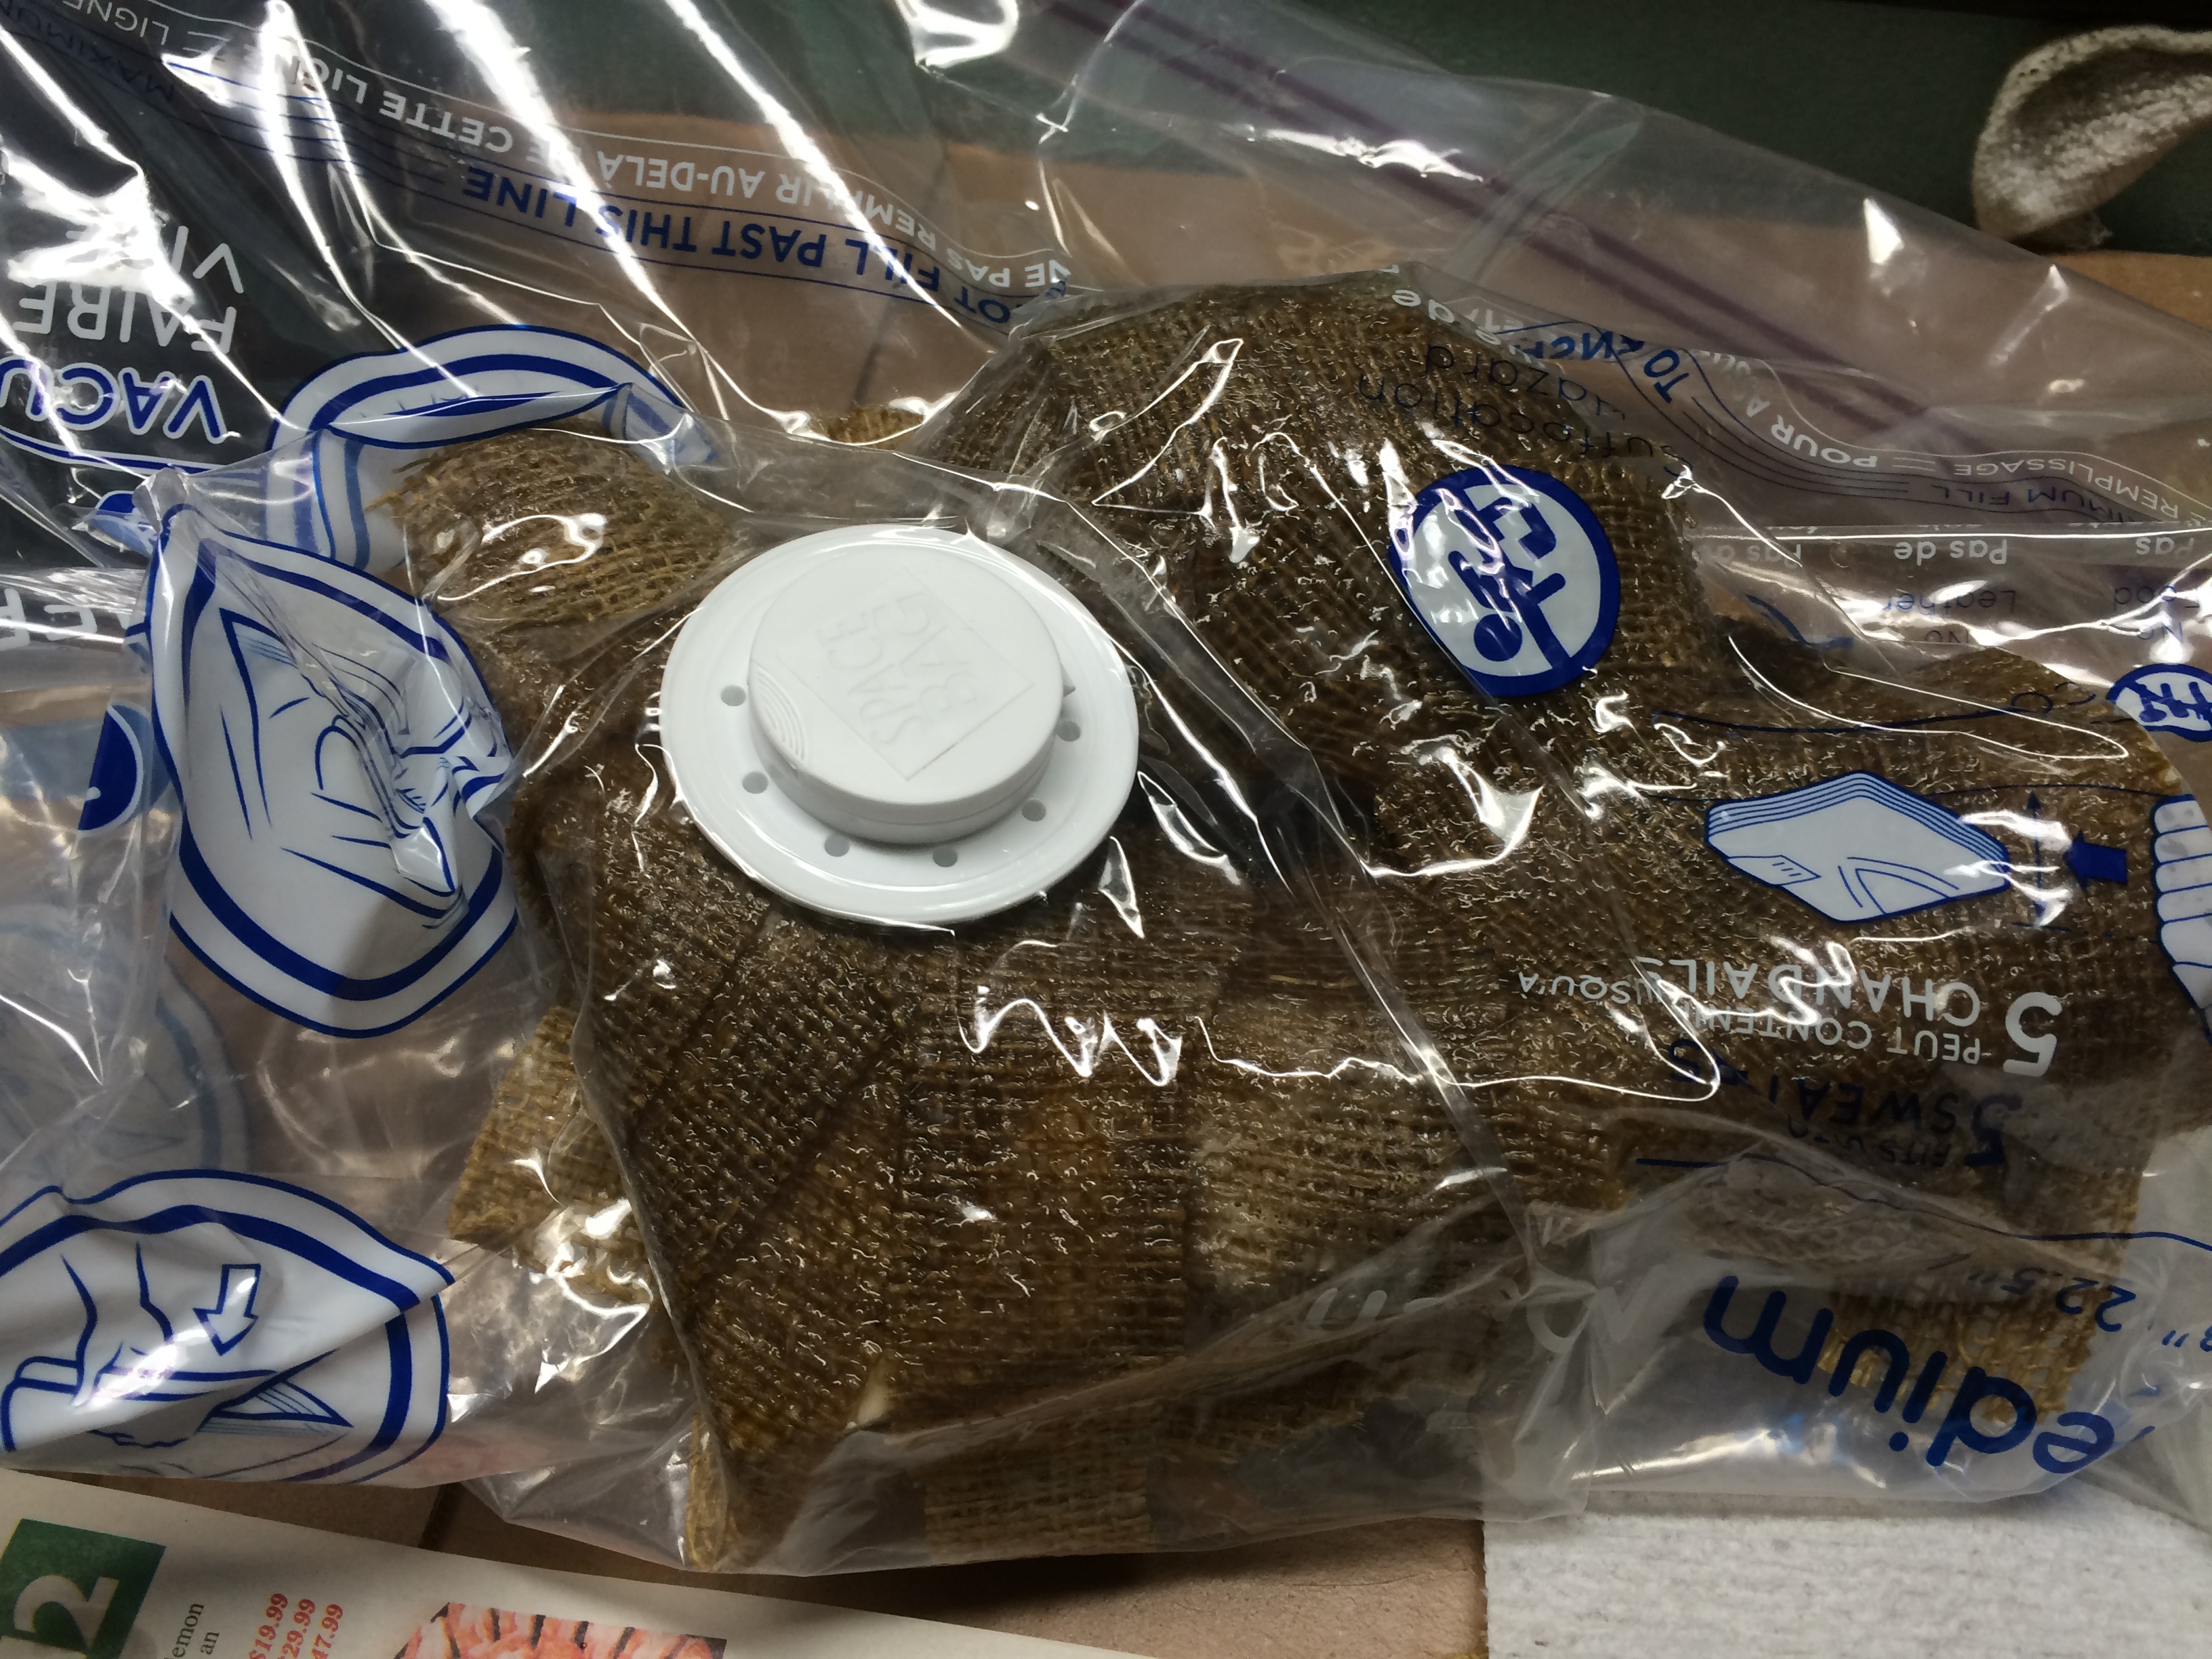
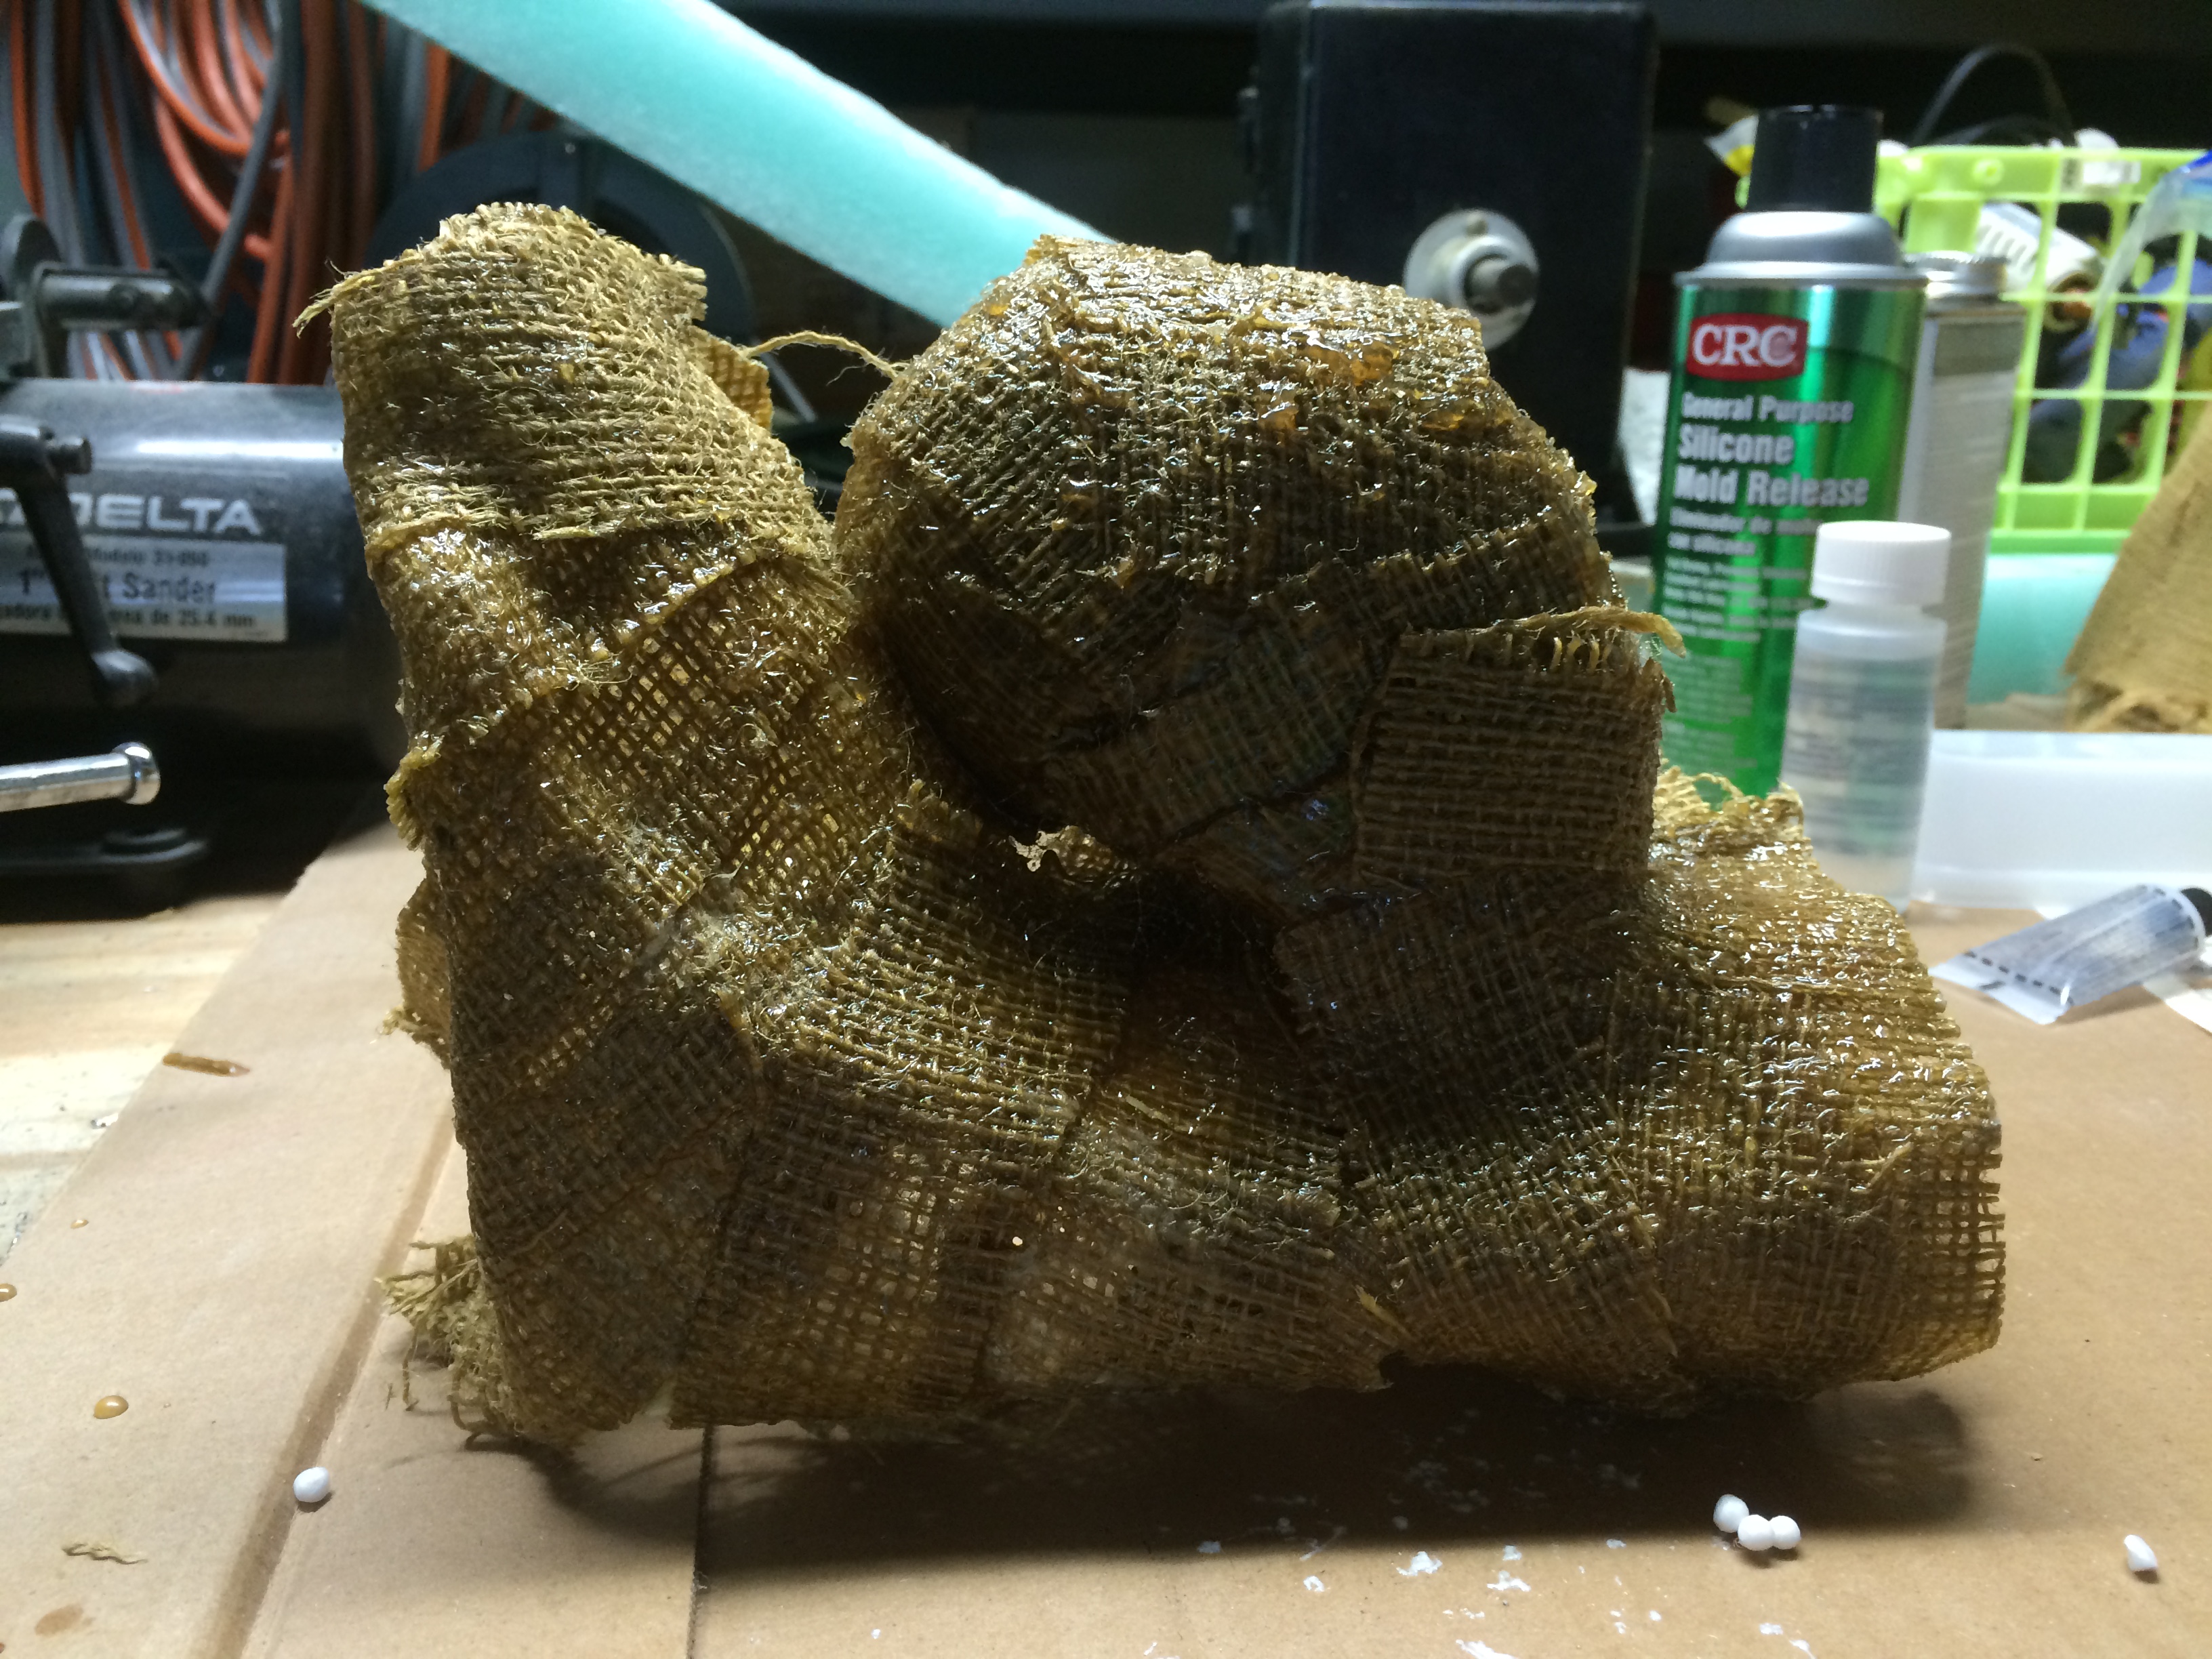
It was really producing some heat, which the resin I used before did NOT do, so I was worried that it would affect the styrofoam mould underneath. The next morning when I went to de-mould the fiberglass composite, it realesed pretty well where I had painted and sprayed the release agent. However, I ended up wrapping some of my burlap pieces around ti the back, the unpainted and unsprayed back. I had to do a little digging. Especially in the head area. That needed a LOT of digging out.
Here is the burlap composite free of its mould. It stands up on its own, though a little wonky. I really like the rounded shape of the head which I achieved by putting many layers of burlap strips over it.