Molding and Casting
MIT'S BRIEFDesign a 3D mold, machine it, and cast parts from it.
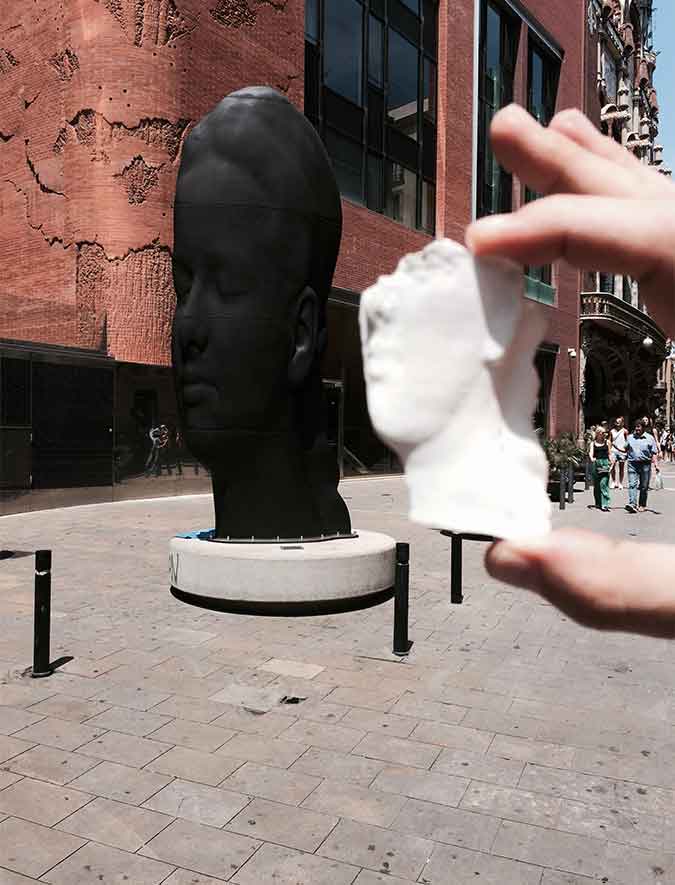
For this Assignment I wanted to scan a sculpture of the Artist Plensa (4.5 m in height and made of cast iron) which i saw outside the building of PALAU DE LA MÚSICA CATALANA and turn it into a small concrete statue.
I scanned a part of the sculpture with my Structure Sensor and obtained the first .stl file.
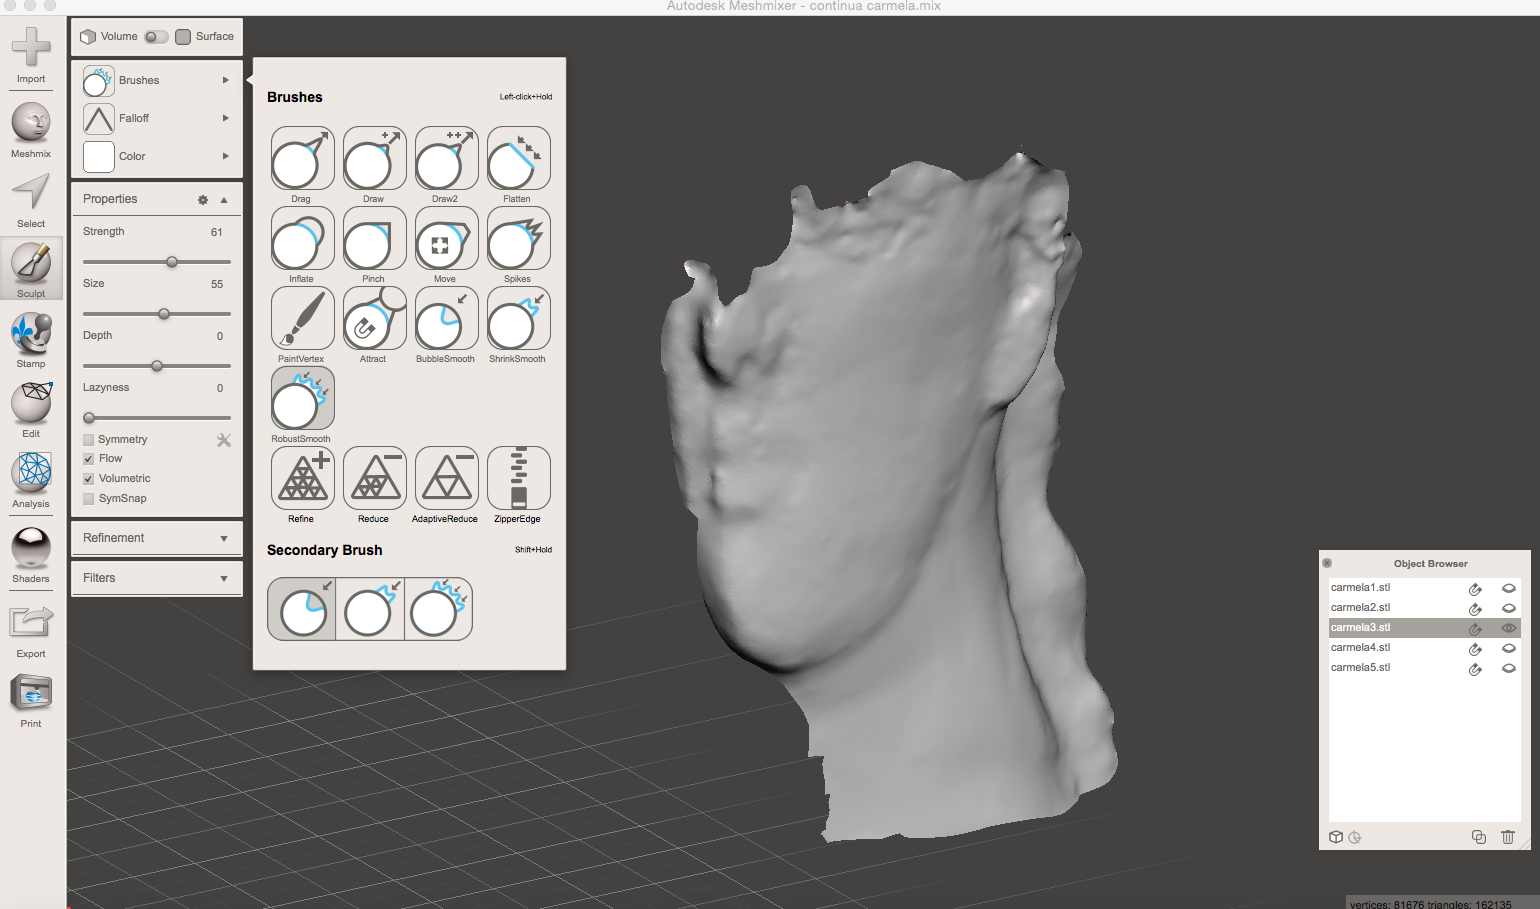
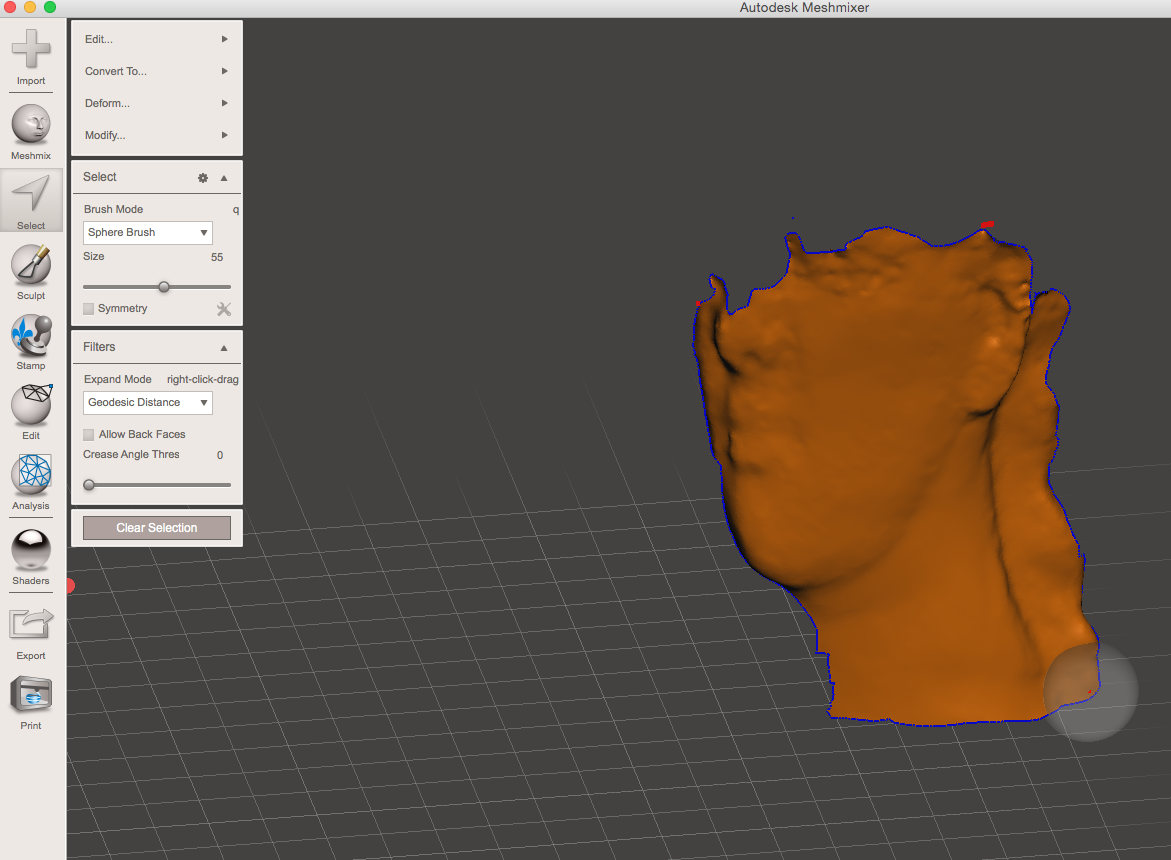
After that I imported the .stl file in Meshmixer, closed the holes and refined the mesh delating extra points acquired during the 3D scan and used a brush to clean-up the surface and smooth the contour lines
*Check my Scanning Assignment to get further information regarding the clean up of a 3D scan.

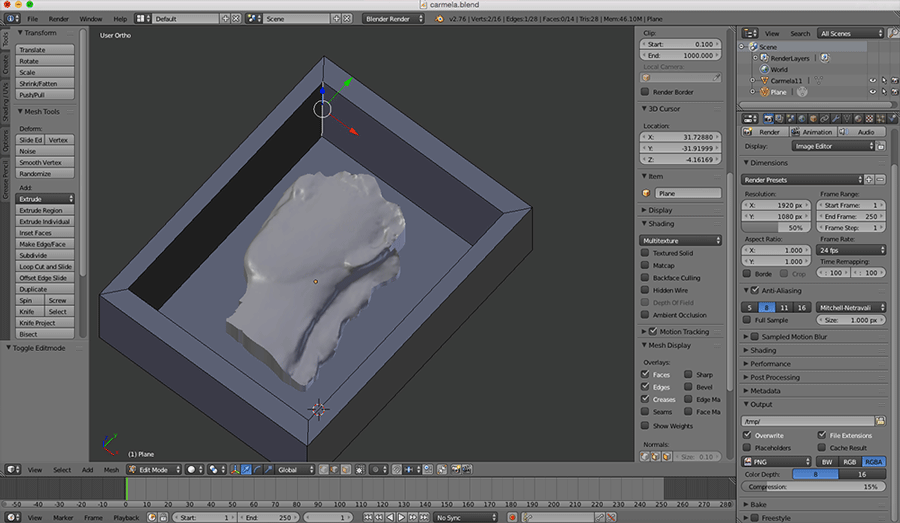
I switched from Meshmixer to Blender to create an angled box with a depth of 10mm so the cast of the negative would get off easily and I left a distance greater than 3mm from the walls. After that I extruded the surface of the small statue and joined the two 3D models to make the negative mold.
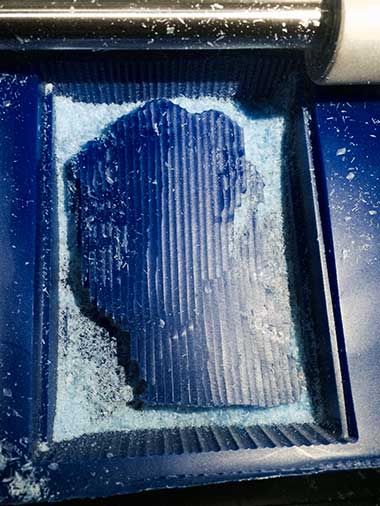
Milling Process
In the Lab we used Modela Player software for the milling process.Check it out this Tutorial. I opened the .stl file with Modela Player and I selected the machine for the milling (SRM-20),the dimension of the piece,the origin ( top left , front corner of the piece) and added the tools (milling bits)
.gif)
Roughing
Generate G-code for roughing 1/8 (3.175mm) tool:-Select the tool
-Select the material
-XY speed: (24mm/sec)
-Z speed: 15mm/sec
-Spindle: 6500-7000
-Cutting-in amount: 1.5mm
-ok > Create tool path
Generate Path-Video
Final result of the roughing process
Finishing
Generate G-code for roughing 1/8 (3.175mm) tool:-Select the tool
-Select the tool path: Contour lines Up Cut
-Select the material
-XY speed: 15
-Z speed: 10
-Spindle: 6500-7000
-Cutting-in amount: 0.2
-Path Interval: 2mm
-Finish Margin:0.2mm
- Ok > Create tool path
Final result of the finishing process
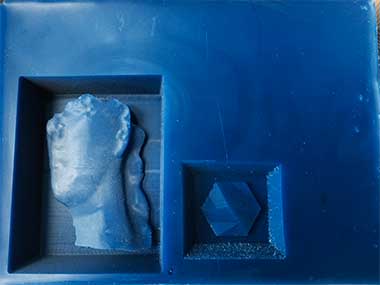
Casting Process
Negative Mold
Once we milled the wax we needed to make the Negative mold.To do that the first thing to do was fill our wax molds with water to know how much liquid we needed to create the mold and weight the result in a balance.For casting the mold I used a white silicon rubber.
Process:
Add 5 parts of B and 100 parts of A, mix during 5 mins with a chopstick .
-Set your weighing scale to 0
-Pour the silicon and the catalyzer into a mixing cup (Formsil: 100 - Catalyzer: 5)
-Mix for 5 minutes:
 Vacuum the mixture to remove the bubbles.
 -Pour into the wax models
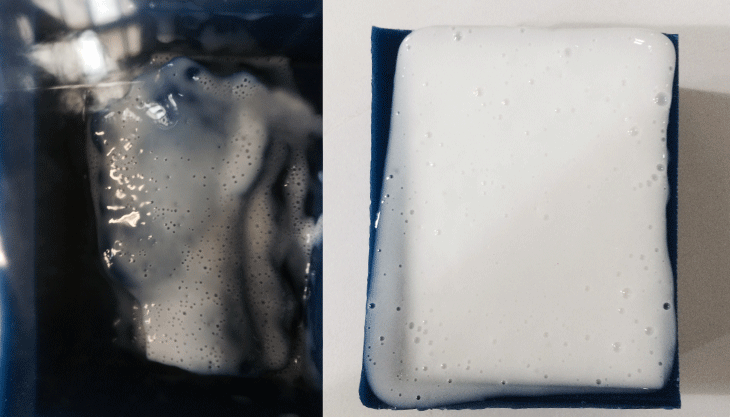
-After 12 hours extract the silicon mold.
.gif)
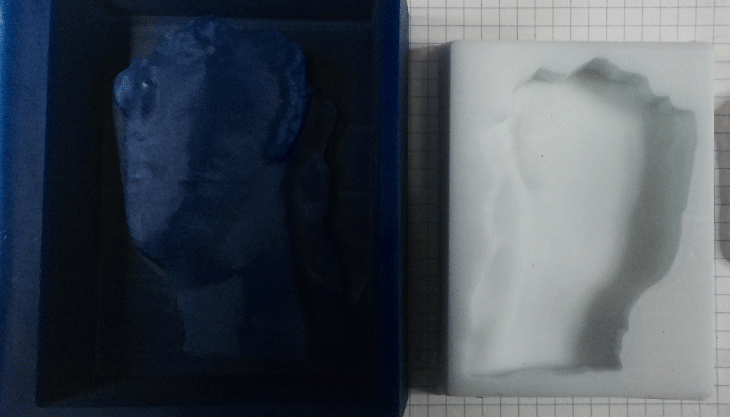
Positive Mold
For casting I used a material called Marble Cast perfect for my pieces it allowed me to get a ceramic texture. This material is used for the production of statues and decorative objects.
MarbleCast
Mixing Ratio: MarbleCast 100 > Water 25Soaking time: 30 sec
mixing time: 1 min
Setting time: 30 min
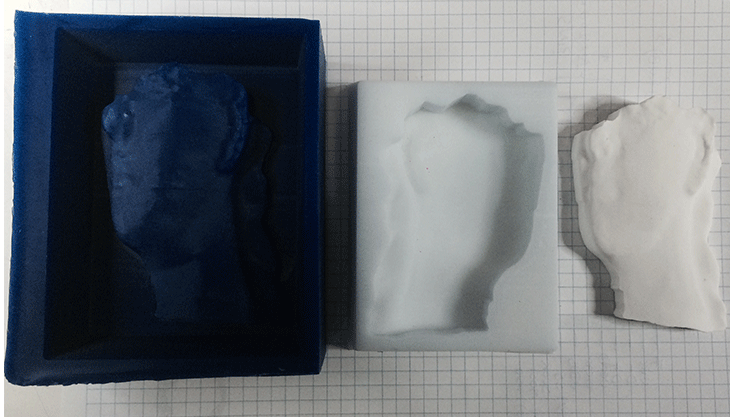
Final Result