Composites
MIT'S BRIEFDesign and make a 3D mold and produce a fiber composite part in it.
This project is strictly related to my Computer controlled machining assignment because during the development of my
Kneeling chair I programmed levels to realize 3 pieces with the composites technique.
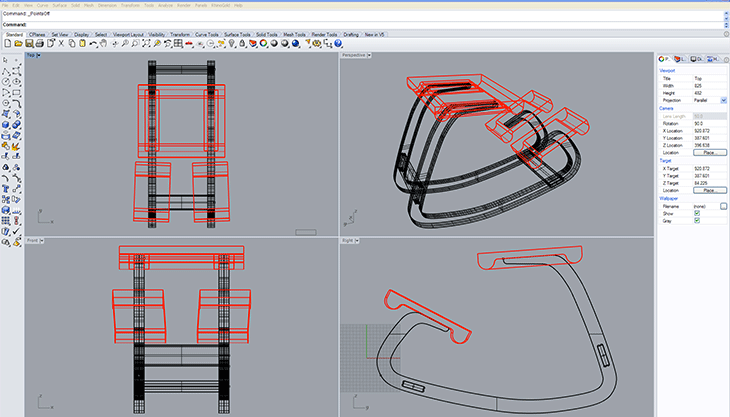
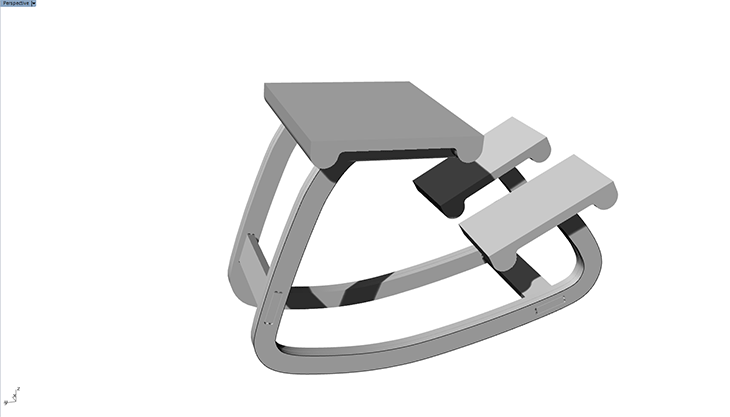
So, I designed first all parts of the chair with Rhinoceros.
Steps I followed
Design a mold
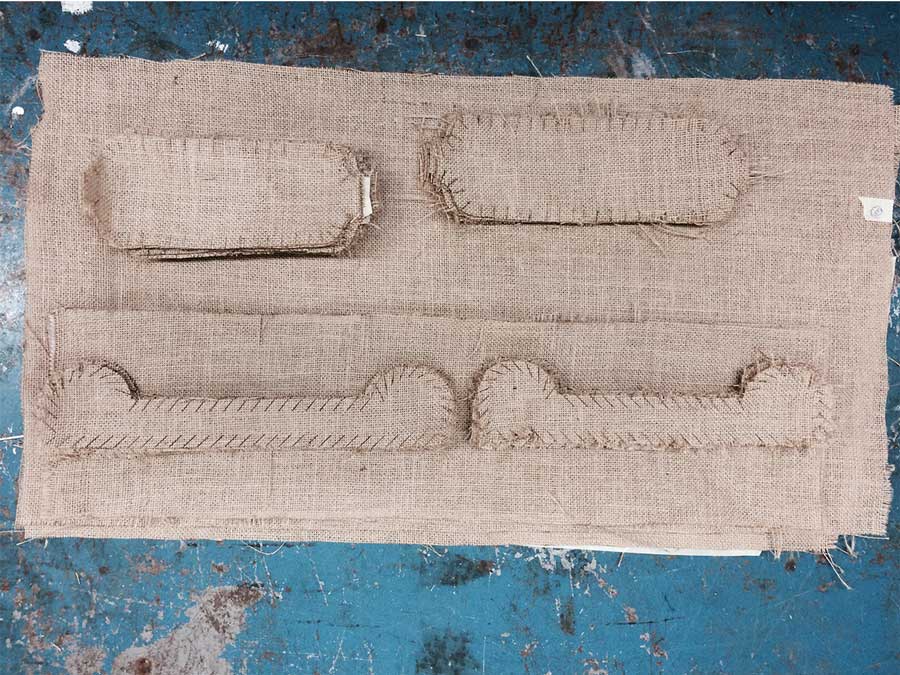
lasercut Burlap and textiles
Cut the Different layers of the casting process
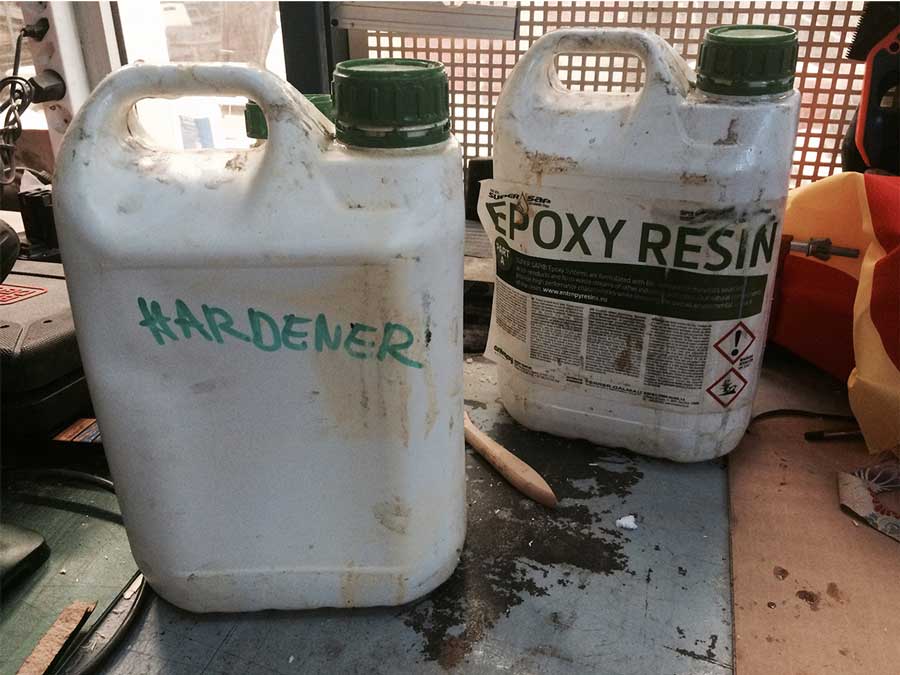
Mix Epoxy Resin and Hardener
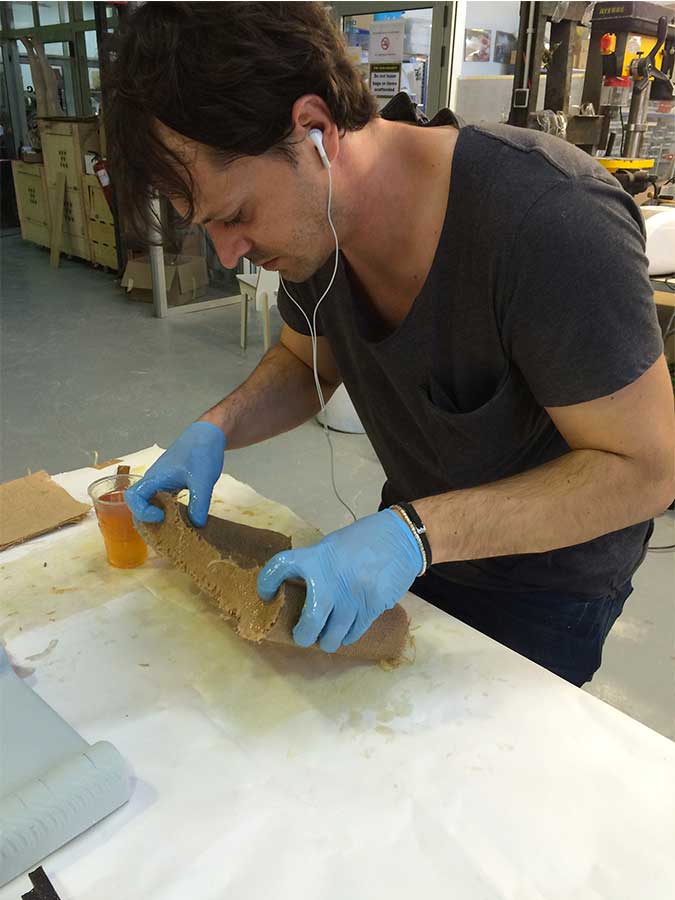
Preparing the "sandwich" for the Vacum Machine just of the Burlap
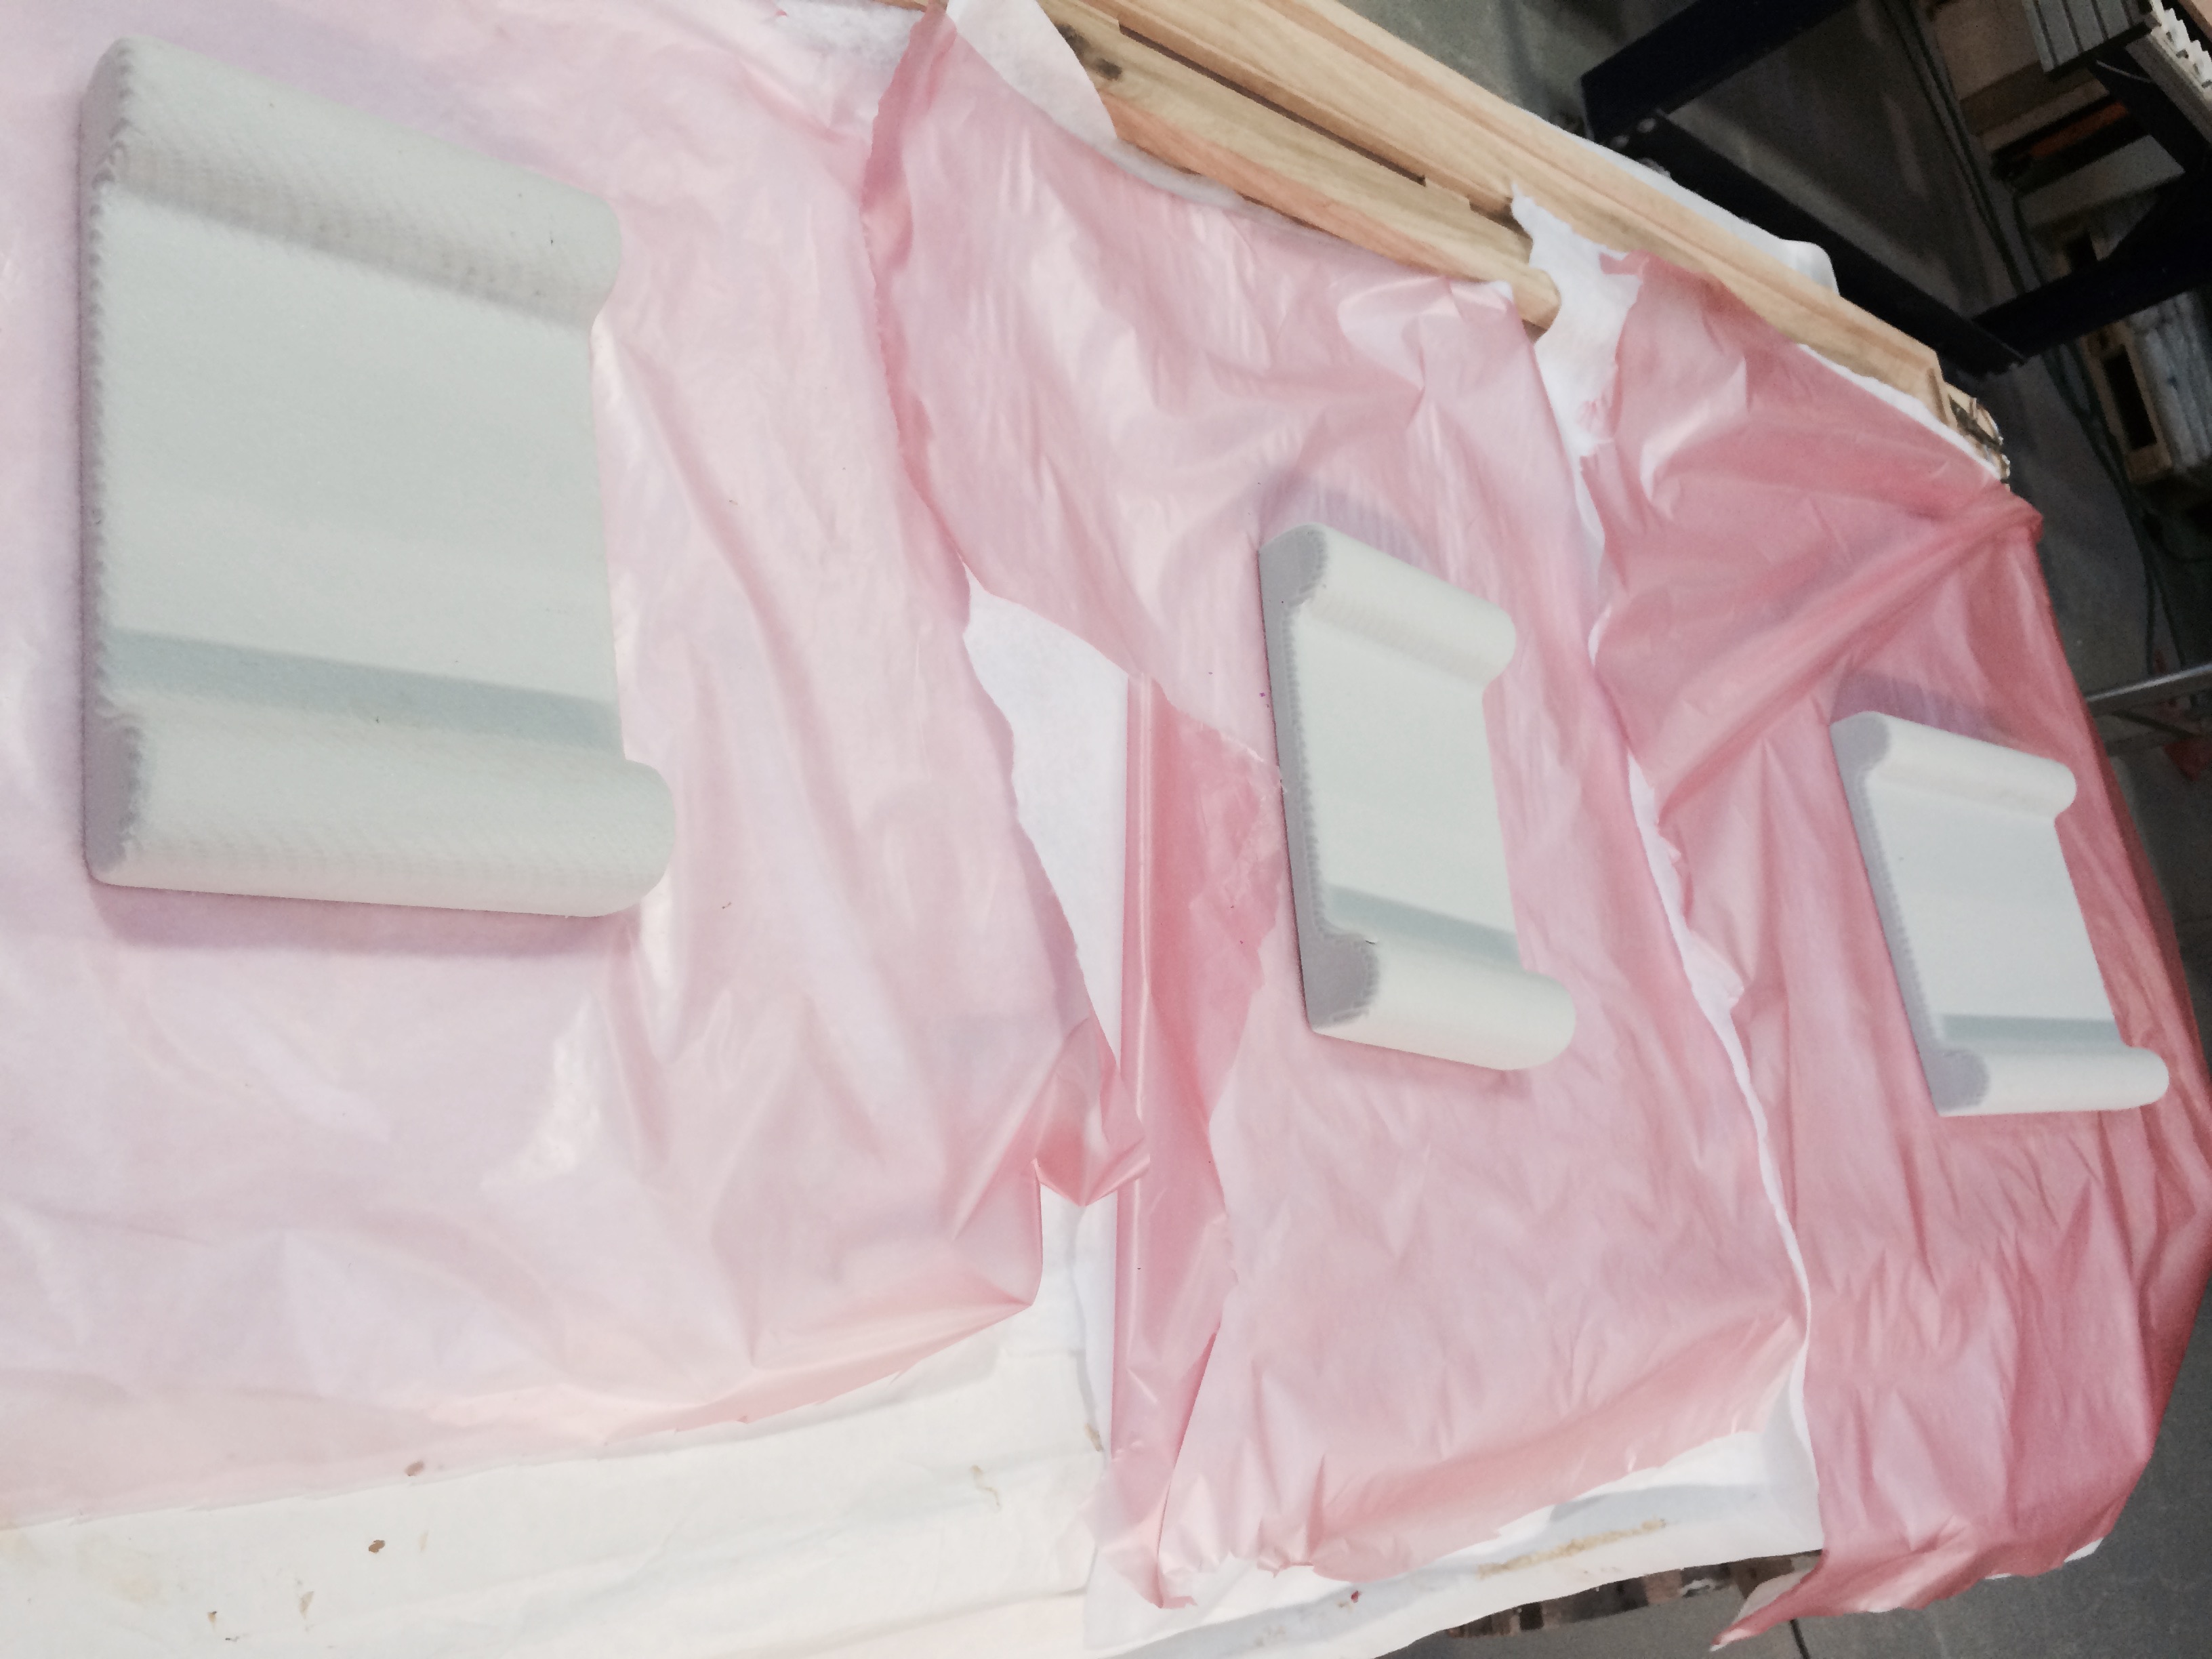
Putting the 3 shapes in the Vacum for 12-24h
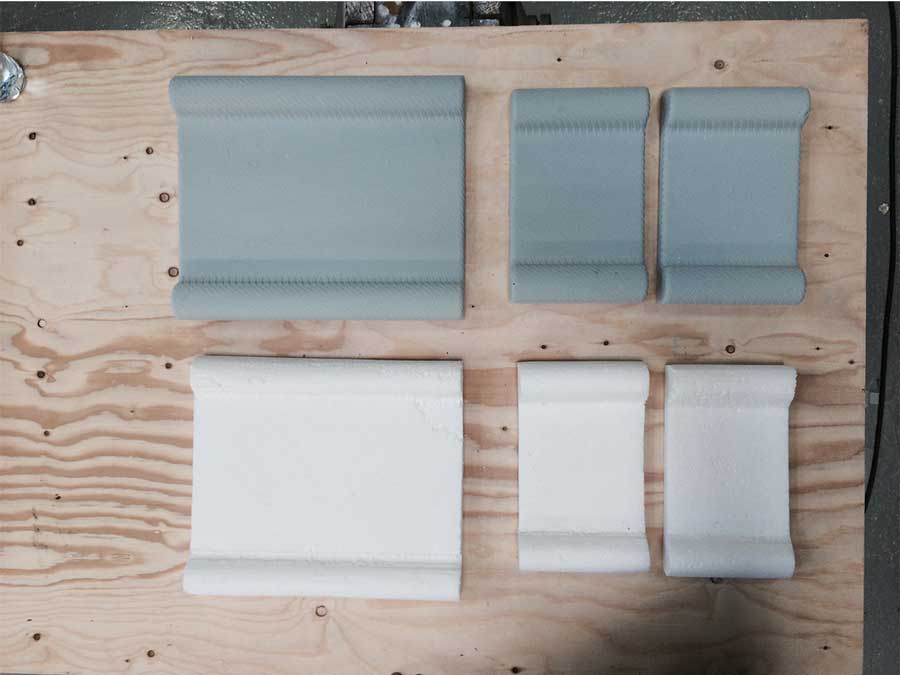
Cutting and cleaning edges of the obtained shapes
Preparing the the "sandwich" with the textile
Putting the 3 shapes,covered with the textiles in the vacum for 12-24h again
Cleaning the edges
Settings for the mold
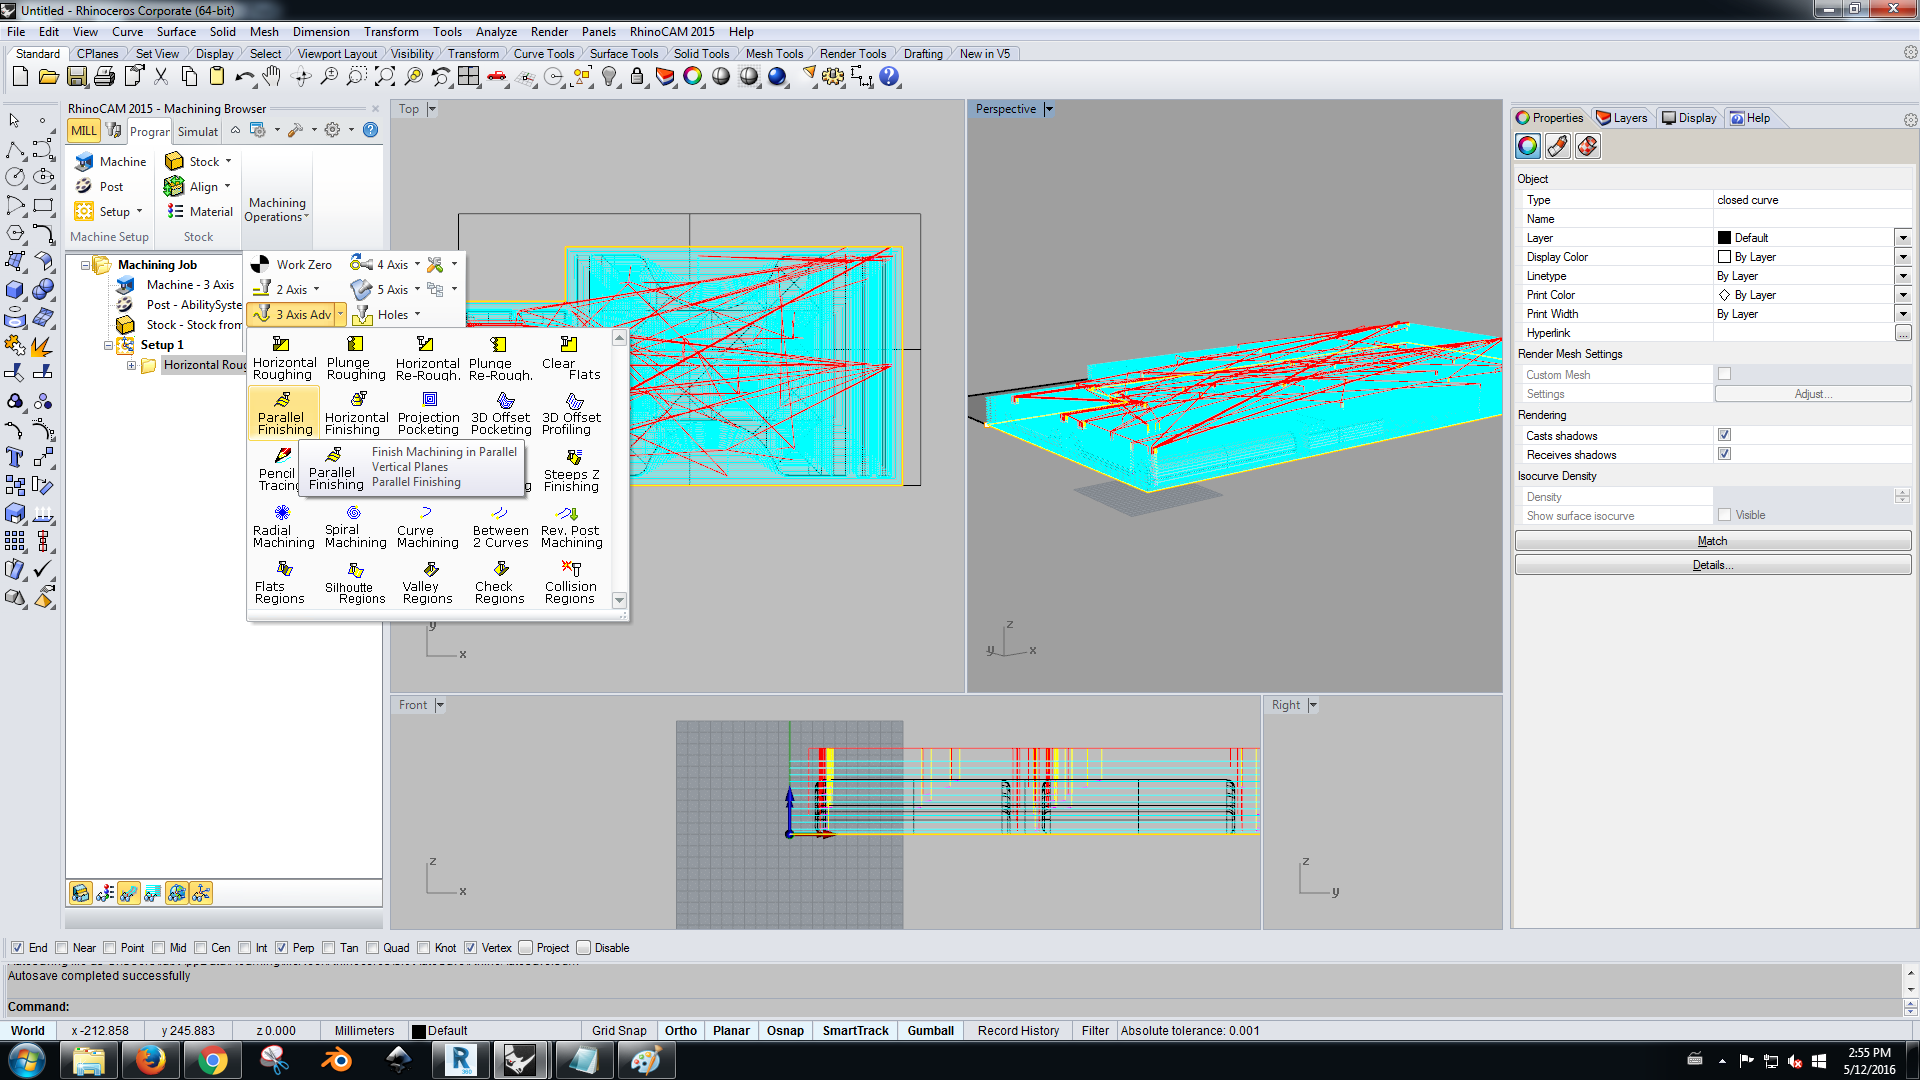
RhinoCam
Starting from the 3d file of the chair I had milled, I designed my object.Using the RhinoCam plug-in for Rhino allowed me to get the G-code to 3d-mill the 3 parts of the chair with the Precix.In Precix the X is the long direction and the Y is the short direction.
I put booth (.stl file and stock) on the same level, then click on create stock>Extrude.Extrude upwards 70 mm.Everything must be on the same level.
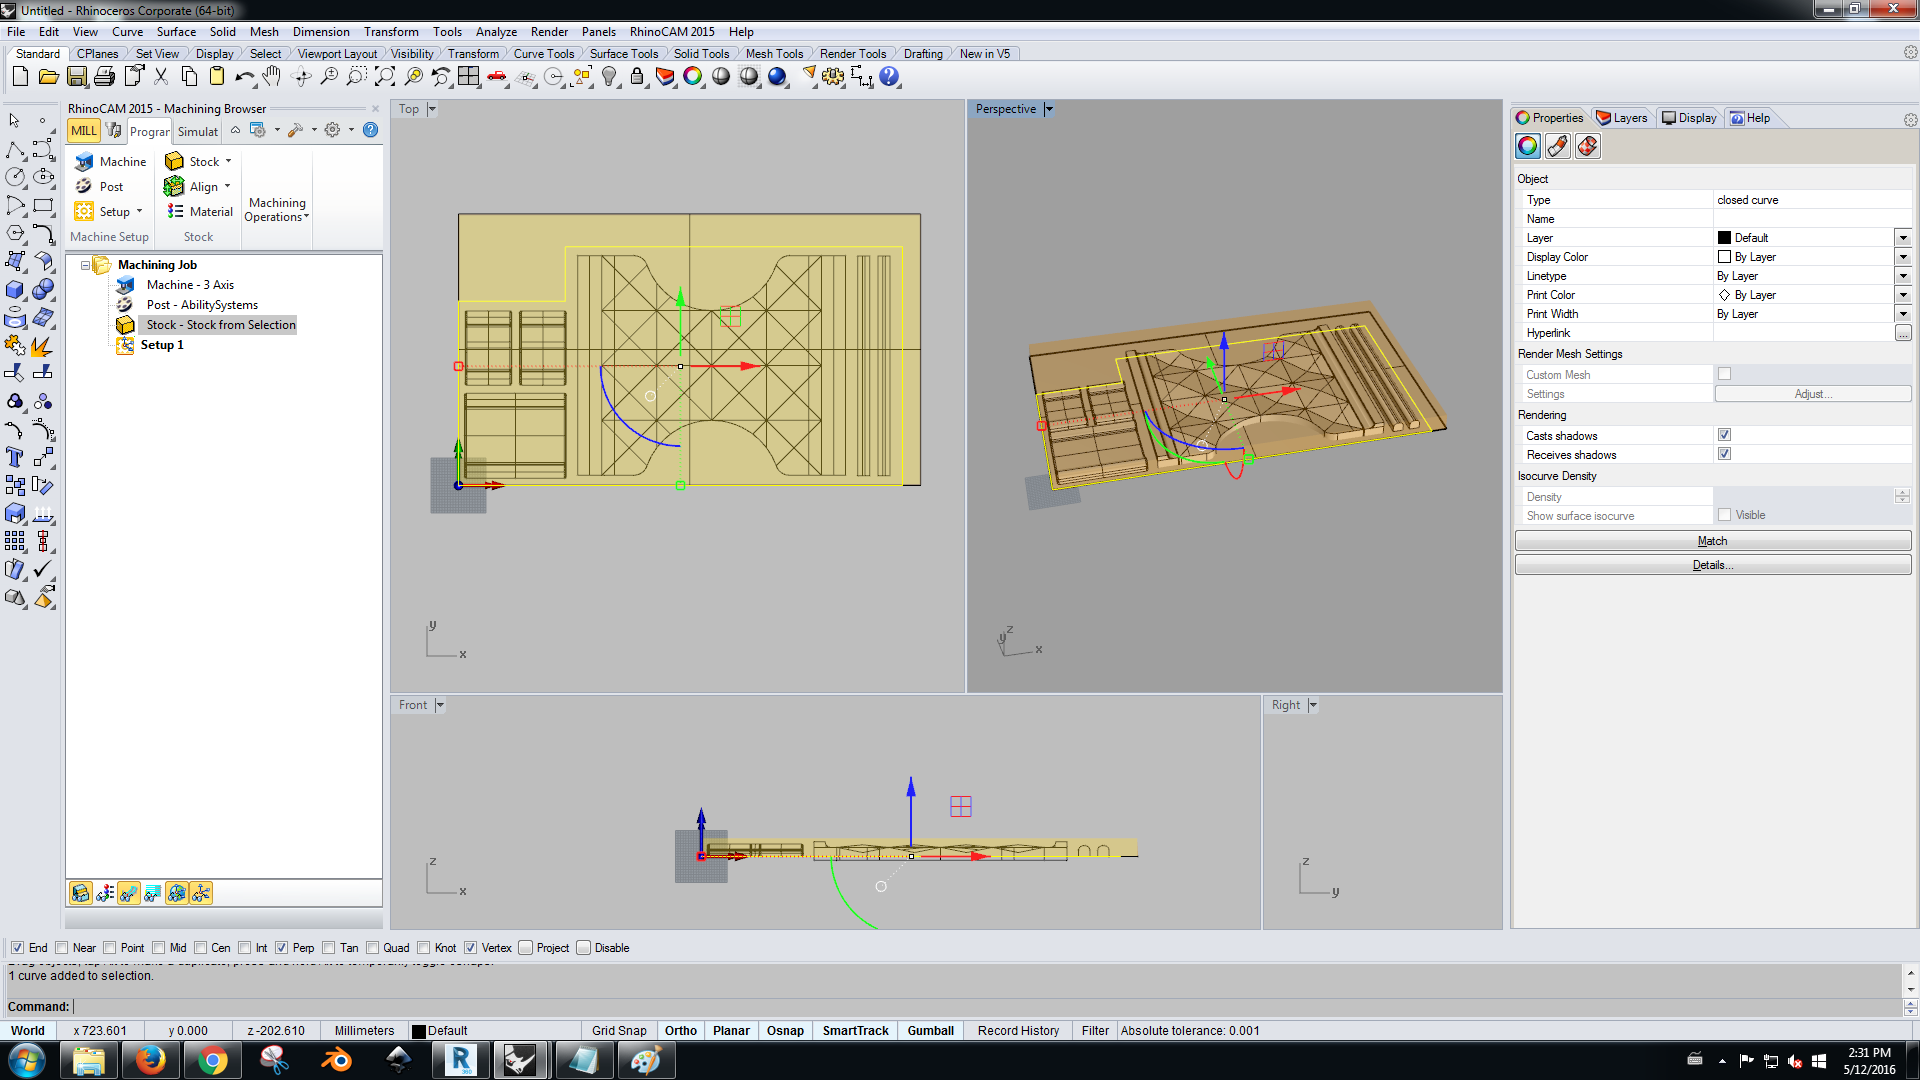
Set stock:right click on stock>stock from selection.After that I deleted the stock.Than we made a PlanarSurface from stock because the machine cuts until the Planar Surface.
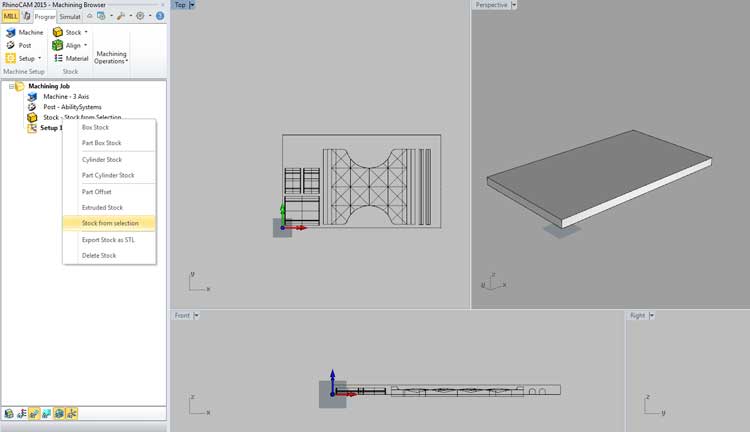
Stock visibility button
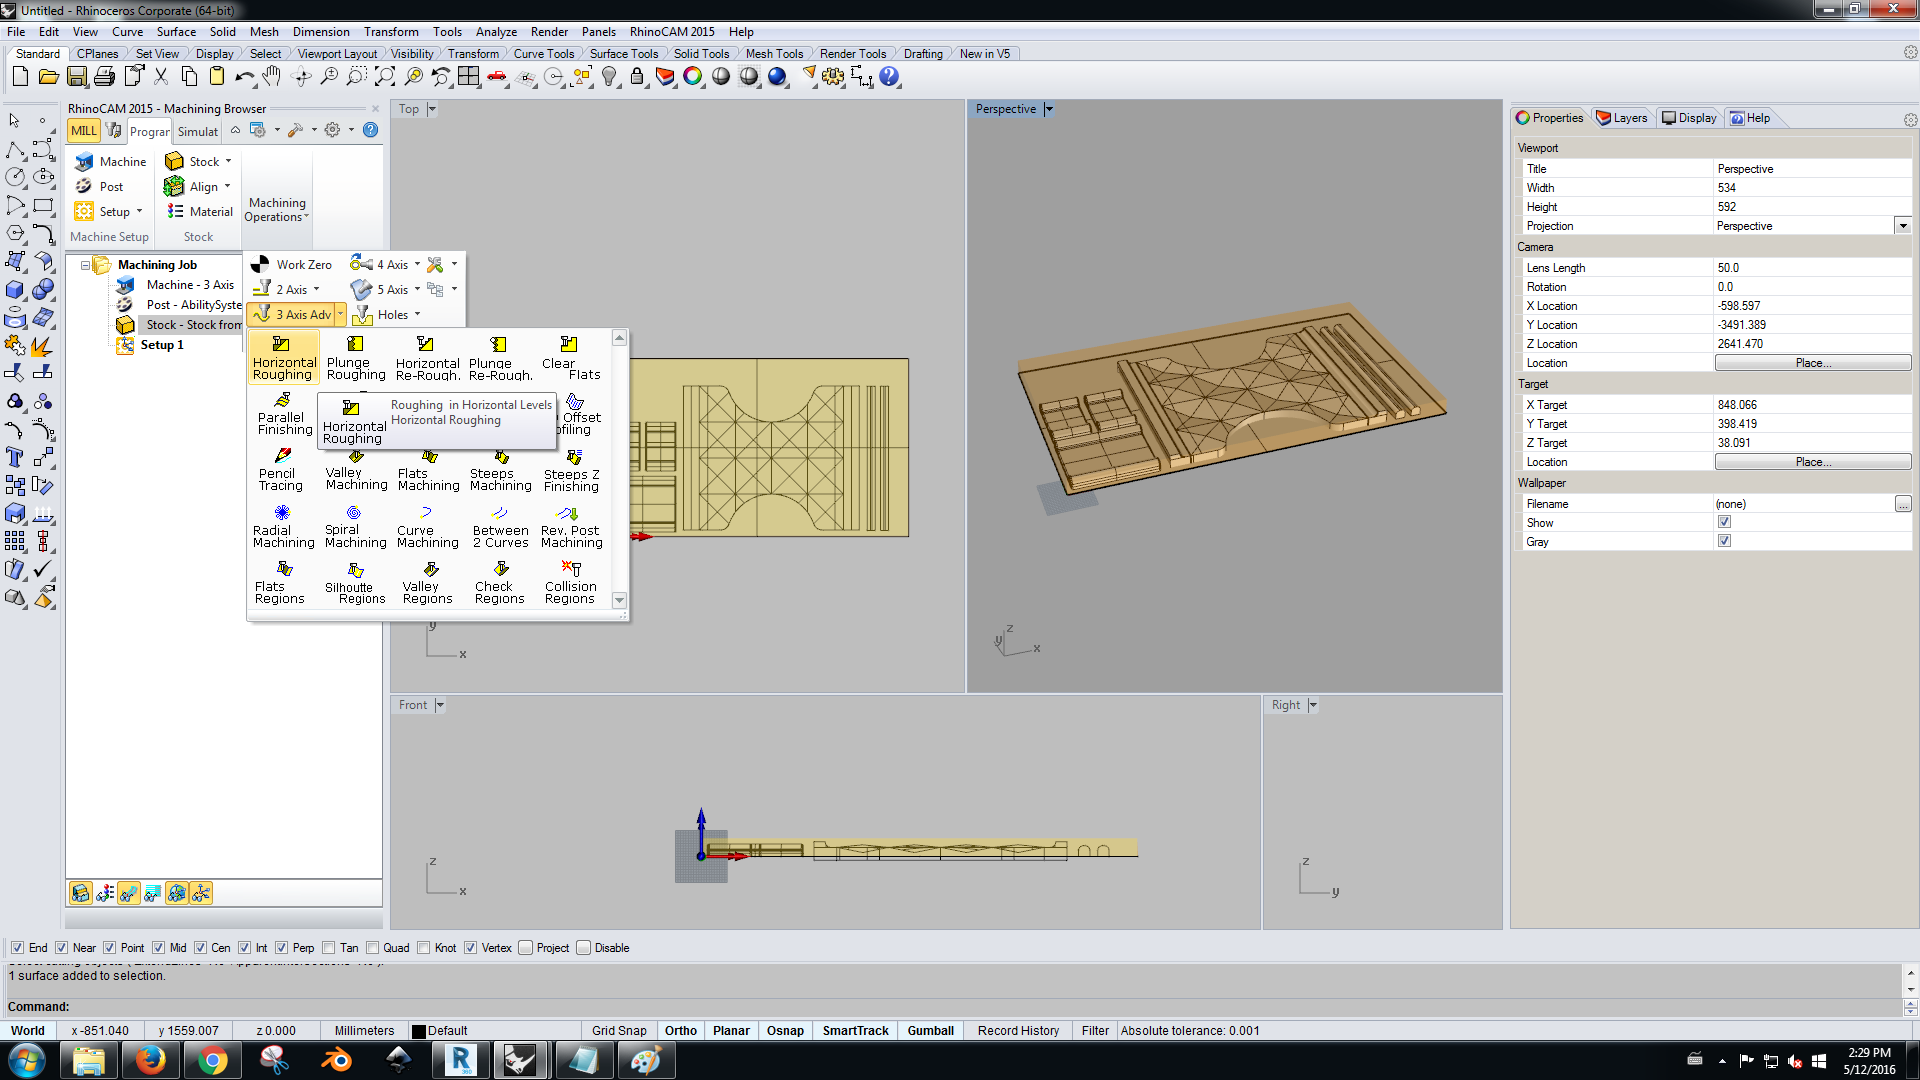
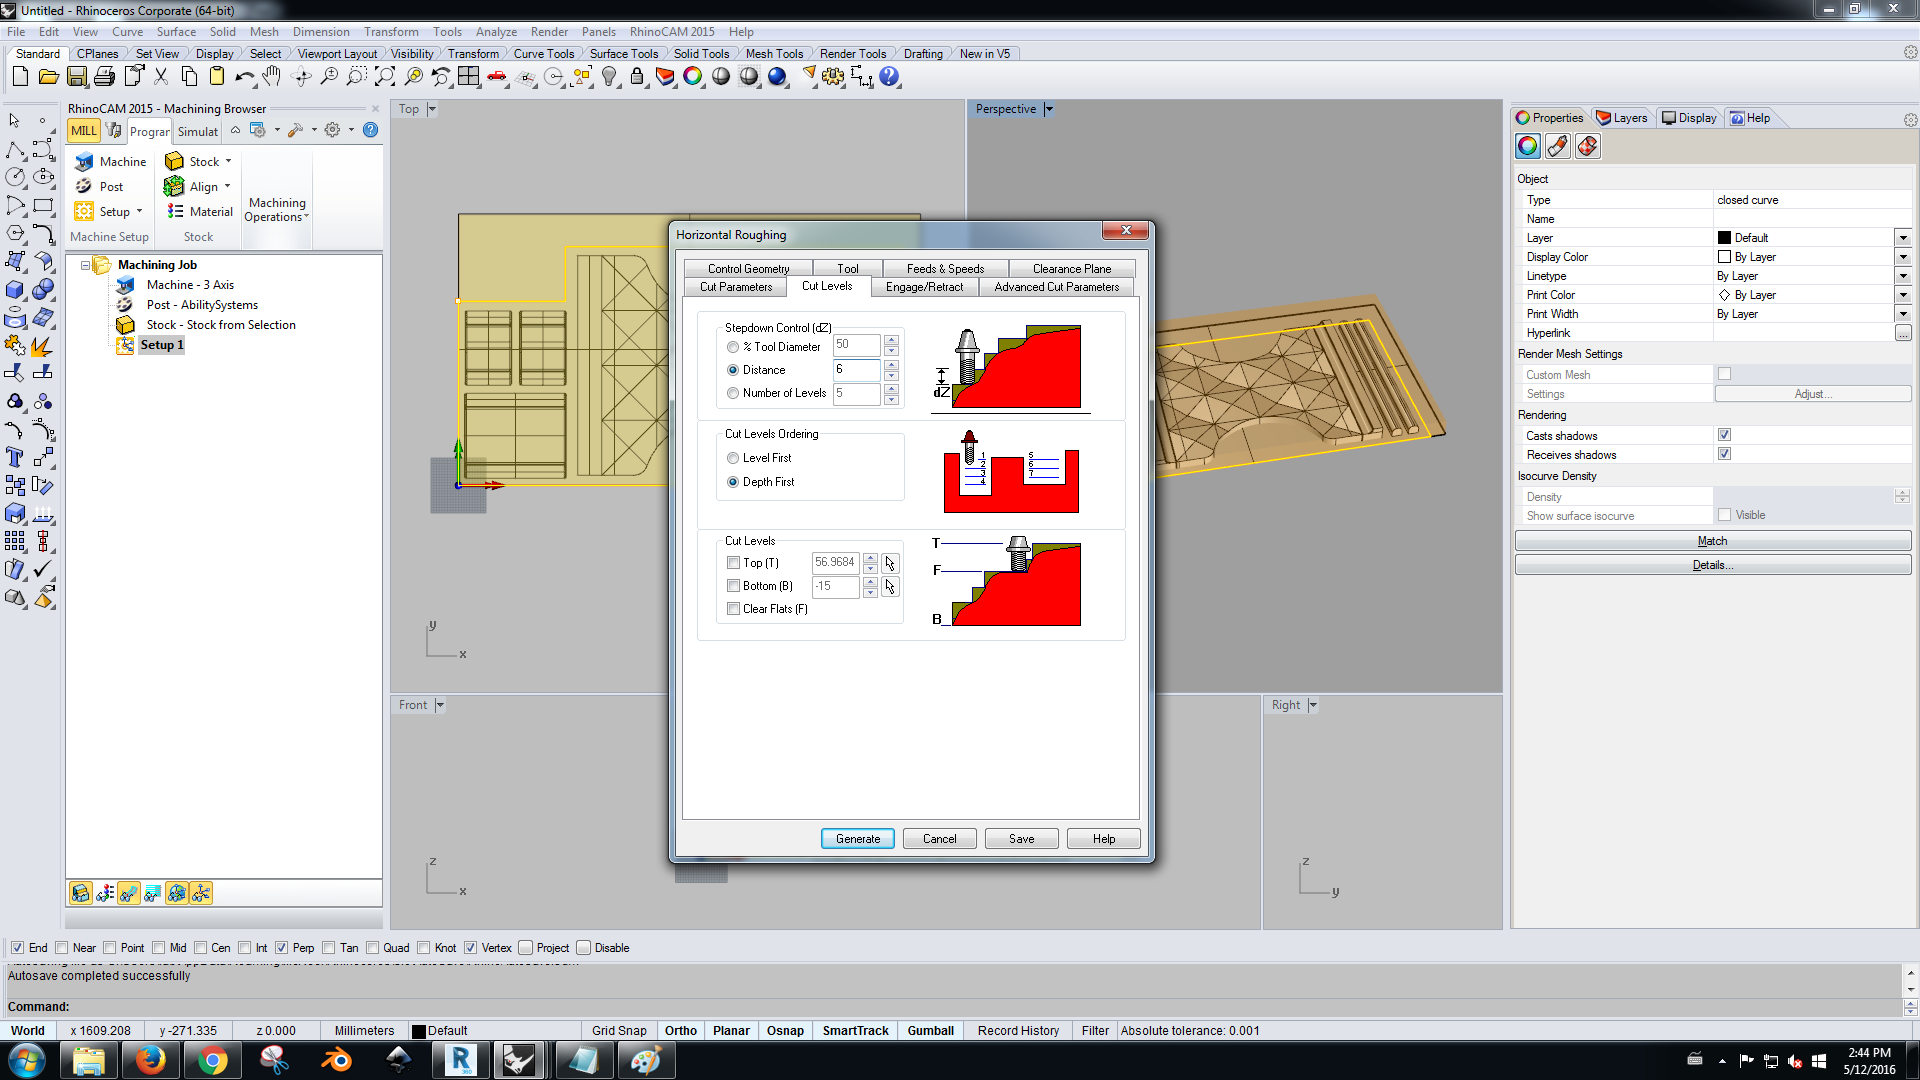
navigate through th Machine operations: Menu>Axis button>Horizontal Roughing
Apply in the area (part of the chairs), not be milled.
In the Tools tab>Click on tools and select the 12 mm ball milling bit.
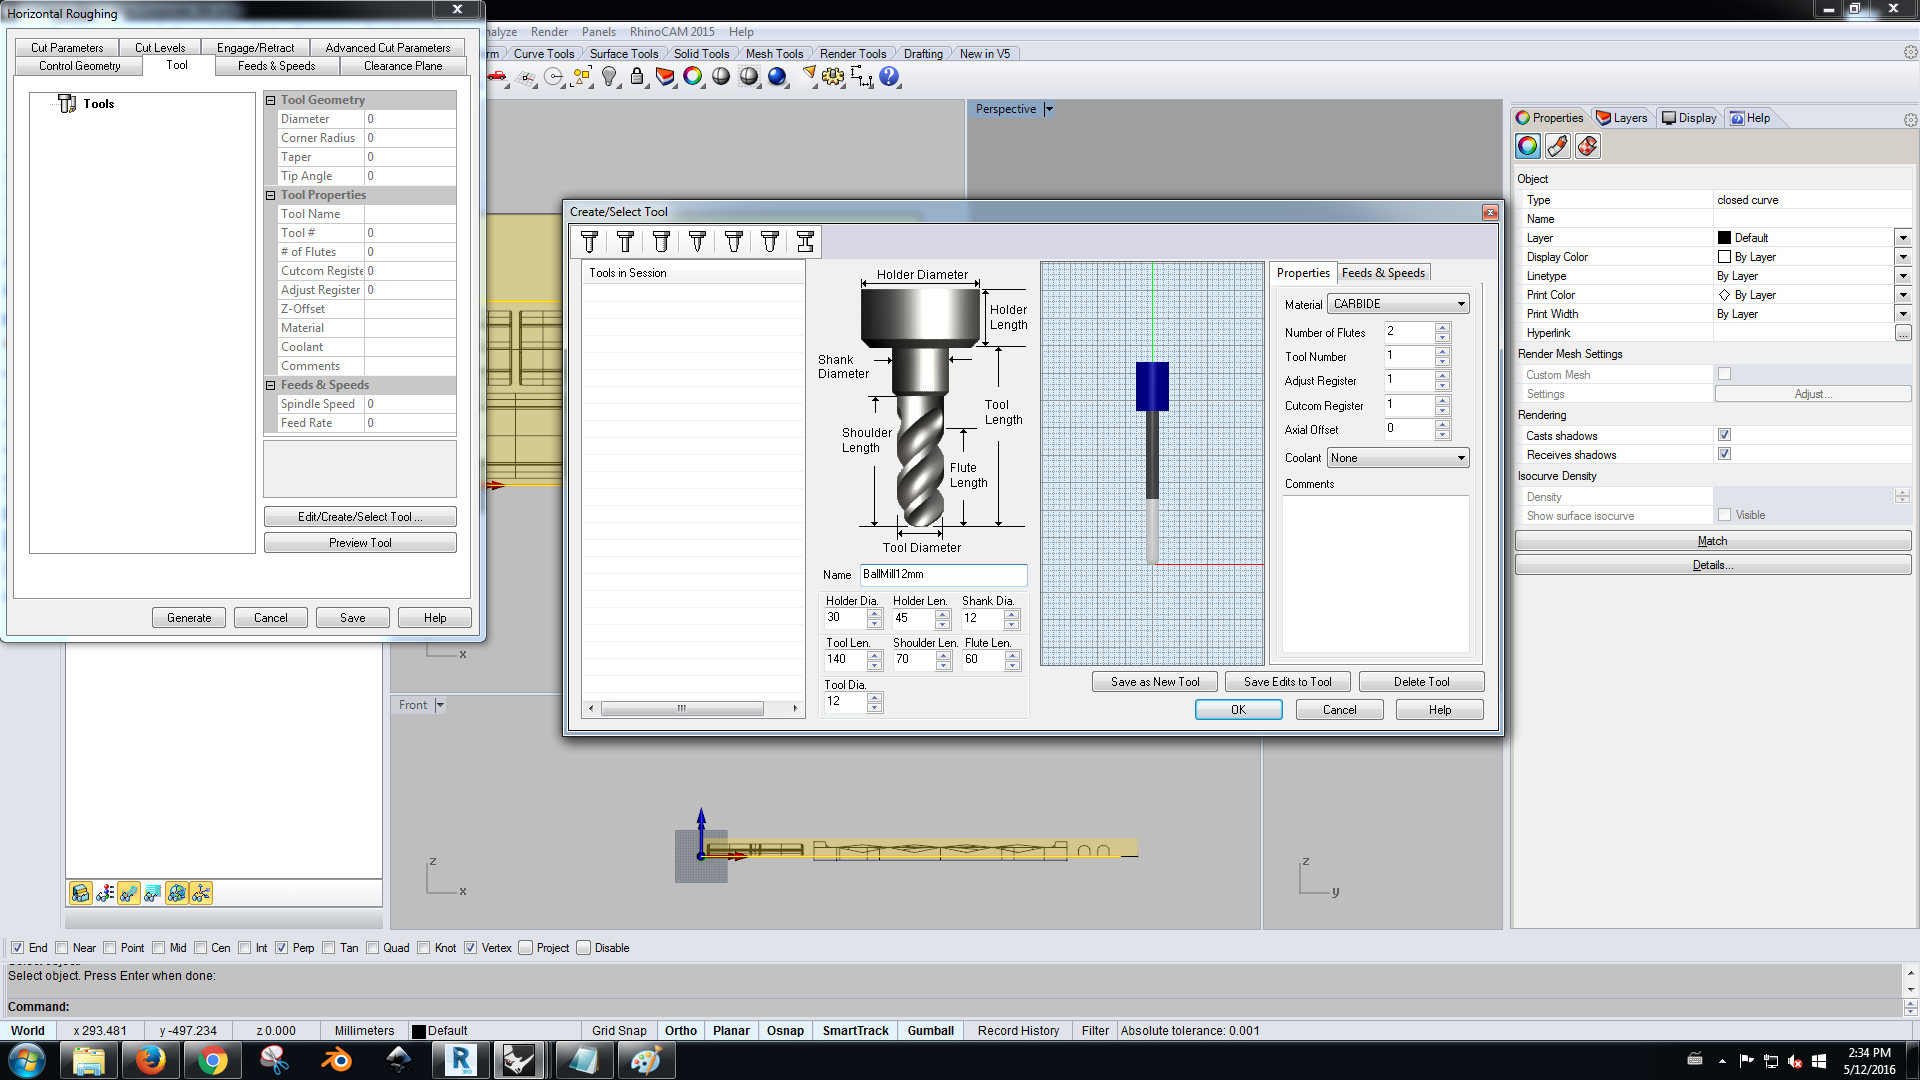
In the tab feeds and speeds set the RPM (spindle speed) The feed rates was usually 1200 RPM but in this case we set at 2000 RPM
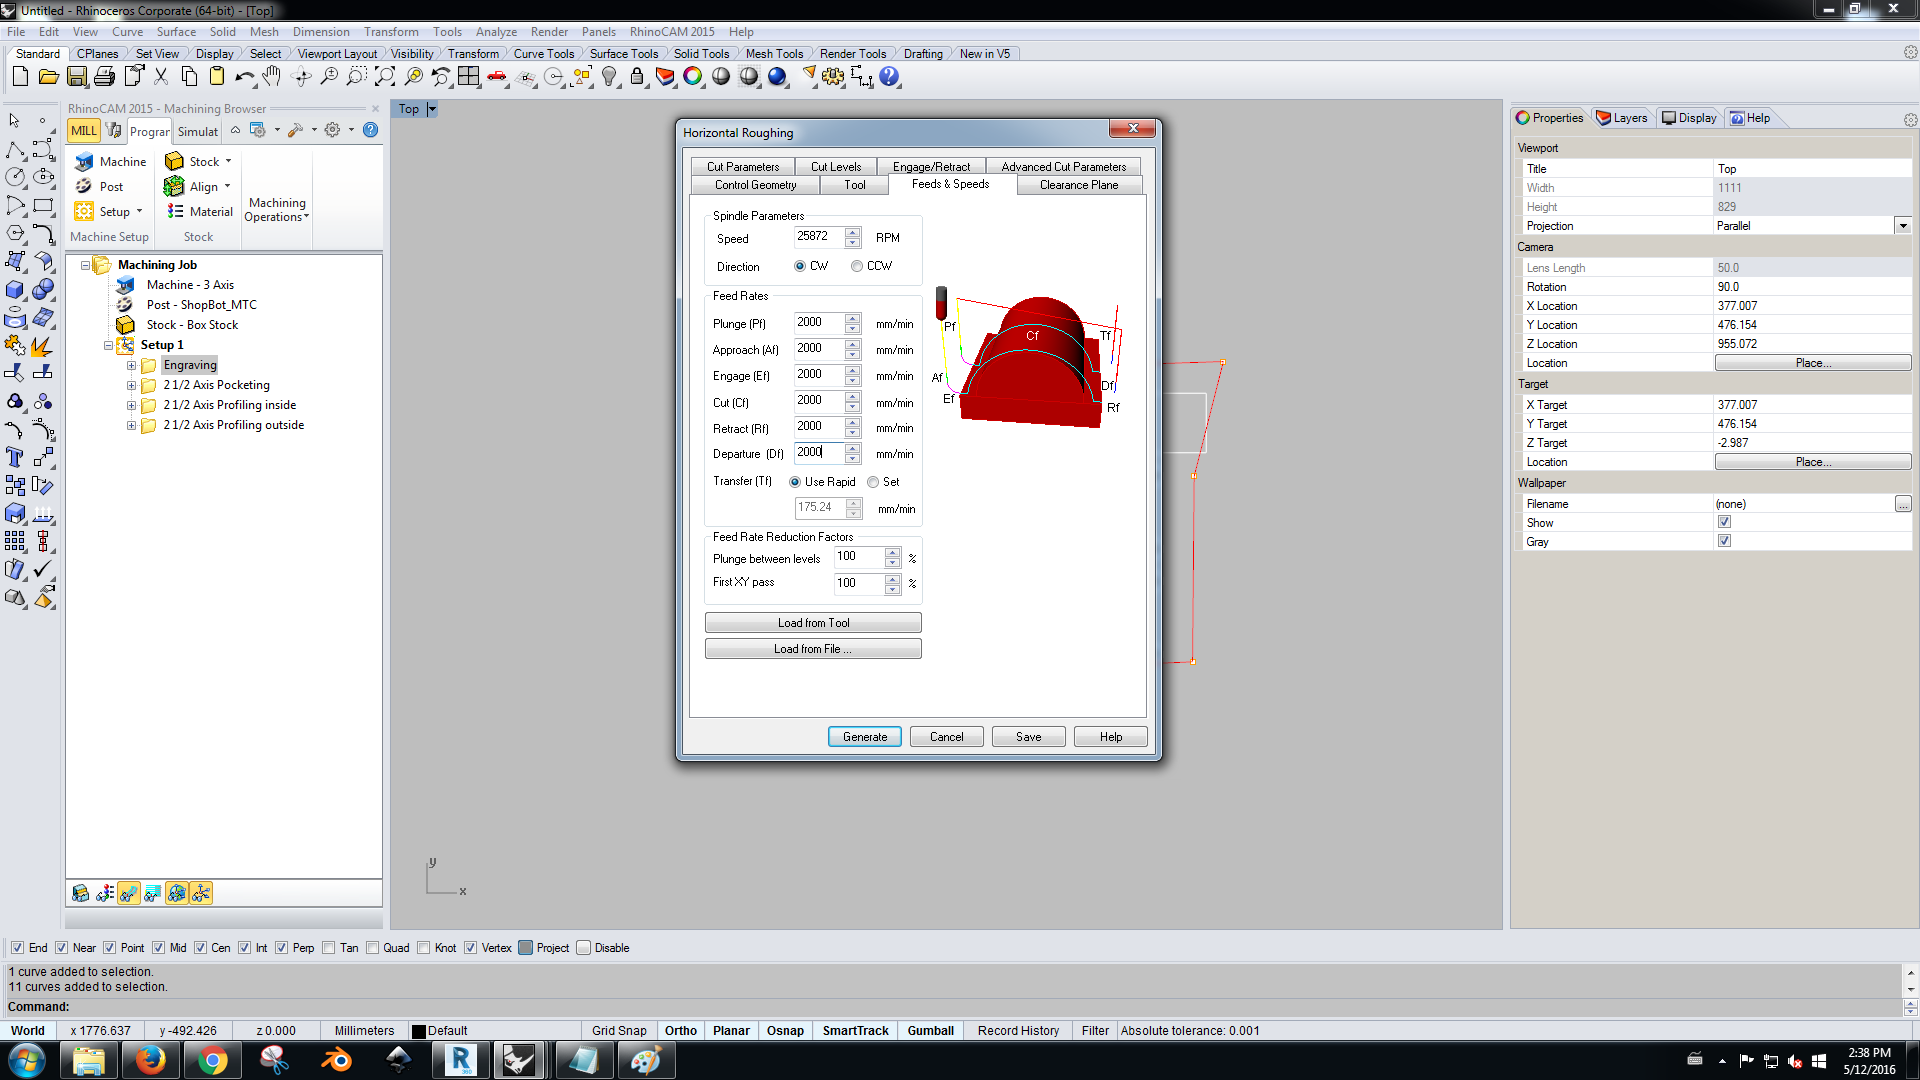
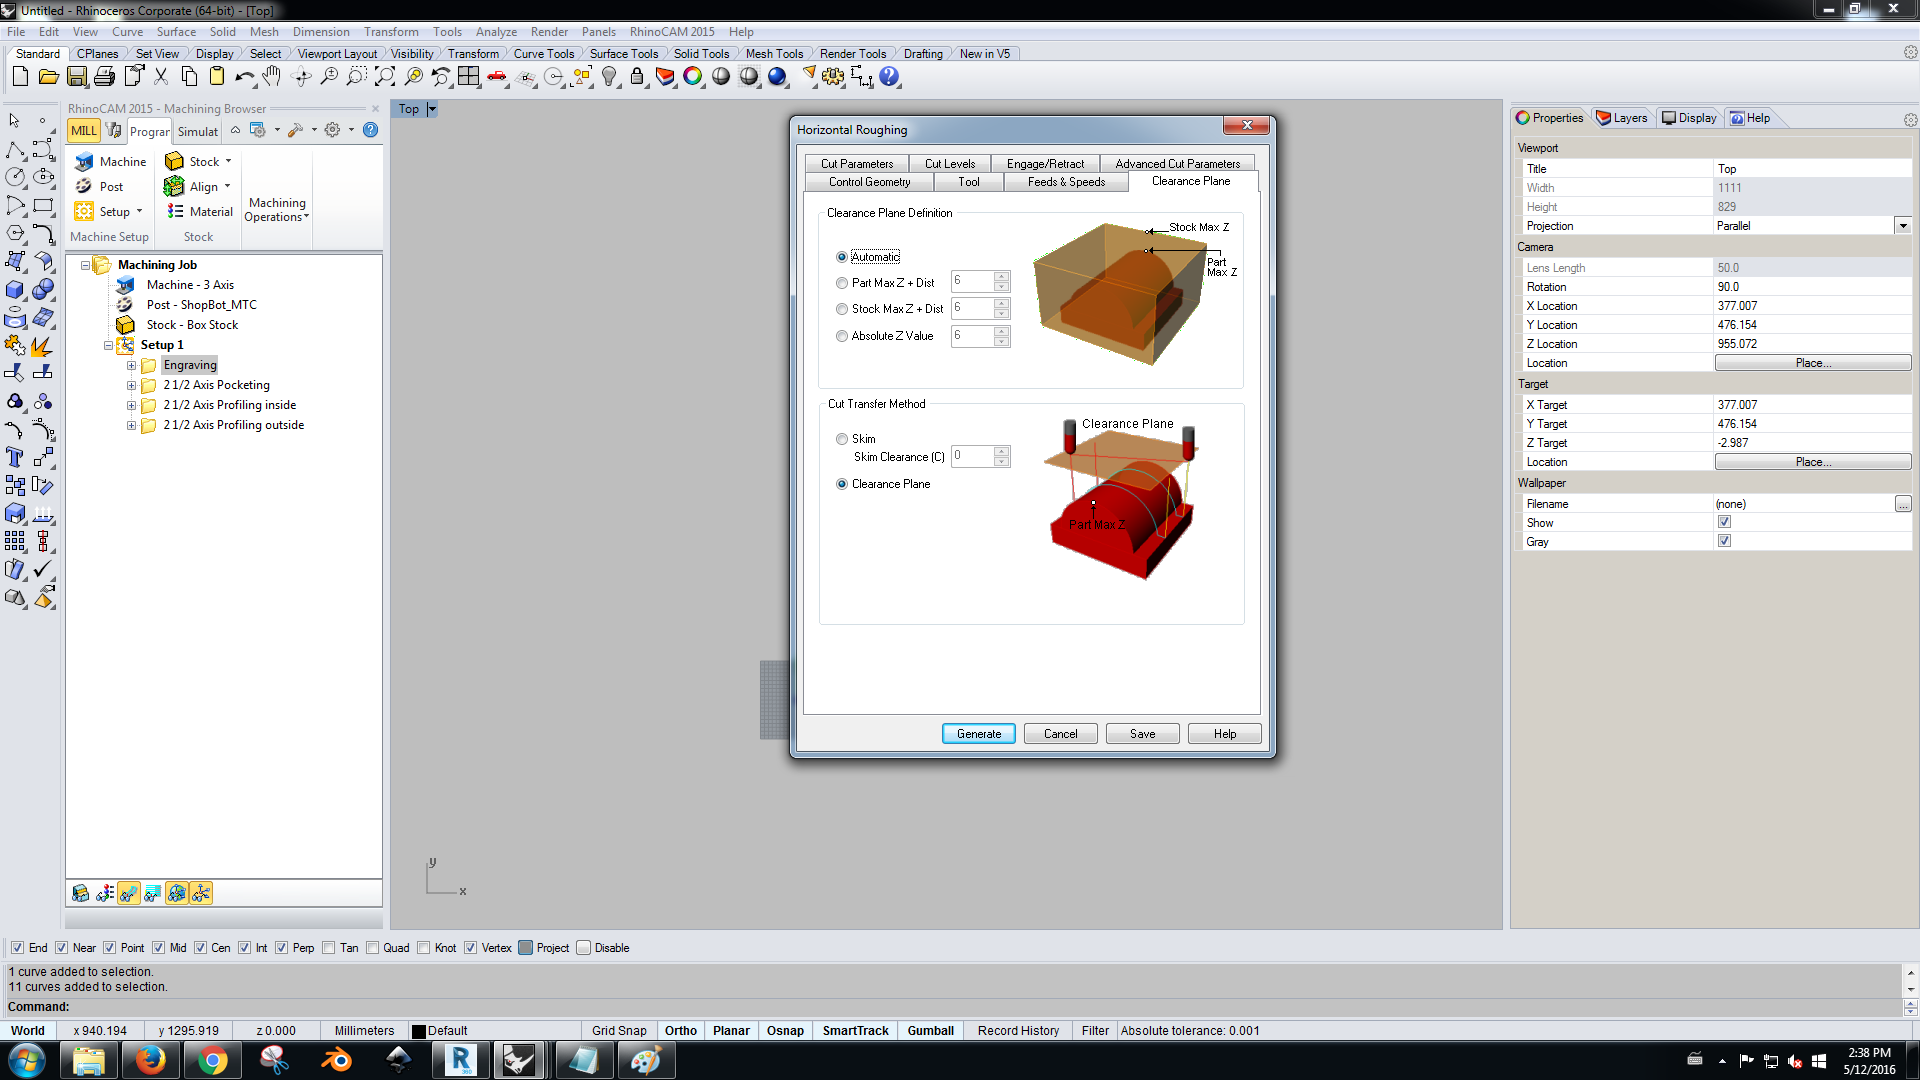
In the clearance tab we used the default settings. the definition plane and stock has been set to 6 mm. And movement to another position.
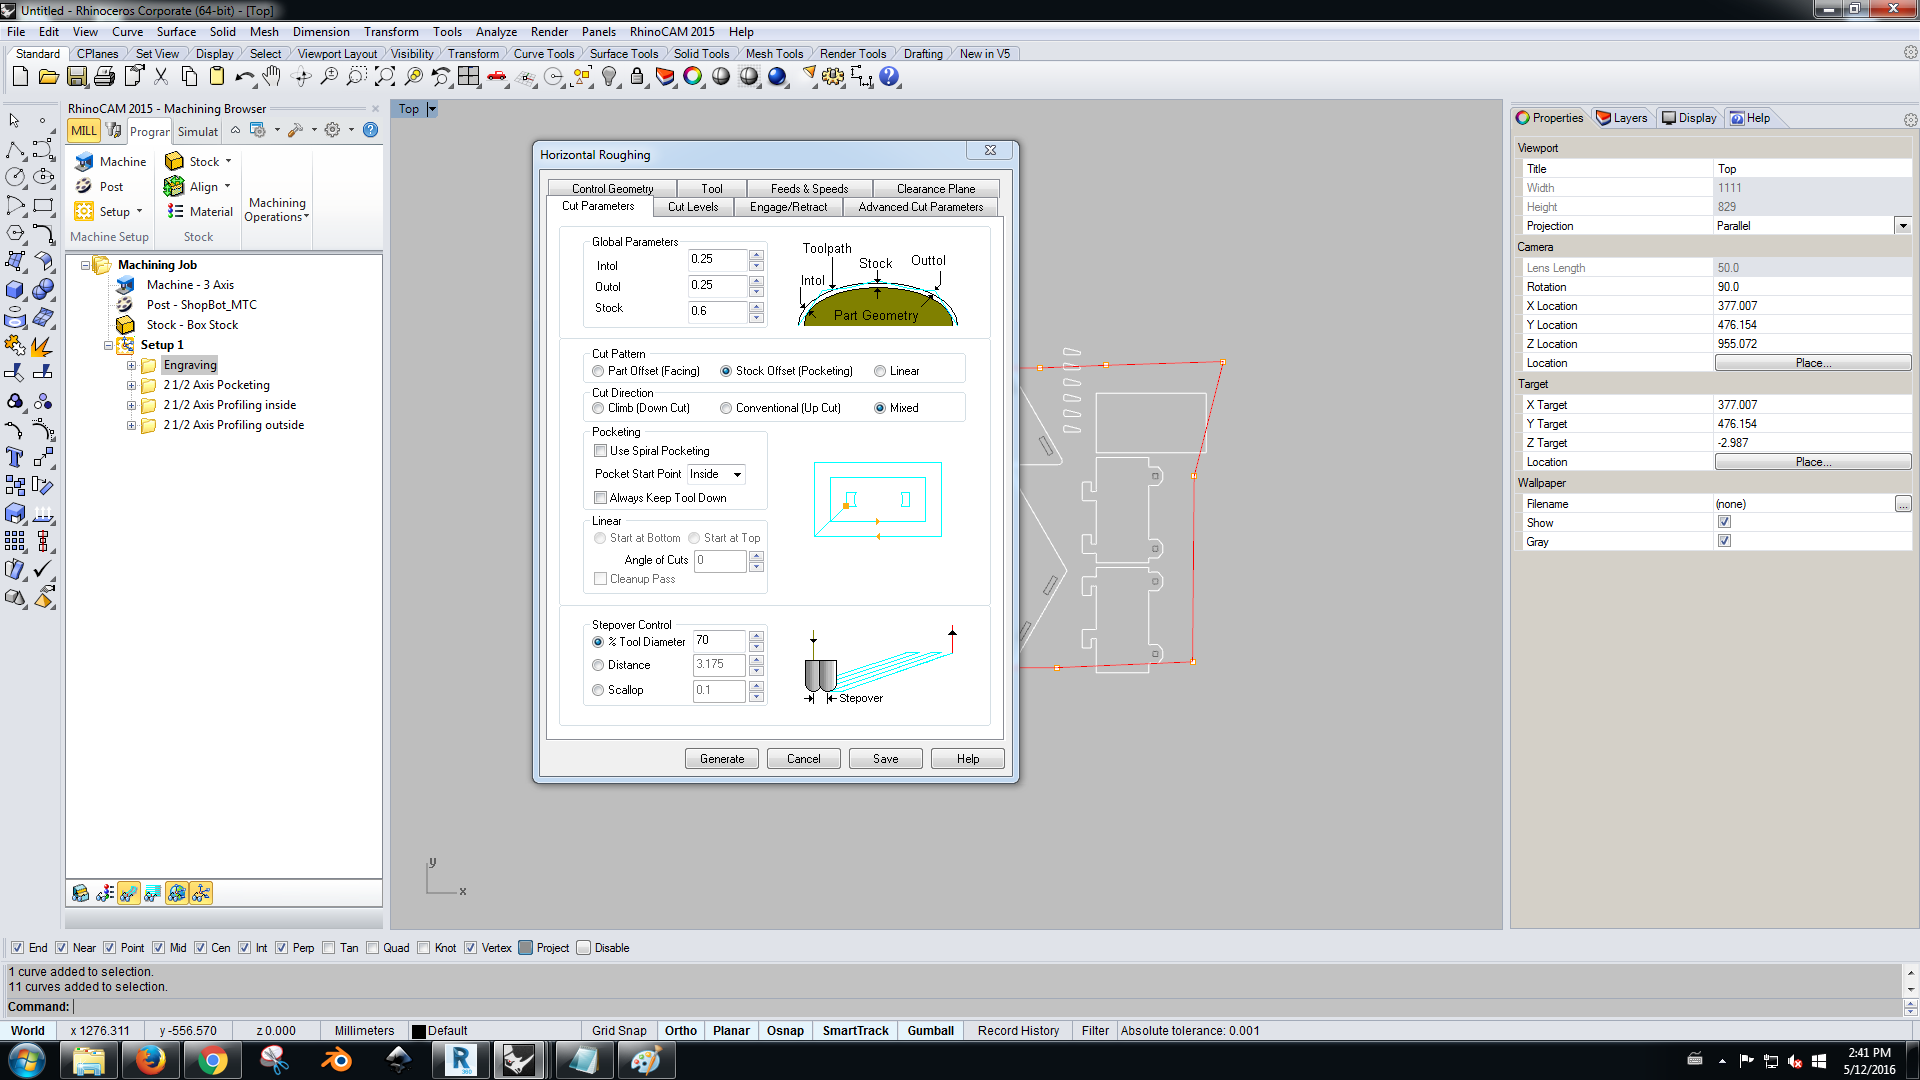
In the tab Cut parameters the stepover control the % tool diameter 25 to 70 so we go fast with the foam.
Then I set the distance on 6mm (half of the diameter) and set bottom to 2.I let the small layer cut bottom with cutter. The tab Engange/Retract I let it as it was.In the Advanced Cut parameters the same.In the Entry/Exit tab I let the defaults and I generated the Gcode and strategies saved in the setup.
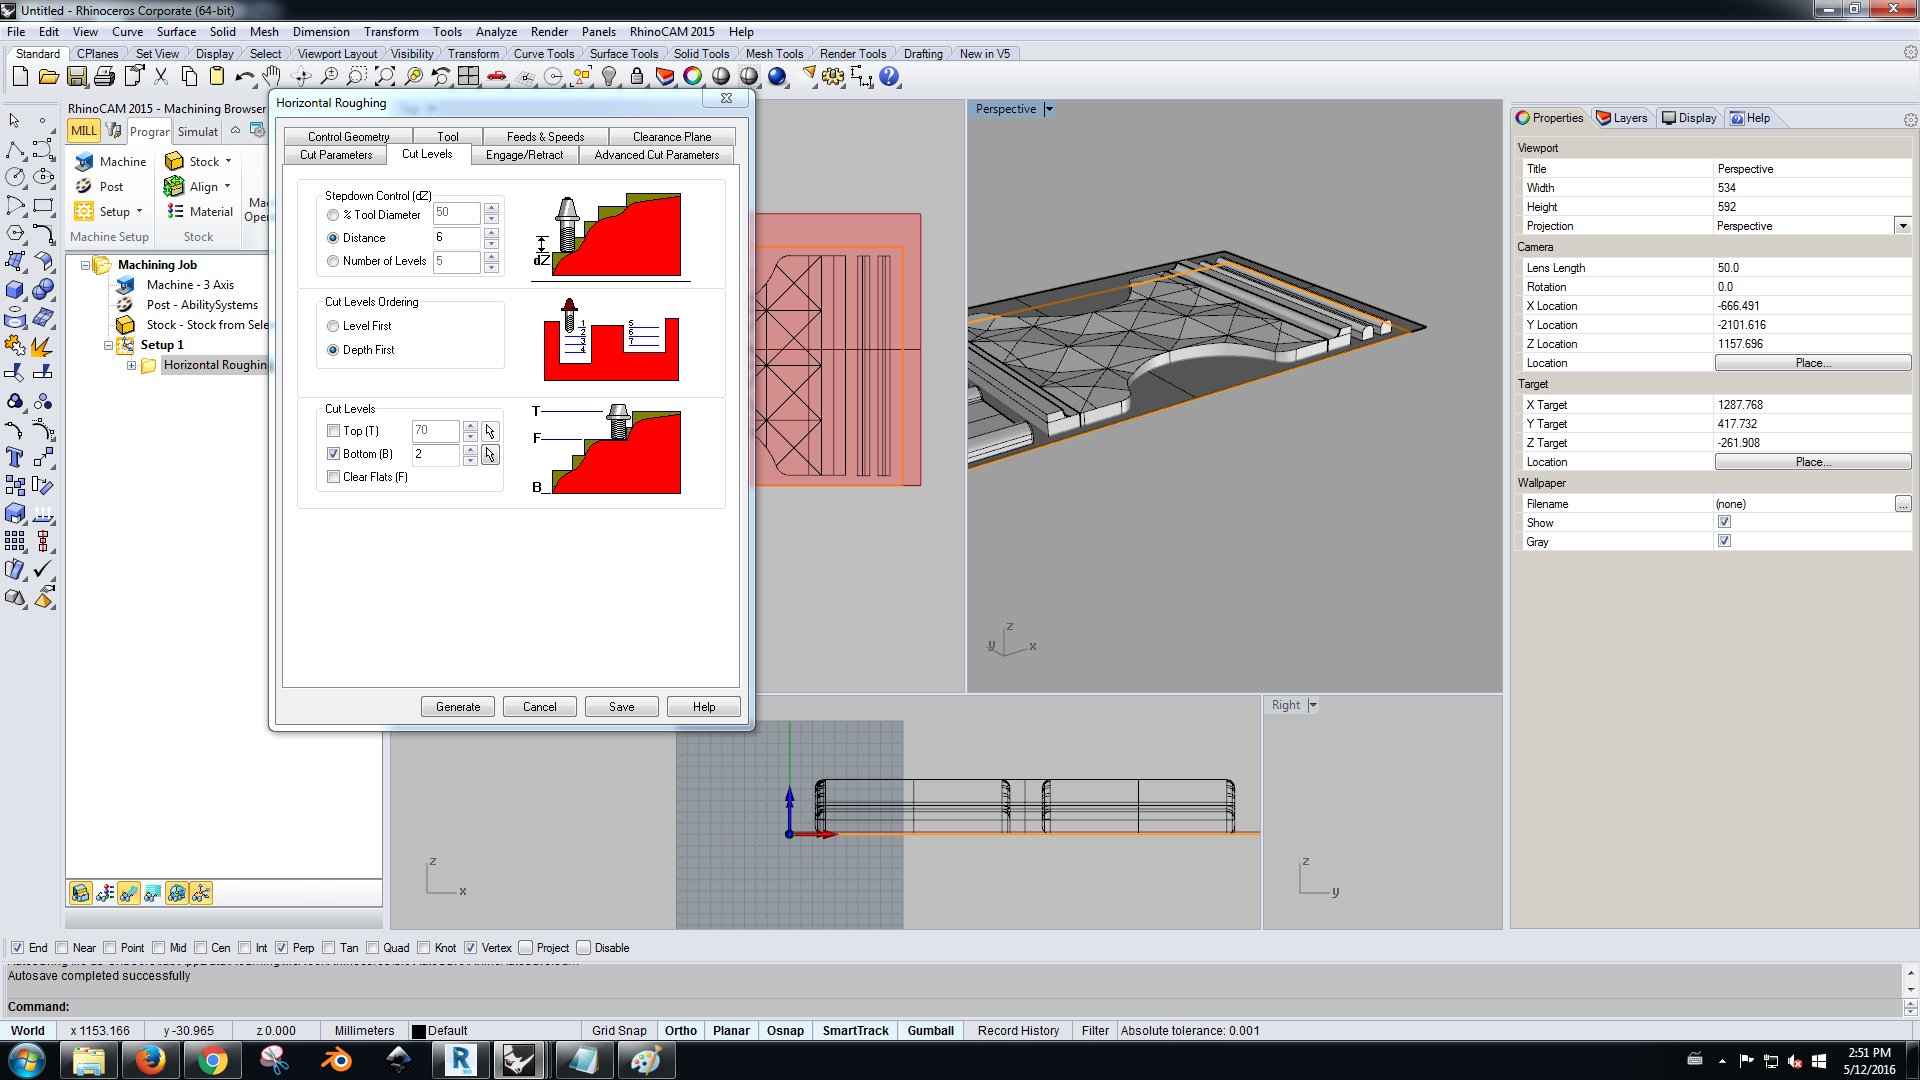
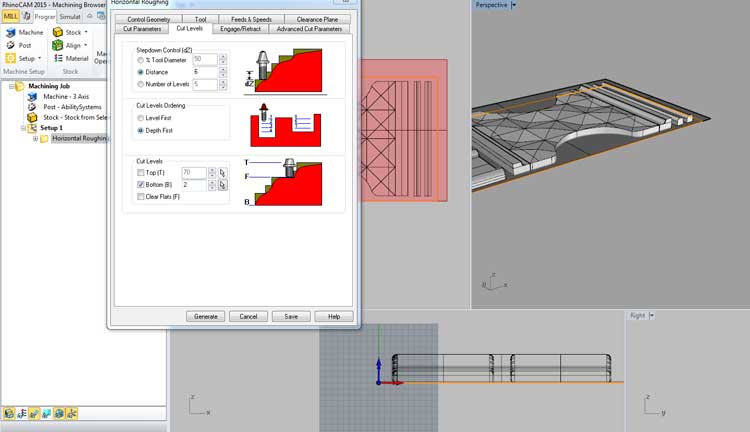
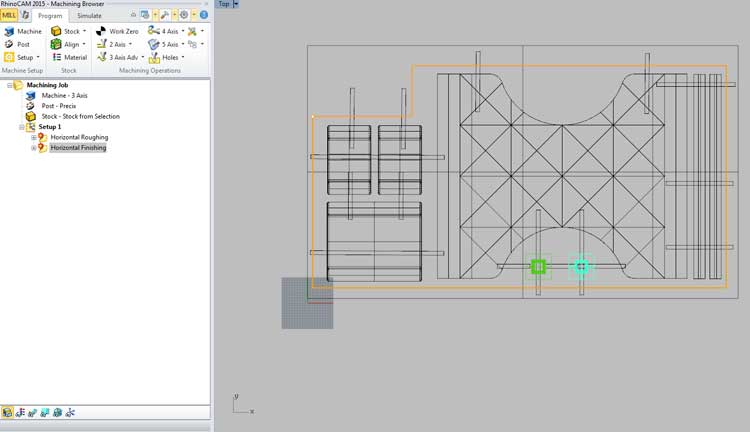
horizontal path setup
For creating stock, milling, Spindle Speed and Machine operations tabs we used the same settings of the horizontal roughing.
For the Cut Parameters tab I used the presets.In the Cut Levels tab I used for the bottom 2.
For the Optimized Machining I set a distance of 2 mm to increase the definition.
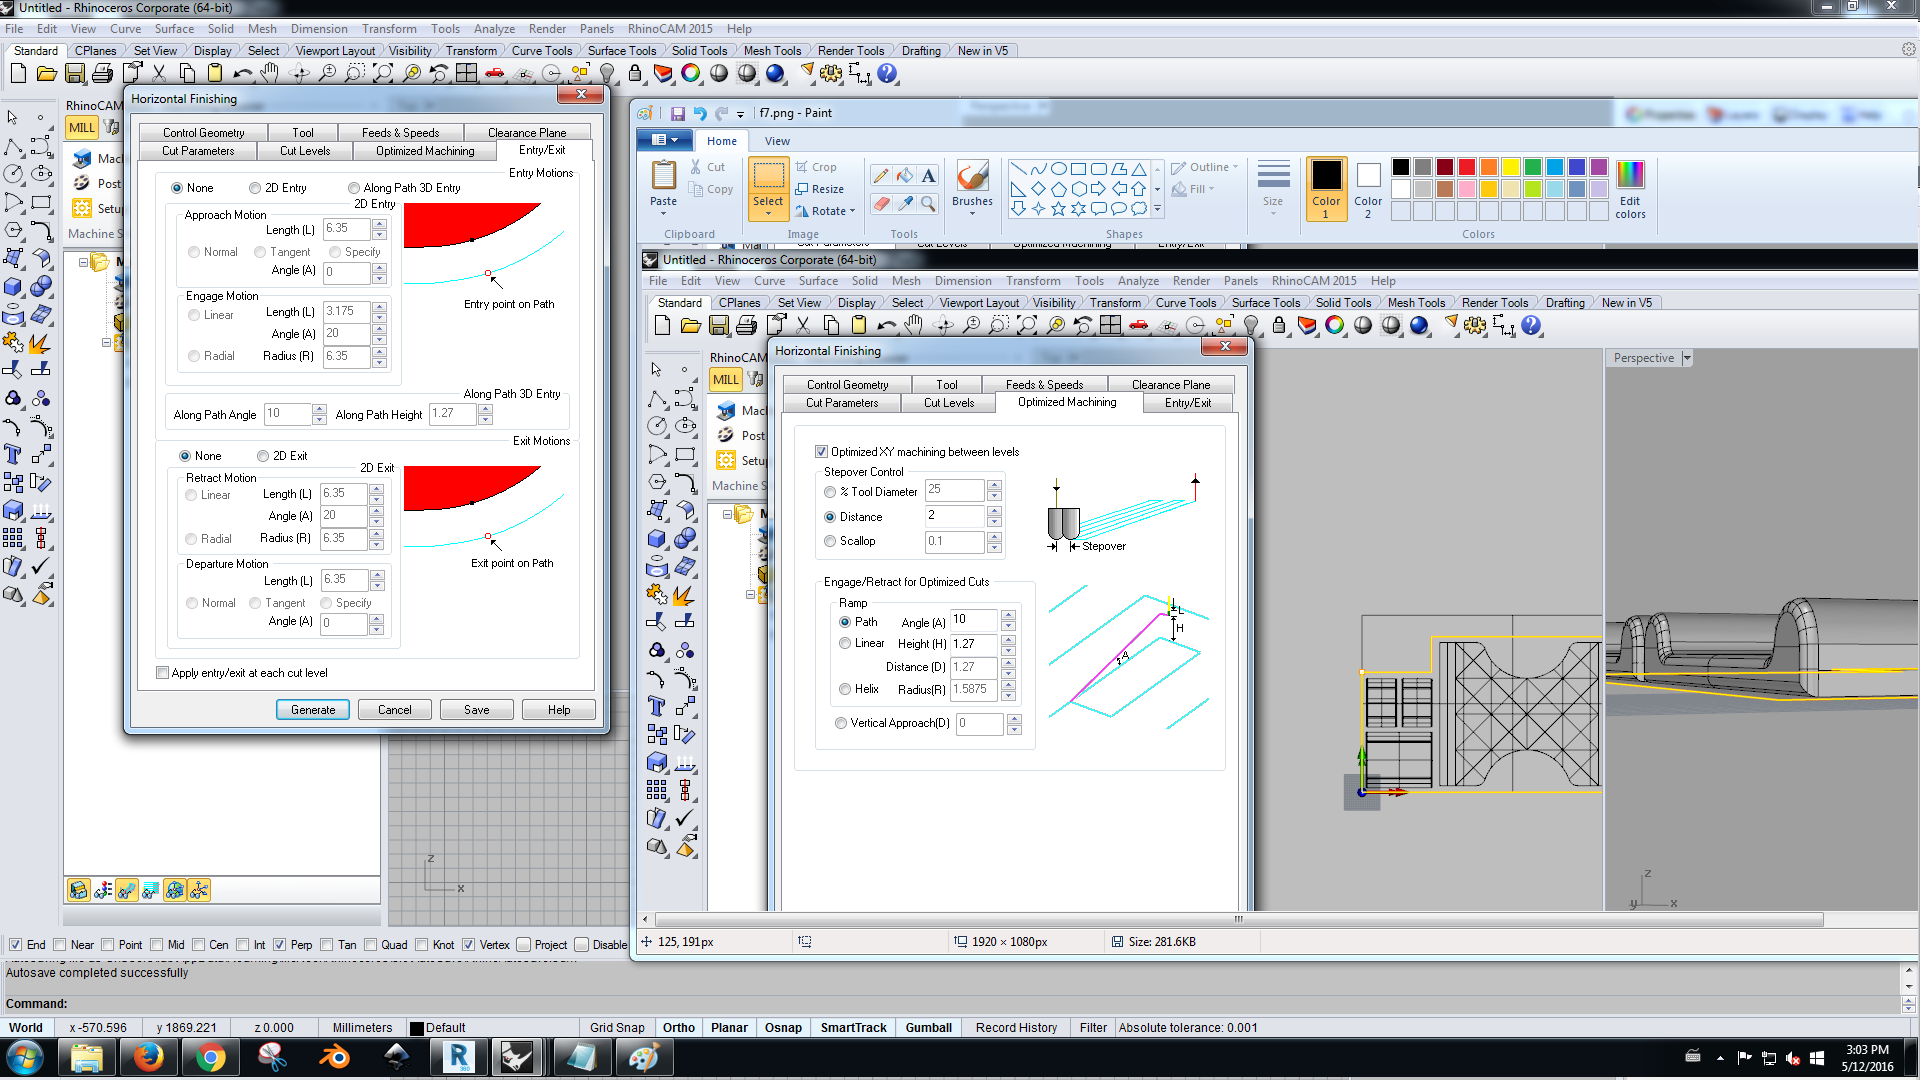
For creating stock,milling,spindle speed, machine operations tab we use the exact same settings I explained before. For the Cut Parameters tab I used the presets. In the Cut Levels tab I used for the bottom 2 (same as before). For the Optimized Machining I set a distance of 2 mm the less the more definition.
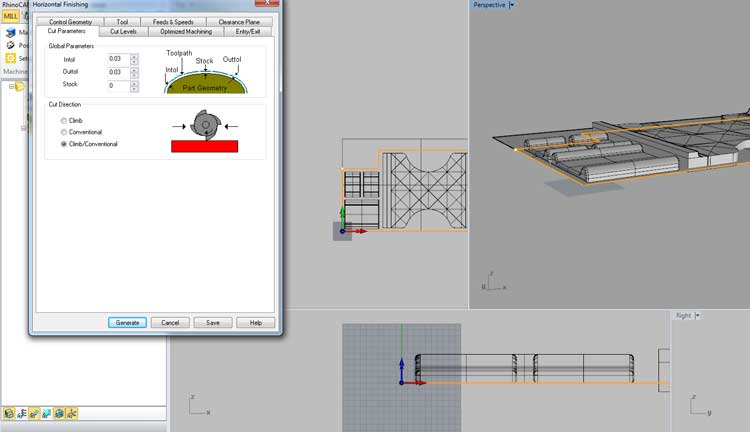
In the Entry/Exit tab I let the defaults and I generated the Gcode saved in the setup.
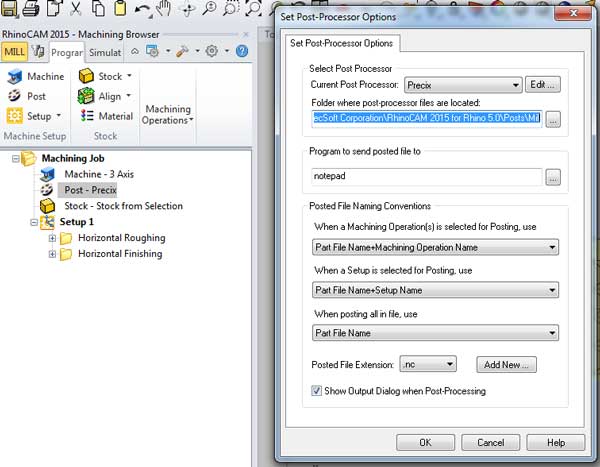
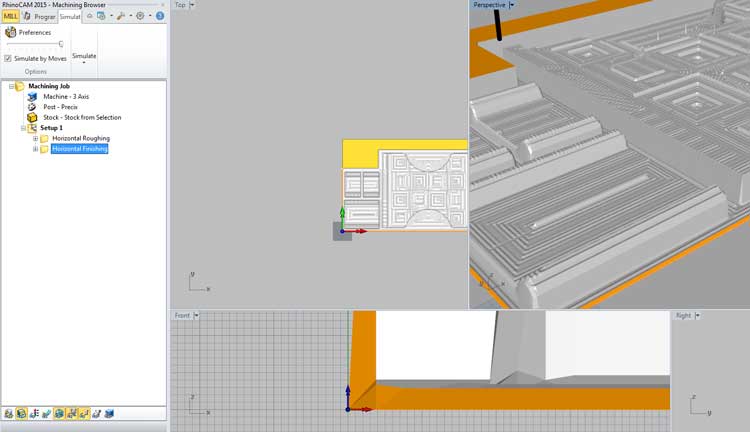
I set the Machine Job and specified the machine: Precix (Mach3 - mm) and export the .nc format, right click and simulating.

I realised the same molds in 2 materials:polystirene and EPS foam to make different tests
Laser cut
Settings for the laser cut: I used with the MultiCam Router Keypad
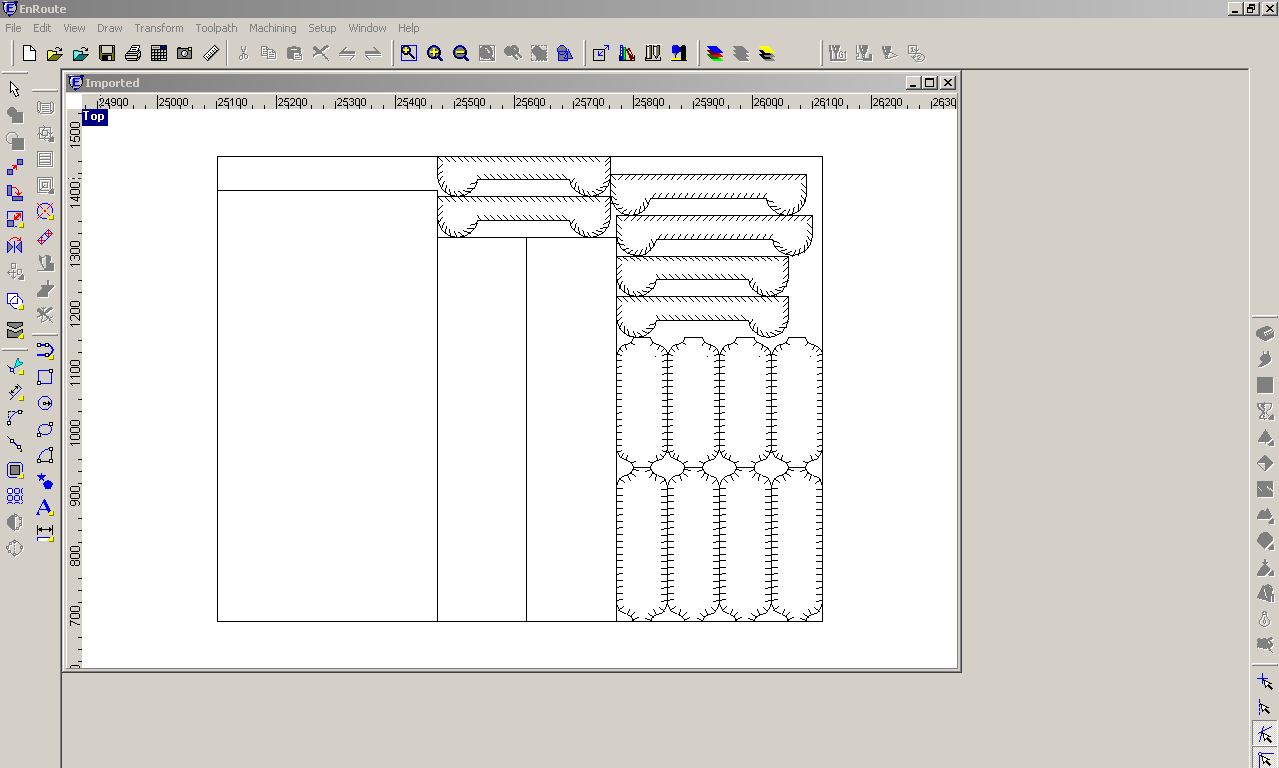
EnRoute settings
Open a new file - File>New
set your sheet size (width/heigh in mm)
Import .dxf file: File>Import file
File>Save your file inside 'Dnc files' folder.
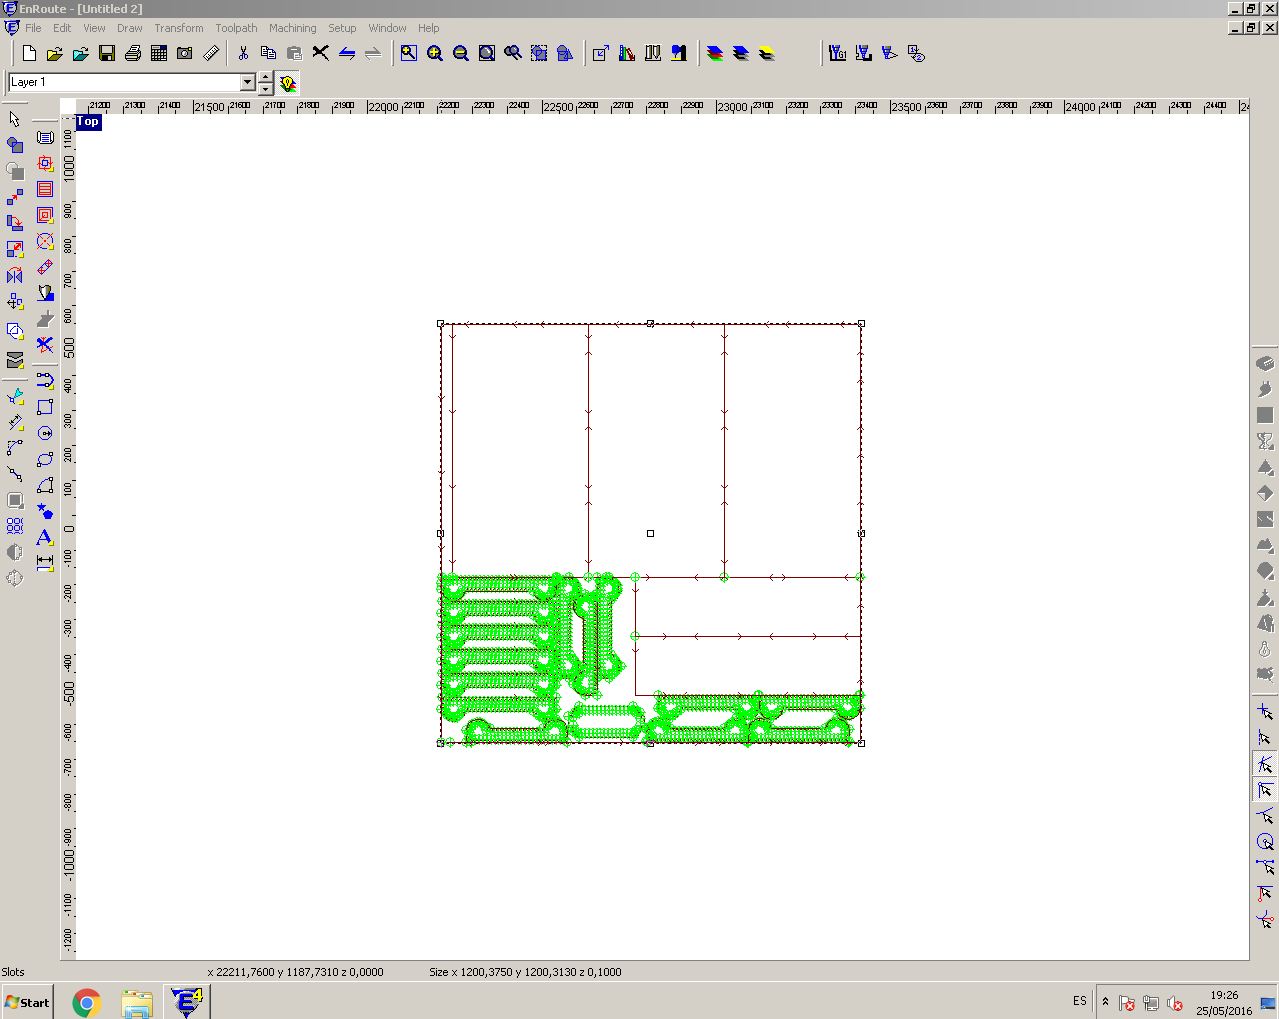
The images below show the merge selection and the cut.Settings the MultiCam Router Keypad.
X,Y Feedrate:45.00
Power:350
cut height:0,50
Select everything and go to Transform – Merge selection>cut>ok
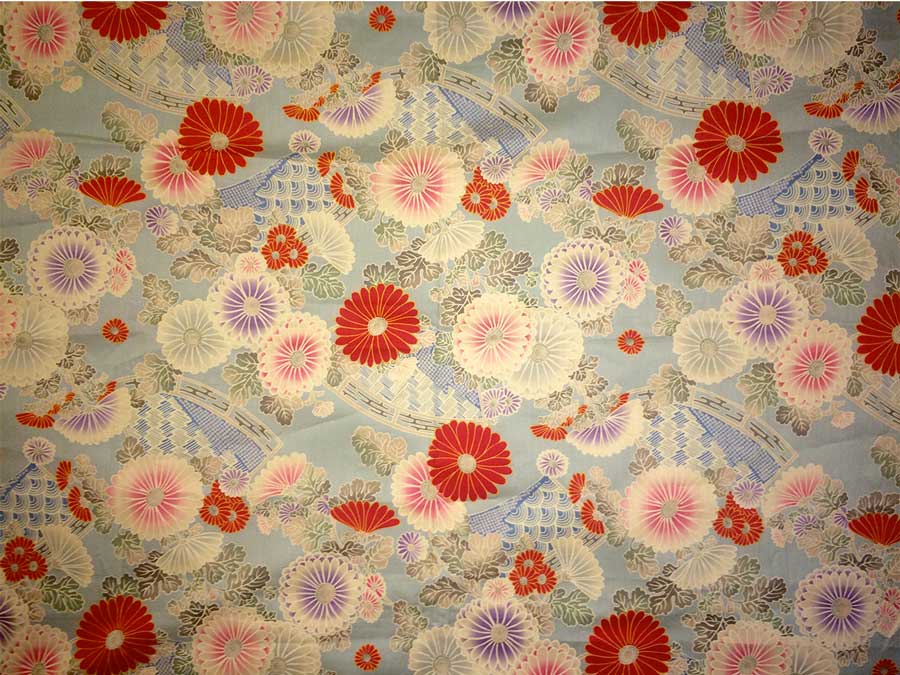
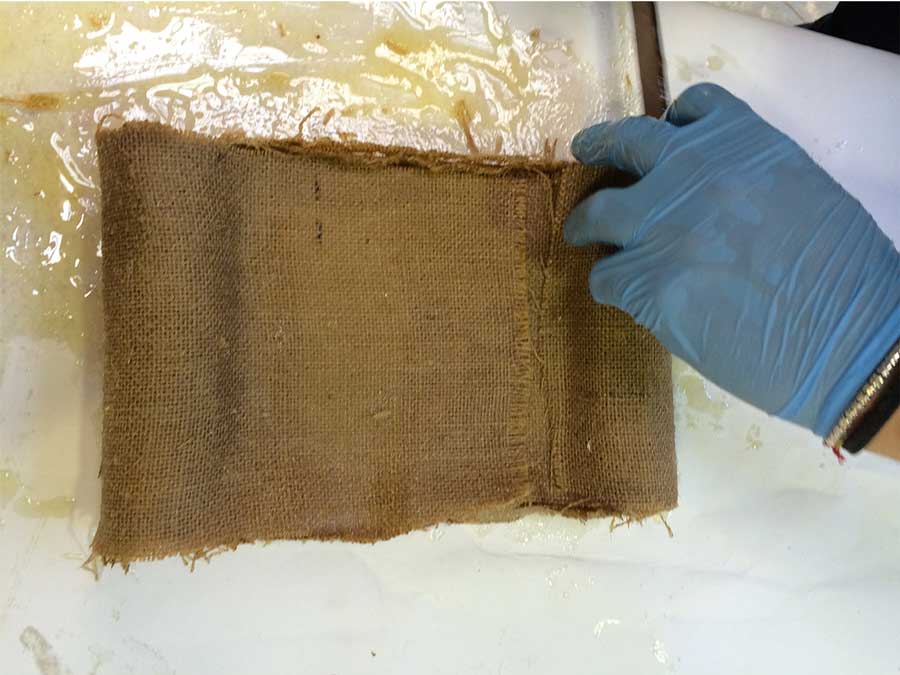
I used this textile to cover the obtained shapes in Burlap.
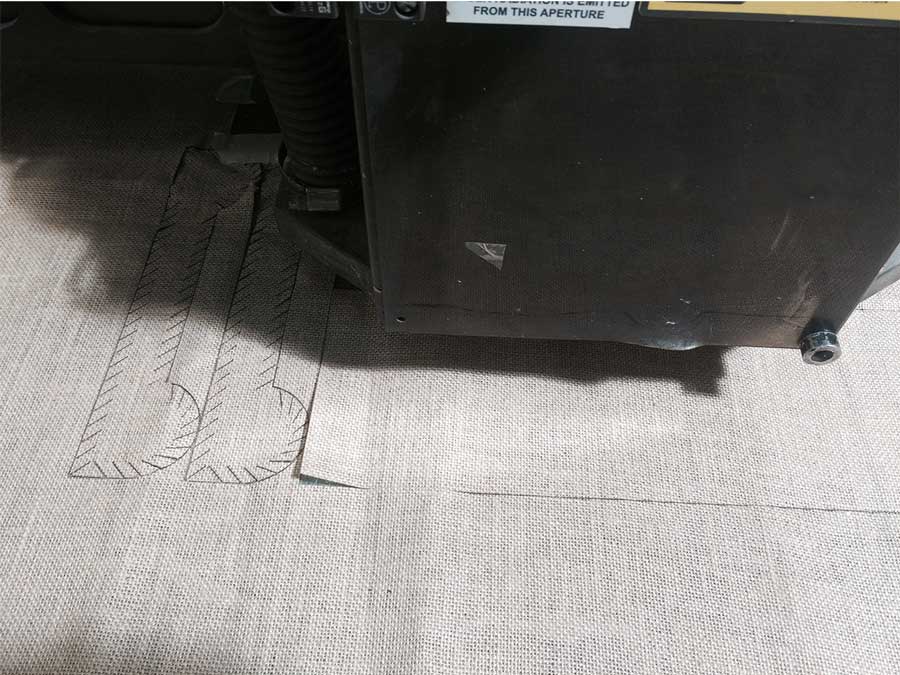
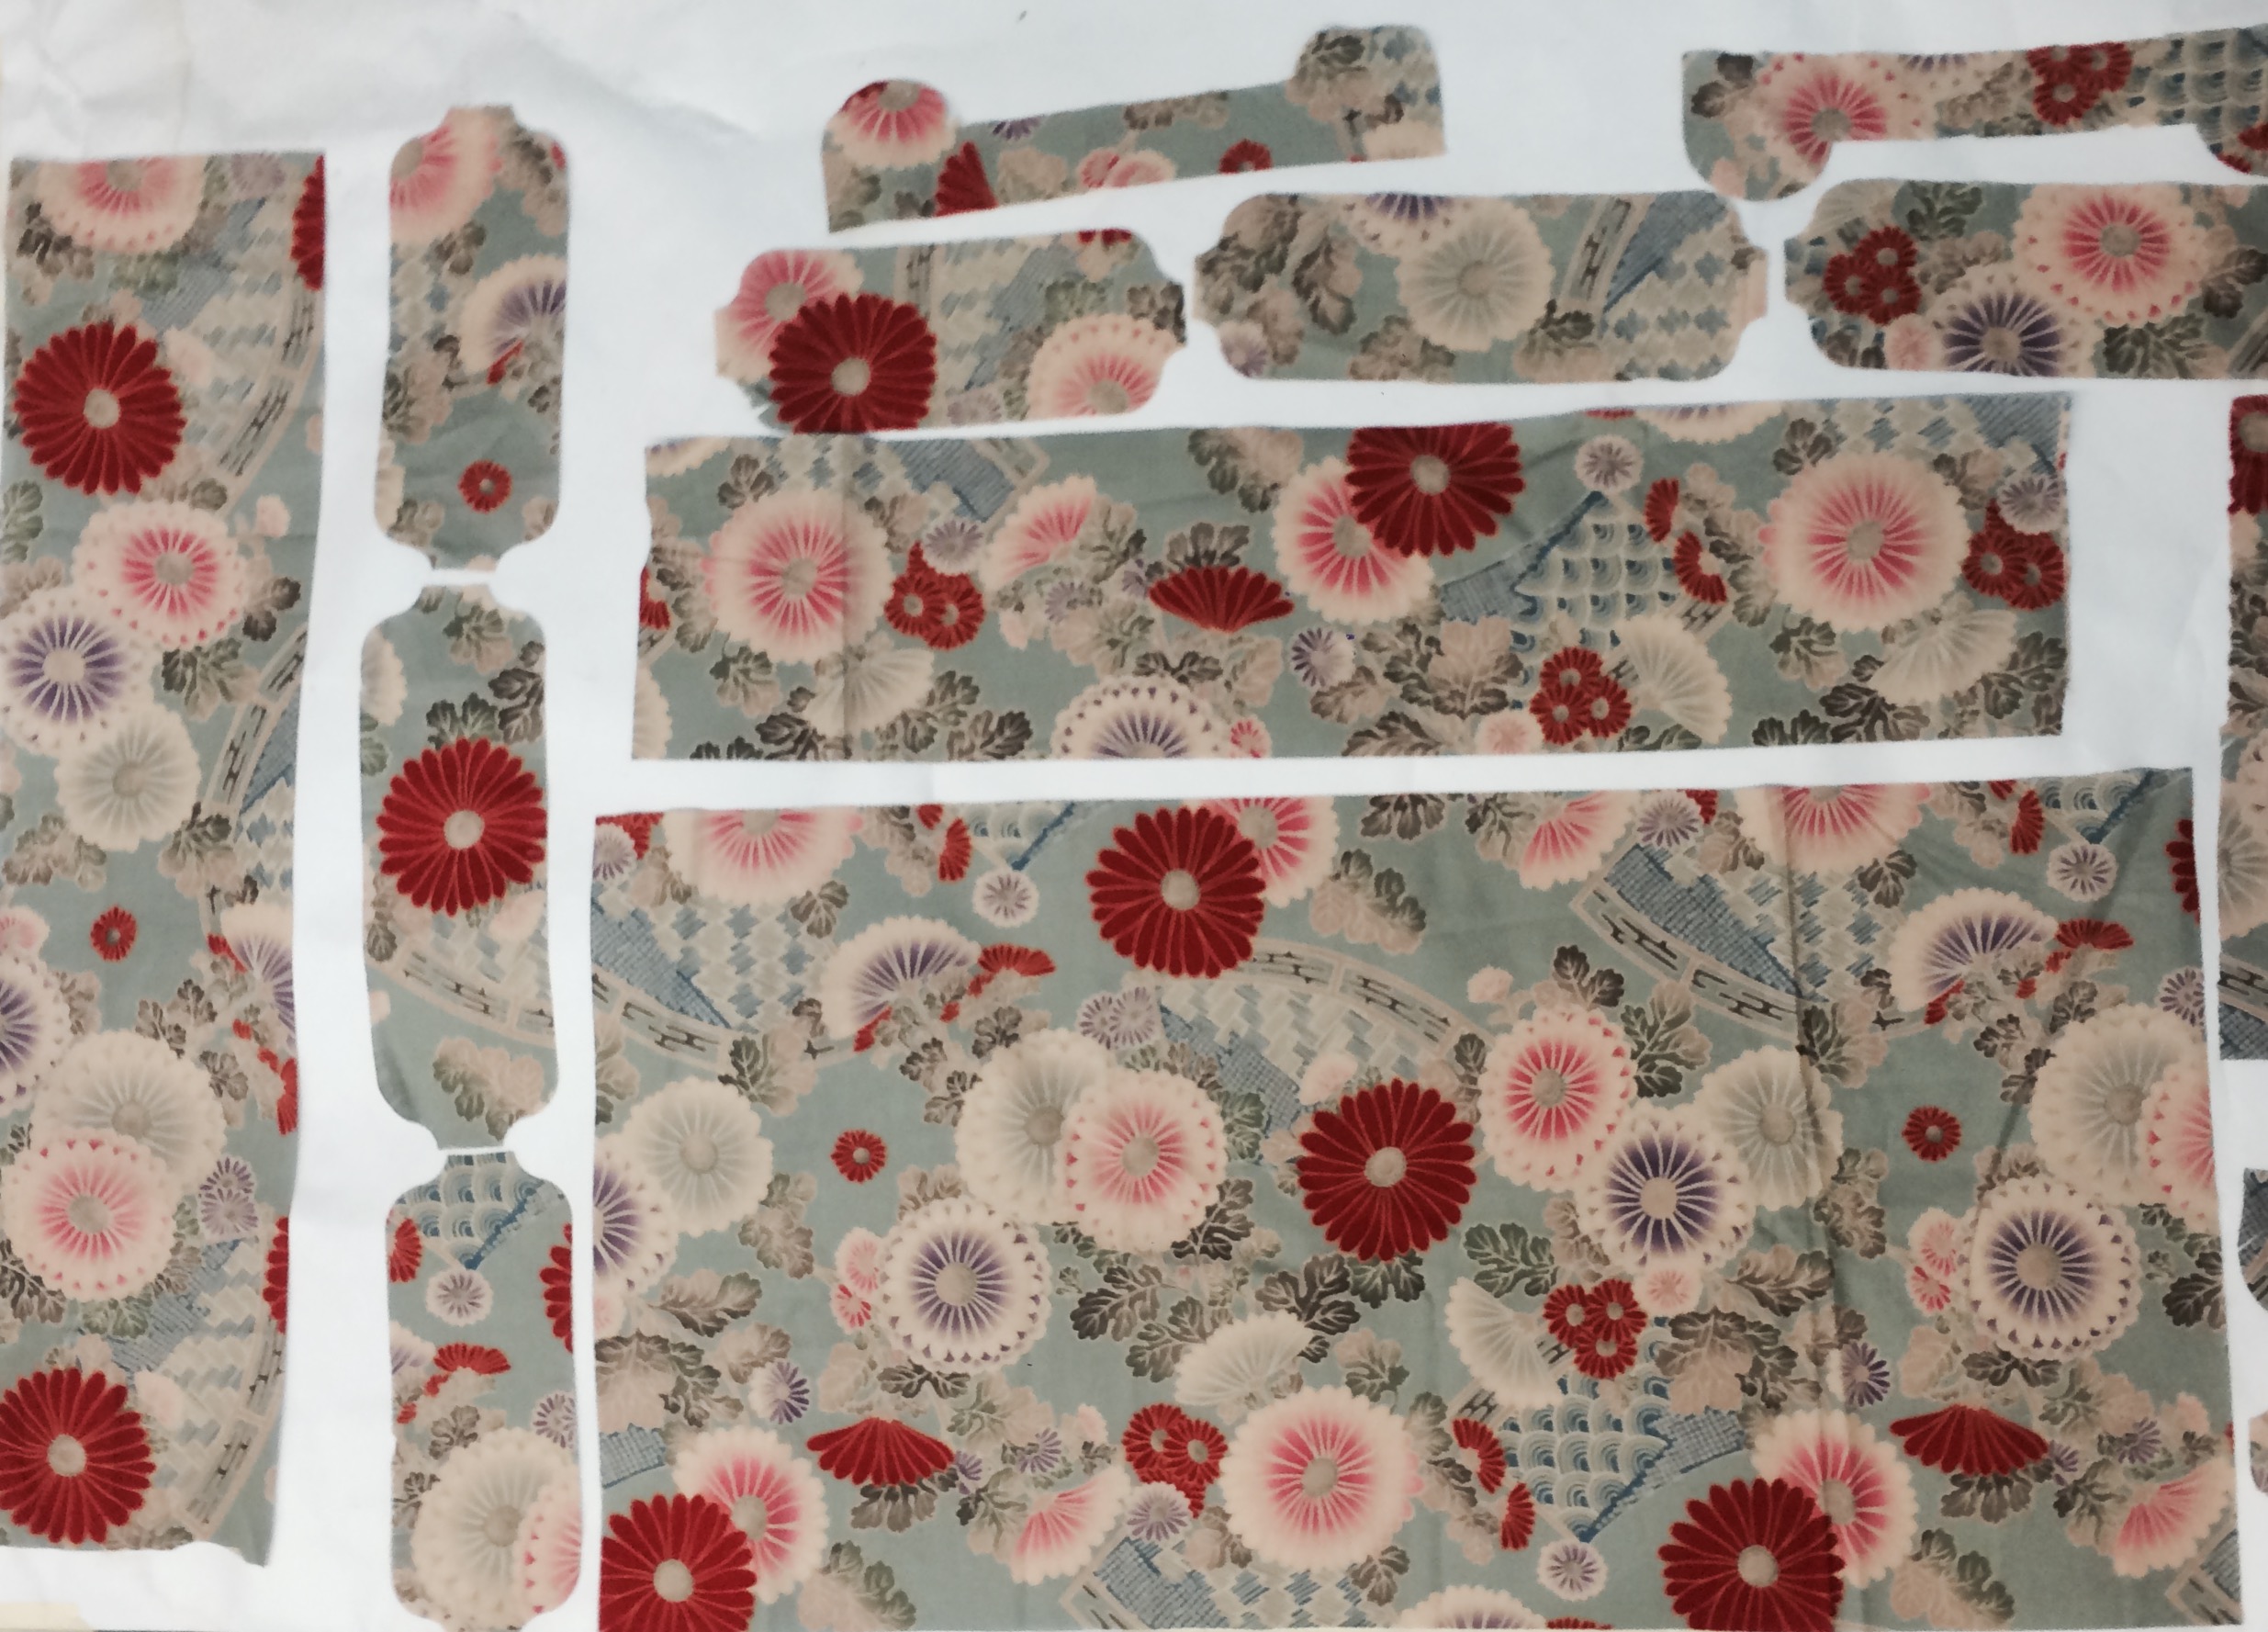
Mistakes during the laser cut. Use always a sticky tape under the textiles in order to put flat the textiles on top of the laser cutter.
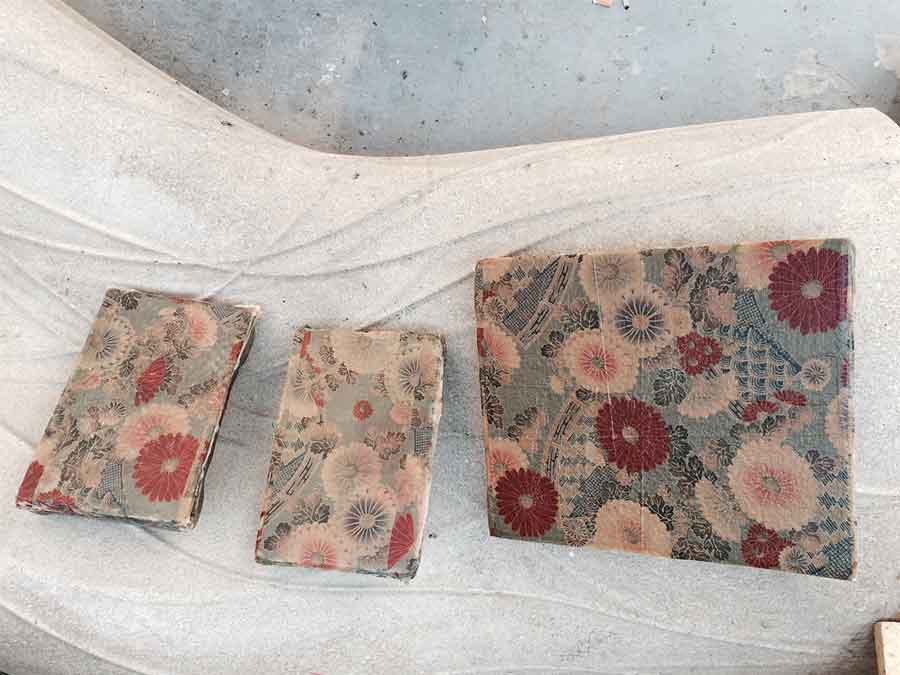
Final result of the laser cutted textiles.
"Sandwich process"
- transparent sheet without holes- release film
- breather material
- perforated film
- crossed fiber layer
- mold
- perforated film
- release film
Reading through the website of Entropy Resins I noticed about measuring and mixing of the Epoxy Resin and the Hardner
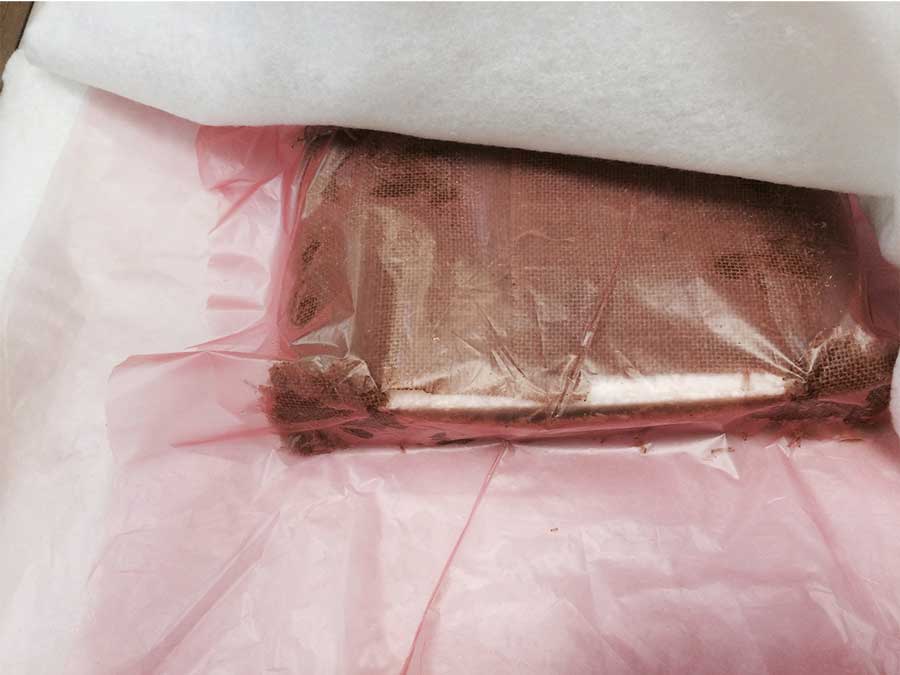
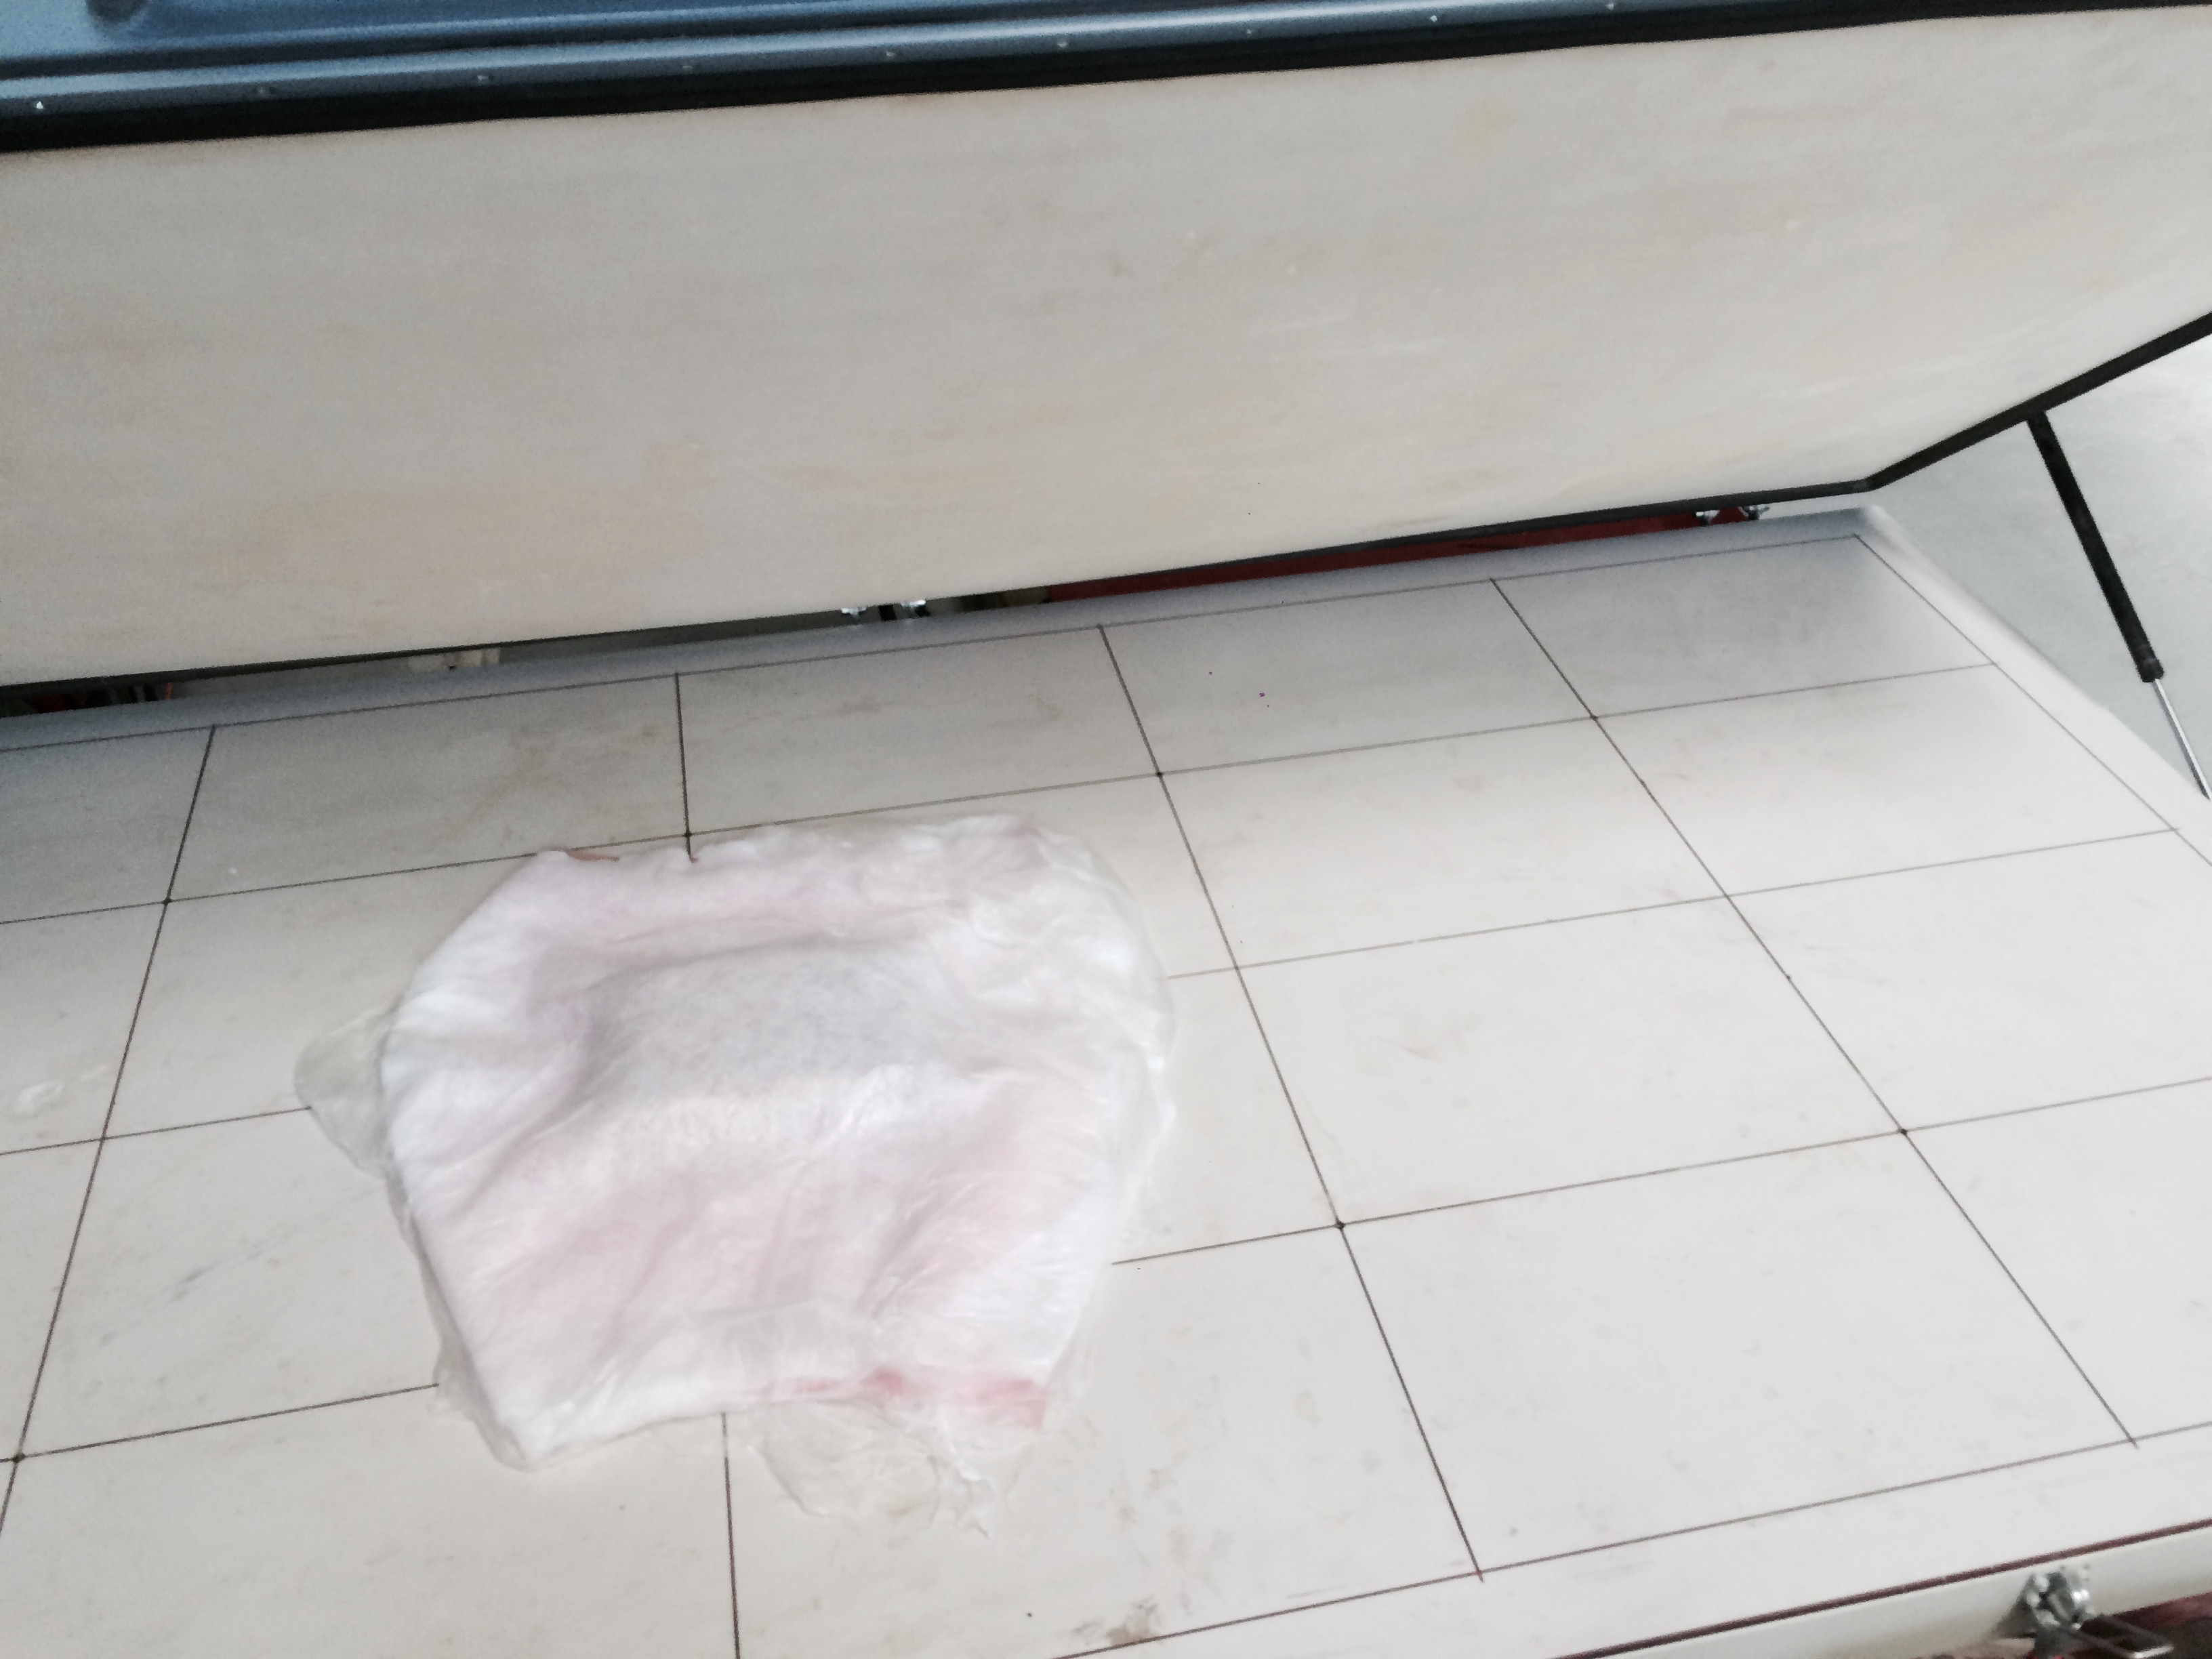
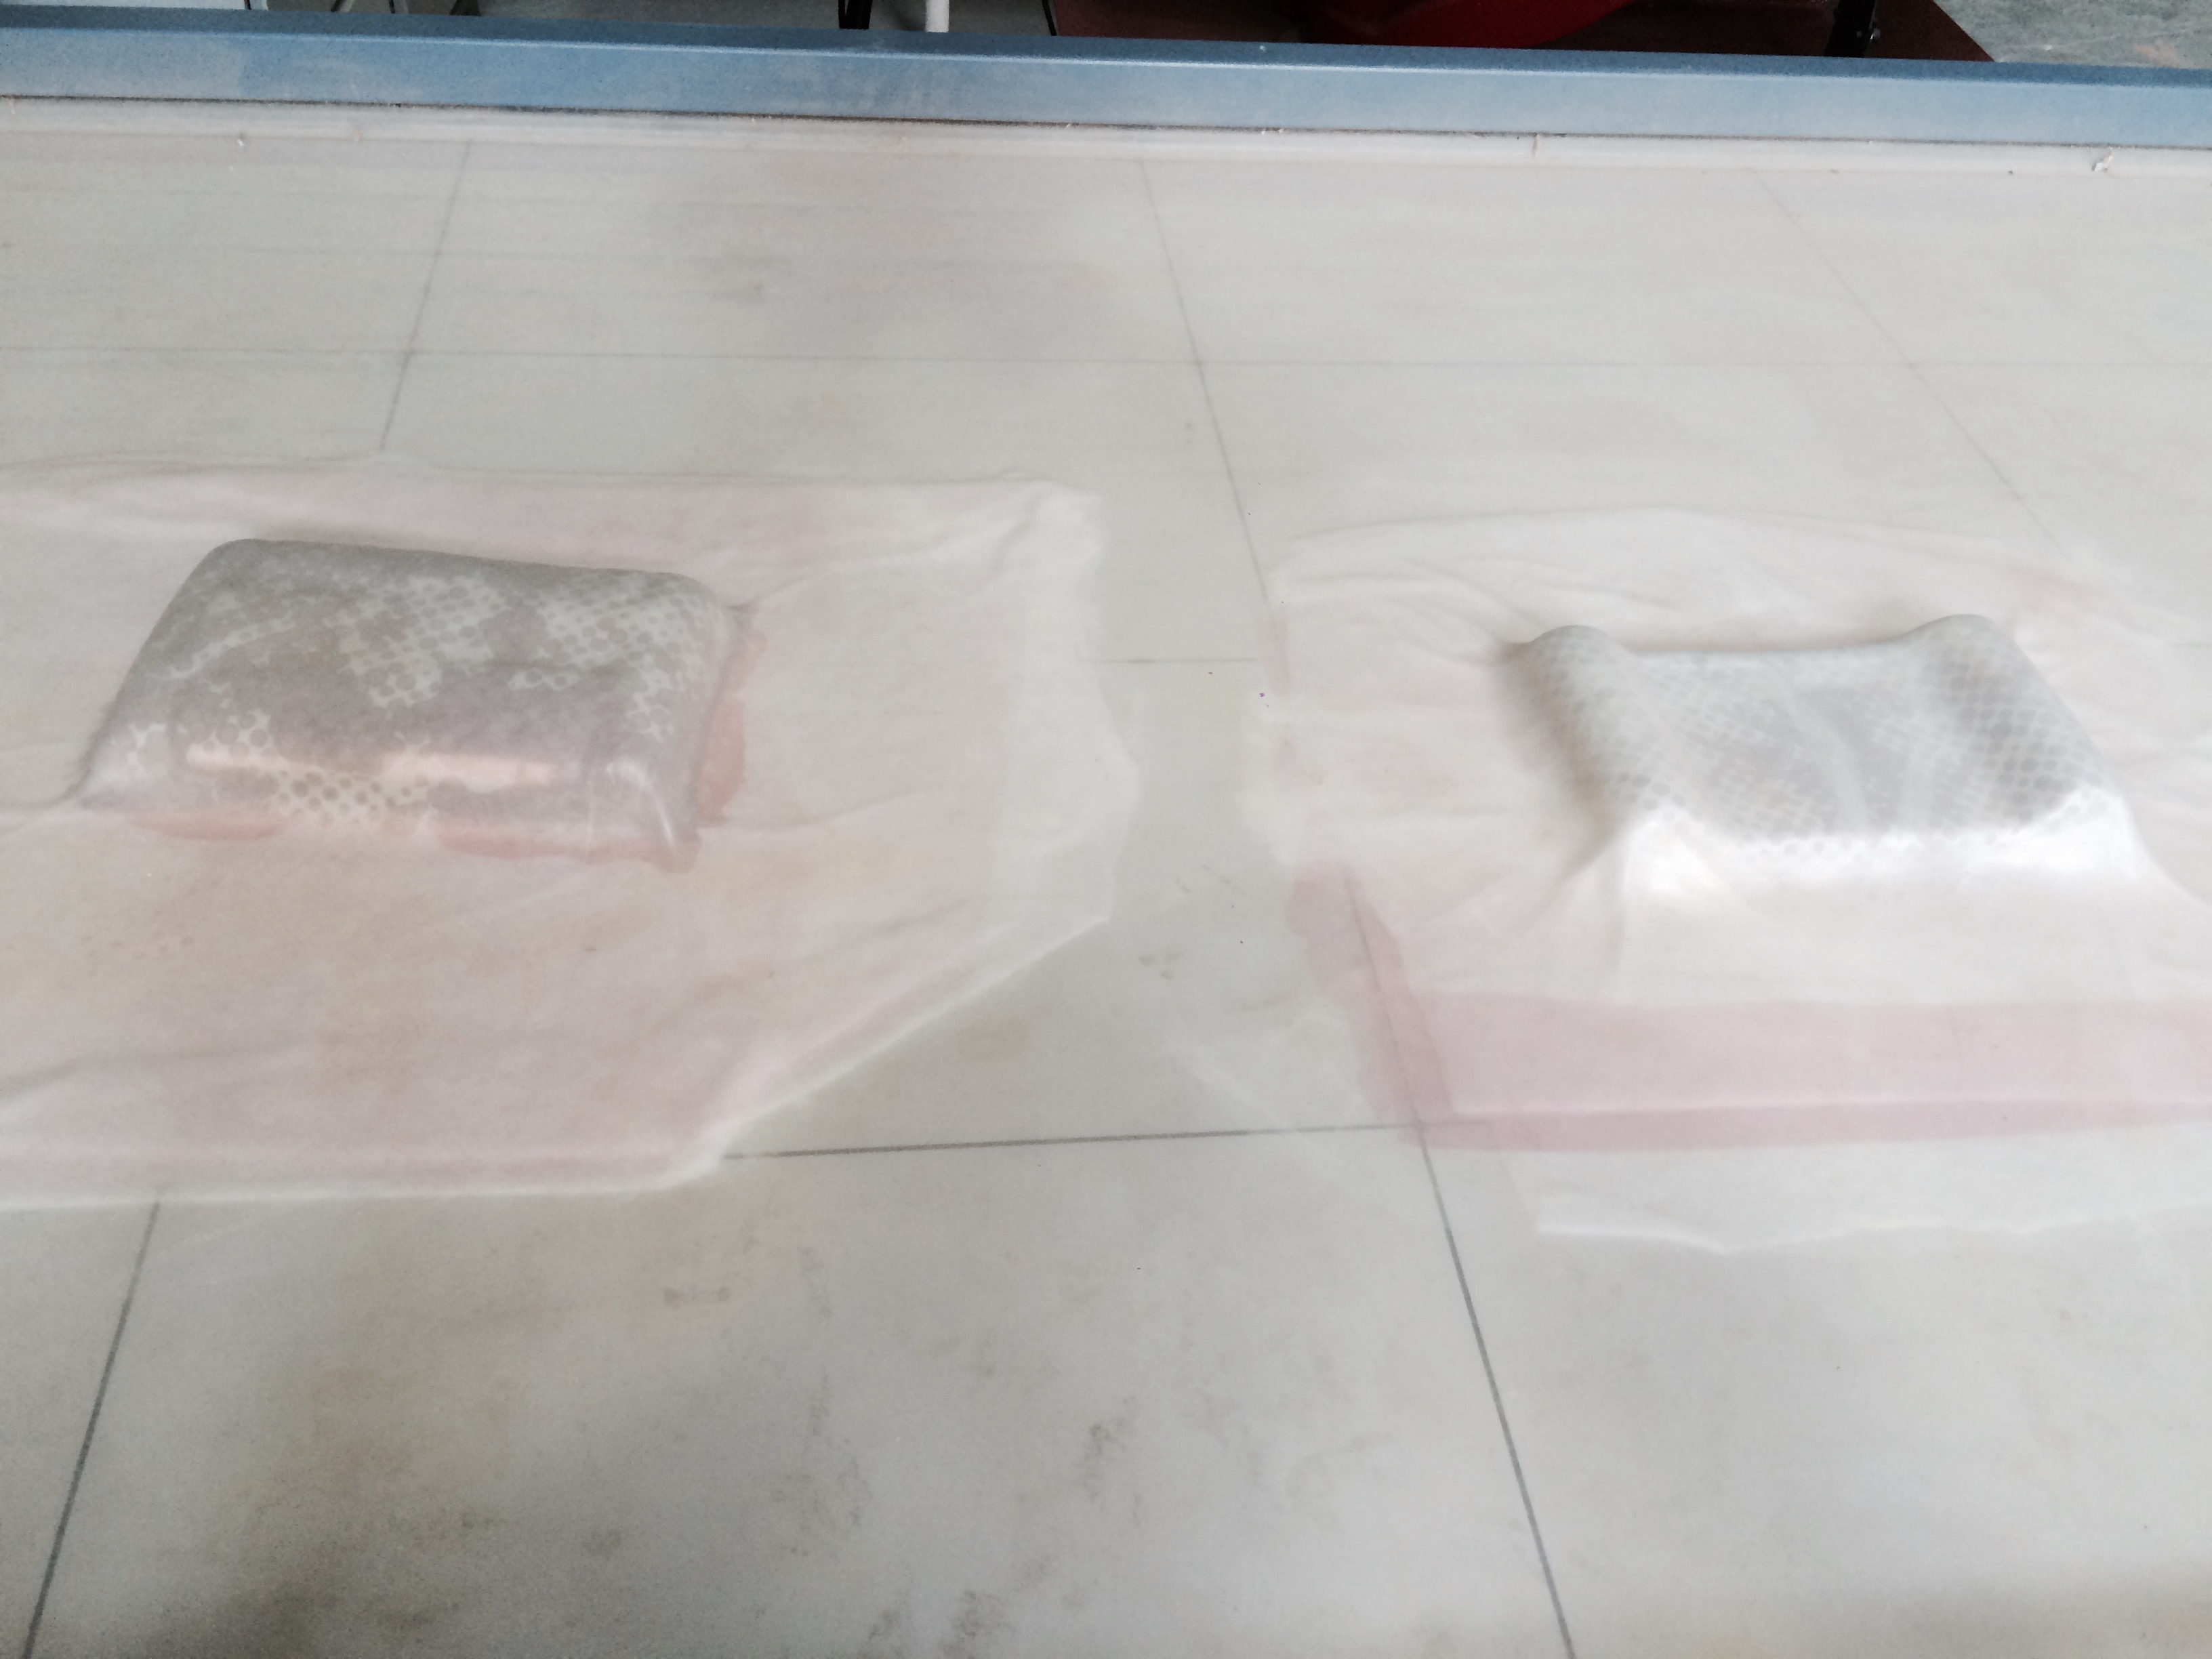
Put in the Vacuum in Auto-mode and wait 12-24h.
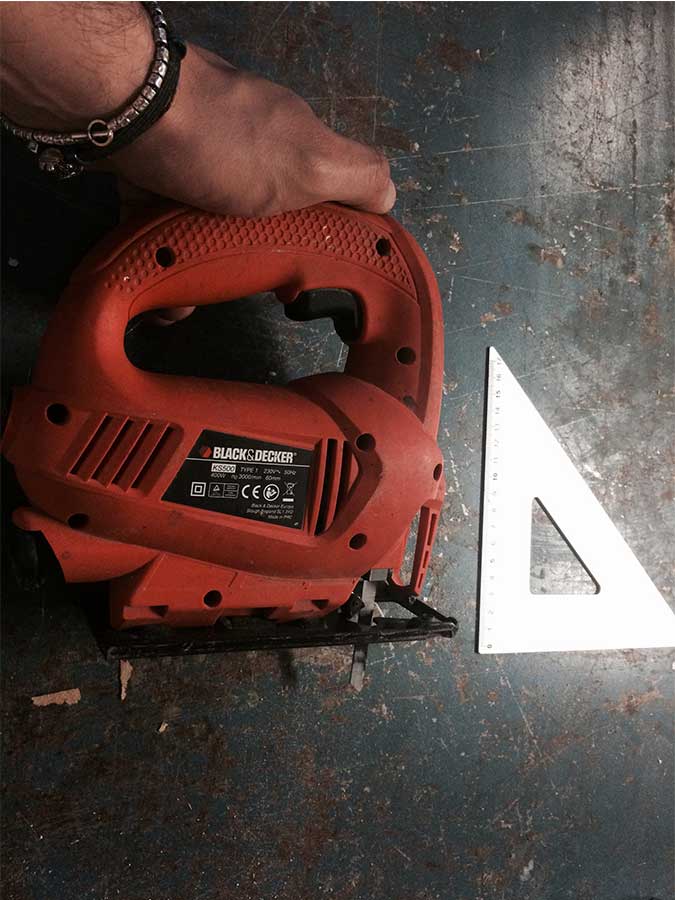
Cut the external parts of the Burlap with this tool
then I repeated the "Sandwich" process for the textiles and put the molds in the Vacuum machine again
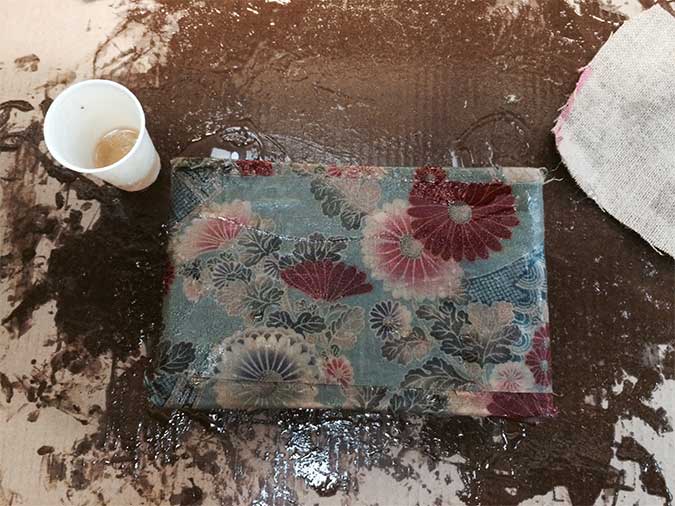
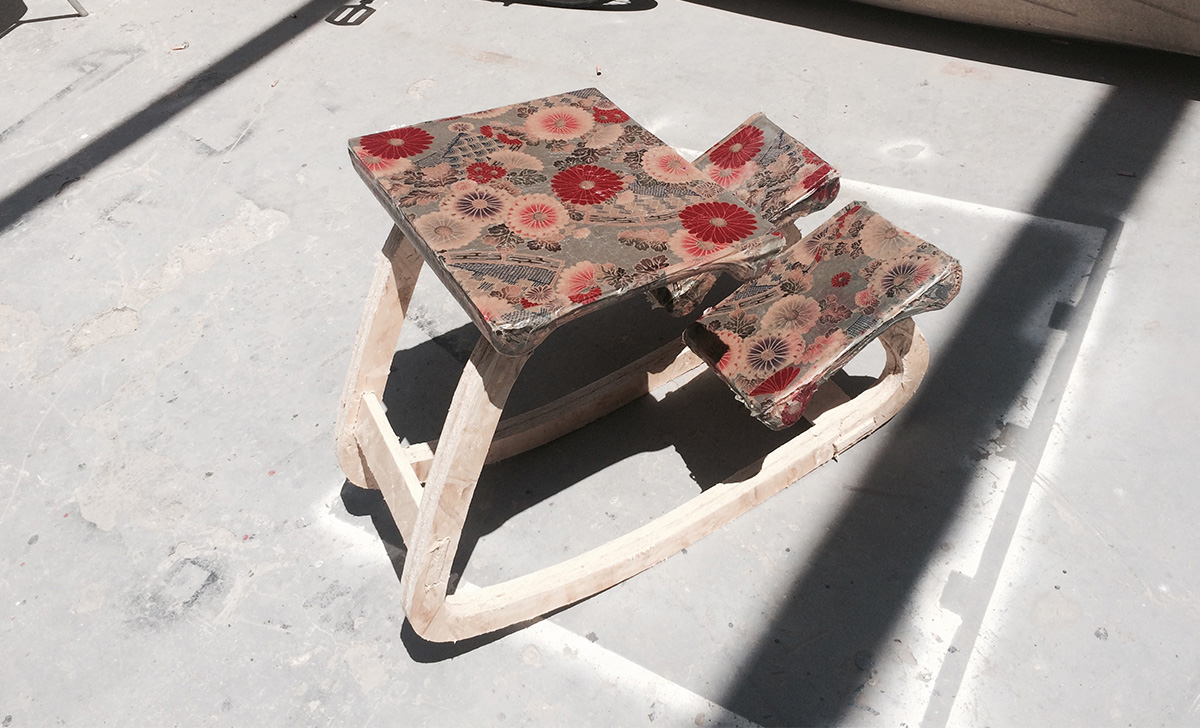
Final result