Fablogo

Week 12 - Moulding and Casting

Assignment:

Software Used:

Tips and Tricks

  1. 10mm deep the mold box so the silicone doesn't break when being extracted
  2. Use 3 Cups to evenly mix material and be Transparent cups so you can see well the mix
  3. Proper mixing sticks (Chinese sticks)
  4. 3mm minimum distance from the wall and check in the cam model if the roughing leaves desired space for another mill
  5. Know the volume of silicon needed: see in the cad model or feel the mould with water and measure it
  6. Incline the molds and pour with a fine stream or vacuum 3-4 times once half full and again full
  7. Resin has to be compatible with the silicon used
  8. Heat carefully with a heat gun if you aren't satisfied with the end result
  9. If you want to fill small holes in your model make a smaller hole all the way through so the air can escape
  10. Give angle to vertical walls so in the end its easier to take the silicone from the wax
  11. Use a compressor to fill the mold and at the same time to take out bubbles a closed loop system with a jar
  12. Make a real quick model of your milling bit to check if there is no collisions

Mills:

Molding and casting has been something I always wanted to do, the only experiences I had were in Art Lesson's and nothing as precise as this so I was looking forward for this week!

Unfortunately I had no inspiration on what I wanted to mold and cast in the beginning, the first couple of Ideas that came into my mind were Groot from the Movie Guardians of the Galaxy but I knew it wasn't the right project.
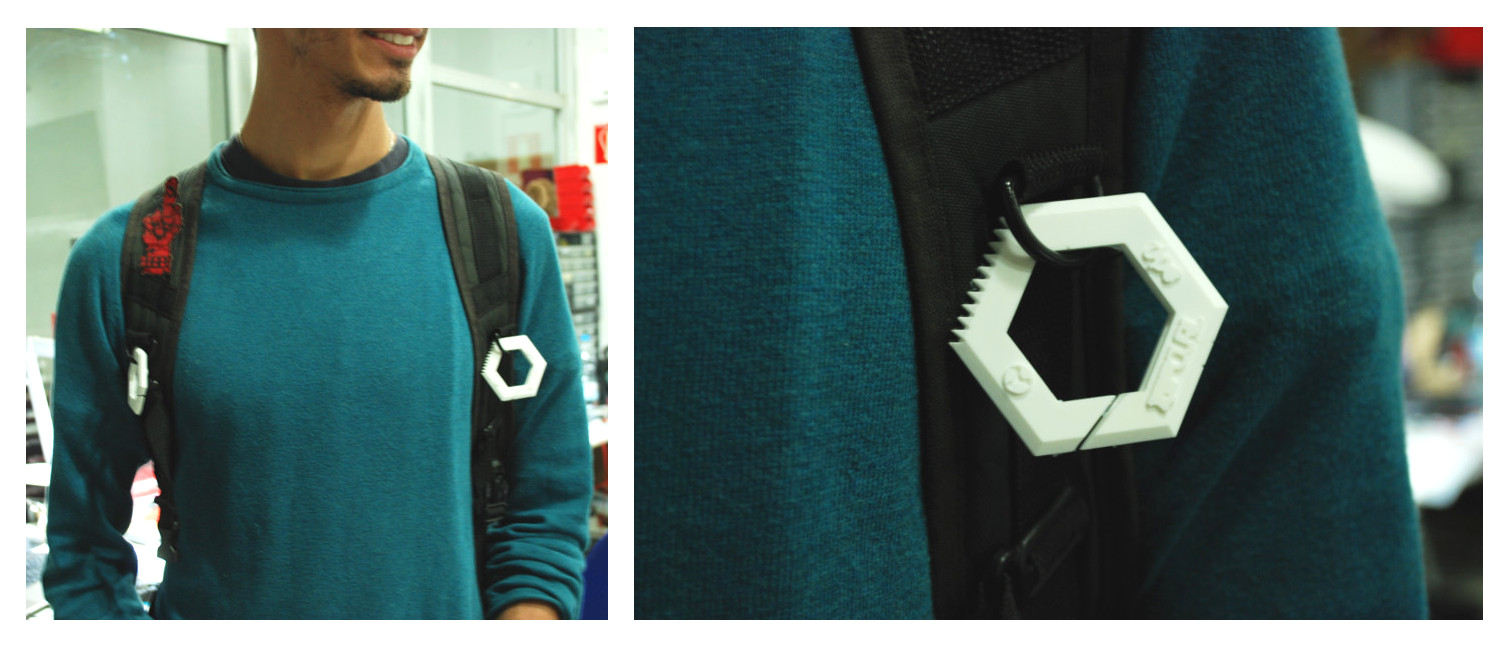
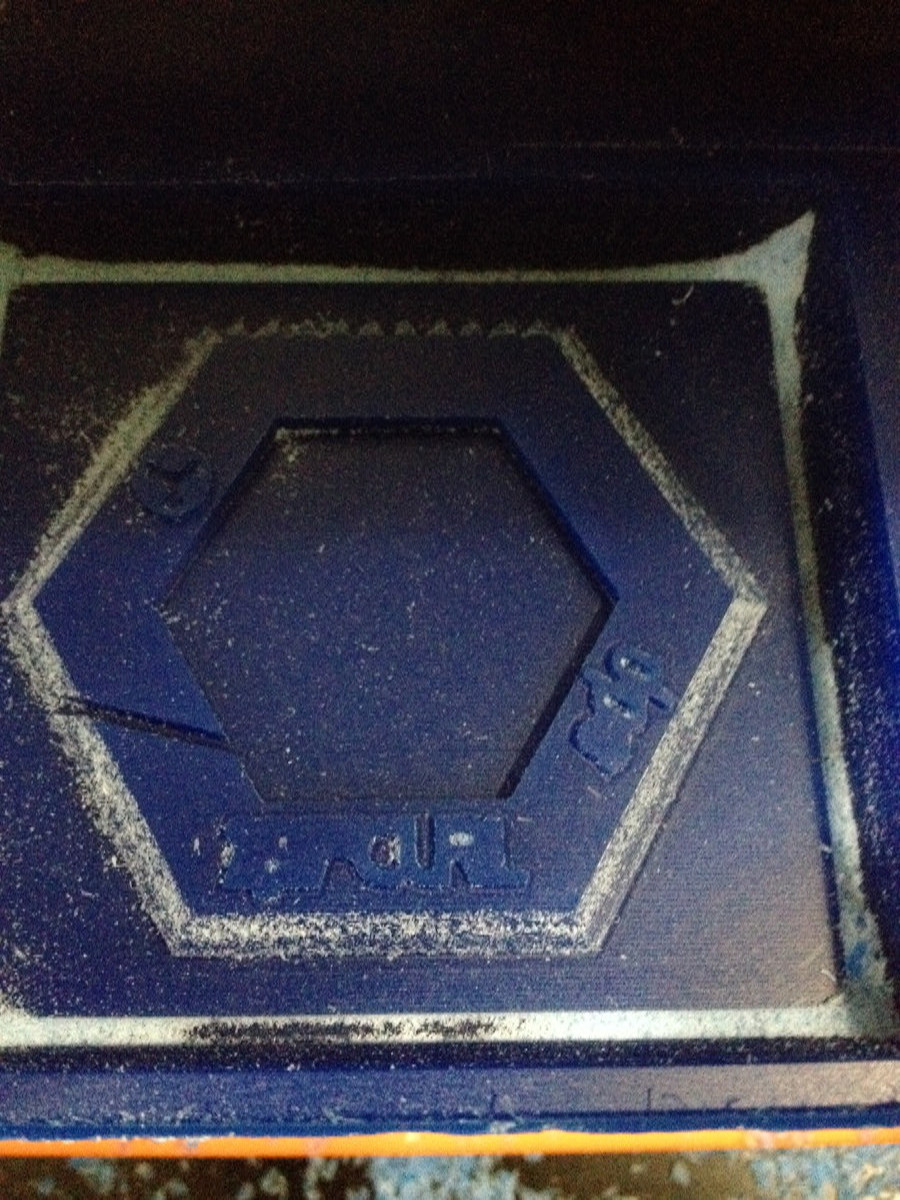
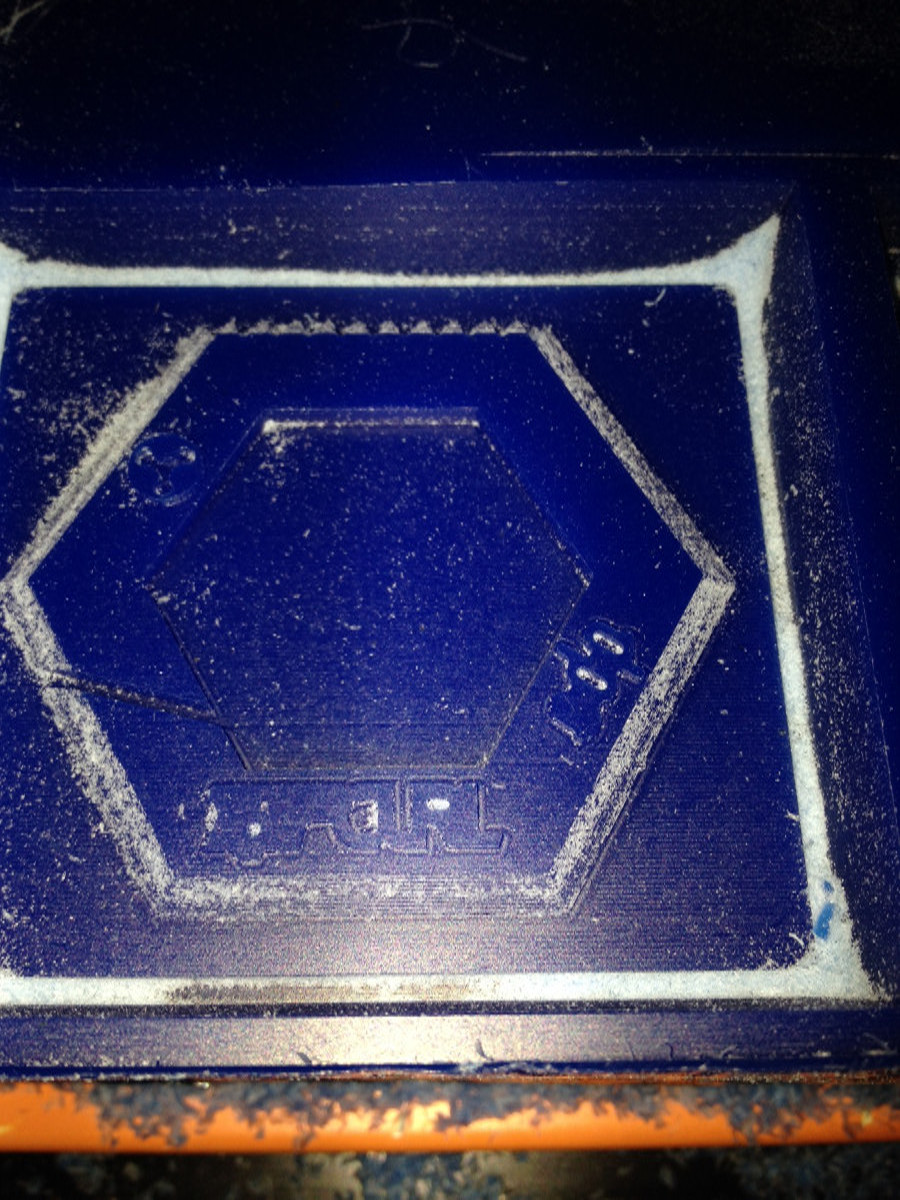
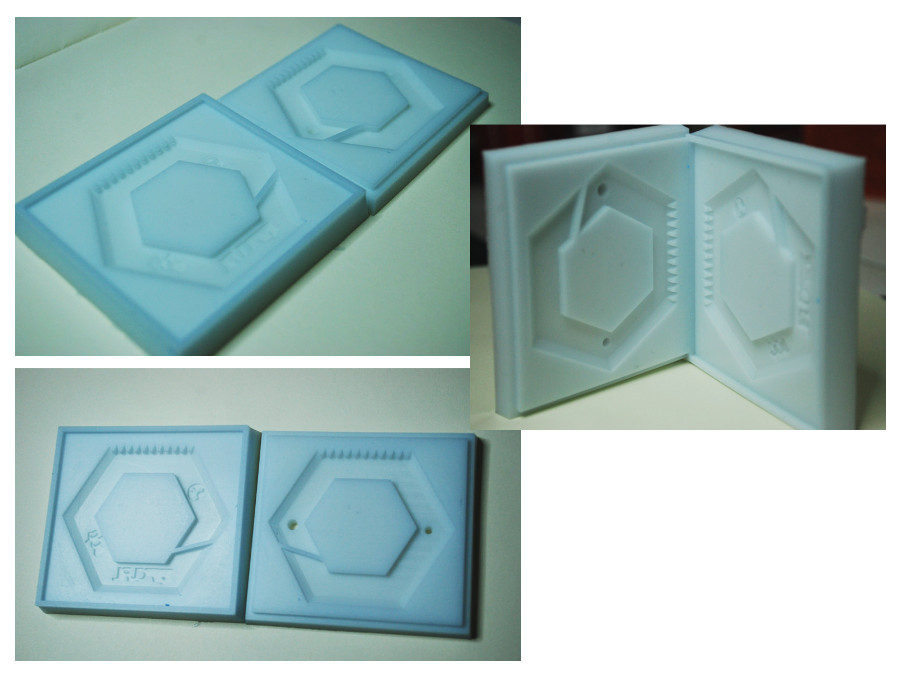
After Talking with the team I'm working with in the project of Precious Plastics we had the Idea to cast SurfBoard Wax Scrappers since we are 
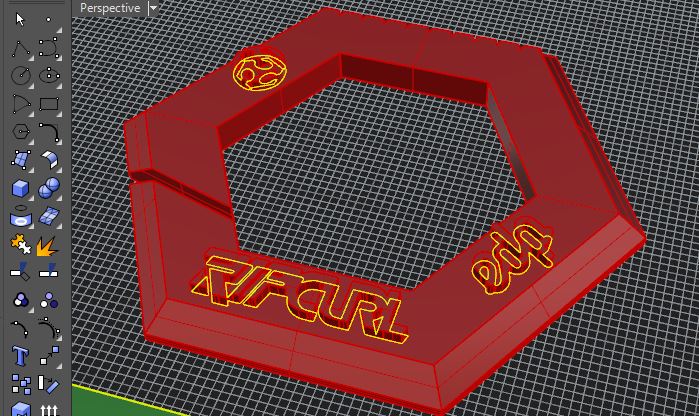
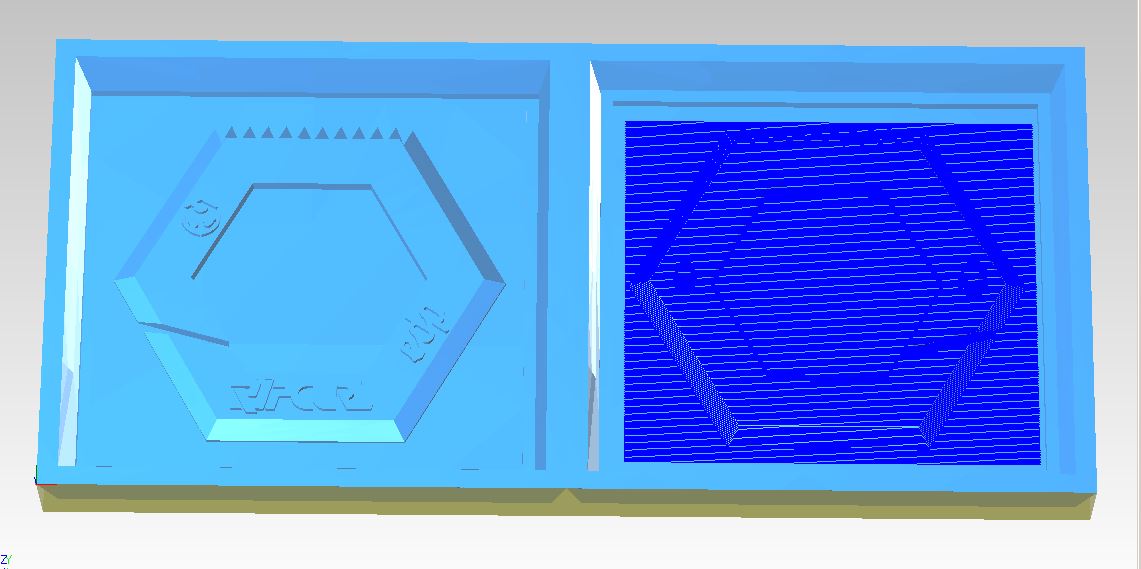
gonna show the machines in two Surf events in Portugal, so I immediately started Designing our first prototype in Rhino.

Rhino Design

Visiting Sagrada Familia and Inspired by Gaudi I wanted the Scrapper to have a connection with nature and so I based the structure on the HoneyComb.


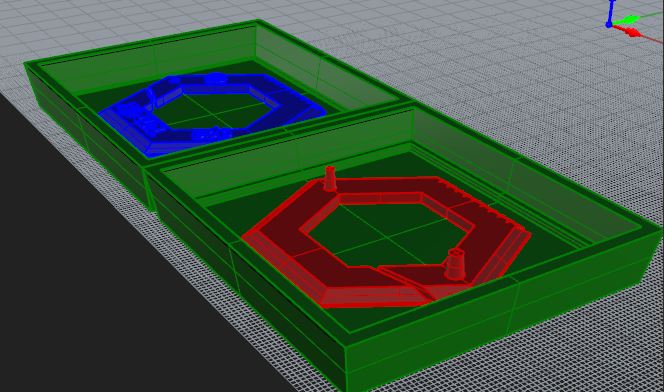
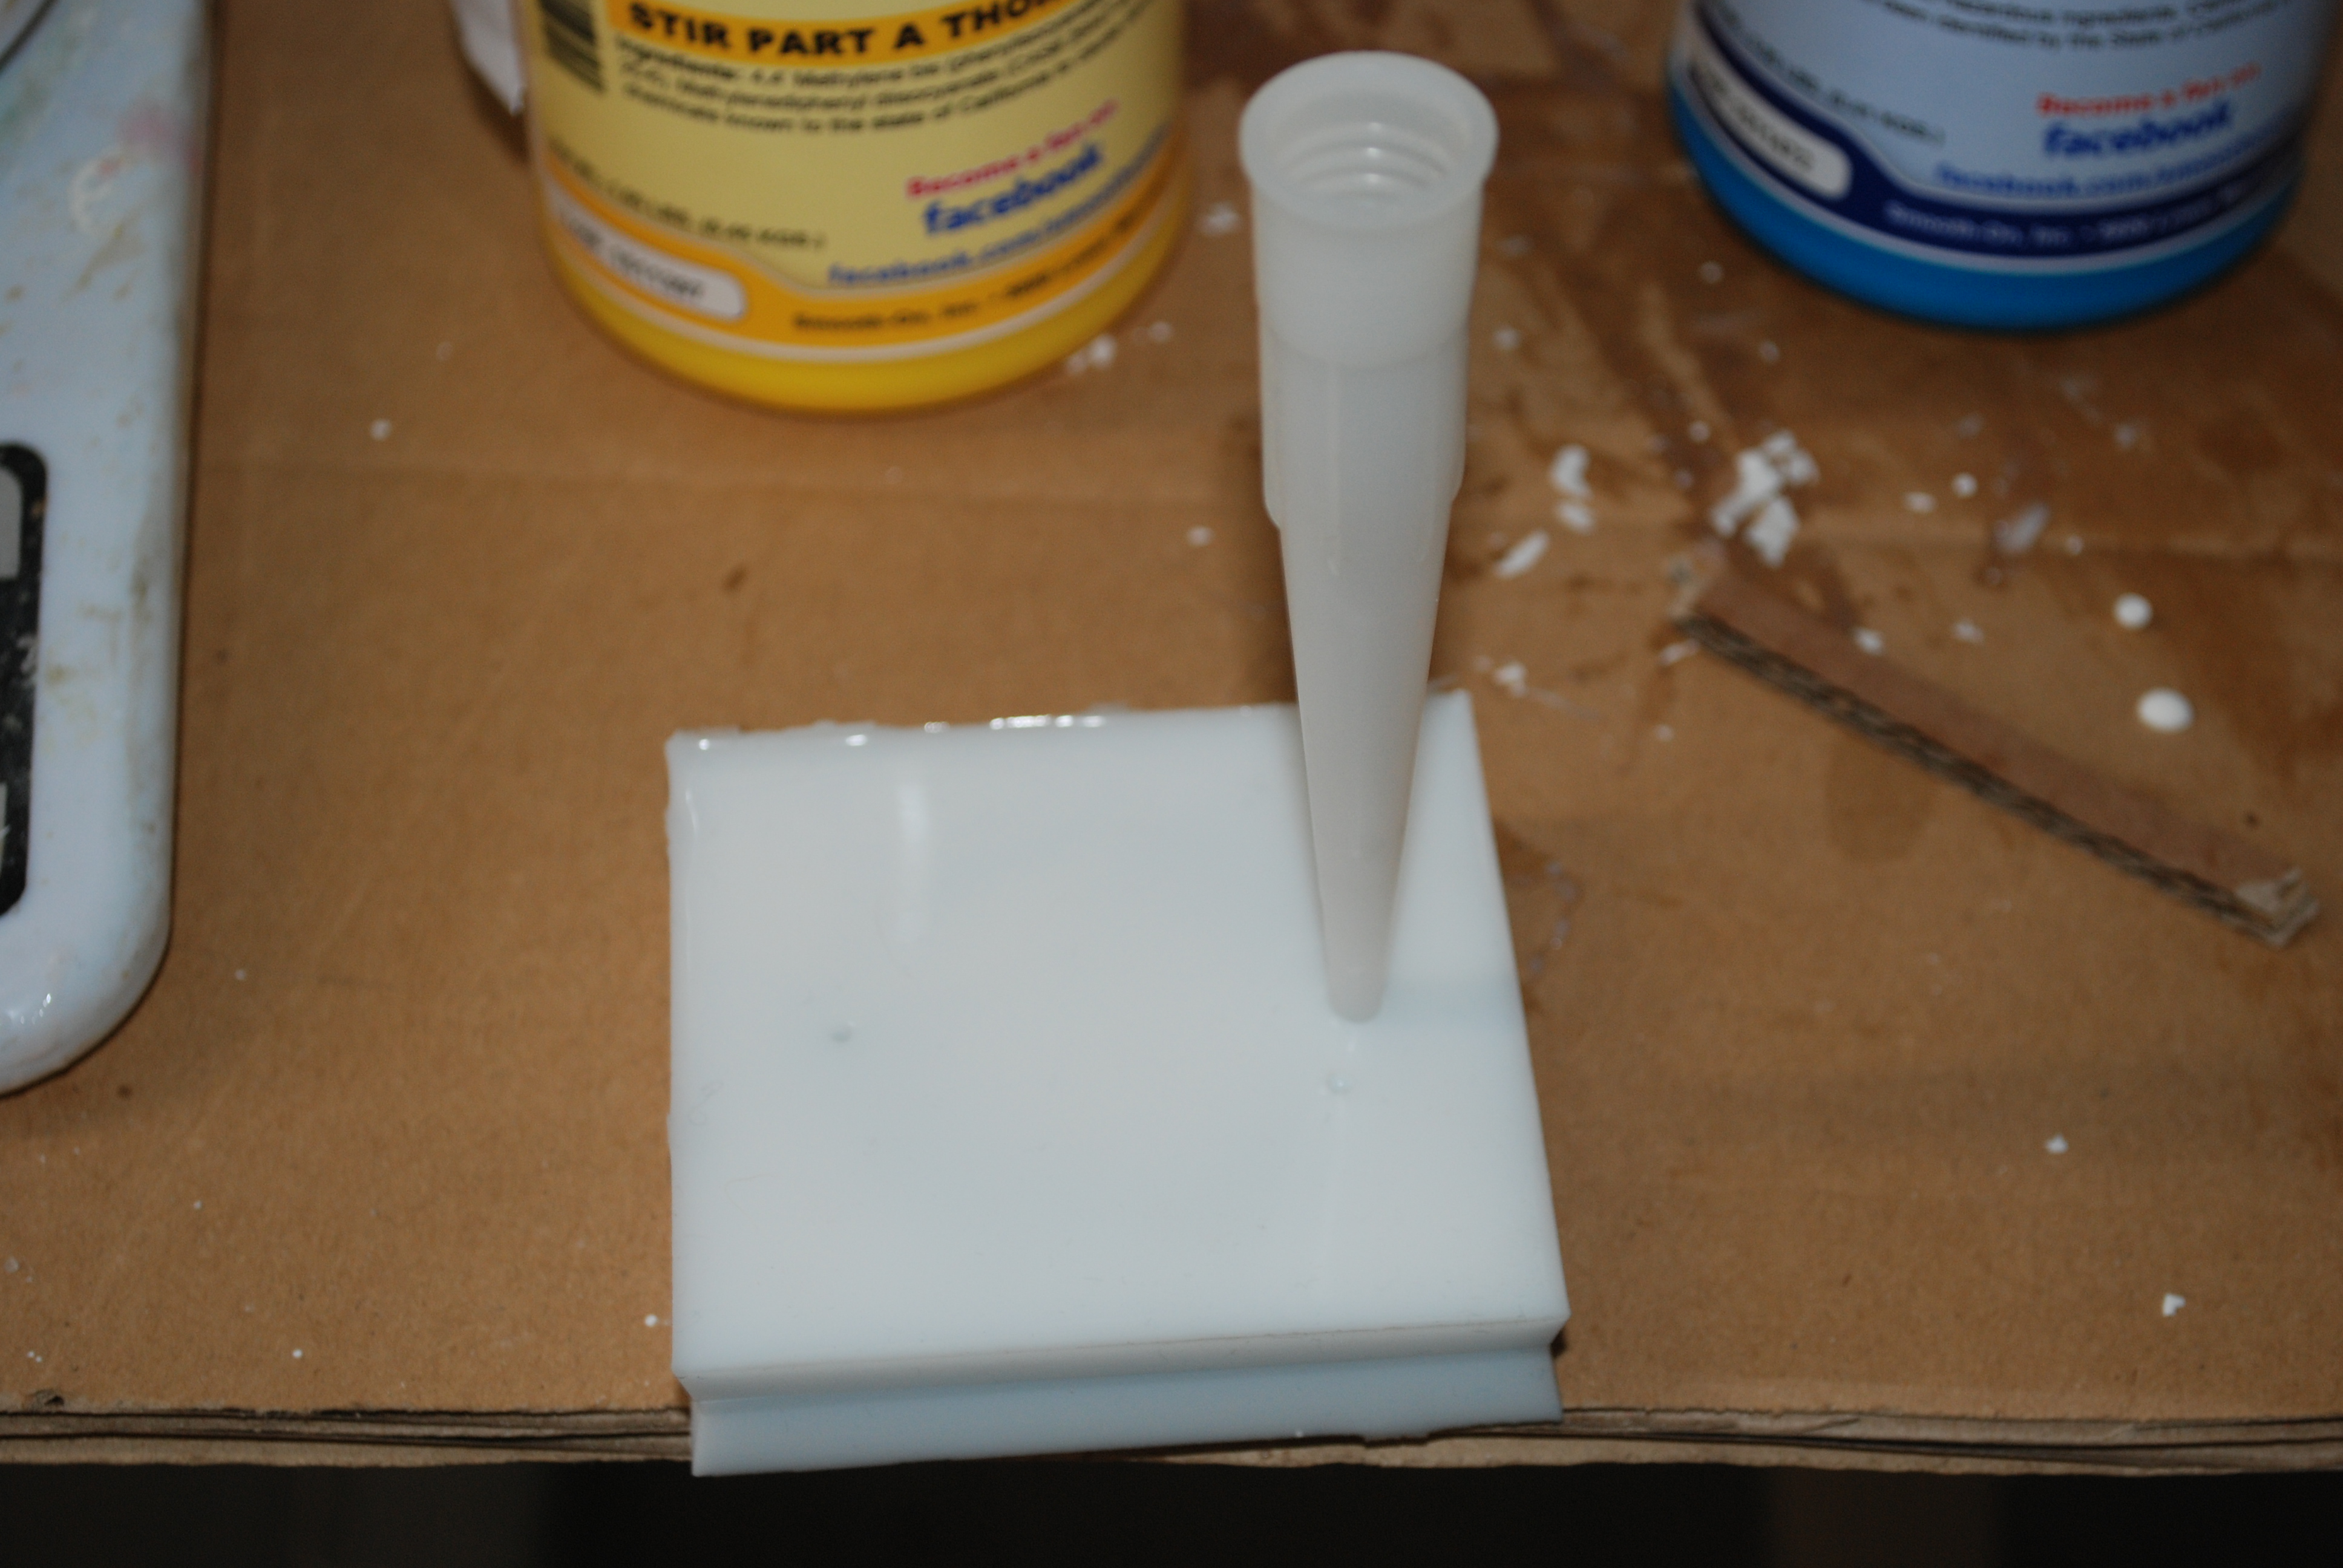
After that I added the Sponsors and made a mirror of the part so I had the second half of the part to make the cylinders where the air has to get out and the casting material comes in!


Having finished the model I made the angled box with a depth of 10mm so the cast of the negative would get off well!


CAM Modela Player 4

Select Origin lower left


In "New Process" Choose Roughing


Choose tool:


Choose Tool Path, in my case I choose contour Lines but in some cases its more precise "Scan Lines" but you have to do it two times in X/Y Direction


Cutting Speed was 15mm/sec since we can increase to 30mm/sec in The V Panel


Generate Path:


Finishing Milling:


Choose the mill you ae going to use in the Finishing:


NEGATIVE MOLD IN SILICONE

Having milled the wax we have to make the Negative mold of our part. So we know the amount of silicone we need we fill our wax molds with water and weigh the result in a balance.
  1. Fill Molds with water


  2. Add 5 Parts of B (Hardener)

  3. Add 100 Parts of A

  4. Mix well for 5 min

  5. Vacuum the mixture to extract the bubbles


  6. Pour into wax molds

  7. After 8h-12h extract your silicone mold


Positive MOLD IN Smooth Cast 300

To calculate the volume of silicone we use a plastic cup with water we filled the molds with and measured the volume, add 10% more to be sure.

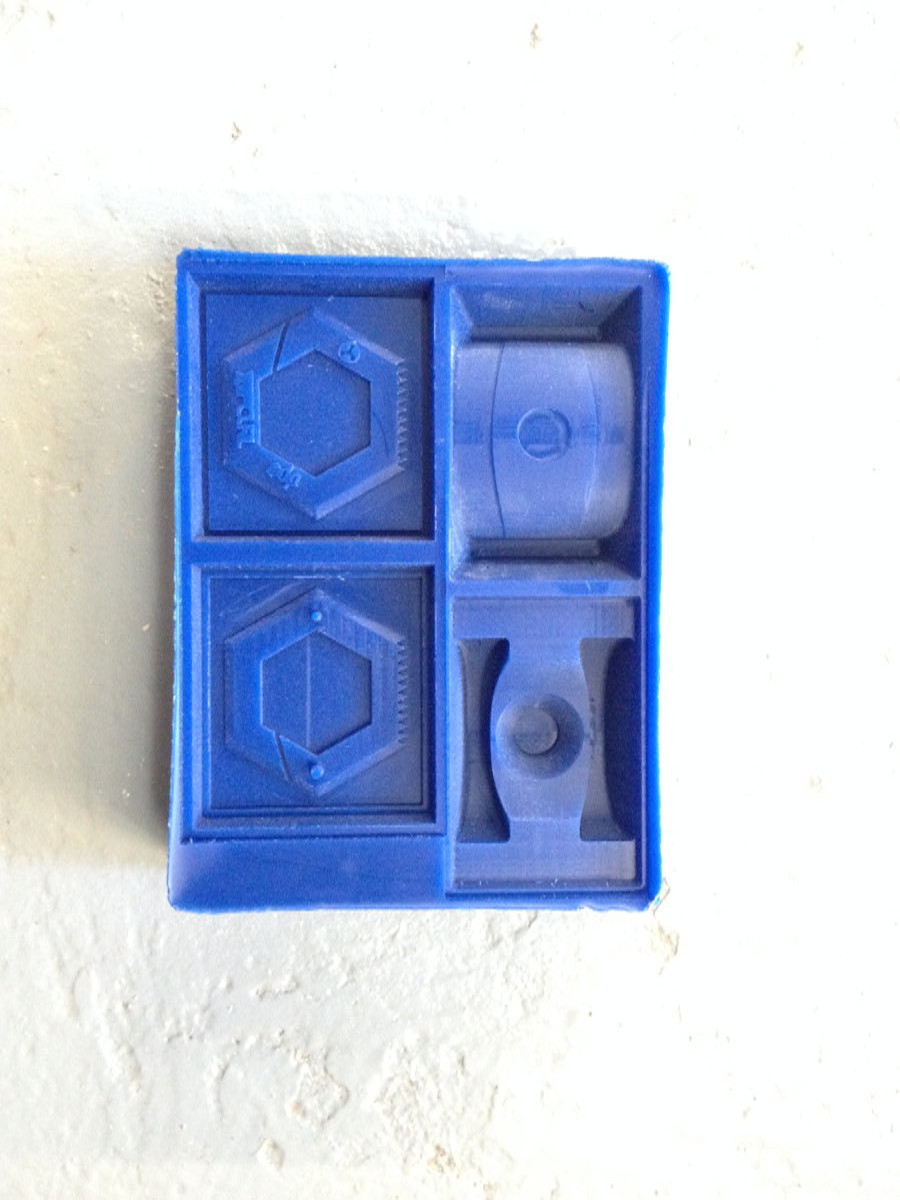
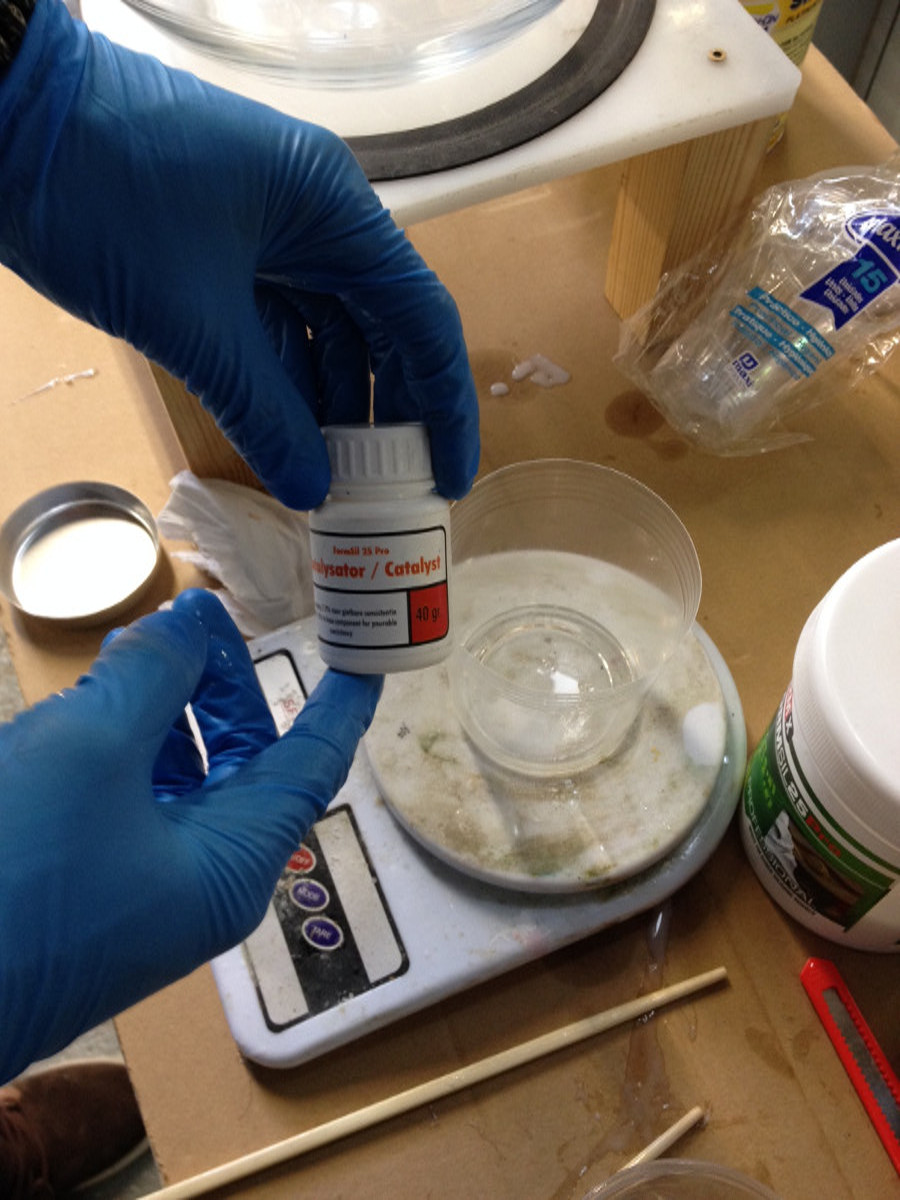
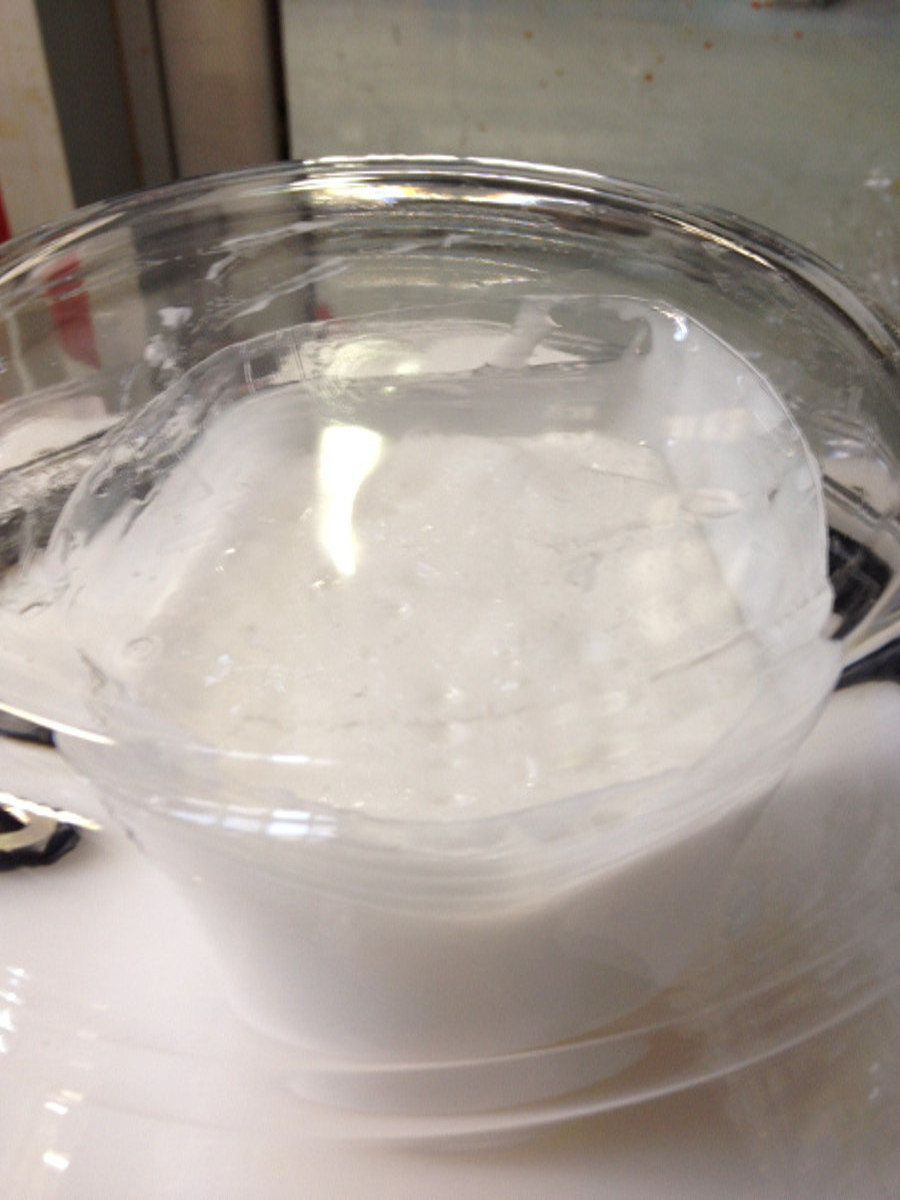
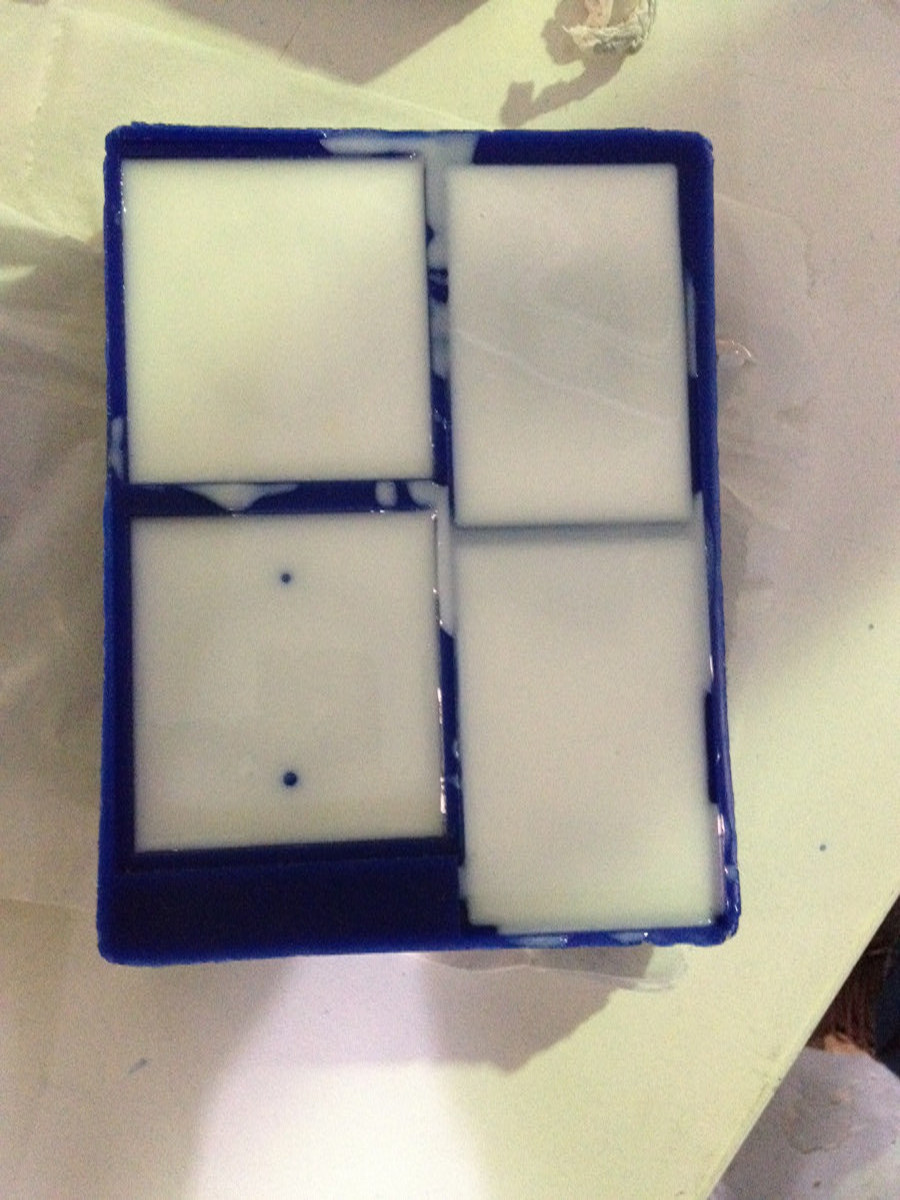
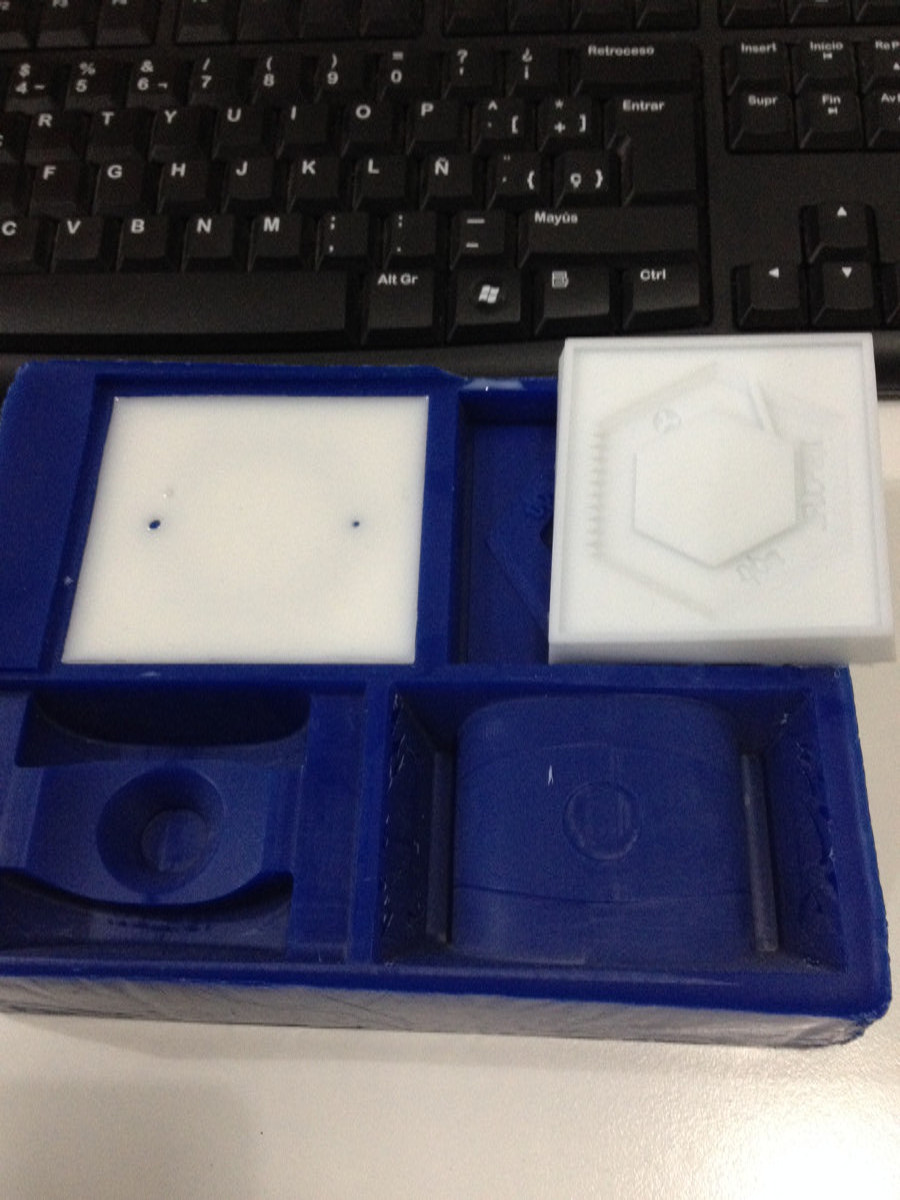
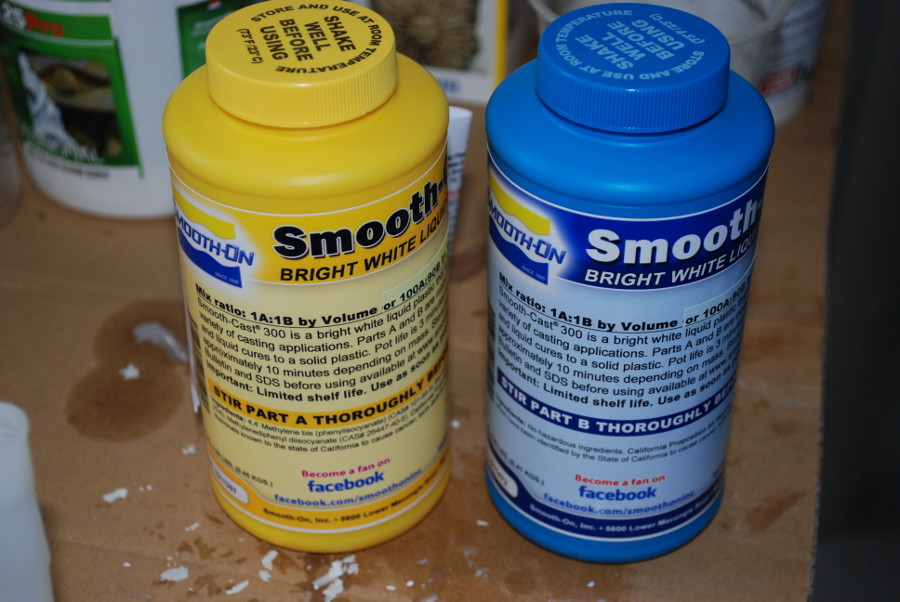
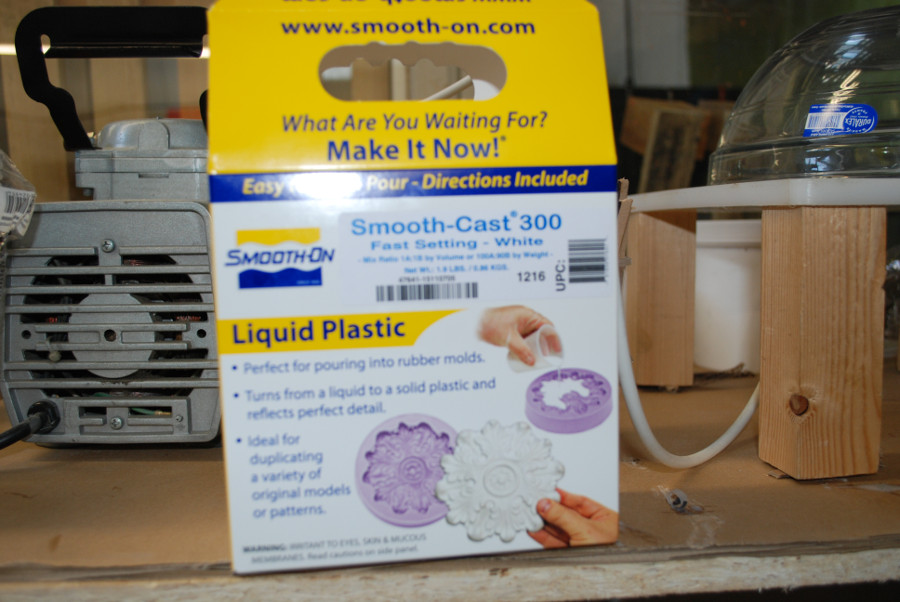
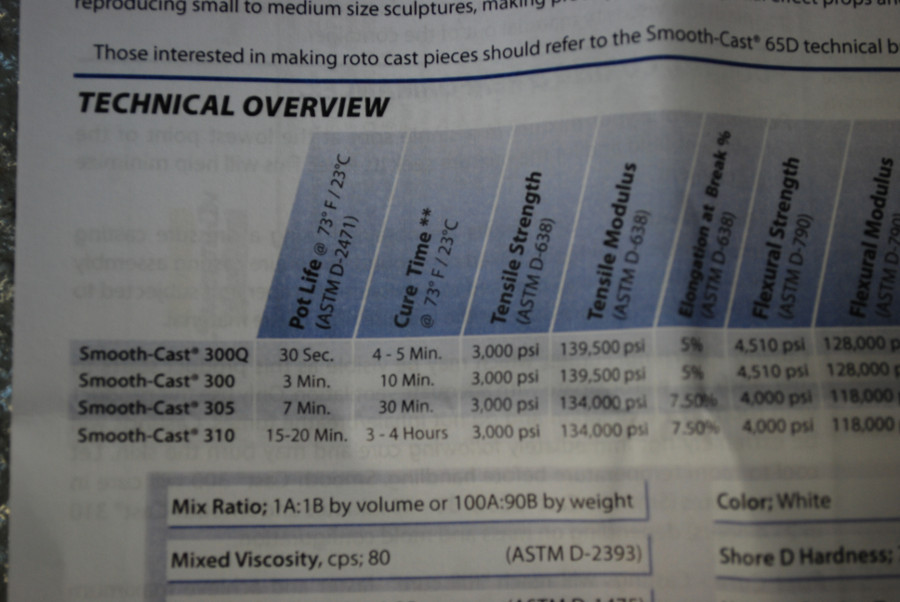
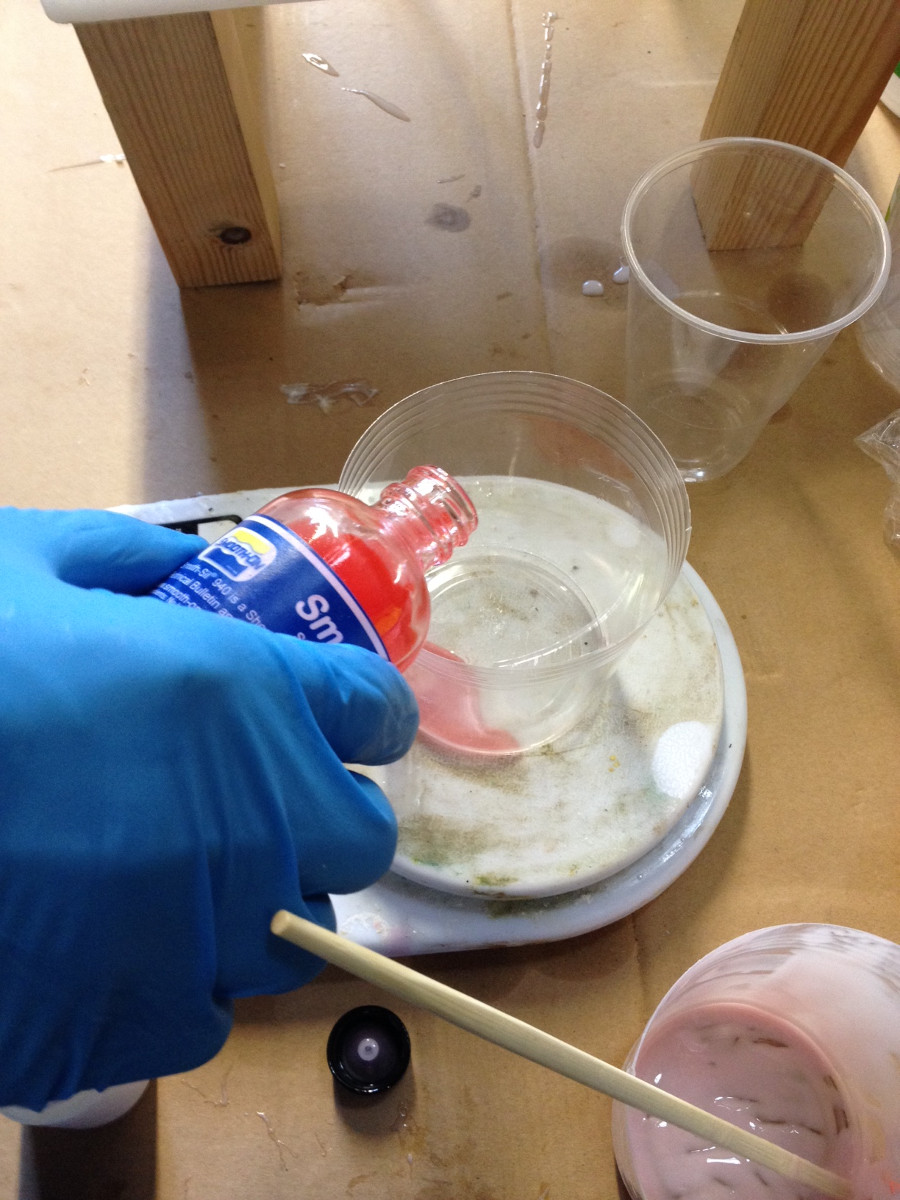
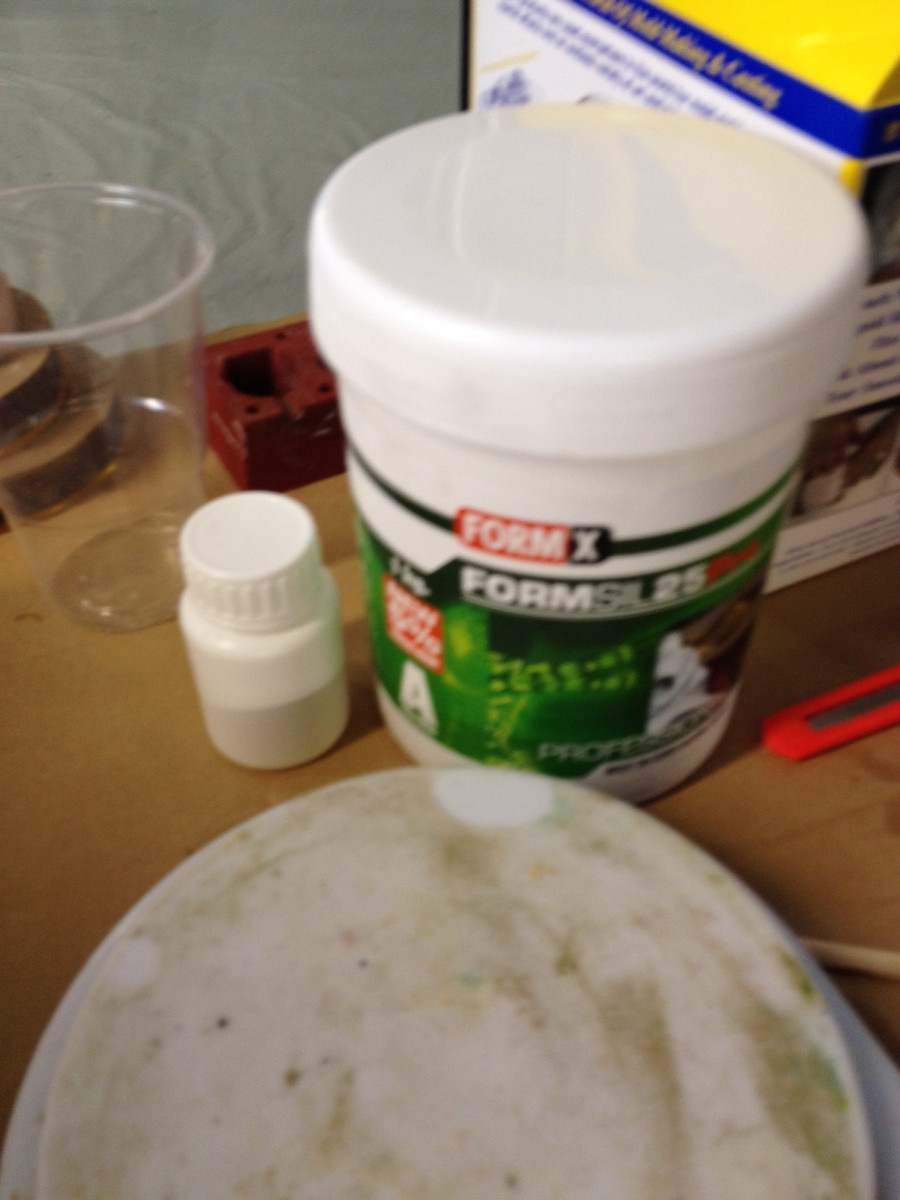
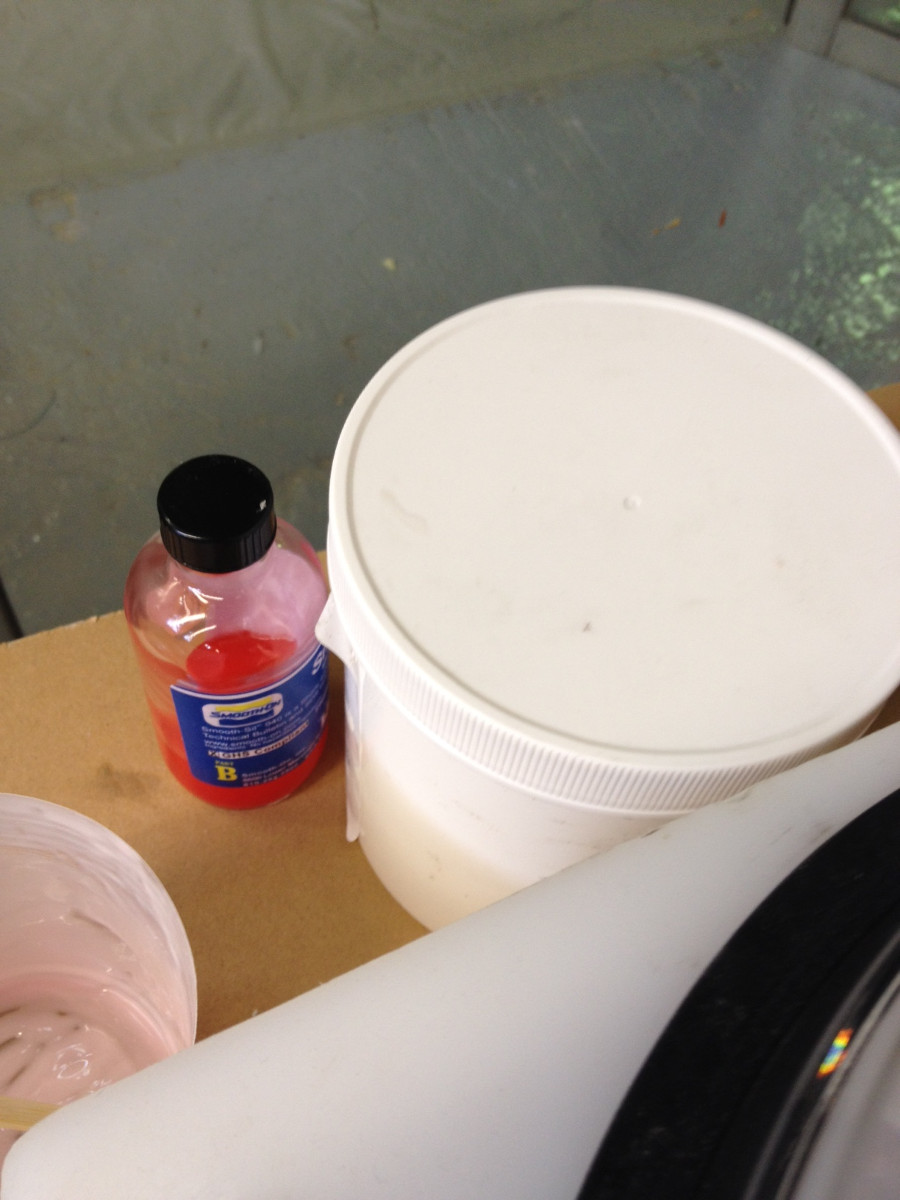
Now its Time to cast my pieces!! I used the Smooth cast 300 it has a plastic like finish and if you desired to make it stronger you can cure it 24h at 60 degrees.
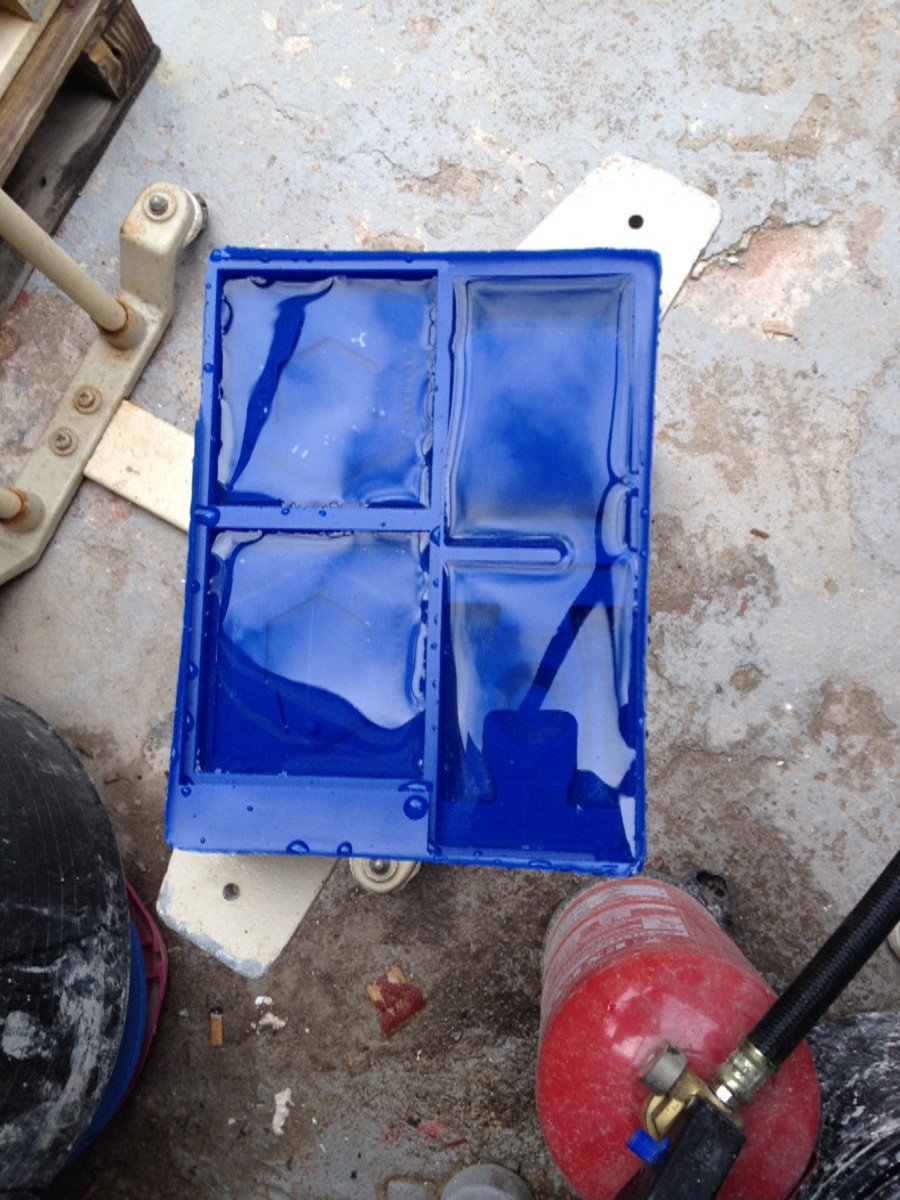
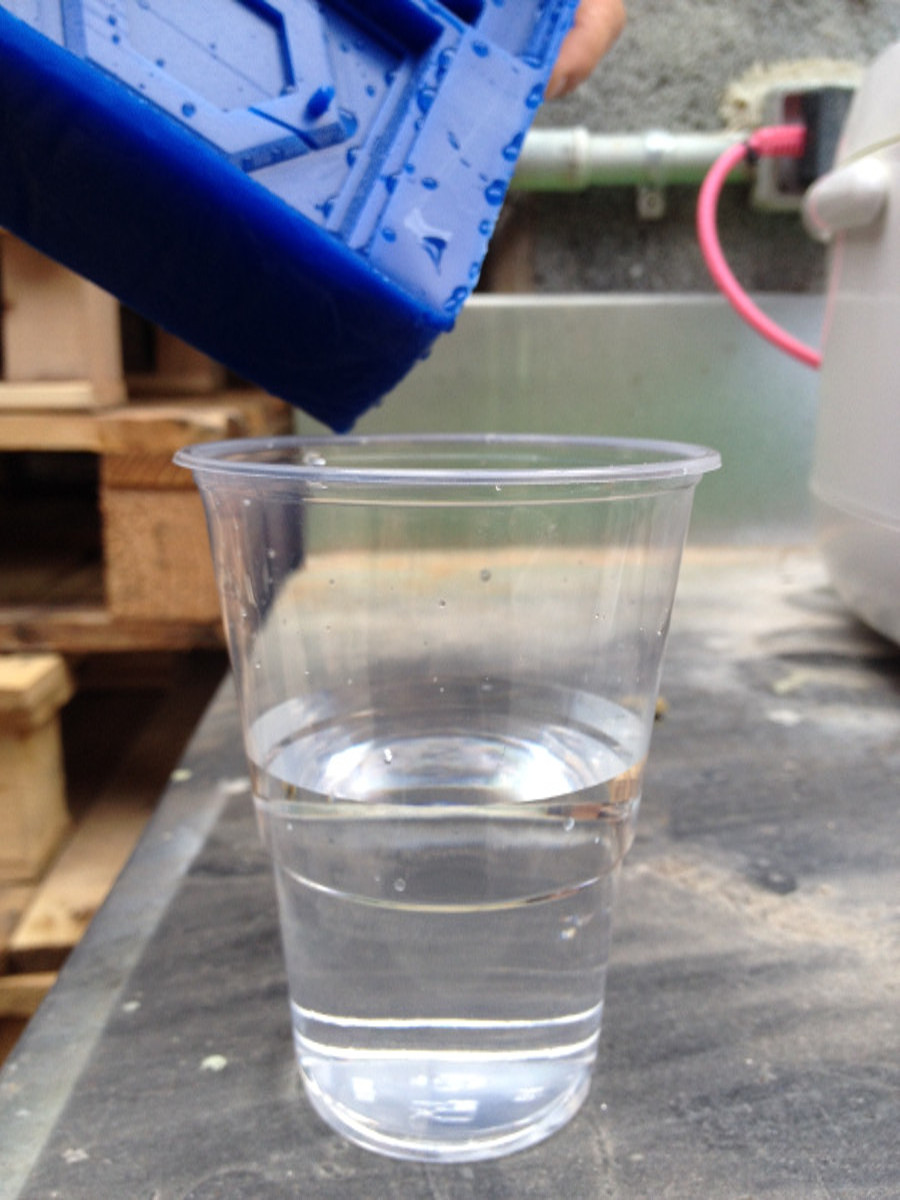
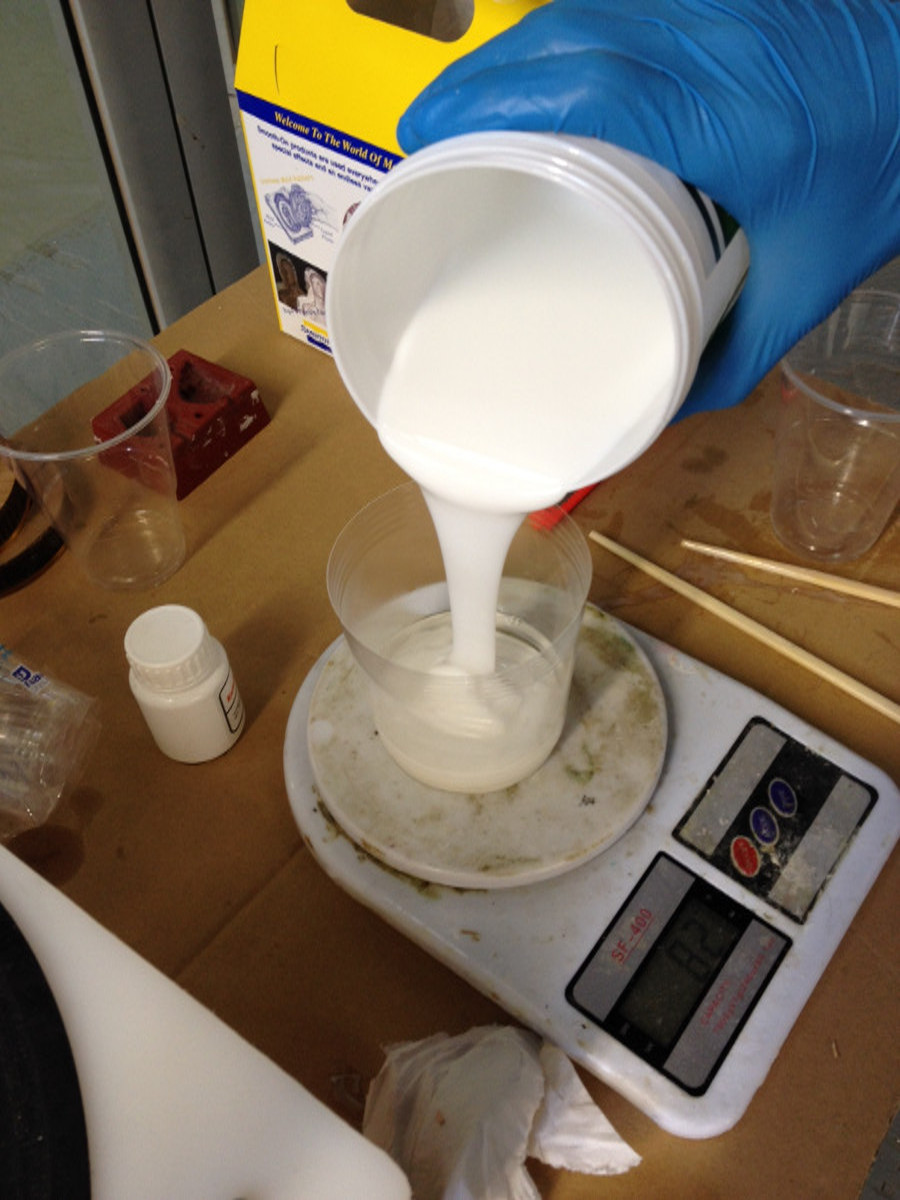
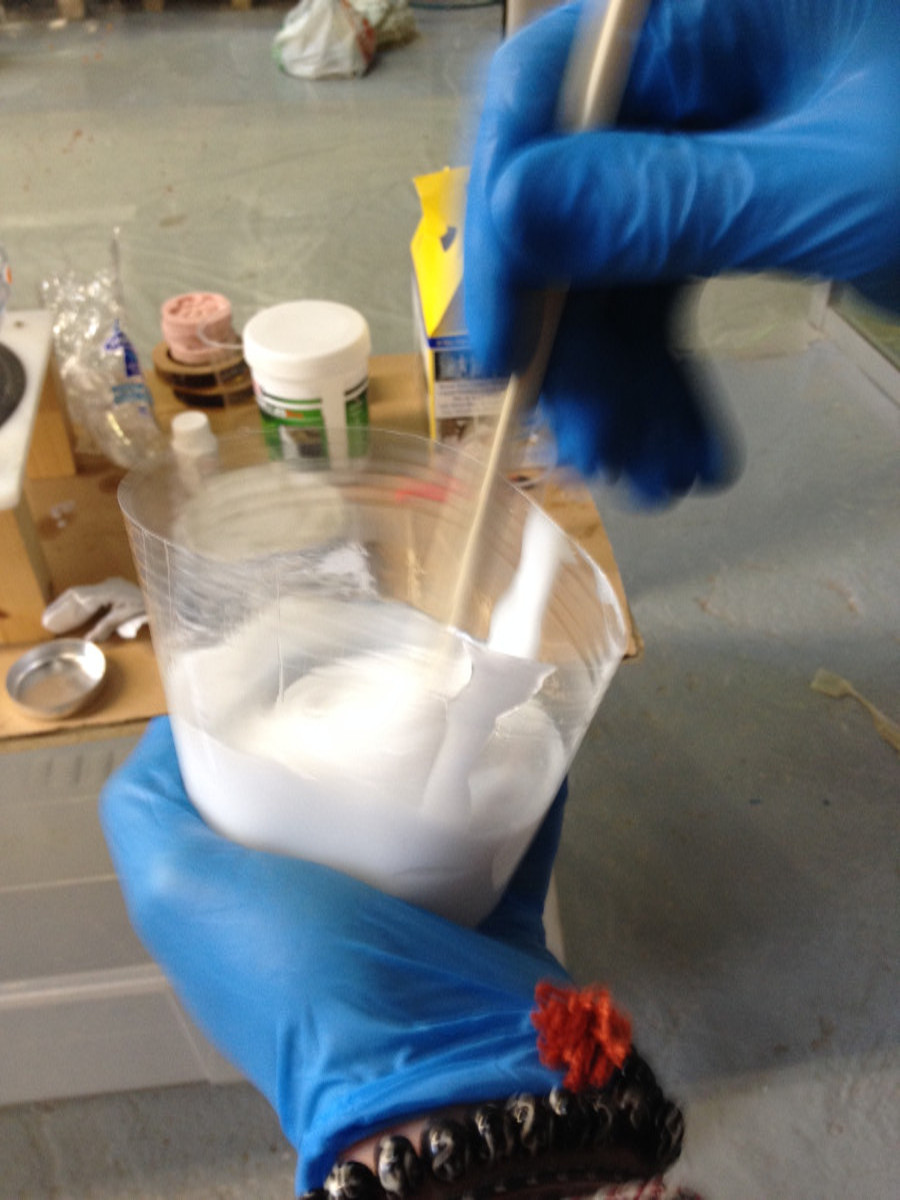
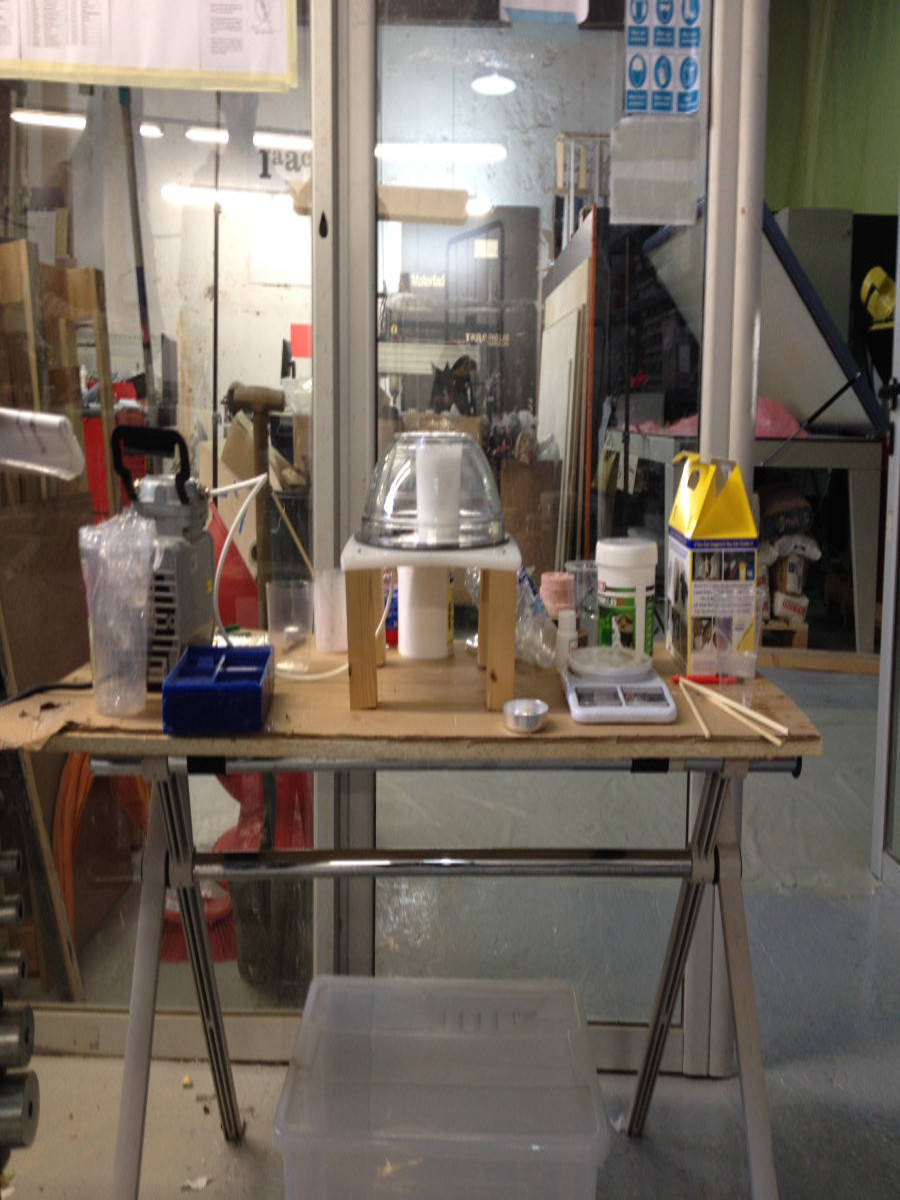
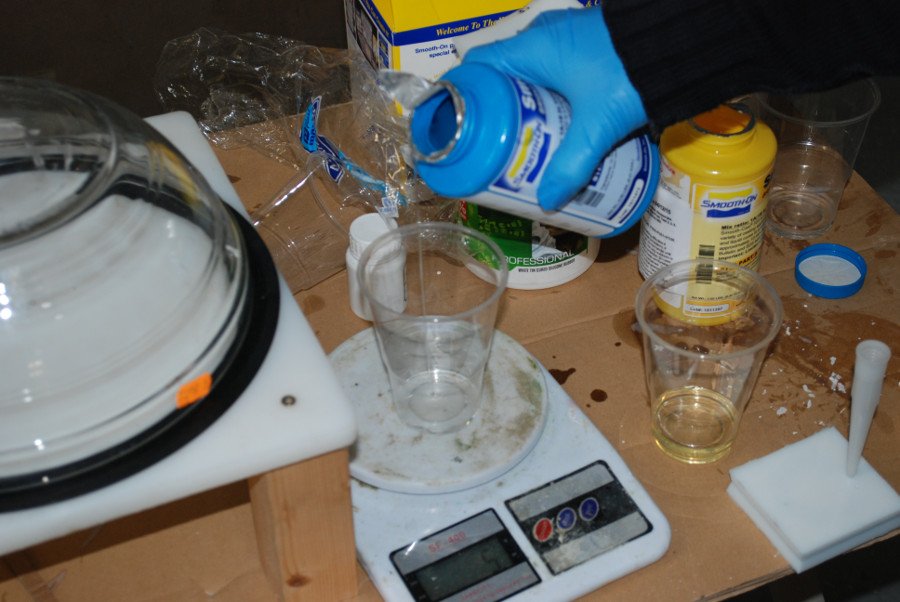
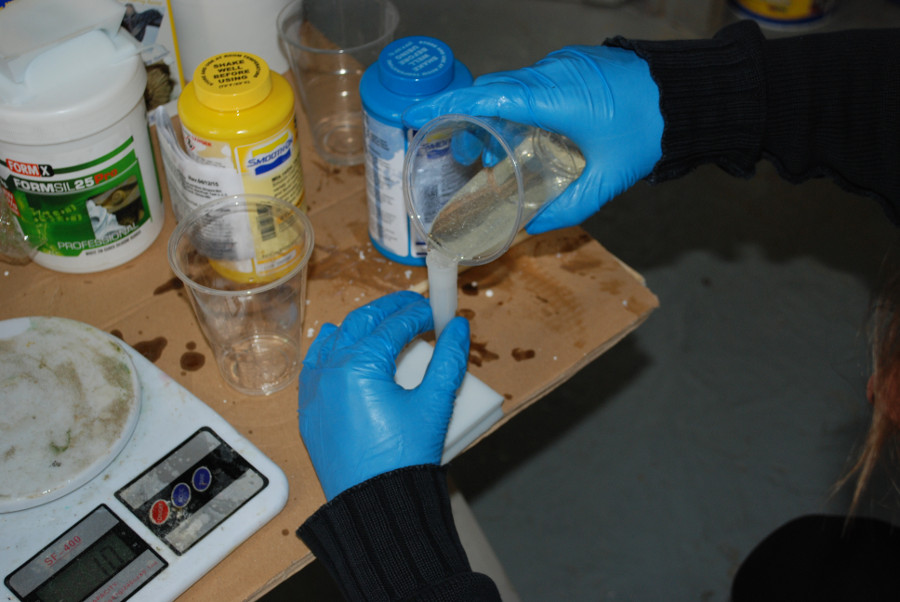
The ratio of mixing by Weight is 100% part A and 90% of Part B based on the water test to know the volume of silicone required.


Problems:

Final Result:

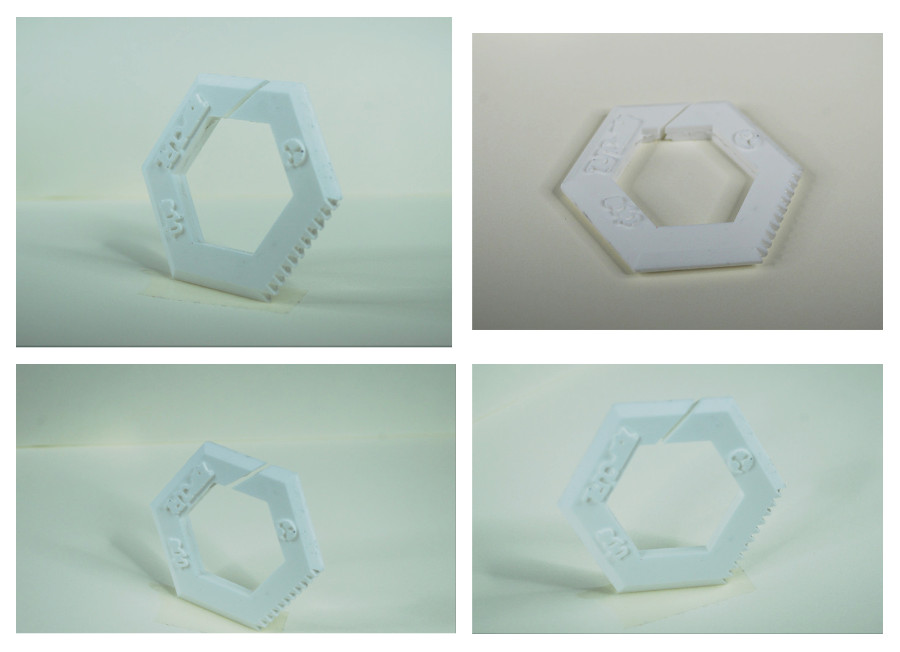
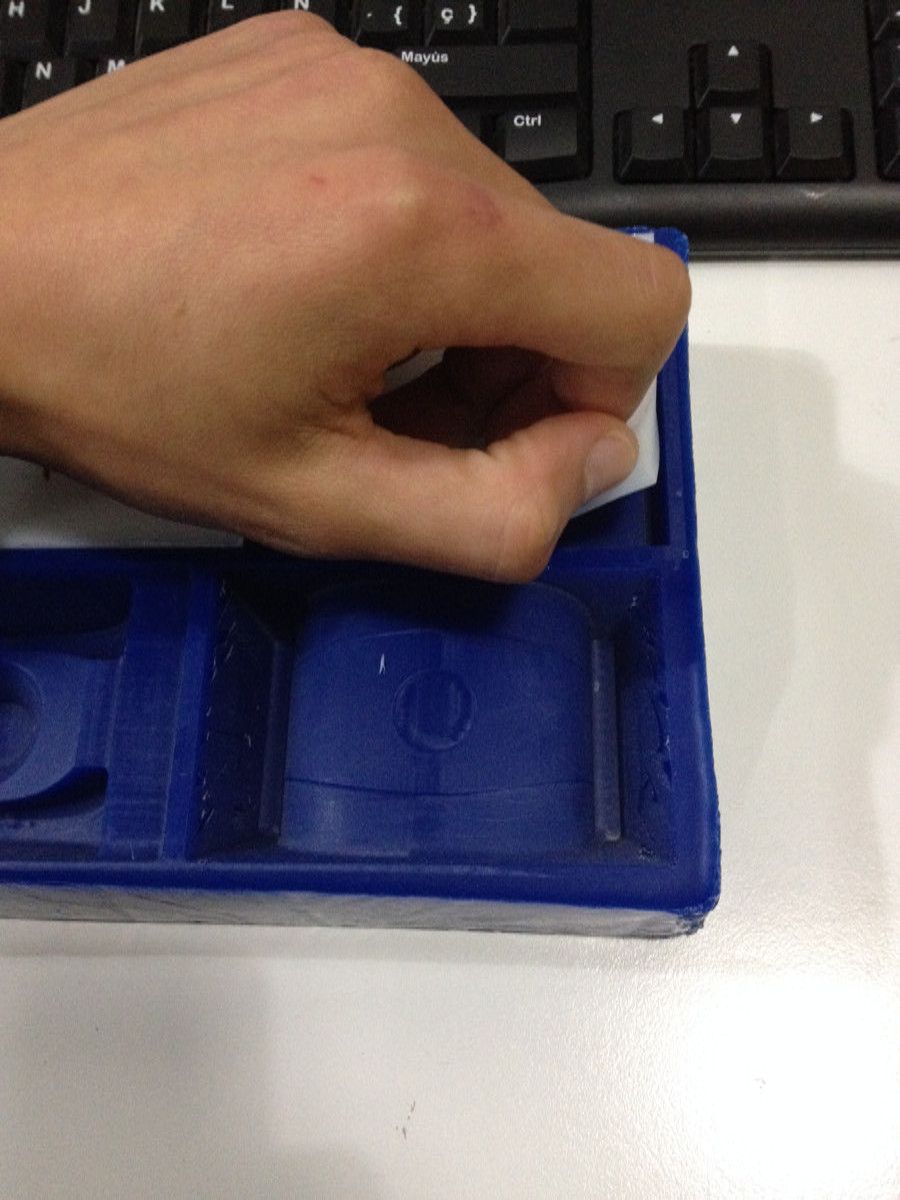
Had a blast doing this project even though it's a process that takes time. Here are some pictures of the final look of the Wax Scrapper!