Week.01 Principales and Practices
The Fablabs
In a First Lesson Neil Gershenfeld introduced us to the principals and practice of Fablab, particularly focusing on Fab Chart and the Fablab Network.
The passage of the speech that I considered the most interesting concerns the relationship between Fablab and research in the new technology field.
Though Neil said that the next future will concern
Week.01 HTML Page
Build a website in HTLM Tag Language
The second part of the lecture dealt with the html tag language. As first assignment, we started to build our own web page where showing the progress of our work and a summary of the lessons.
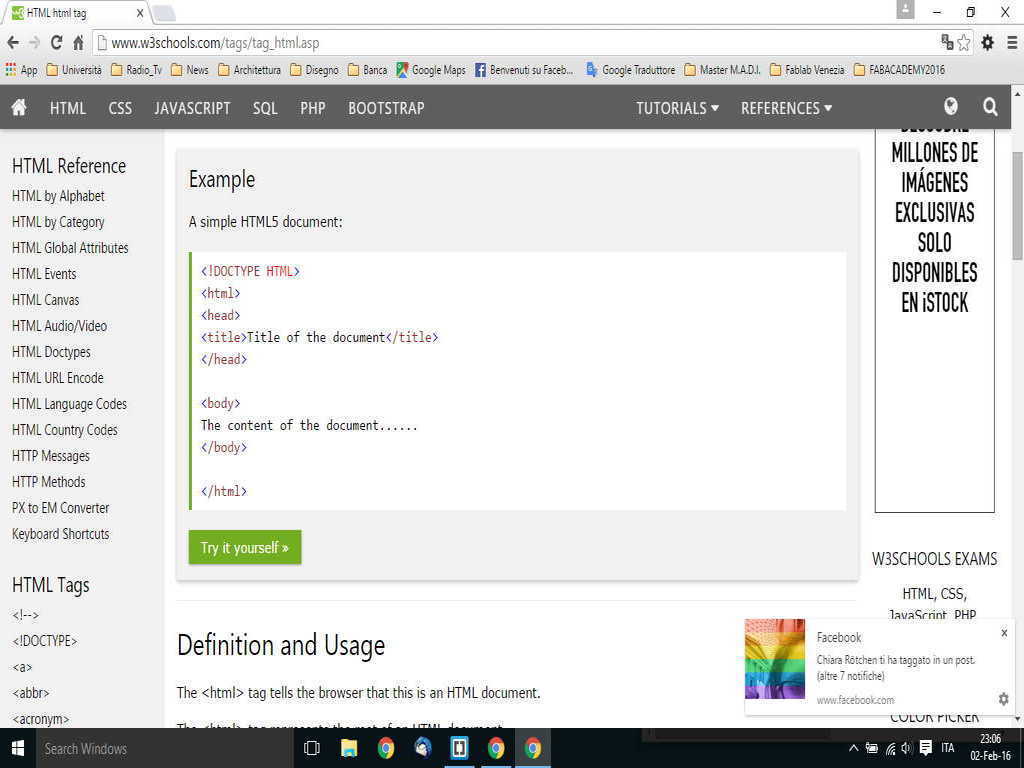
HTML Tag
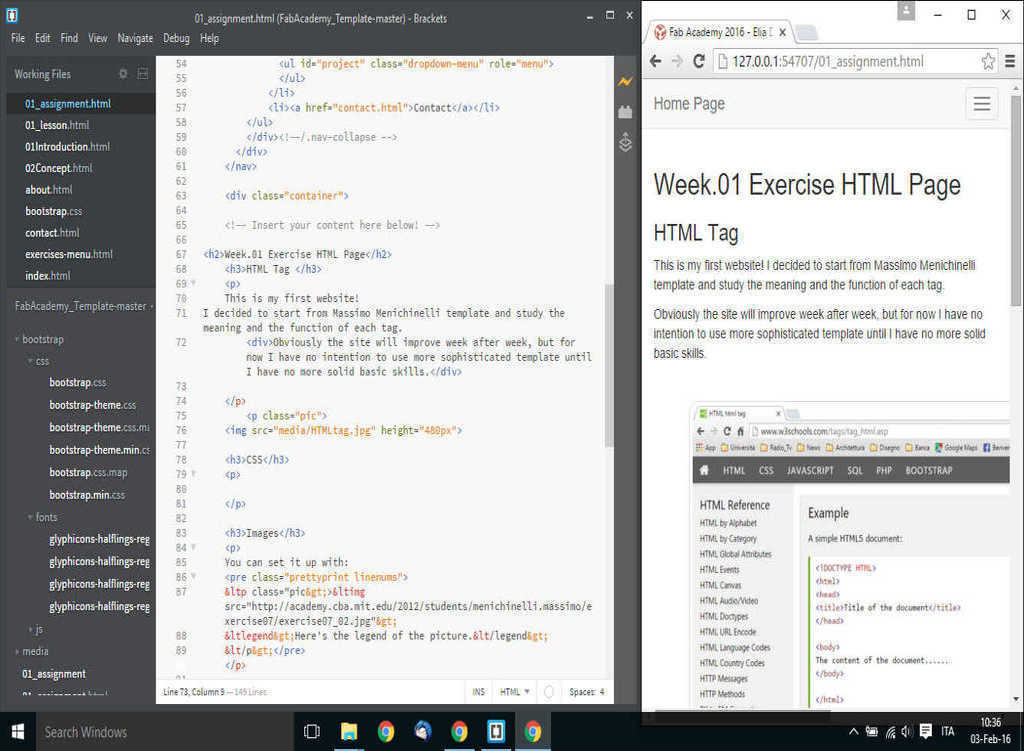
This is my first website! I decided to start from Massimo Menichinelli template and to study meaning and function of each tag by W3School.com tutorials, references, and examples.
What I have chanded:
During the fab academy I have changed many thing from the first templato to the final web site.
.navbar-default {
  background-color:#333333 ;
  border-color: white;
Generic Code
<script src="https://embed.github.com/view/3d/<username>/<repo>/<ref>/<path_to_file>"></script>
Brackets
Git
We have also learnt how to use Git for upload our web page in a Fab Academy Archive 2016
Git Bash Procedure
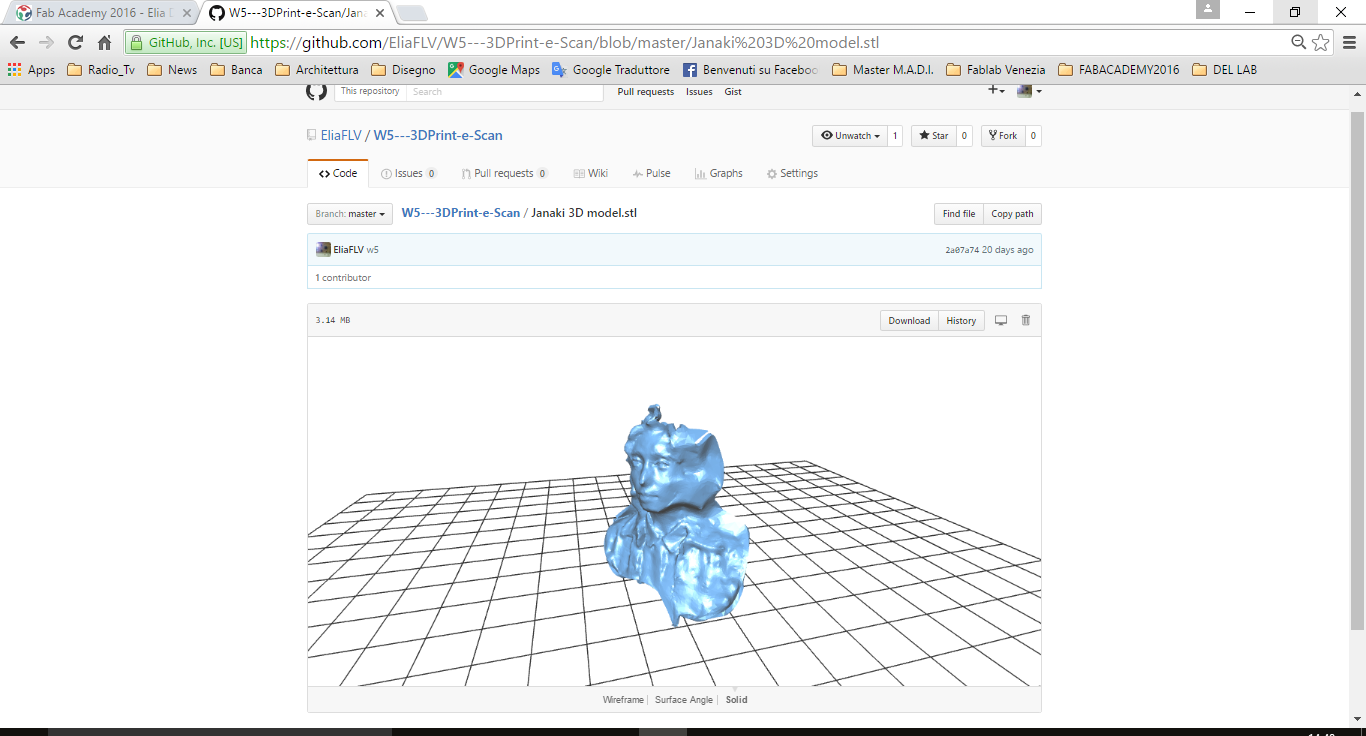
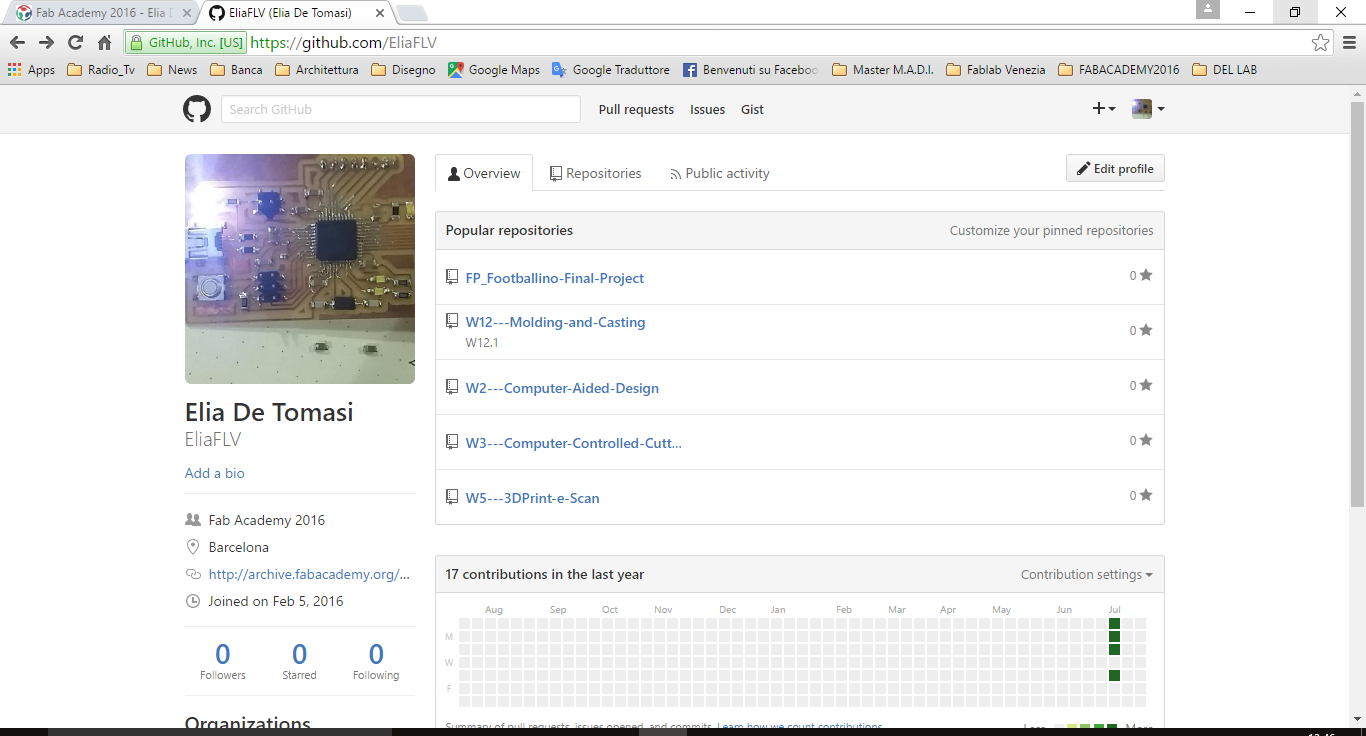
Git Hub
As Ferdi suggested to everybody I have created a repository for all my files bigger than 1 Mb in a Git Hub account.
Git Hub by Git Hub Desktop
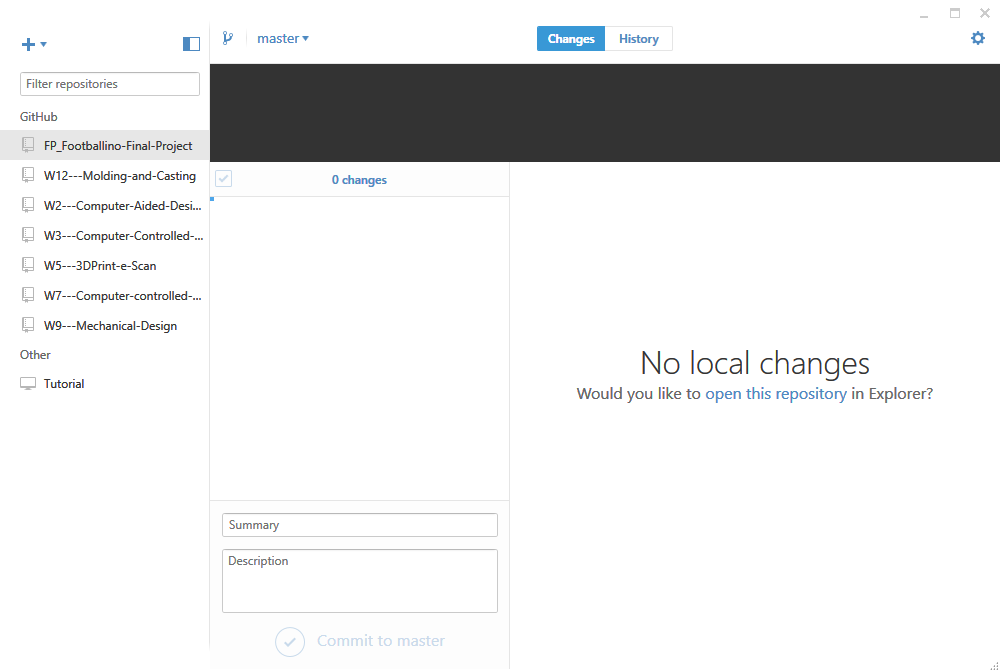 Git Desktop allow to manage Git Hub repository directly from the computer
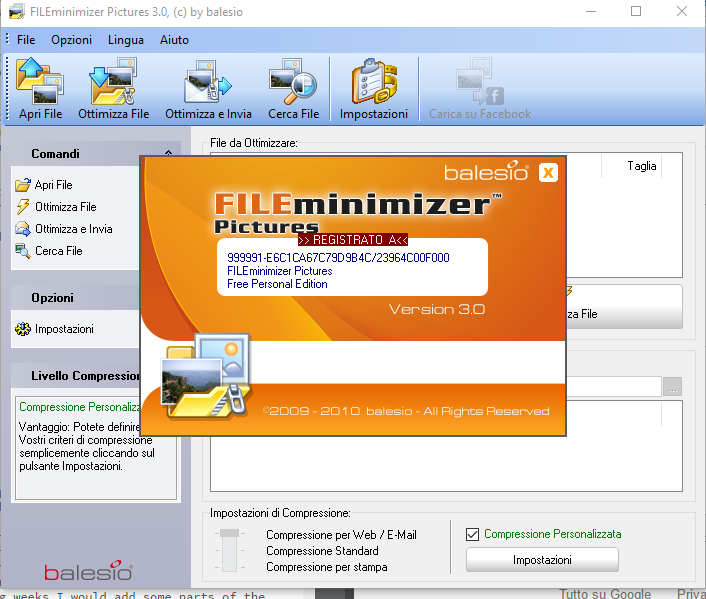
FileMinimizer
I am going to use a freeware software called FileMinimizer It will reduce the weight of the picture up to 90%. I can do it for a many picture at the same time. In a commercial version allow also to change the extension of the picture. For now, I will use the freeware and I am going ot upload also .jpg but vey light!
Modelling your Final Project
After an introduction about different softwares, I decided to use Rhinoceros 5.0 as it is the software I have been used for ten years. Rhinoceros has many plug-in and in the forthcoming weeks I would add some parts to the project using Grasshopper.
My project is composed by two parts. The first one is the Hardware part namely Podoscope the second one is a soft part, that is to say the 3d printed plantar sole.
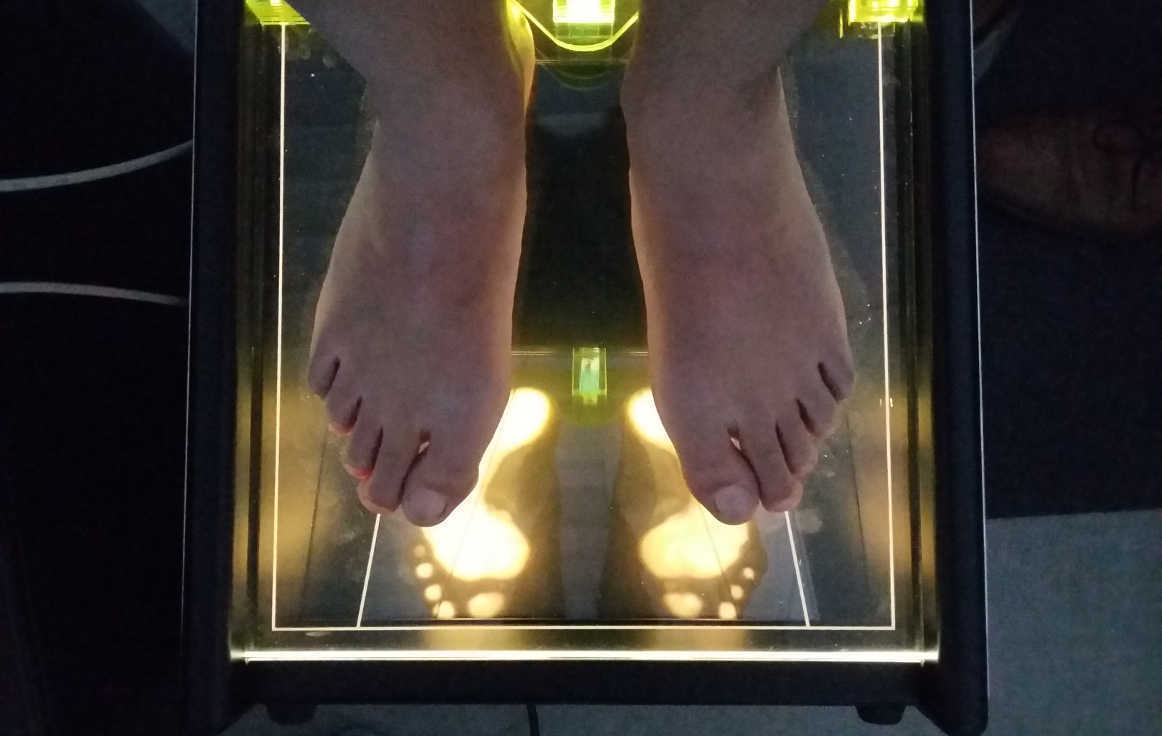
The hardware part: The DIY podoscope

The Toolkit for DIY podoscope:
- plywood 10mm
-- tempered glass 10mm (or colated Plexiglas)
- mirror
- two led strips (yellow or blue if the glass or the Plexiglas has no colored reflection)
- a digital camera with tripod
The Soft part: from raster image to parametric model
Raster Image
From the image obtained through the podoscope we obtain the information that is the input to the generation algorithm of the sole model.
Copyright © Elia De Tomasi 2016