3d scanning & printing
Task: | 3D scan an object; test the design rules for your printer(s) (group project); design and 3D print an object that could not be made subtractively
Objectives: | Scan hand with different scanners or means[phase01]; apply parametric pattern to best option; 3d print after testing[phase02].
Phase 01 |Scanning Process|
Various attempts were made at scanning my hand accurately using 123D Catch ; Memento and Kinect. However; it was found that the best approach would be to first create a mold and cast of it.
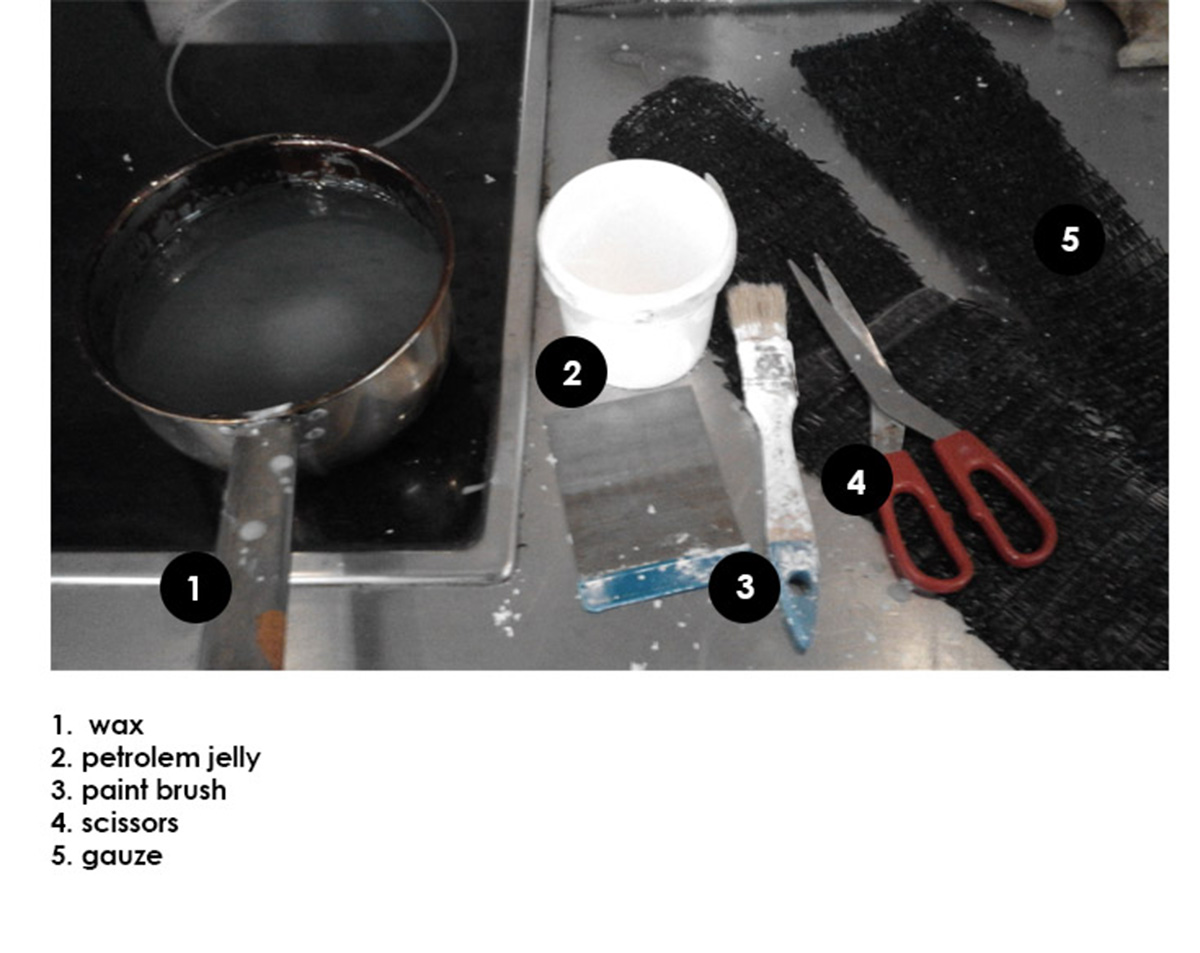
To do so; i used Flexwax. This was boiled till liquid and cooled to around 52 degrees. Vaseline was applied over my skin to release easily after. The wax was brushed on with several coats and a plaster bandage was used for extra support.
After solidifying; the mold was carefully removed by cutting the sides and restiched after by heating more wax. To make the cast Hydrocal was used with a mix of 45 grams of water with 100grams of the powder mix.
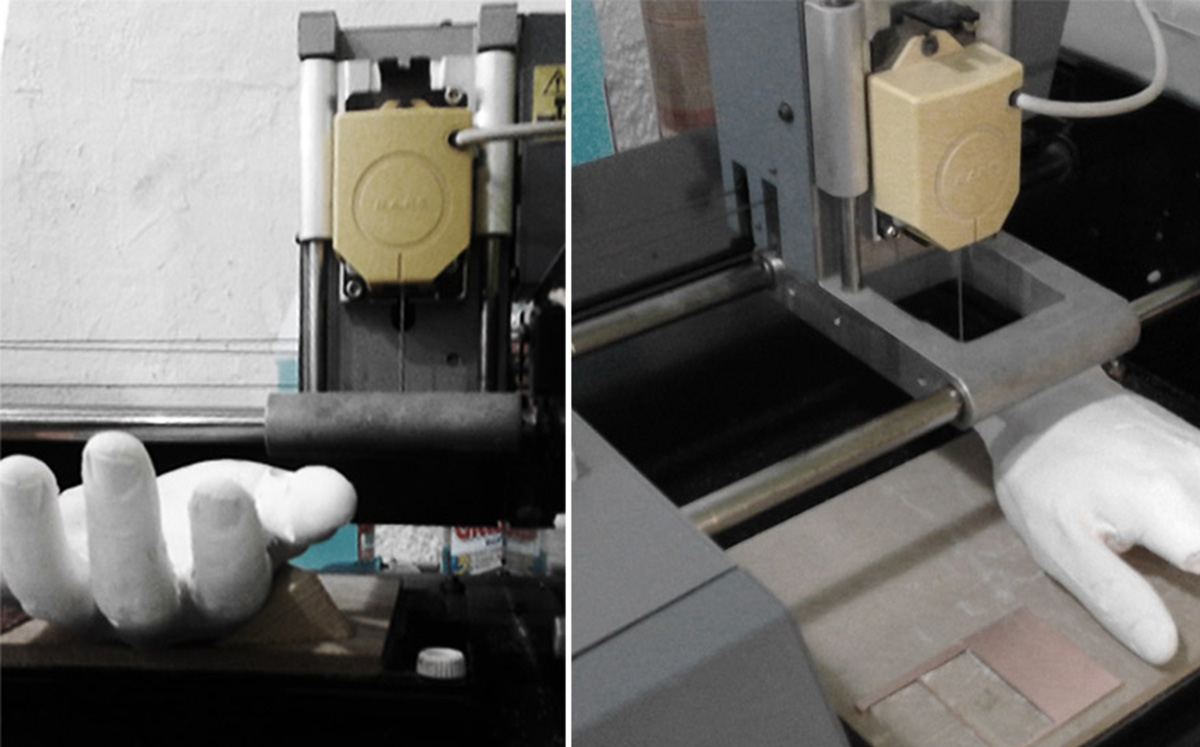
Once the cast was done I used the most precise scanner in the lab;the Roland MDX15 scanner. The machine uses a needle like bit for this with an interface called Dr. picza. Although i wanted to have a precise geometry i was not interested in too much detail and therefor used a pitch of .6mm.

Dr.Picza is an interface showing the dimension of the bed with a bounding box. Choose the size of the bounding box required, choose pitch and height at which you would like the scan to start at.
After approximately 20 hours of scanning (for both sides) and having to break of some fingers (for a proper fit in the machine) two stl files resulted. Blender works best with such files and with a few simple commands I had the perfect file necerassary to import into rhino3d.
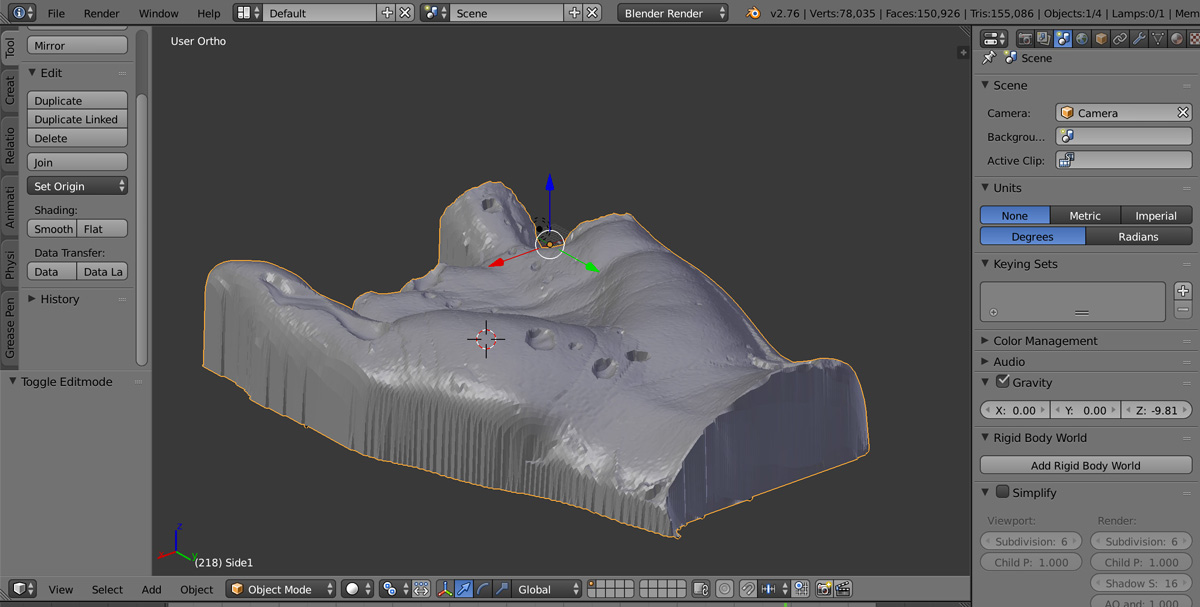
1. edit mode/ select non- manifold edges/ scale in z direction a value of zero
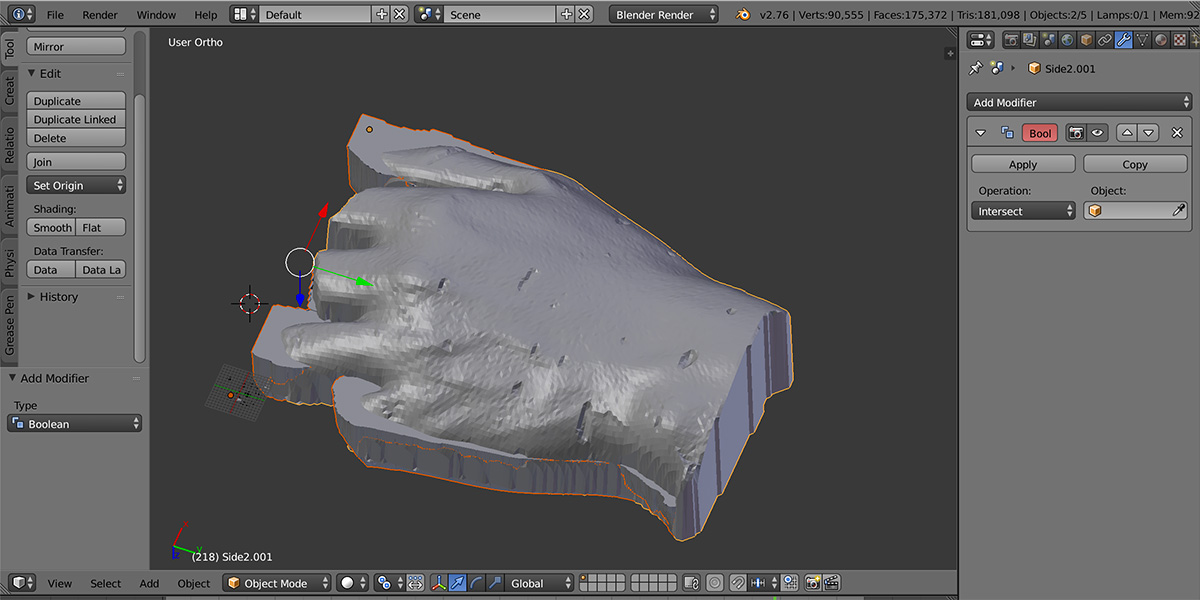
2. object mode/ add modifier/ boolean
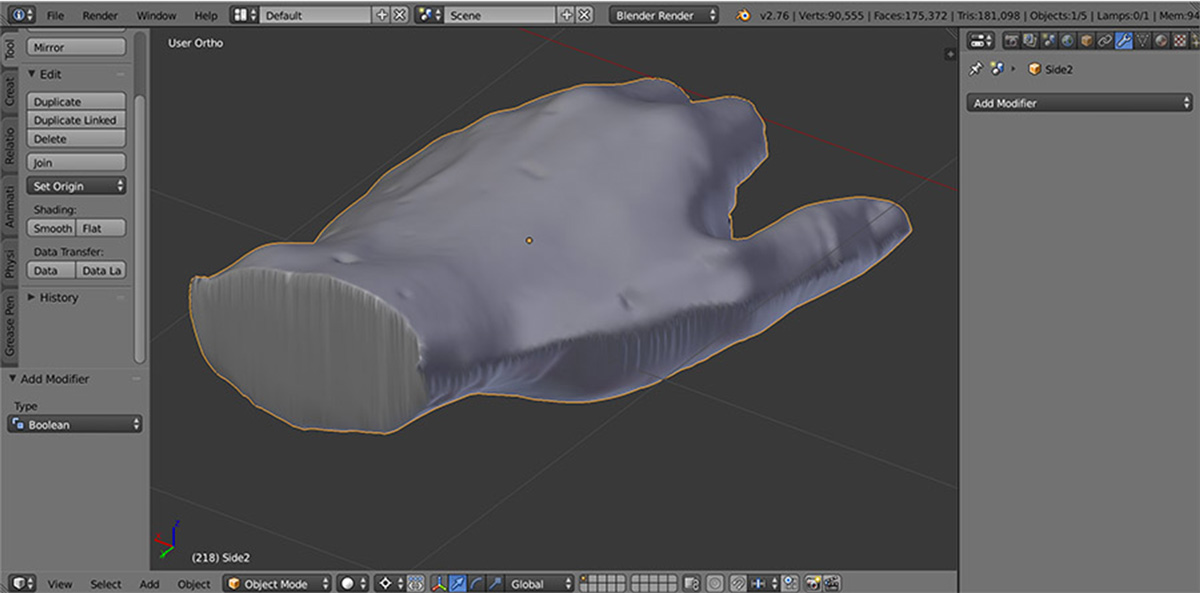
3. object mode/ smooth mesh
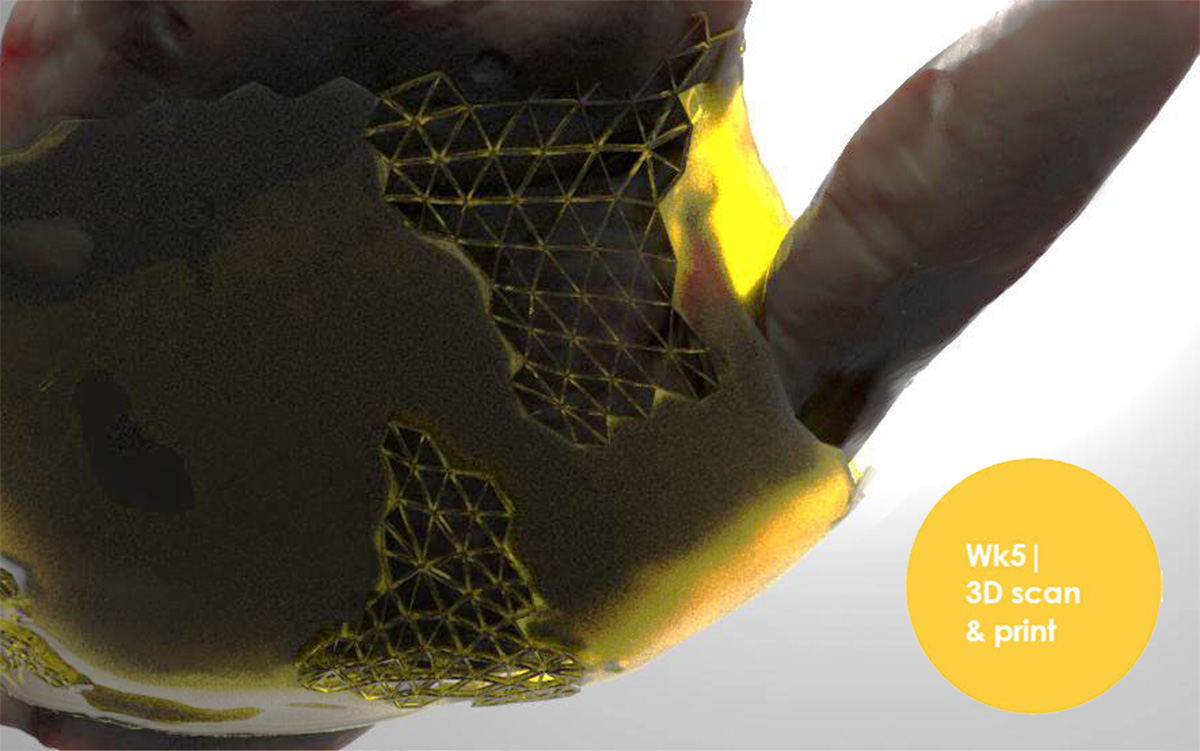
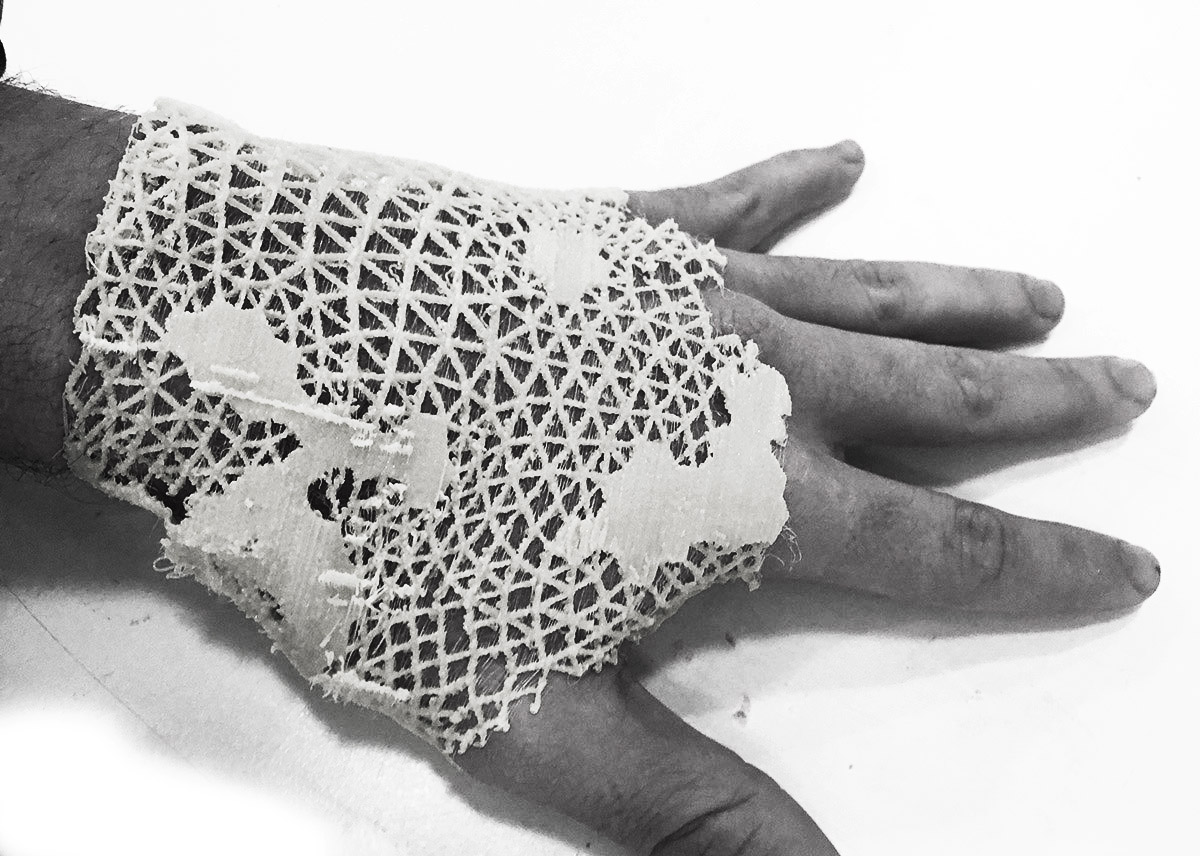
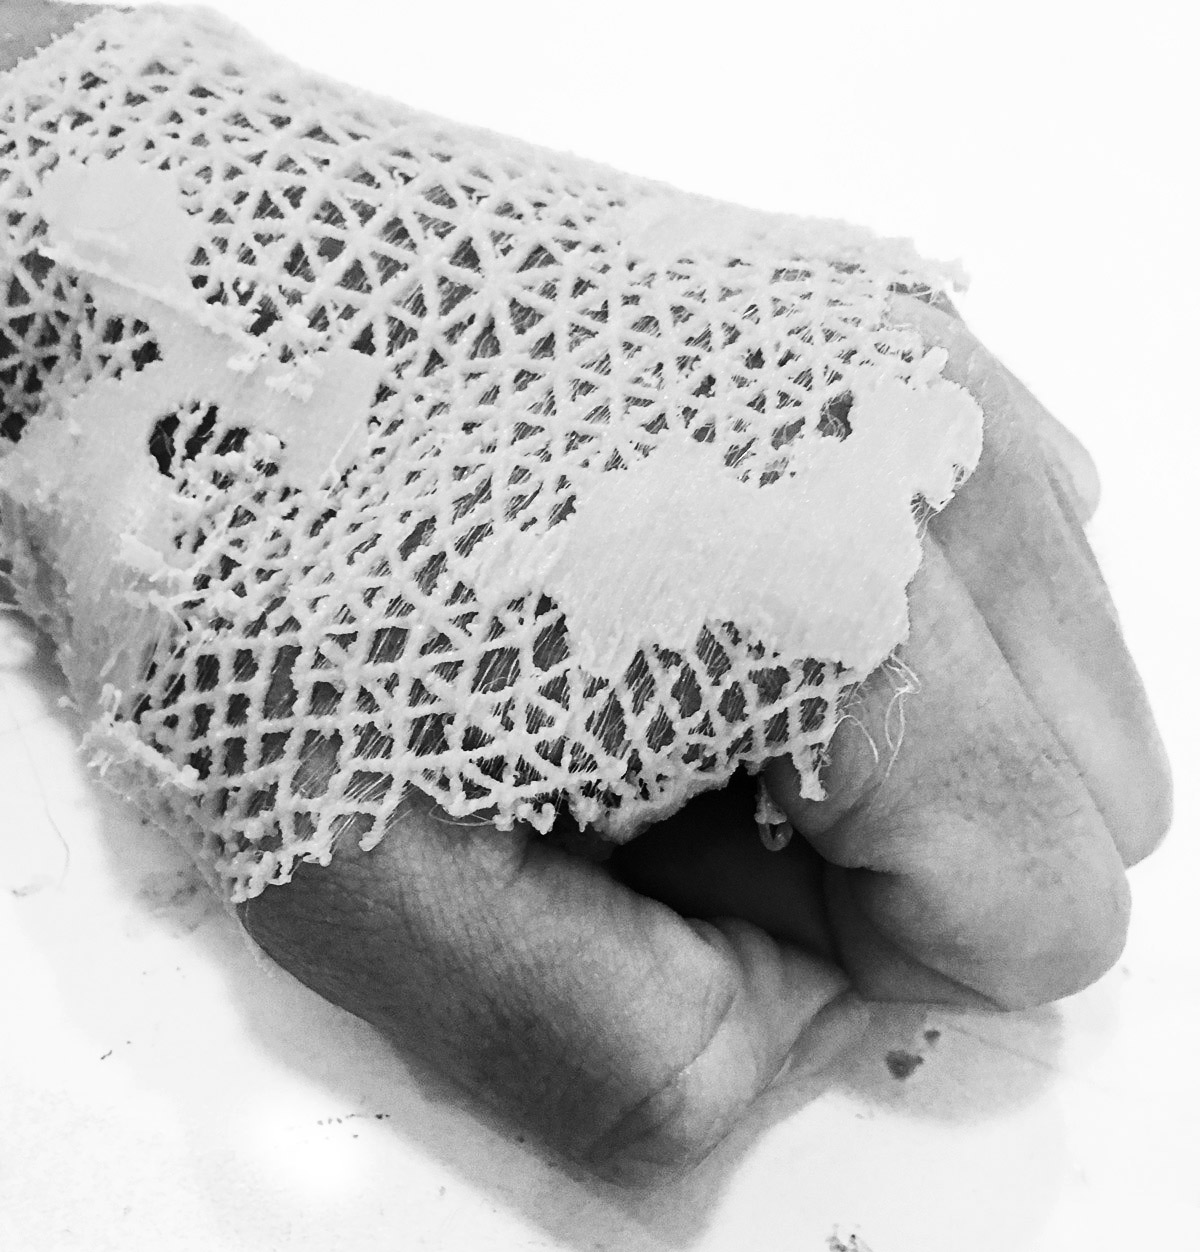
The following steps used Rhino3d with Grasshopper3d and a few additional pluginst such as weaverbird to generate an informed digital bandage according to the curvature of the surface. In this case adding more material ; thus more support where the hand bends the most. Such a design could only be fabricated thanks to additive process such as 3d printing. This is because the bandage requires intricate, flexible, custom topographic and general 3d formation, seamless and accurate results on achieved through such a process. | Download files
Phase 02 |3d printing|
Before priliminary print a Test sample was made. This is to check various paramers such as hole size, nut size, fine details, rounded prints, minimum distances, overhangs and flatness. The printing test had some warping; this could be avoided through adjusting layer height(recommended .2 or .3); fill density (recomended 15%-25% depending on the piece); adding brim , print spots (can be done manually on 3d) or in extreme cases rafting (not suggested). Take a look at the class test for more info

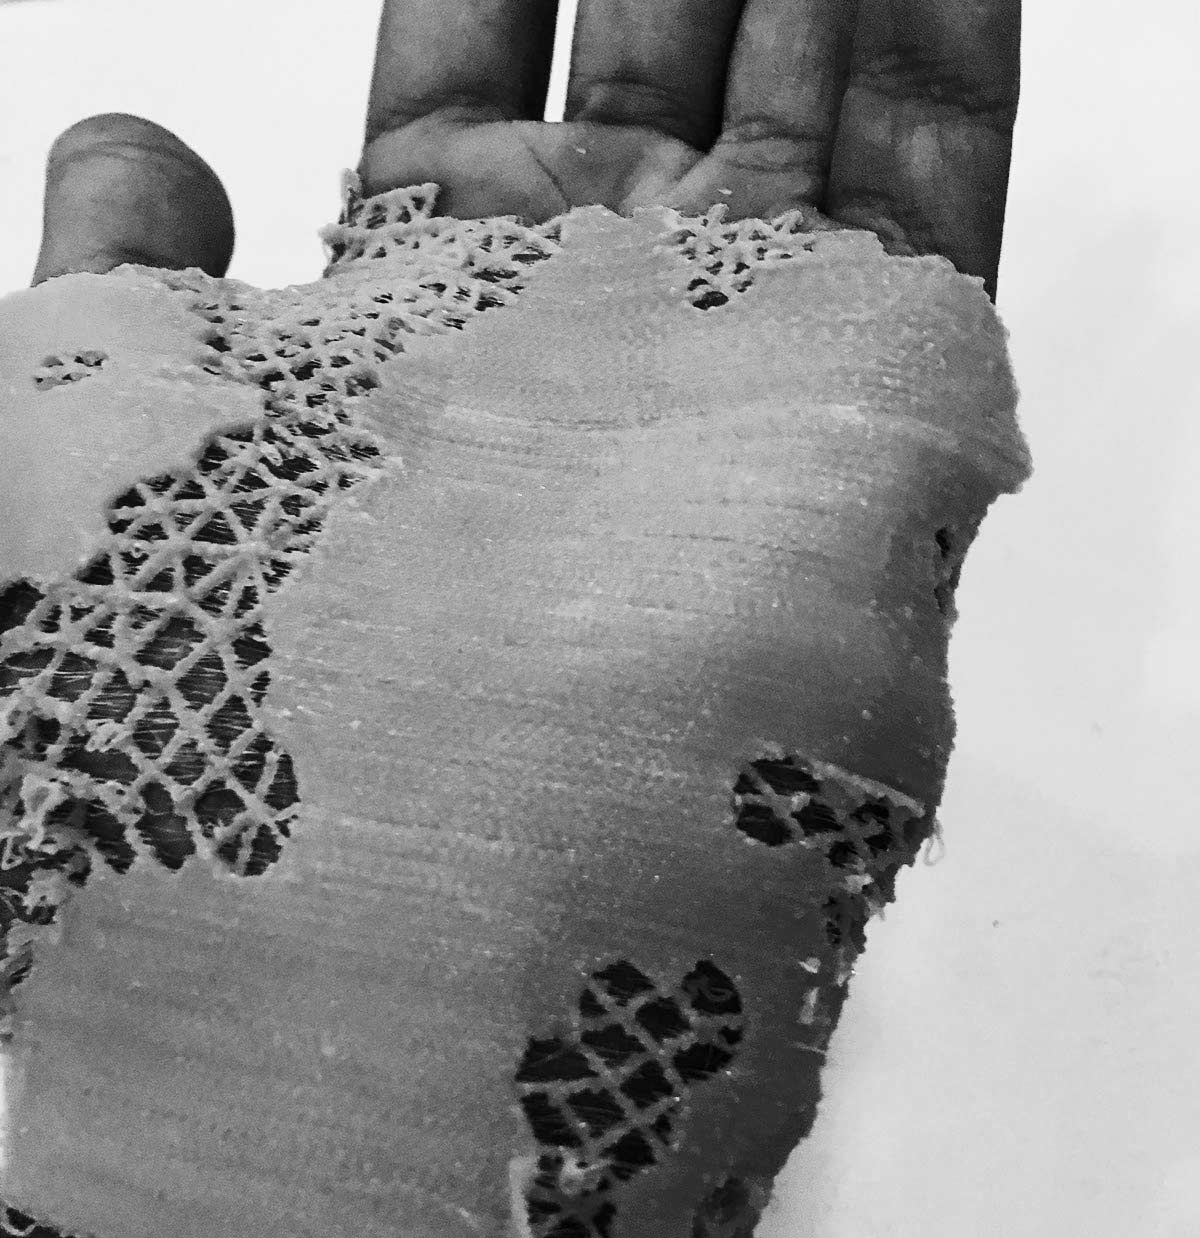
The bandage was printed using filaflex (elastic filament) with BCN3d reprap. Filaflex requires a temperature of 230 degrees and speed of 30mm/s. Although the general idea worked- the 3d print requires improvement.Firstly by adjusting the geometry preferably not to have open mesh on the boundaries. Secondly retraction speed would need to be improved. The lower the speed of the print the better; given the time. | files with improved gcode of better retraction .
|Download all files
|Brief MIT
|Lecture Neil Gershelfeld