Input devices
This week was about input devices -yes, sensors!
Assignment: Design a board, add a sensor and measure something
There are a lot of different sensors out there, ranging from pressure, movement, humidity to your own body (see also this link to the global lecture covering the various different sensors). My research group focuses on sensing technology in everyday life; its technical and creative applications, usage and acceptance (such as in the case of sensor monitoring). This week we organized the seminar "Sense in the City" (in Pakhuis de Zwijger) offering an insight in the use of (sensor) technology in the city for an active and healthy lifestyle. Thus I had less time, but already some experience with sensors, such a PIR (movement) sensors, used in the interactive doll house project, and accelerometers which I had previously used in magic wands (in the WANDerful alcove project) and the iBand project for detecting handshake gestures.
Sensing distance
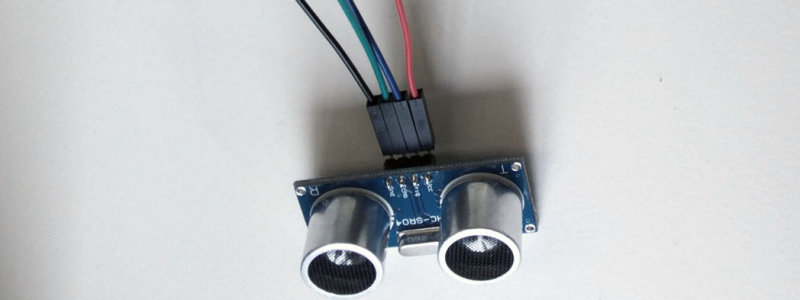
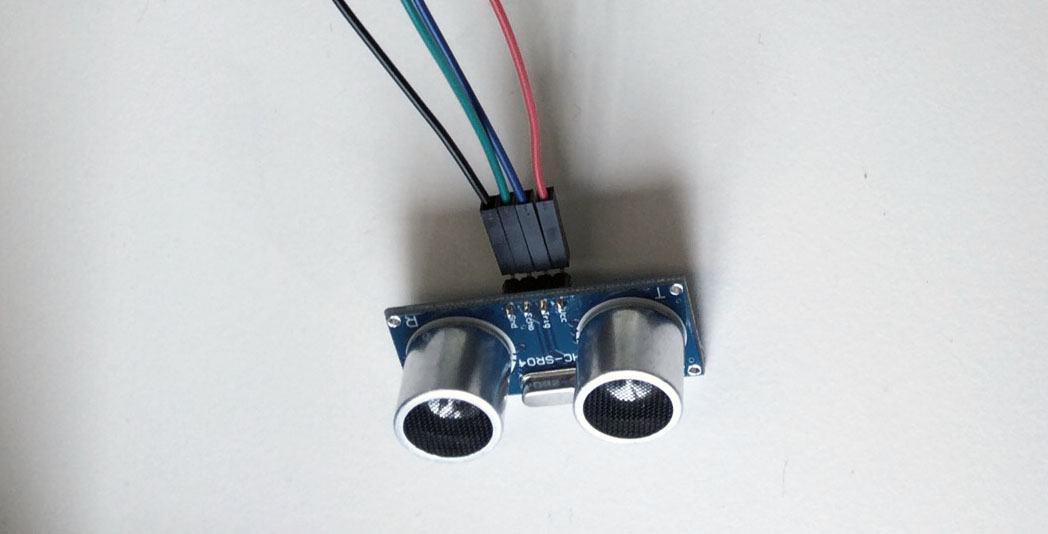
For this week I wanted to experience with something new; the HC-SR04 ultrasonic sensor which uses sonar to determine distance to an object (like a bat also does). It comes complete with an ultrasonic transmitter and receiver module. This one was also recommended for my 'Kastje naar de muur' project as I would like to detect the closeness of a person near the cabinet (het kastje) and the wall (de muur), back and forward, to trigger a sound message (and maybe some LED action).
 As the Fablab sometimes gets crowded and was closed for us this Friday, I bought some equipment (at Radio Rotor, Amsterdam) such as lead free solder, soldering iron with thin point, and a multimeter with thin leads and a continuity meter (with a sound buzzer - which unfortunately was a bit off) so to be able to test and make more any place -any time.
To have more flexible understanding of what I am doing, I decided to design and program my board using bread board and Arduino Uno hardware first -see also this instructable- relatively easy and fun!
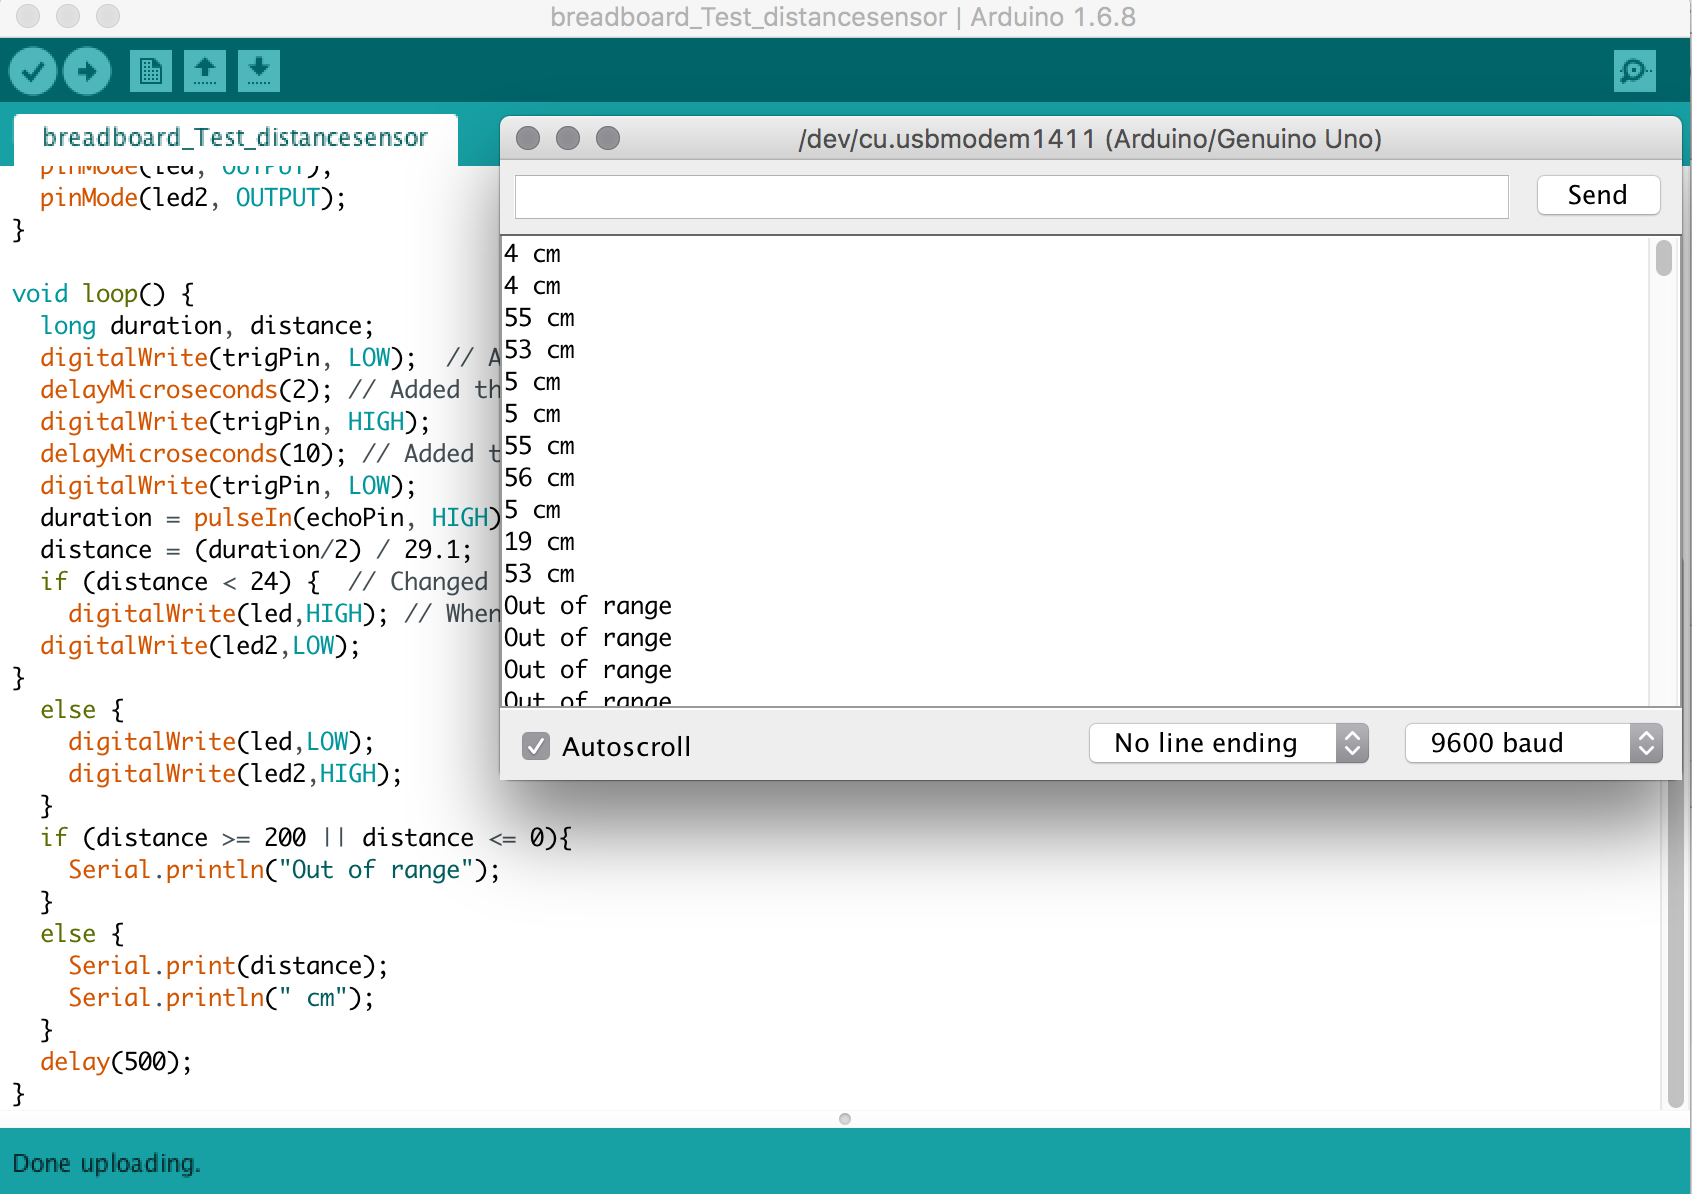
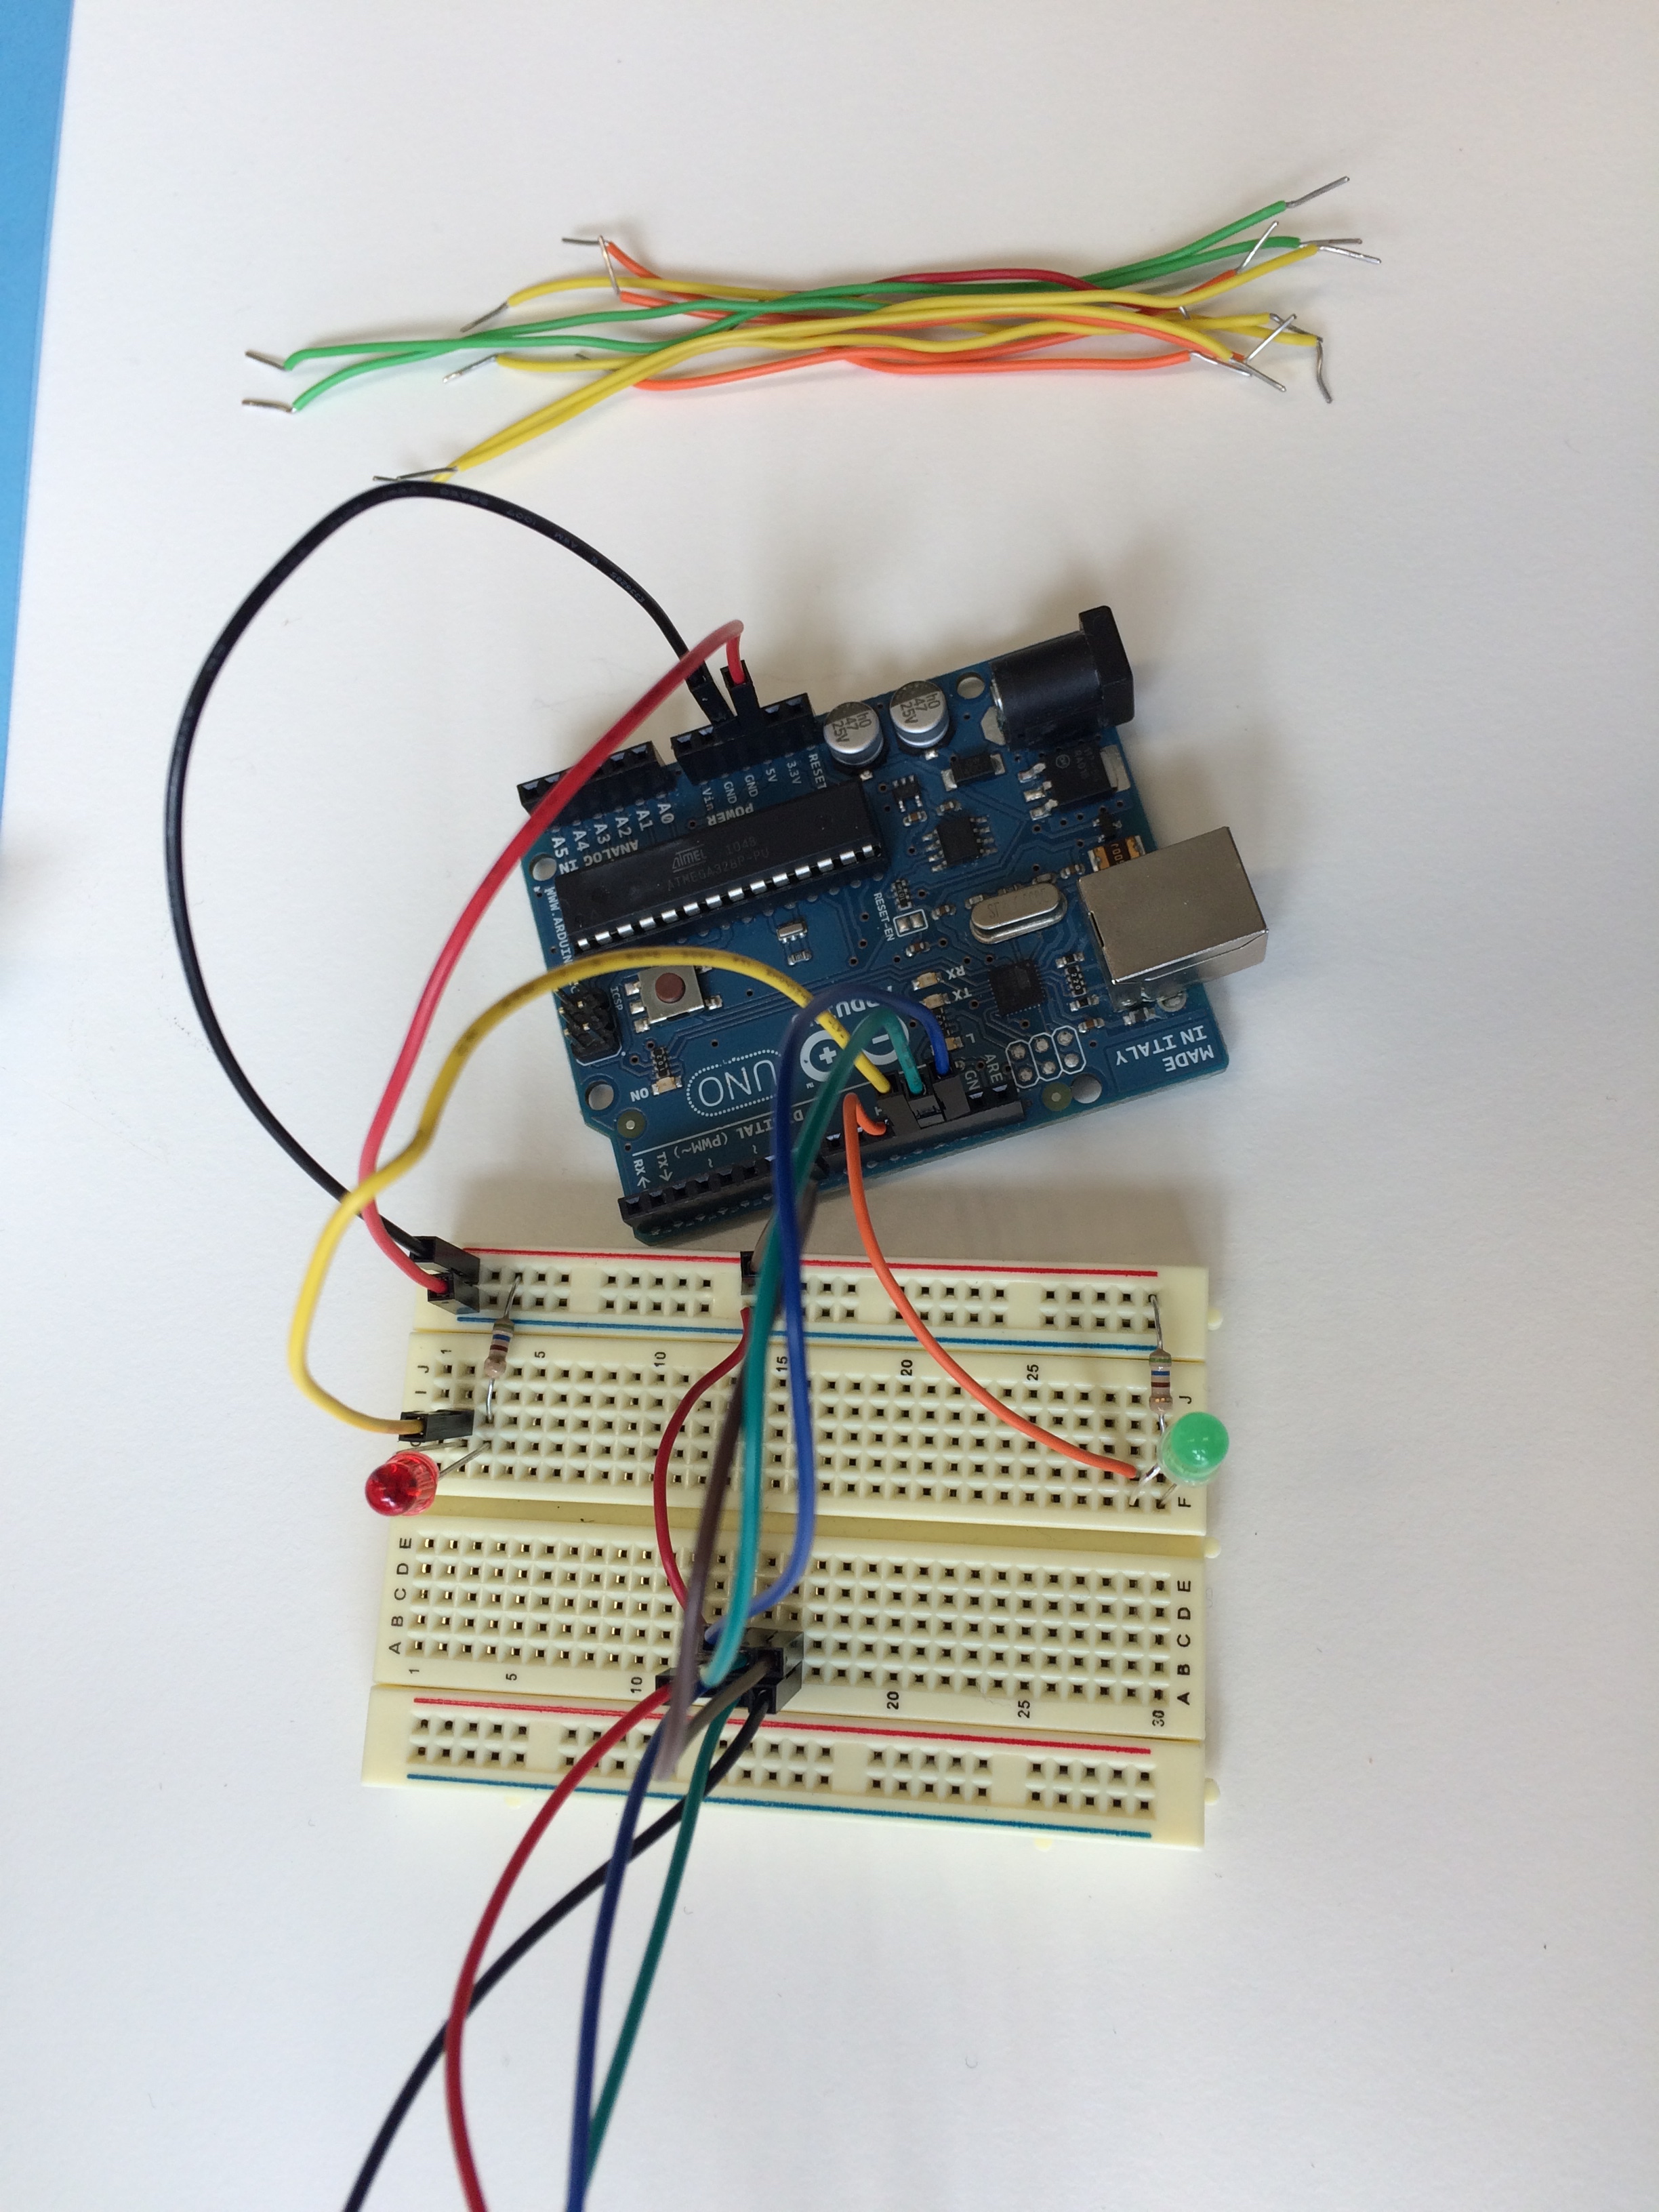 Using Arduino, I uploaded a sketch that turns on a green light when close to the object, and a red light when further away from the object.
The distance from the object is shown in the serial monitor.
 I adjusted the code specifically for measuring distance when a person is approaching a cabinet, as shown in the movie. In future I could focus more on better signal filtering and 'hysteresis', but for now, it works well!
Fabkit
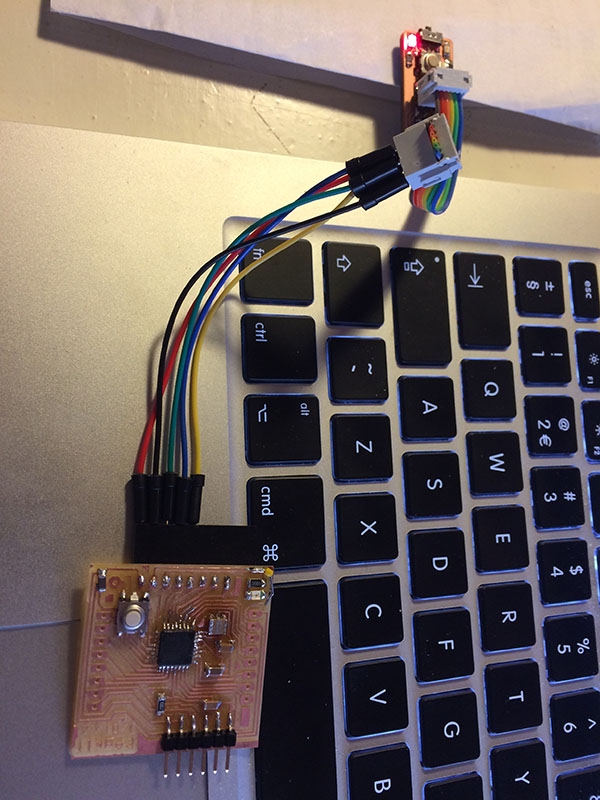
In previous weeks I had already started on the big task of making my own fabkit (aka the Fabduino, a board similar to Arduino) as this one would enable me to use more pins and memory. I noticed that the holes file from the tutorial that I used should have been black and white inverted, as now the holes in the board came out too big. The second time milling, the holes were fine, but needed a little bit of tweaking with a tweezer as they were not completely cut through. I also needed to (re-)add a wire as one trace was partly missing.
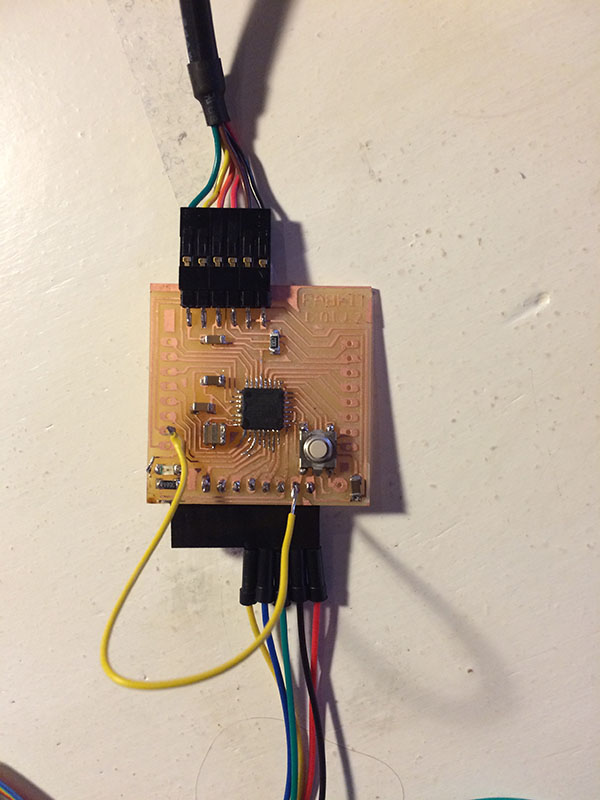 Then, the board needed to be tested and rightly connected to the FabISP for burning the bootloader so to eventually be further program it using the FTDI cable). This was like pulling teeth (I did that as well this week); painful, and particularly time consuming. Luckily Emma was there to help. In the end, we managed to initialize the device (typing this in the terminal: ~ $ avrdude -c usbtiny -p m328p) and burn the bootloader (pressing the button) with the FabISP (using Arduino). However, we then could not upload a sketch to it. As we had tried all the options (such as burning the bootloader again, choosing different programmers,..) and checked even the FTDI-cable connections were working fine, the only option now is to replace the micro-controller. Bye bye beautiful sodering! (dare I say: Hi Arduino...)
 Tips
Tips
- Testing is crucial: How to use a multimeter (UNI-T UT33C)
- Fabkit that I made with a 16hz resonator to comply with Arduino
- In Eagle, use the "Show miso" command to check the position of the Miso. You can also use this Show command to check Gnd, Mosi, etc.
- Luis' guide on Programming a FabKit aka Harduino using the Arduino IDE


