Home
Biography
Projects
Final Project
Press Fit Project
I did this project two ways, in a non-parametric way that I am used to, and a parametric way using 123D Make
Non-Parametric with Aspire
Since I am familiar with Aspire, I attempted this week's project with Aspire first. The first thing I did was follow my box-making process described on the CAD page. In a nutshell I used one square and created the same set of tabs and copied it twice. I then selectively cut lines to create either tabs or slots.
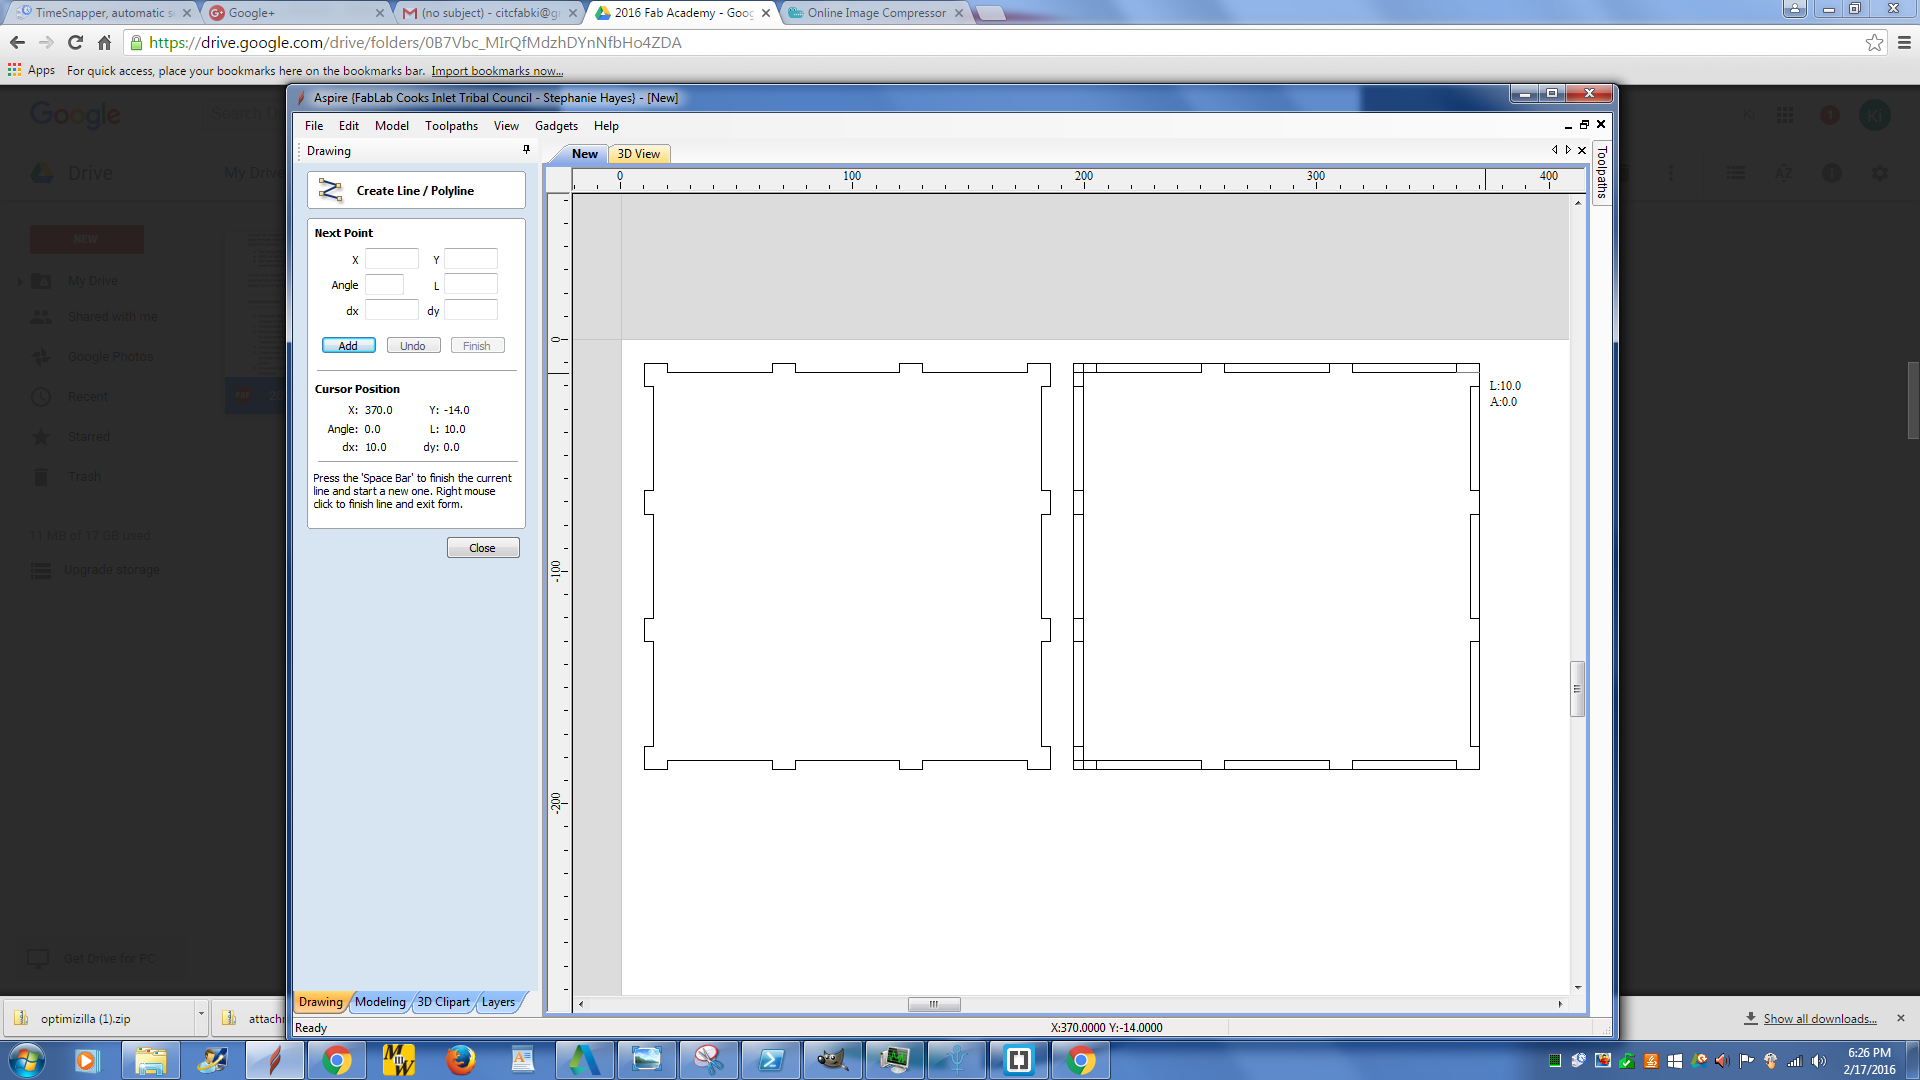
However, I forgot to build one side of the box, assuming that 3 copies of two sides would do the trick. Normally, 3 different tab configurations would be required.
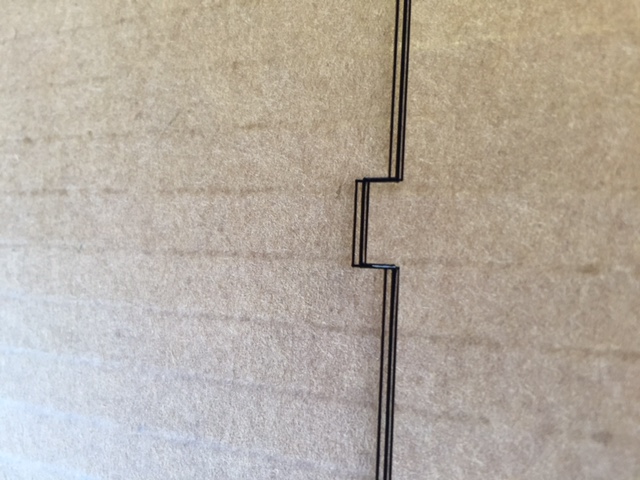
Thankfully, there is an easy fix for that, thanks to the template nature of my process. Shown below is the fixed side (top) and the side being fixed (bottom). Note that I fixed this incorrectly, the tabs on the side would have been too wide, but that was an easy fix with an xacto knife.
Cutting the box was a bit of a challenge, as my initial settings were too low for power and too high for speed, since the cardboard I was using was better fire-rated than I had expected. To cut the cardboard with the laser cutter, I exported my Aspire file to an AI file, and moved the file to the to the laser cutter computer. From there I opened the file in AI and set the laser power, speed, autofocus, and material size in the windows print dialouge. No modifications other than changing the with of the lines to .001 pt had to be made in AI. I then sent the AI file to the Epilog lasercutter to cut it after setting up the ventilation system, consisting of a large blower (placed outside) and a small vaccum pump. Shown below is the evidence of the multiple attempted passed that I had made.
After Steven gave me the
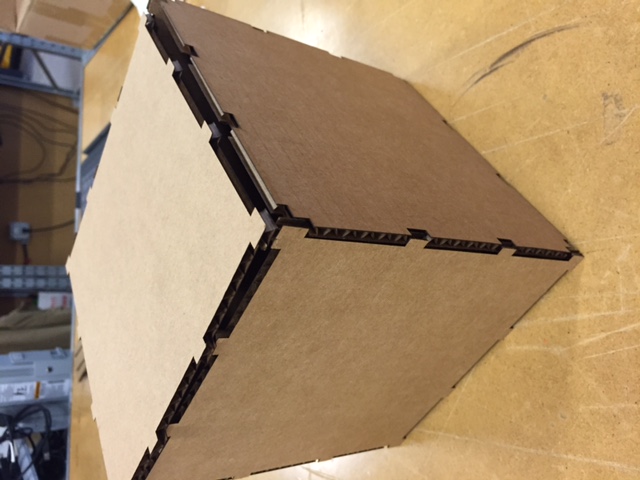
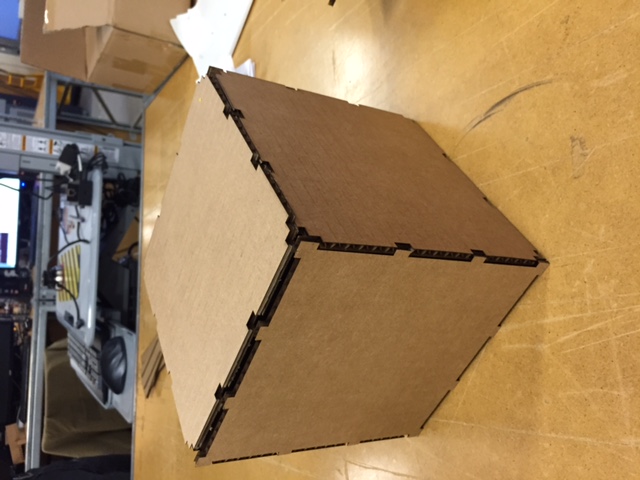
correct values for the cardboard sheet (he had used the cardboard before), the cardboard was cut easily by the laser cutter. The correct values were a higher power and a lower speed than "normal" cardboard.
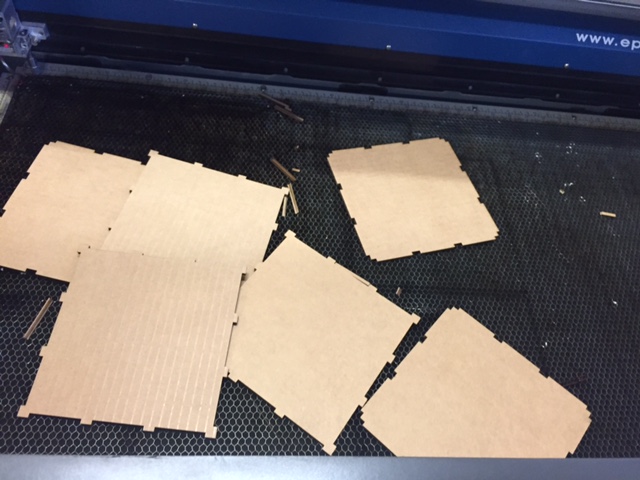
After assembling the correct pieces, the box looks like this:

Parametric with 123D and TinkerCAD
I have had experience with both of these programs. TinkerCAD is a free online 3D modelling program and 123D is a parametric 2D design program that creates 2D press-fit pieces from a 3D model, with options for different materials and styles for press fit design.
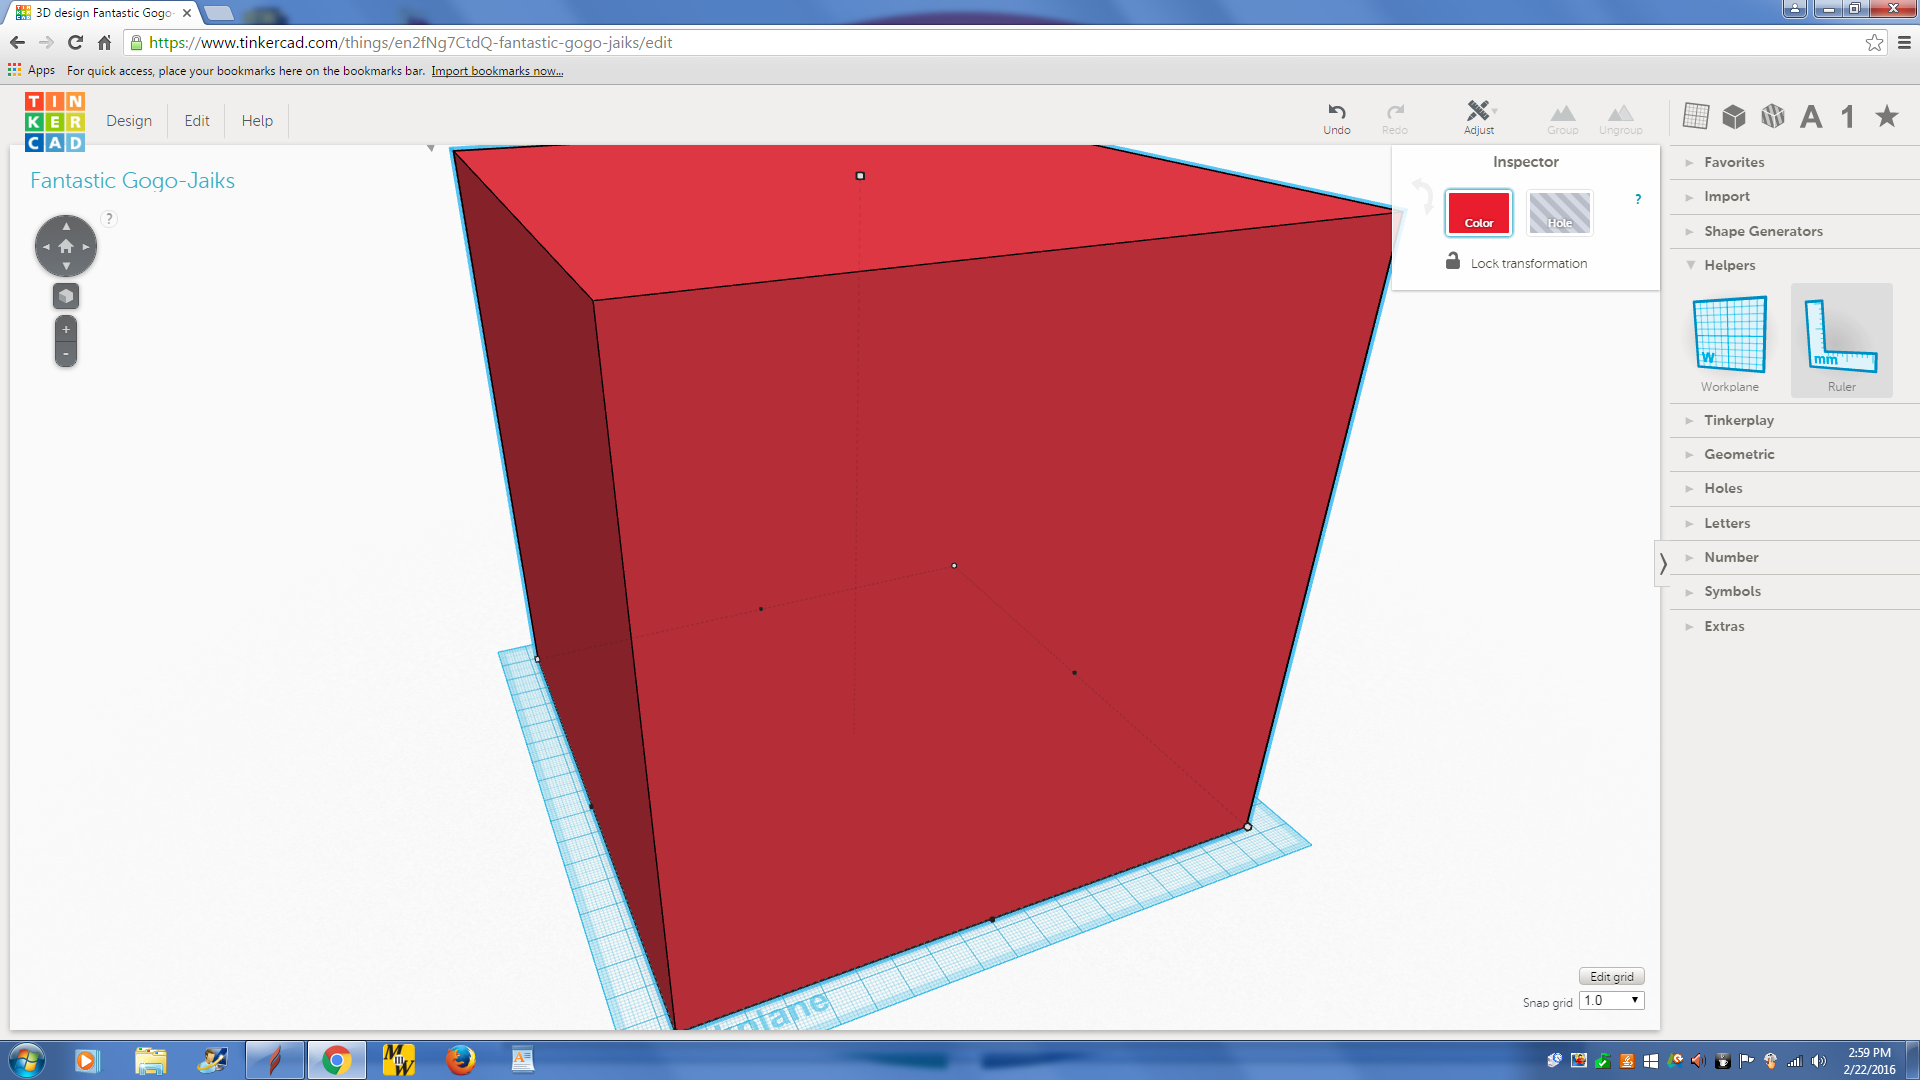
First I modeled the same cube (or just about) in TinkerCAD. Cubes are really easy to make. Create a rectangular prisim (commonly known as a box) with equal sides. The process I described last week (involving multiple geometric shapes and merging multiple times) for tinkercad was unneccessary, since the piece was very simple.
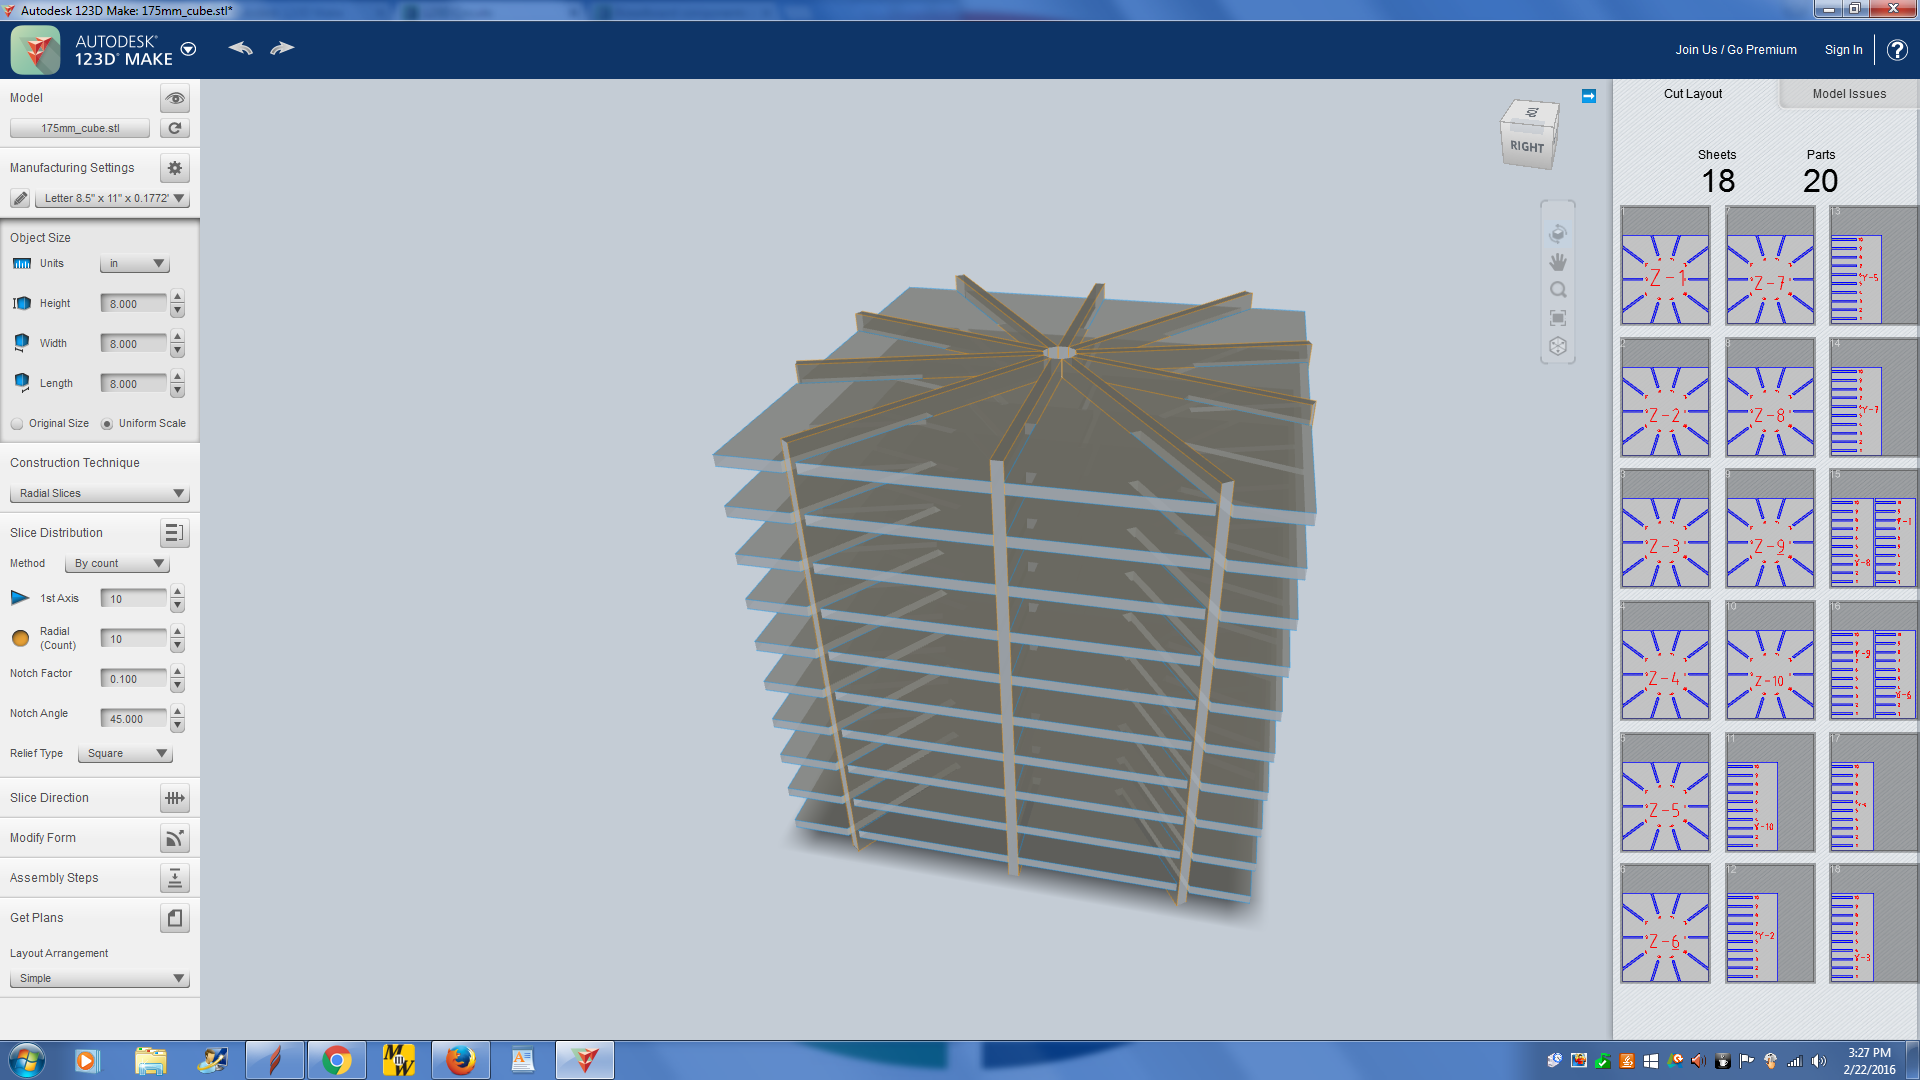
I then downloaded the .stl model from TinkerCAD and imported it into 123D Make. I then selected the material and the material size that I would use. I chose to use standard cardboard, which is .18", that would fit in our 60 Watt lasercutter, which is 3 feet wide (3 sandwiches) by 2 feet deep (2 sandwiches).
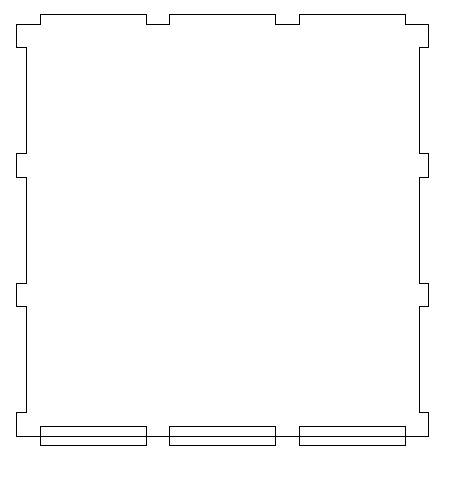
I then selected a construction technique. Shown below are two versions of the press-fit in 123D Make using two different techniques. 123D Make offers a variety of different techniques for press-fit (or folded) designs, and, depending on your design, certain styles will work better than others. You can tell if a technique works or not by looking at the color of each of the pieces in the sidebar. Red indicates that there is a potential problem with that piece, which is usually that some part of it is deatached from the rest of the piece. Blue will indicate pieces that are not connected to others. Selecting a different style or moving the pieces around usually fixes the problem.
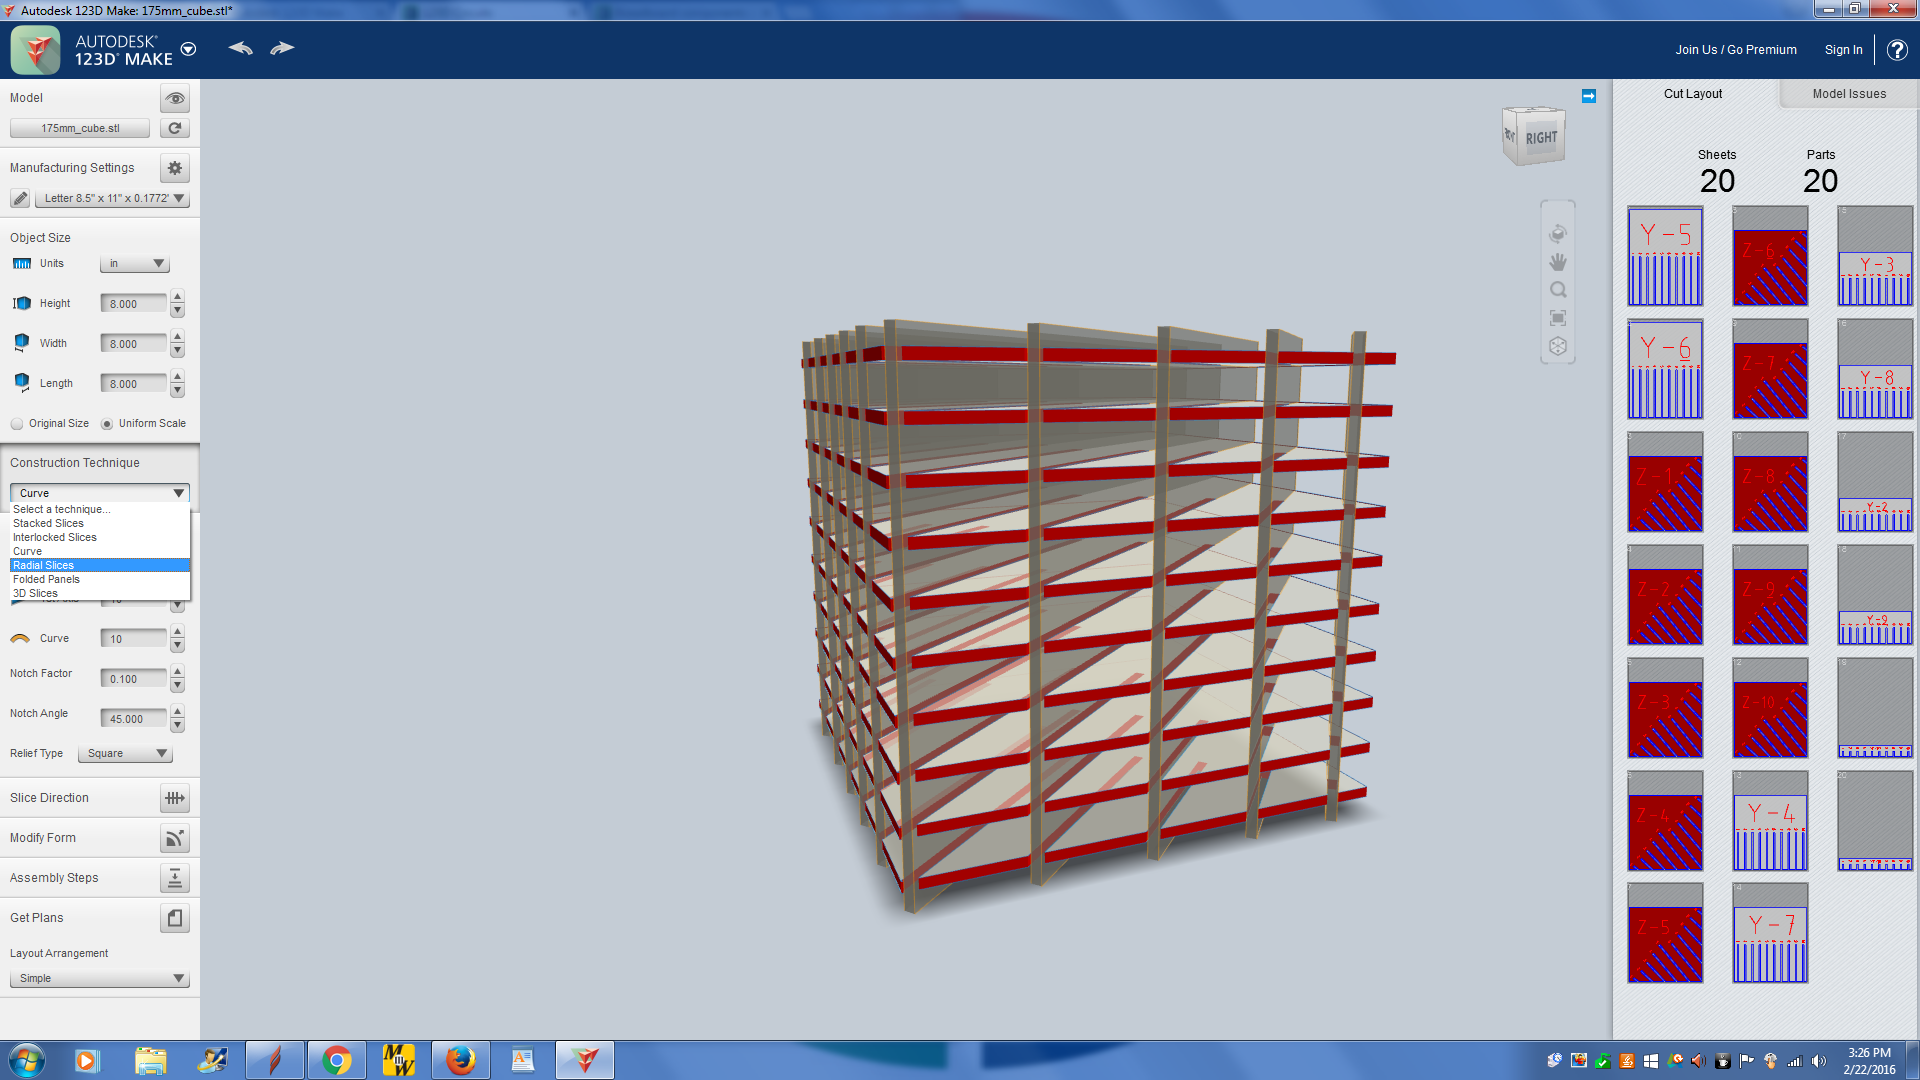
I chose the second technique, radial slices. I exported that design into a PDF format and moved it to the lasercutter computer. I followed the same process for the non-parametric design to cut the pieces out.
Unfotunately, the laser cutter refused to cooperate, even when I increased the power or reduced the speed. I believe that the laser cutter needed to be calibrated as the laser appeared to lose focus as the head moved away from the emitter.
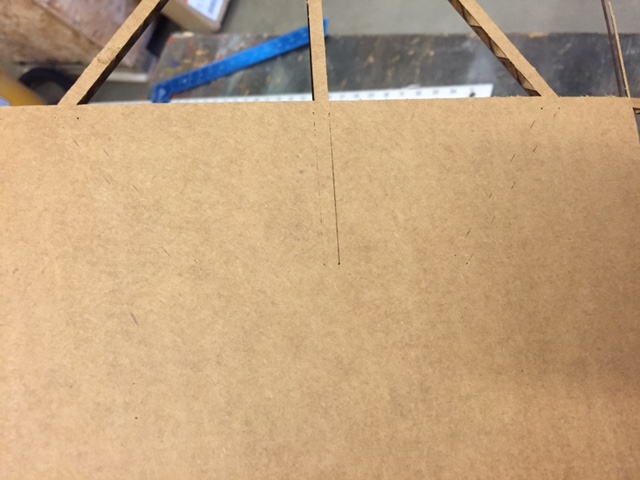
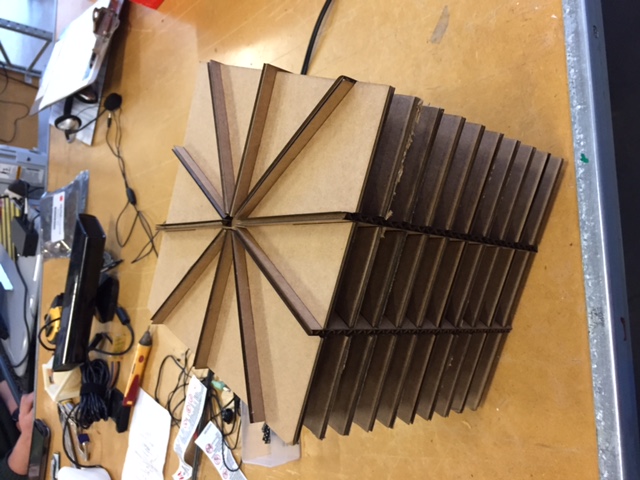
I resorted to finishing the lasercutter's job with an xacto knife, but gave up when I remembered that I had several other sheets to cut. I have not yet cut them and will update when I get the cutter fixed. We used a higher power to cut the pieces out perfectly (I also believe that the cutter was calibrated), and I have since assembled it.
Files can be found on the CAD page