Design
I used TinkerCAD and Aspire to create the design files for the mould. I started in TinkerCAD, and created a box ith rounded edges. This was a multi step process, starting with some cylinders and creating a frame with them. I then moved on to place boxes to act as outer panels. I filled in the empty space with another box and inverted the box and made the box into a hole type object.
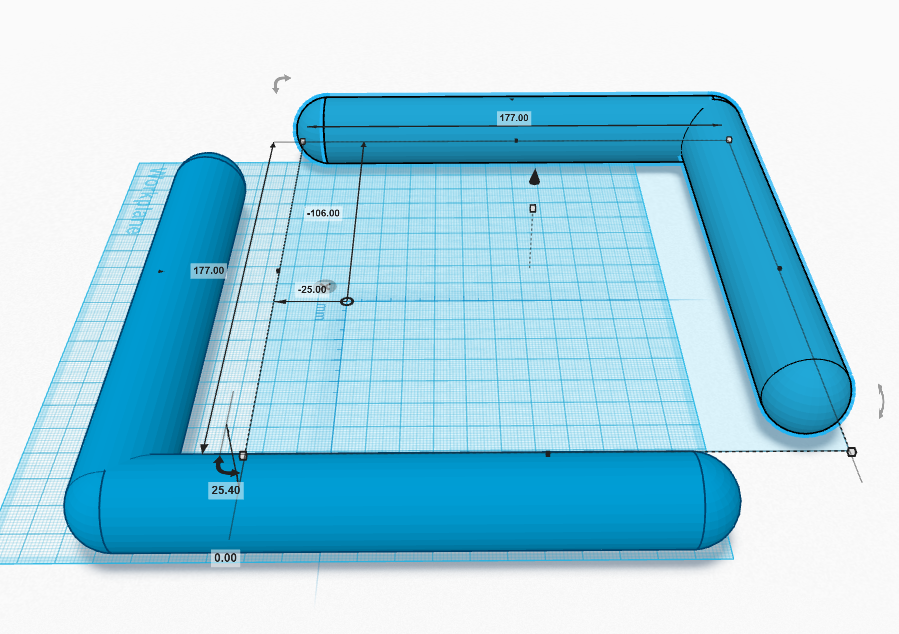
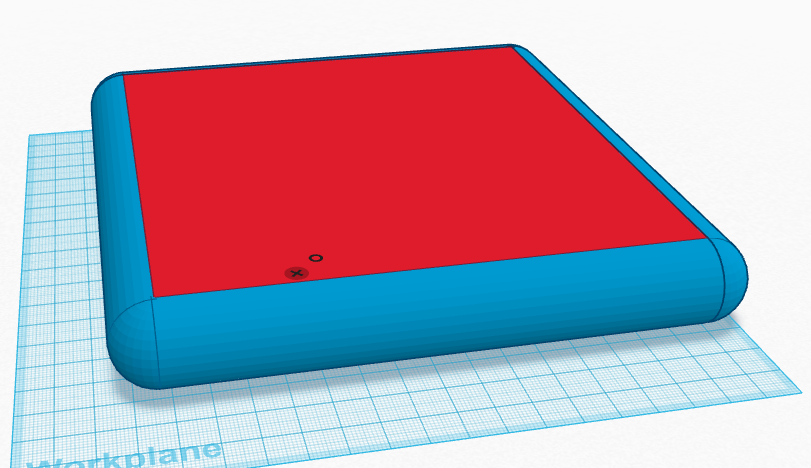
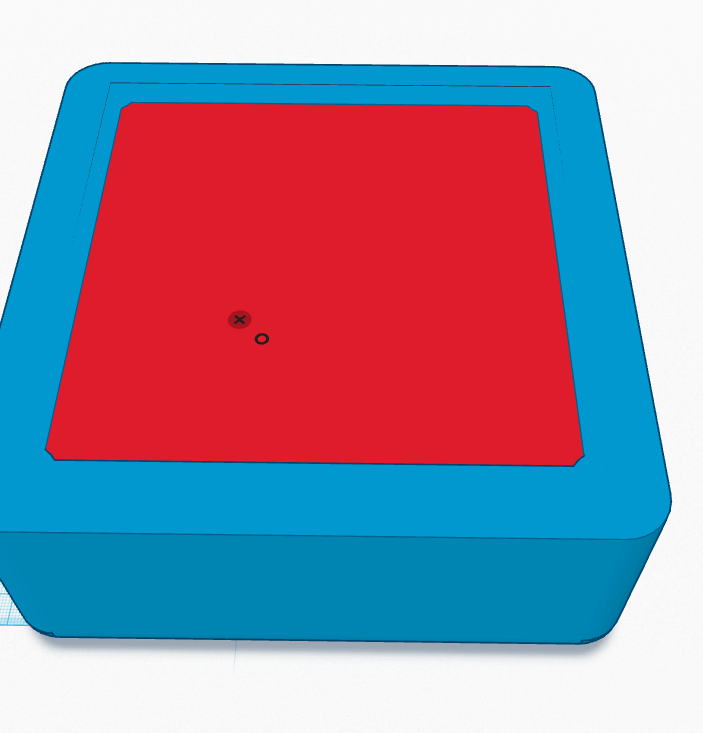
I then made a larger box with similar thickness to my material and centered and merged the two pieces to create a mould. I did this because Aspire creates toolpaths for the positive object, not the negative.
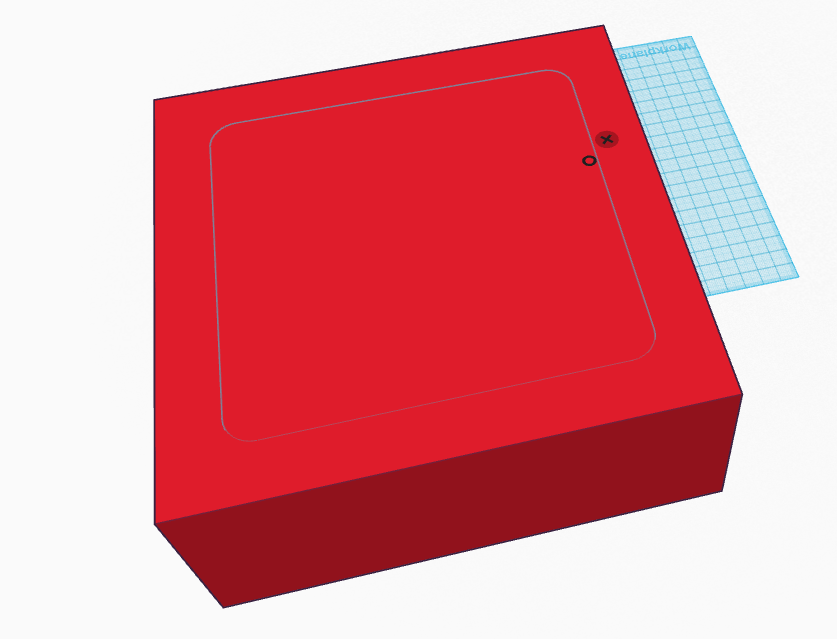
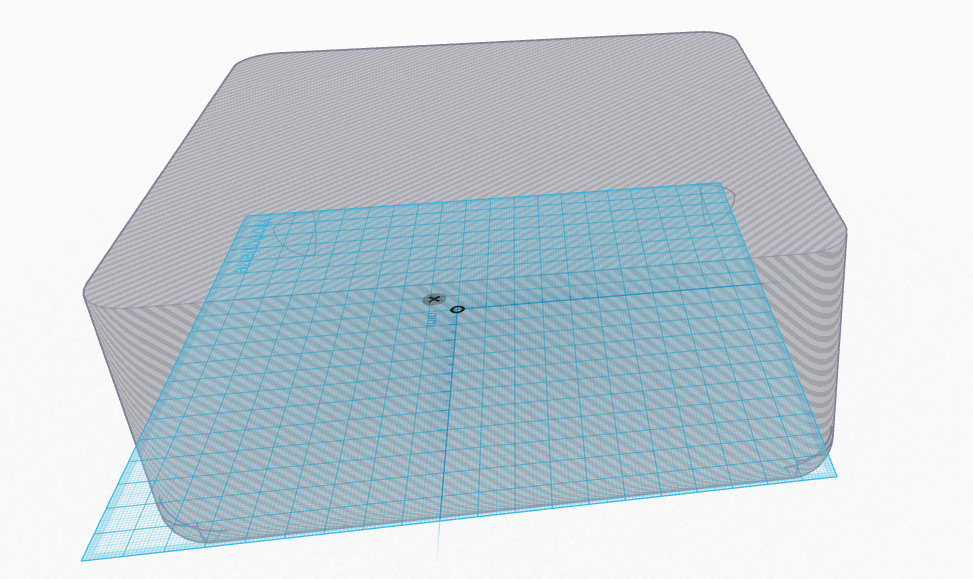
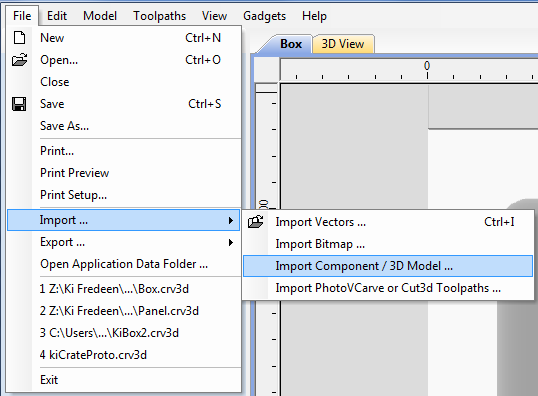
I then moved the files to Aspire, first starting with changing the job settings to fit my material, a 48" by 12" by 4.5" block of insulation foam. I also set the origin to that of the shopbot, the lower left. To import, go to File>Import>Import Component/3d Model.
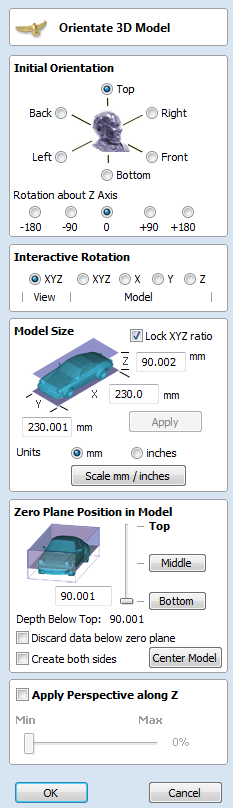
In the import options choose the settings shown in the image below. If you choose the wrong zero plane, the model will not be completely included in the toolpath or will cause problems on the shopbot. I would also reccoment not discarding data below the plane, just in case.
With the model imported, move the resulting image around in Aspire to find a good location to put the mould. I then saved the file and moved the file to the shopbot computer, which had specific settings for the bit and material. On the SB computer, I imported the file back into Aspire and created two toolpaths using the specific settings for our shopbot, the foam, and the bits I was using. The settings I used are shown below.
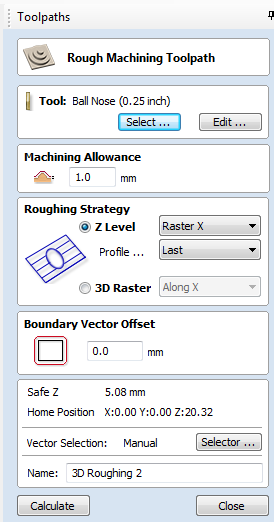
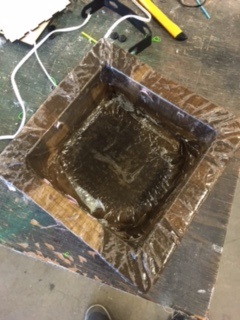
I calculated and saved both of the toolpaths to the shopbot format and sent the files to the shopbot using the procedures I describe here. I then waited for the shopbot to finish. The roughing path digs the basic shape of the box layer by layer. Some material is left over that is easy to clean up.
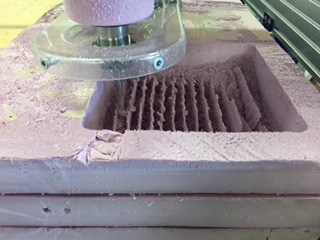
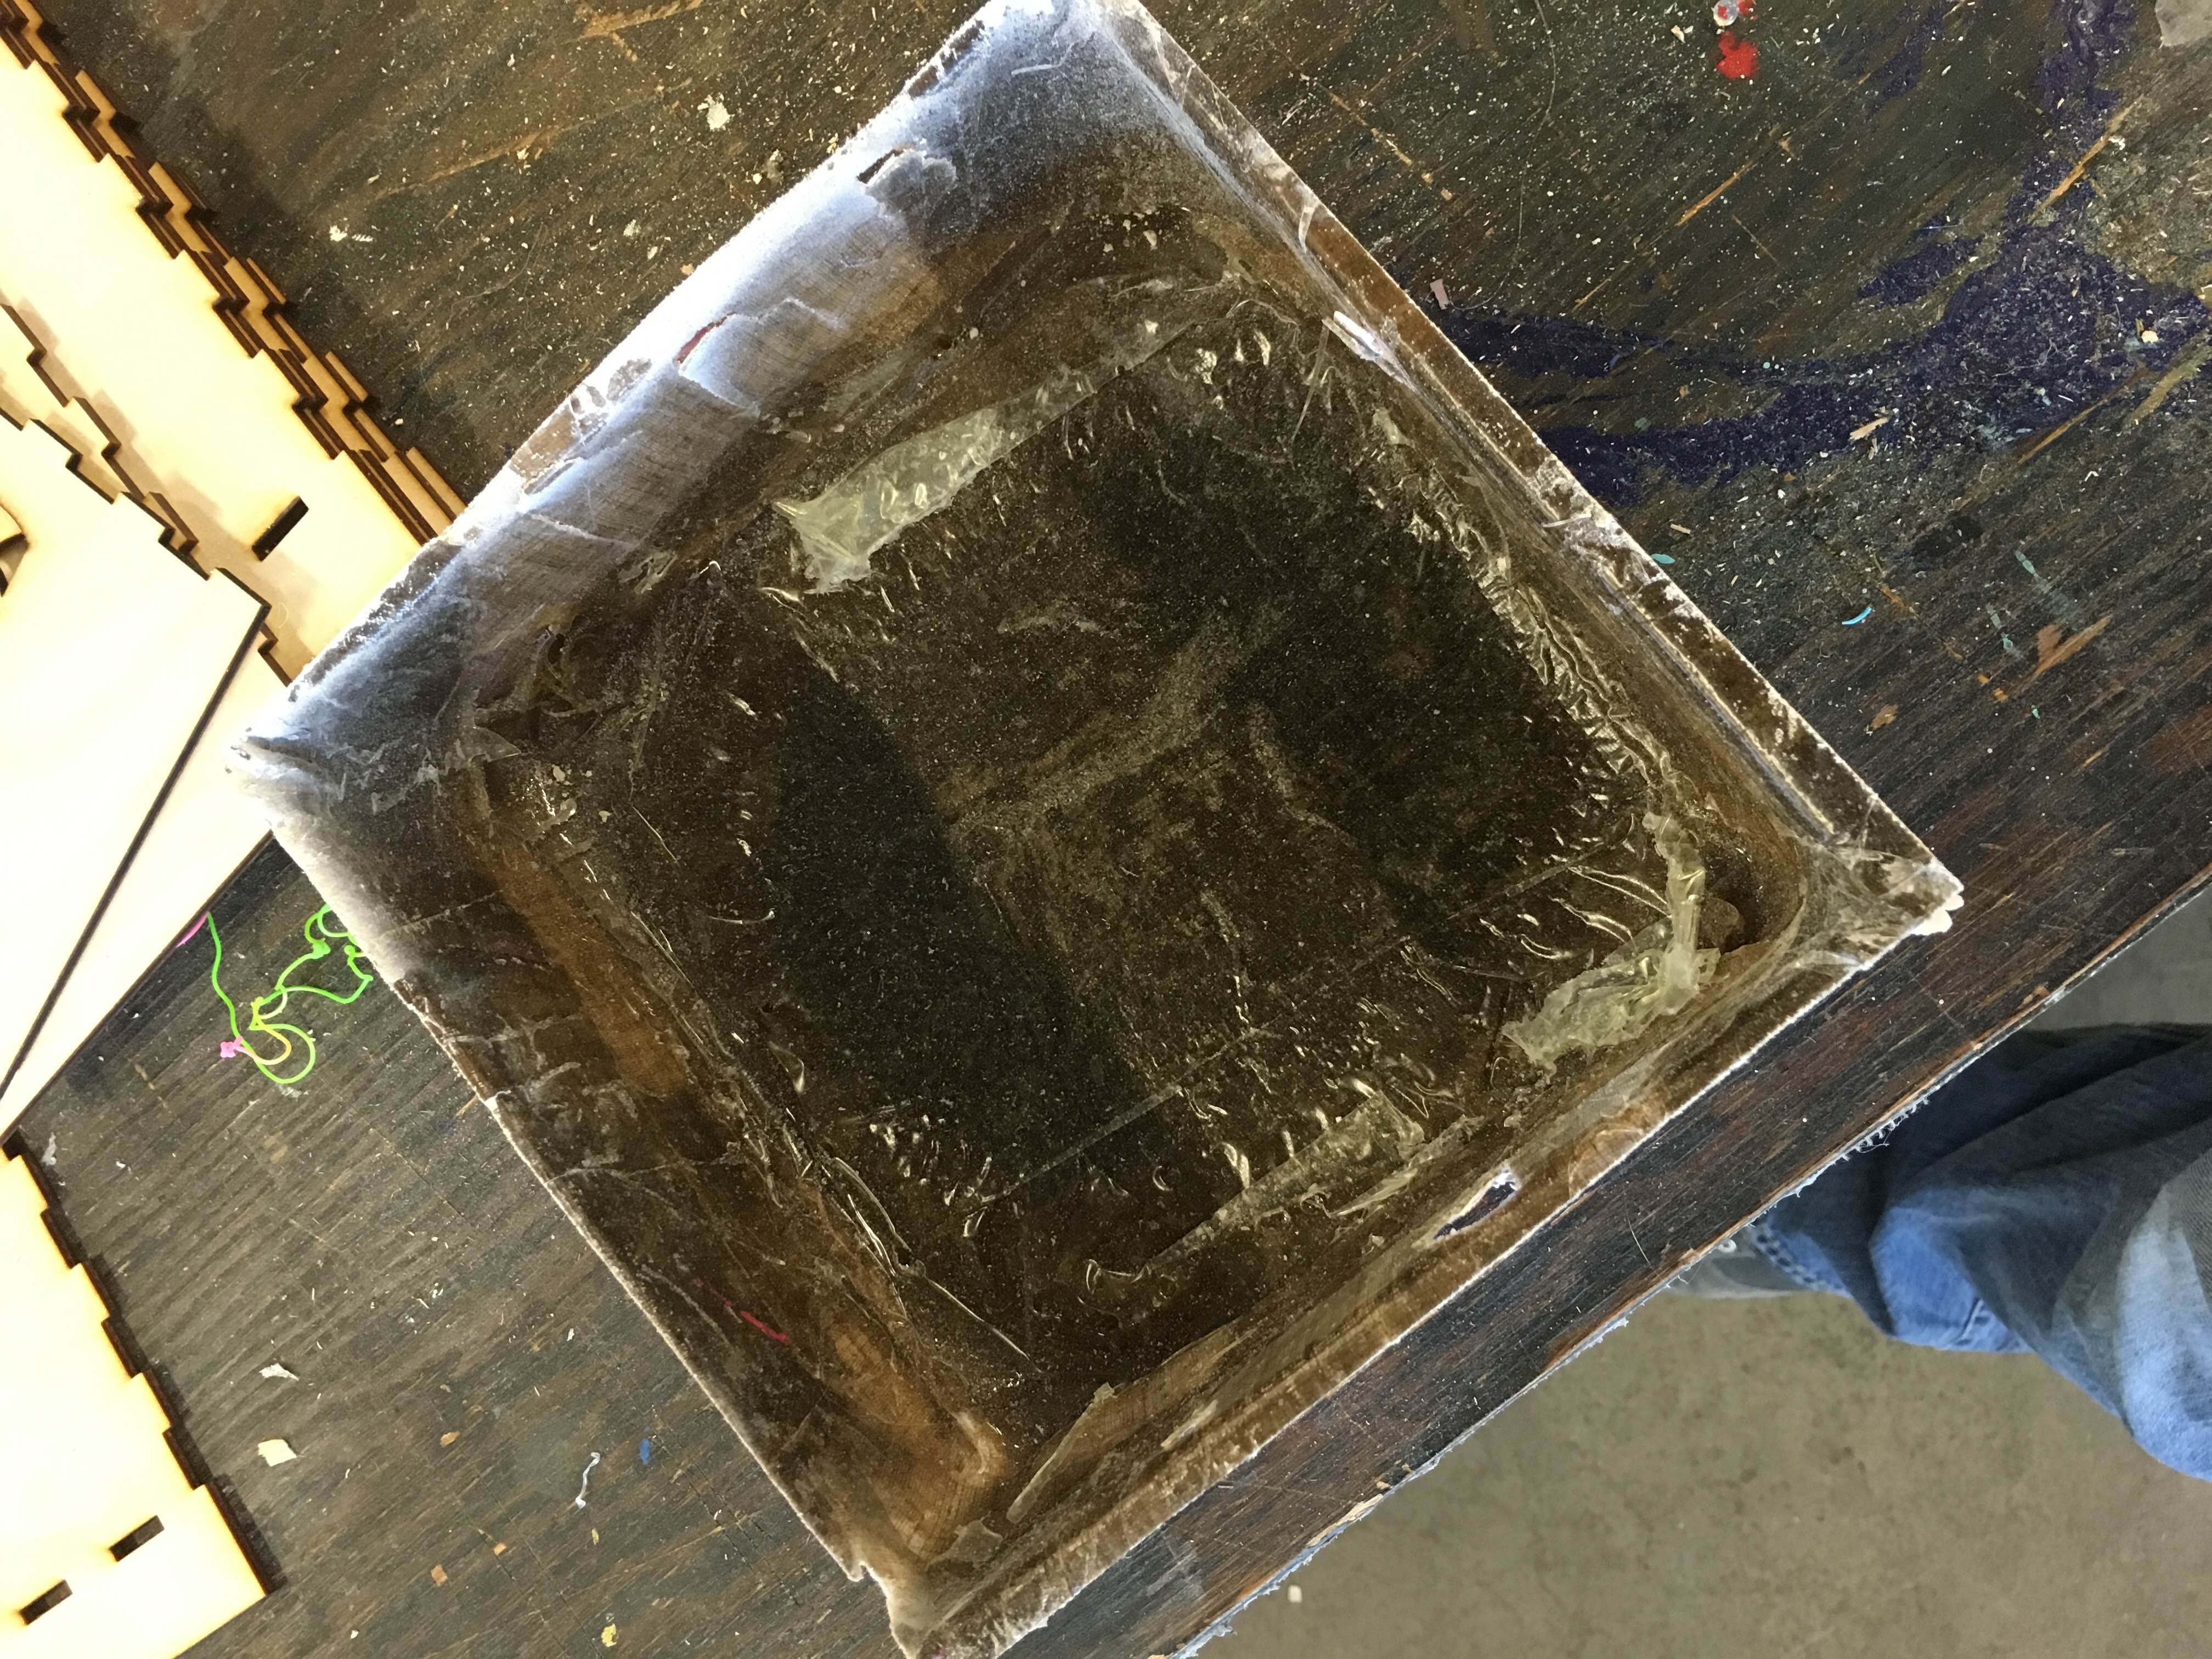
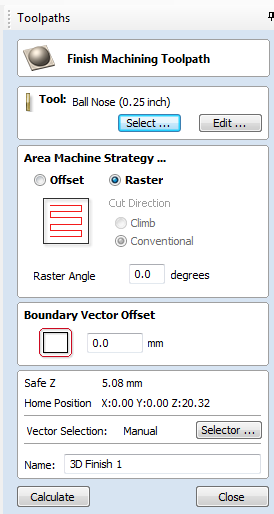
The finishing path moves back and forth to clean up the edges of the box. This takes the longest of the two, but produces the best finish. In the process of doing the finishing, the head ended up hitting the material a little. This was unavoidable, since my model was very deep.
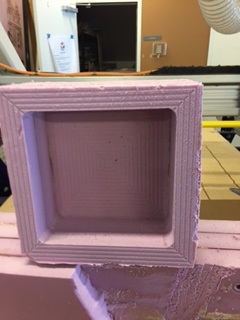
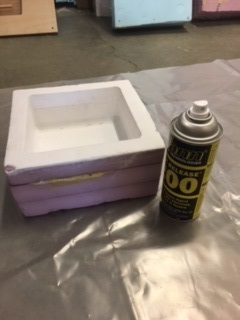
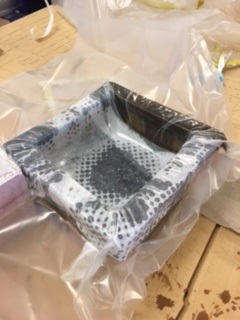
To remove the grooves you see above, I sanded the inside with some sandpaper. The grooves are from the rounded bit I used. I could then move on to adding Gesso to the mould. Gesso helps seal the mould to prevent, alongside release agent, the epoxy from sticking to the mould and improves the finish of the end product. Gesso can be applied with a normal paintbrush and looks and is very similar to white paint. You need to apply multiple coats for the best effect. In between coats, the Gesso needs to dry, and we've found that since Gesso is water based, the heat of the sun is effective at drying it faster.
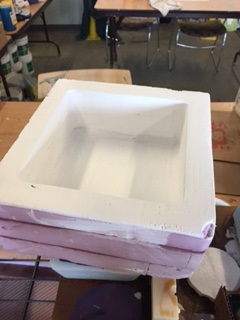
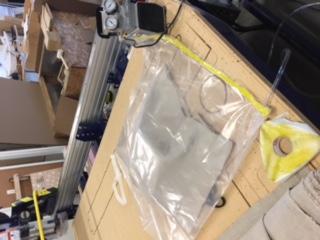
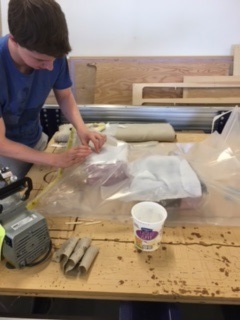
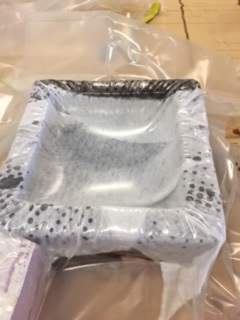
After applying Gesso, I could now vaccum form the mould.