3D printing creates layers of plastic or other material that construct 3D shapes that may not be creatable with subtractive methods. This week I set out to create a model to 3D print.
The first thing I did was to use TinkerCAD to create a model. I followed my general process of designing 3D objects for printing, which can be found on the CAD page.

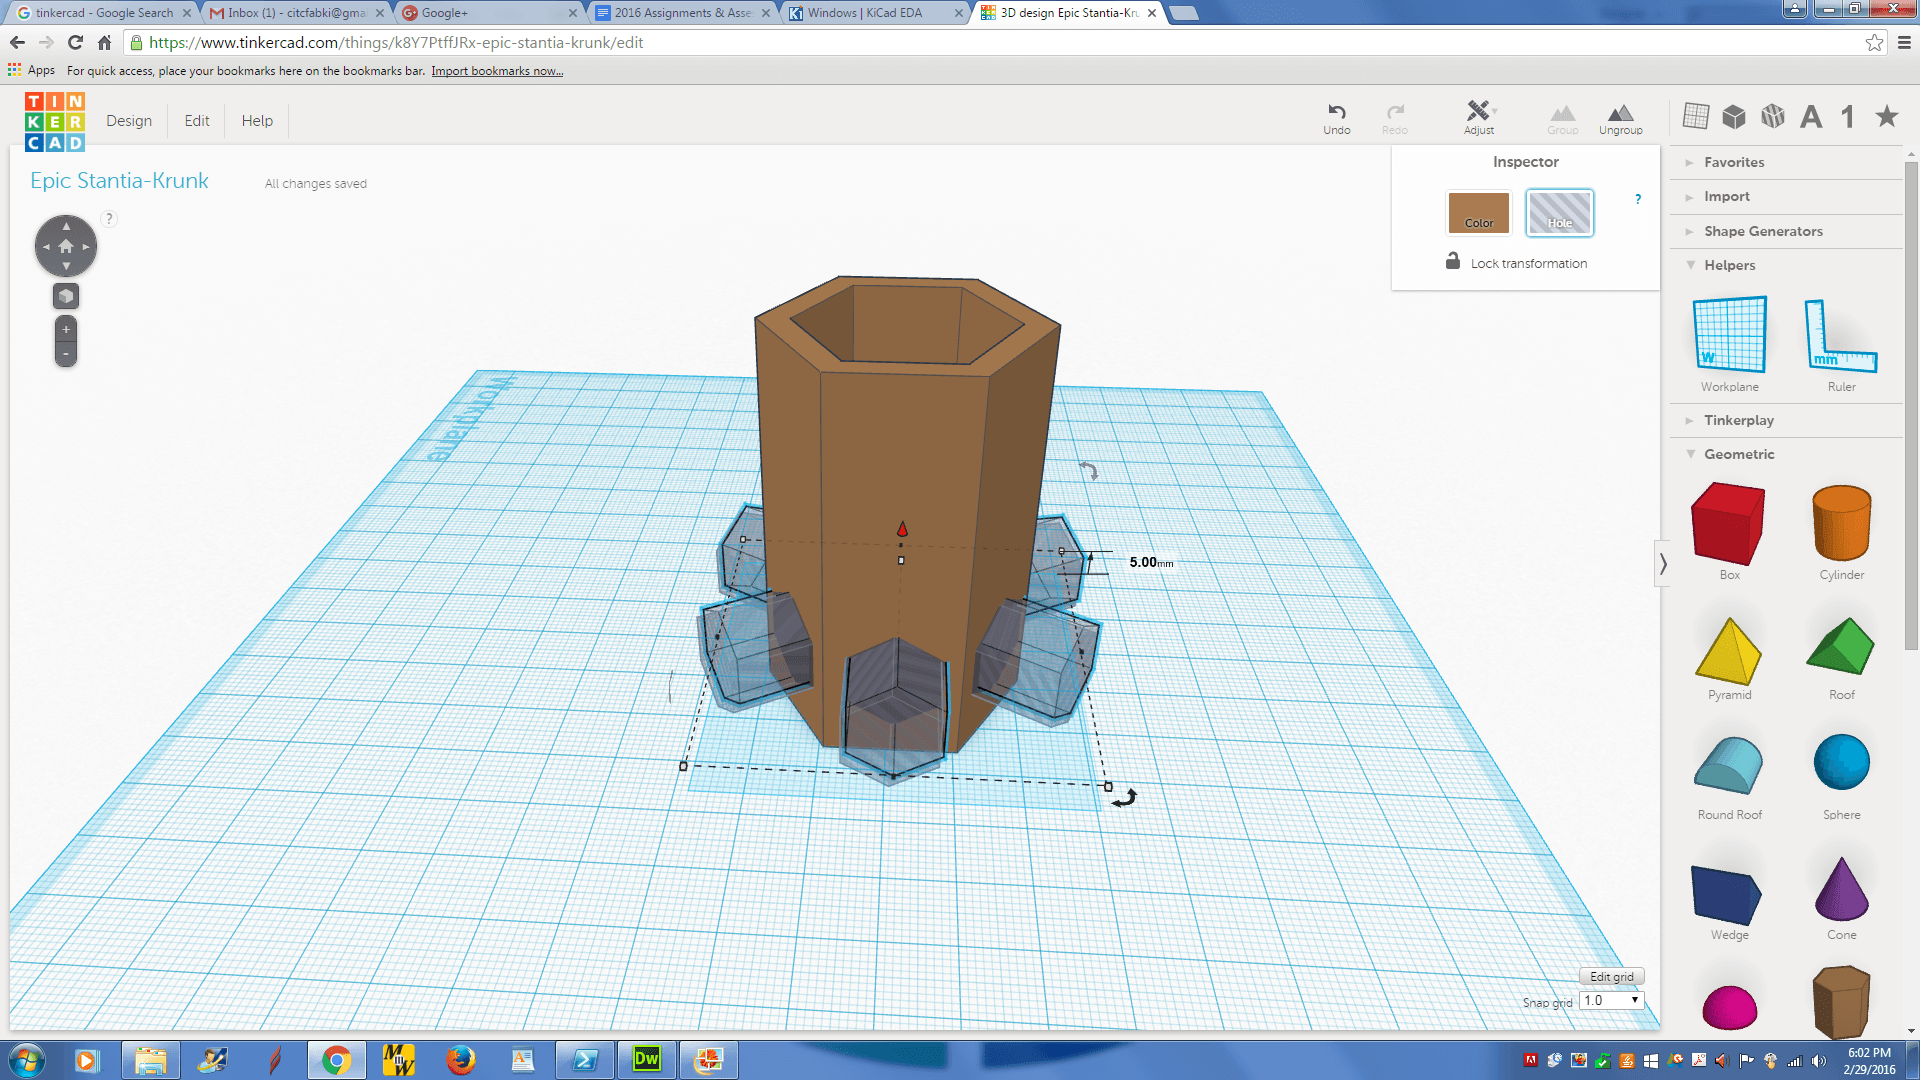
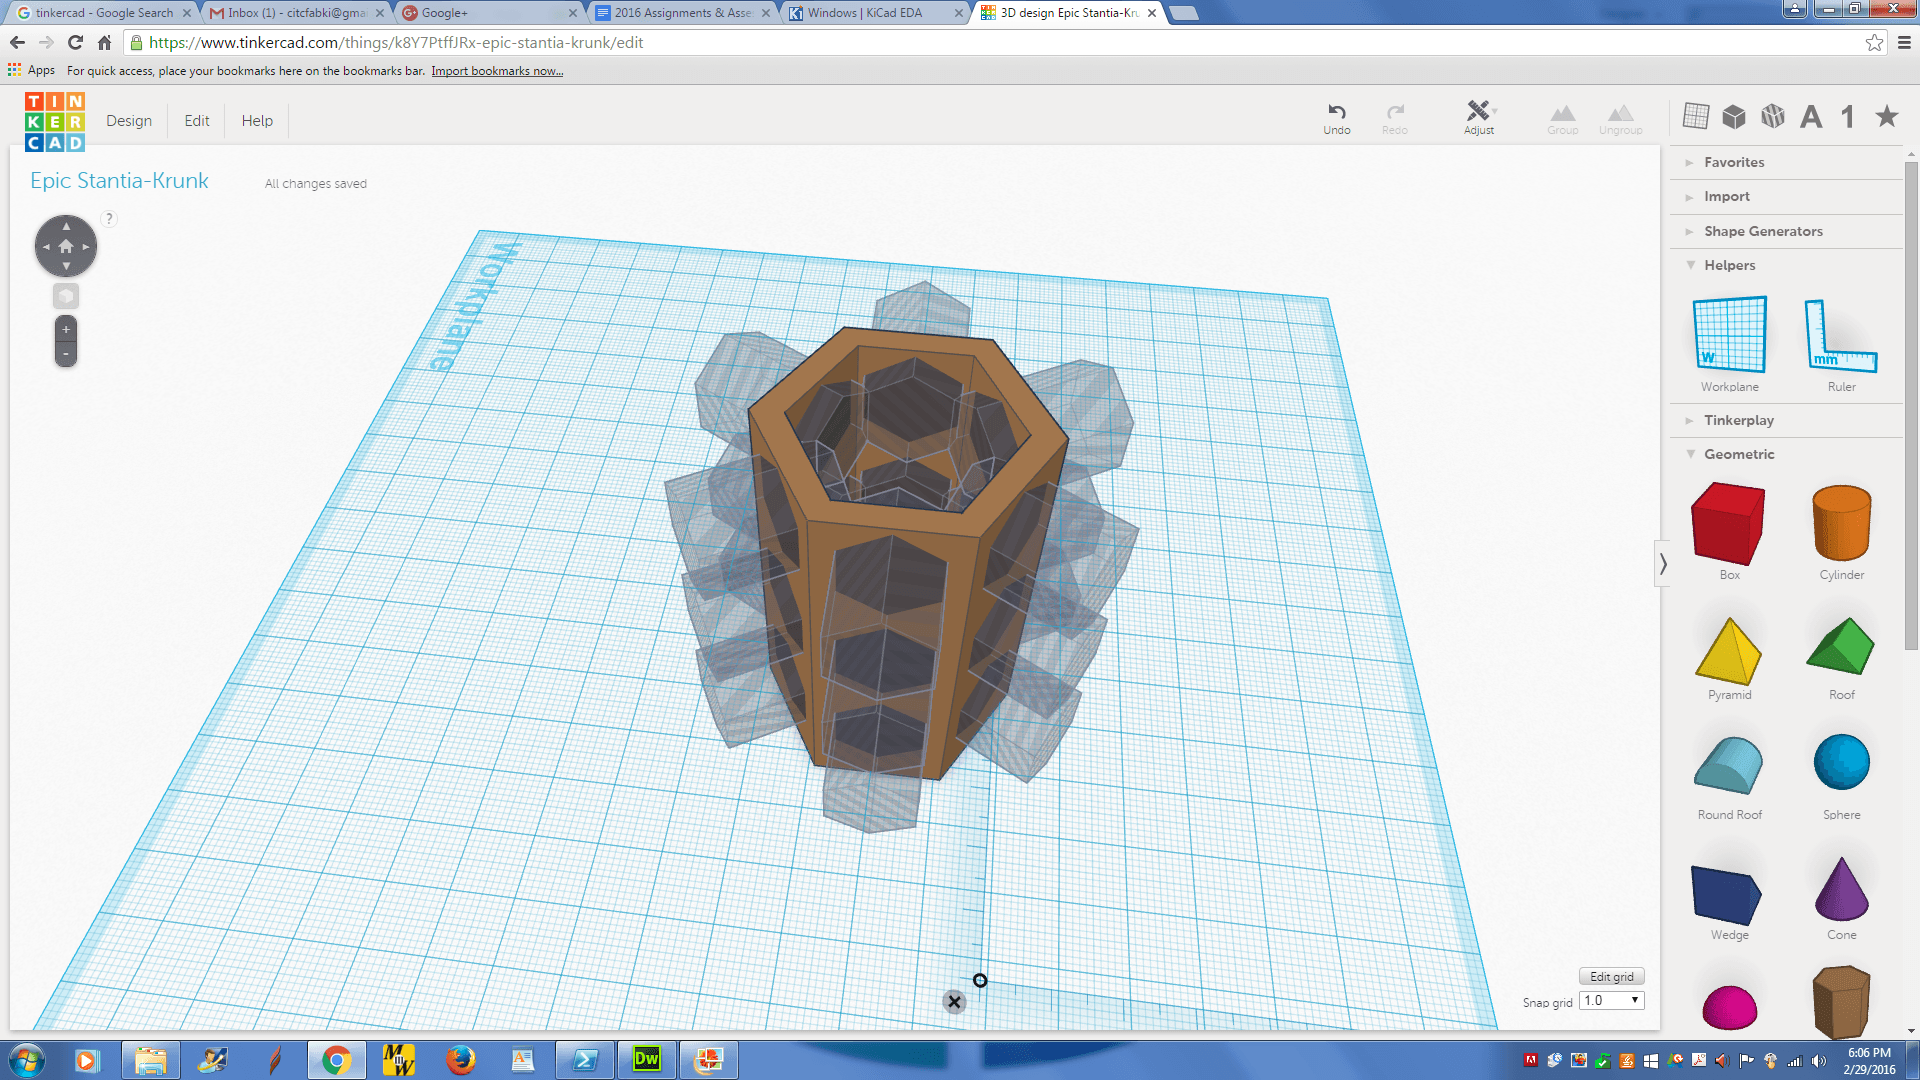
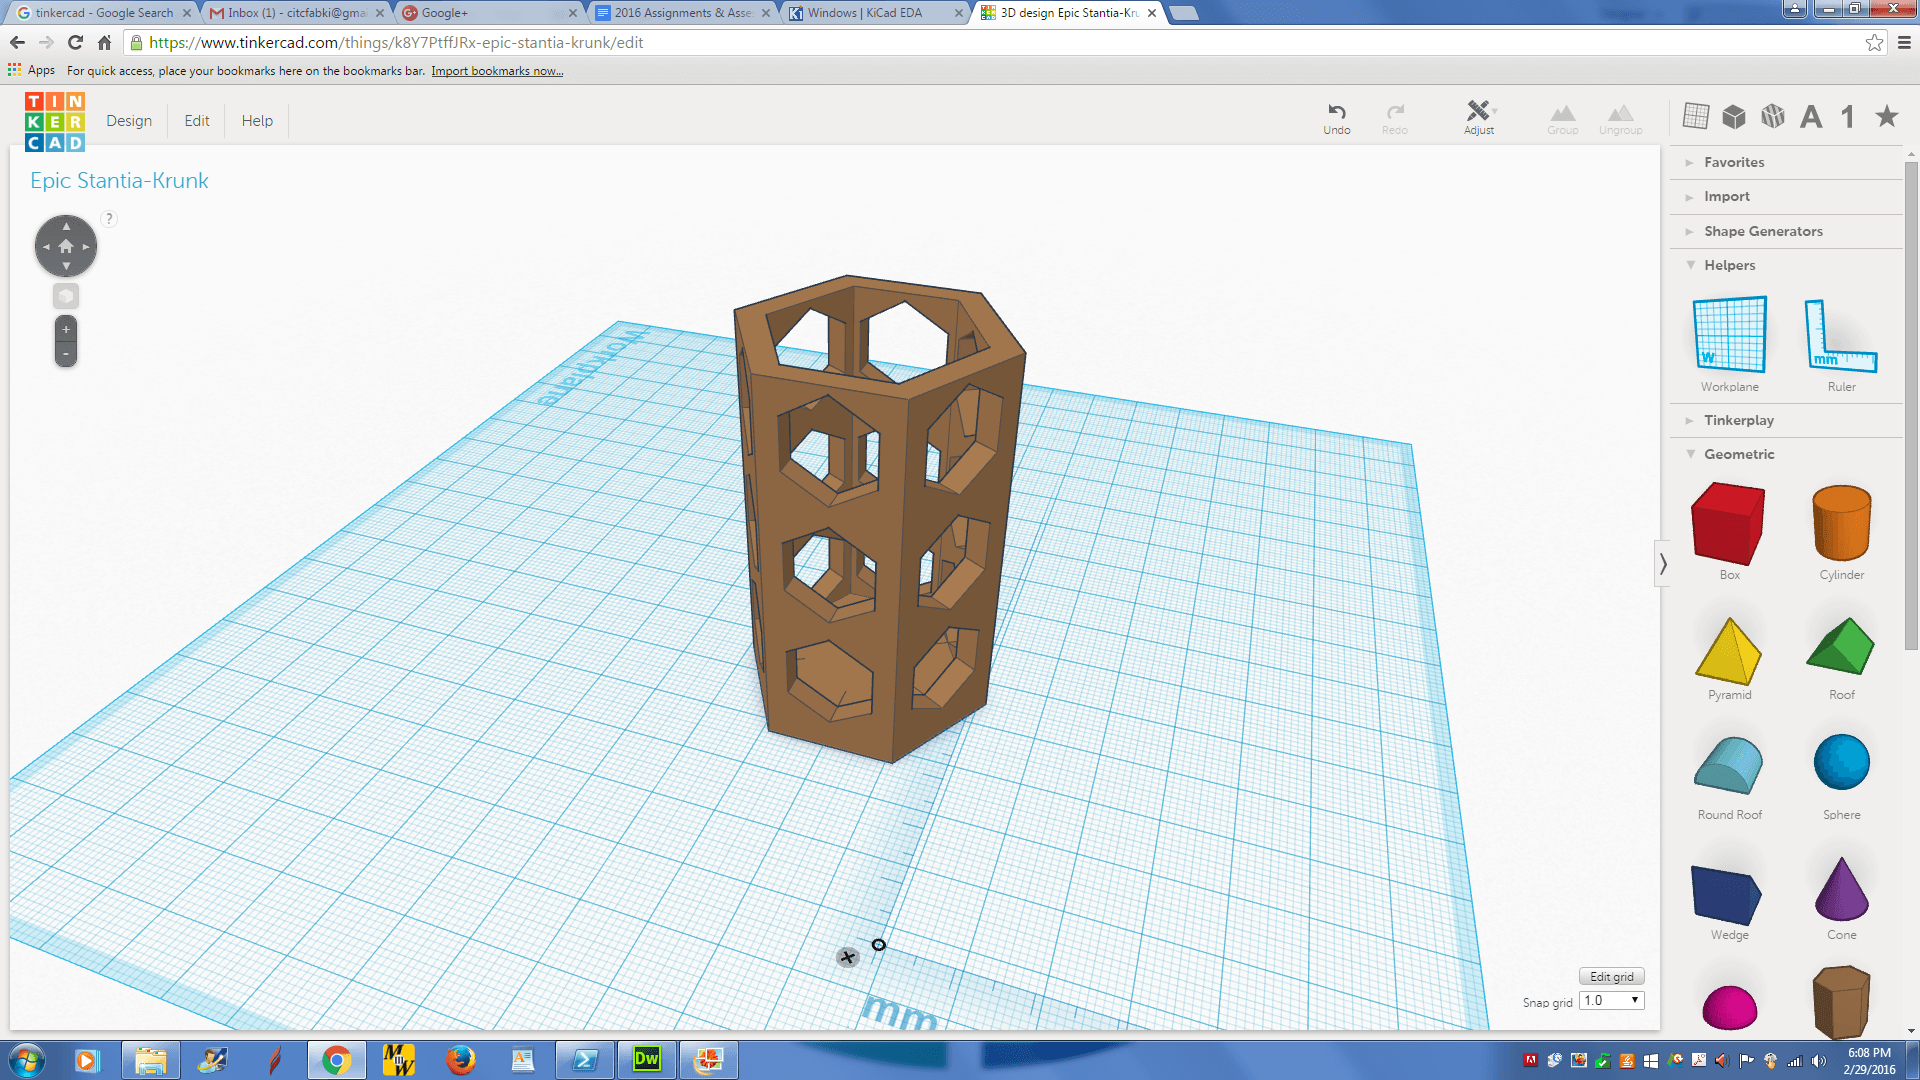
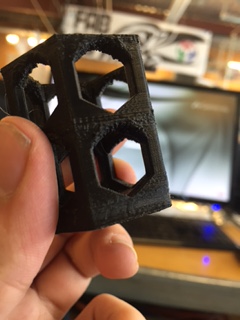
This model could not be made using one pass of subtractive methods (Ok, maybe the 5-axis could, but the model is small) because of the multiple holes and the large hollow area. The edges are small, so the model could easily break on a 5-axis mill.
I then printed the part using the M2 Printer. The first step of printing with the M2 is to set up the printer and the software. The printer is turned on with the switch on the power supply. The software should automaticlly connect. Drag the STL file into the queue column in the software. Pre-heat the print head and platform by navigating to View>Controls (or something). While the platform is heating up, apply some glue from a glue stick to the platform to assist with the model support. Click the print button.
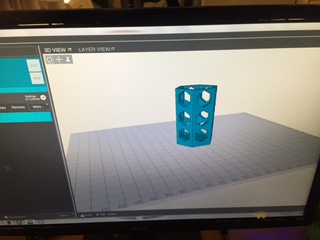
I unfortunately forgot to take photos of the print in progress, but the printer seized up and the print stopped about 2/3 of the way through. You can pry the model up with a razor. The M2's support raft is discrete enough that you don't need to trim it off, but other printers may have wider rafts so you may end up trimming and/or sanding that off. My model is now complete (or as complete as the printer let it get). The M2 doesn't have support material, so the bottom faces of the holes are a little rough.