Vinyl Cuttin T-Shirt Silk Screen Tutorial
Tools Used:
Corel Draw
Adobe Illustrator
Roland Camm-1 Vinyl Cutter
Tweezers
Xacto knife
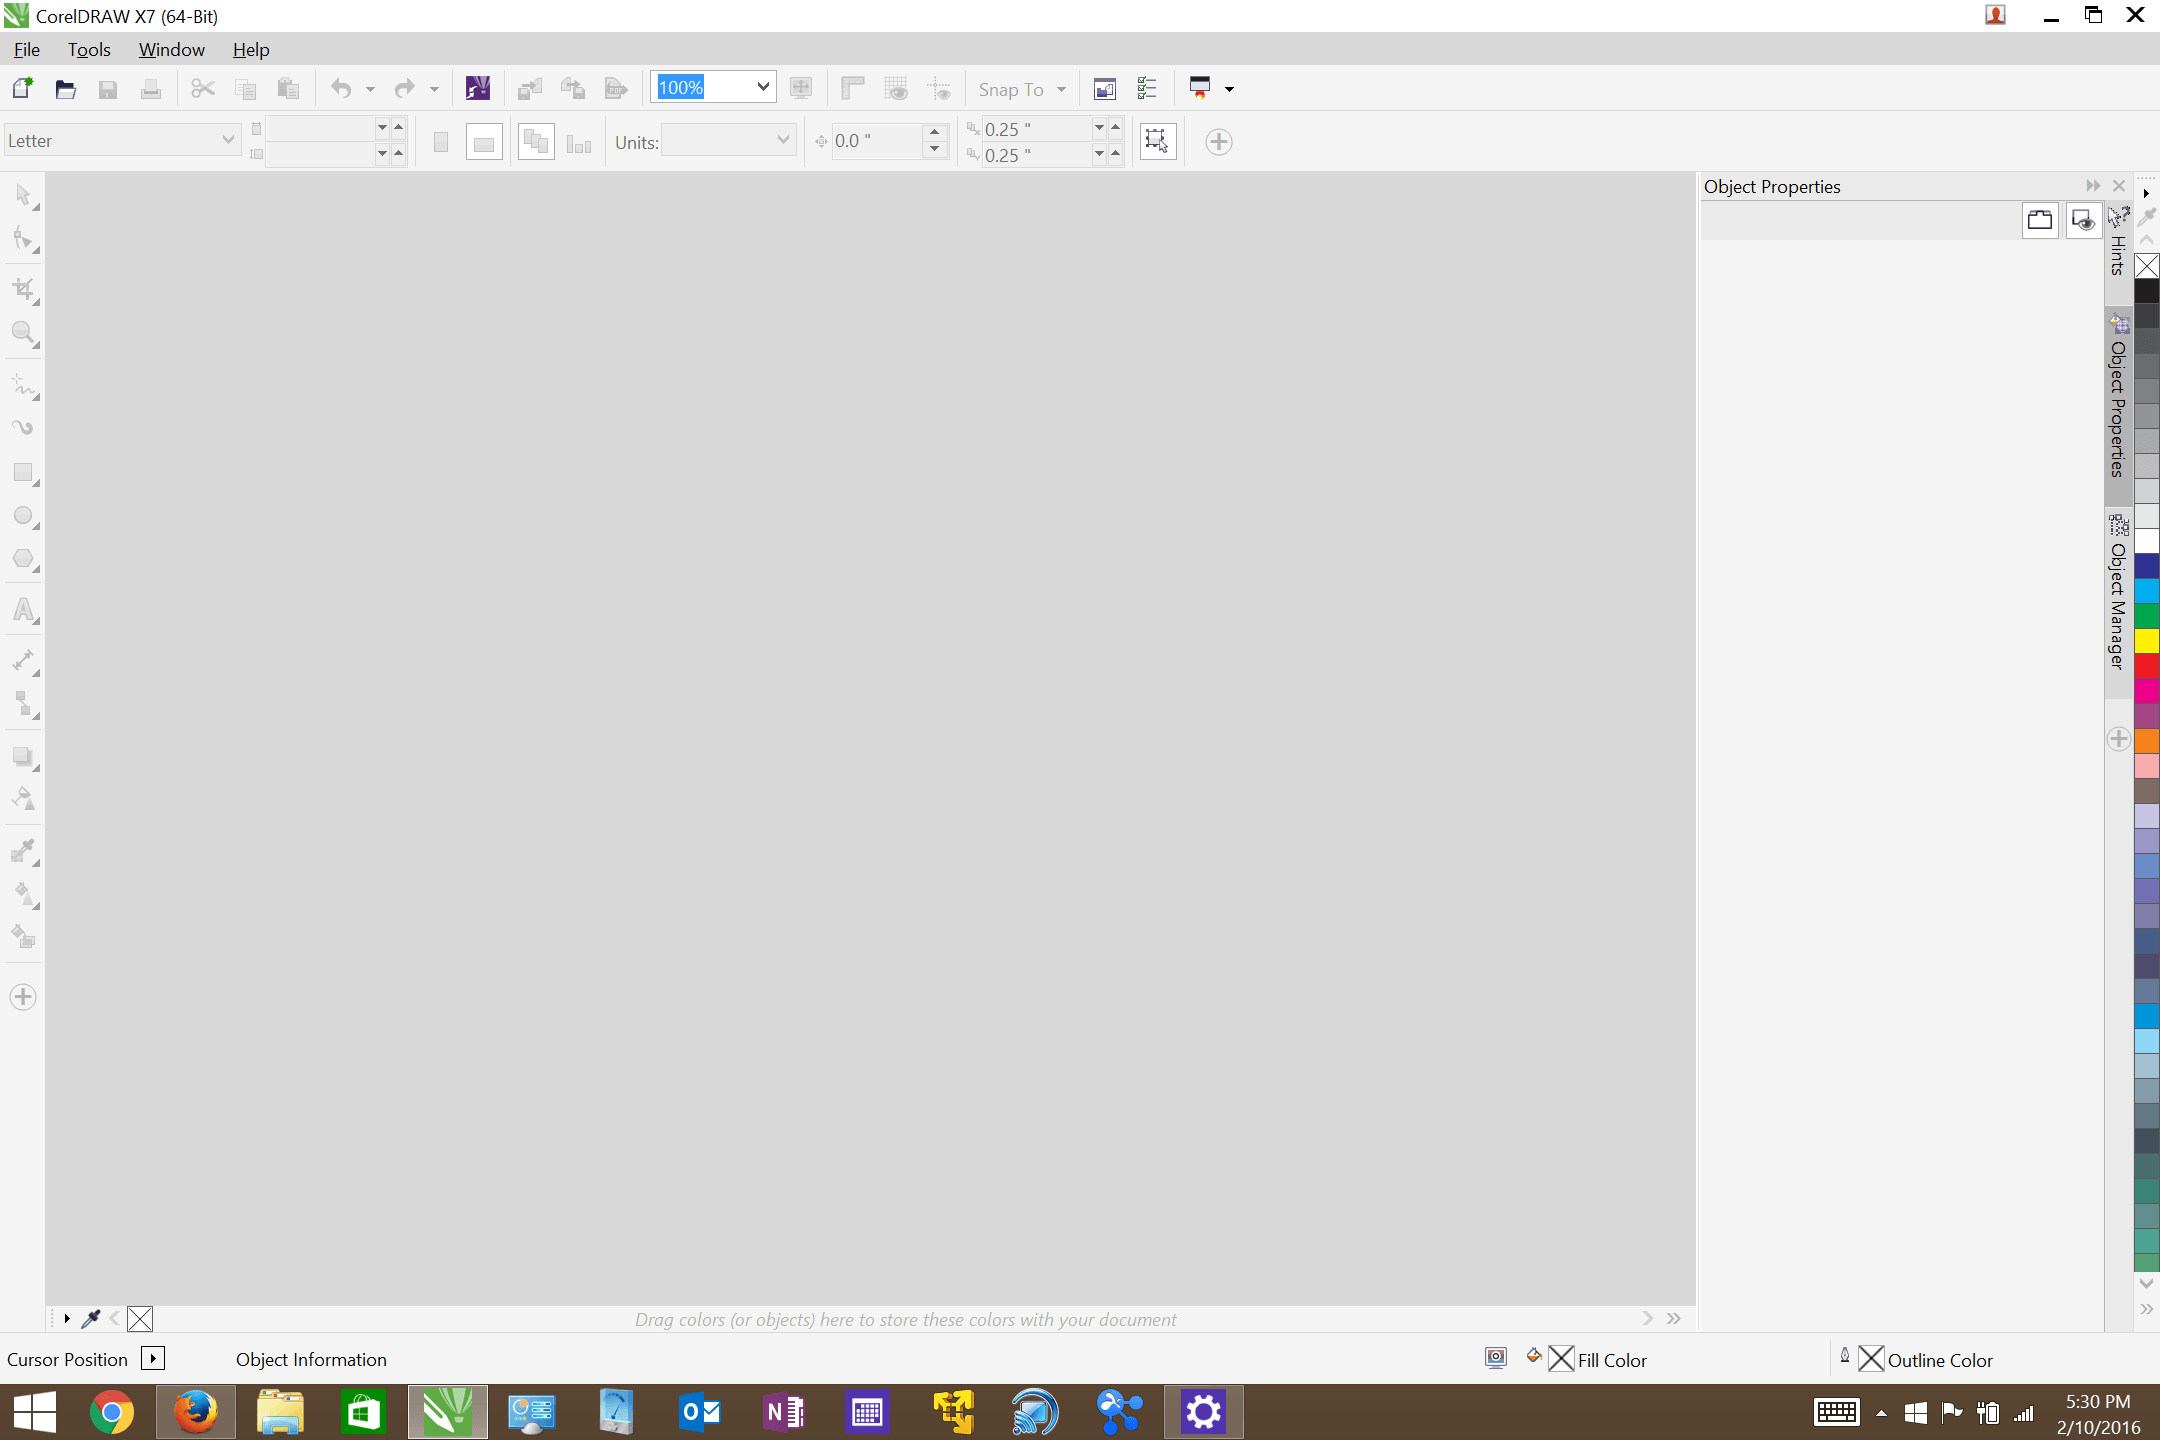
I started with Corel Draw. There is a trial available here.
We'll begin by going to File>New
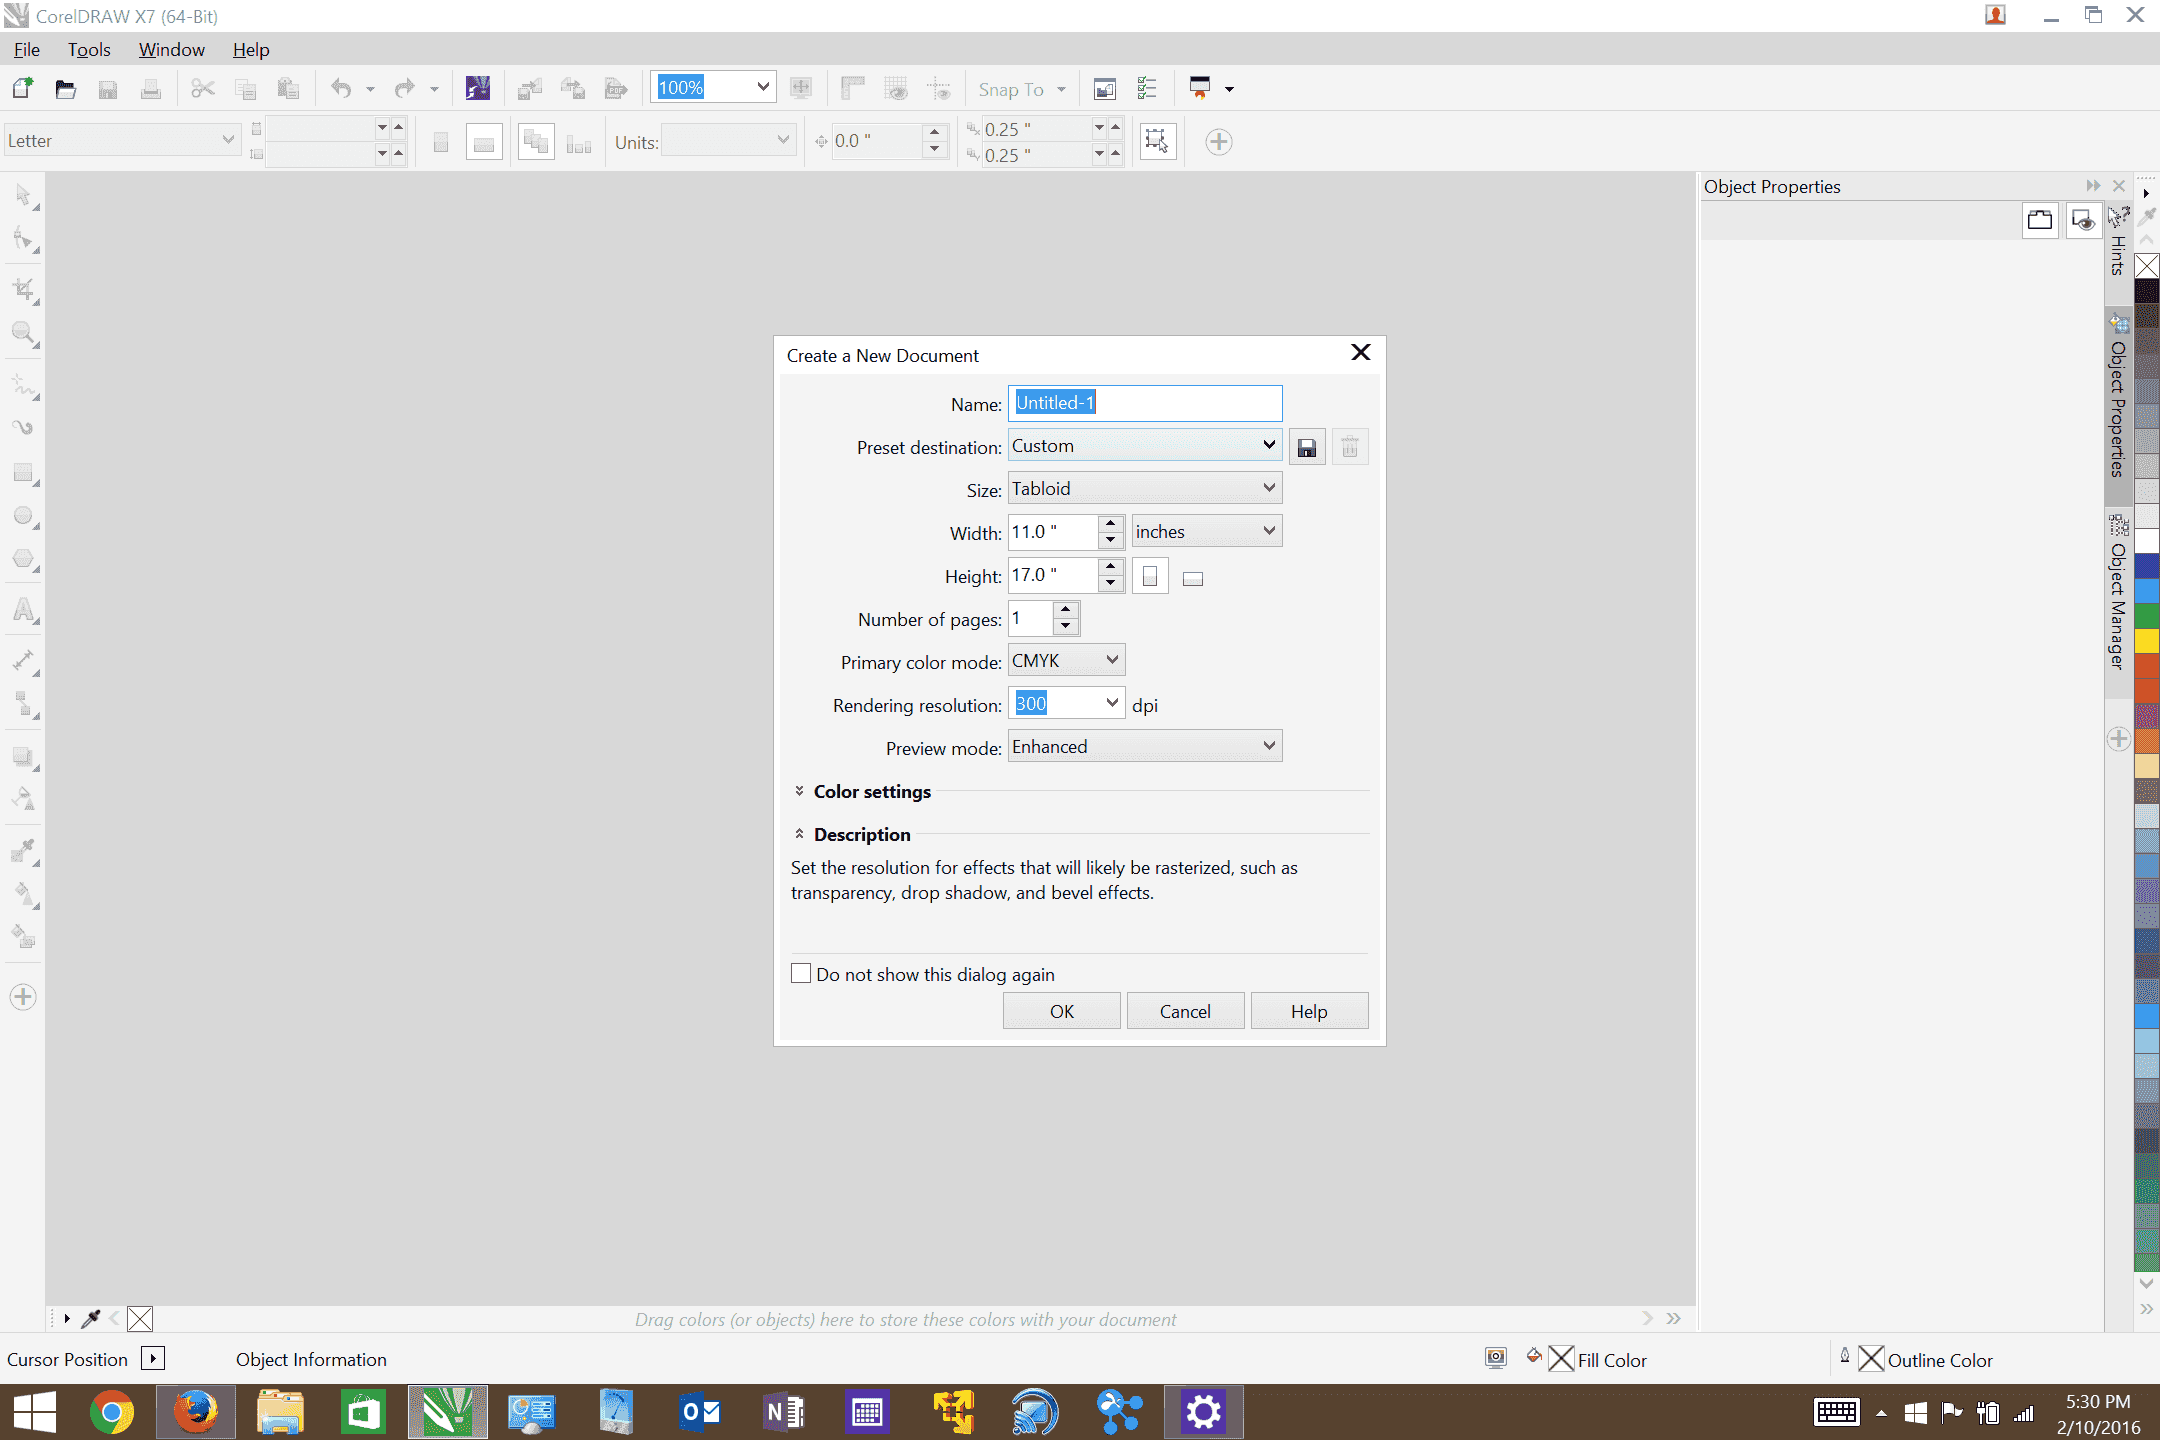
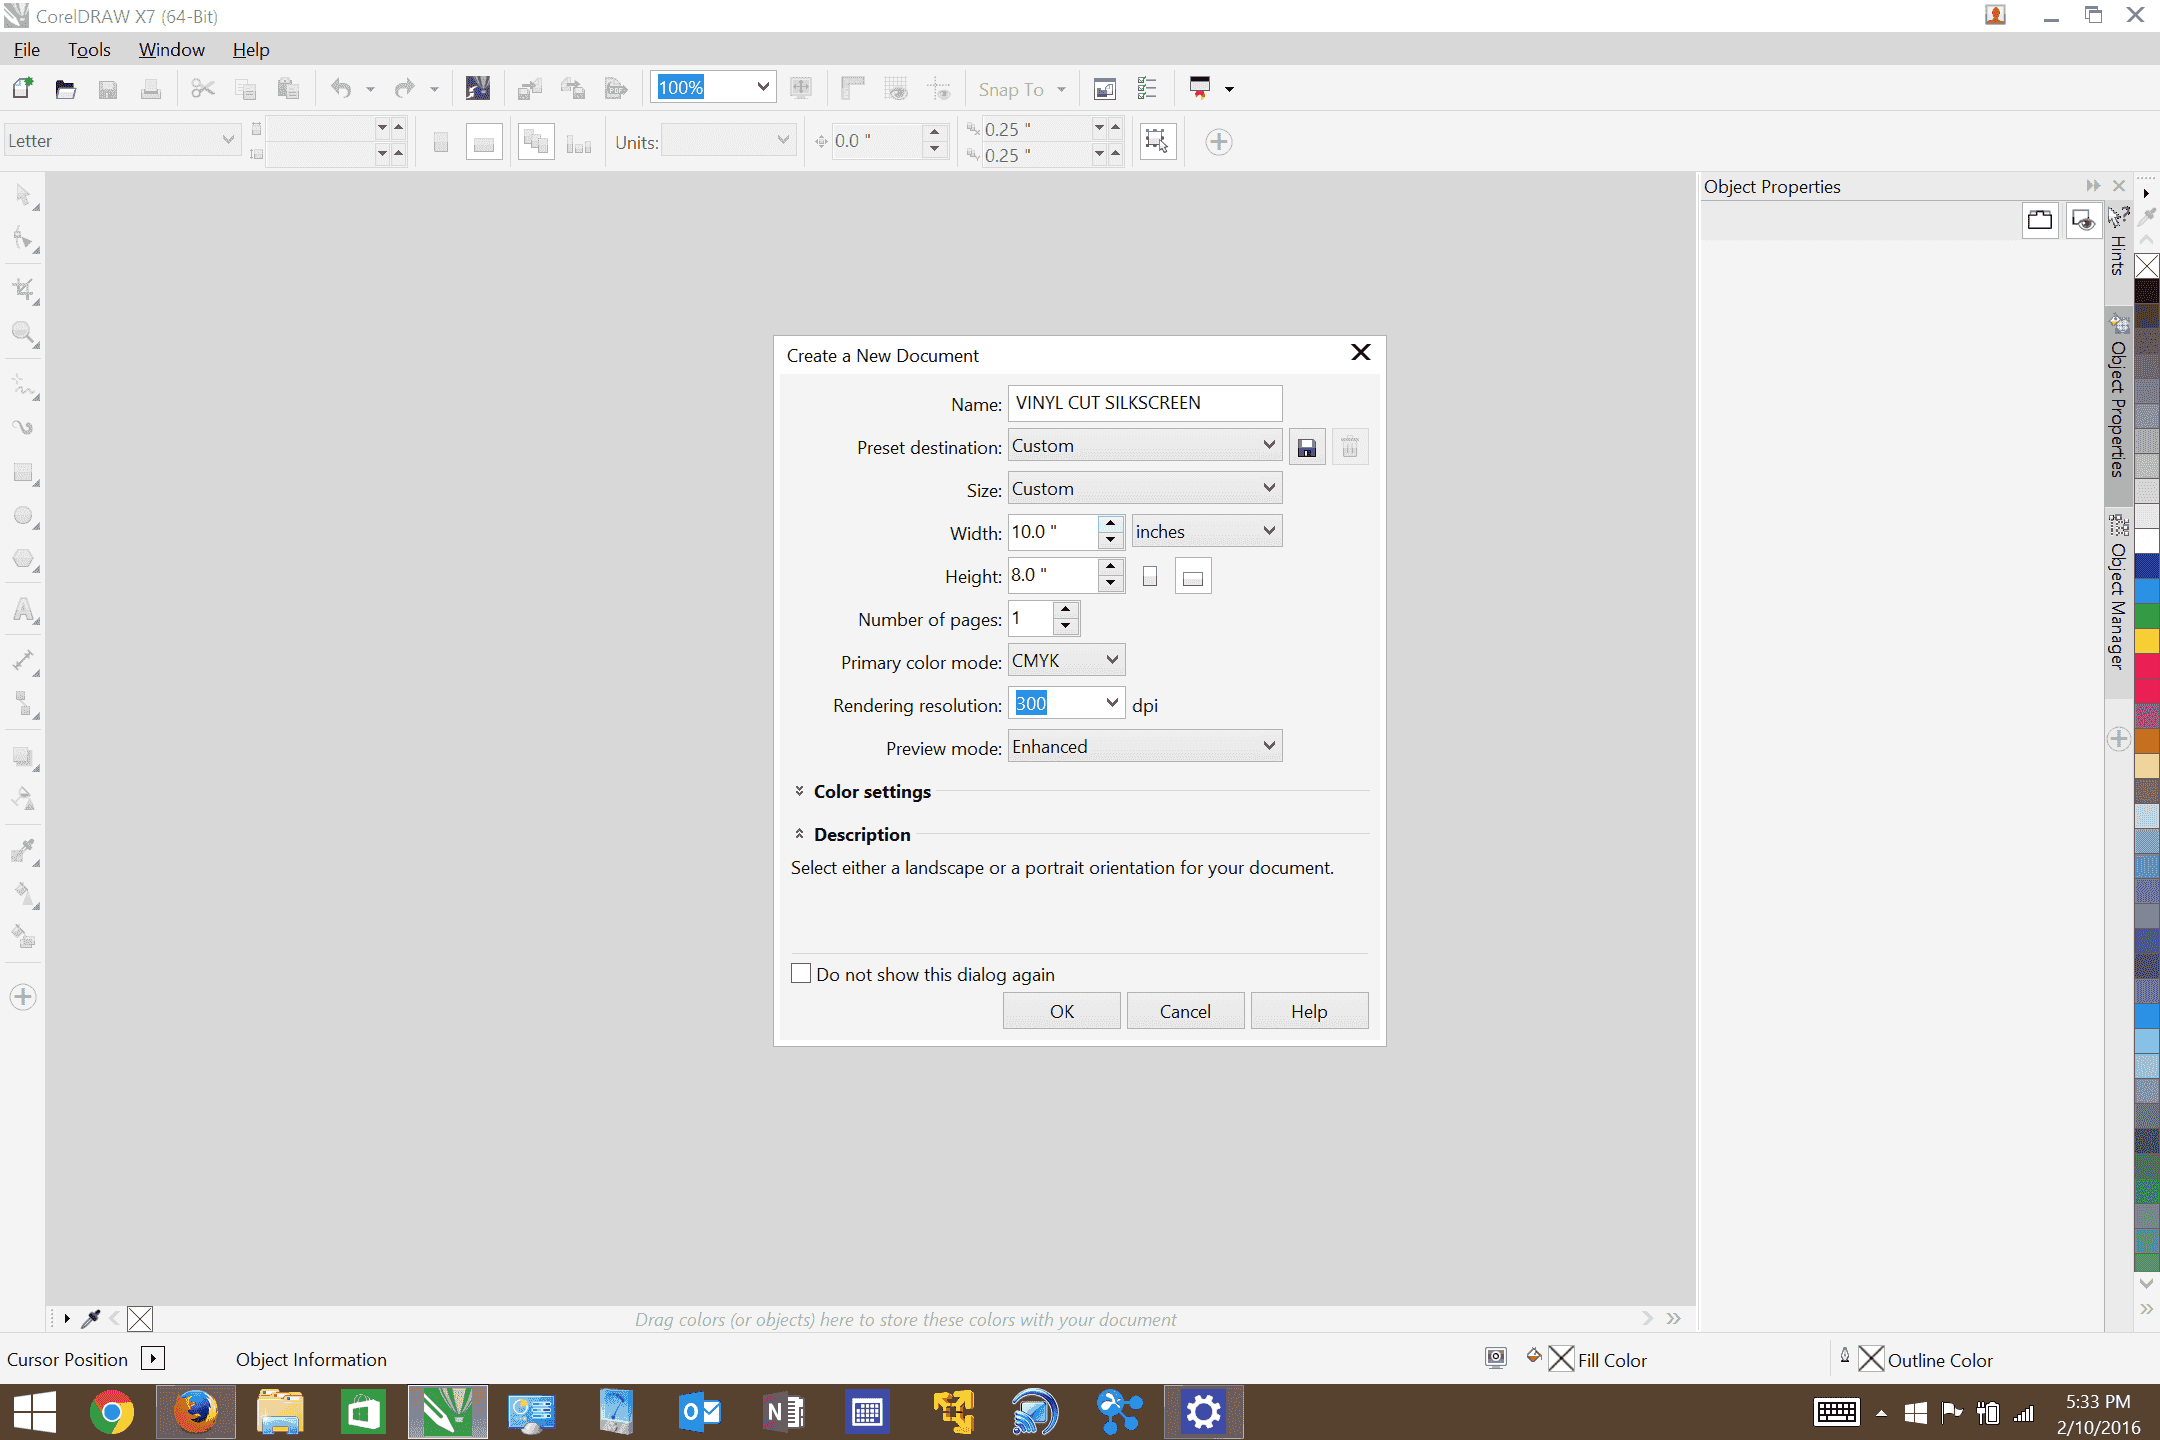
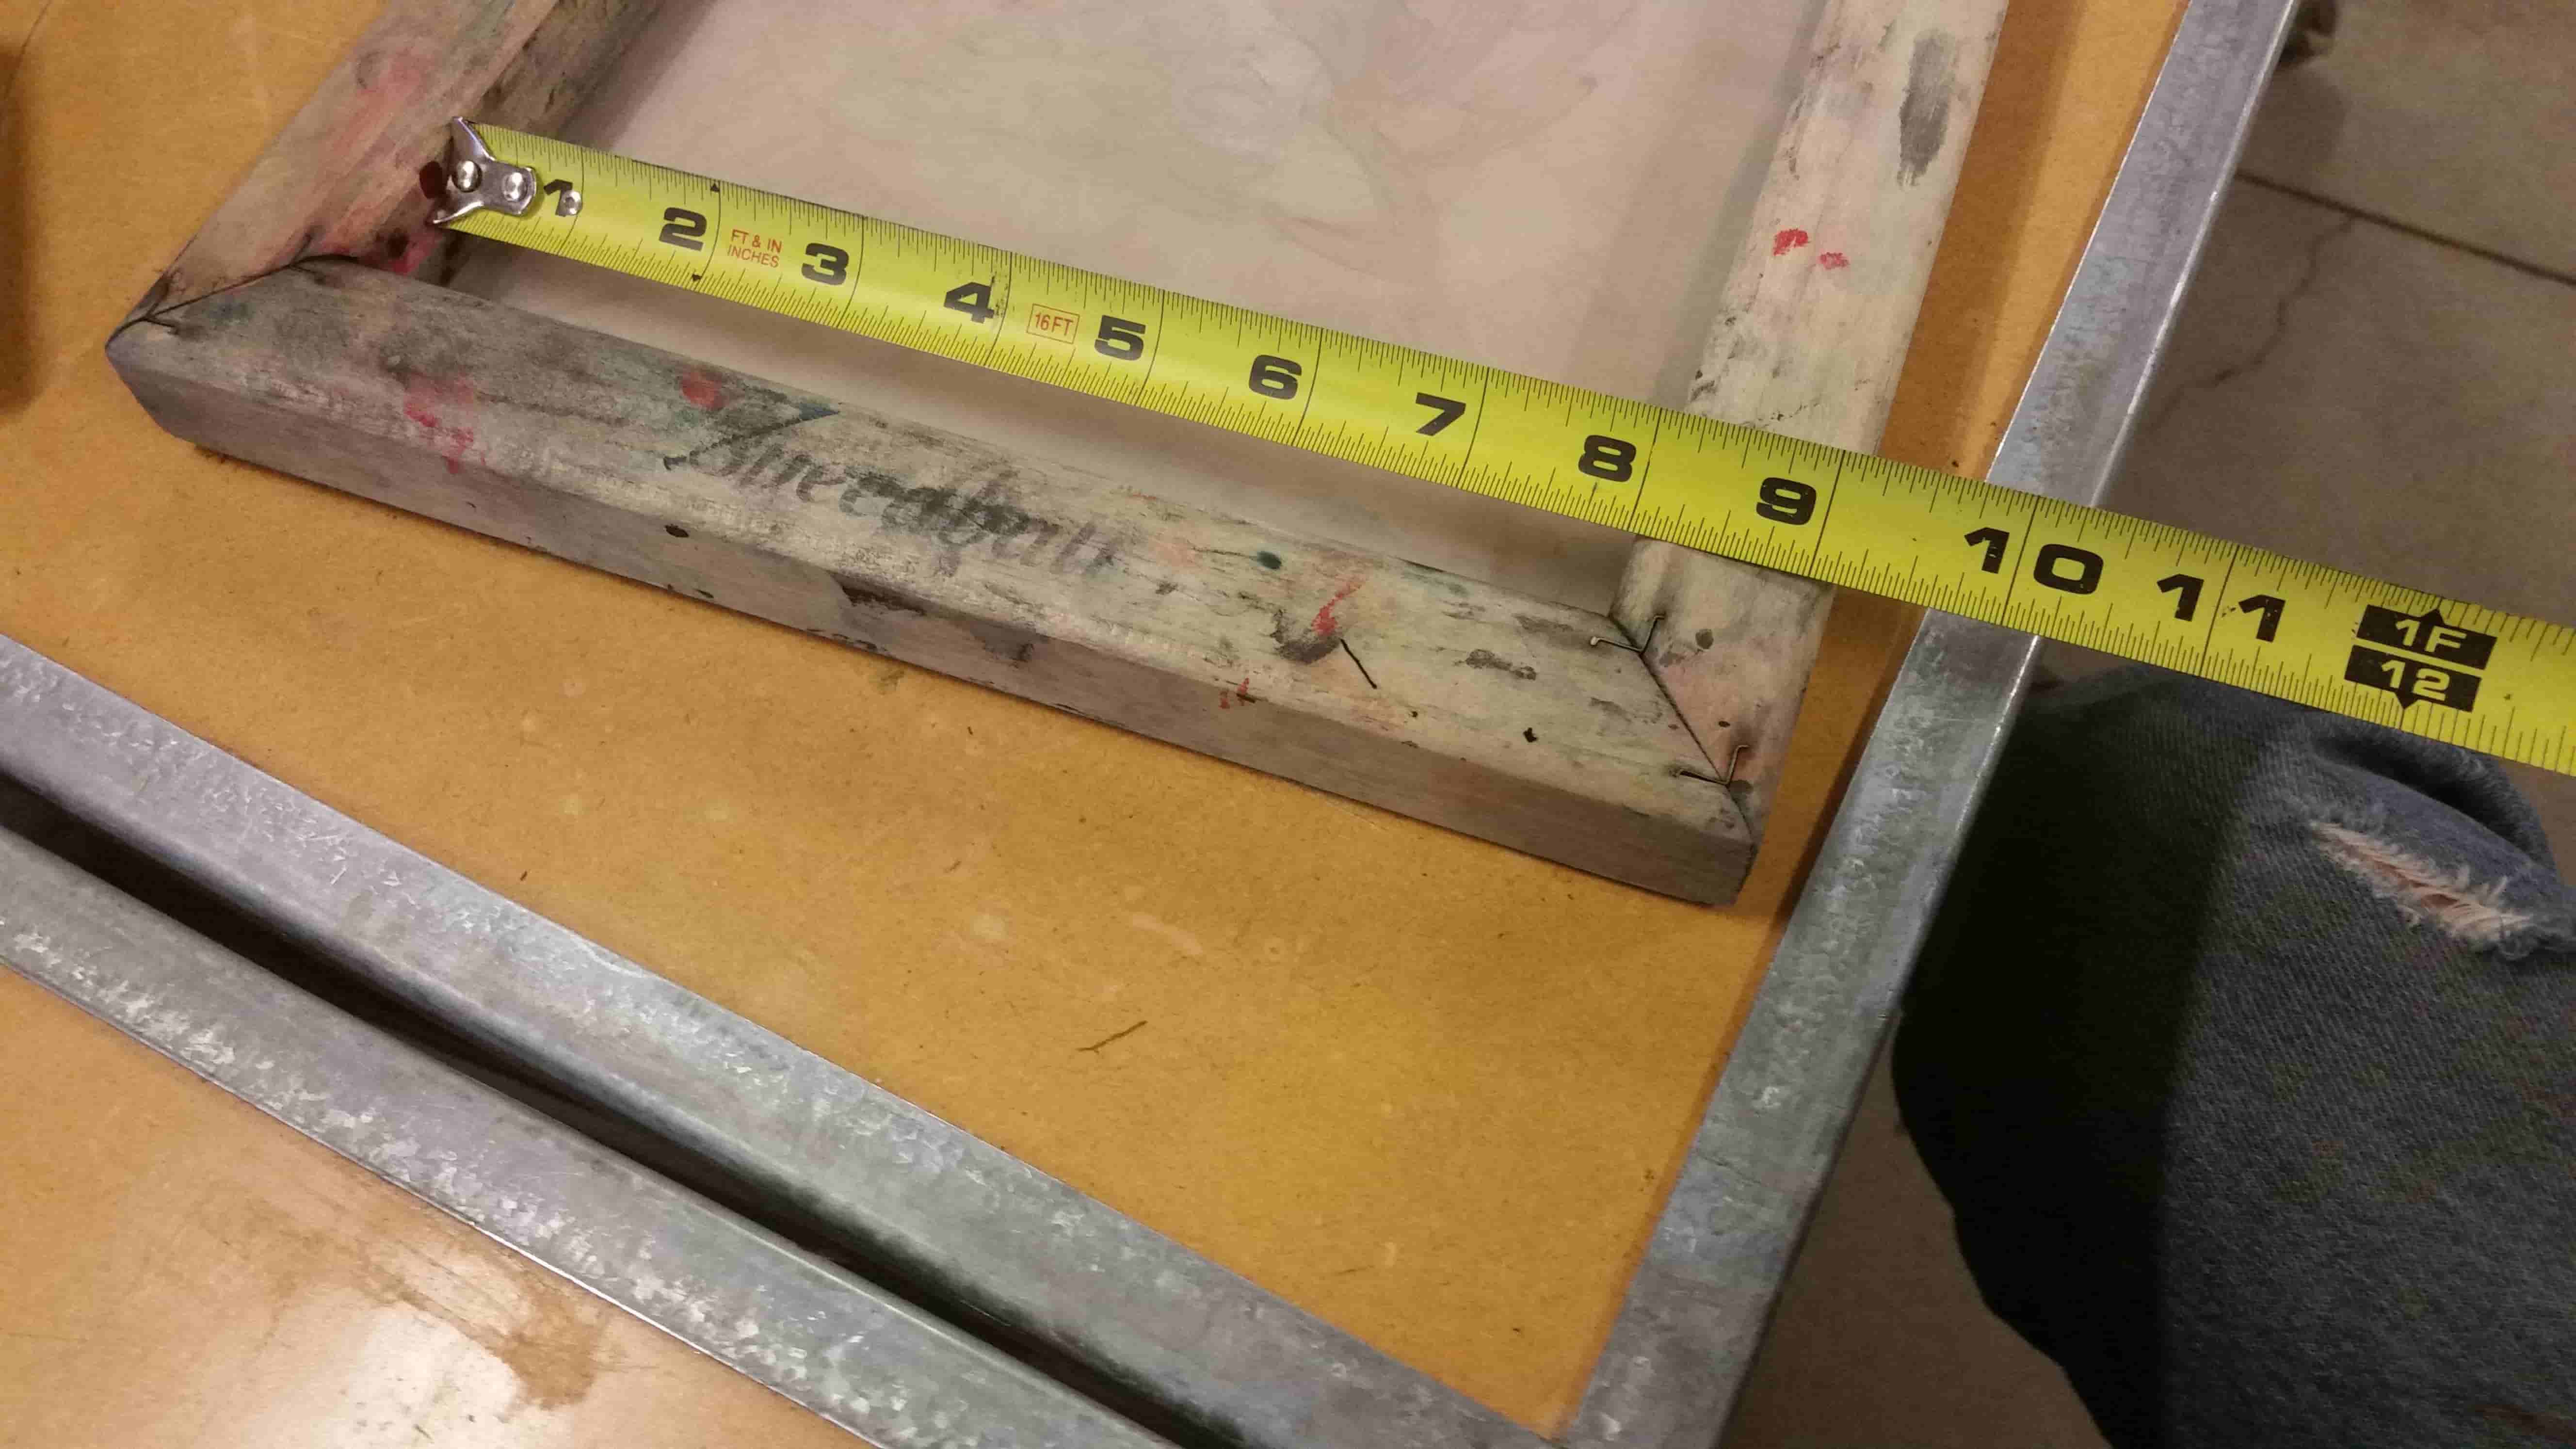
Let's set our dimensions of our document to that our Screen Frame. We'll get to handling the screen later in the tutorial.
Set our dimensions to 10" by 8", then press ok.
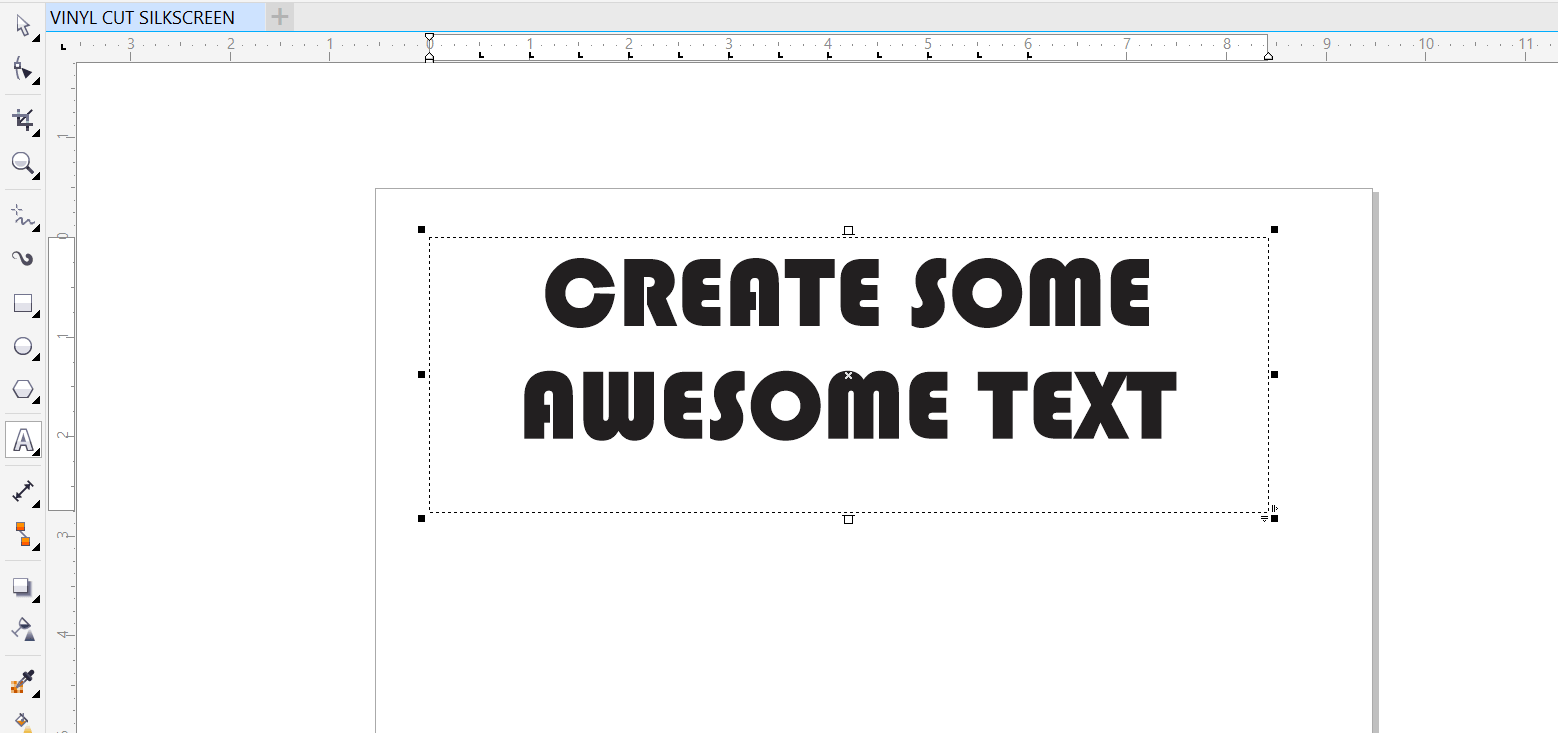
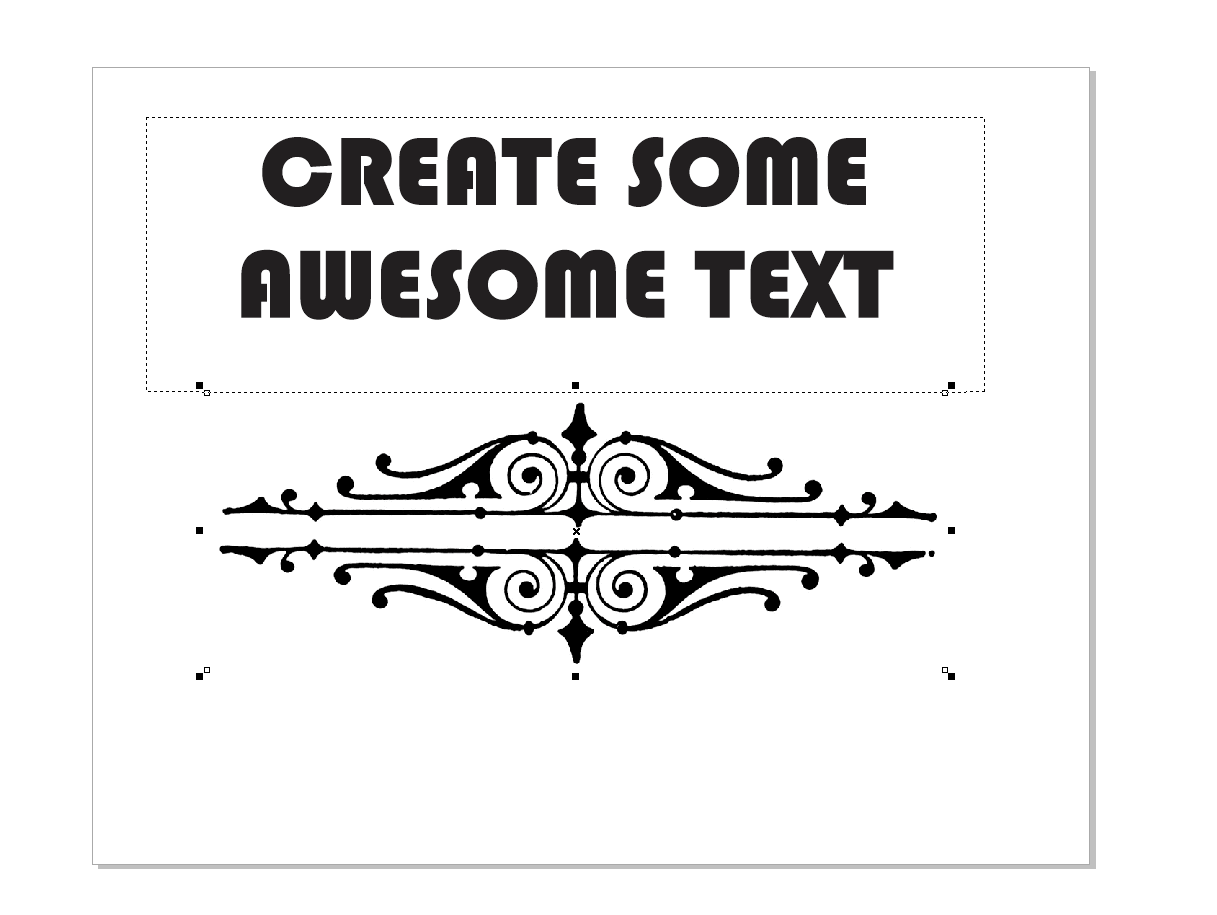
Now that we have our document we are ready, lets add some text. Use the text tool located on the left tool bar. Once youve got this tool selected draw a rectangle within our workspace.

Lets pick a font and font size. We can always change this later, dont worry if it doesnt look great right away.
Let's type something. Font and Size look good to me. If things arent looking so great for you, feel free to play with your settings till you find something you like.
Let's find a graphic to throw in there. We could easily draw something, but this page is more about the process than being artistic
I jumped into my web browser and searched the fanciest word I knew.
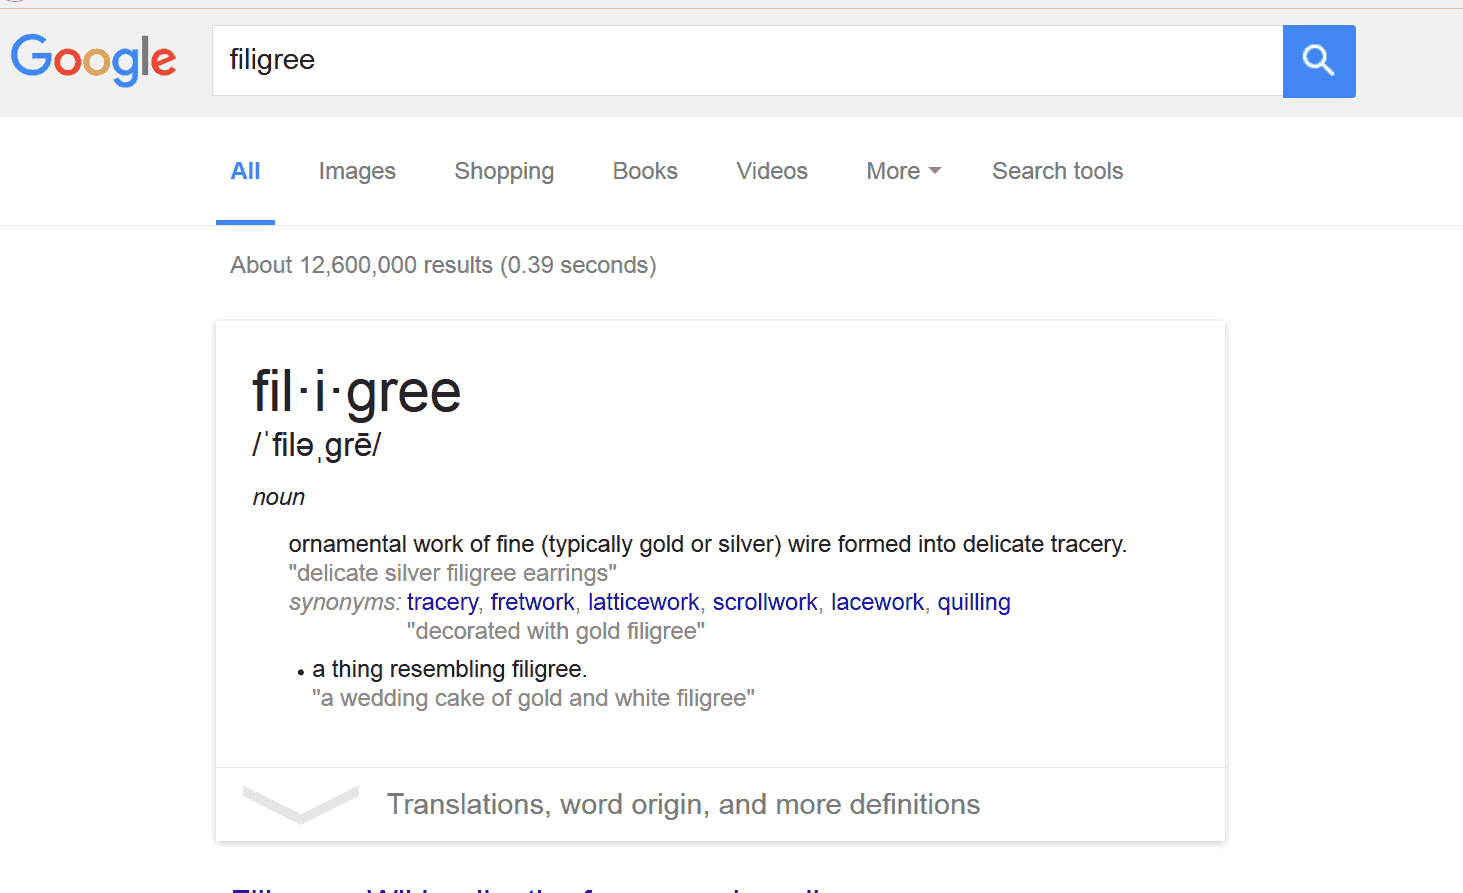
Let's move over to the image search tab, you're going to see a large list of results.

Once you've found something you like give it a left click. If you're satisfied click view image.
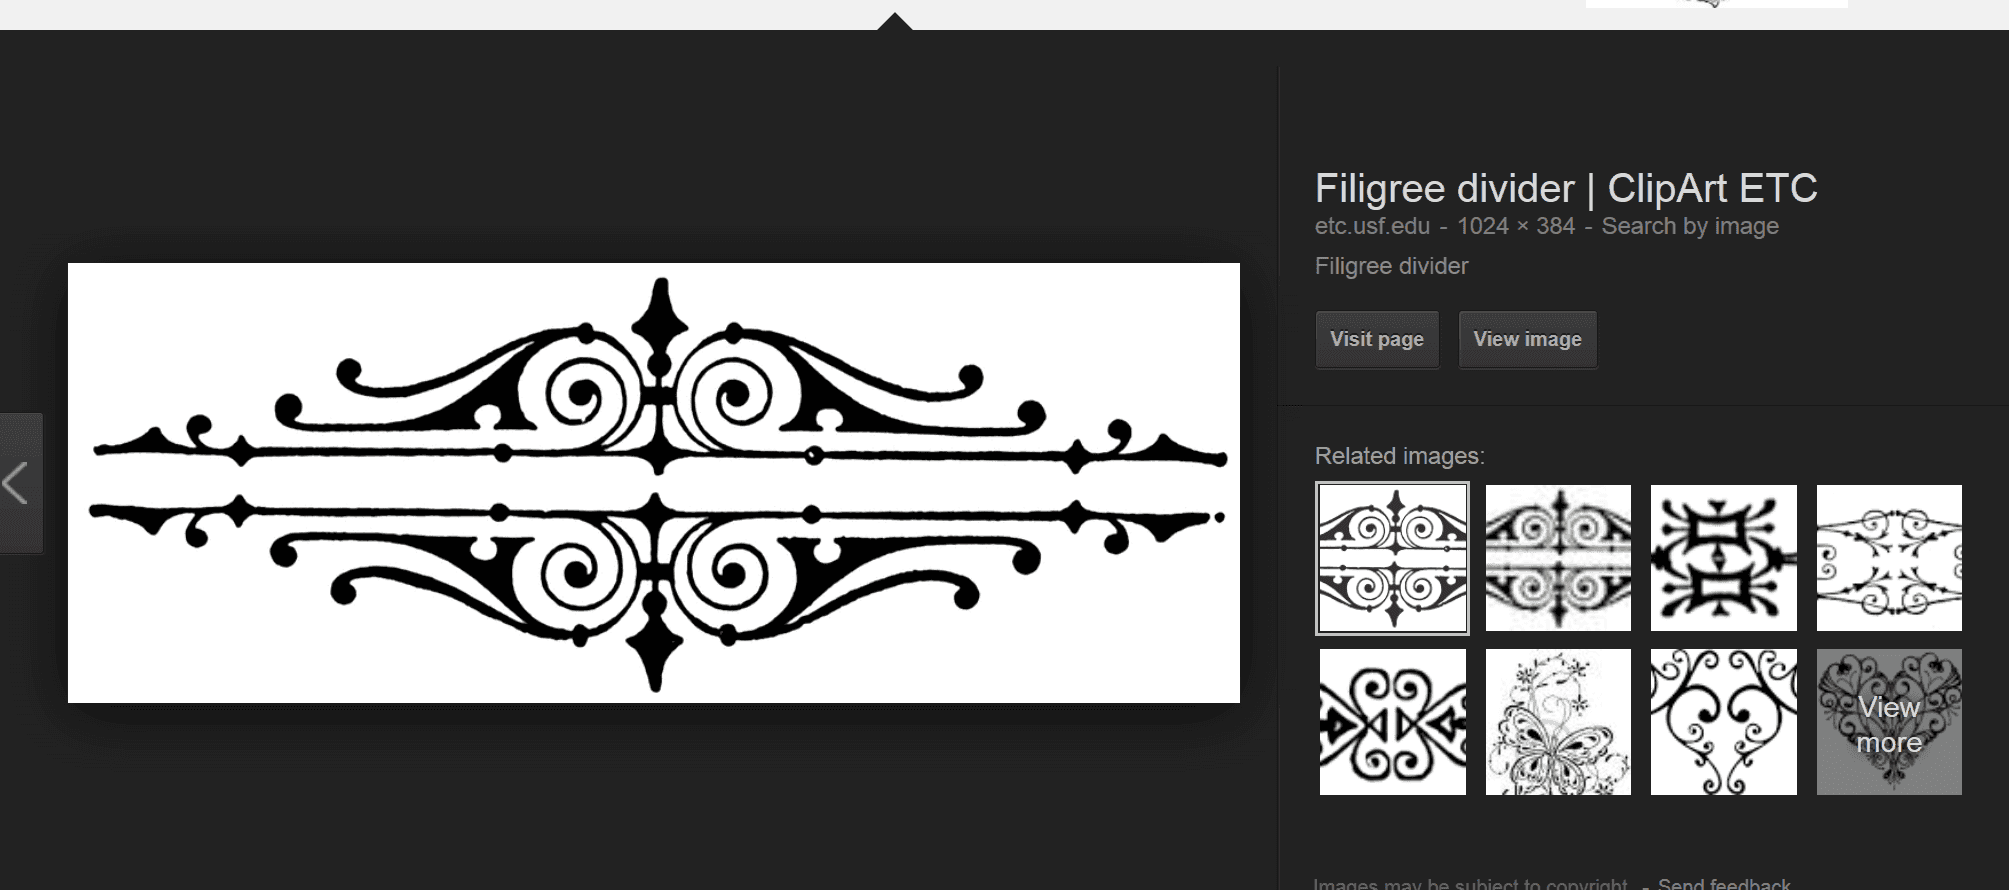
Looks Good to me.

Lets right click and Save-As on the image
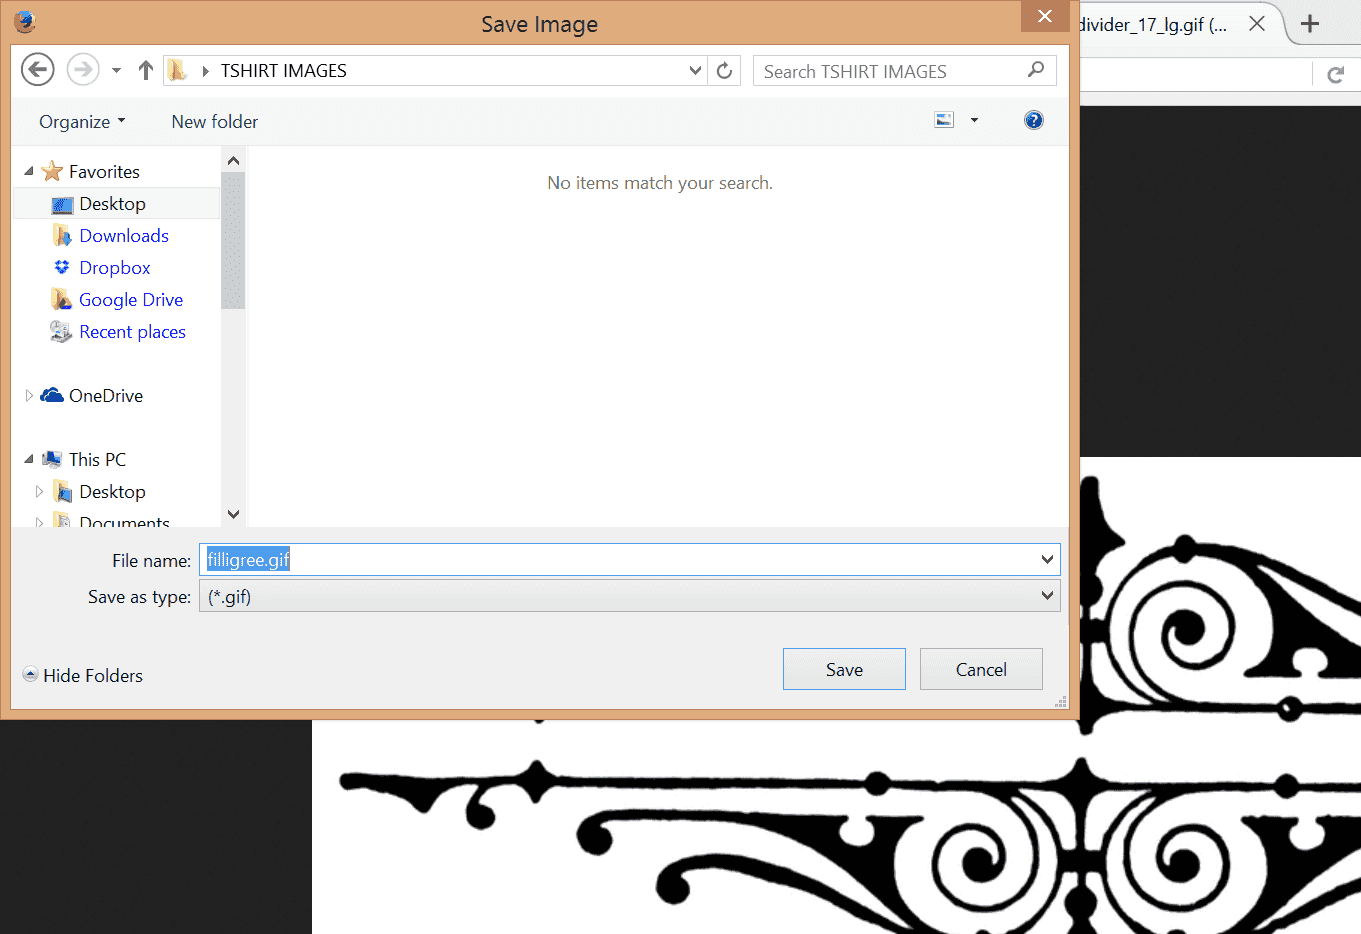
Once you've got your image downloaded find the folder where you've saved it. Simply drag the image into Corel Draw. We are probably going to need to resize and center the image. The arrows located on the edges of the image control size and stretch the image.
NEATO! You're doing an awesome job. I can't believe you've picked this up so fast. Right Click on your image and scroll down to outline trace. we should get a box to pop up asking how we want to vectorize the image. Default settings are going to work fine for us for now. Press OK
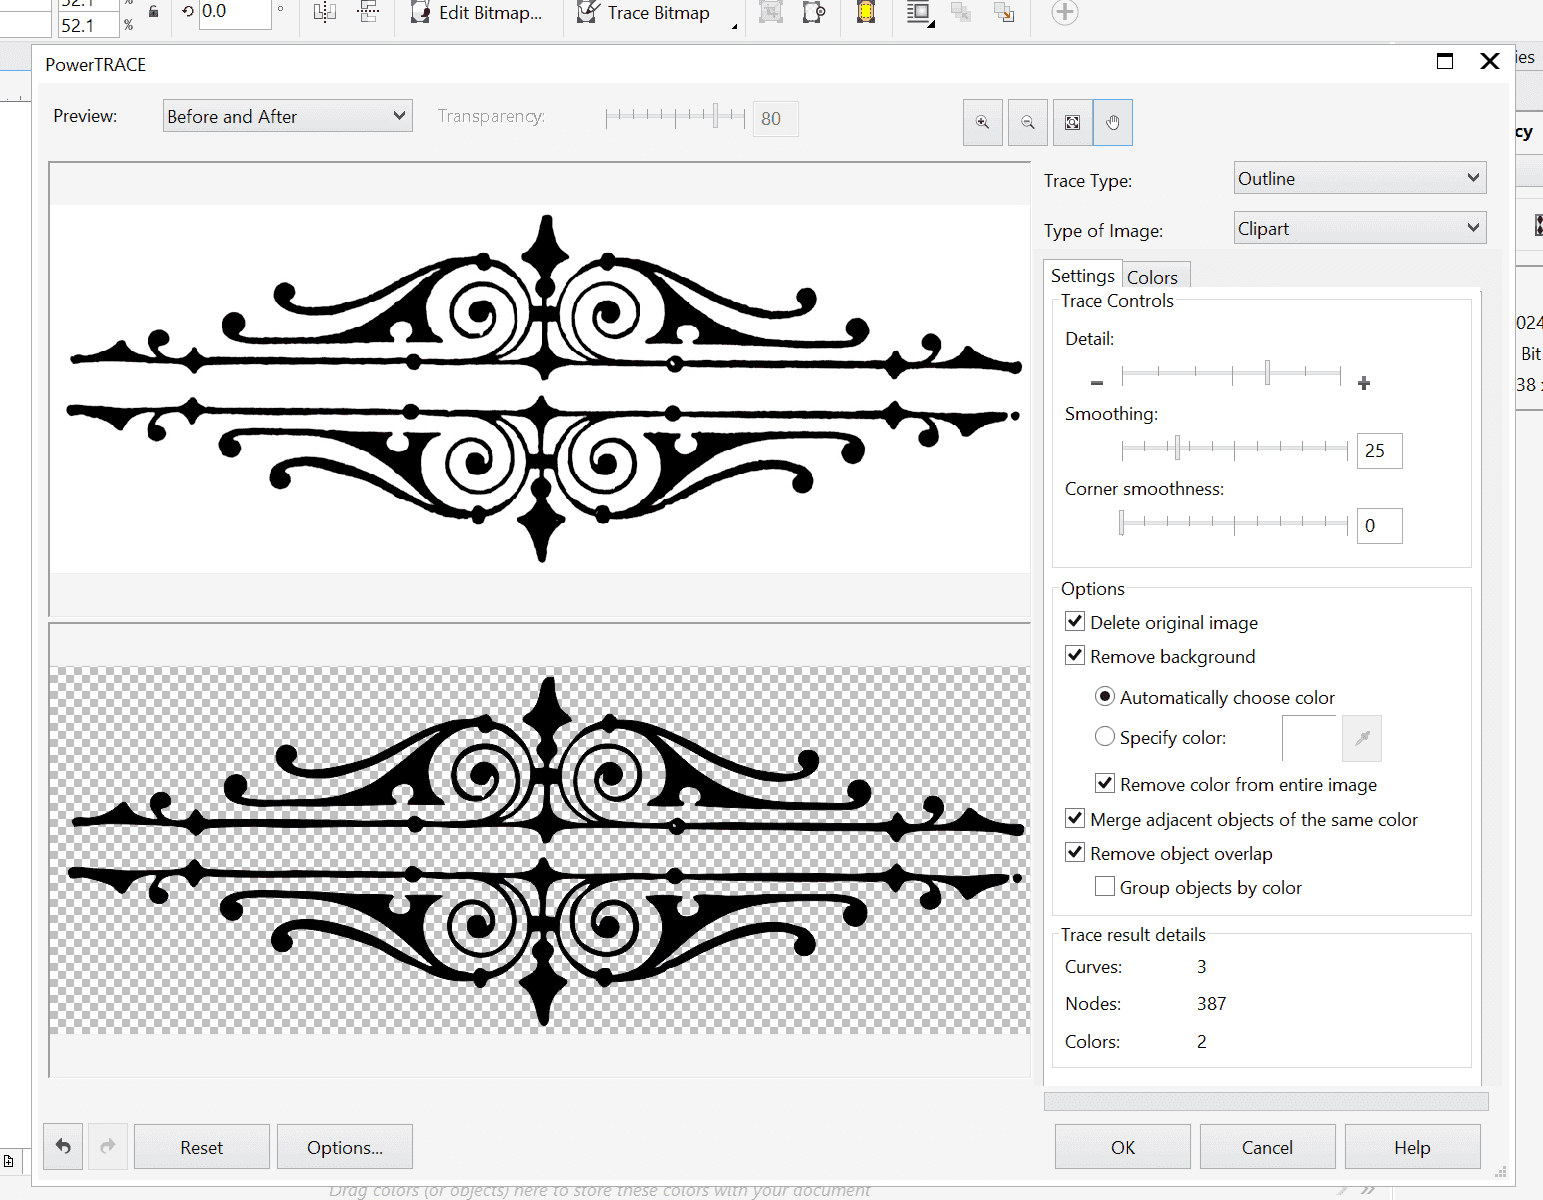
Now that we've got our image vectorized lets spruce up this image some more.
That's pretty good, but are you sure that's what you want your shirt to look like?
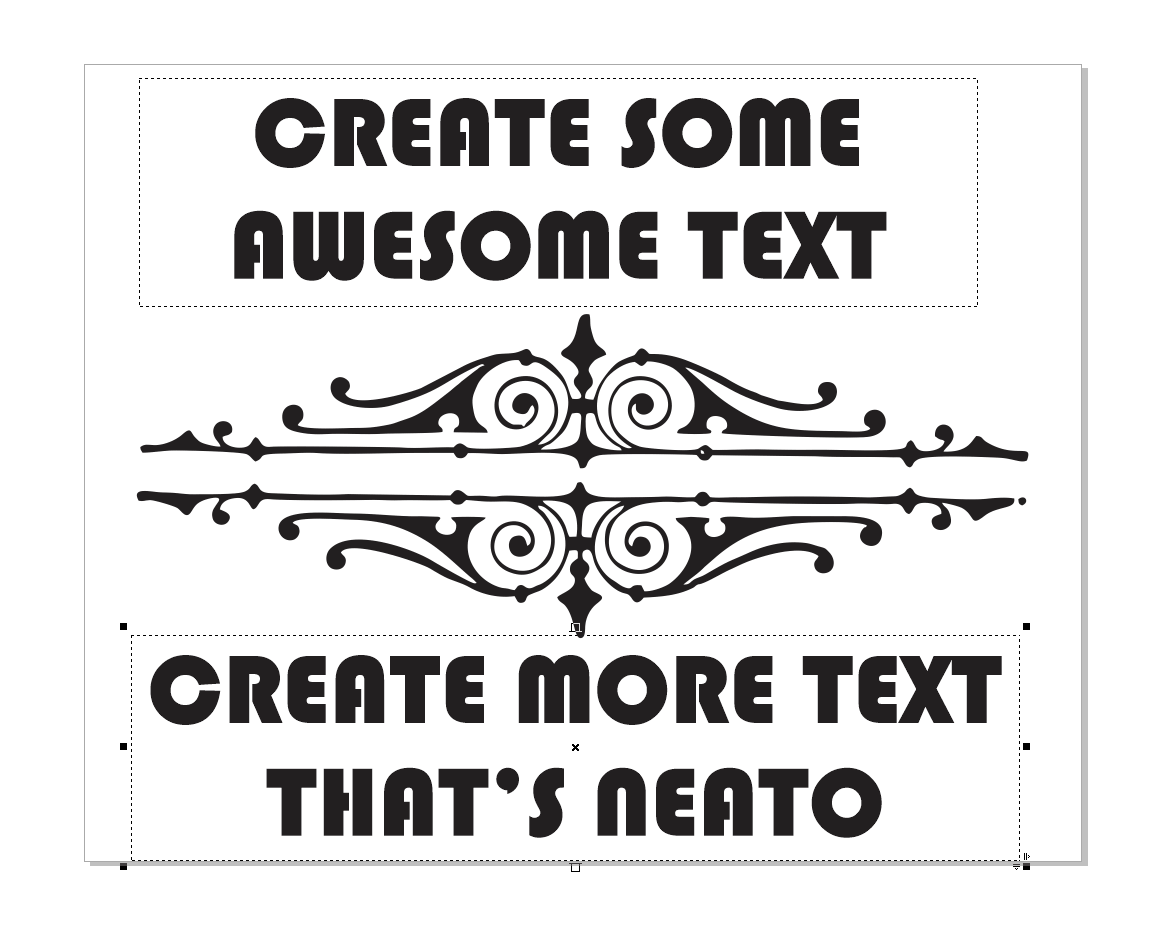
That's a bit better. I mean if that's what you want. It's your stencil afterall

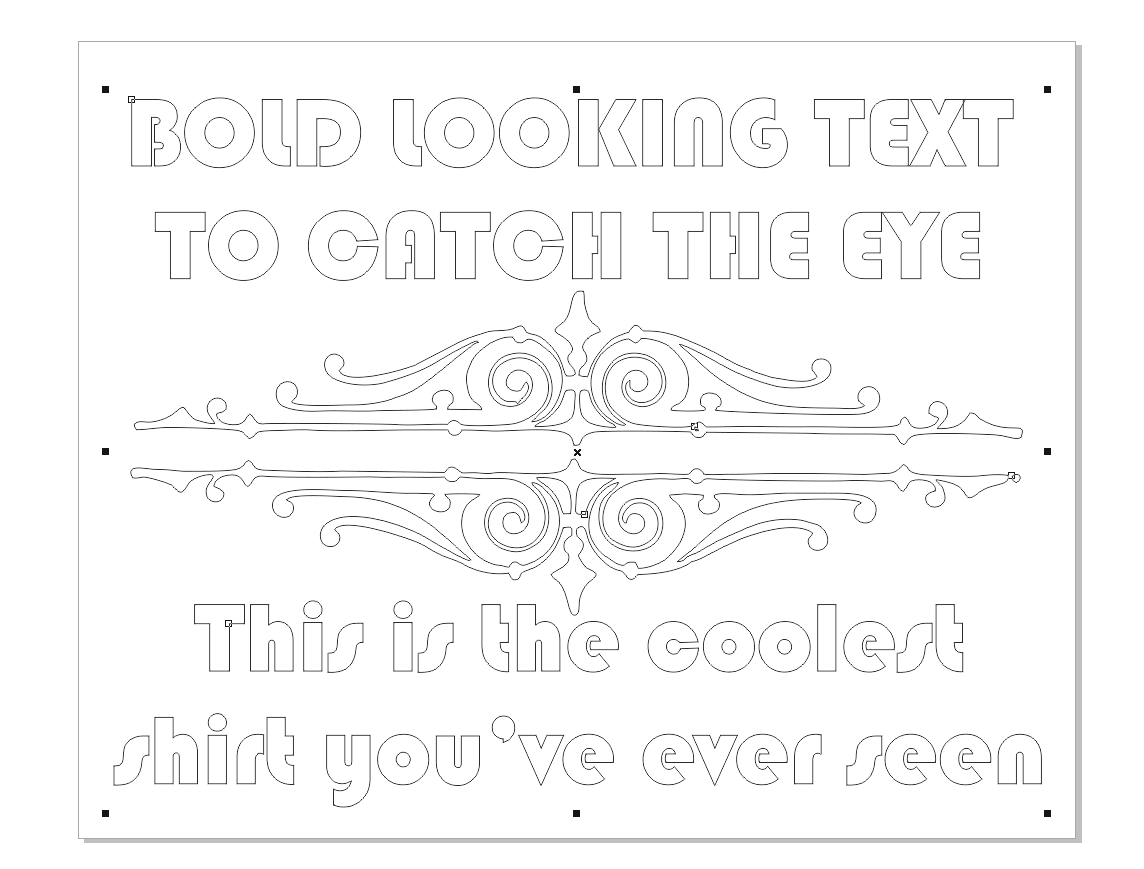
Let's play with the Outlineand fill setting so we can get it ready for the next step.
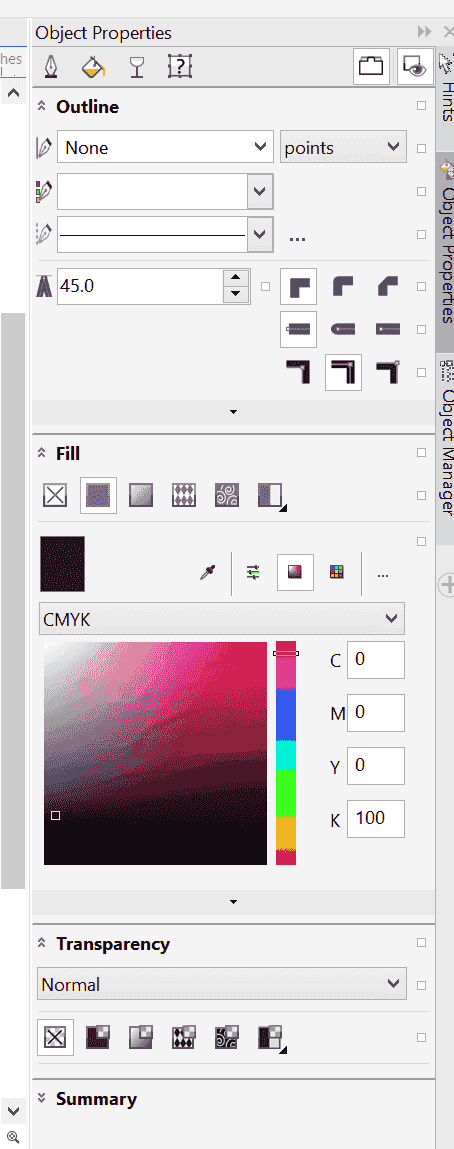
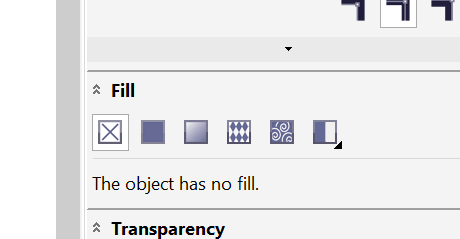
Let's turn off our fill. The box with an X in it means No-Fill or transparent.
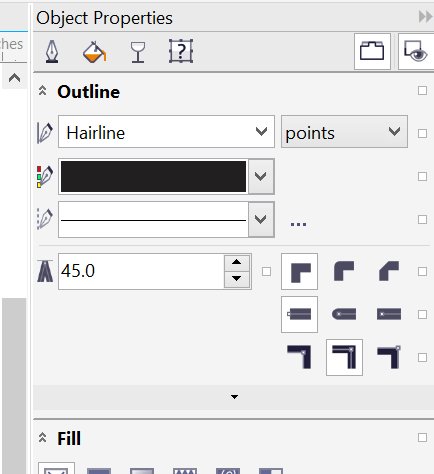
Let's bring our Outline to Hairline, this assures the vinyl cutter doesnt try to cut a BOLD line through our vinyl.
Looks like we are about ready for moving onto the Vinyl Cutting Station.
Let's save our file. make sure it's being saved to a flash drive. Or you can email your self the file.

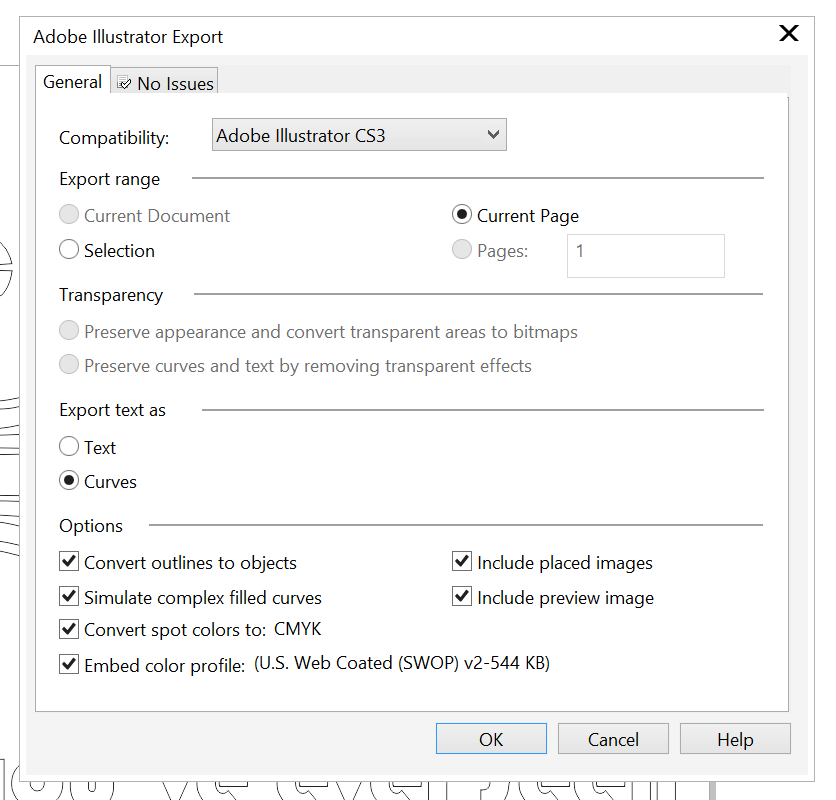
Save your file as an Adobe Illustrator AI file. Text as Curves, Version CS3
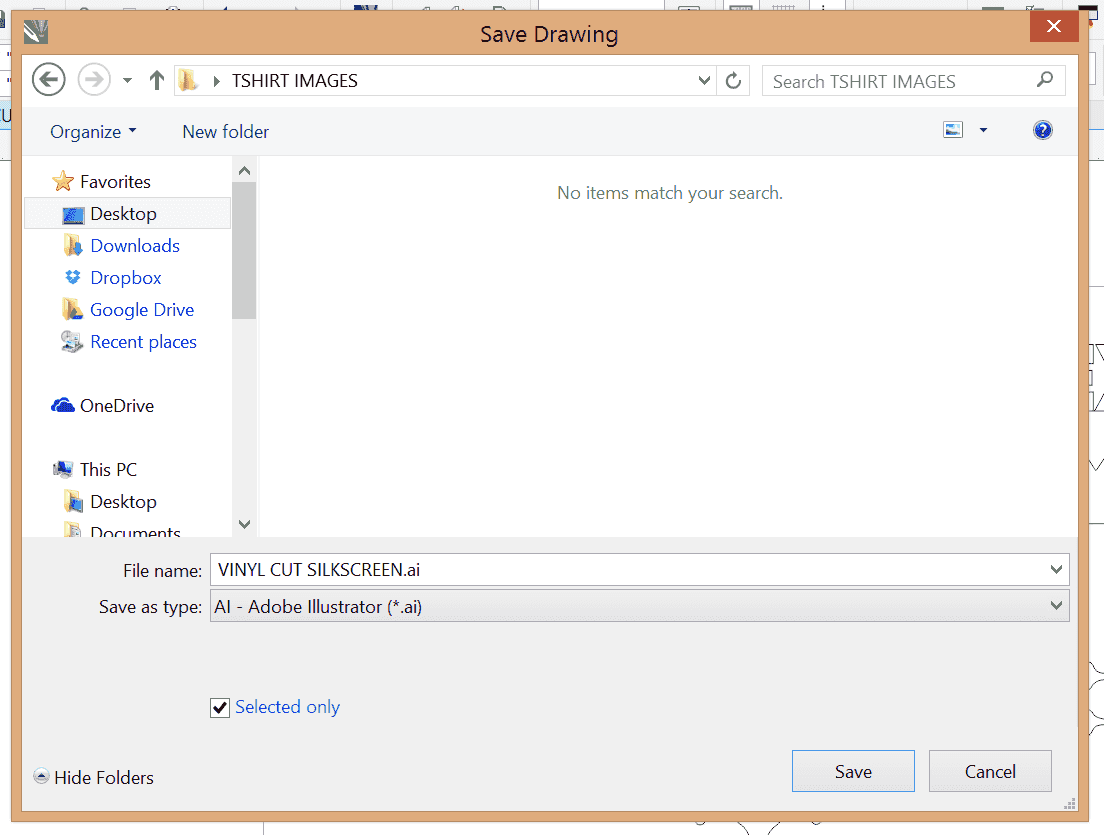
Let's give the file a name and be sure to have selected only marked, this ensures we are not exporting our entire project.

Let's again make sure selection is checked and check export text as curves.
Choose your location to save your file, you may need to save to an external drive if the vinyl cutter is on another workstation.
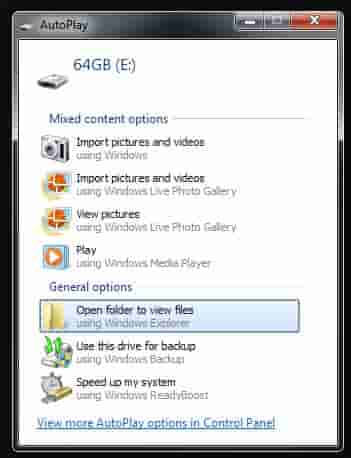
Find your file and open with Adobe Illustrator installed at the vinyl cutting station.

Hey! This looks familiar
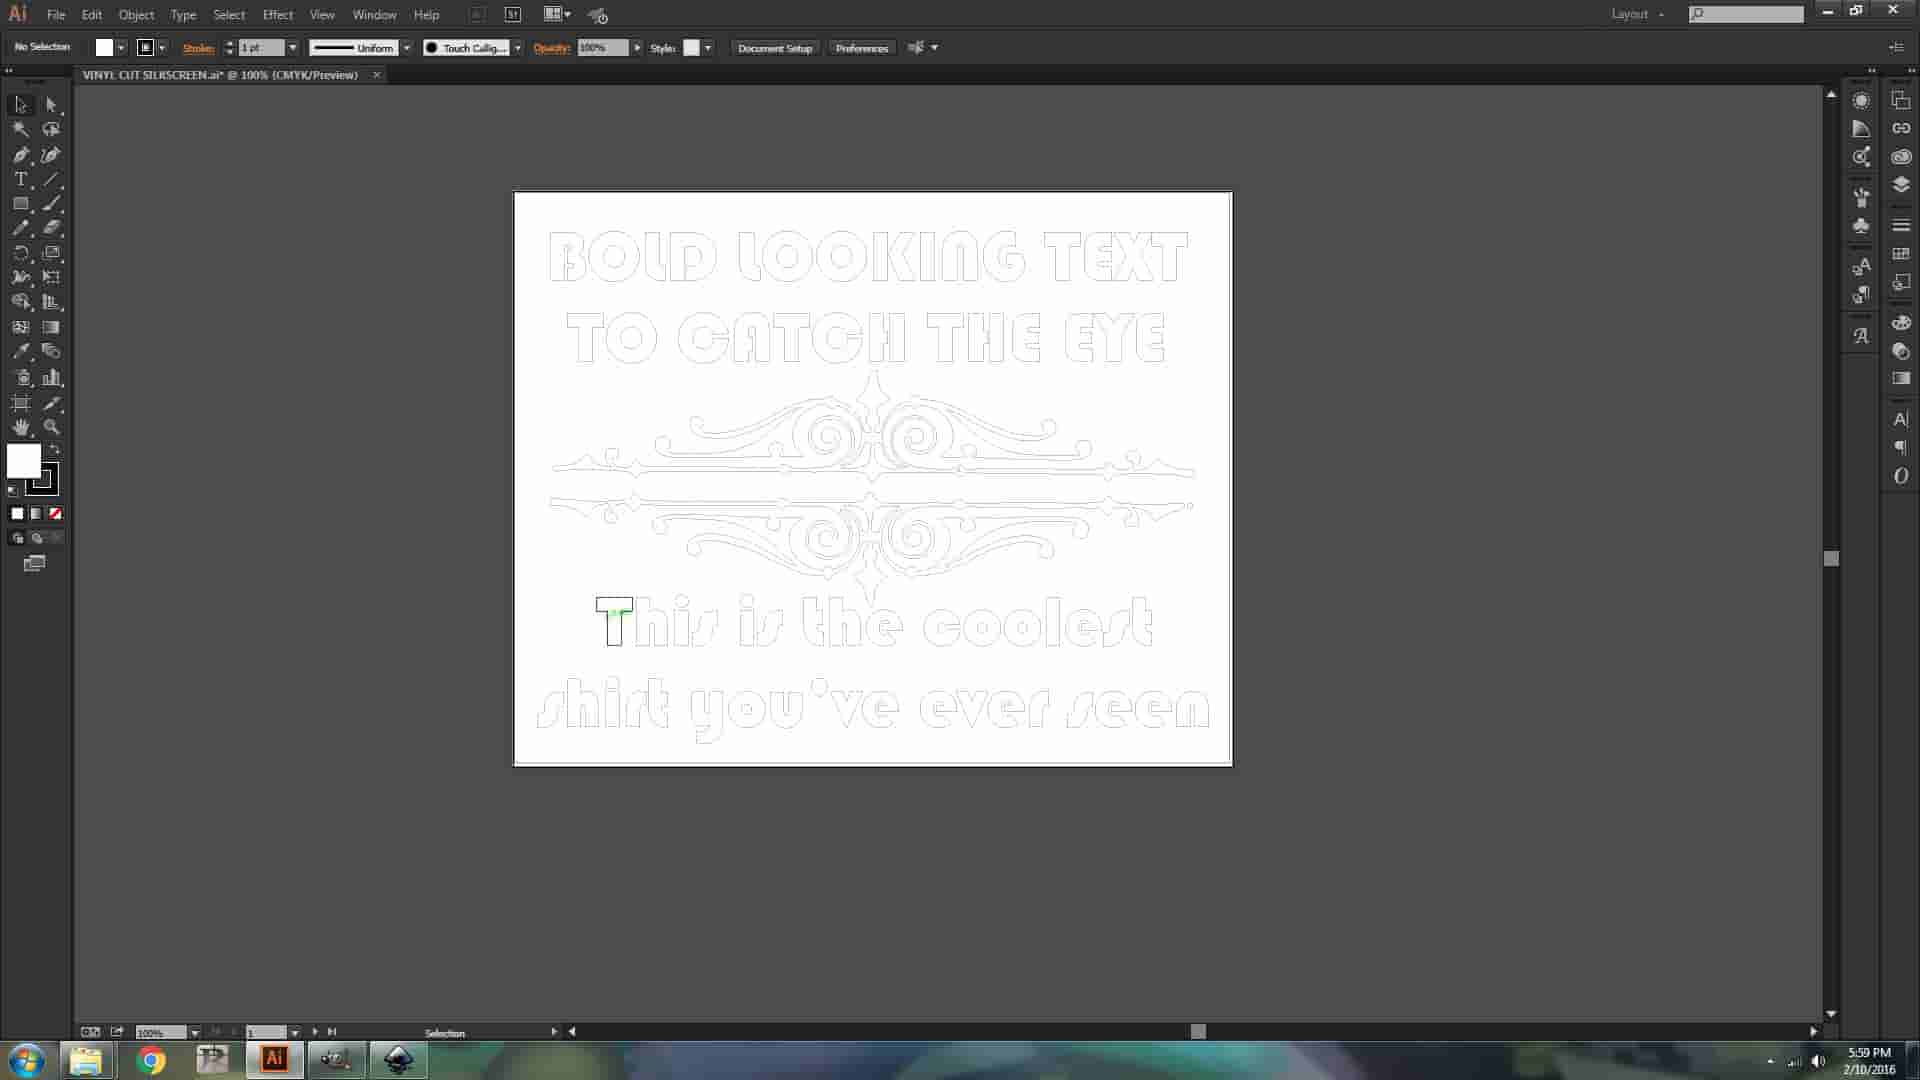
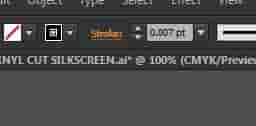
Let's prep for tooling. Select everything and lets adjust the line thickness. This will prevent the Vinyl Cutter from interpretting a line more than once and cutting several times.
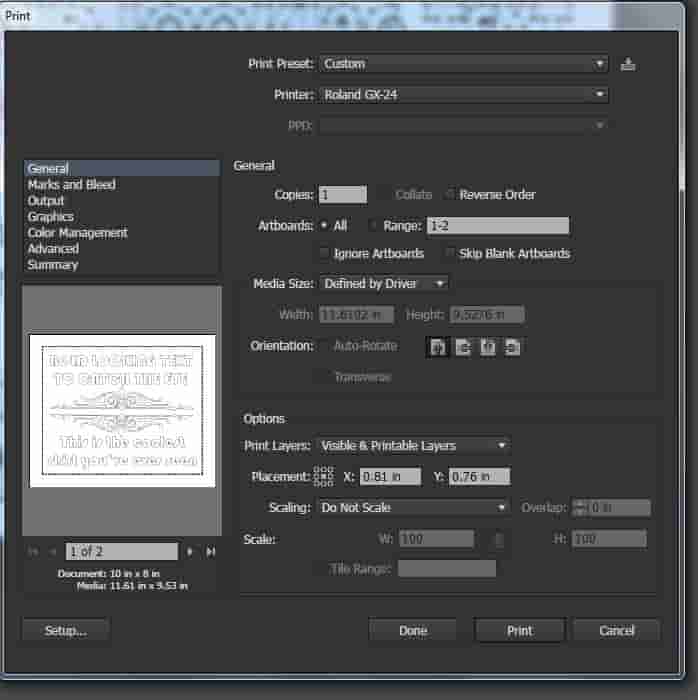
Now lets go to File > Print. Lets ensure the Roland is selected as our printer.
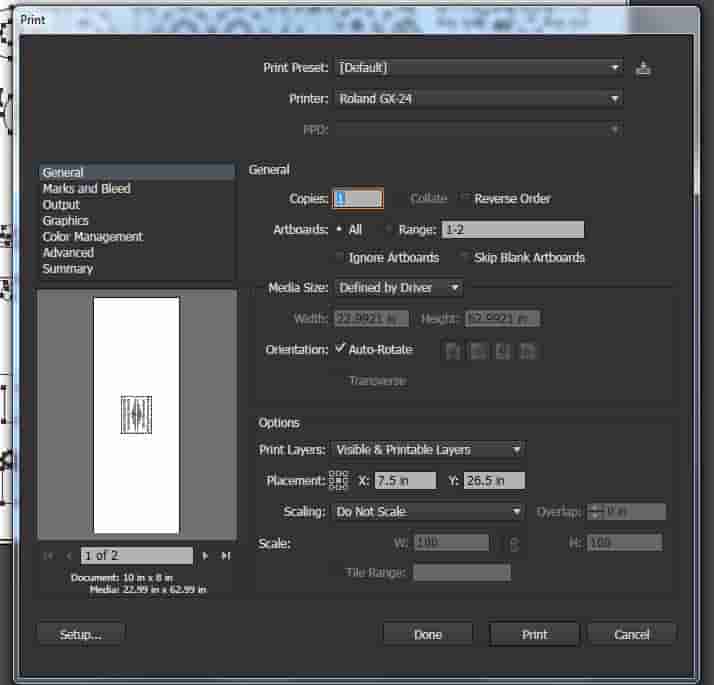
Go to set up, we have to tweak a few things first
Let's double check our dimensions before cutting. 10 inches. Looks good
8 inches on our width.
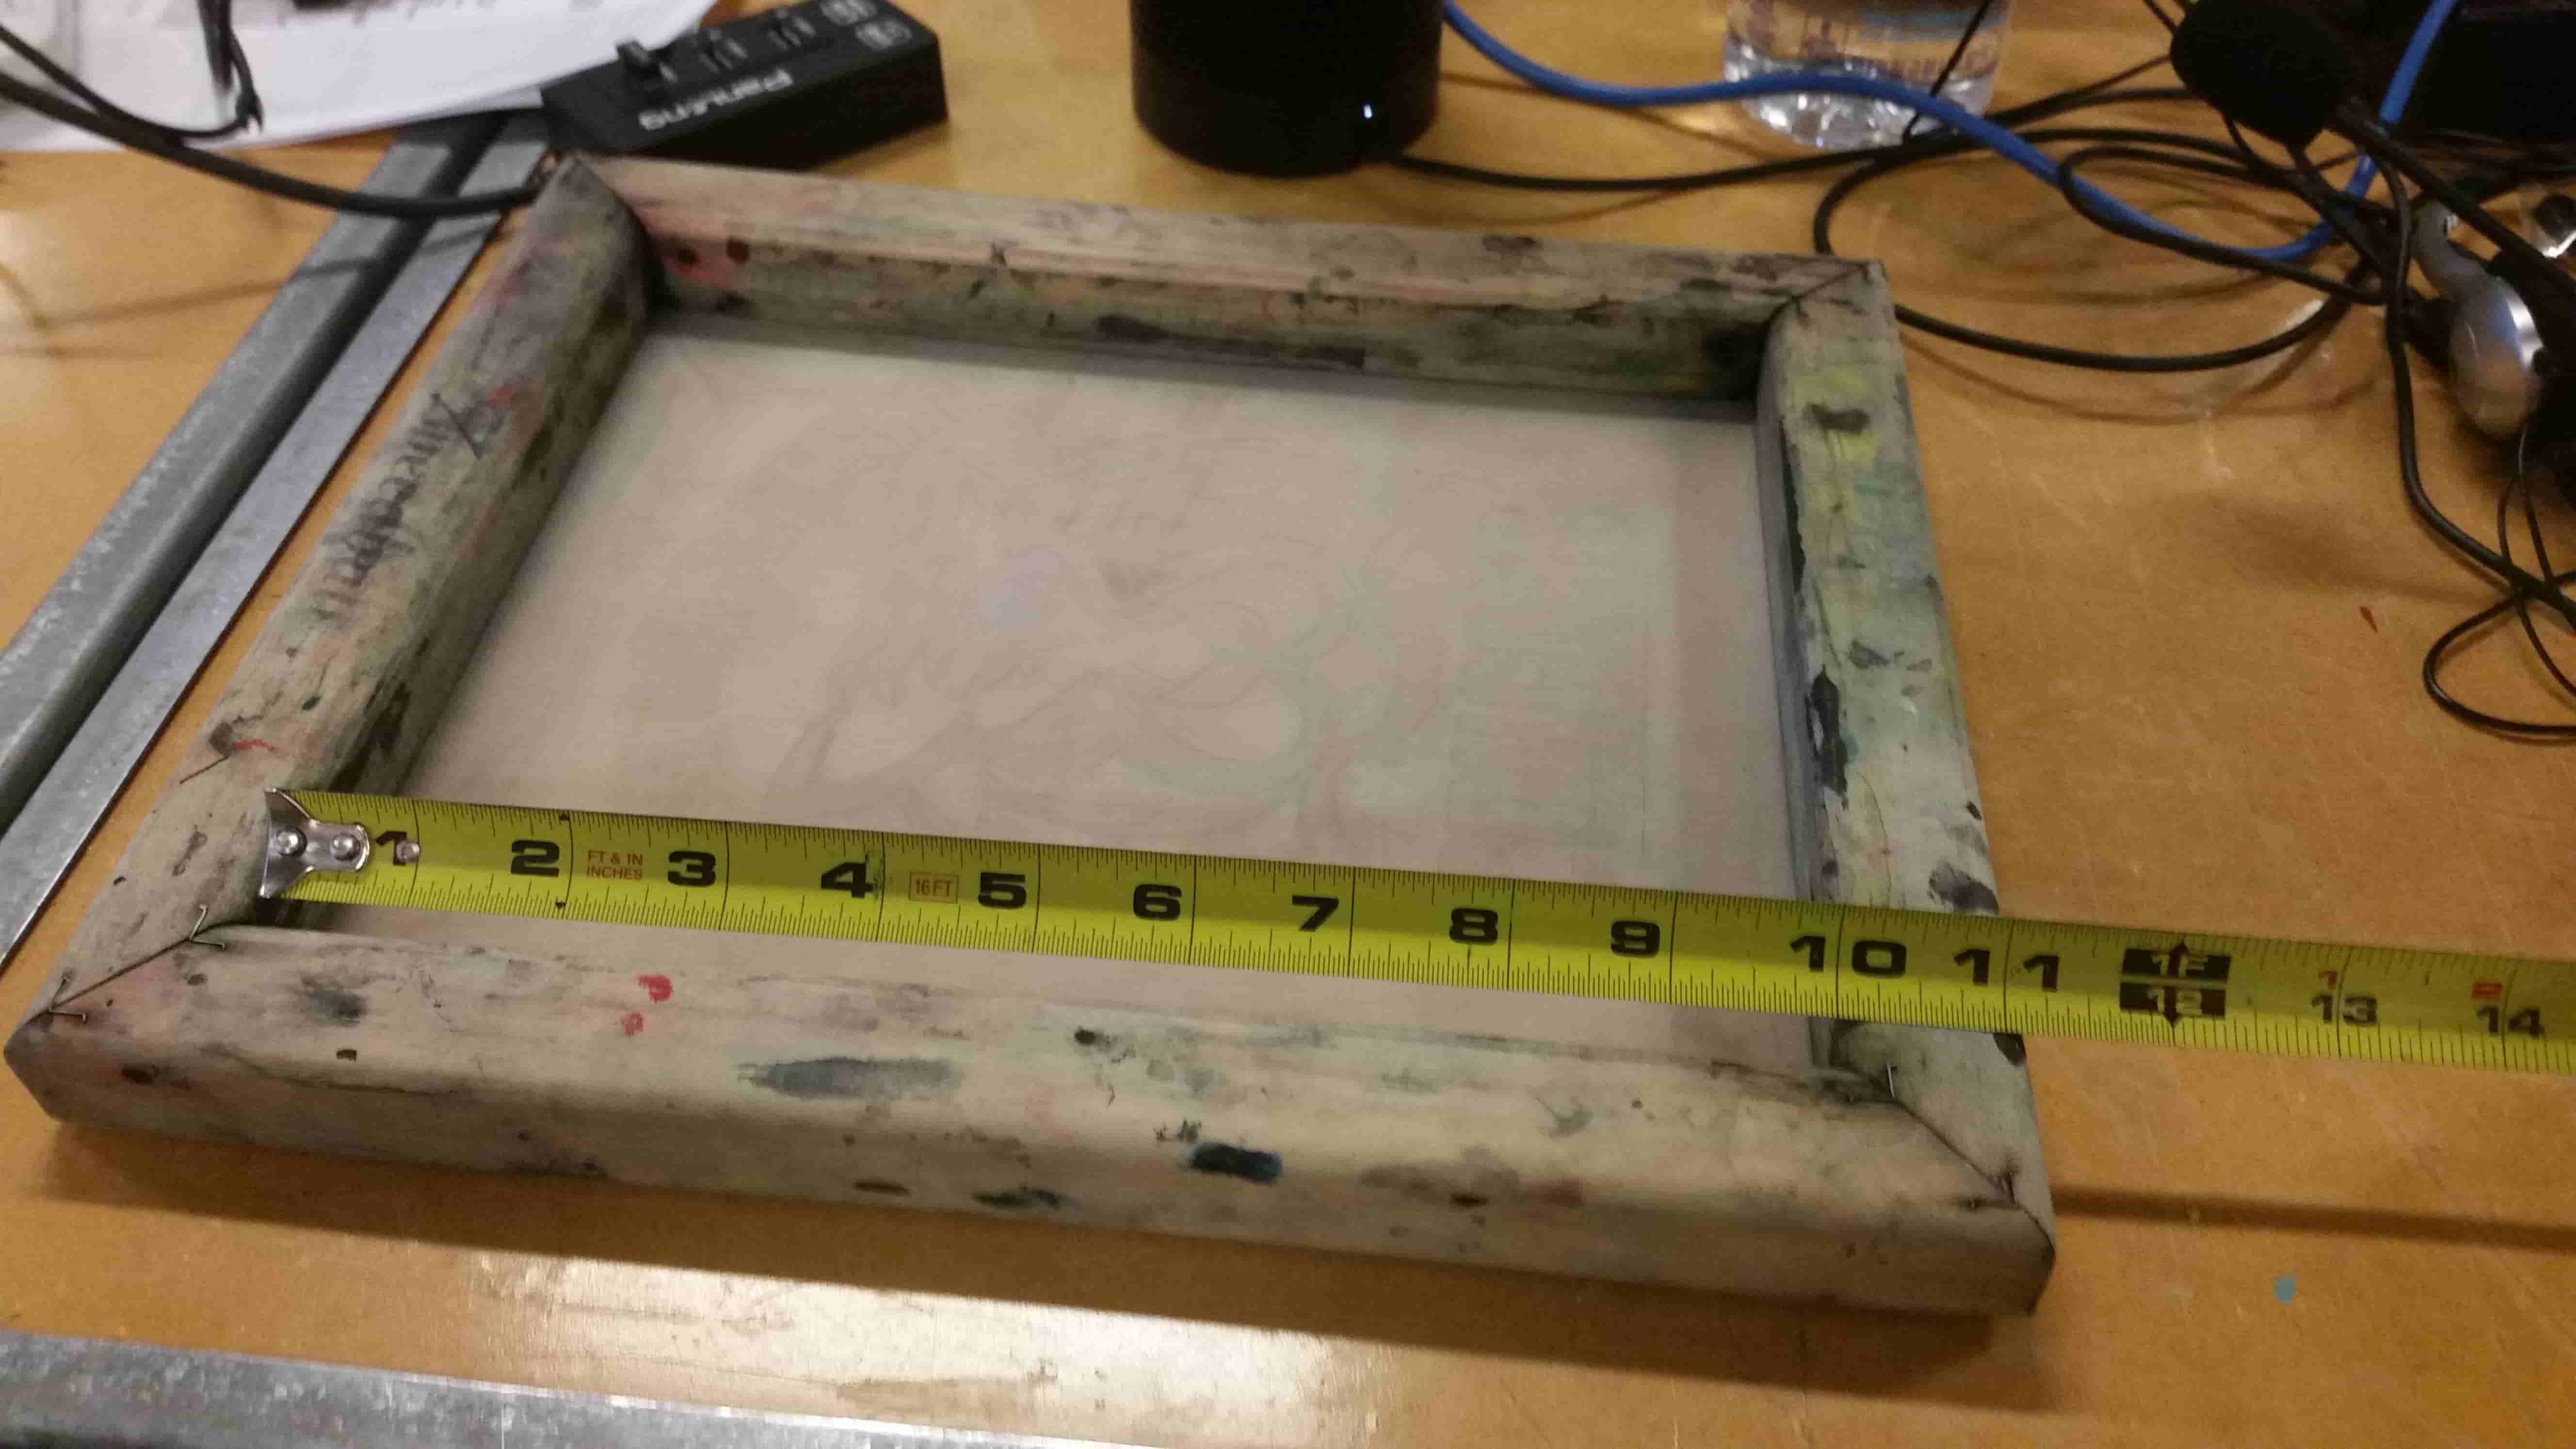
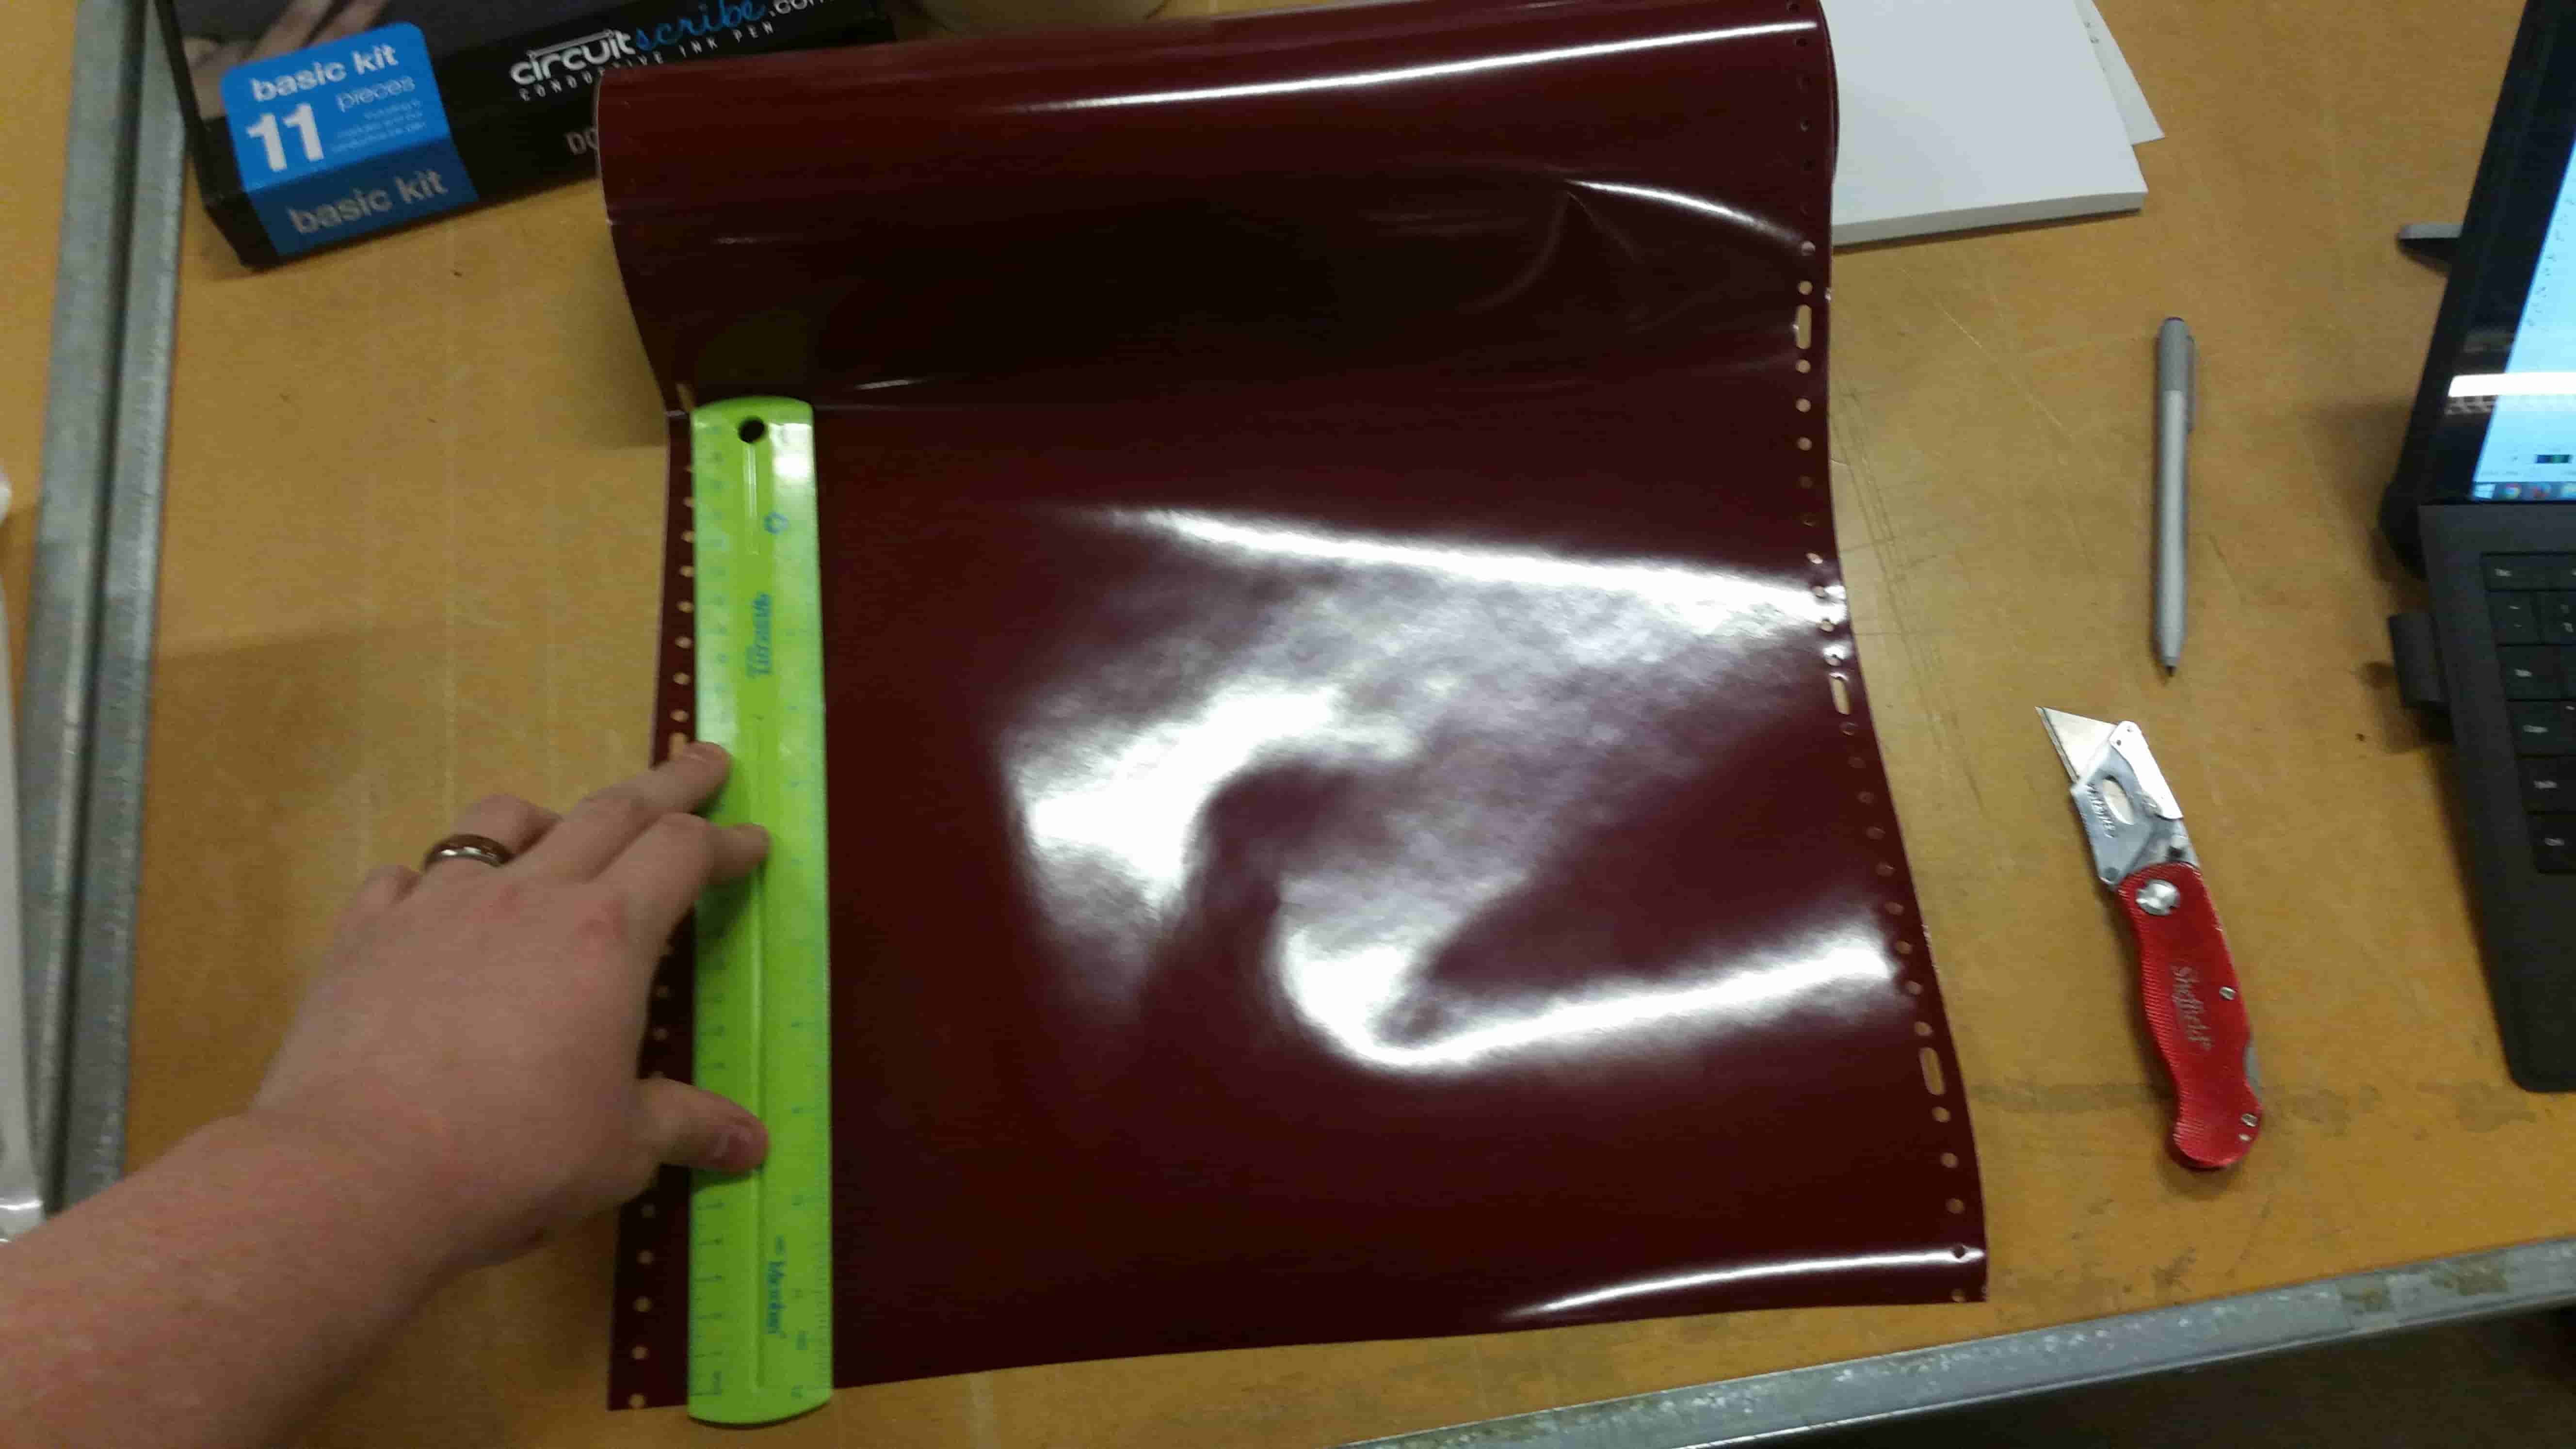
Let's find a chunk of vinyl that's large enough for our job.
OVER A FOOT! Nice Find.
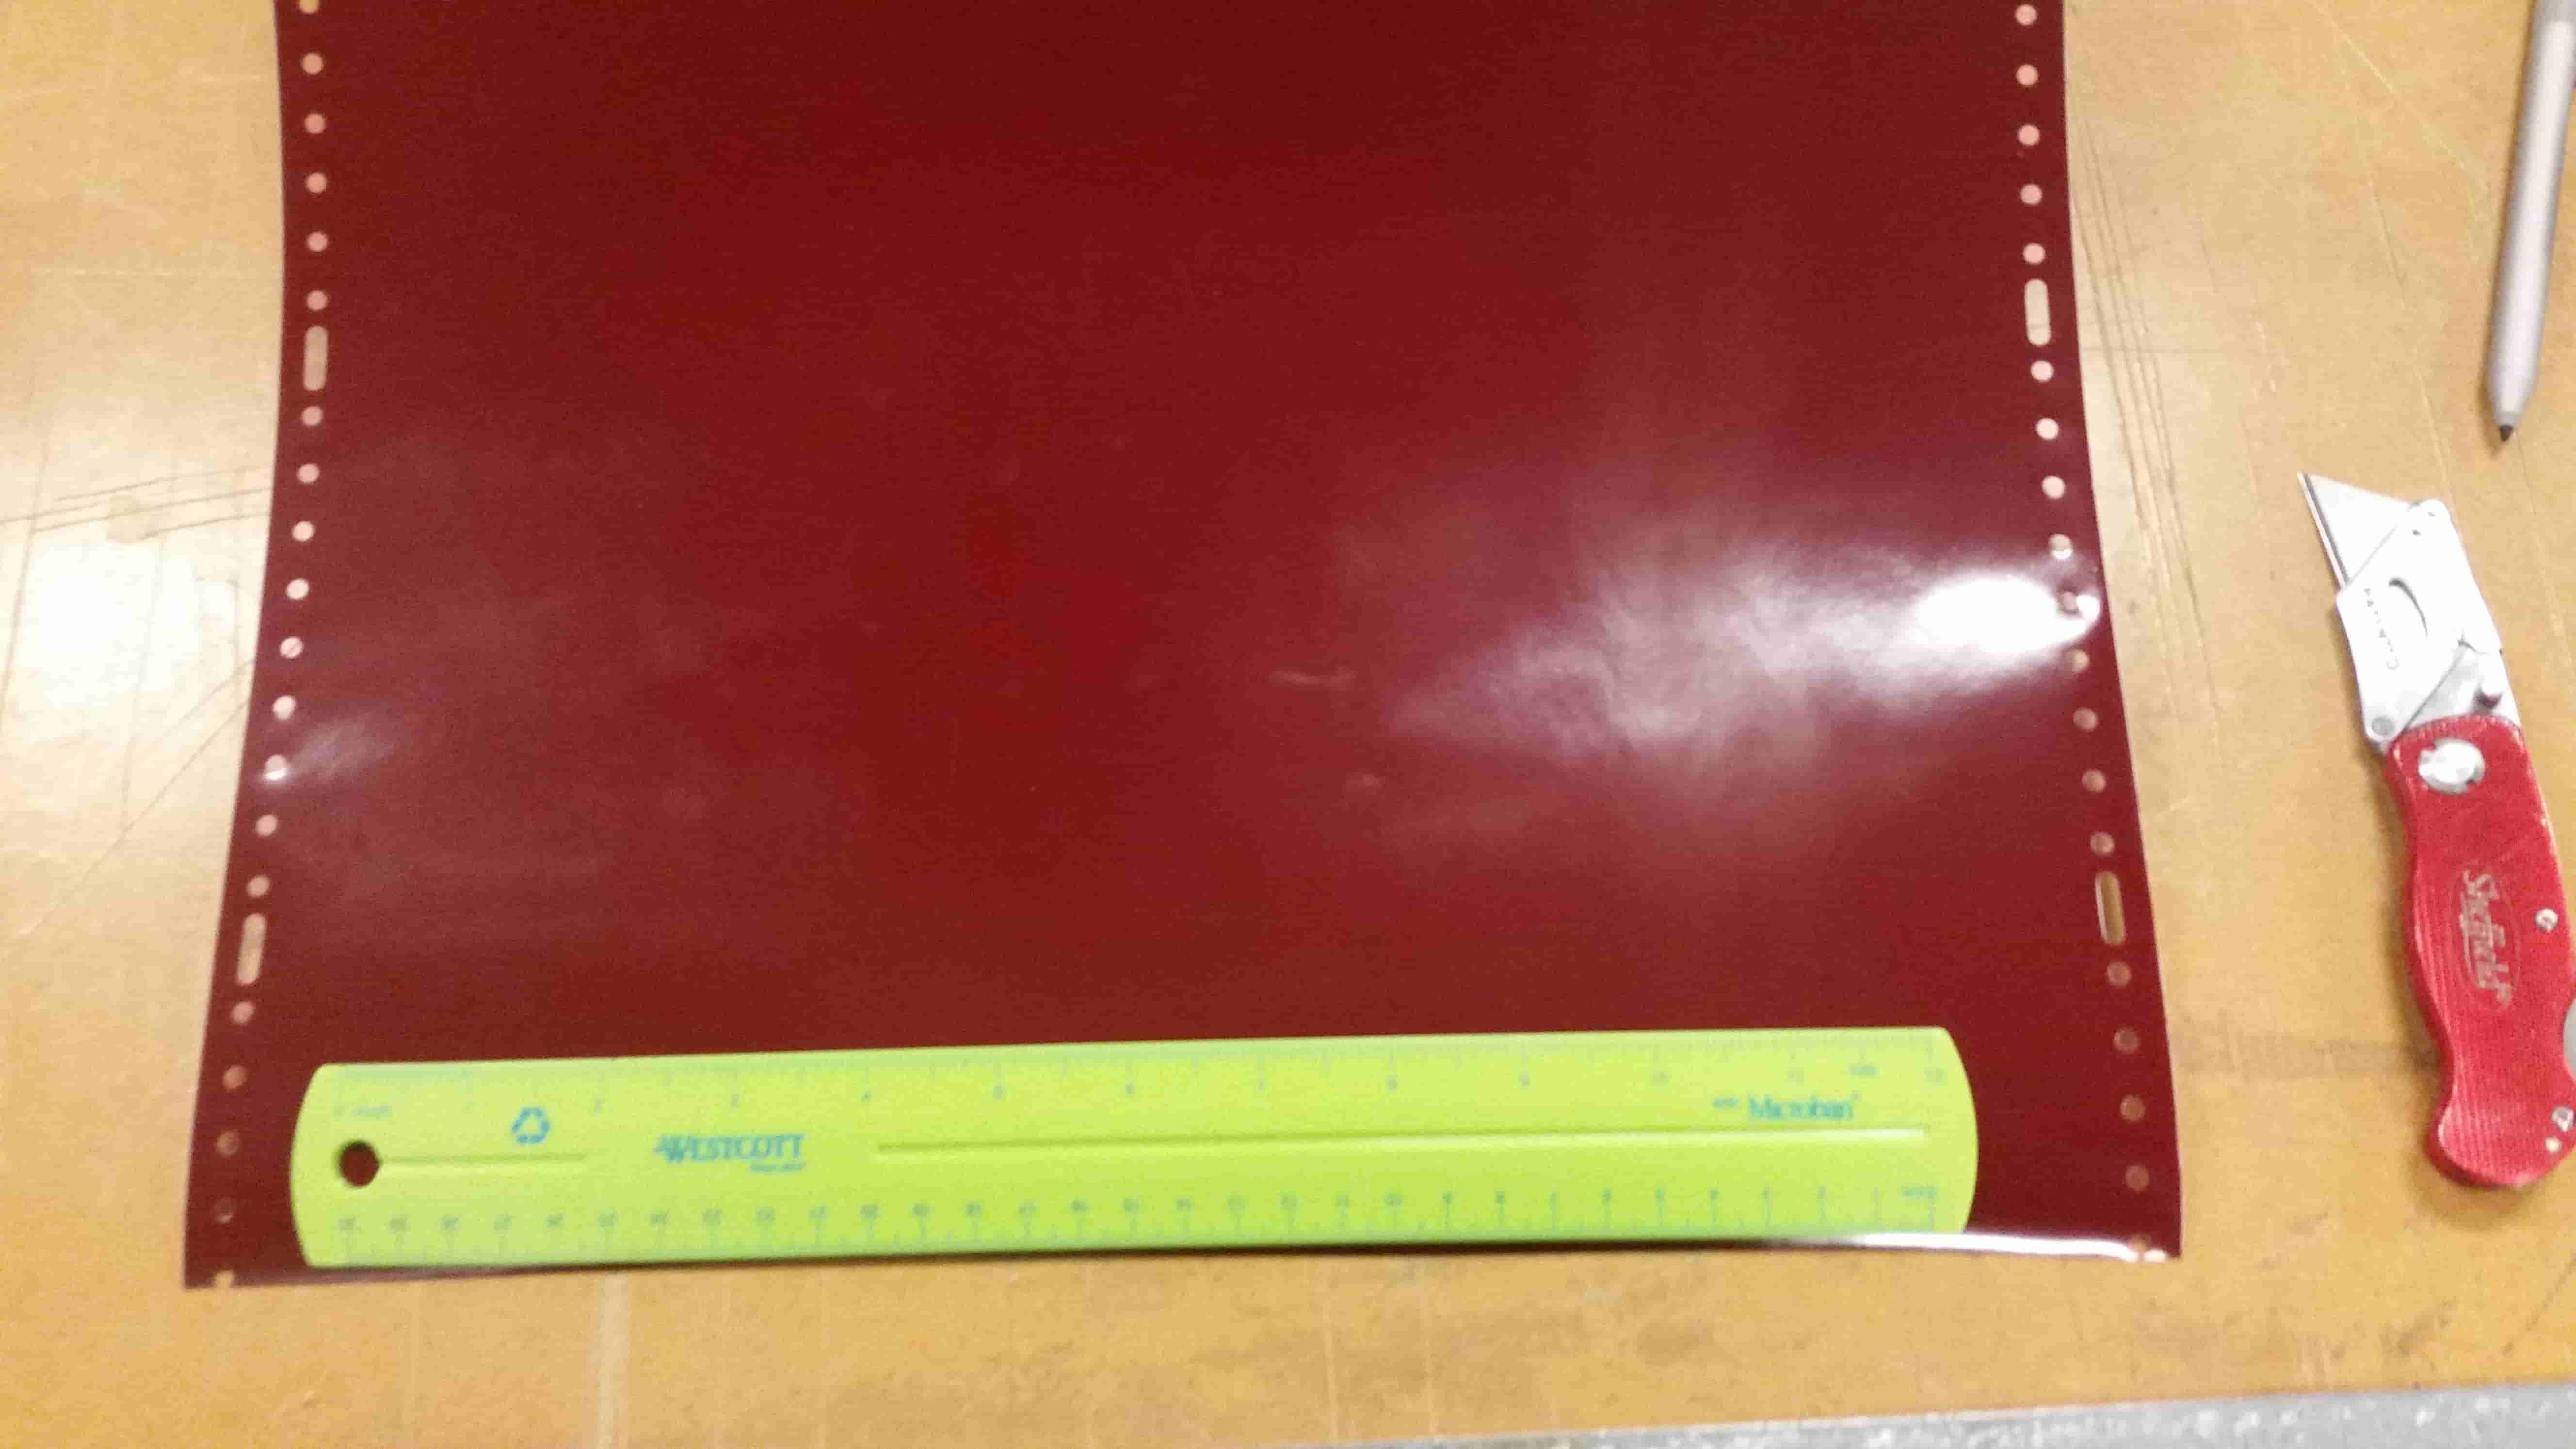
GOLLY Your some kind of Vinyl finding stud. Our Stencil will definitly fit.
Let's visit our Vinyl cutter. Make sure you've opened up the pinch roller located on the back of the machine.
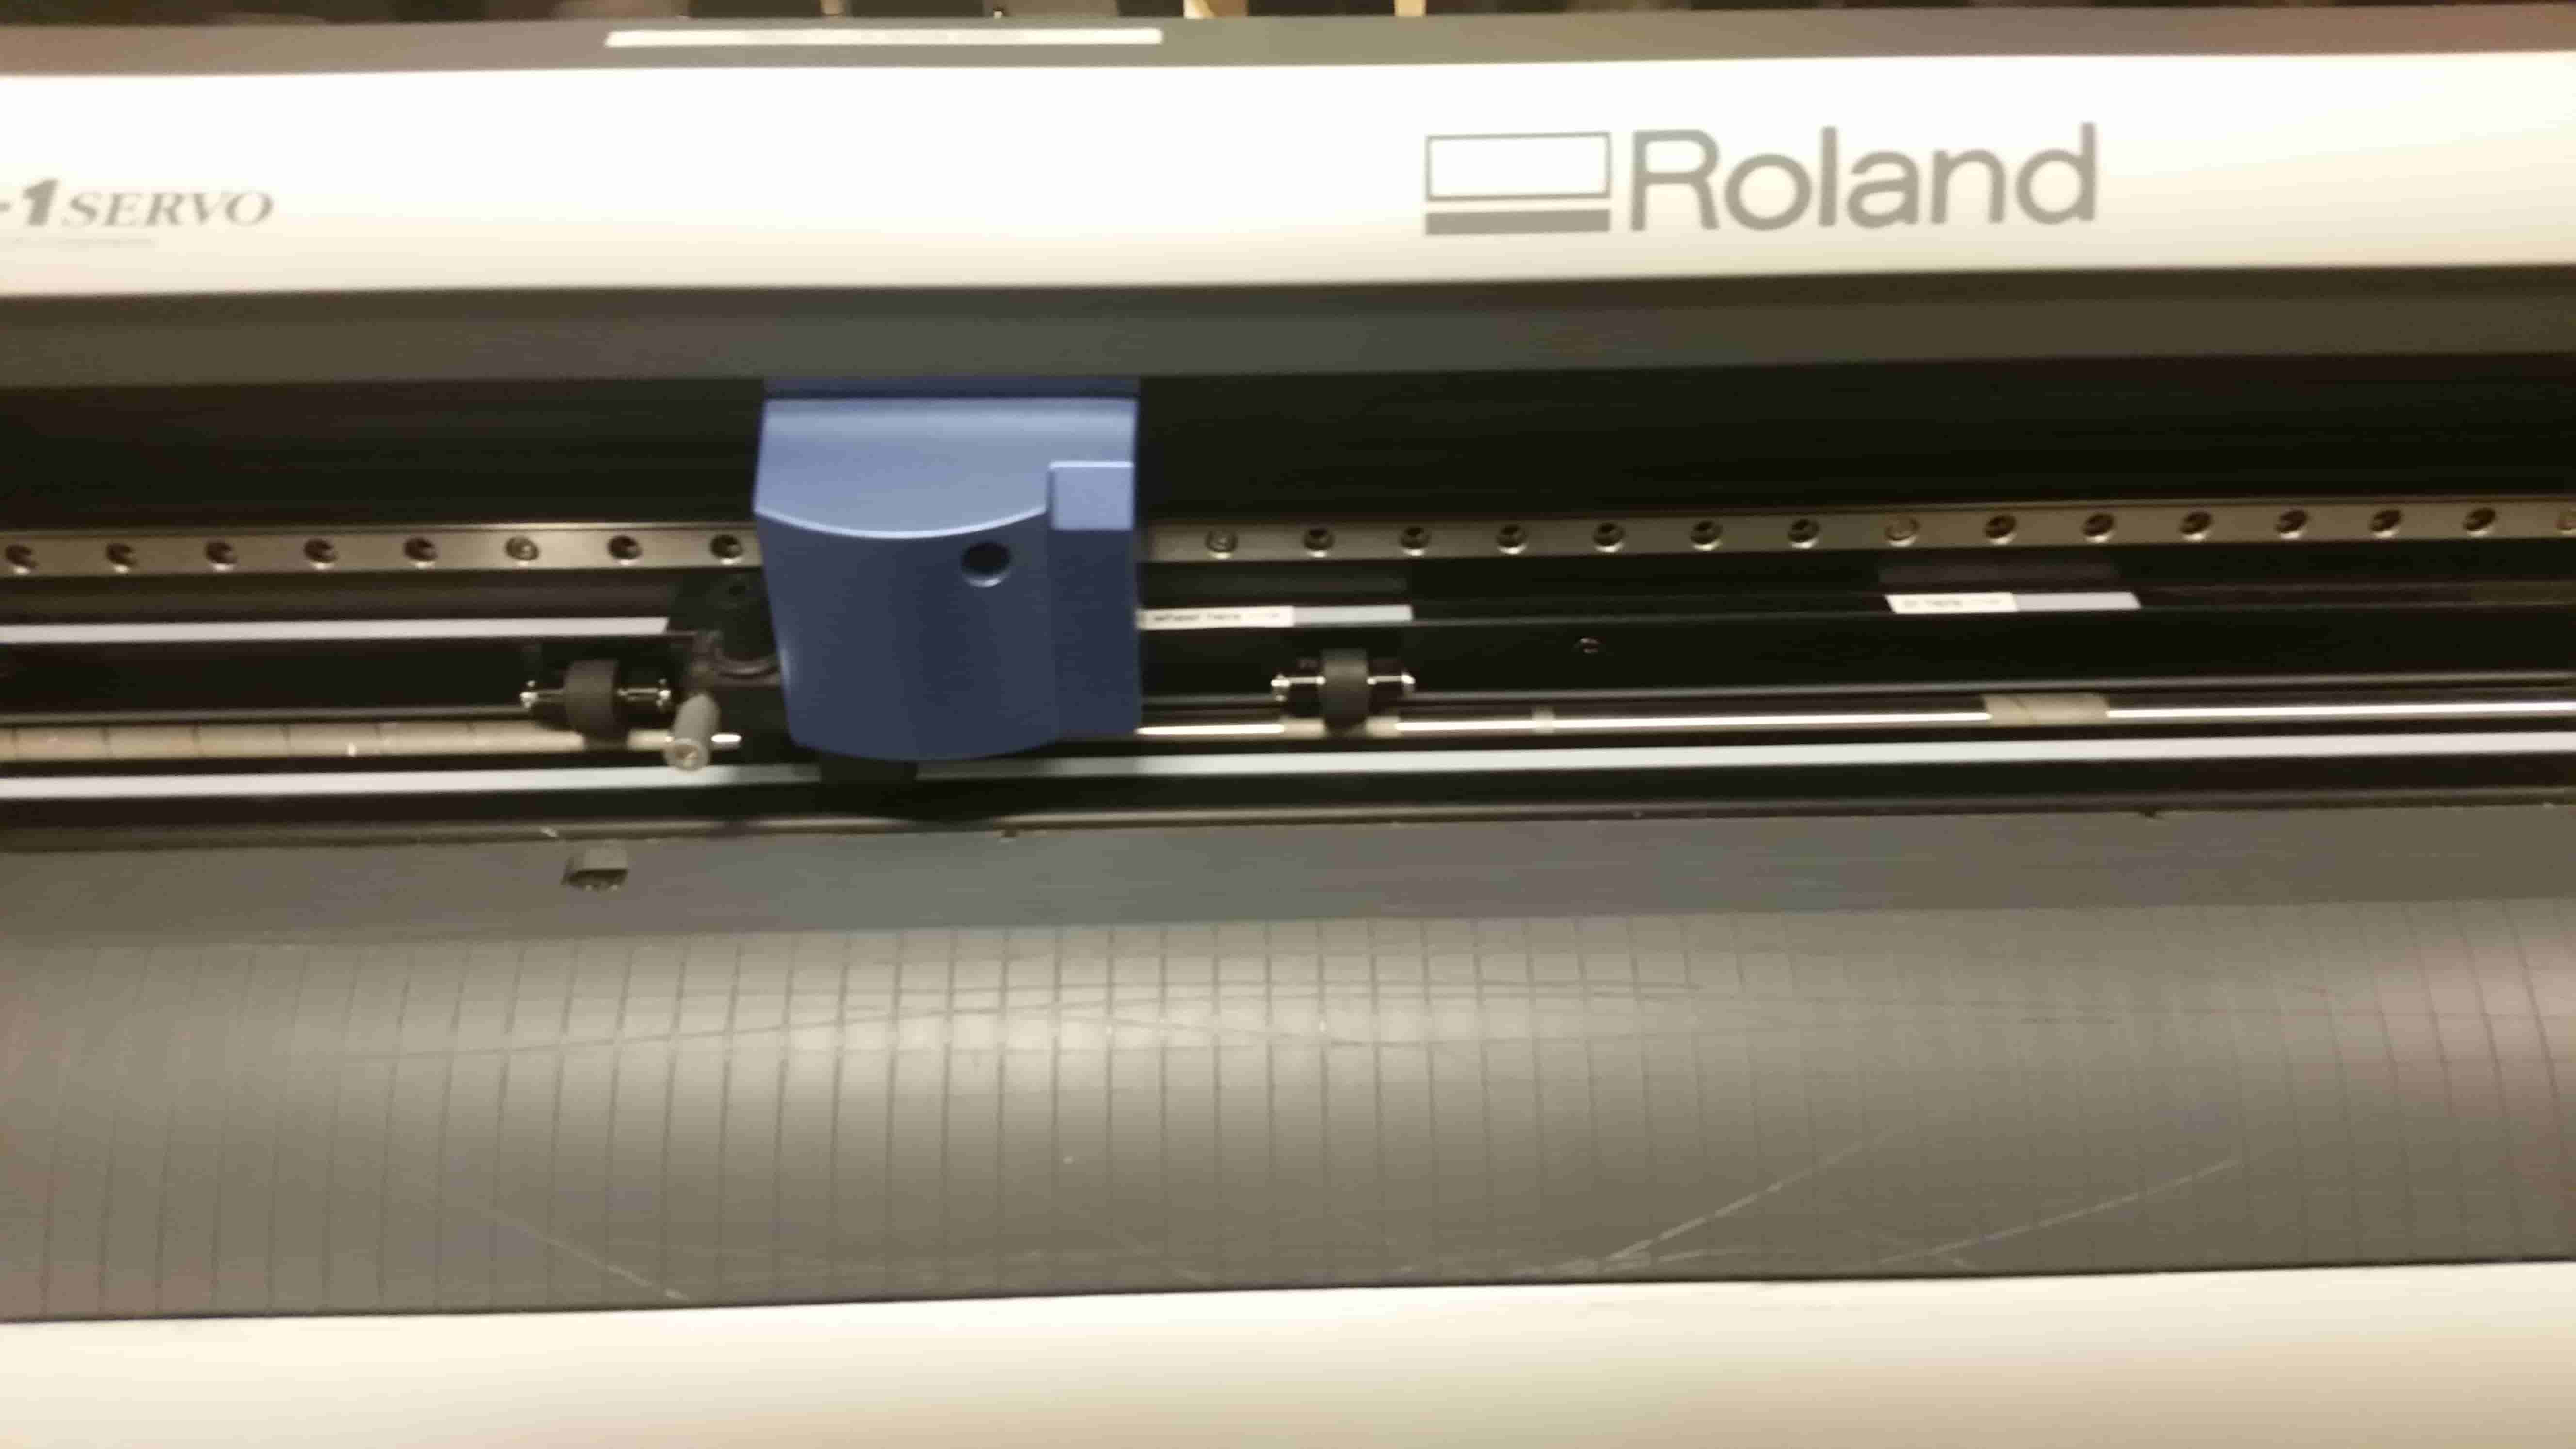
Once you've got your vinyl loaded stare at the lever to close the pinch roller.
Give it a real good stare. You want this machine to know you mean buisness.

OK. Good, now close the pinch rollers.
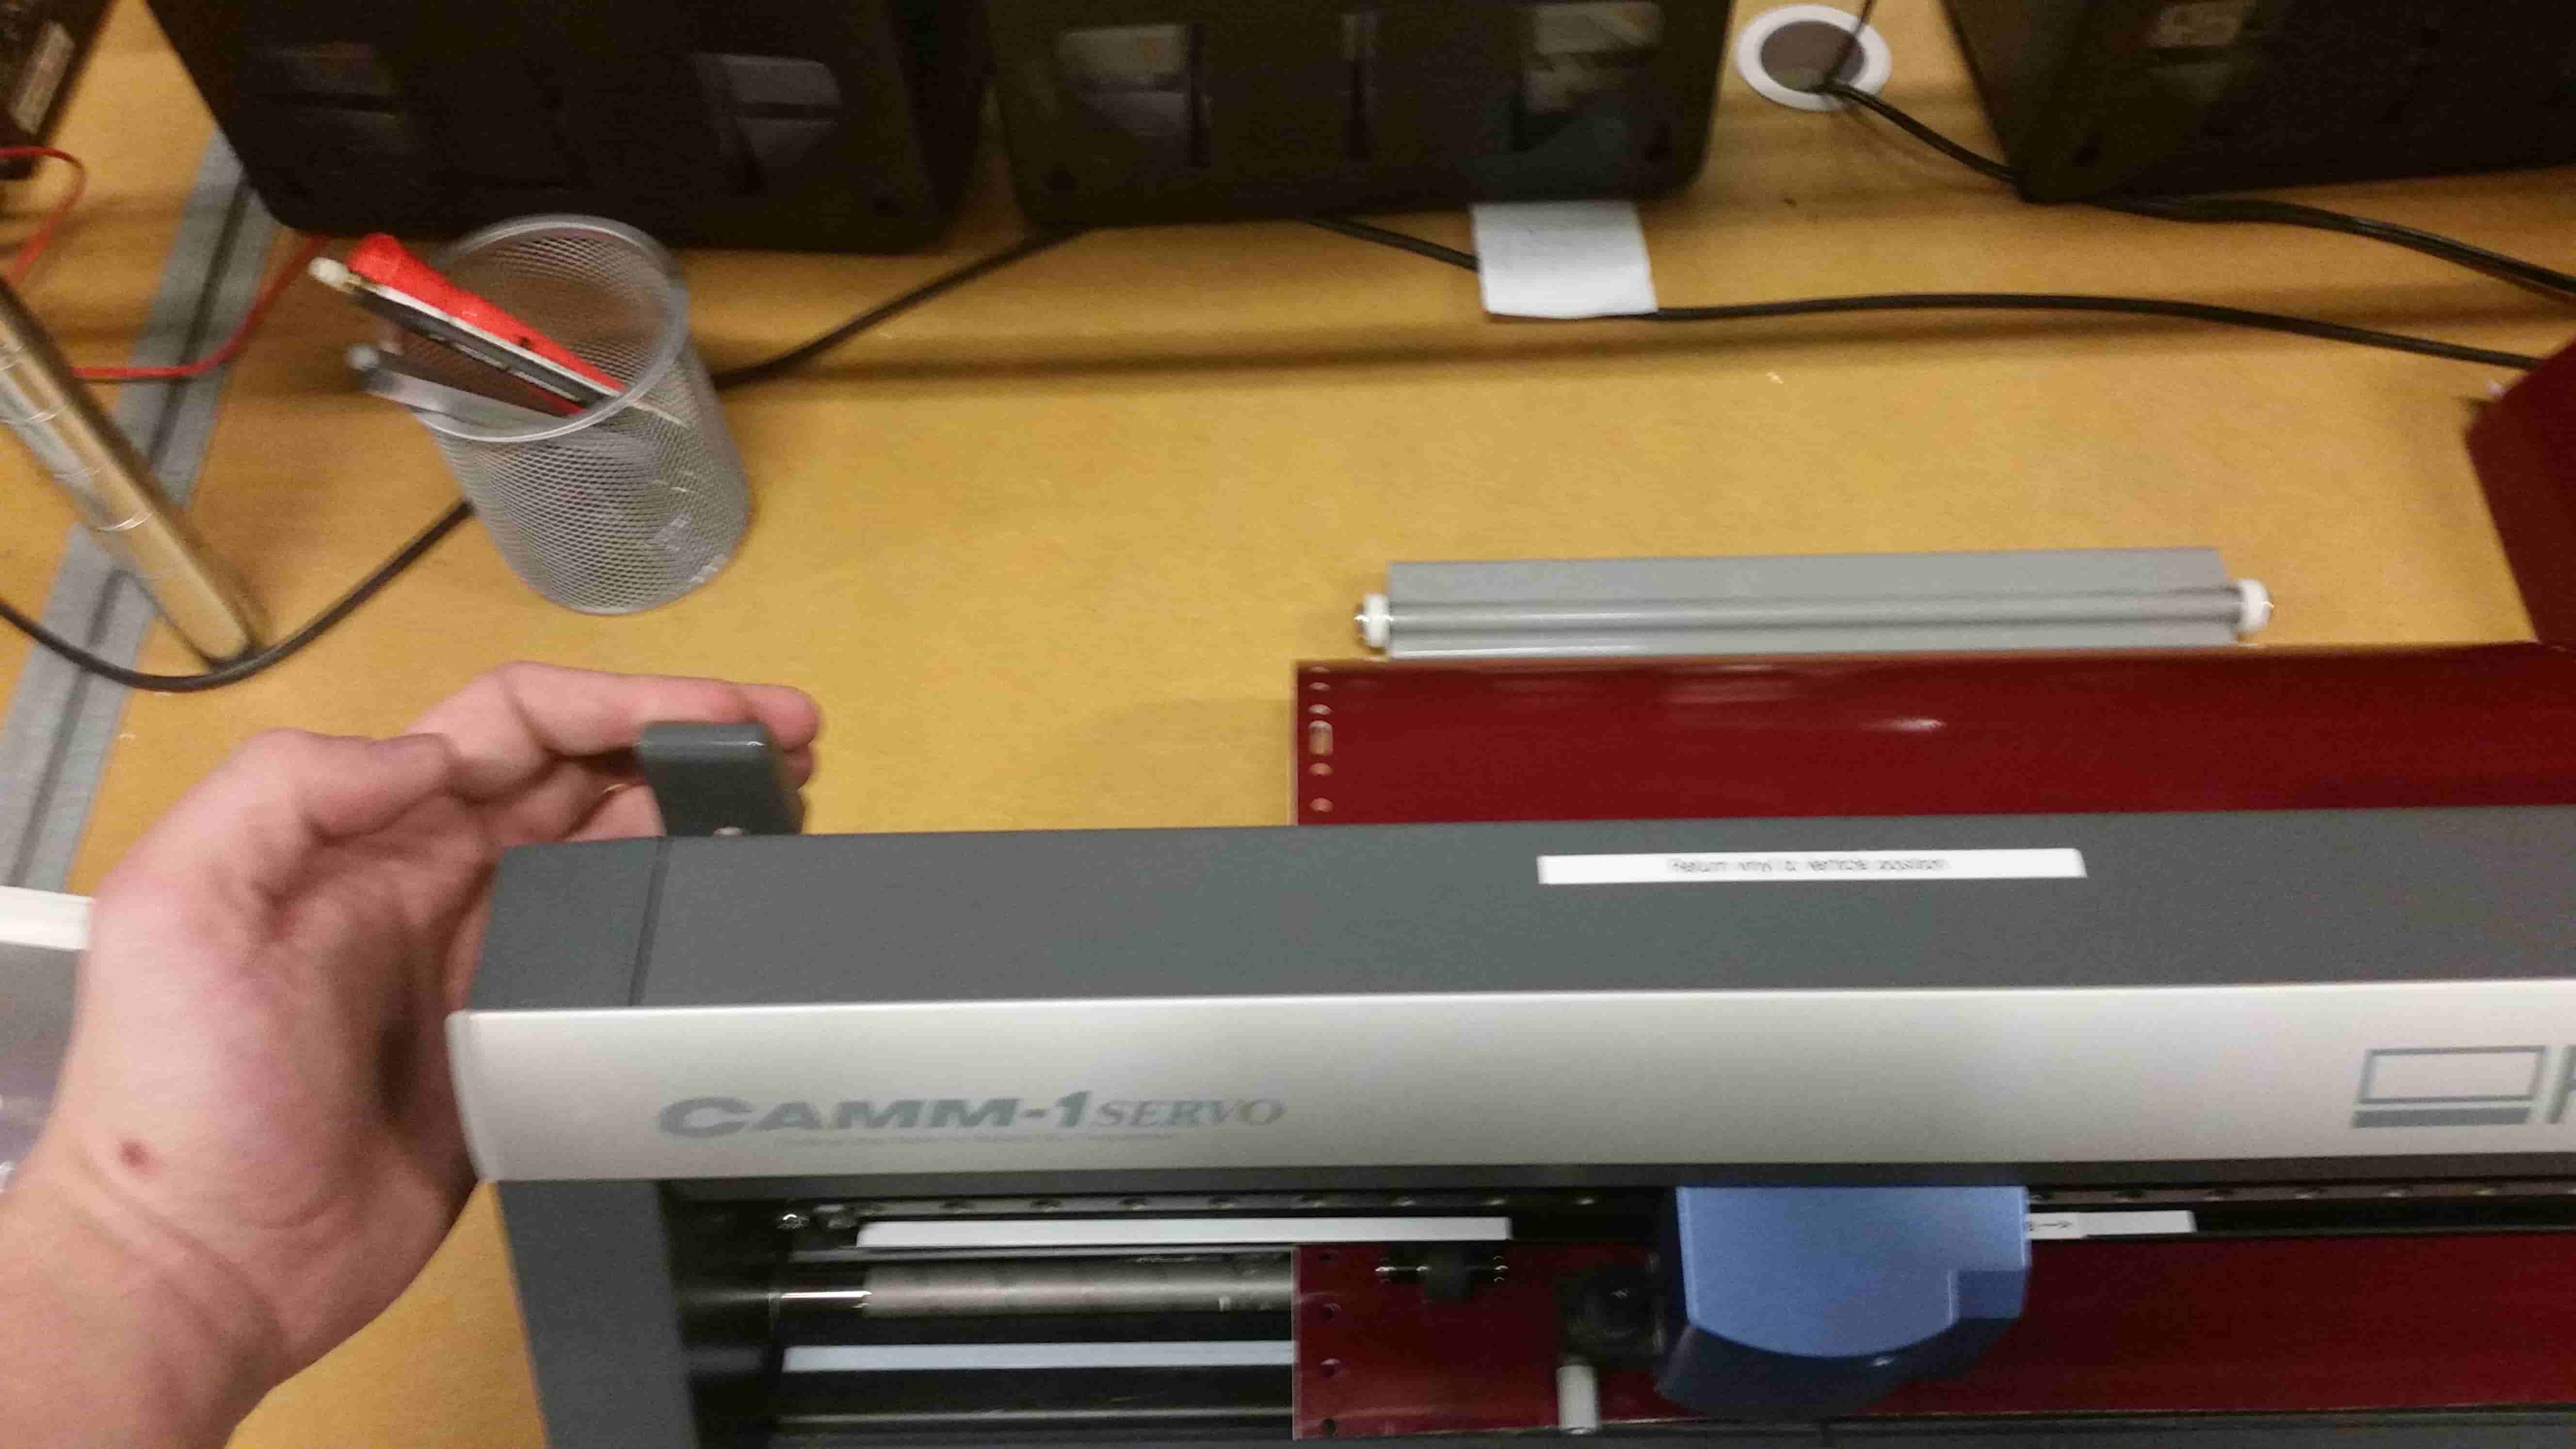
Let's power on our machine.
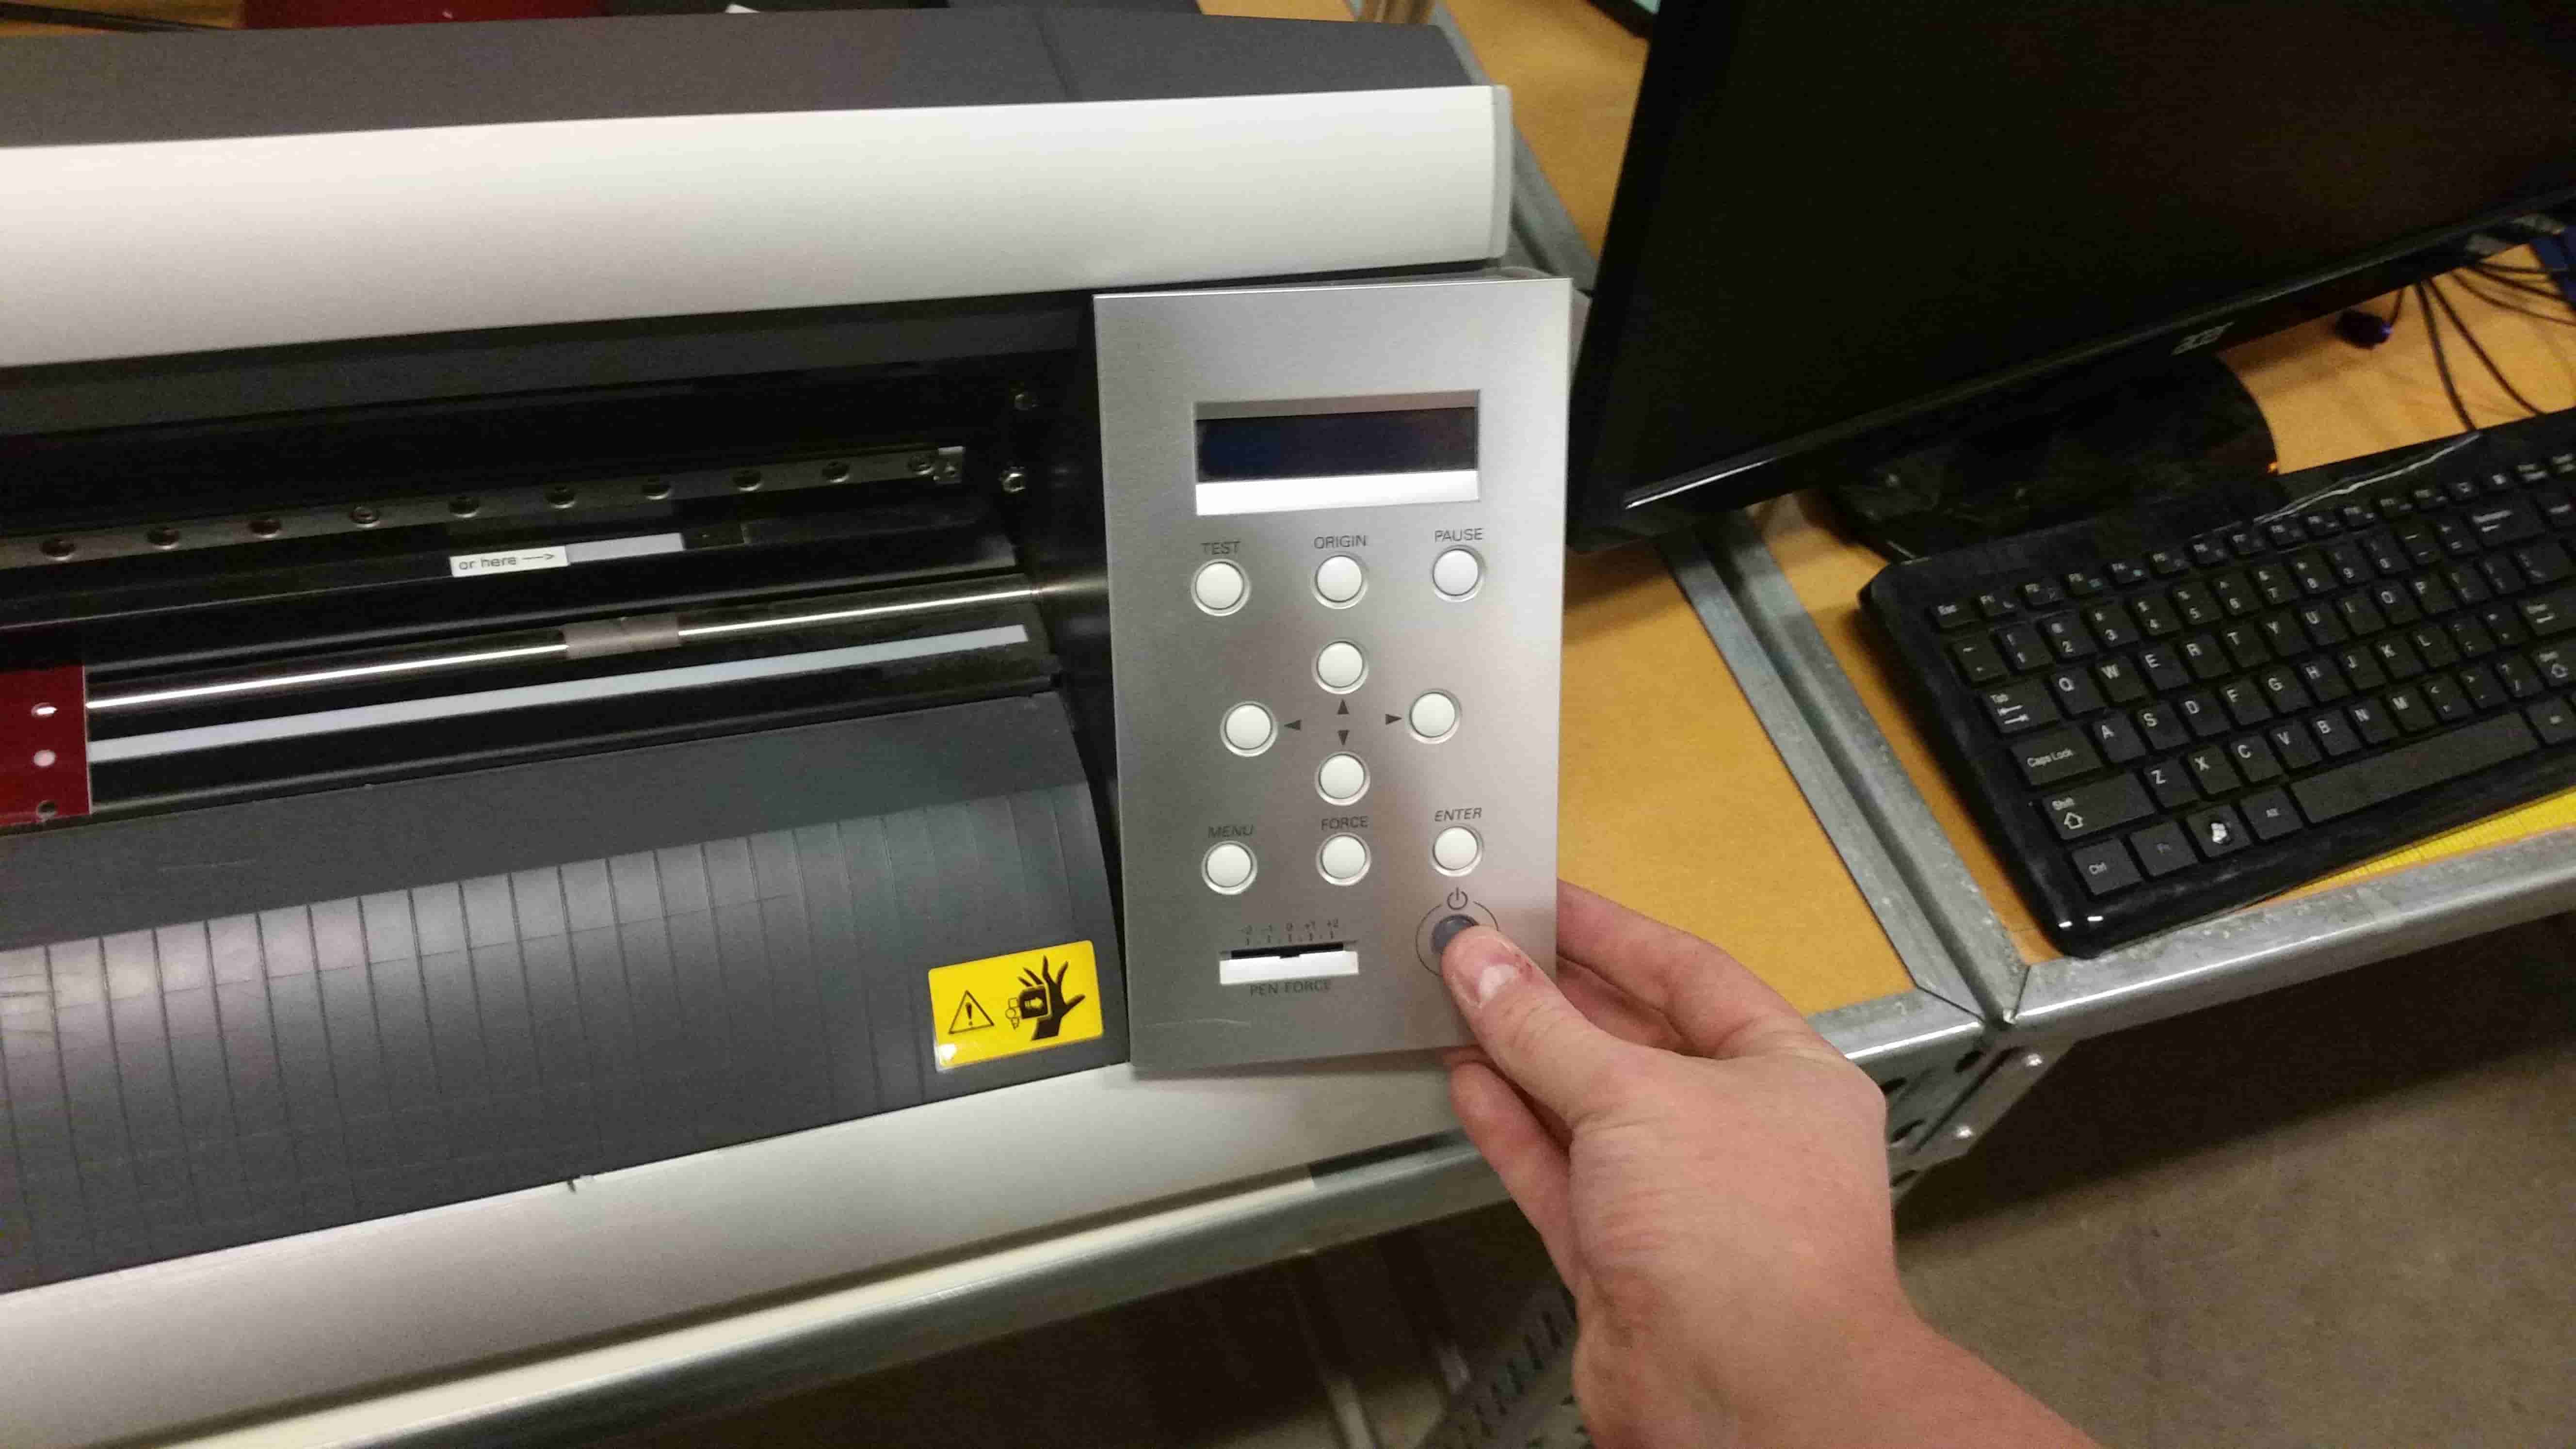
It'll zip back and forth a bit. The machine is checking its mechanical stops. The display located on your vinyl cutter ( or atlest this exact one) will ask if you're using a roll of vinyl or a piece of vinyl. Let it know you're using a piece. Navigate using the up down arrows to PIECE. Press enter.
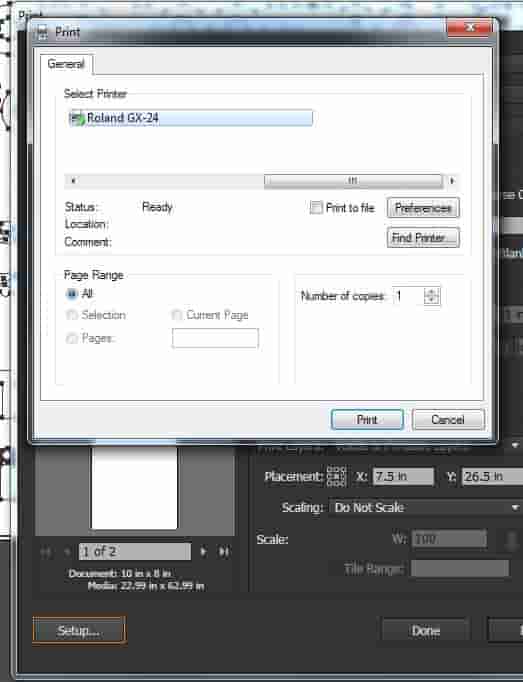
Let's head back to the software. Find the Preferances button and give that bastard a good hearty left click.
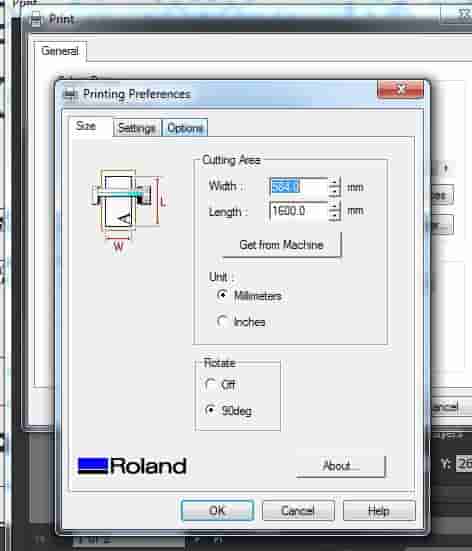
Let's change our units from milimeters to inches and then hit "Get from Machine" This will pull the vinyl dimensions from the vinyl cutter.
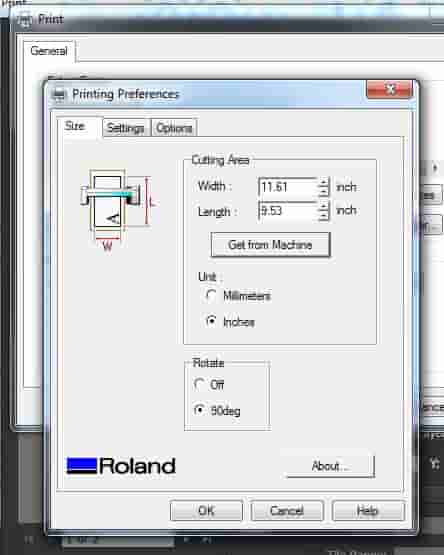
Looks good, press ok until we are back to Illustrator's Print window. You may need to go into set up then press ok on the pop up window once or twice for the settings to import into illustrator correctly. Once we are looking good hit that Print button.
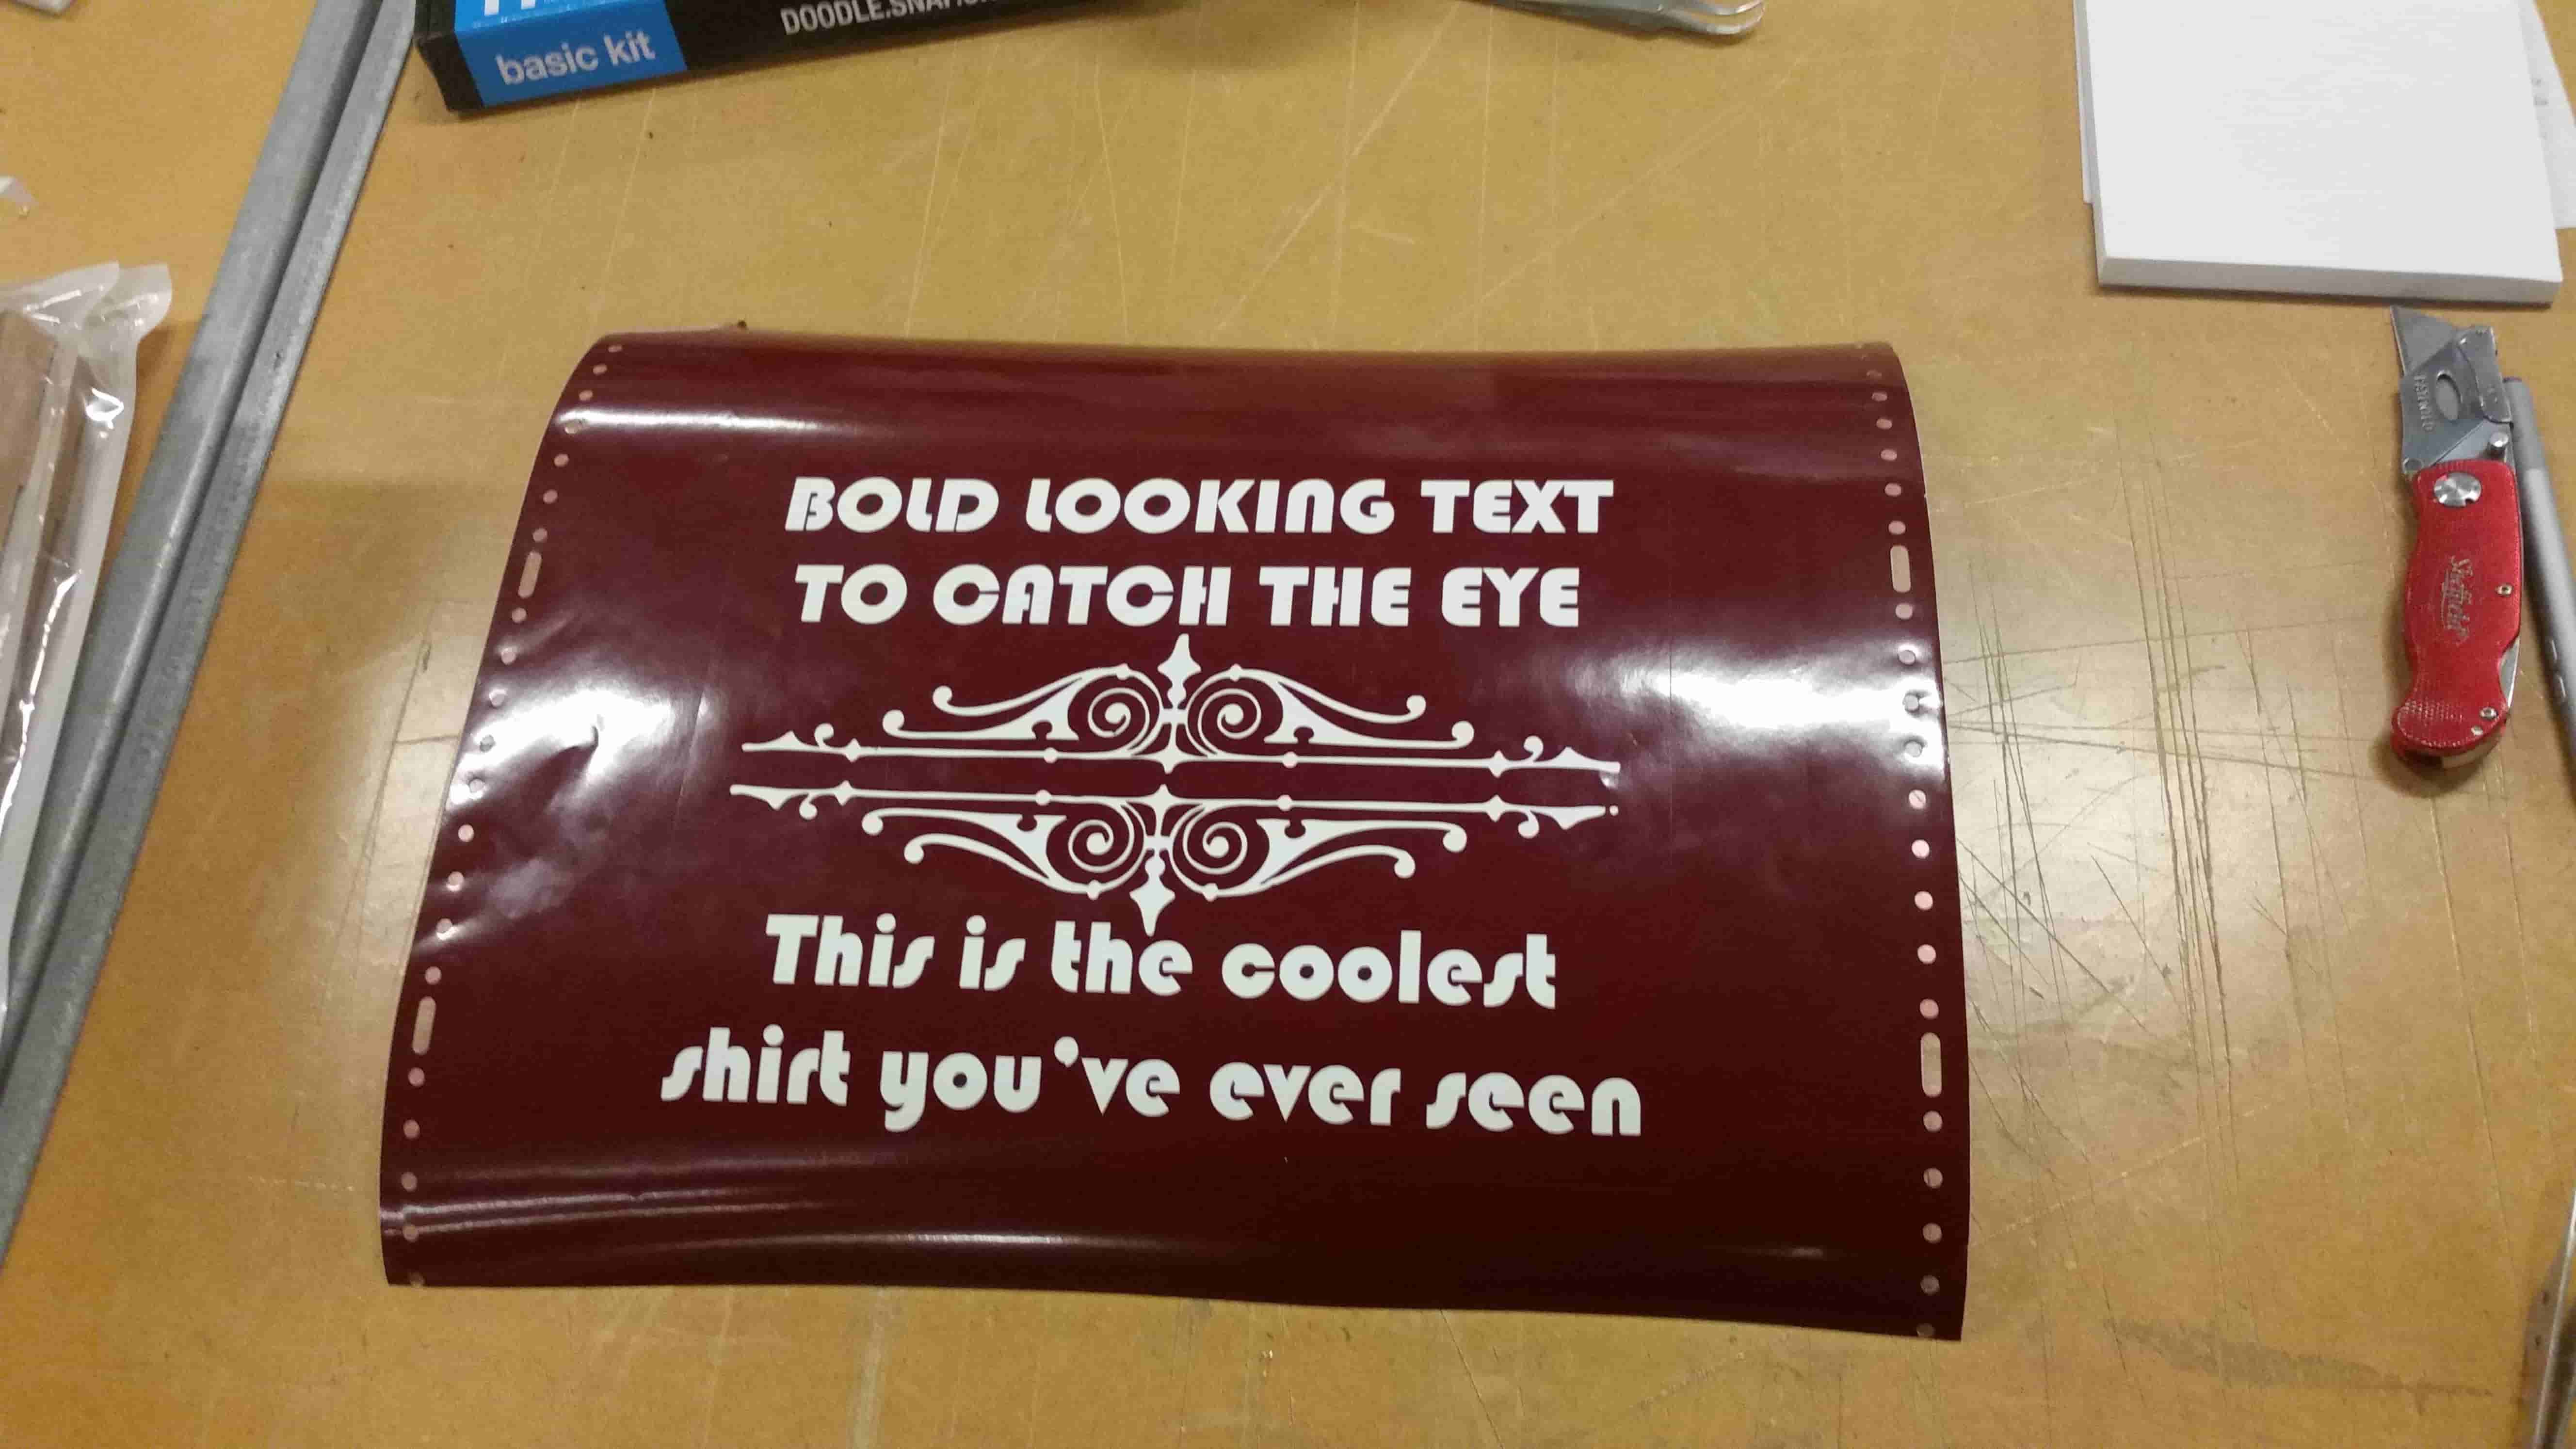
Gosh Dang oh Darn! We are good at this, let's start removing the vinyl that we want to see as paint. use an Xacto or tweezers.
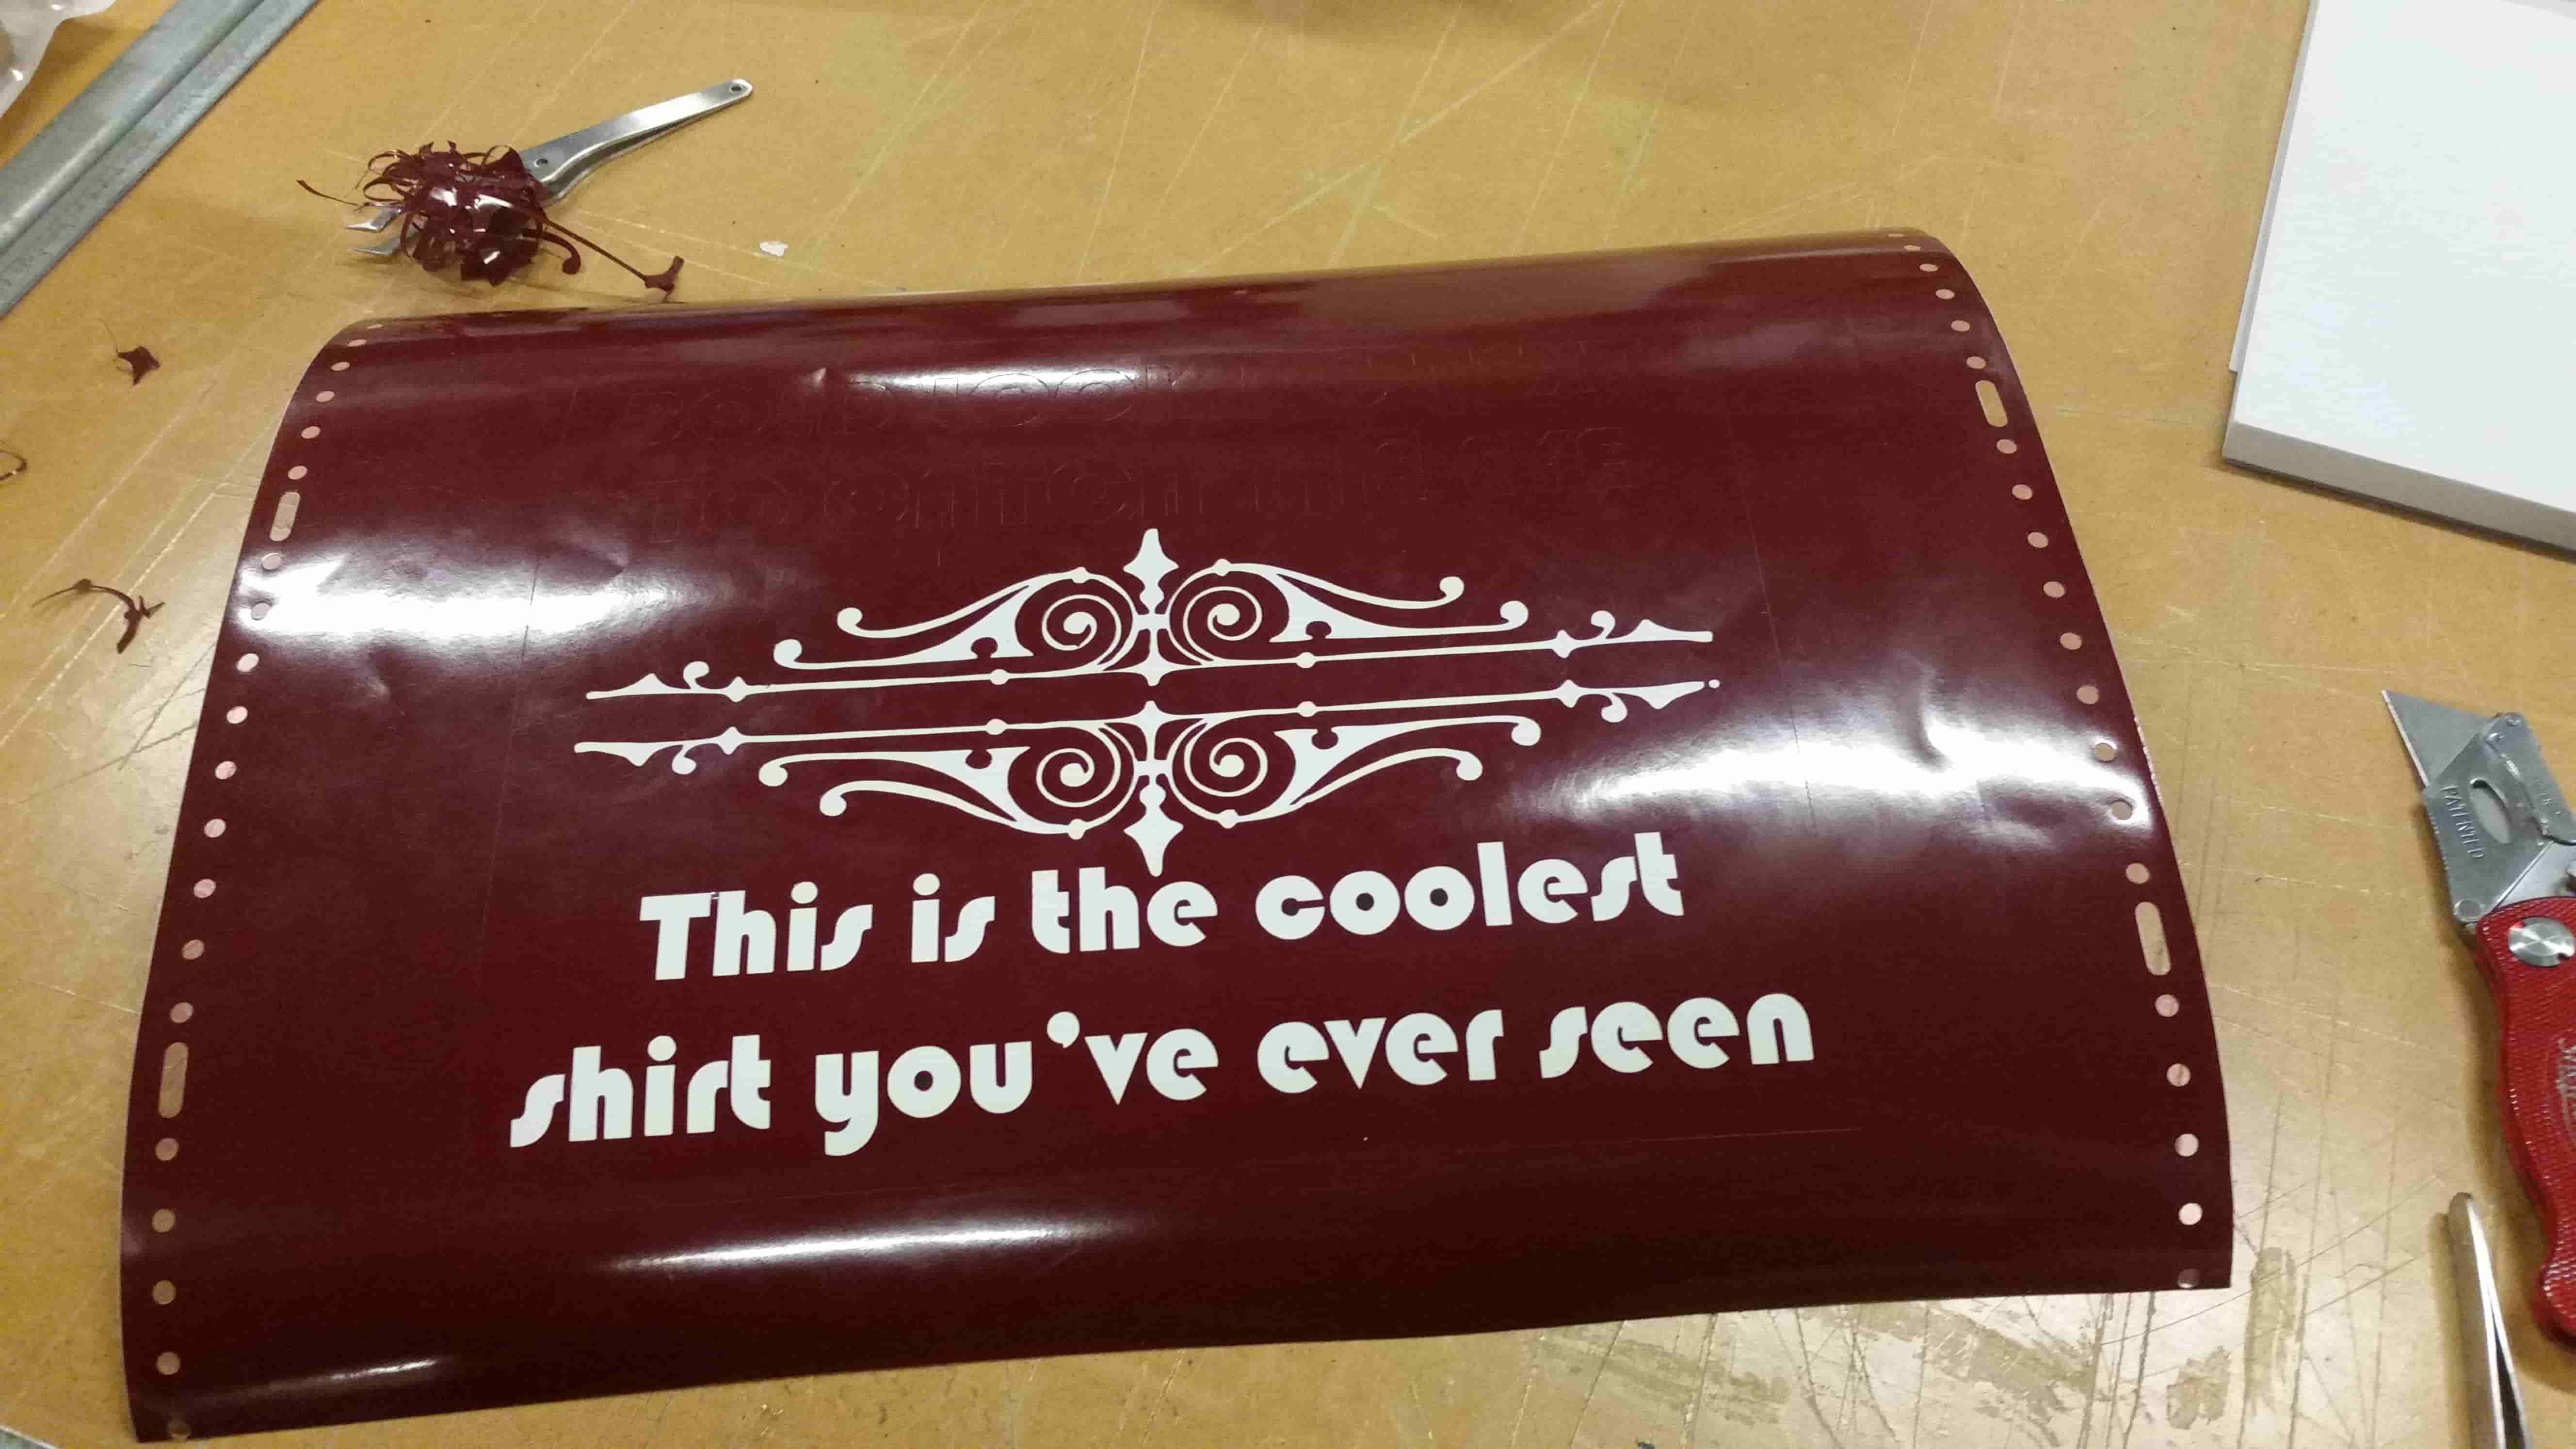
I know it's tedious, but gotta keep at it and be careful not to tear off something that you are going to want.
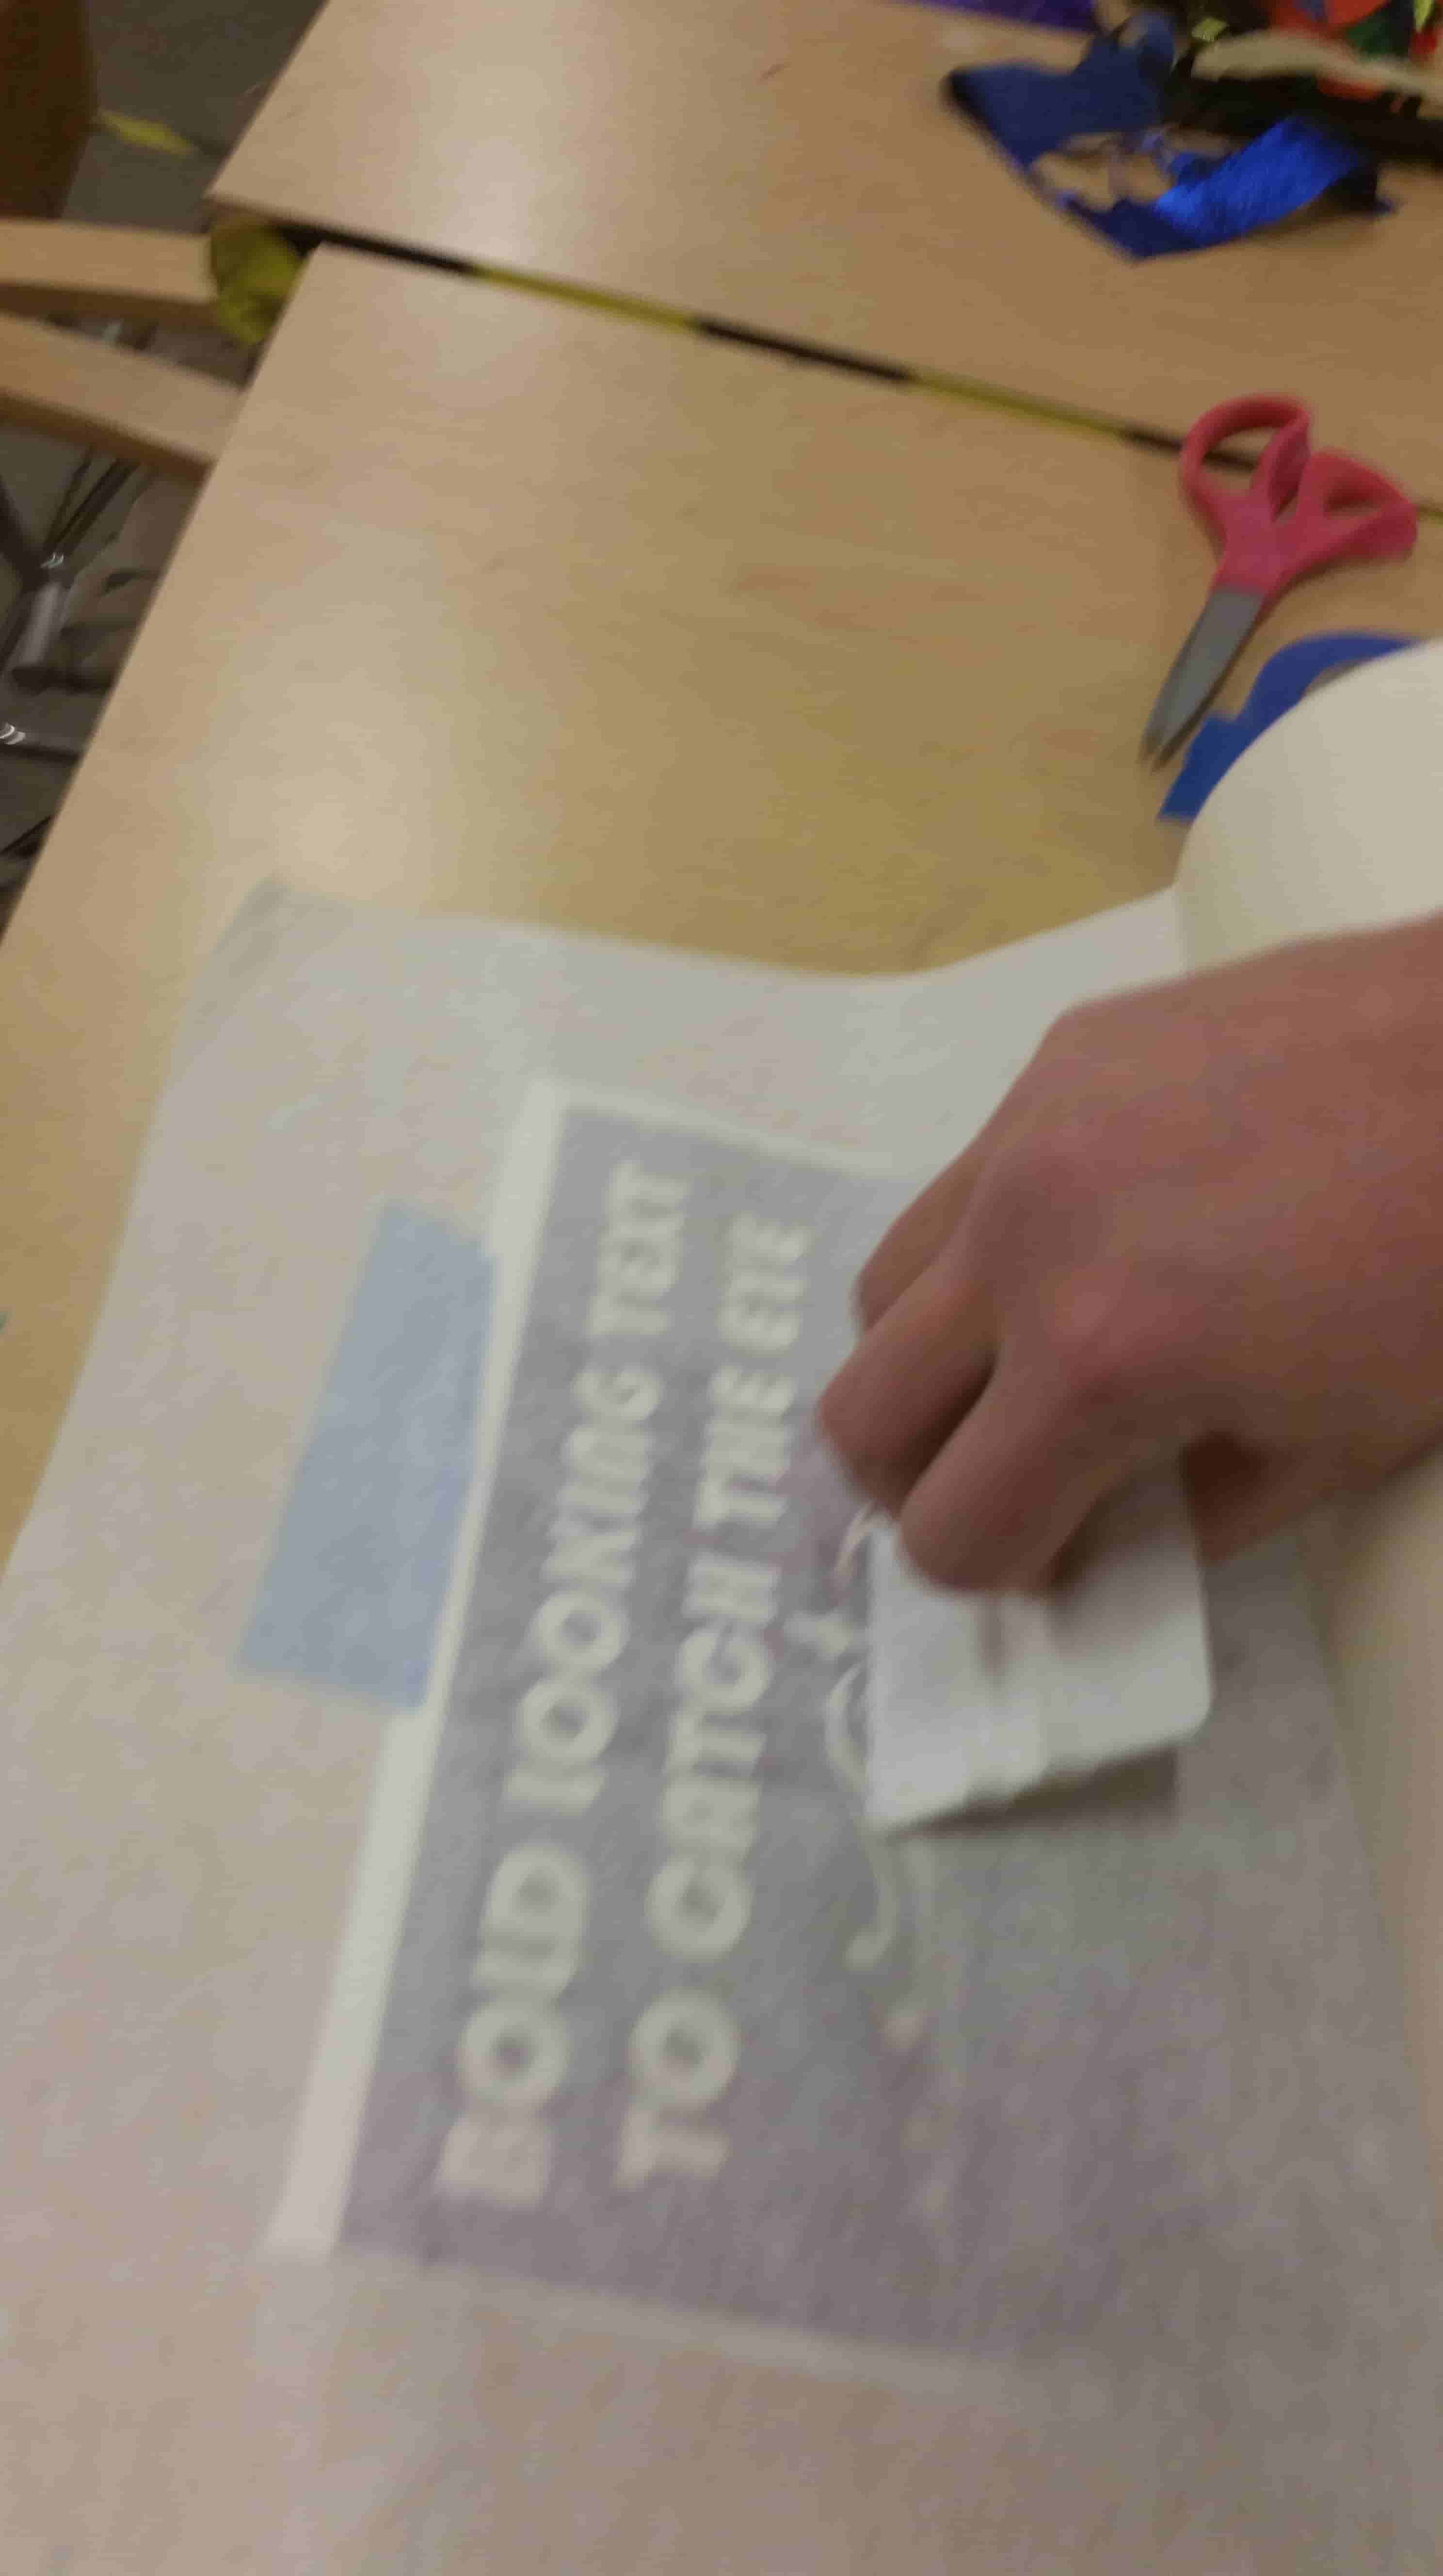
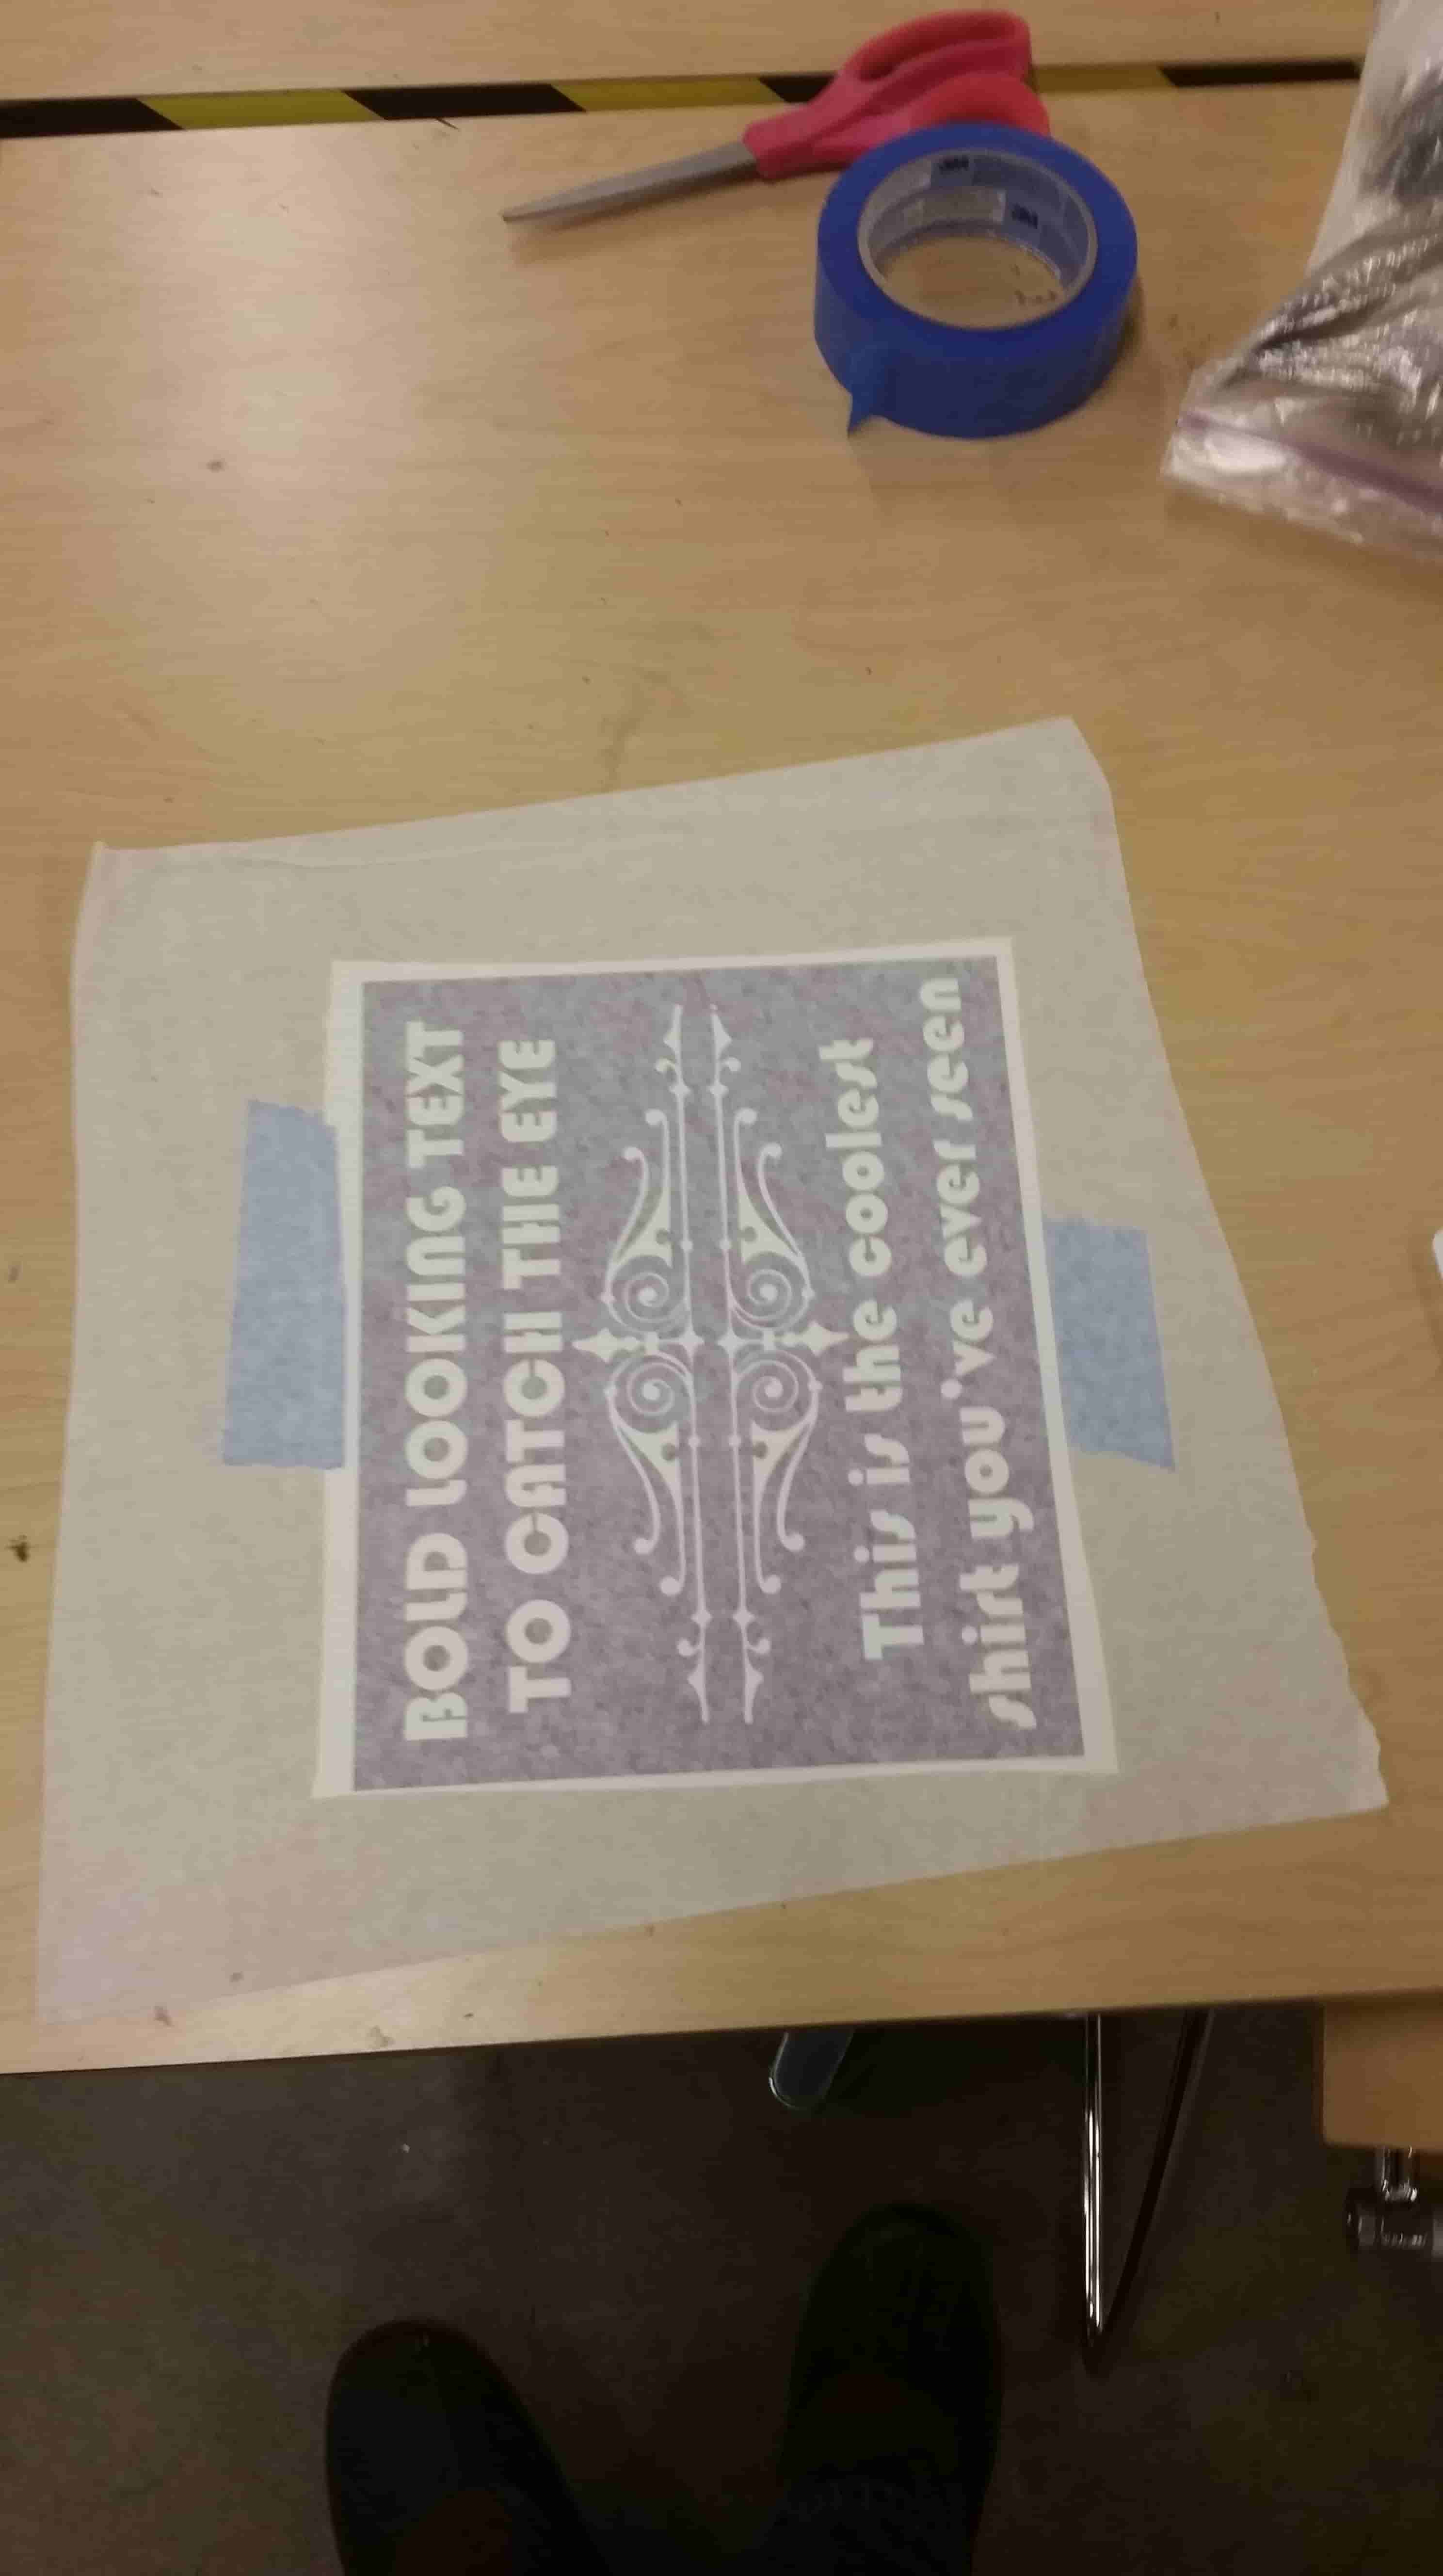
We're going to have to apply masking tape to transfer the vinyl without losing any bits and pieces. I usually stick the take to the table, slide the vinyl under it then begin unrolling the tape.
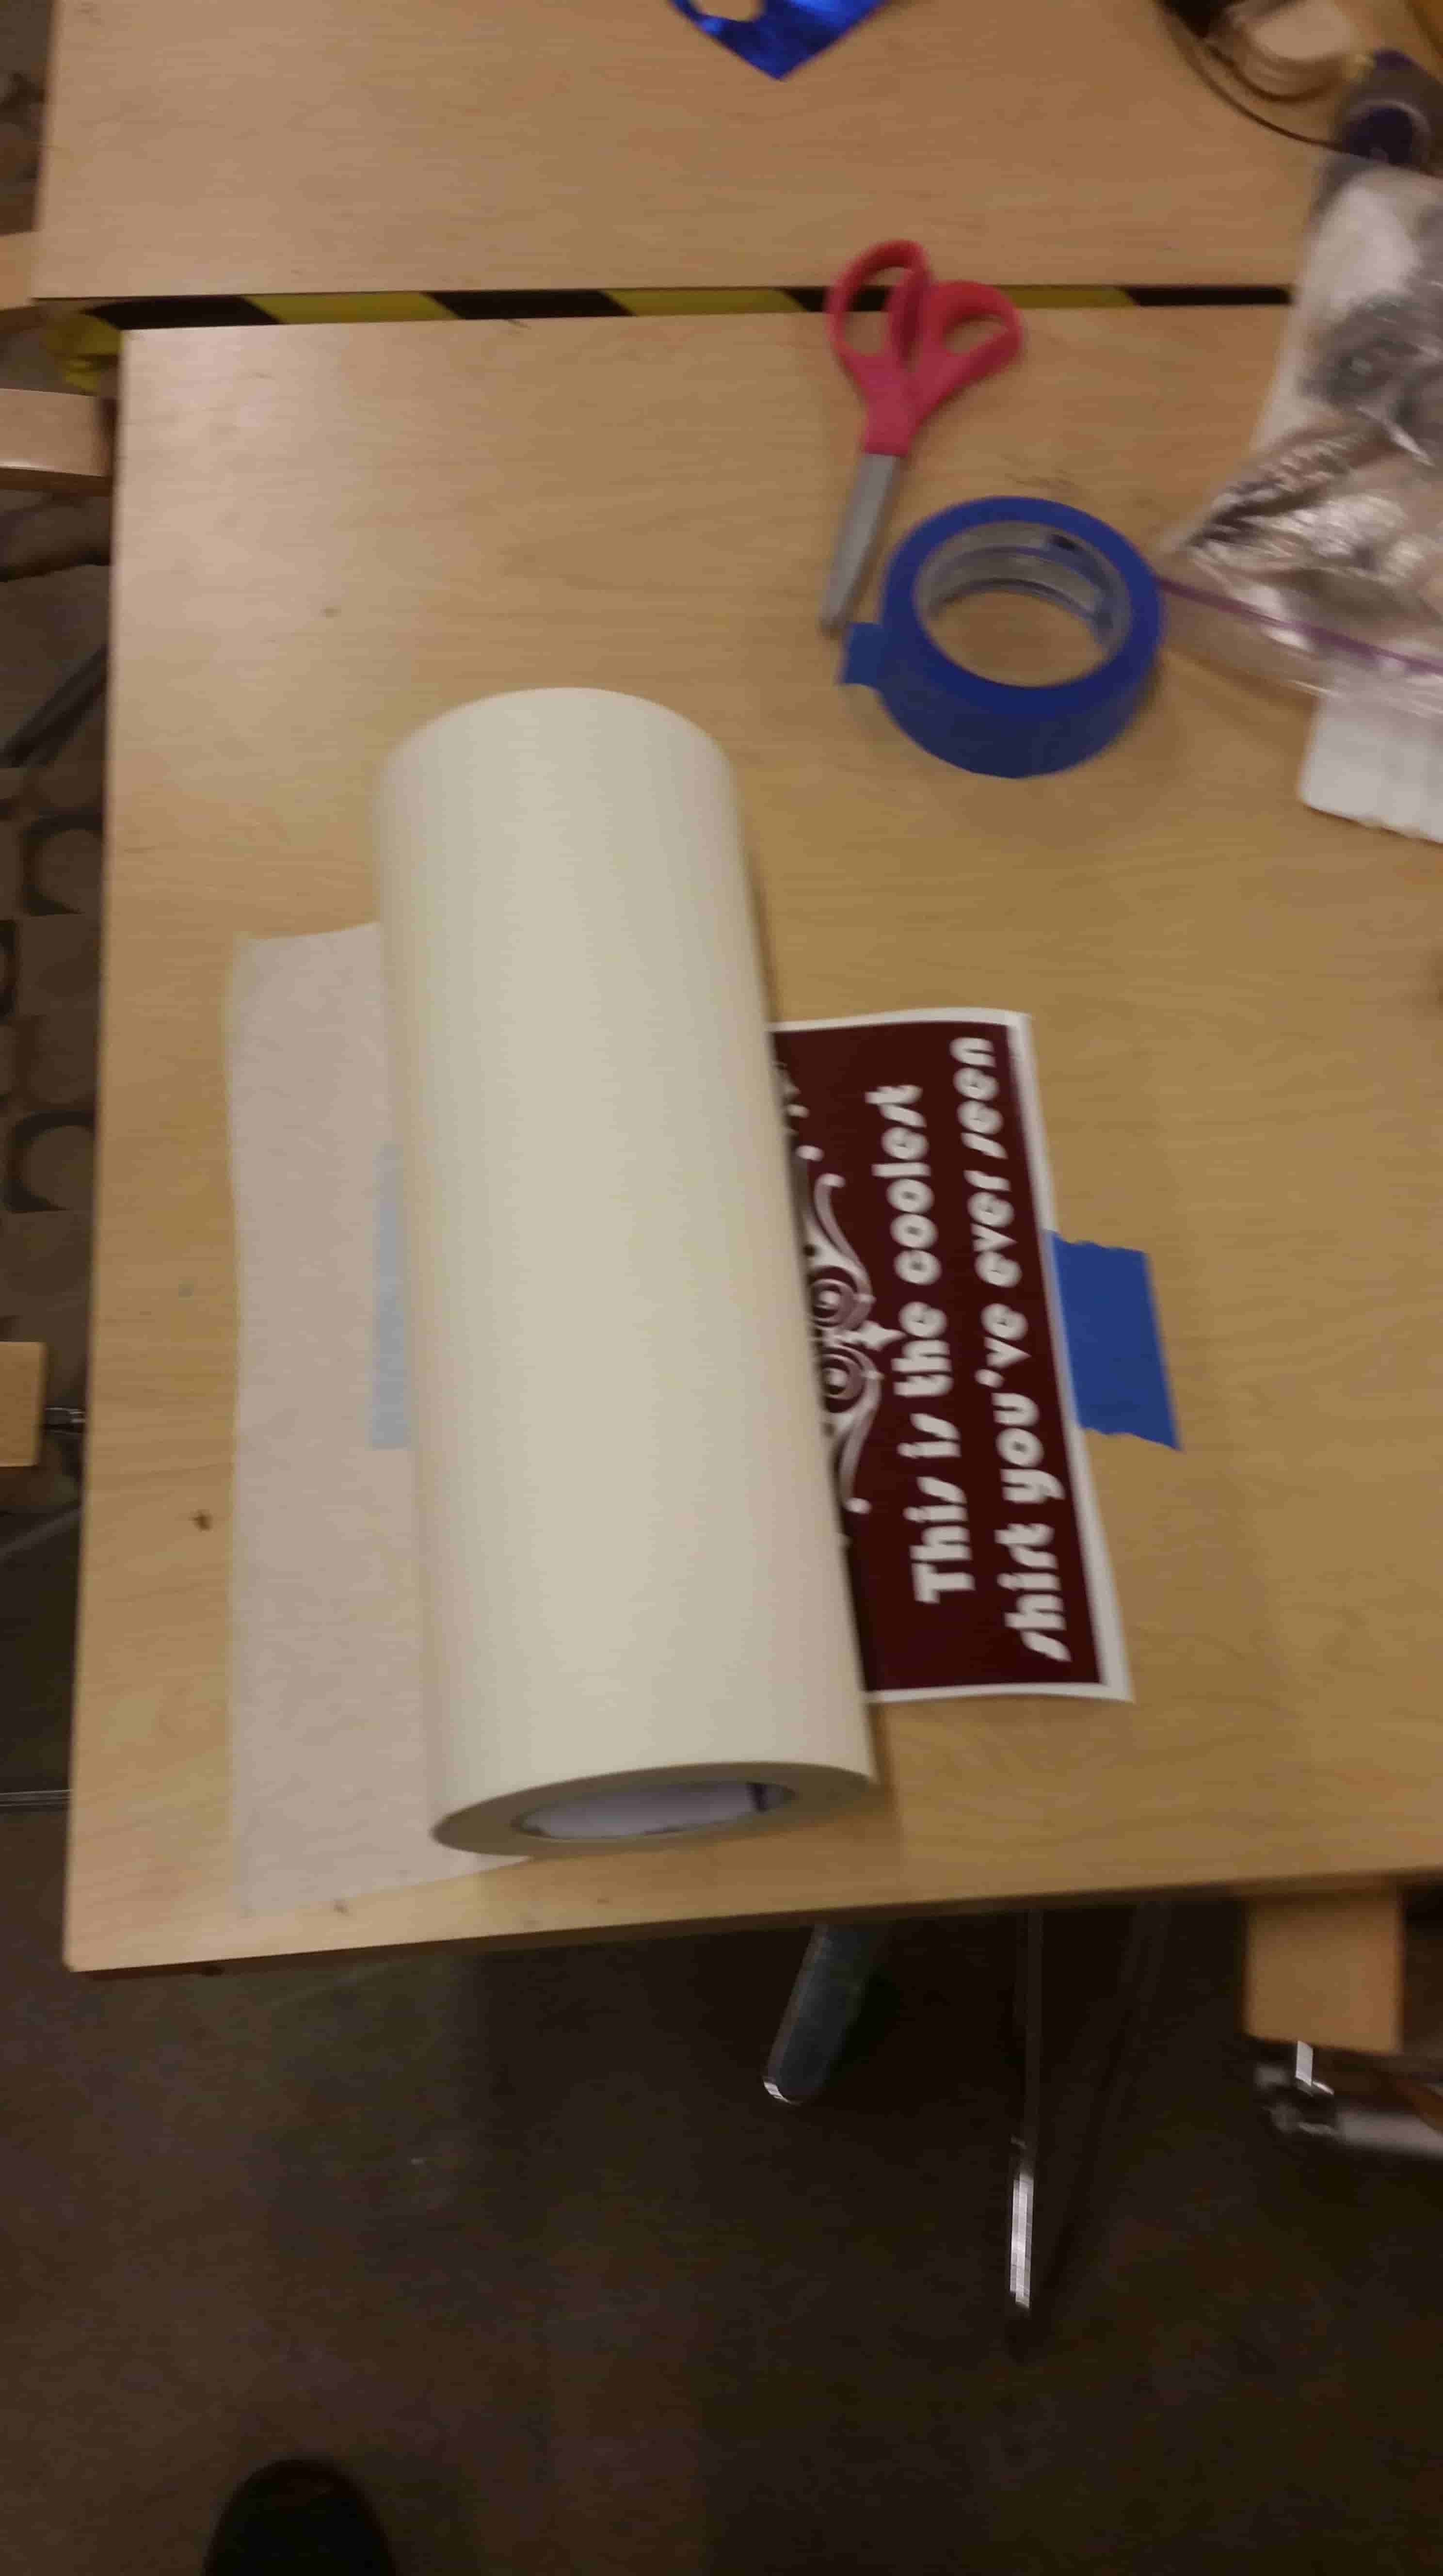
As you unroll the tape work the applicator across the mask.
GOLLY! Are you sure you haven't done this before. You're some kind of vinyl wizard.
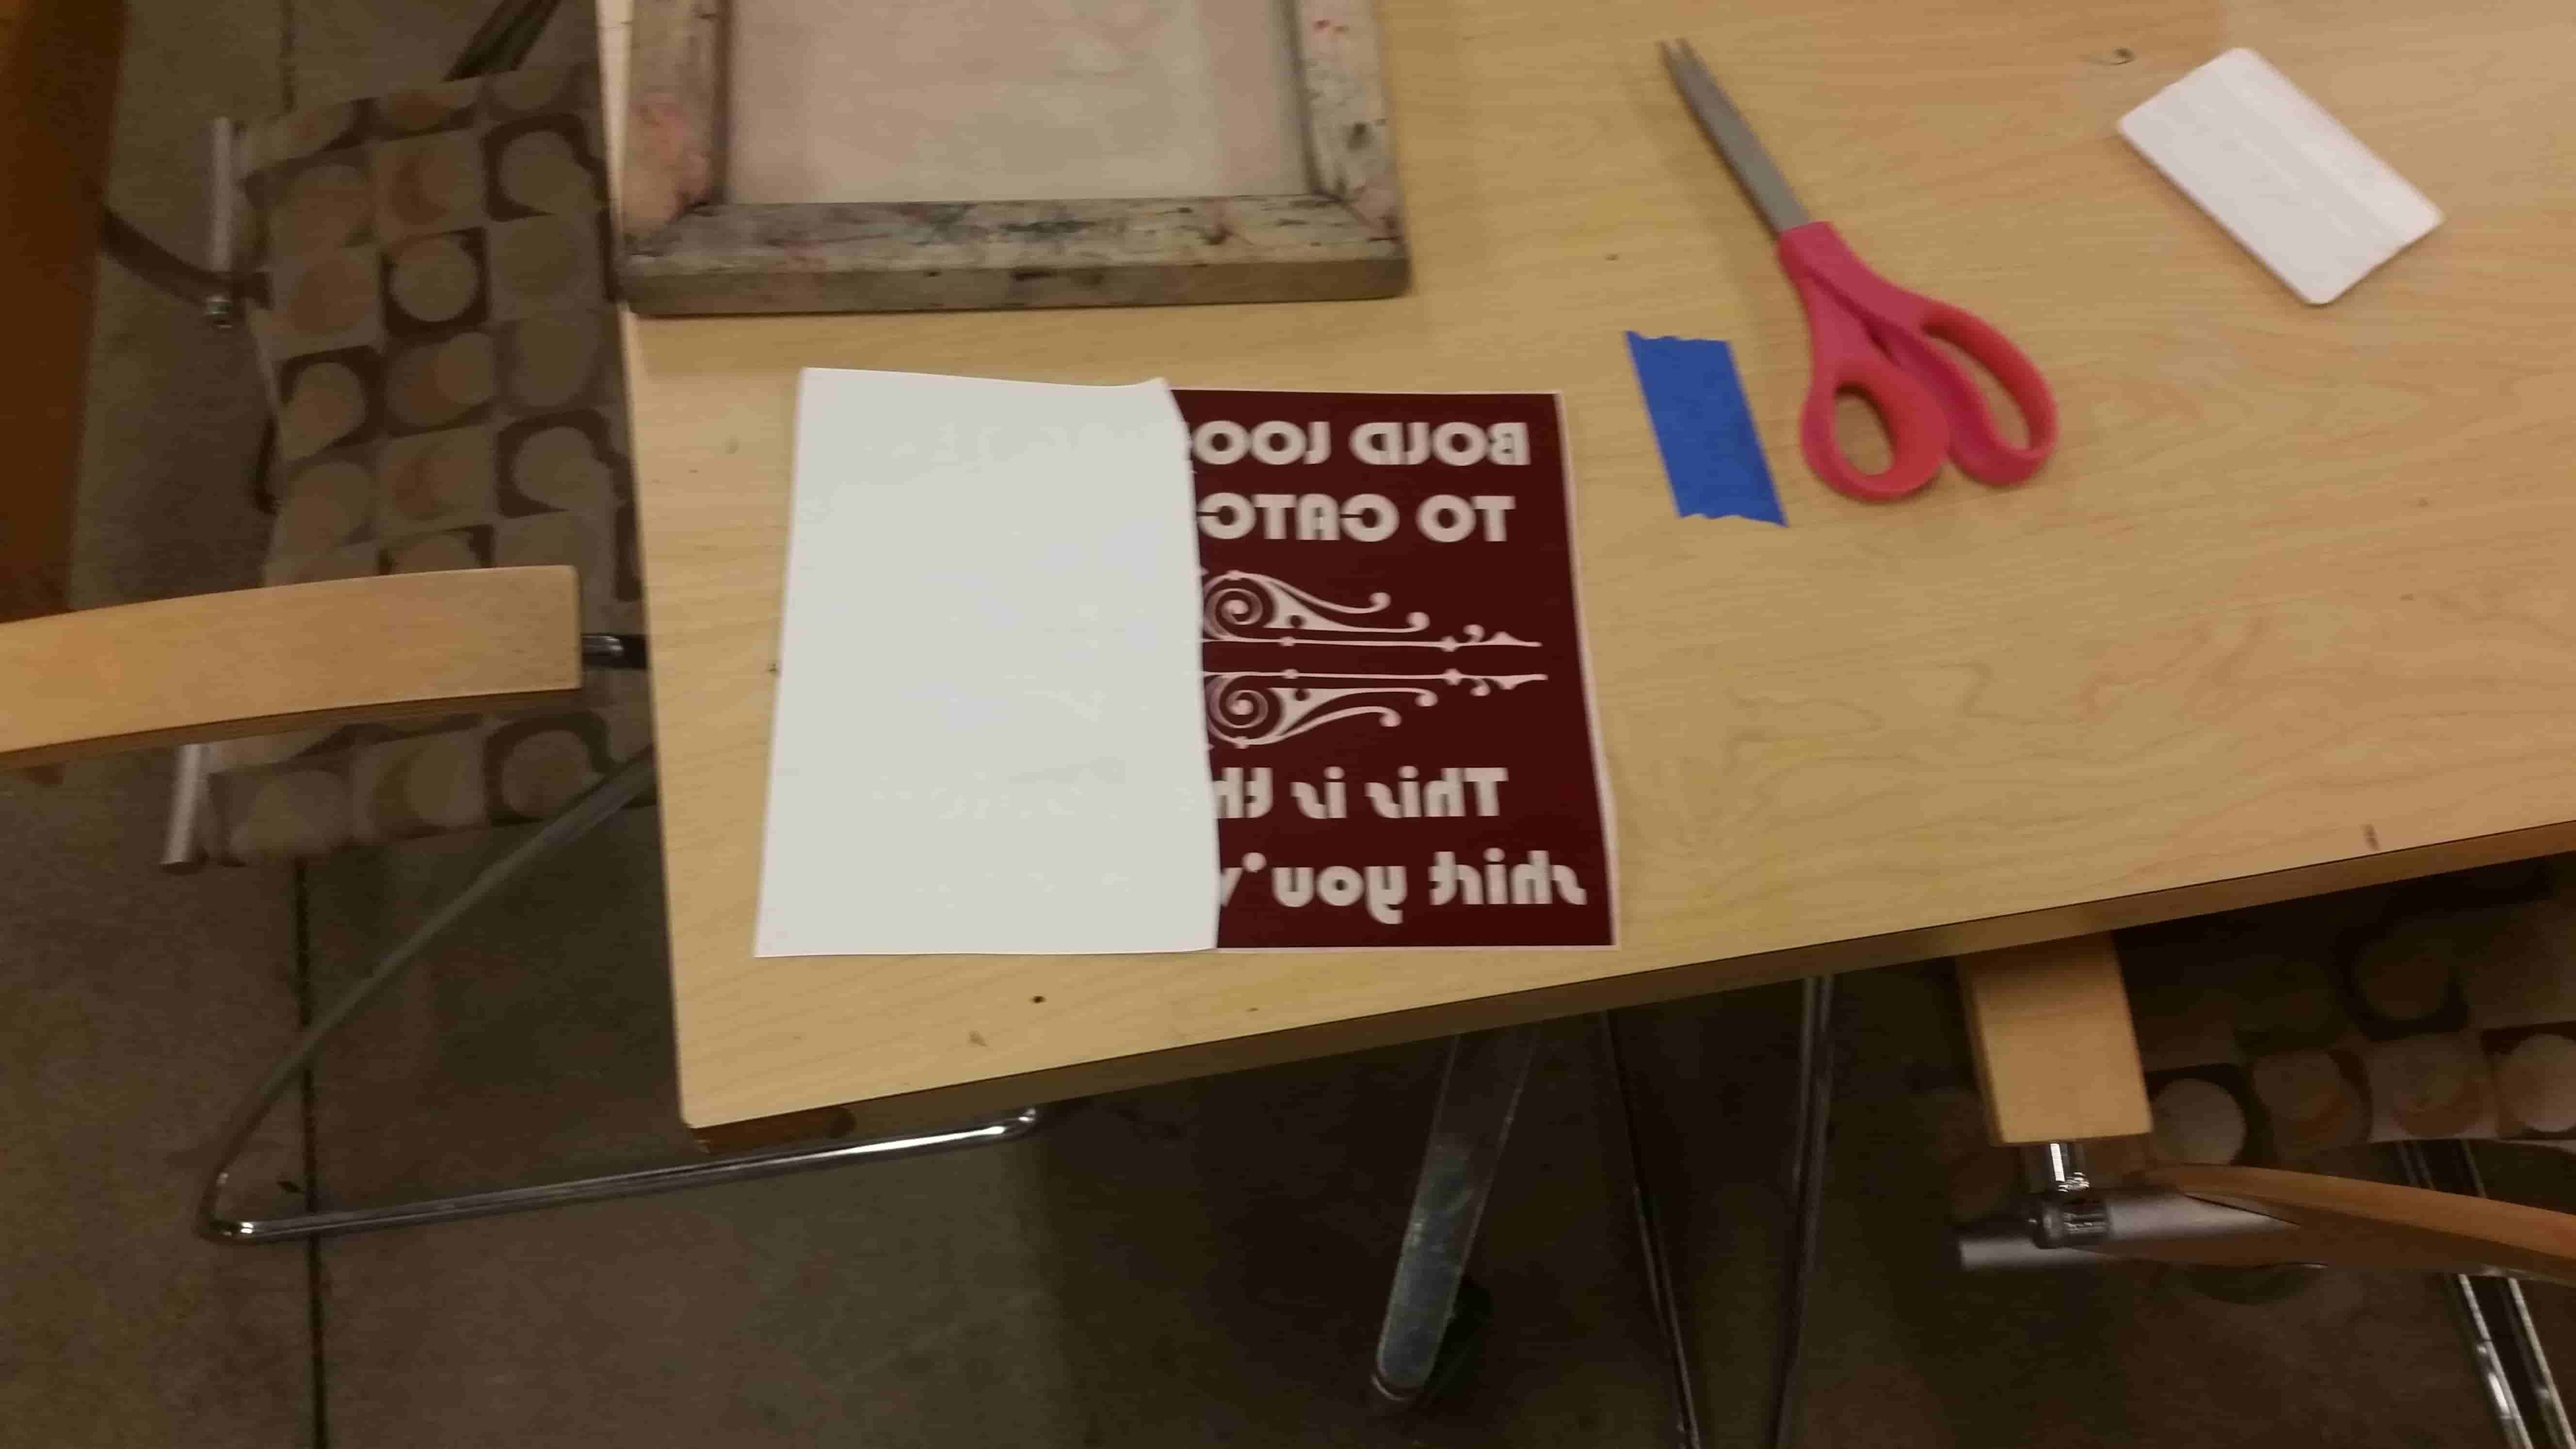
Let's peel back the backing that the vinyl was attached to originally. CAREFULLY! It will come apart poorly if you let it.
Peel back about half way. Cut half the backing away.
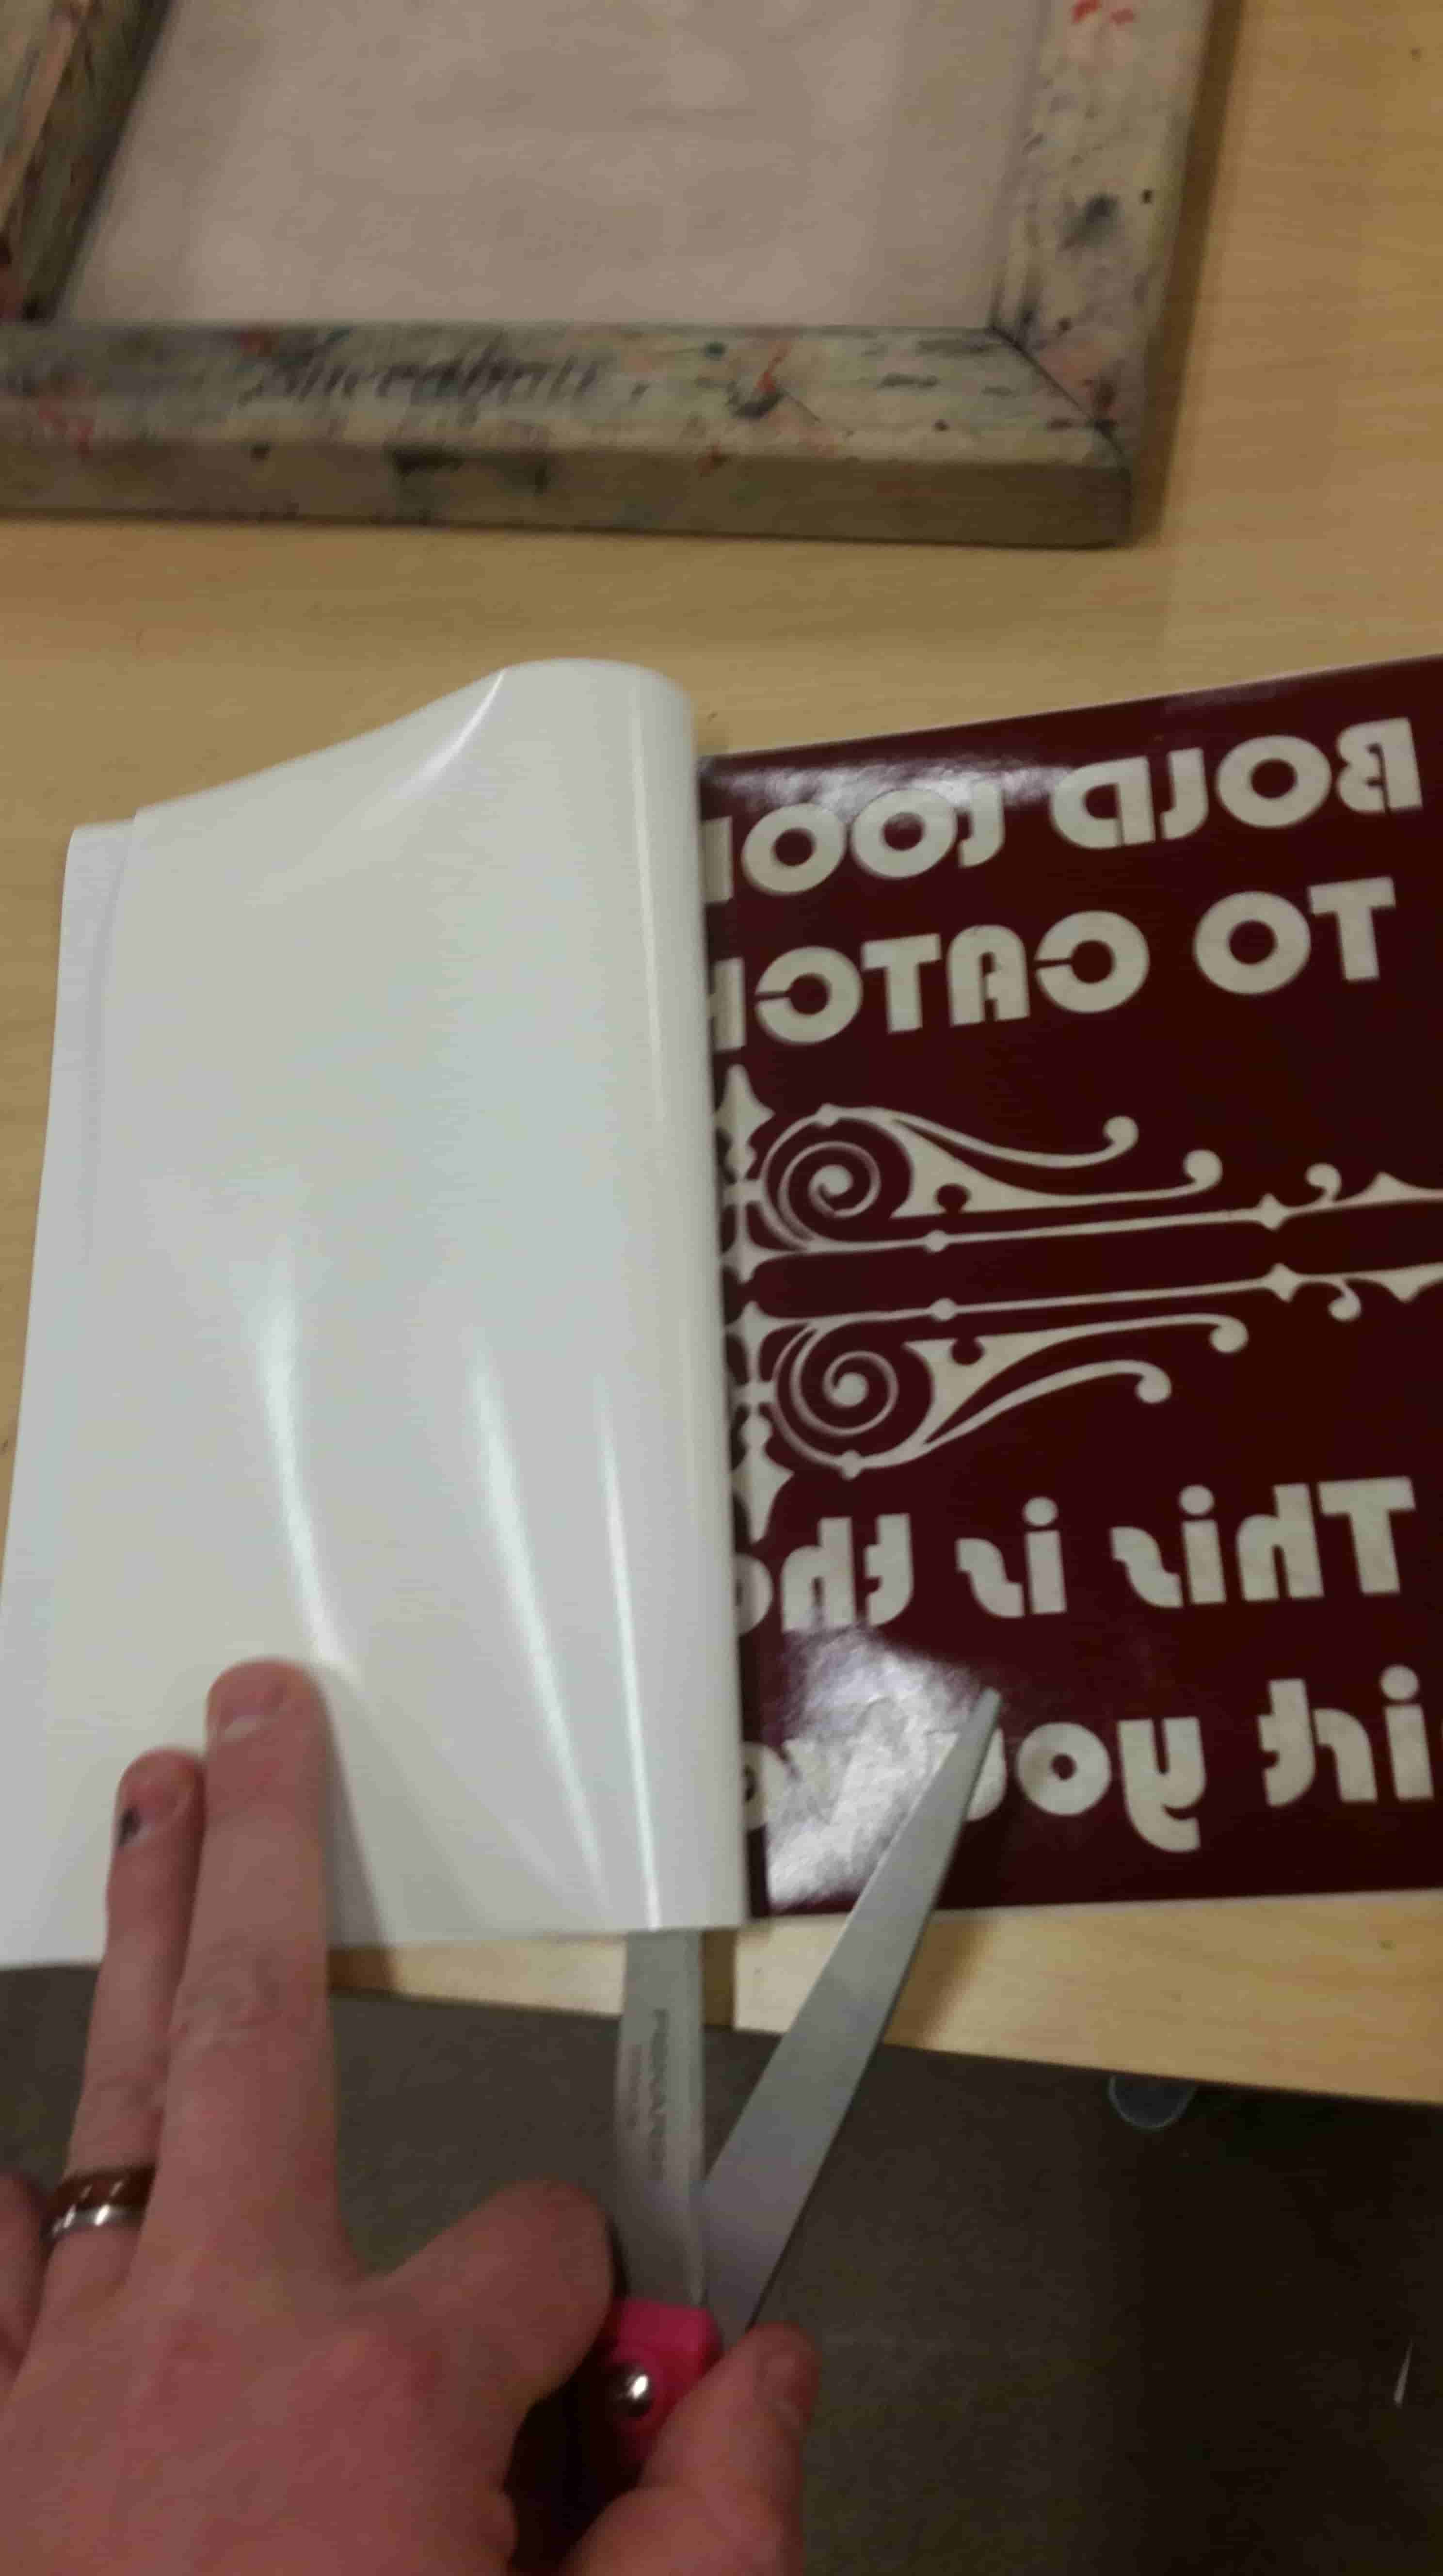
Looking good.
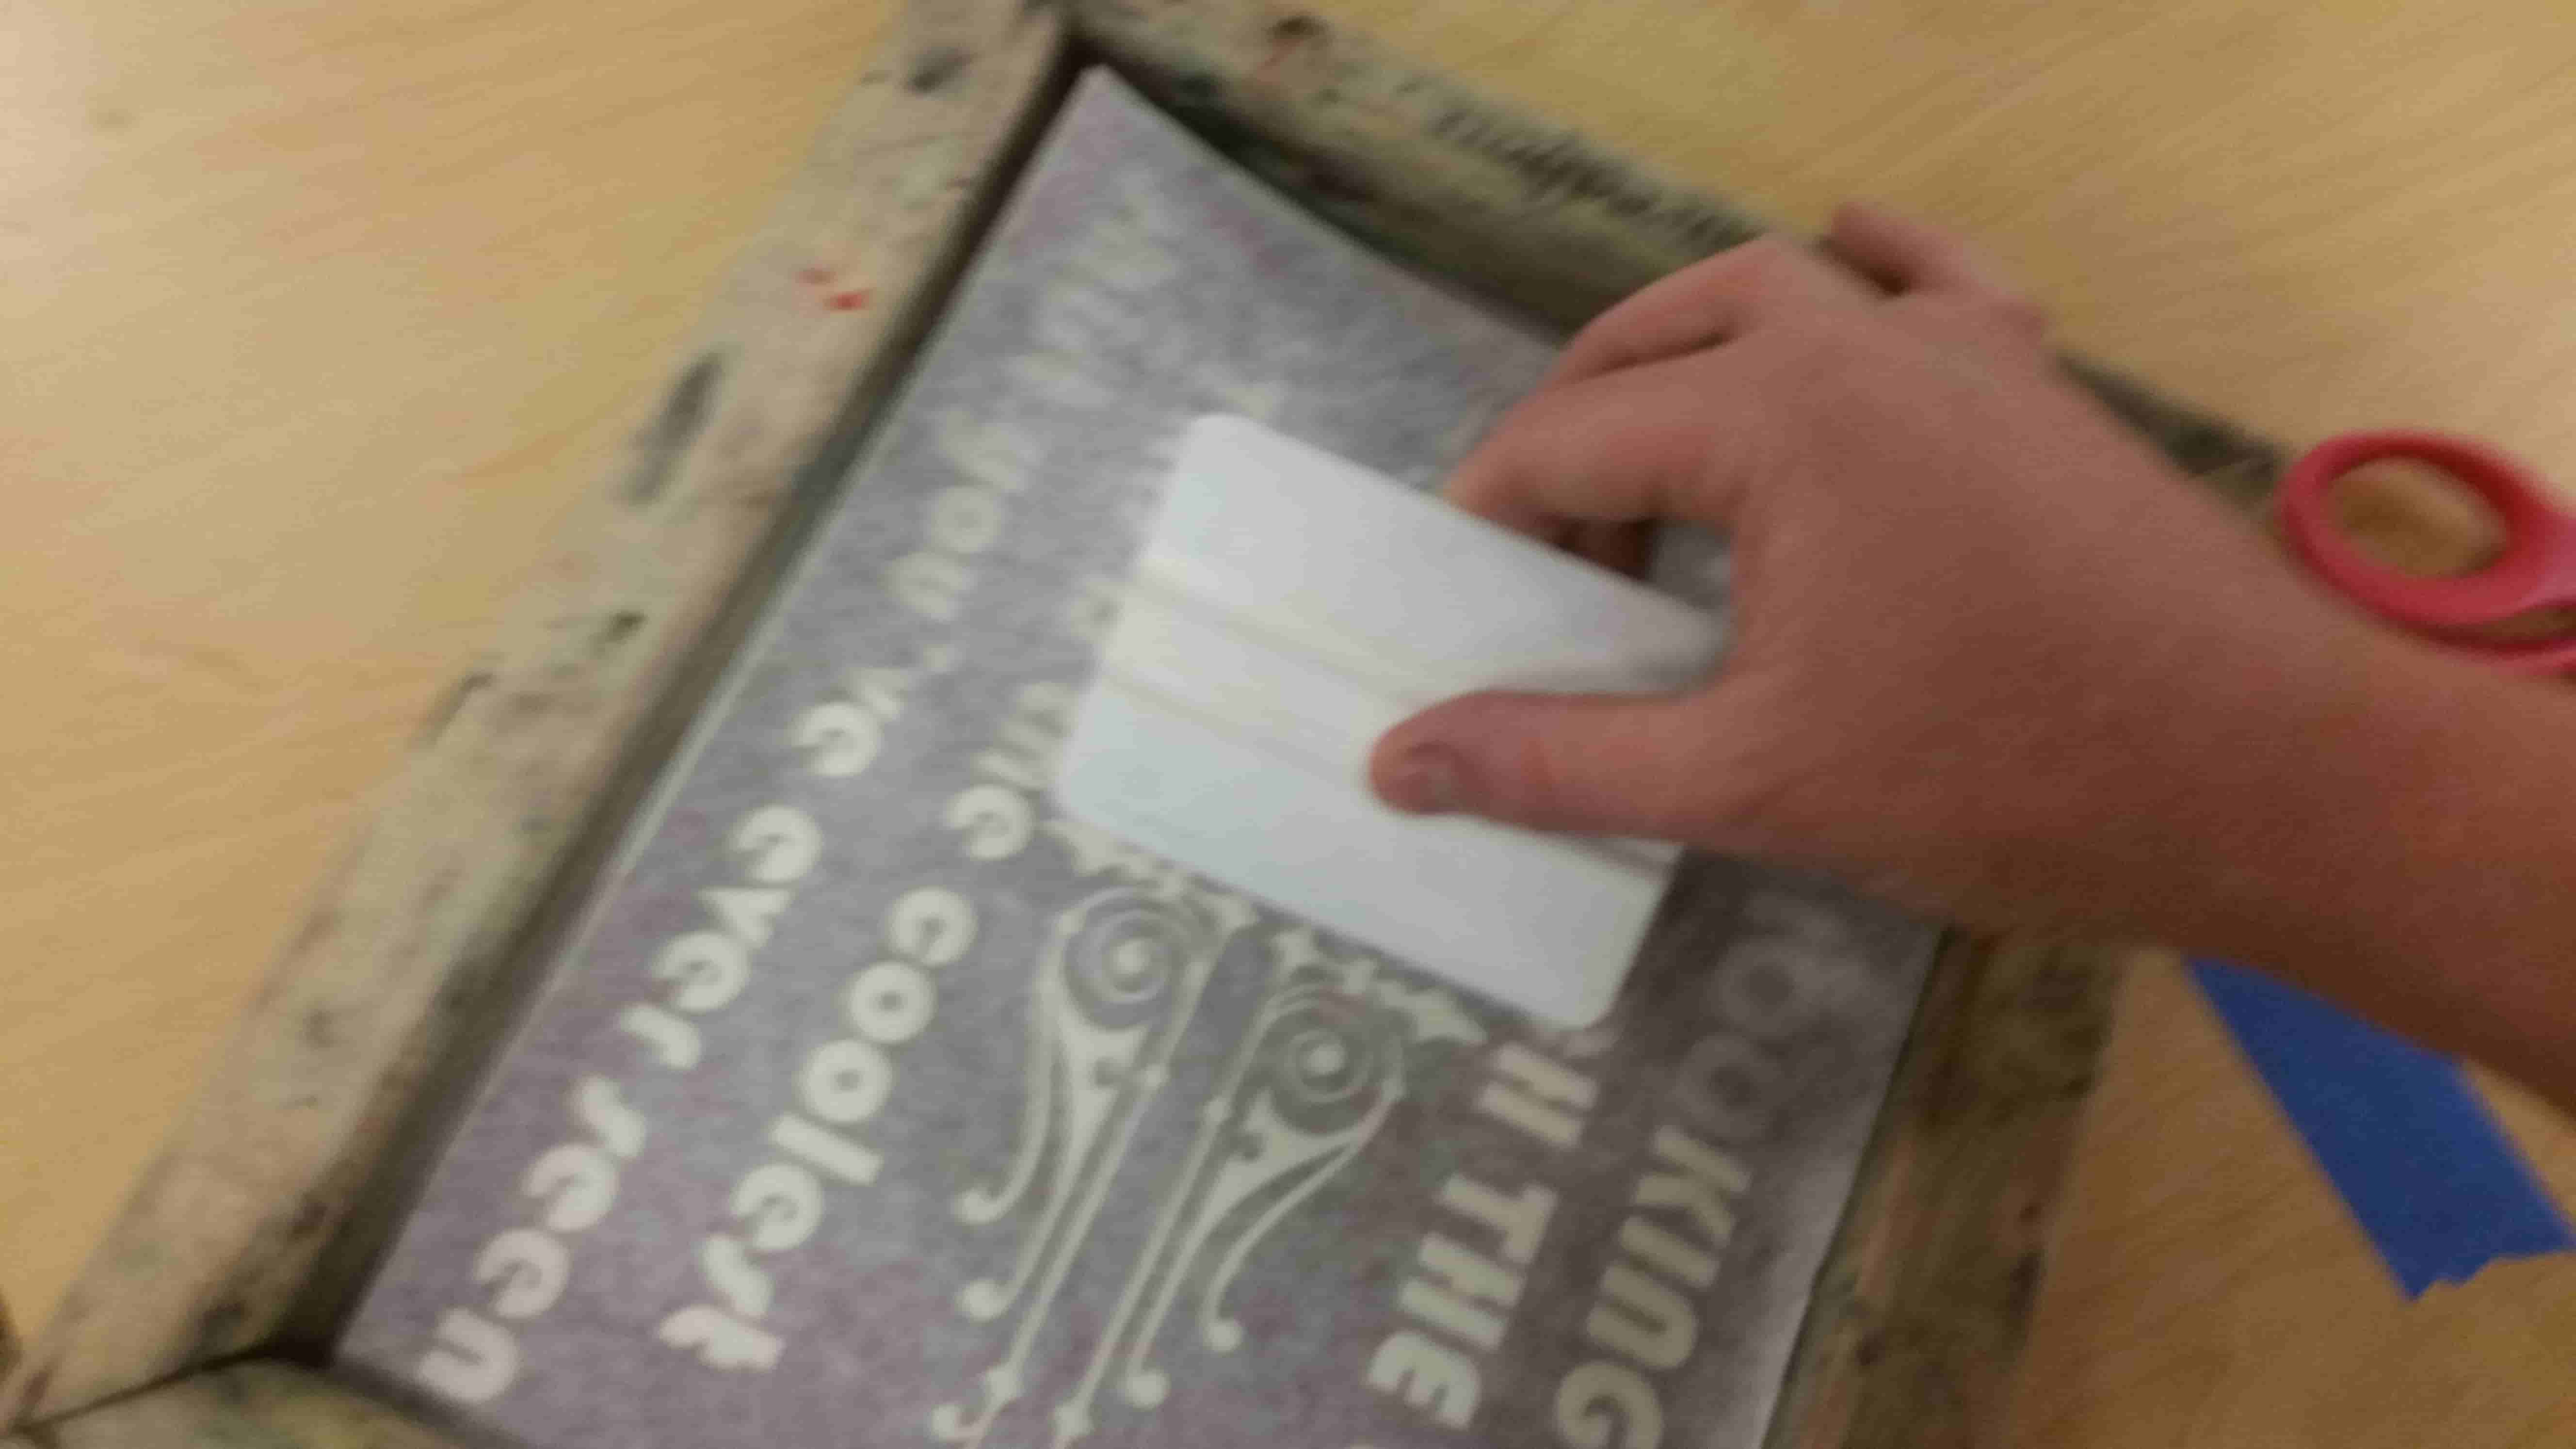
Let's stick this guy down in our frame. Run the applicator (or squeegee) across the vinyl.
Grab hold of the vinyl and backing and fold it over onto its self.
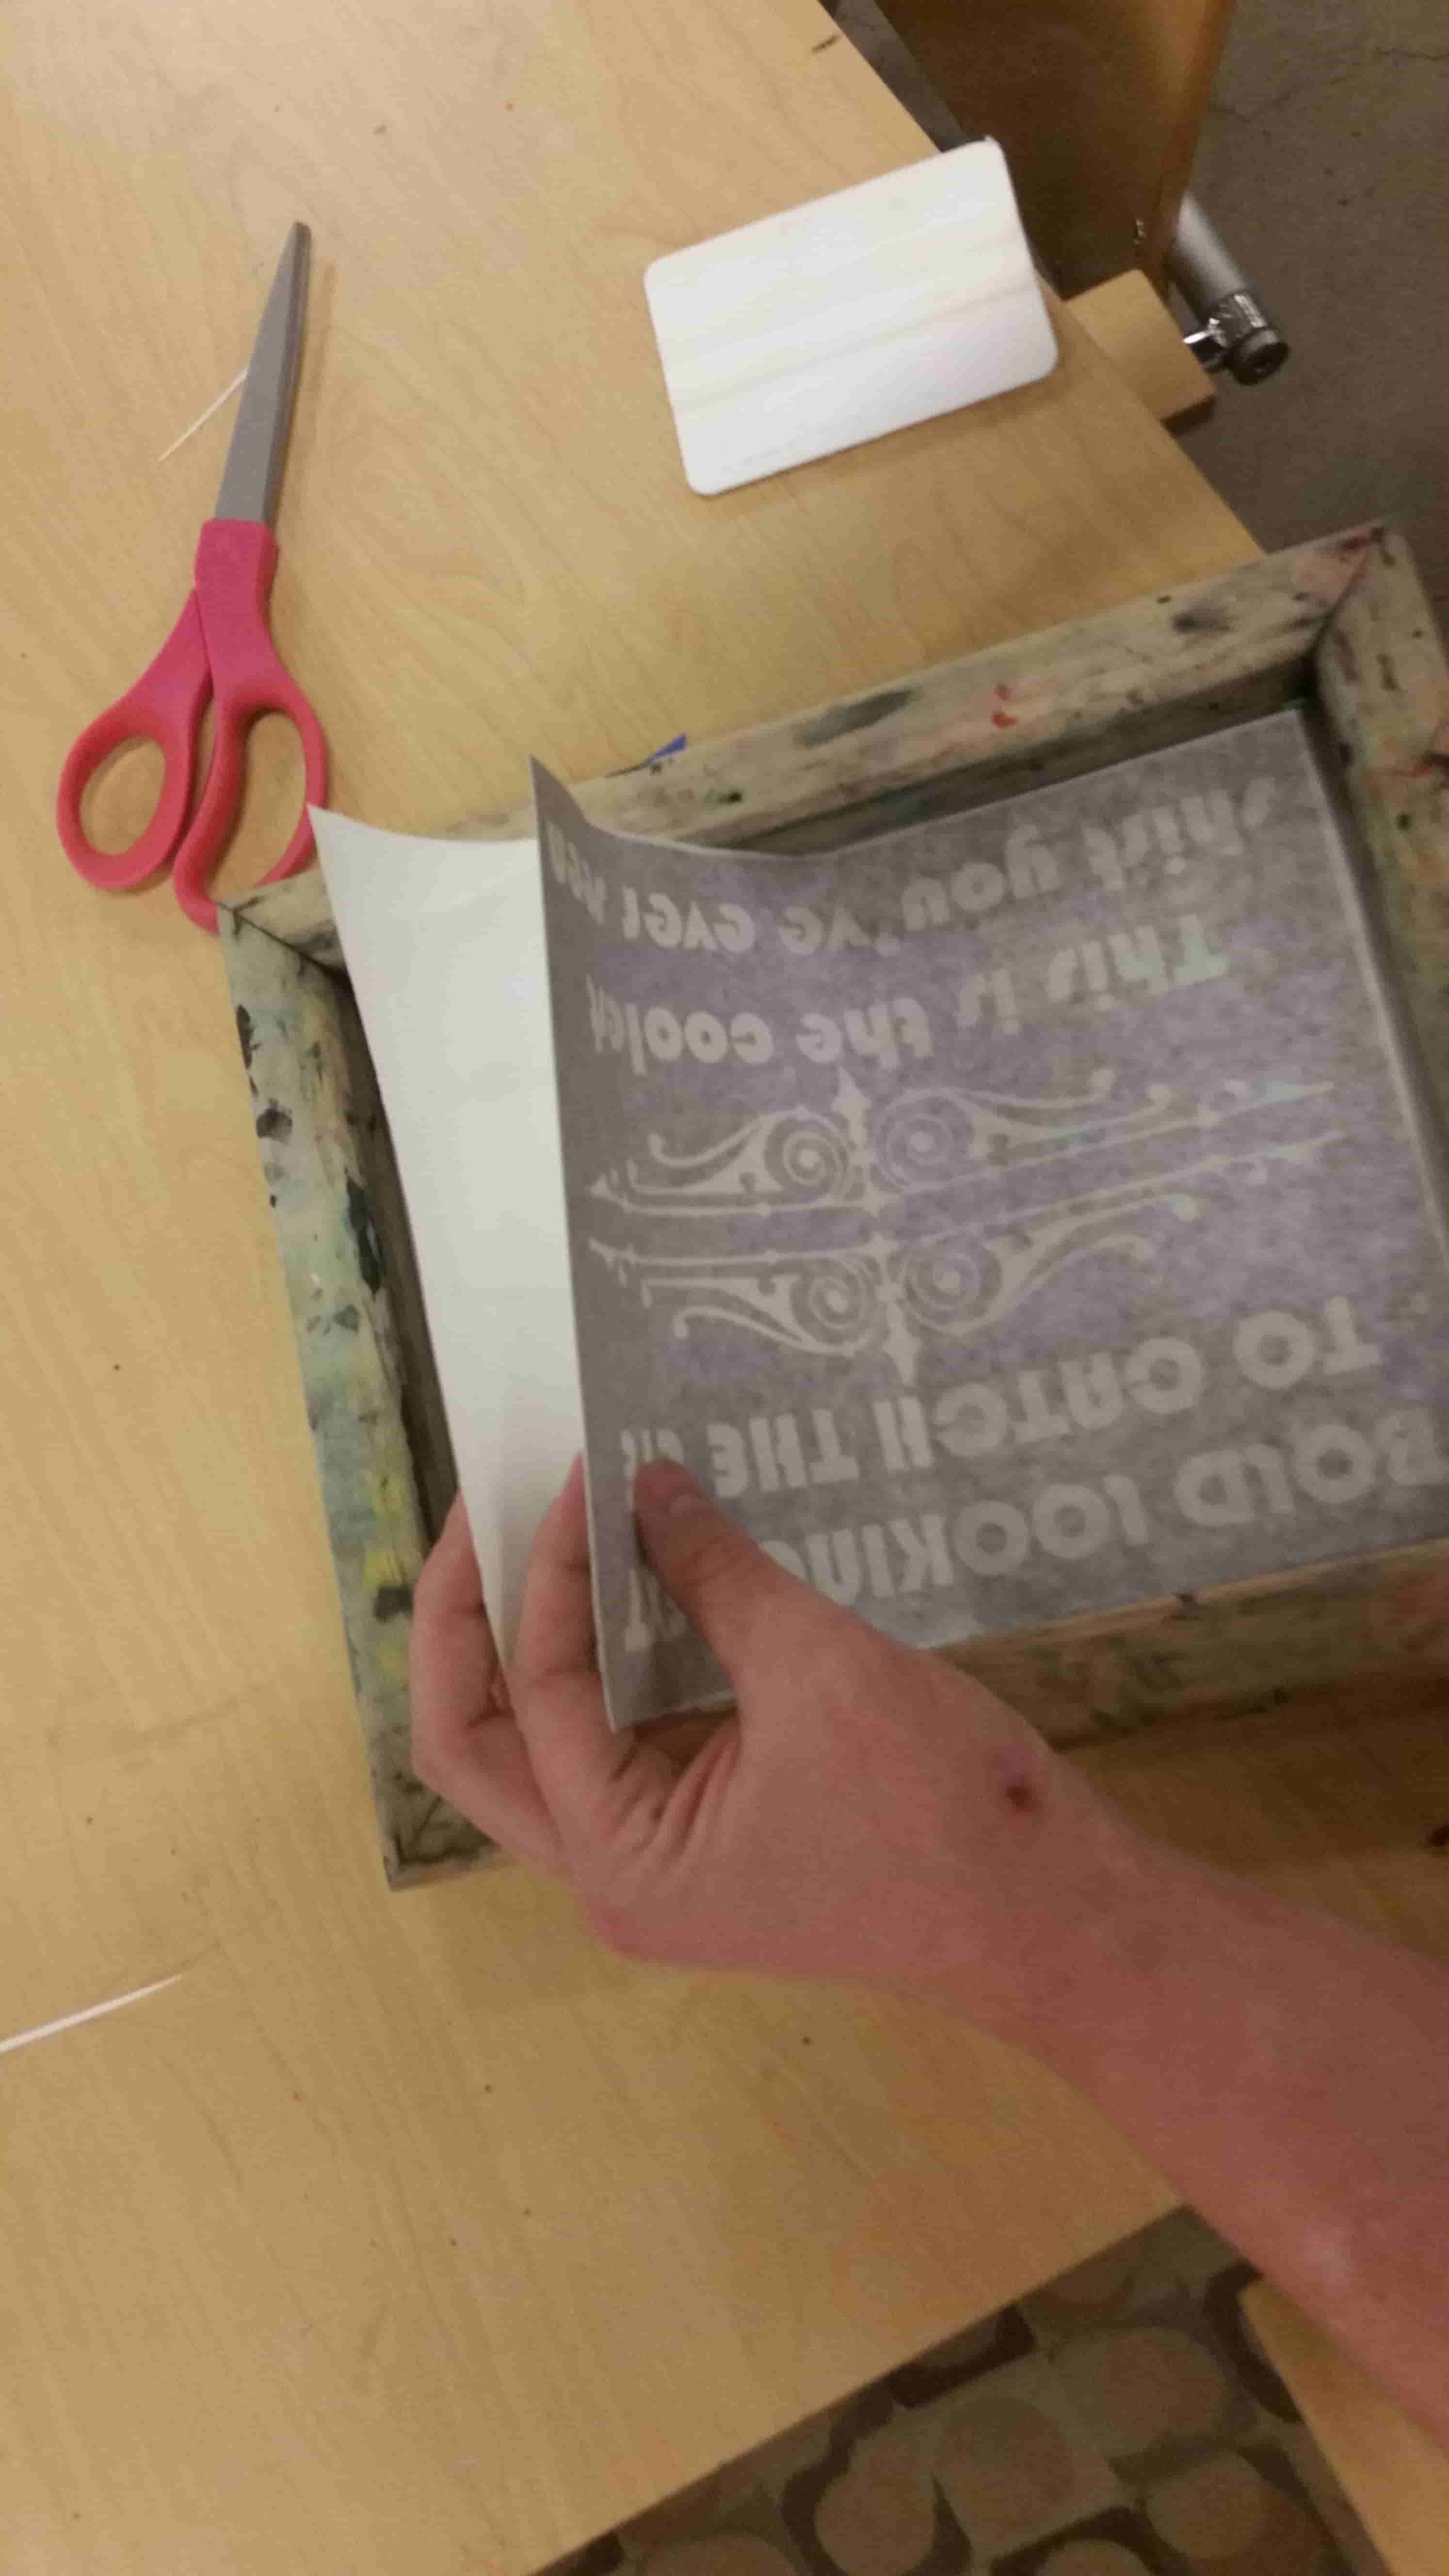
Orient the work in such a way that you wont need a third hand. Because chances are pretty good you dont have one.
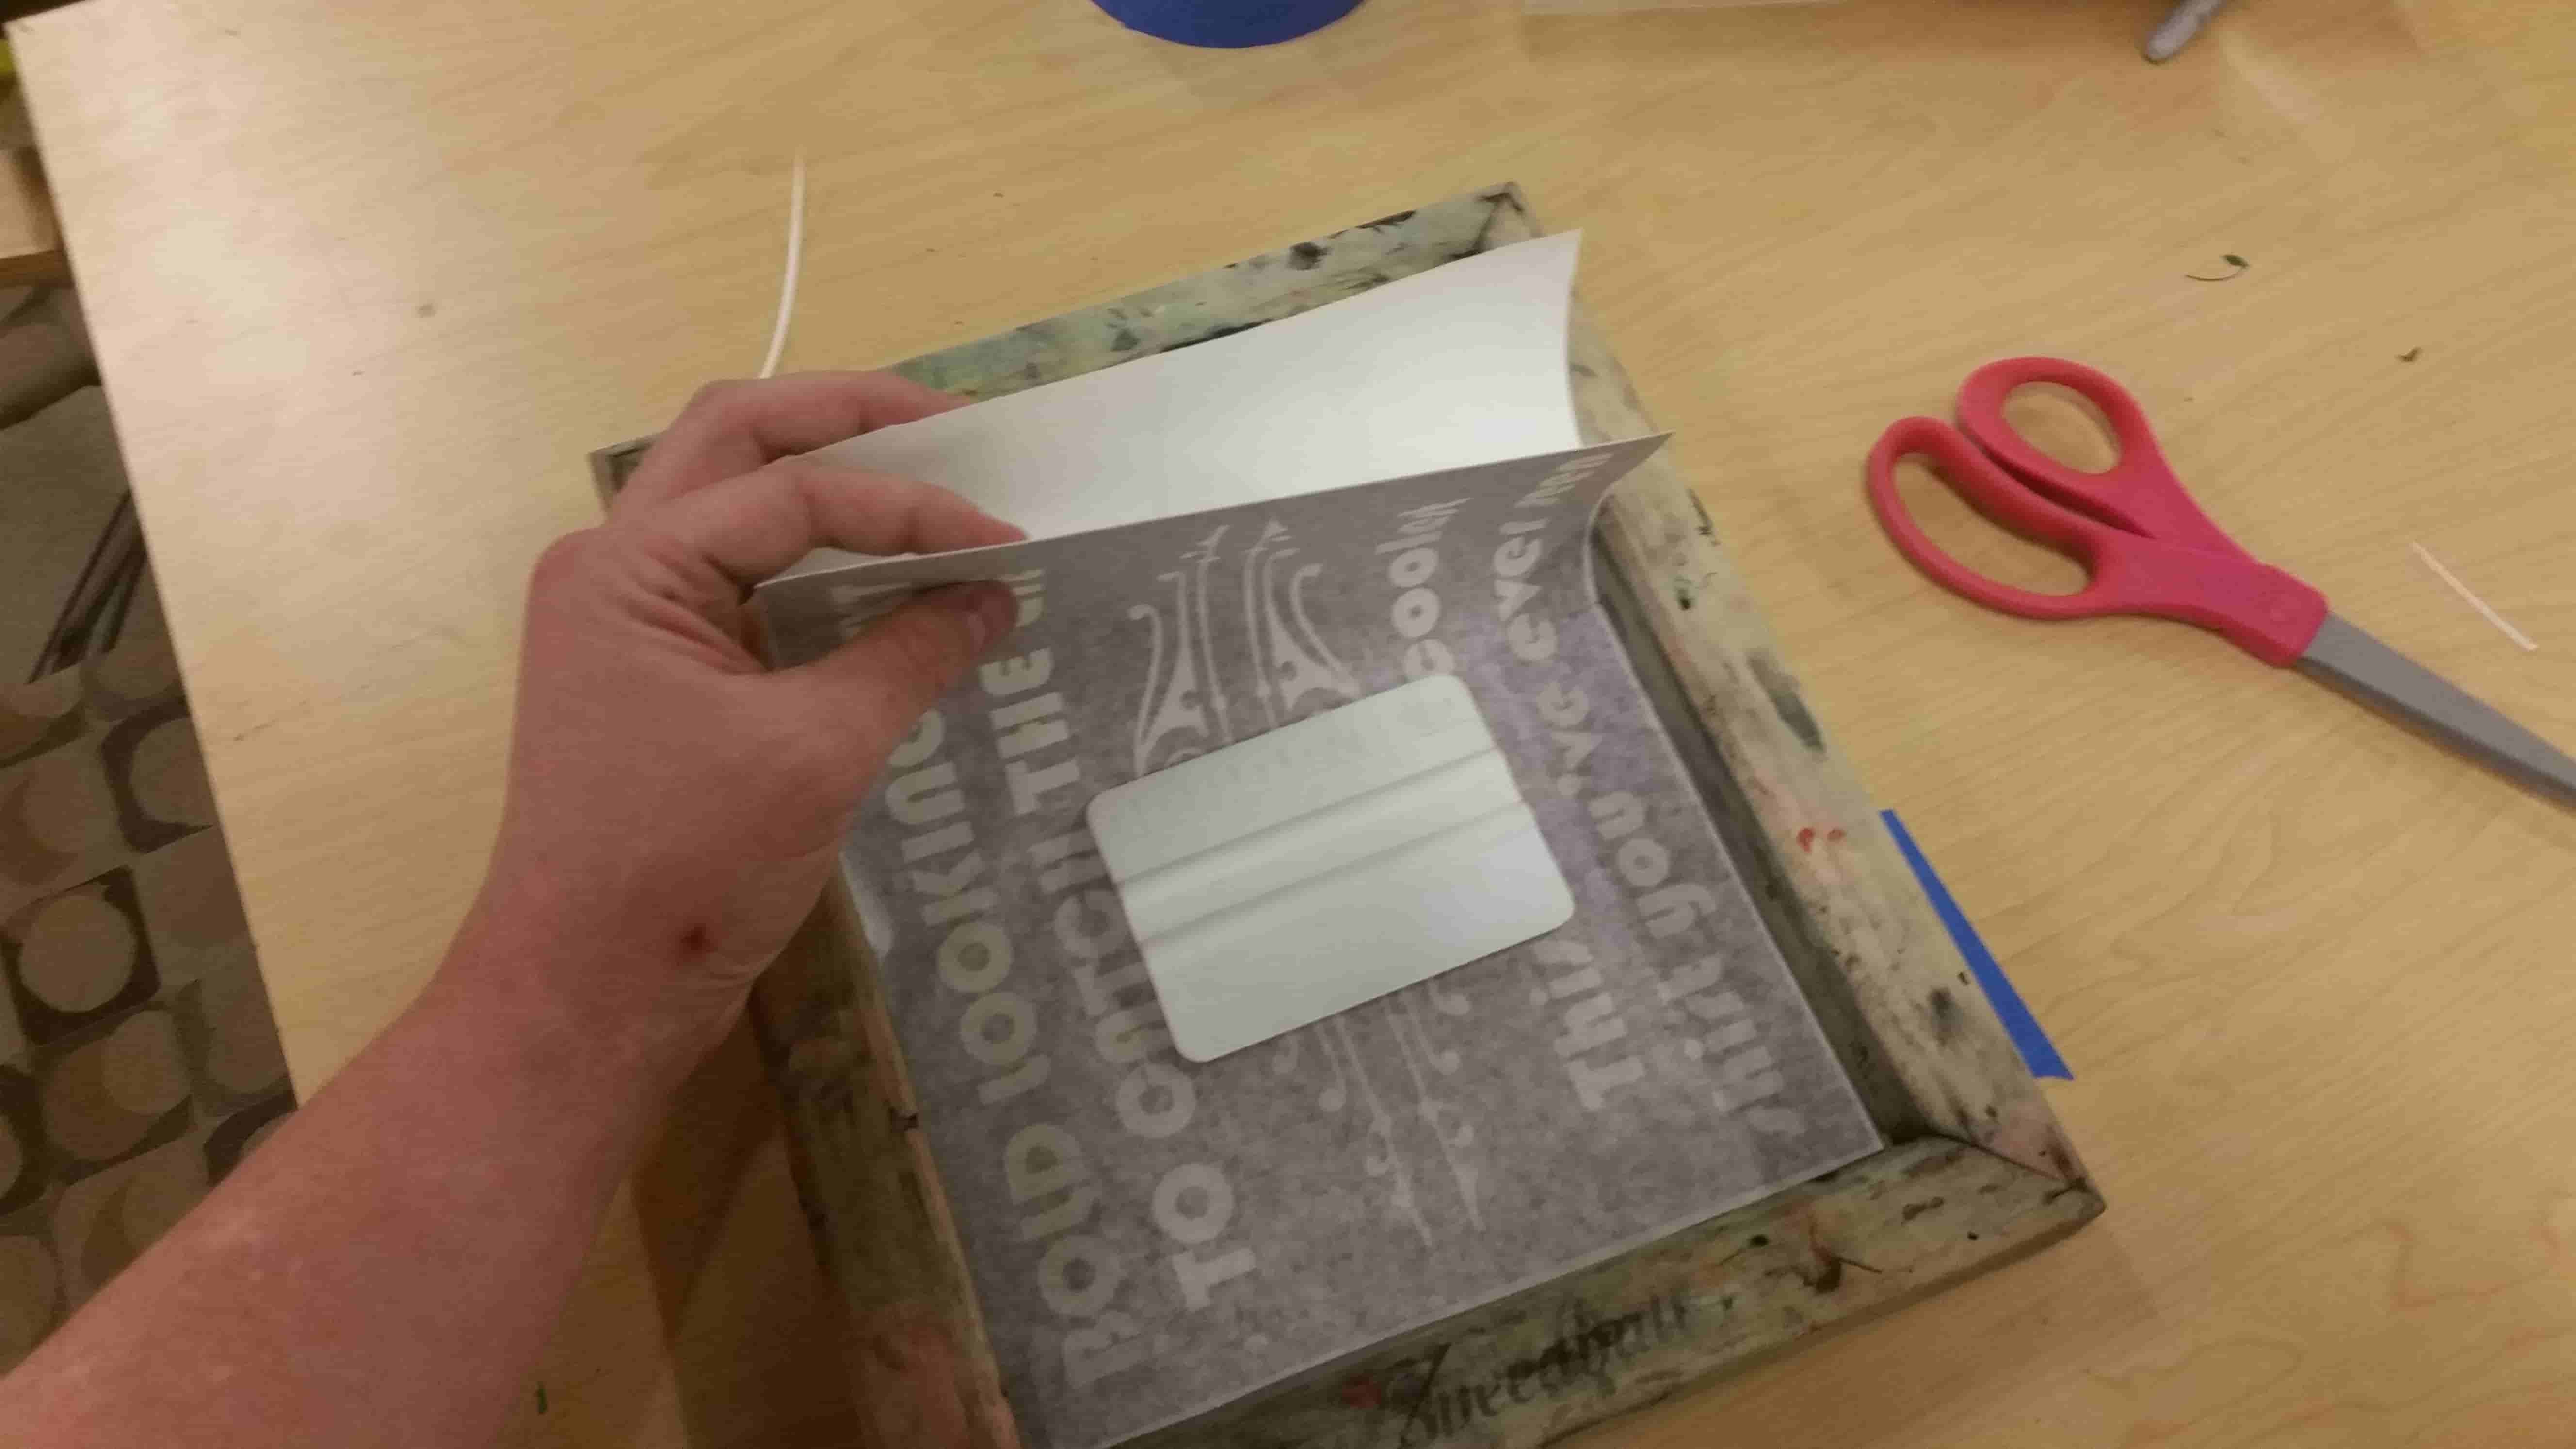
Remove the backing the same way you did before and apply the vinyl to the screen. Then Slowly and carefully peel back the paper mask.

Look at you! You made a template for silk screening T-shirts!
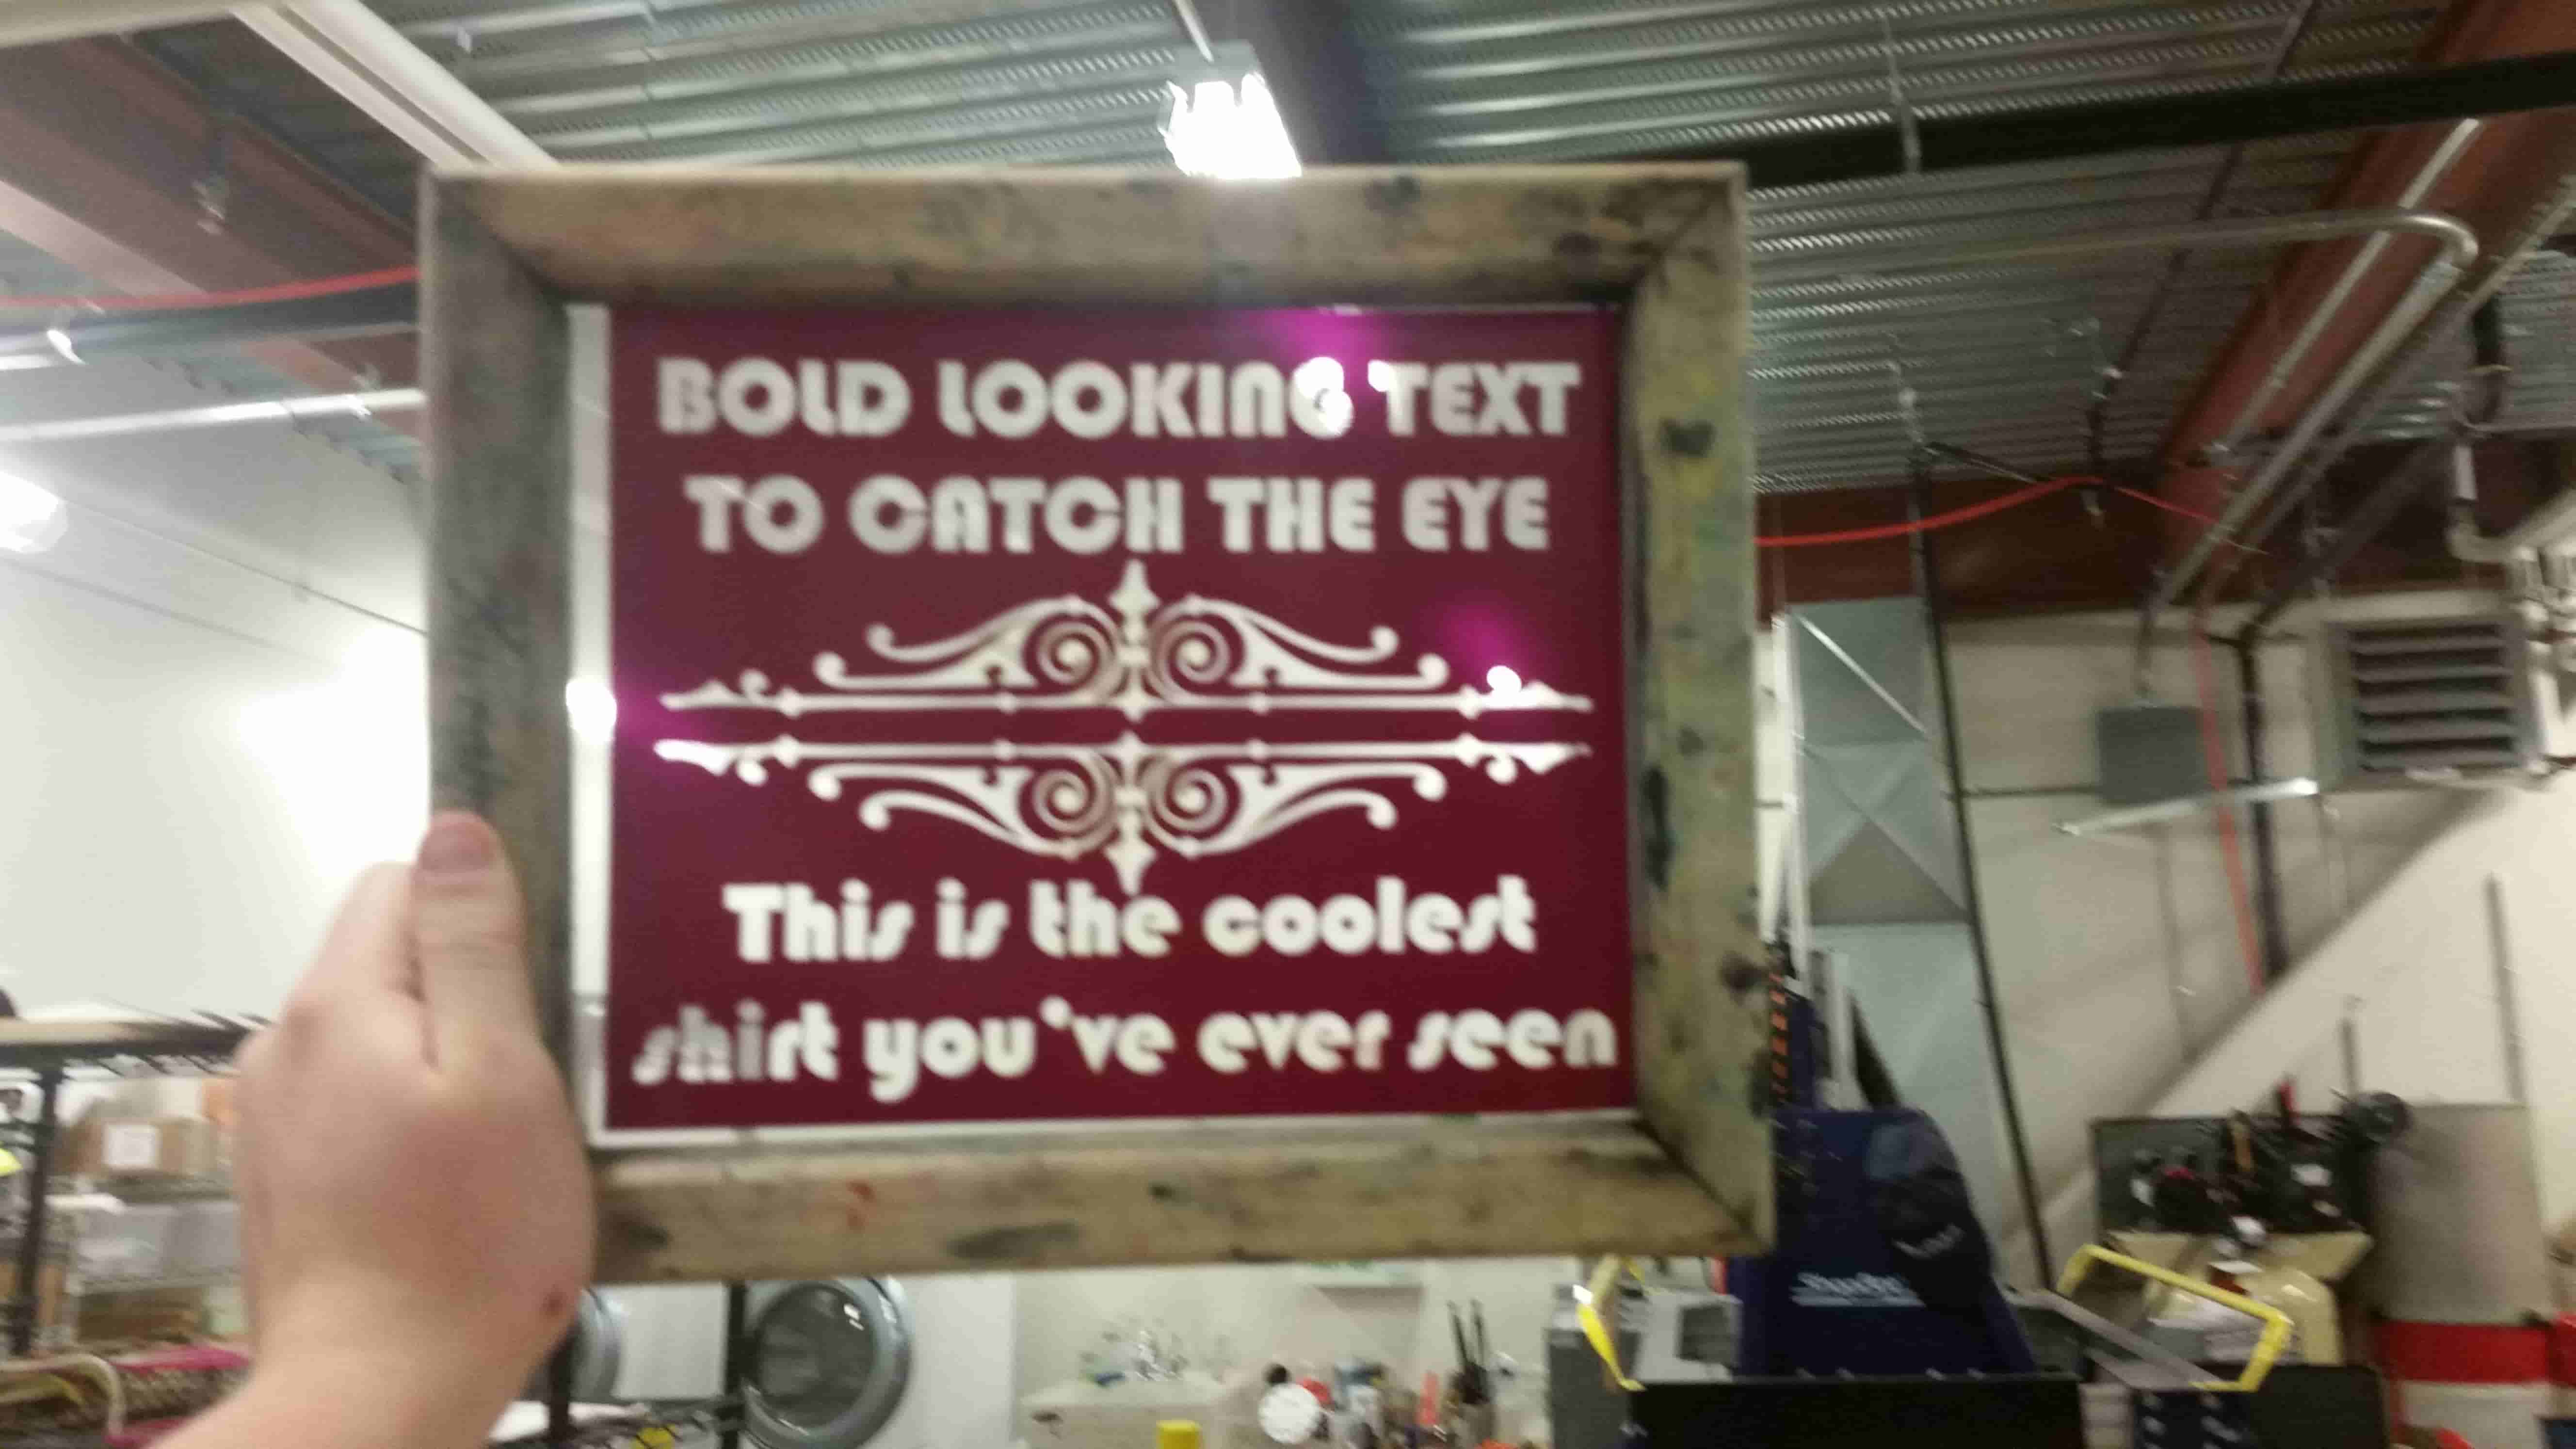
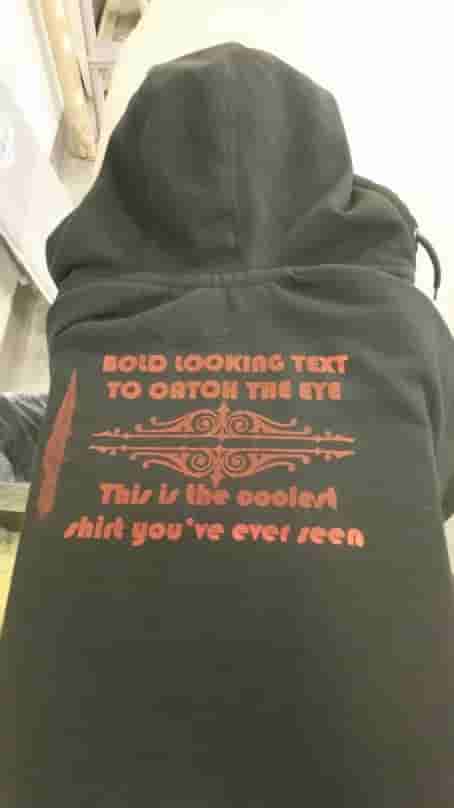
The finished shirt.
Yes, it is a hoodie and not a tshirt.
Deal With It.
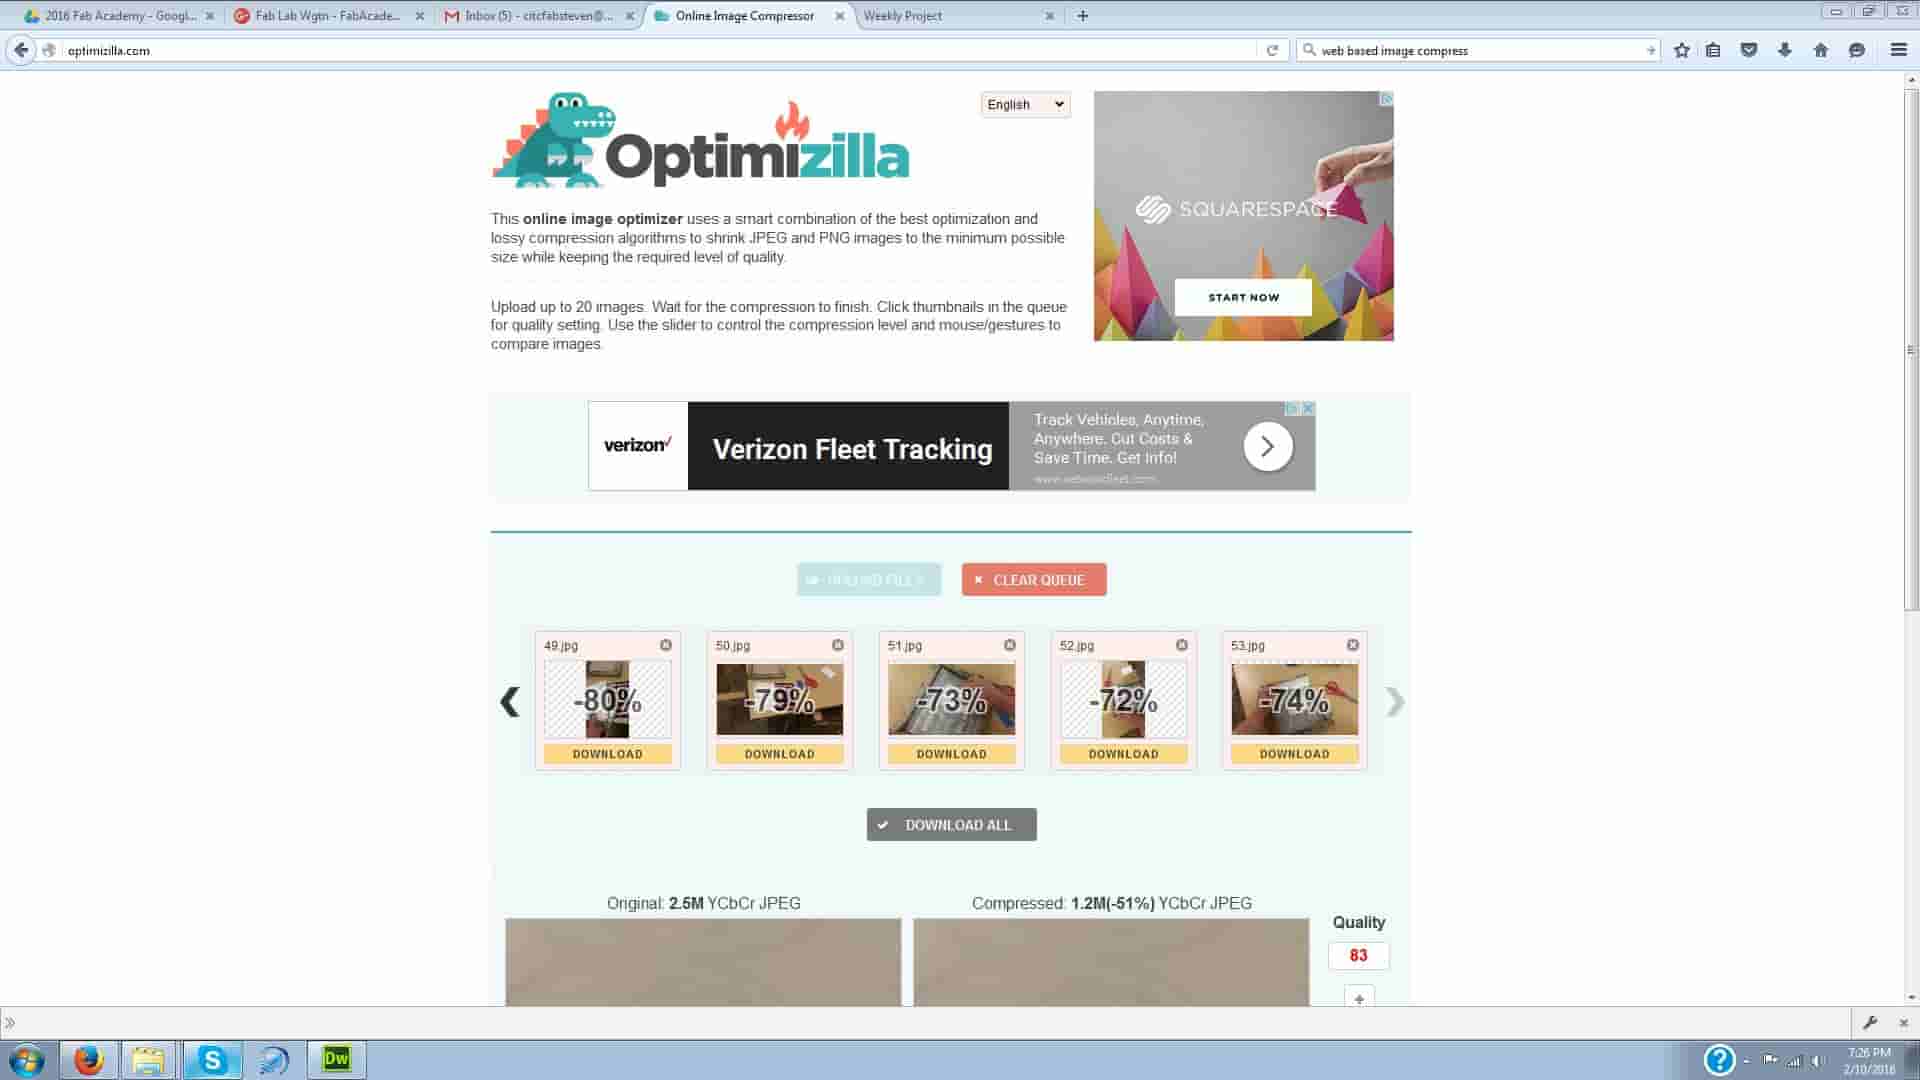
Also if you're looking to make your own tutorials try out this image compression website.