Composites
design and make a 3D mold, and produce a fiber composite part in it
This week the work is divided into three parts:
1. Design the model and the mold
2. Fabricate the parts of the model
3. Assembling the pieces
I was thinking about the fabrication of some kind of model using either composite as other element constructed using other process.
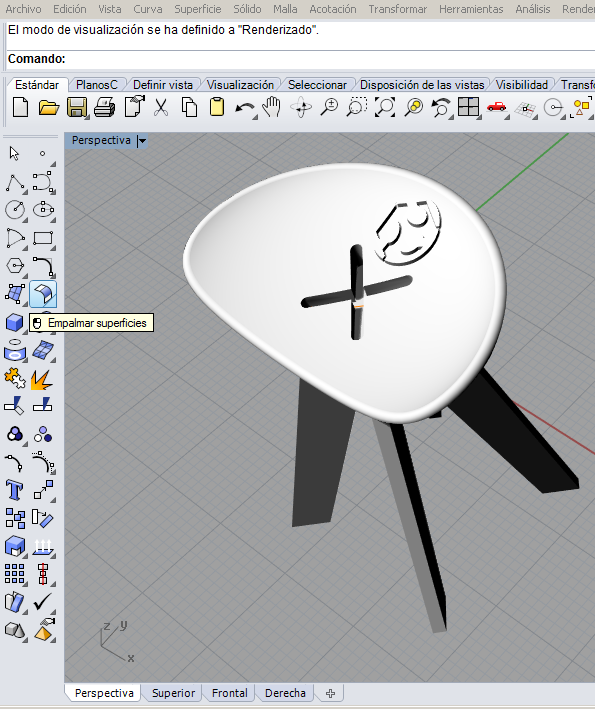
Finally I decided to build a bench. It will be assembled using two parts. One of them, the legs will be formed using plywood and the other piece, properly the seat, will be molded using composites.
I did not spend much time designing the model, because I supposed that the process would be long enough, so I started from a simple idea for the bench.
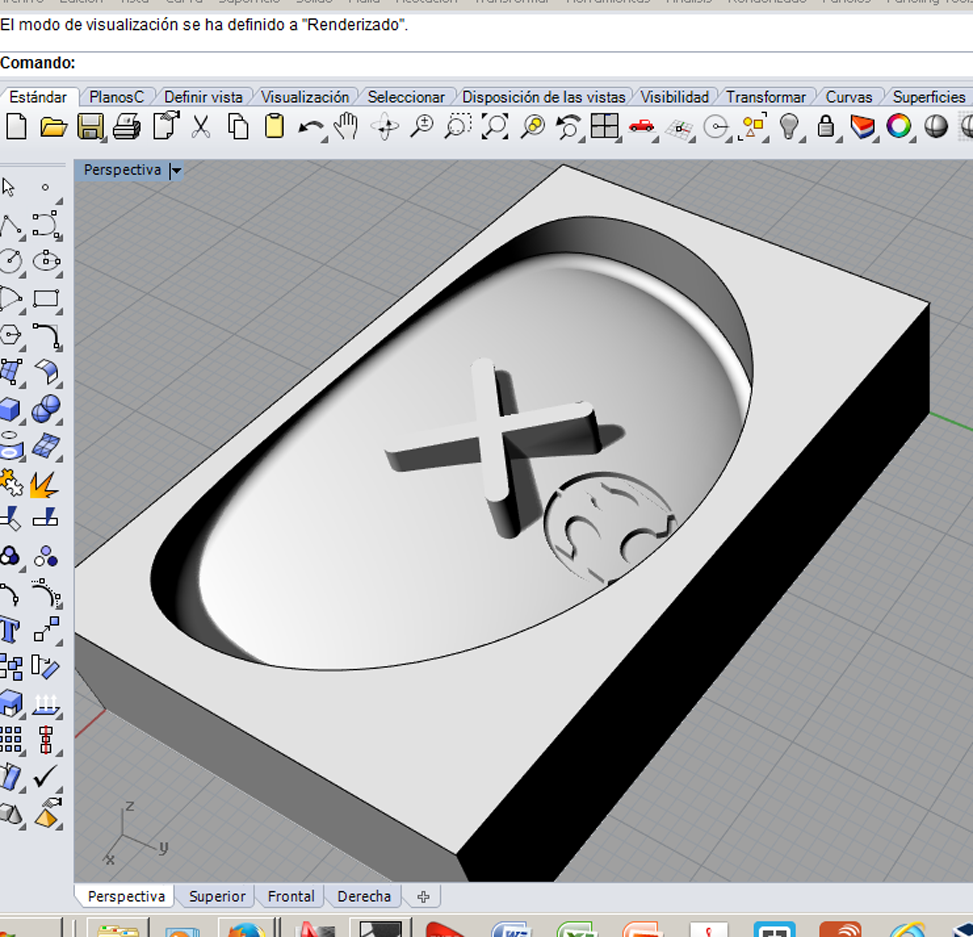
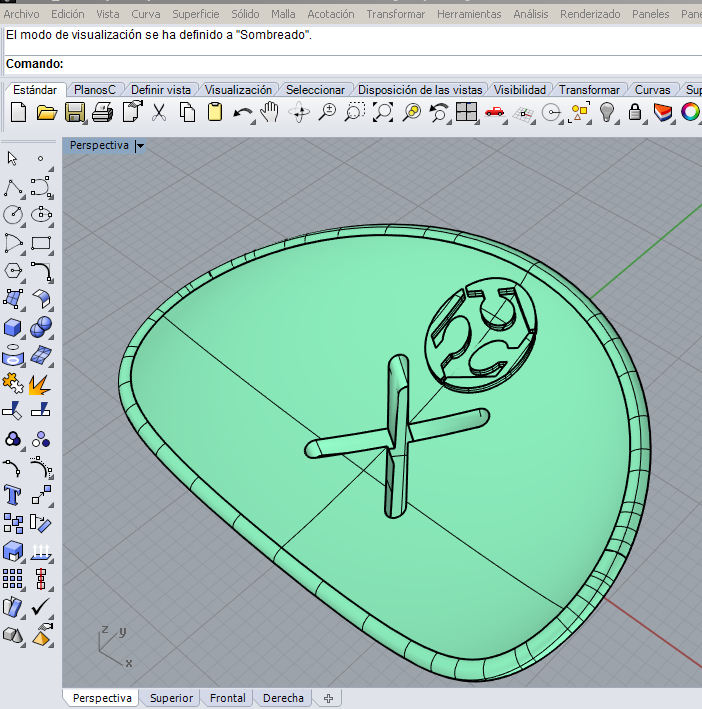
Design the mold was quite easy; I have put special care thinking about the milling process. In this way I paid attention to the tip movement, the verticality of the milling process and the deep of this one could reach.
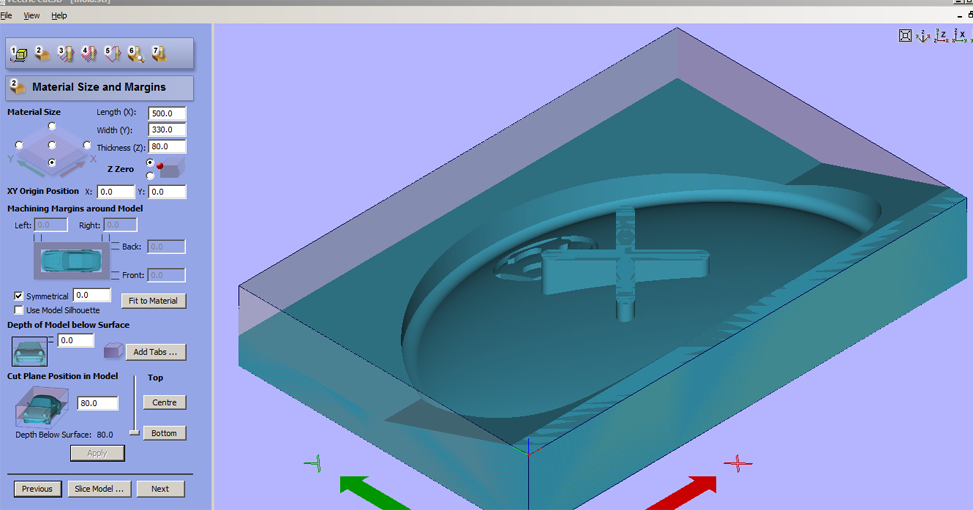
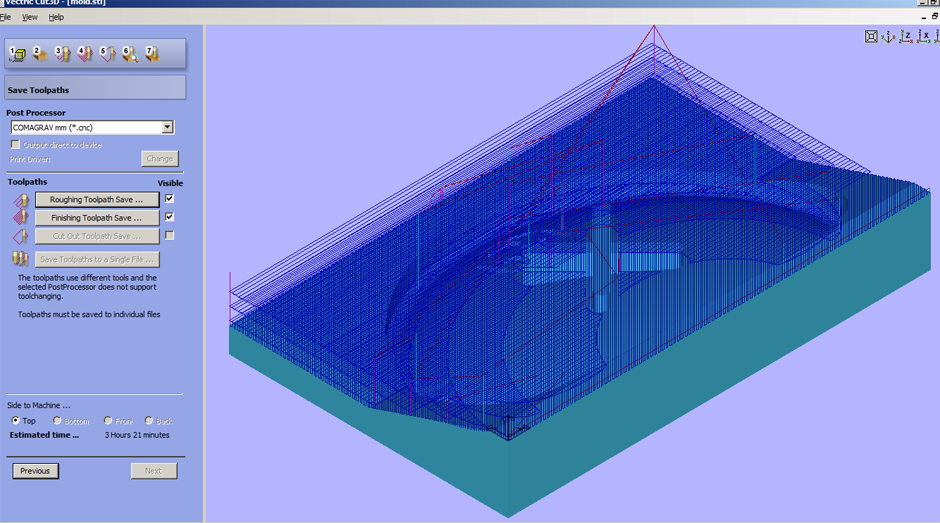
Generating milling archive using Vectrix 3D Cut.
6 mm. tip/6000 rpm/45 deg. milling direction
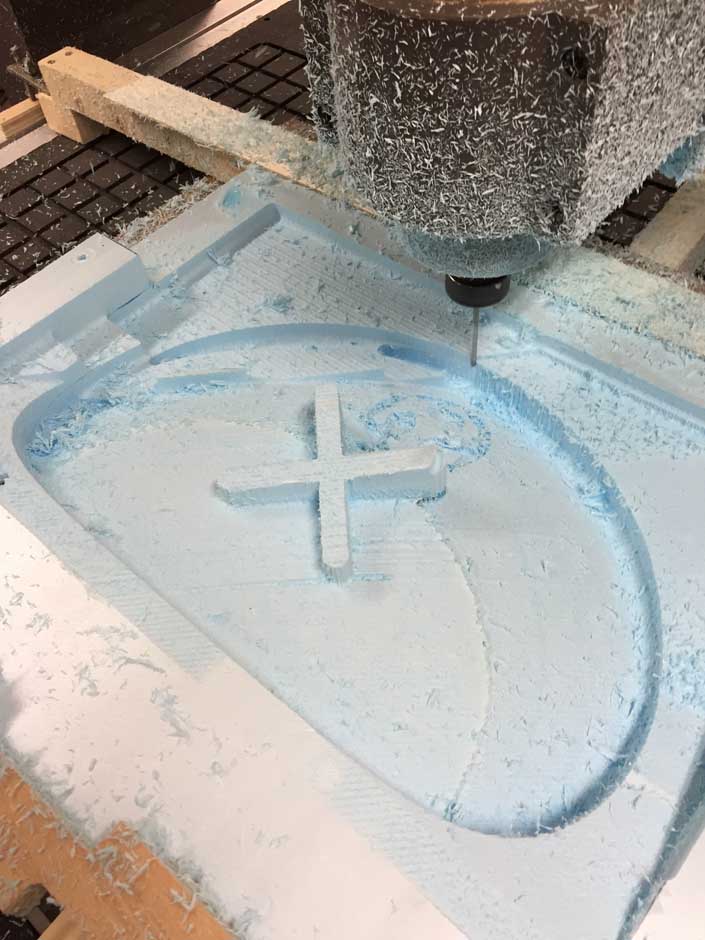
I have experience enough milling EPS (I though), so I had confidence about this phase of the work. I used two sheets of EPS (50+40 mm.) taking into account that the total deep of the model was 80 mm. In this way I proceed to fix both sheets using glue-spray.
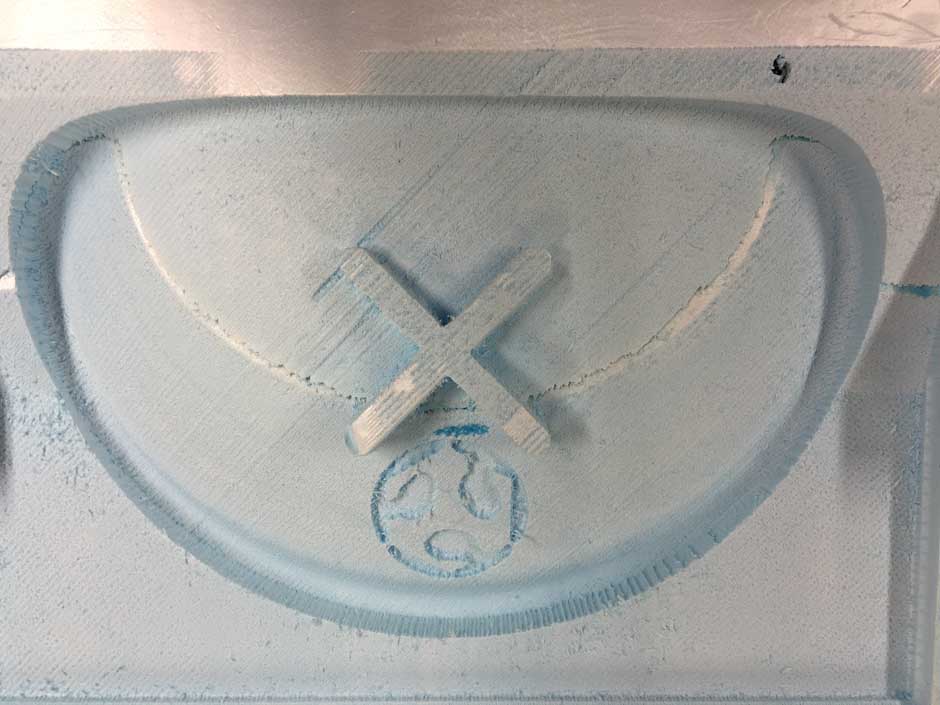
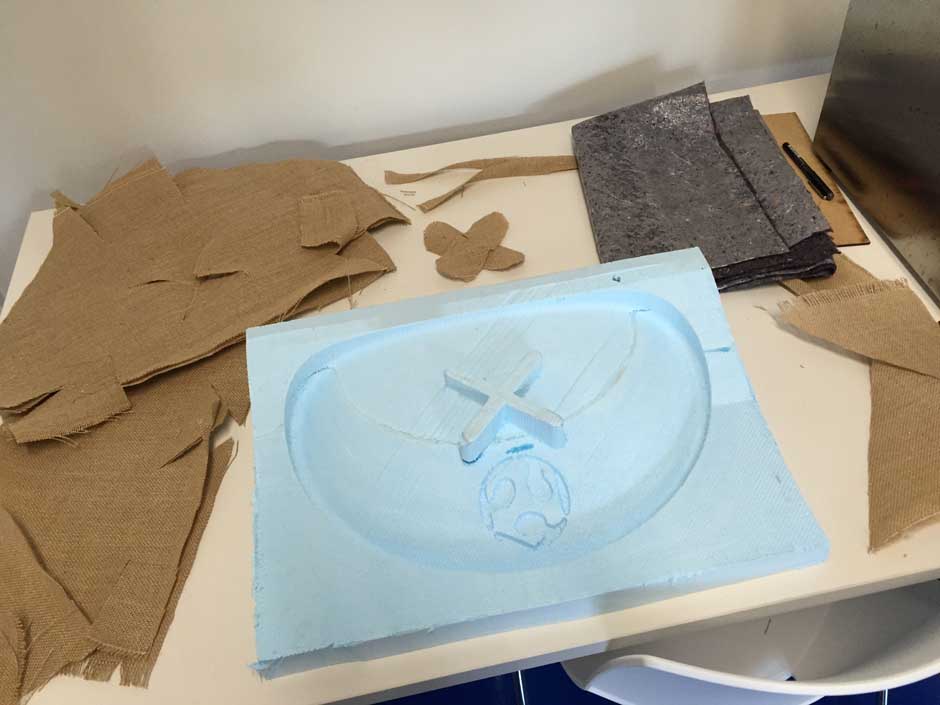
ERROR! This kind of glue usually works very nice for this porpouse. But during the milling process the sheets were became detached and the mold did not result a fullfilling finishing. Anyway I thought that the mold could be appropriate for the purpose it was going to do and I decided to go ahead.
During the correction, Neil suggested me that a better option should be using Gorilla glue.
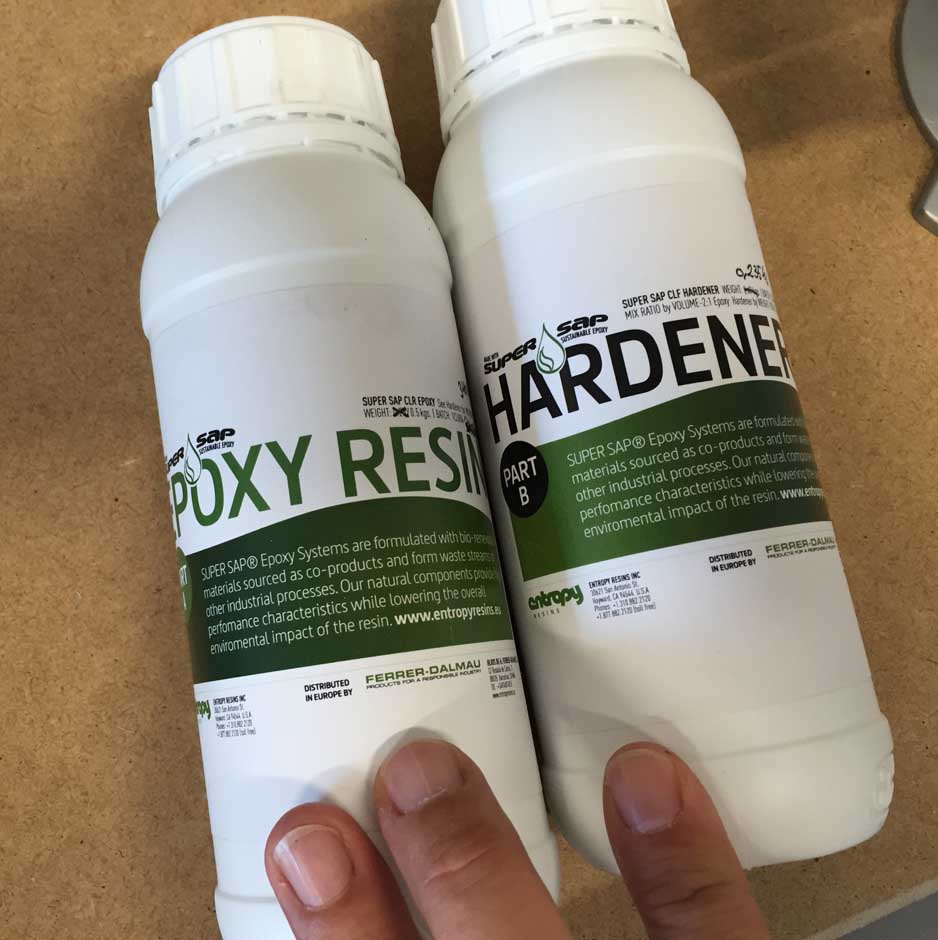
SUPER SAP CLR Epoxy System is a clear, general use, epoxy laminating resin for composites, coatings, and adhesive applications.
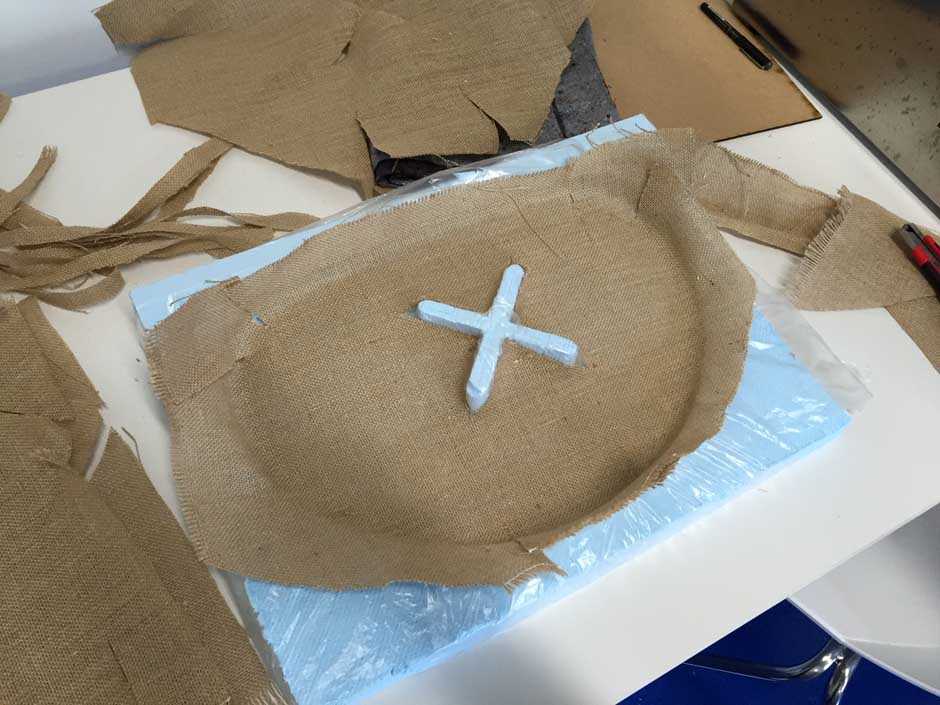
The next phase of the work was better enough. I trimmed three layers of burlap, adjusting carefully the pieces to the curvature of the mold through the use of small cuttings in order to better adapt the form. Besides I trimmed narrow strips of burlap to outline the mold in order to increase the resistance of the final piece.

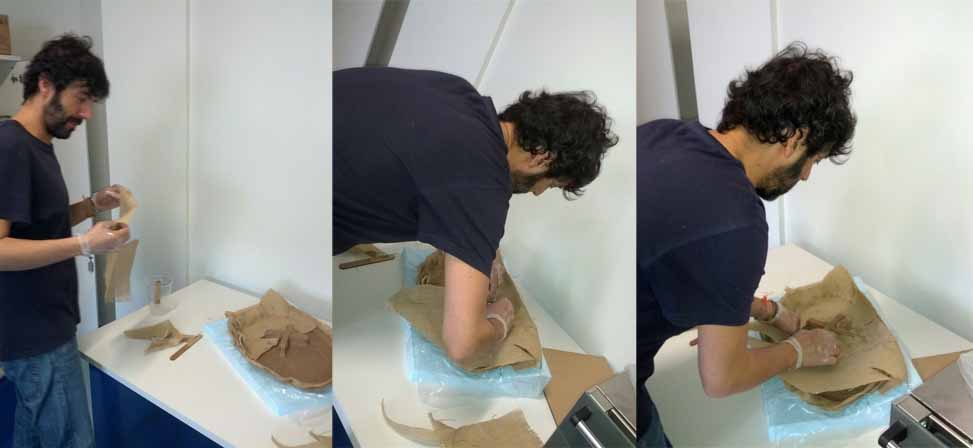
Applying epoxy resin over the burlap layer, when the layer is quite wet another layer of burlap is fitted.
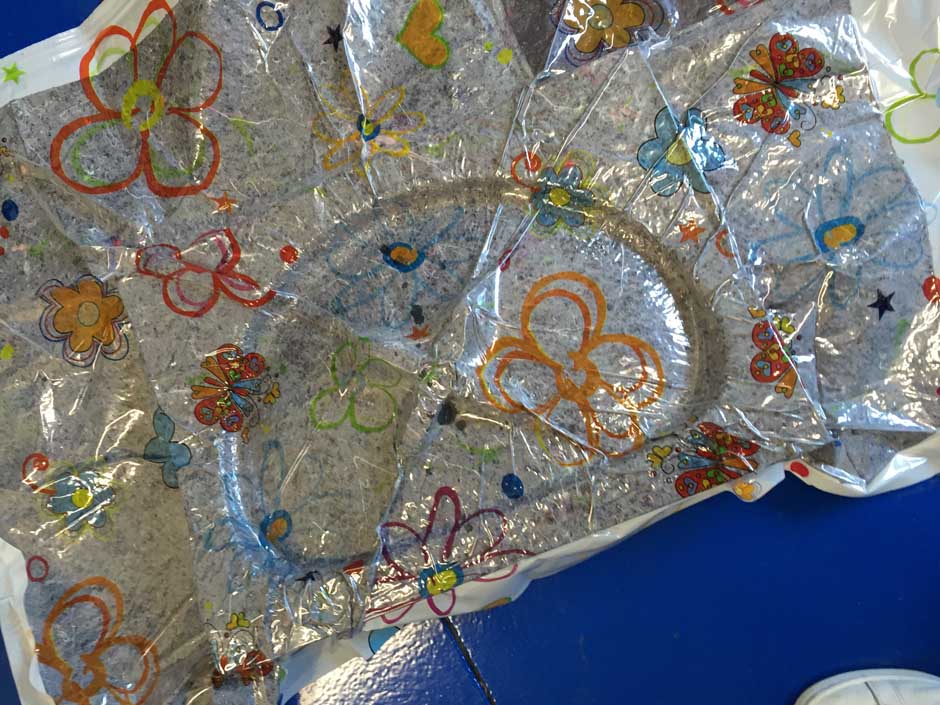
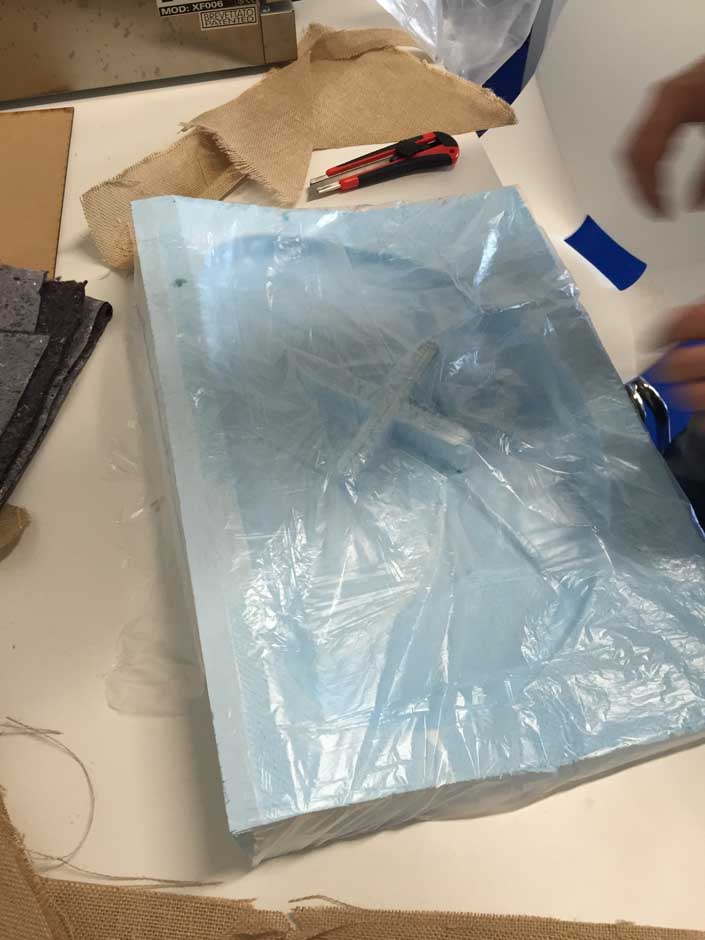
After a release film layer, three suitable wetting layers of burlap, bleeder layer and the finishing breather layer, I applied the vacumm
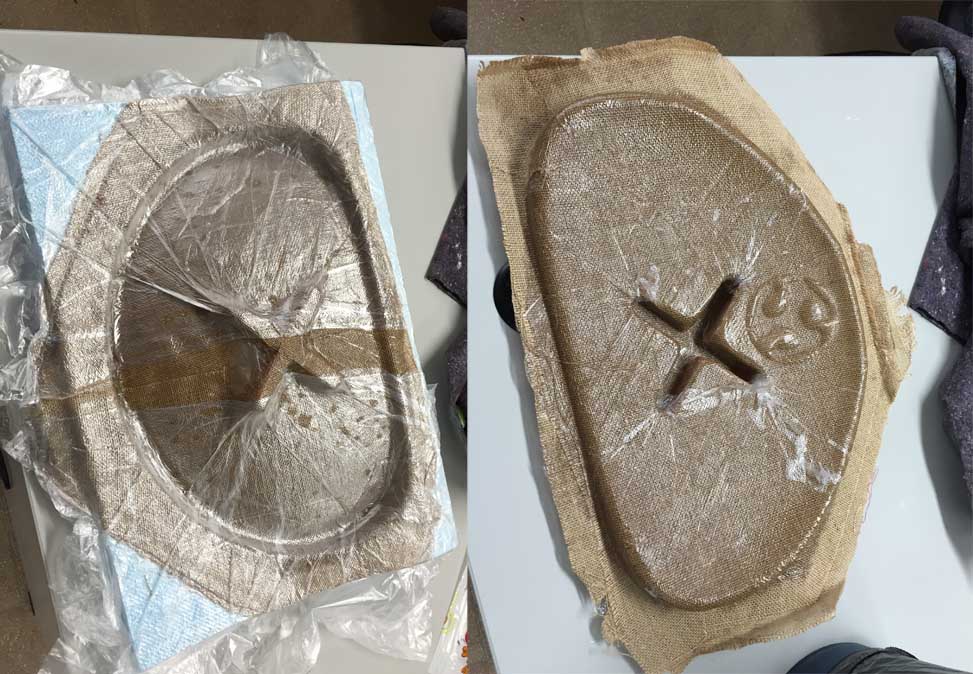
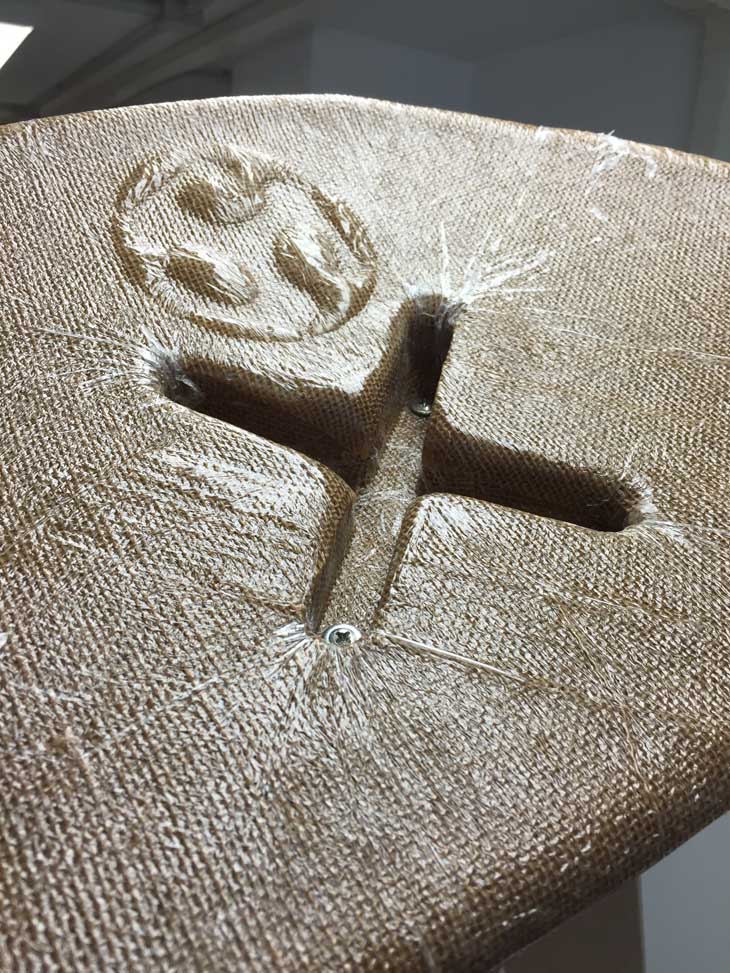
Turnning out the hardened piece from the mold.
NOTE: Although the remaining edges have been trimmed easily, actually the pieces of burlap might be trimmed more accurately previously in order to get a suitable pattern.
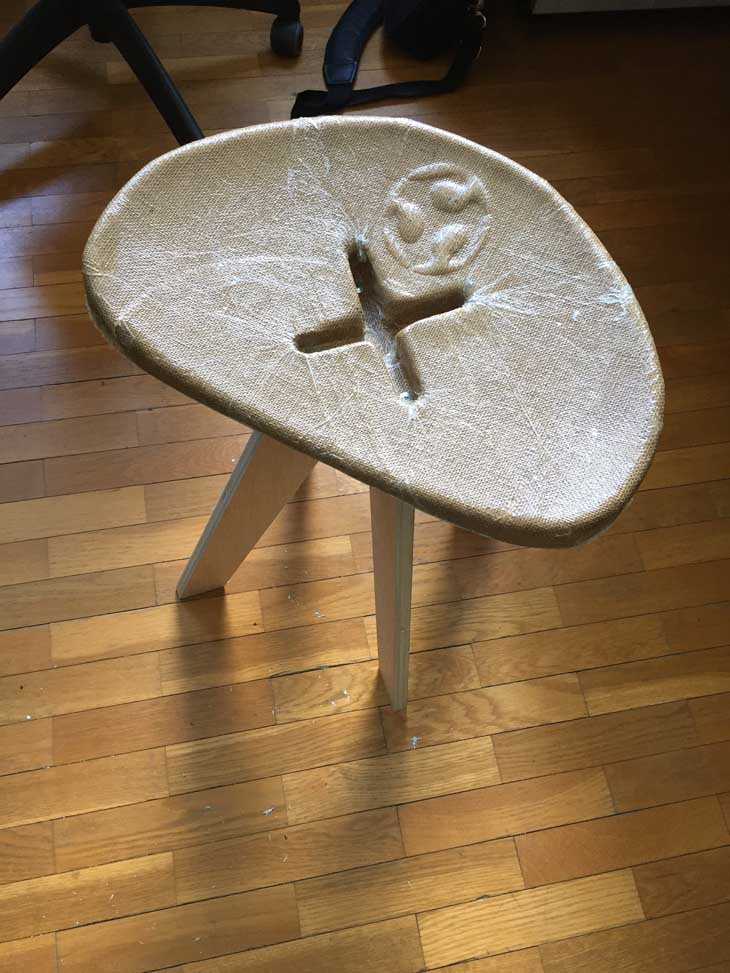
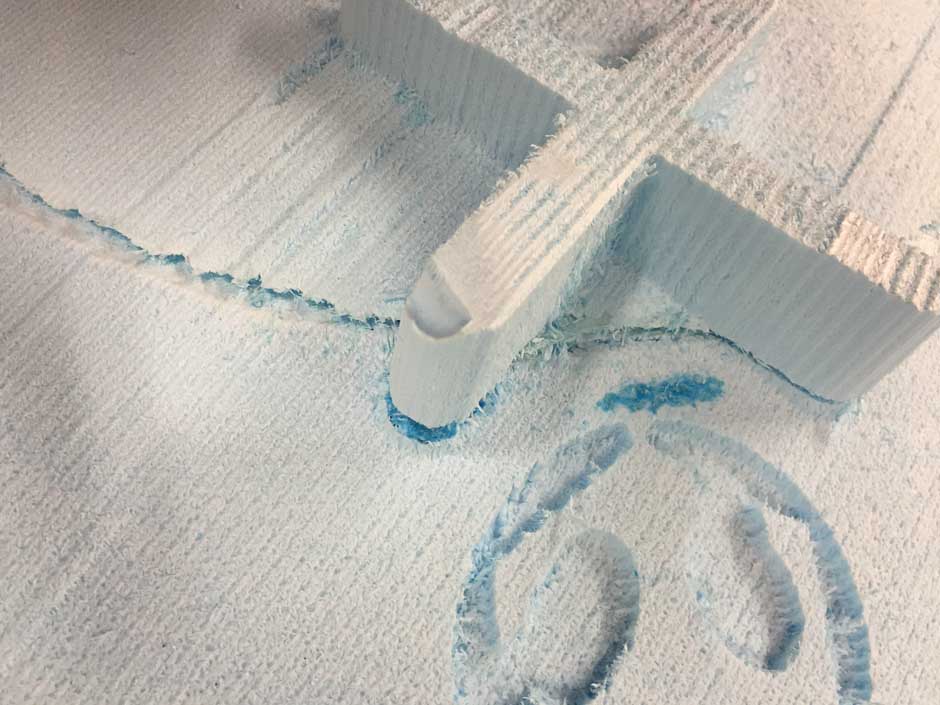
Really the edge between both layers of EPS that form the mold can be seen, personally it does not matter so much although I was worried about it. For me it is more remarkable the discontinuity that can be seen along the border of the piece that should be smoother.
Finished model!


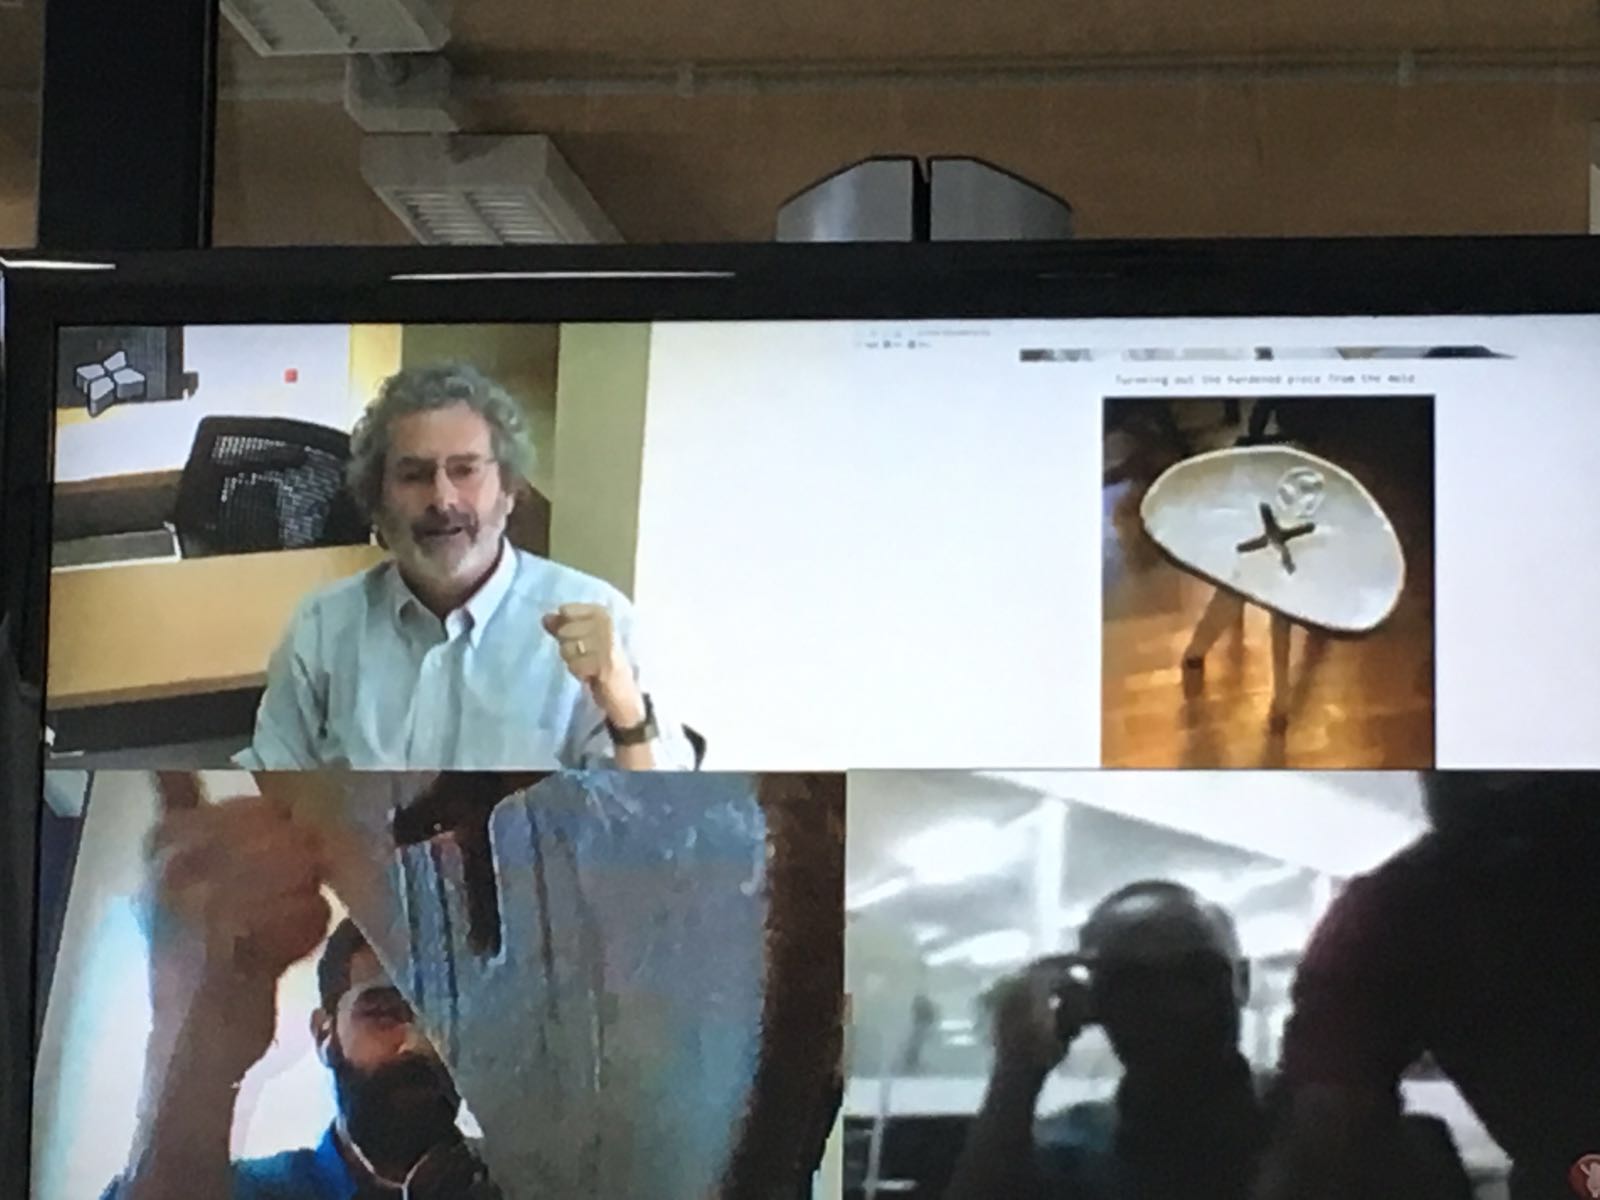
Some advises that Neil gave to me during the weekly review. Testing the hardness of the composite!