The project for this week was to create a mold from which we could cast objects out of different materials. This skill will be useful in the future for creating multiples of obects that I've designed. As my background is in printmaking, my mind automatically thinks of the applications of this in my artistic practice. I have settled on using this week to create my own artist's chop and moveable type for the letterpress.
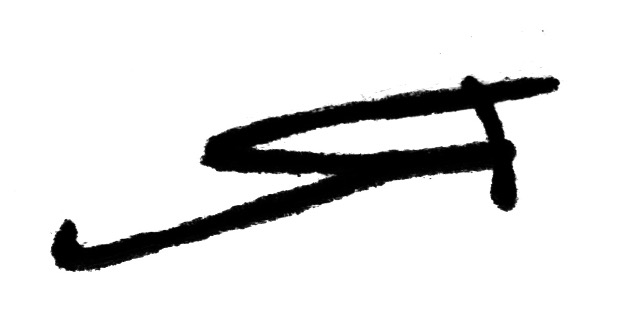
The first thing that I needed to do was to create an image that could be used on the modela. First, I drew a symbol that I have been using to edition my prints. This symbol is a backwards R, which references both my name and the character in Russian that refers to oneself. After drawing this symbol, I scanned it and re-worked it in Adobe Illustrator to smooth out the lines. From here, I turned it into two black and white images that would be used for two different passes on the Modela, in which I would carve into a block of wax to create my model.
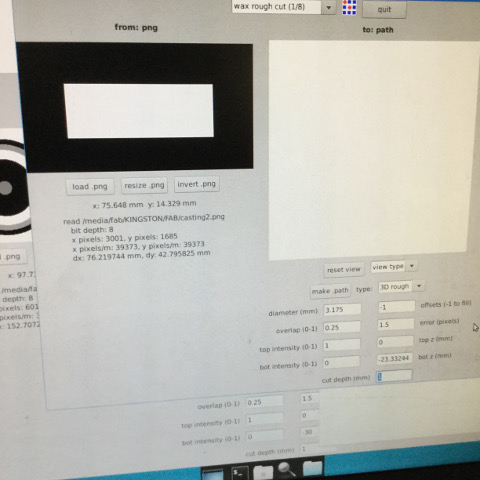
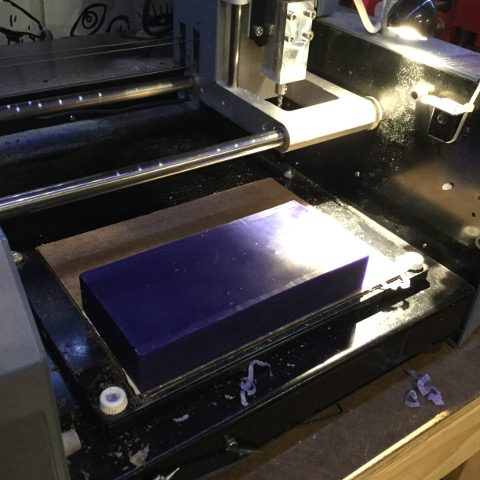
The black and white image allows me to designate areas that will be milled away by the Modela or left alone. By having two separate images, I have simplified the process, as the option is to work with a grayscale in which the darkness of the grays represents the depth at which the bit will mill away the wax. In order to create my model, I took a block of wax and applied double sided tape to the bottom, so that it would stick to the Modela. To insure that it stayed in place, I used a hot-glue gun to secure the edges even more. Then I uploaded my files to the Modela and adjusted the parameters for the cuts. By having two separate black and white files, I was able to run the first file to cut the outline of my mold at a depth of .9186 inches, which is type high, the height of all type that is printed on the letterpress. This first pass was done with an eighth inch end mill, as the detail did not need to be fine in order to leave the block of wax from which I would create my type.
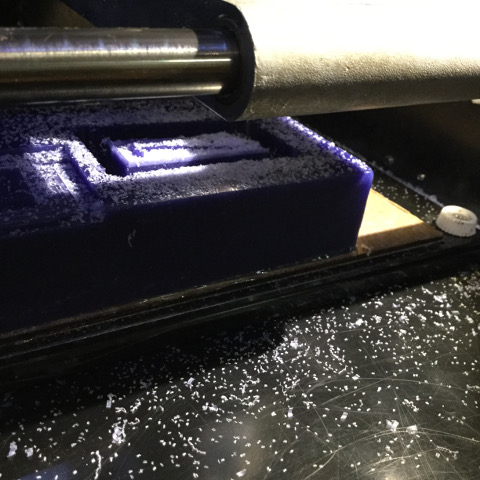
The second pass was done with a 1/32 inch bit, as the detail needed to be finer. For this pass, I accessed my second file, in which I left the R white and the surrounding area black. The 1/32 inch bit was able to create a model of the letter that I had drawn by carving away 1/10 of an inch of the wax. It would not have been possible to go much deeper, as the shaft of the end mill would have begun to ruin the details of the carving. In this case, it was very important to preserve the surface of the wax, as this would eventually become the face of the type.
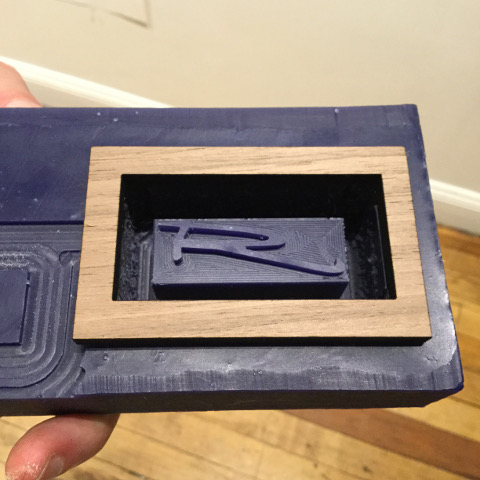
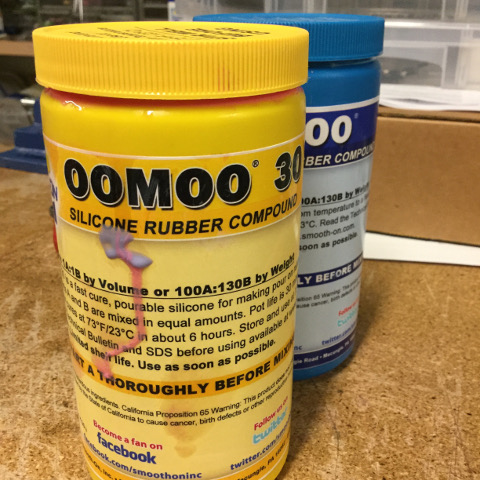
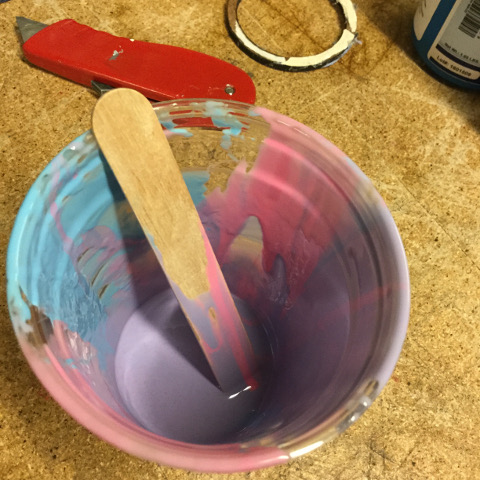
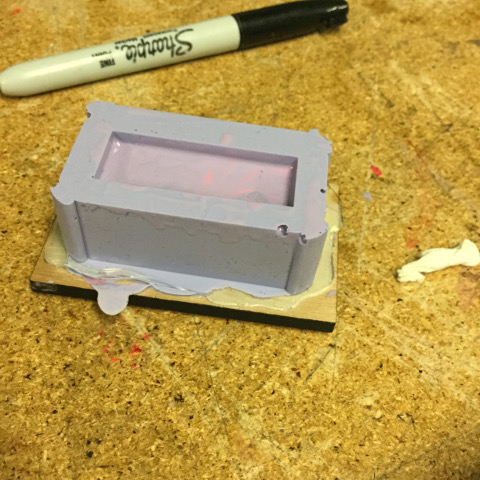
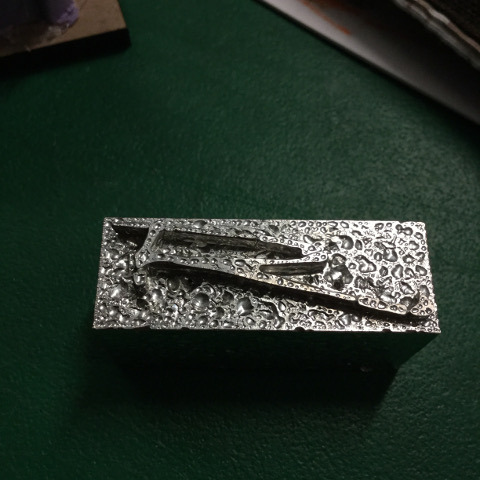
Once this model was made, I used it as a form to create my mold. The material we used to create molds is called Oomoo. Oomoo is created by mixing two liquid ingredients together, one pink and one blue, in equal proportion to each other. The combination should be mixed thoroughly so that the mixture becomes a lavender color. This mixture can then be poured into the mold and left to dry. Because the depth of my model extended to the top of the wax block, I created a lip around the model. In order to do this, I measured the area of my model and then cut a piece of wood on the laser cutter and glued it to the mouth of this wax block. This lip allowed me to pour more Oomoo into the mold and have a more substantial base for my mold.
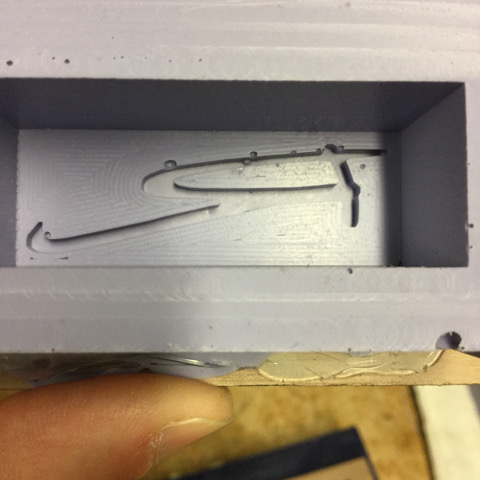
The Oomoo takes about six hours to dry and then it can be removed from the wax mold. In my first attempt, I had measured the volume of the wax form by first pouring water into the wax form. Apparently, I did not dry the wax form enough, as there were traces of water left behind when I took the Oomoo mold out of the wax. Initially, it seemed that the water had created inconsistencies in the surface of my mold and so I attempted to create the mold again. Upon creating this second mold, I realized that there were slight inconsistencies in the wax model that translated into the mold. The sensitivity of the Oomoo is impressive, which could be used to create some great effects. Unfortunately for me, these inconsistencies will print. Perhaps I will embrace these inconsistencies, as they are not replicable.

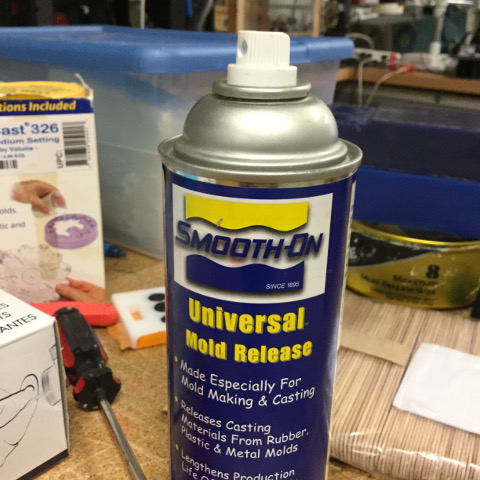
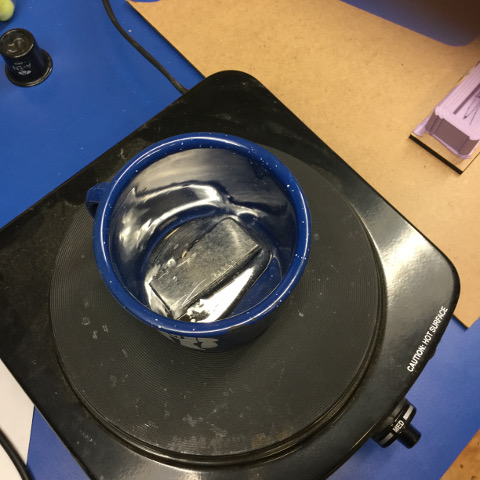
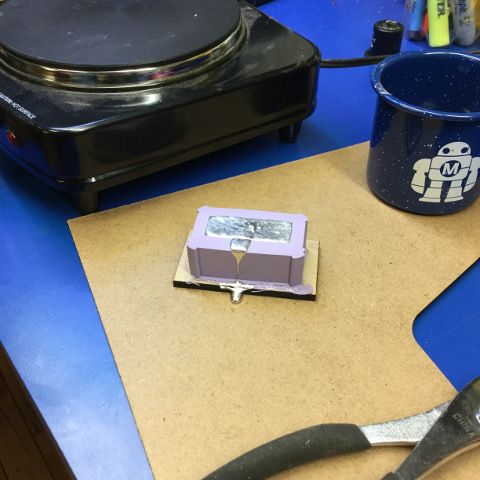
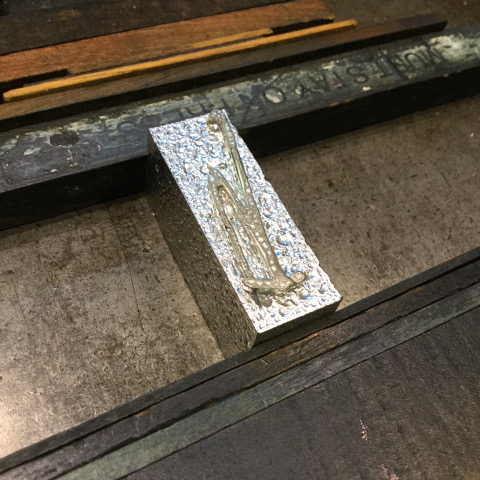
I used the first mold to see if I could create a stamp for myself from Oomoo. I sprayed my mold with two coats of mold release and poured in Oomoo. The two spray coats of mold release were not enough however, as the Oomoo fused with the mold as it dried. Next time, I will also apply it with a brush in addition to two spray coats. With my new mold, I will create type by heating up a metal alloy and pouring it into the mold. I have created my mold with thick walls in hopes that this will hold the molten metal more effectively.

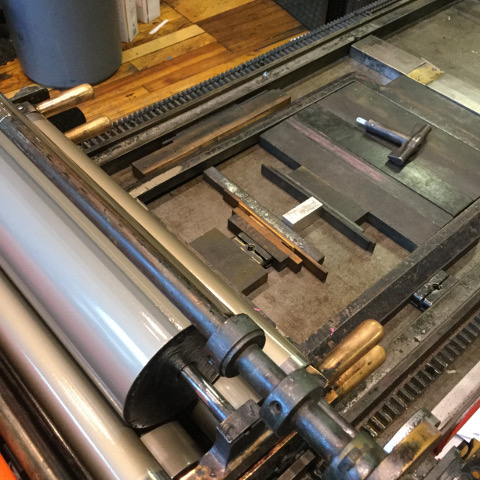
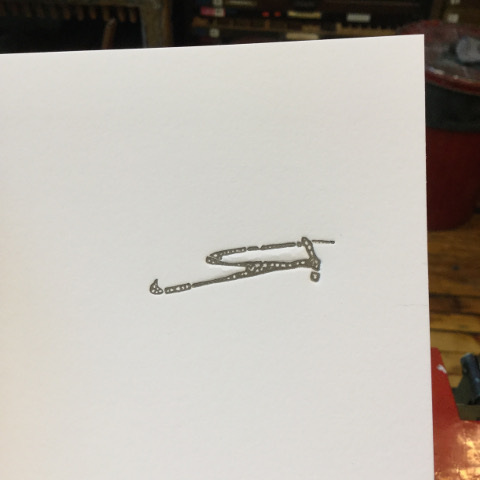
After letting the type cool, I printed the newly cast type using an antique Vandercook letterpress. One of the great features of completing Fab Academy at AS220 is that we have a Printshop next door. I had never cast my own type before and as far as we know, this was the first time anyone has cast metal type in the AS220 Industries. Although I thought the inconsistencies in the face of the type were shortcomings, I now realize that they make the type more interesting!
Files for Milling Machine
Type 1 Type 2