Over the past few weeks, we have come together as a group to create a machine. It has been a really fun process to identify all of the necessary tasks and to each contribute in different ways. The first step was to brainstorm potential concepts for our machine, which we each did individually. Most of our ideas centered around drawing, using markers. This seemed like a relatively achieveable task and we considered having interchangeable markers to work on more complex drawings. I began thinking of having the machine use red and blue markers to create drawings that would appear 3d when viewed with the glasses with red and blue lenses. I then thought of a machine that could decorate cookies or cakes by extruding frosting. This seemed like the most challenging idea, as it wasn't immediately clear how this would work, and I feel as though we took this task on as a result. We brainstormed different options, including using an air pump, but settled on using one of our motors to compress a syringe
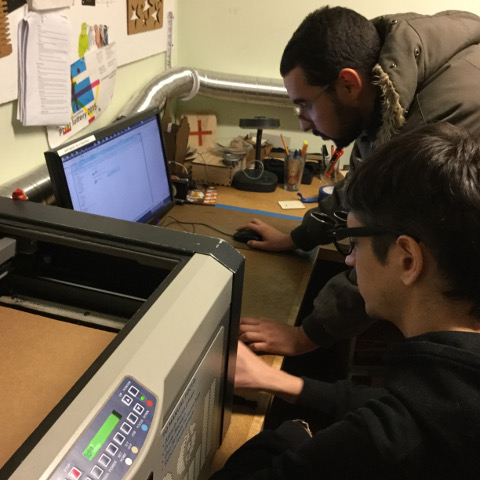
After developing a rudimentary plan, we delegated tasks among ourselves to tackle the multifaceted undertaking of creating a machine. I took on a few different roles in this team effort. First, Siron, Nicolas, and I used the laser cutter to cut the pieces of the arms that would contain the motor. Since our laser cutter is not capable of cutting materials larger than 12" x 24", we needed to assemble different pieces in order to construct our machine. We worked together to figure out the best settings for cutting the pieces with a minimal burn and some modifications needed to be made to the plans, which Siron diligently worked on.
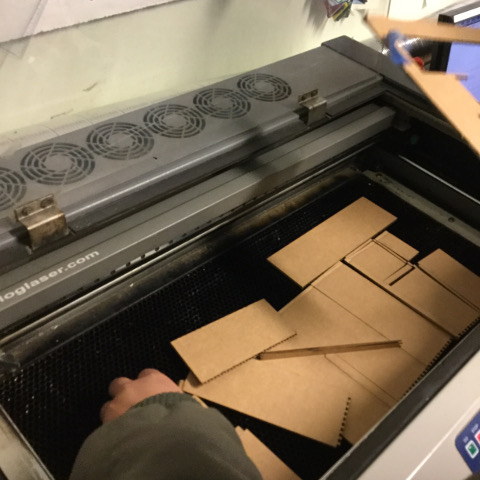
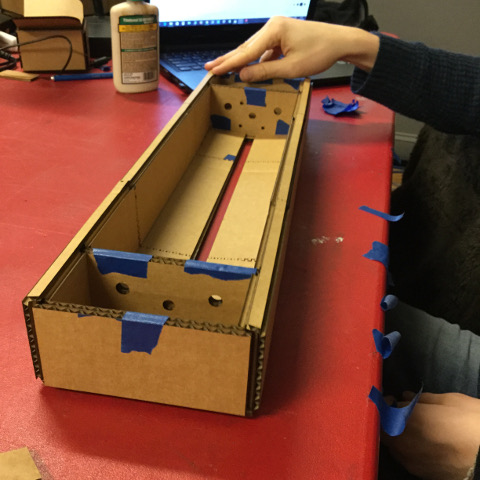
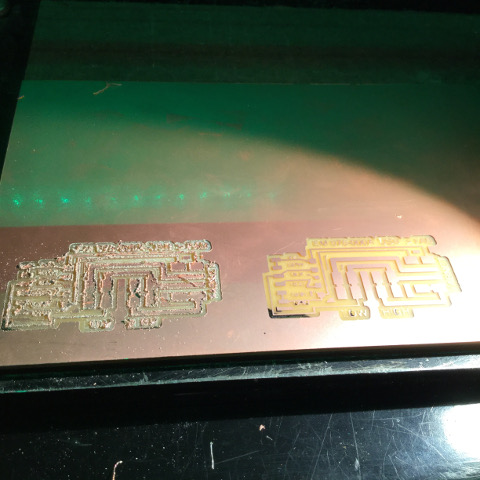
Once we had the pieces of the machine cut, we assembled them together using glue and some tape. There seemed to be some pieces that did not fit, which we had to modify, but in the end, we were able to construct the arms of our machine that would later work as our X and Y axes. After assembling these pieces, I personally took to using Eagle to modify the design of our board, replacing the header with one that could be engaged from the top, rather than the top. After doing this, I continued to use Eagle to map out the traces. Once this was completed, I used the milling machine to mill out the traces and cut the board. So far, this had not been my strongest suit, and I was glad that the team had allowed me to take on this task, as I appreciated the practice. As expected, I did not get the board milled out flawlessly on the first attempt. On the contrary, the traces were all very rough, as I had unknowingly used an old, possibly broken, 1/64" bit. After clearing the copper dust, I realized that I would need to try again, and this time, I made a much better board. The running joke between Nicolas and I is that my boards always end up larger than necessary. This was no exception, but it functioned well enough!
After milling the board, I soldered the pieces on, which I really have grown to enjoy. I had always created small flaws in my boards in previous assignments that would prevent my boards from functioning properly, but in this case, all of my practice paid off. The board was soldered properly and actually looked shiny and clean. Not only did it look great, the board functioned properly right off the bat. I was happy to overcome this area that had presented so many challenges before, especially when it was necessary to keep the group project alive.
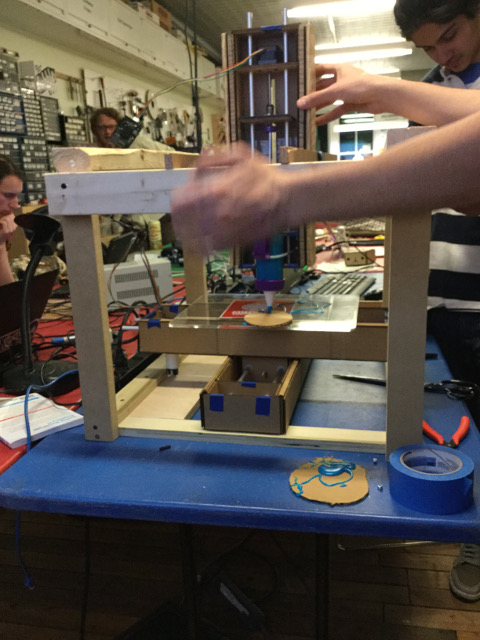
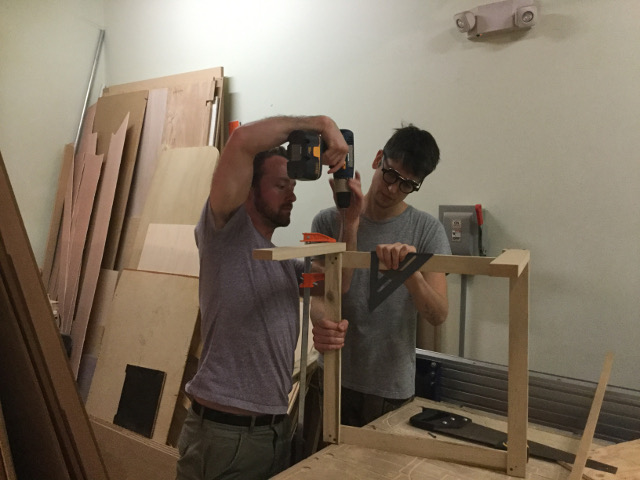
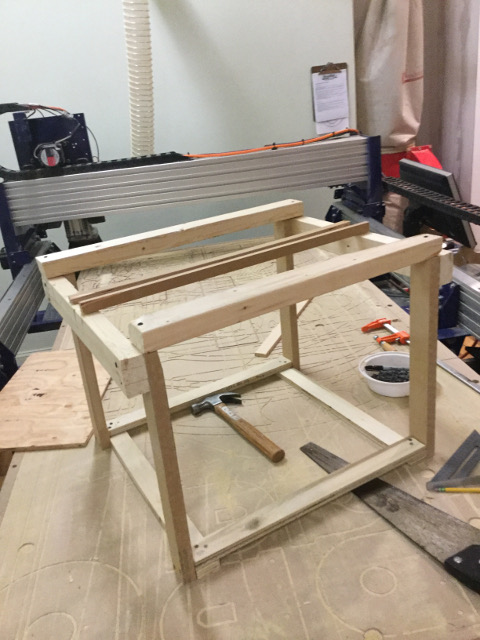
The next component that I took on was to create the base that would be home to our machine. Nicolas and I worked together to create a base that would be strong enough to hold our arm that would extrude the frosting on the Z-axis. The base also needed to be stable enough to hold the constantly moving X and Y axes. For this, we used scrap wood, which we modified with a simple hand saw and held together with screws. The arm that became our Z-axis required a little extra care, as it needed to be suspended across the top of our structure. For this, we worked with Siron, Zae, and Lim to create two identical pieces of wood with holes in them that would attach to our Z-axis arm and allow for us to adjust the height of the extruder. For this, we used a drill press, file, and belt sander.
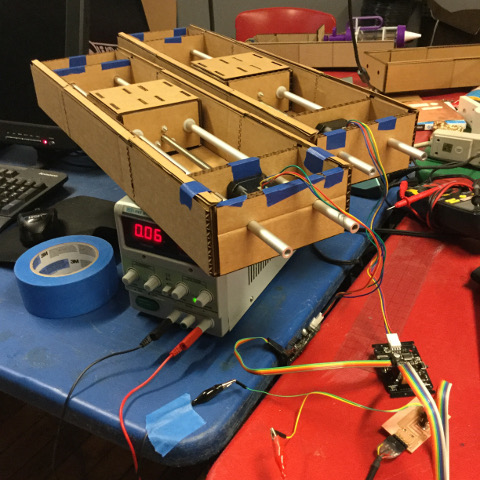
Once we had the physical pieces made, Drew worked on programming the machine to have it follow commands and extrude the frosting onto the acrylic platform, which would soon hold our cookies, cupcakes, hamburgers, etc. Once the extruder was filled and the machine was programmed, we were able to make our first attempts at extruding the icing in intentional designs. We used a pentagon within a star at first. The viscosity of the icing was a big variable, as it would leak out unintentionally. We used pieces of card board to simulate cookies, and a store-bought icing at first. Later we moved to a cake frosting that was a bit thicker and did not leak as quickly.
Overall, I feel that we were successful in this project. Although we have not yet made very intricate designs on our cookies, we have made a great first atttempt. The machine functions and it took a lot of effort on many fronts to make it all happen.