In order to complete the assignment this week, we were required to become familiarized with the data sheet for a microcontroller. I find electronics to be pretty challenging and this was especially difficult because it is a bit dense. Familiarizing myself with the microcontroller was helpful, though, especially since we were working with the boards we designed for Electronics Design. I found out that my board did not work properly because I had made some errors when designing it. Essentially, there are numbered labels in the design program, Eagle, that pertain to the function of the pins on the microcontroller and each pin also has its own numbered label pertaining to the physical leg. This is because the layout and shapes of microcontrollers can be different from each other, but there are functions of pins that are common in different microcontrollers, such as which pin is for ground, power, input, and output.
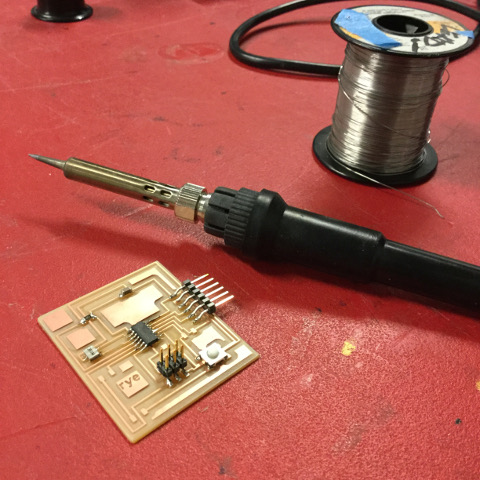
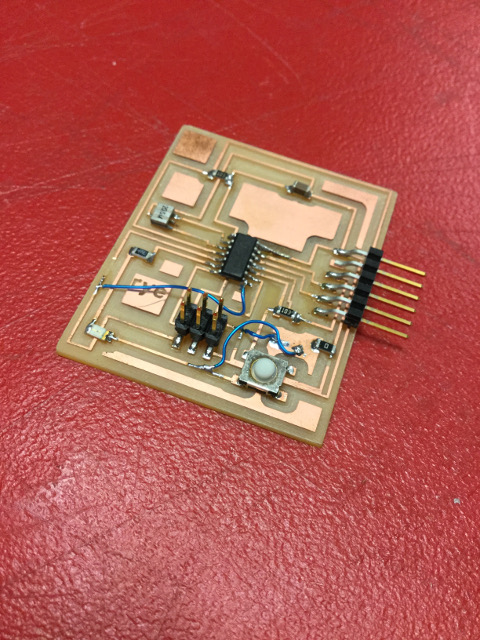
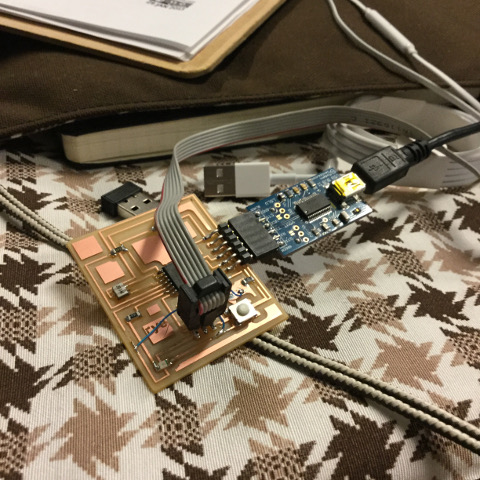
After realizing that I had mixed up the labels when designing my board in Week 6, I decided to salvage it by making the proper connections with blue wires. This required cutting traces with a utility knife and the ends of wires to substitute for the proper traces. While this was not conventional, it functioned fine to my surprise! I see how making mistakes in this course can always be turned around to become a learning experience.
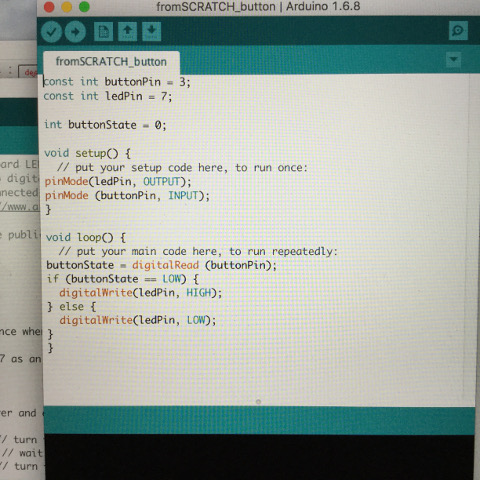
The other part of the assignment this week was to program the board we made in Week 6 to do something. Since I made the board with an LED, I used Arduino to program the board to blink the LED, as this is a common place to start for beginners. Blink is a preexisting example in Arduino, which is easy enough to execute. However, Shawn advised me to create my own sketch in which I copy the blink code line for line. Instead of simply copying and pasting it, I wrote each line of code so I could become familiarized with the vocabulary and the required punctuation, such as the semicolons at the end of each line, the open and closed parentheses, and the open and closed braces. I was grateful that the program recognized and color coded some of the words as I typed them in, as this helped me recognize the keywords. I also got to recognize the notes, signified by the double back slashes, that can be read by the user but do not interfere with the programming. I was happy with this new experience, as I learned a lot, even if it was a simple accomplishment. I later saved this line of code in my Sketchbook so that I can remember it and come back to it if needed.
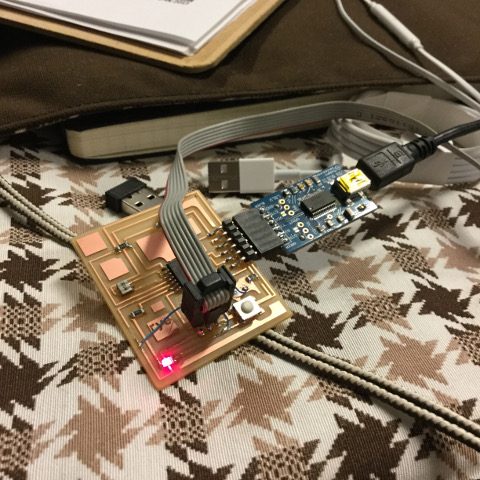
In order to do this, I had to make sure to select the correct board and port under the Tools drop down menu. The blink option is under File, Examples, and Basics. Once Blink gets set up in Arduino, it is important to check which pin you are using and change it in the code if necessary. After hitting the verify button, I hit the upload button to program the board. It was amazing to see this all come to life, as I got my little Frankenstein board to blink.
Code:
Blink Revised