This week we started to make circuit boards from scratch. The first thing that we learned was how to use the milling machine to create the actual board. The milling machine removes a layer of copper from the board, following a design planned to leave only thin areas of copper, referred to as traces, and small square surfaces of copper known as pads. The milling machine then cut the circuit board out of the larger piece for us on a second pass, which we programmed.
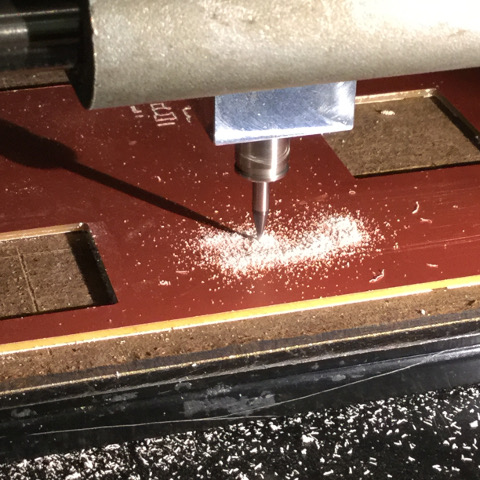
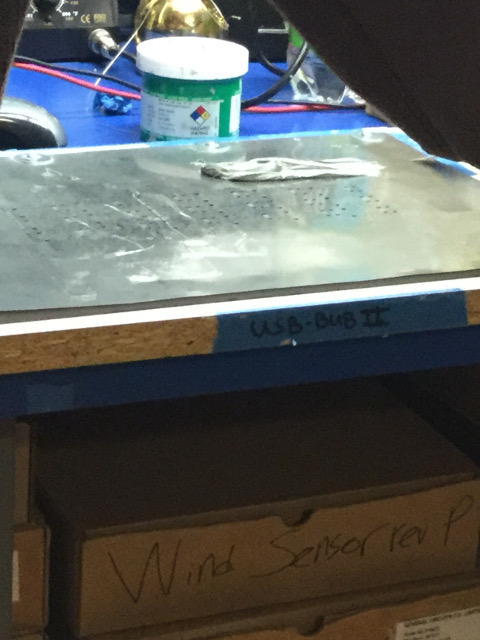
Shawn showed us a method of producing larger quantities of boards by essentially screenprinting with solder paste, which I found interesting, since I did not know that this was an application of printmaking. These later need to be heated up in an oven to have them connect with the components. Our class used the Roland Modela milling machine to produce our personal Fab ISP boards. In order to do this, we first accessed the Terminal on the computer next to the milling machine and type Fab. This brings up the a window where I chose the type of file, which was an image, .png, and the process was Roland Modela. After that, a new window popped up where I chose a preset option at the top to mill traces. With this preset, the Modela knows that I am using a 1/64 end mill, which I have zeroed on the Z axis, by using the up and down arrows until the bit makes contact with the copper board, which is held to the spoiler board with carpet tape and hot glue. I then loaded my PNG file, hit make path, and make RML. It is also important to move the bit to the starting position, which is all designated on the window. Once the traces were milled, it is necessary to put the machine into view mode and then turn it off. This will allow you to change the bit to a 1/32 inch bit that is used for the 'rough' trace, the design for which I created in a separate file, outlining the edge of my board. It also lets the machine forget the zero value for the Z axis, which I learned the hardway by breaking a bit. After running this separate file, the board should be ready to go!
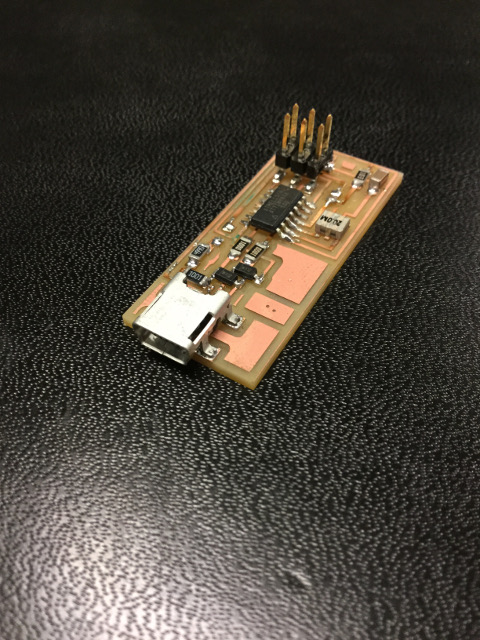
Once we had our own circuit boards cut out on the Roland Modela milling machine, we started to solder the pieces onto the board by hand using a soldering iron. This was a lot of fun because it was much more hands on than other projects that we have done so far. I enjoyed the tactile nature and found it challenging to work with something so small. Good lighting and a lupe were essential to soldering the tiny connections onto the board. It was also important to pay attention to the orientation of some pieces, such as the microcontroller, as they would affect the board's ability to function.
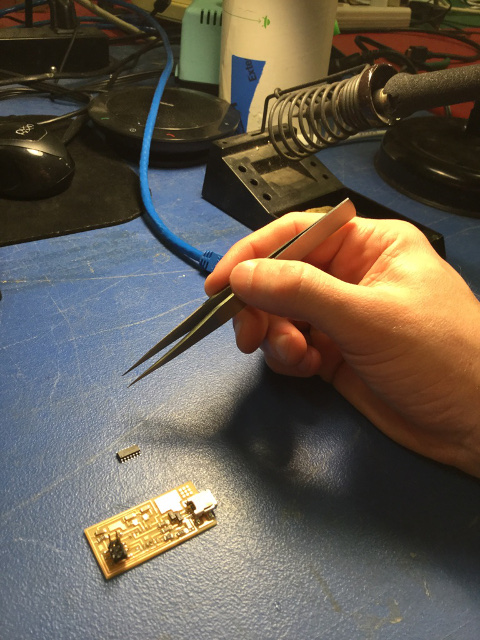
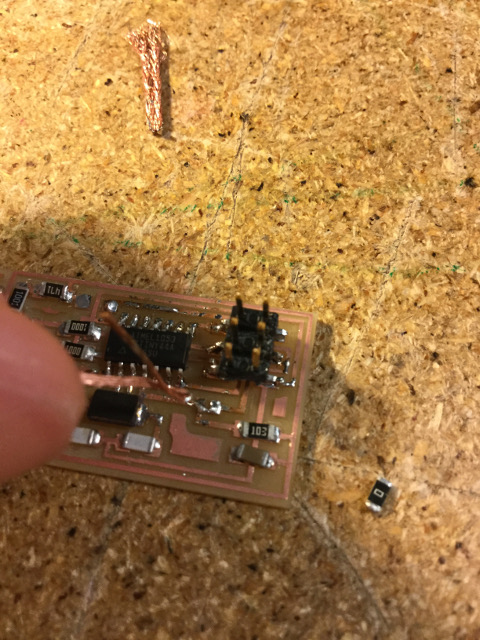
The microcontroller and the USB header were the most challenging to solder, since there were multiple small pieces to connect. If the connections were made to the wrong traces, a short would be created, preventing your board from working. One way to make this work much easier was to use a substance called Flux, which comes in a small marker. The Flux marker secretes a liquid that helps the solder flow once it is heated up. The solder then gravitates toward the metals, so in a way, the flux cleans up the board.
I also found it interesting that copper wire can be used to remove unwanted solder. I improved my technique after watching Shawn for a bit. Another way to correct errors is to take the pieces off with a heat gun and reapply them. The heat gun blasts hot air at your board, heating up the solder. If you hold the unwanted piece with a pair of tweezers, lifting the entire board, the heat with break the bond between the piece and the board. I have been setting the heat gun to 270 degrees.
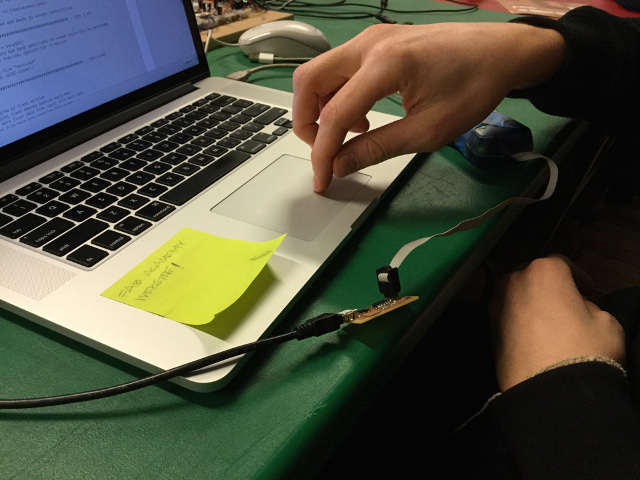
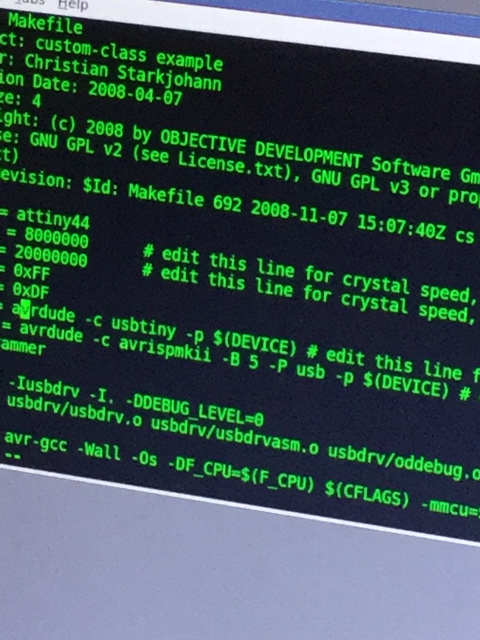
Once I had my board ready to go, it was time to test it out. I got the green light, signaling that the programmer acknowledged my board. However, it was not able to be programmed. It took us some time to figure out what the problem was. Luckily Shawn realized that the programmer was interacting with the board too fast. He slowed down the speed at which the programmer communicates with the board by typing in a command and it worked! The programmer was then able to recognize the code for my board.