This weeks project was centered around using composites. My initial inclination was to create a surfboard. I generally only get the chance to surf a handful of times throughout the summer, so I could never justify buying my own board. So, I saw this week's project as both a chance to learn new skills and treat myself to a new toy.
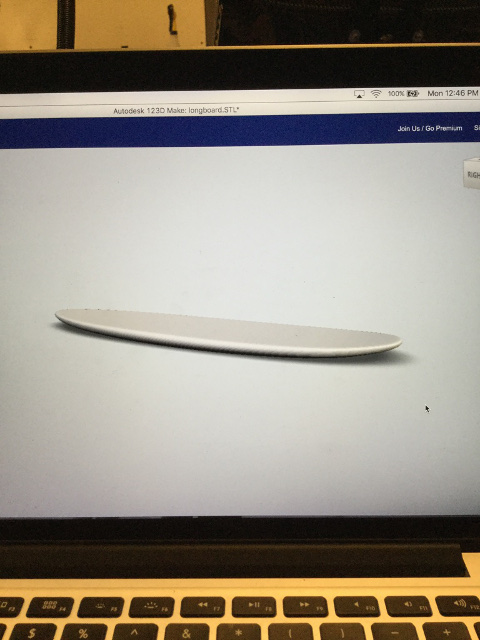
Making a surfboard has been an ambitious project that has taken a while. Since this project's main emphasis was to learn to use composites, I felt that it was okay to modify an existing file from Instructables. The file was actually intended for makers to 3D print a model of a surfboard that was proportionally true to life. With this in mind, I scaled the model up so that the length was 8.5 feet, a drastic change from the original which was simply a few inches long. Next, I used the construction techniques option in 123D Make to create 3D slices of the surfboard model. Used 25 slices on both the Y and Z axes so that the structure would be strong.
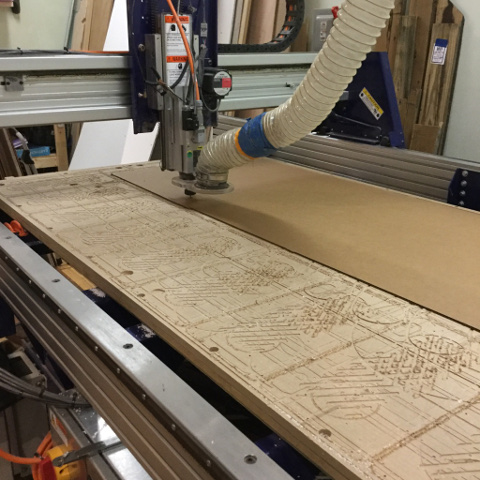

I exported the file from 123D Make as a series of PDF files that I could then use on the ShopBot to create the slices from large sheets of cardboard. In V-Carve, the software used by the ShopBot, I rearranged the slices to most efficiently use the materials. I found it was helpful to create layers from all of the files. While using the ShopBot, it was important to always set the origin and create guide lines in the file to best designate the useable area. When I was ready to cut the cardboard, I first screwed the piece of cardboard down and then cut two test pieces to make sure that they would fit together tightly. As the CNC router worked, I needed to carefully hold the pieces flat and in place by hand, as the material was too thin and weak to effectively use tabs. When the cardboard did not stay flat, the bit did not cut all the way through, and so I needed to help a few pieces out with a utility knife. It was very important to label the pieces as soon as they came off the bed of the ShopBot, as they could easily be confused with another. The 1/32 inch router bit I used was also too thick to engrave the letters and numbers that would have been engraved for easier construction, so I wrote the numbers by hand with a marker.
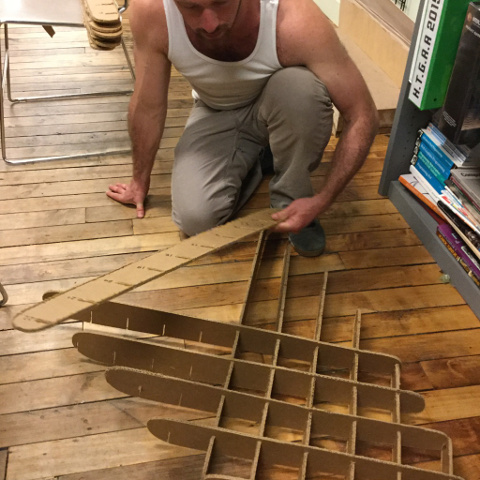
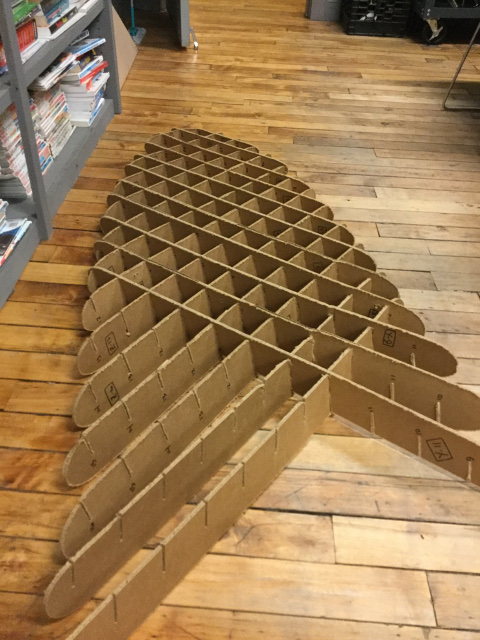
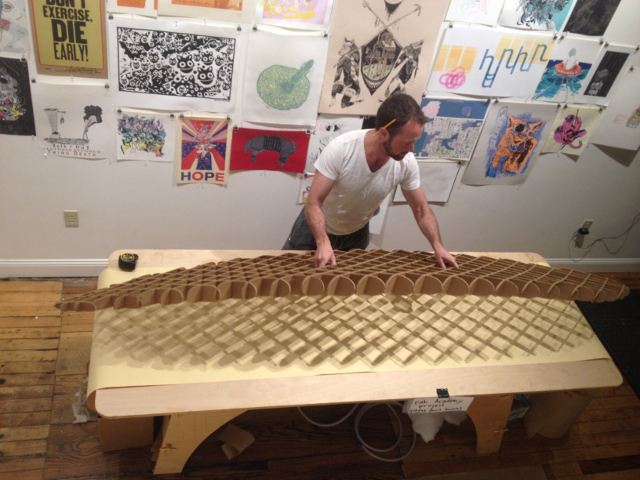
Once the pieces were all cut out, I then needed to assemble them. Each piece had a name that consisted of either a letter, either a Y or a Z, and a number that ranged from 1 - 25. Each piece also had a number of slots, each of which is labeled so that it is clear which other piece would fit in the slot. From here, the construction of the skeleton was relatively easy, only occasionally requiring a little force to fit the tighter pieces together.
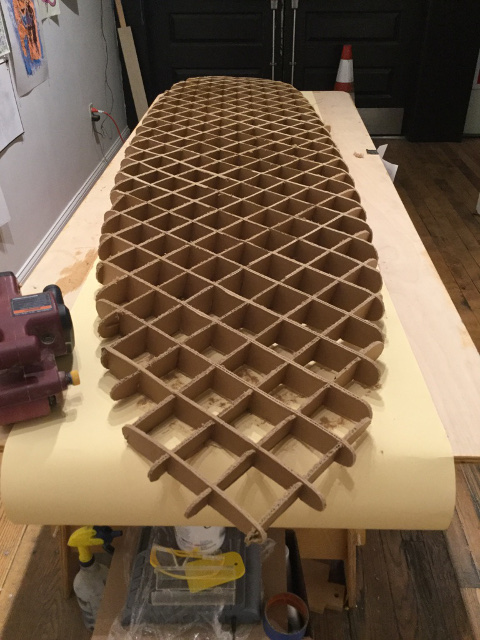
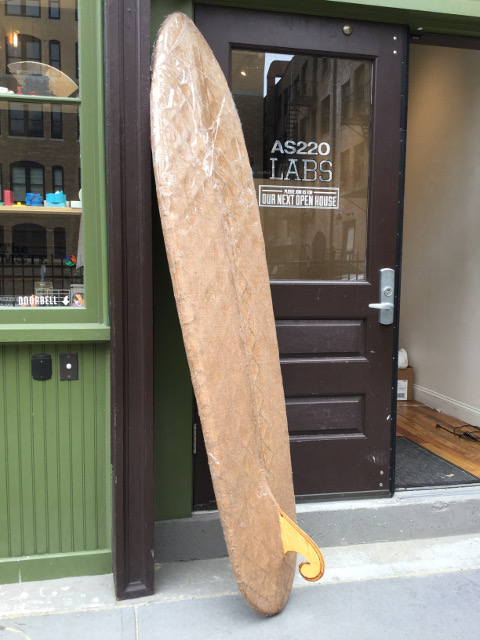
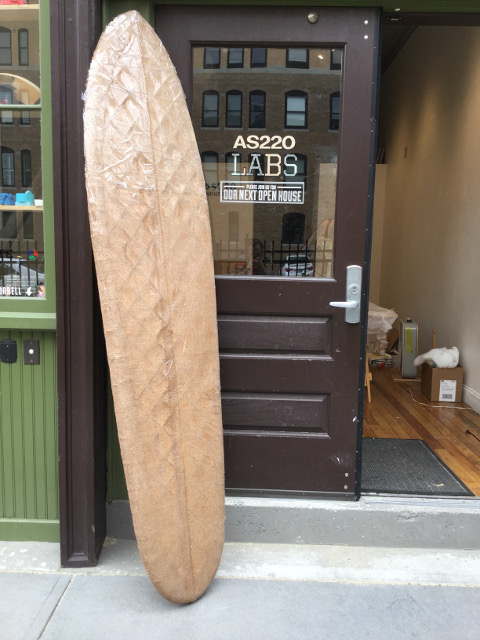
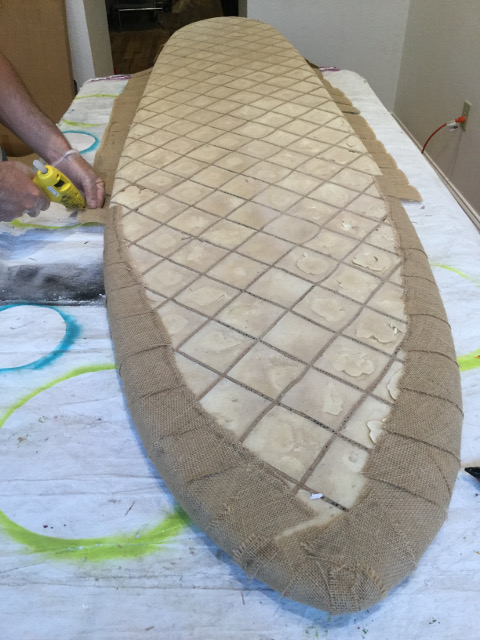
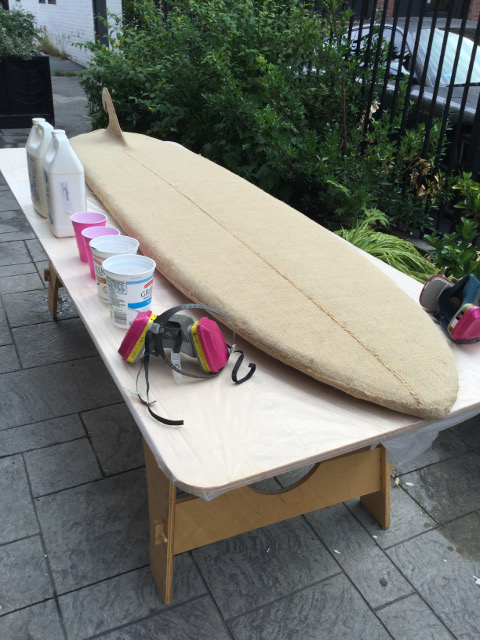
Next, I sanded down the cardboard pieces so that they are smooth and on the same plane. This will help the board have a more fluid shape when I apply the burlap to create the surface of the board. The burlap needs to be cut so that it can be shaped to the cardboard skeleton of the board. I will be using burlap and resin to create the hard exterior of the surfboard because burlap is a natural alternative to fiberglass, which can create health problems when inhaled. Burlap, on the other hand, can be infused with the resin but the fibers will simply break down if they are inhaled and so they are a much safer choice of material.
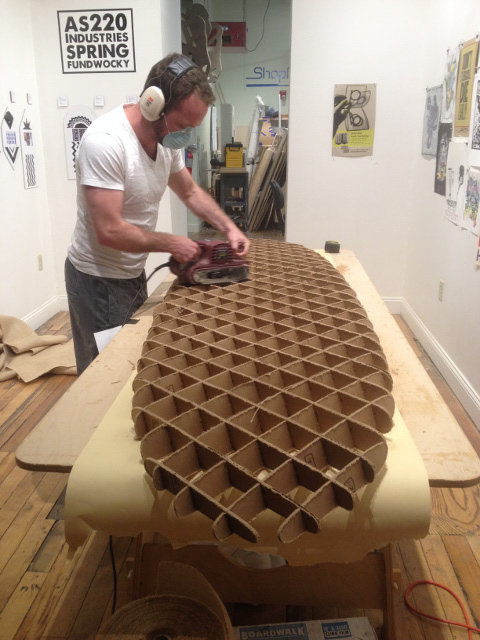
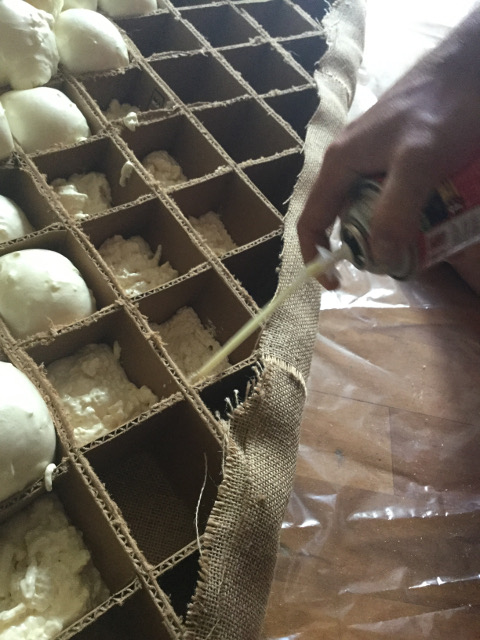
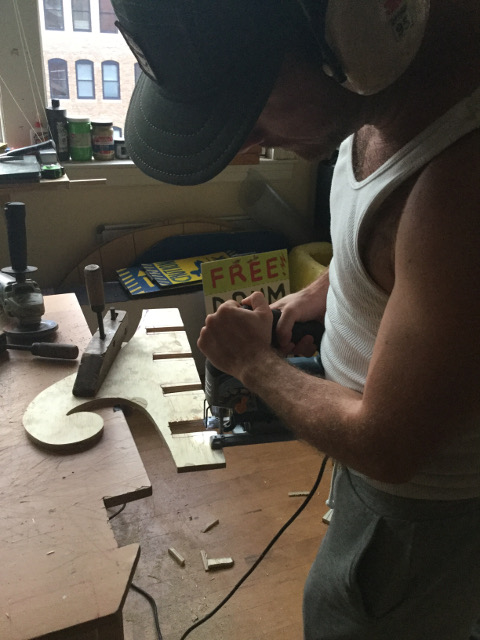
The resin can be applied with a squeegee and then vacuum bagged to ensure that the material stays in place and contouring the form. Since the pieces of the frame were so widely spaced, I decided to use Great Stuff, a hardening foam to fill in the gaps. This way, the burlap will not sag into the gaps due to the pressure of the vacuum seal.The foam should also be sanded down so that it is smooth and level once it has hardened. I also decided to use the Great Stuff to secure the fin that I carved out with a jig saw from a 3/4 inch ply.
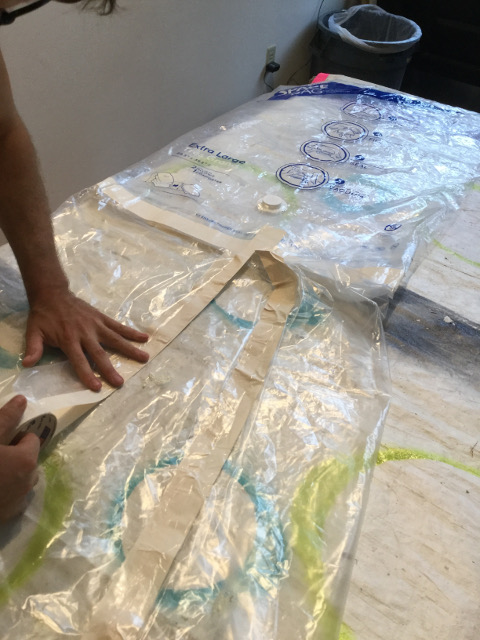
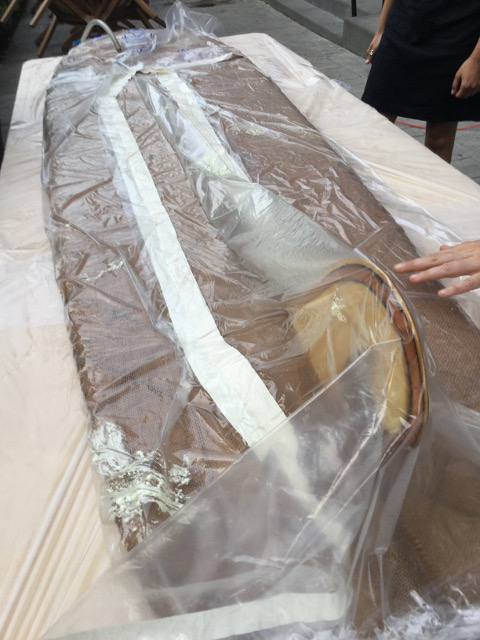
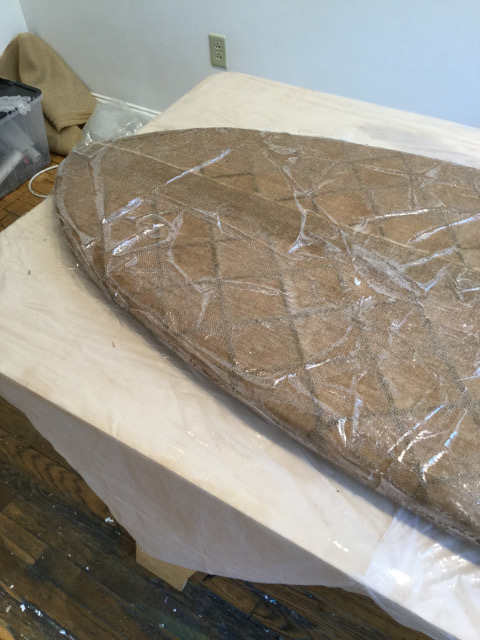
Next, I prepared my vacuum bag, constructing it out of a vacuum sealable garment bag, a plastic tarp, and some carpet tape. The garment bag has a port of a vacuum to be hooked up to it so that the atmospheric pressure will ensure the strength of the epoxy. The Super Sap Epoxy required a 2:1 ratio of epoxy to hardener and seemed to work pretty well. After leaving the drying surfboard in the vacuum bag over night, it was not as tight as a compression as I would have liked, but it worked nonetheless. For this reason, I would suggest leaving the vacuum motor on for the 8 hour drying time. I was left with some flakiness and ridges, none of which cannot be taken care of, but that will add a little more time to this process of perfecting it. I am excited to surf my new board!
Surfboard frame files for CNC router
Pieces for SurfboardFor scale!